-
Posts
1,673 -
Joined
-
Last visited
Content Type
Profiles
Forums
Gallery
Events
Everything posted by scrubbyj427
-
Thank you, I hope that helps you to make a clear decision no matter which route you take.
-
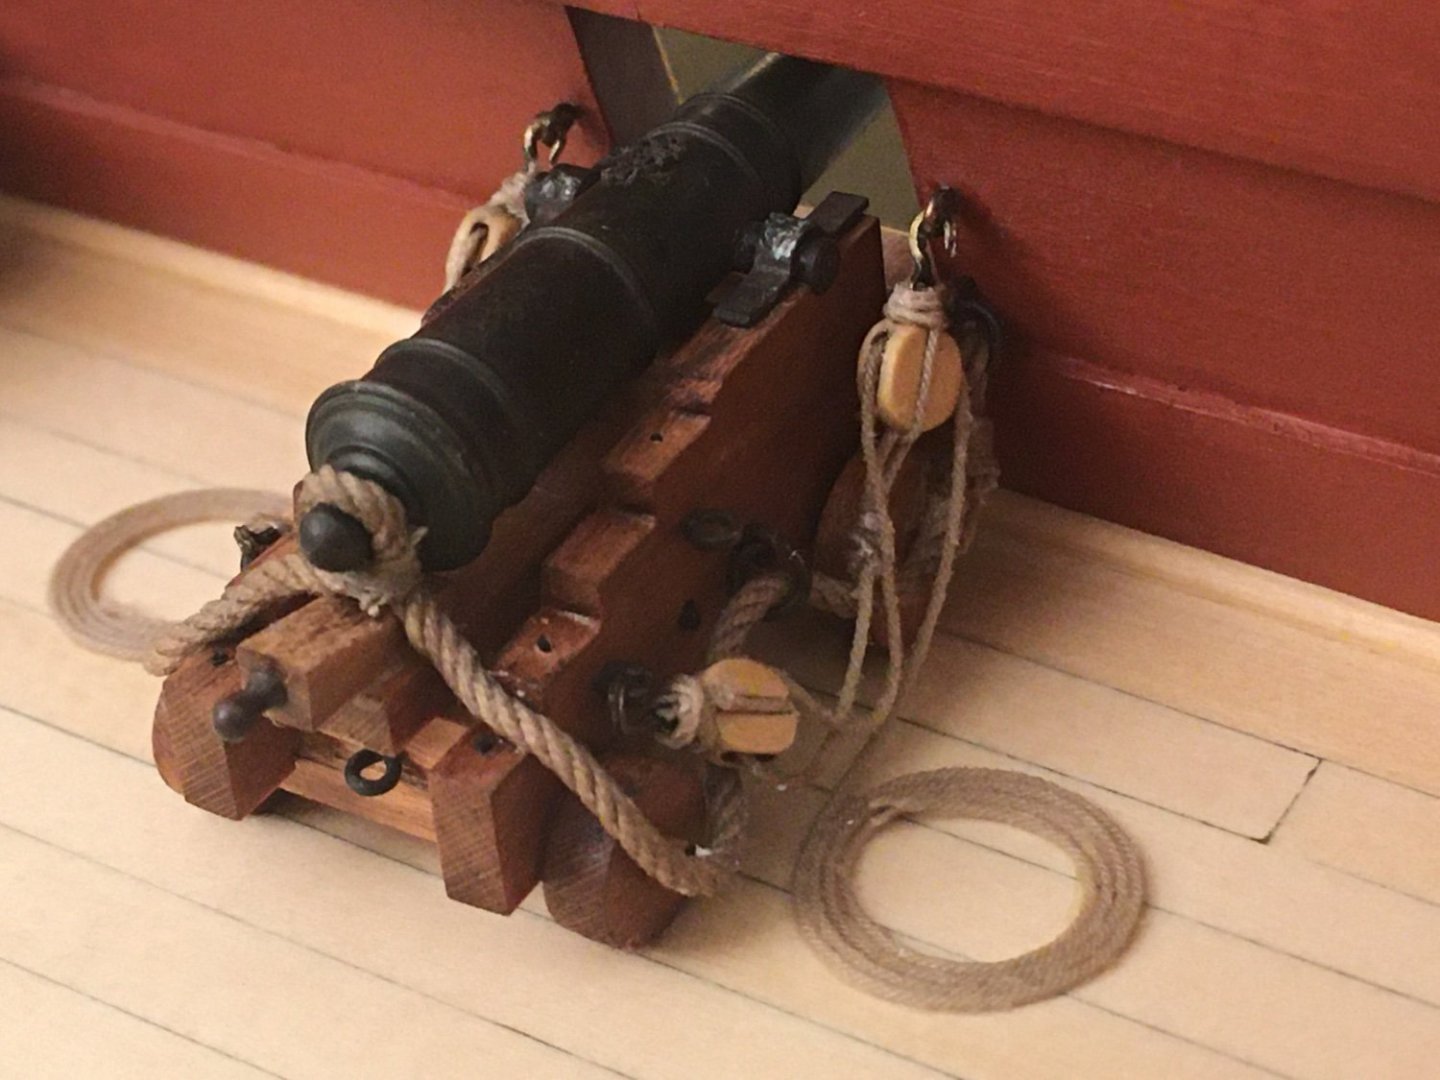
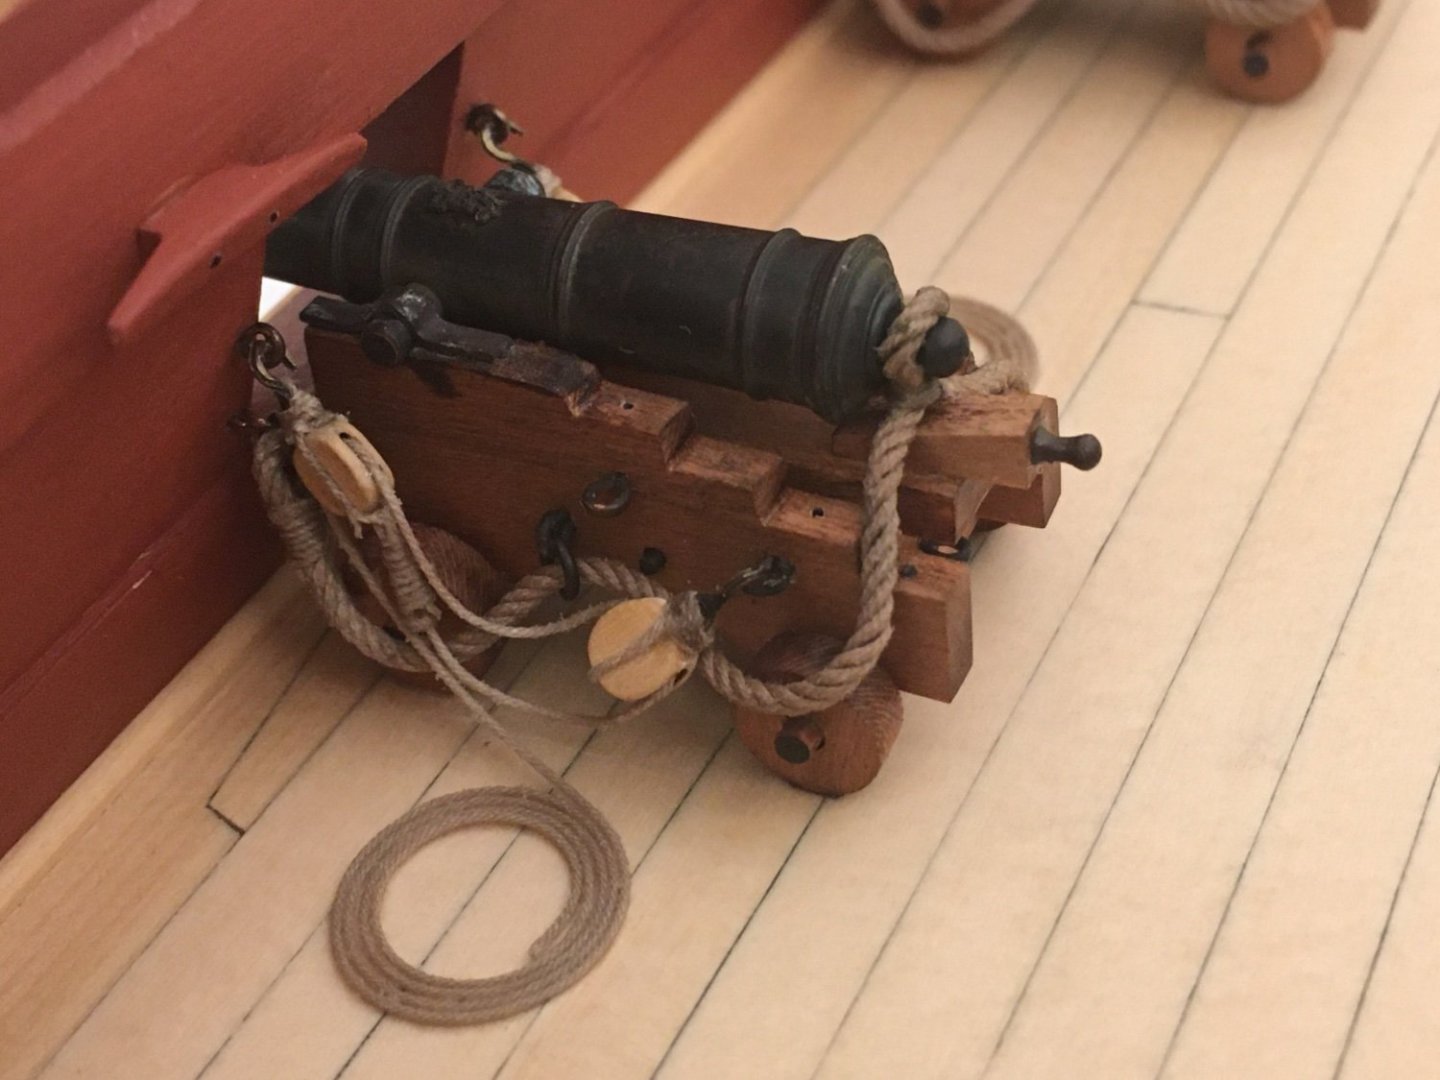
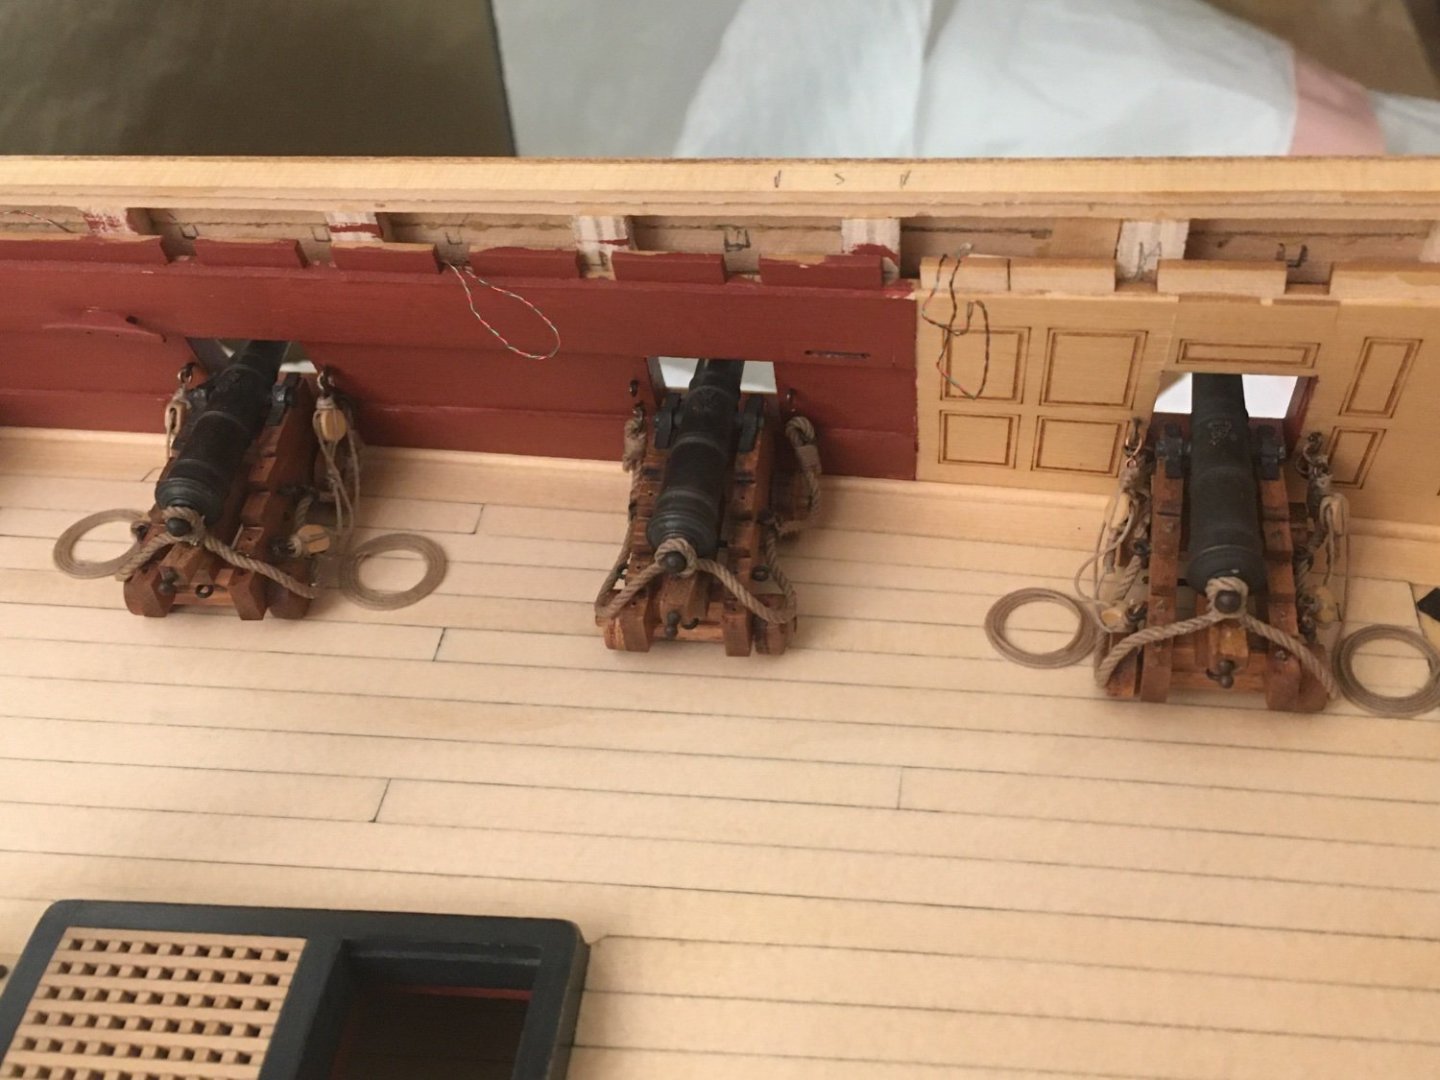
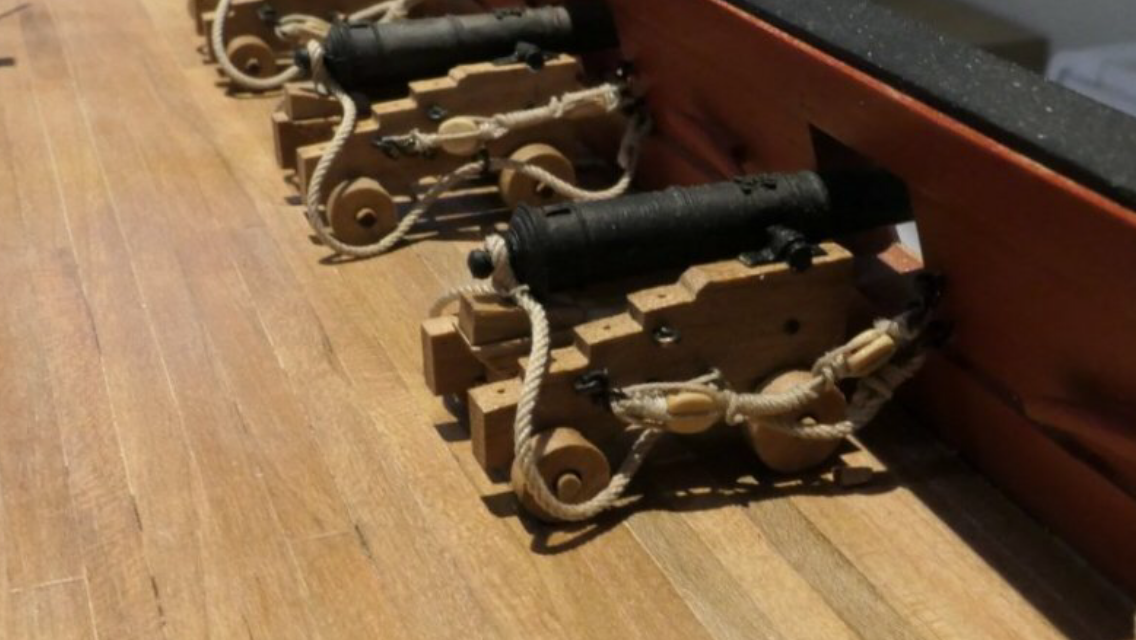
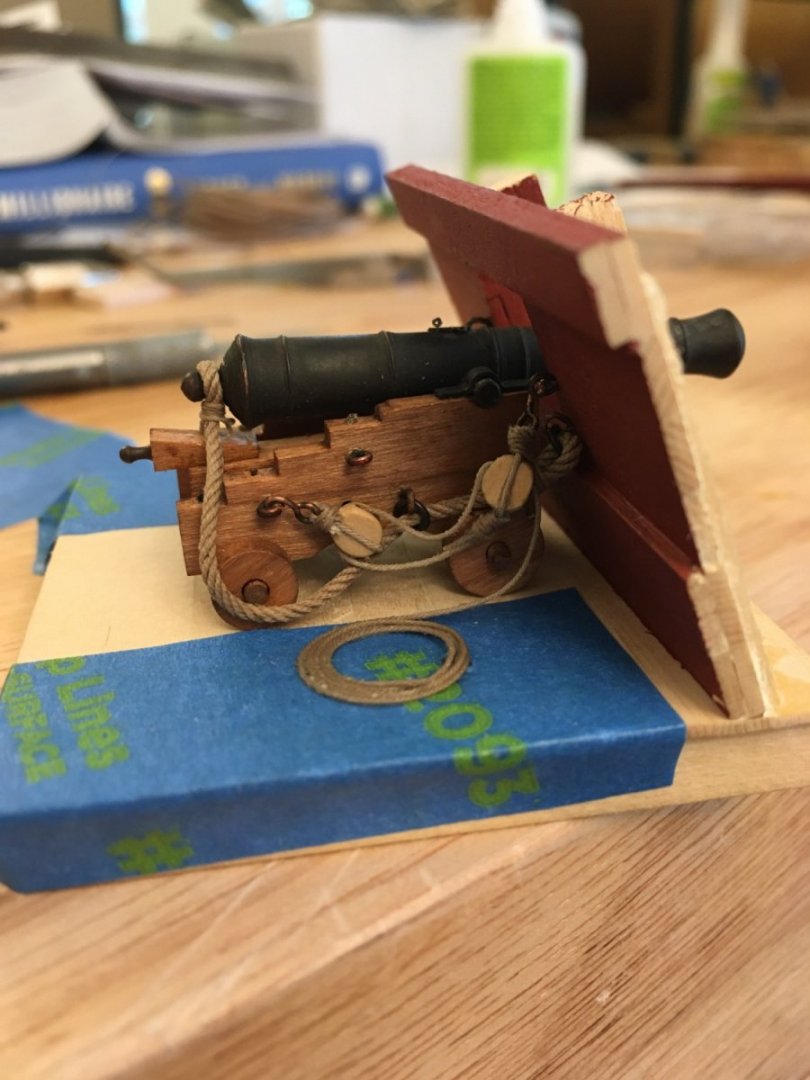
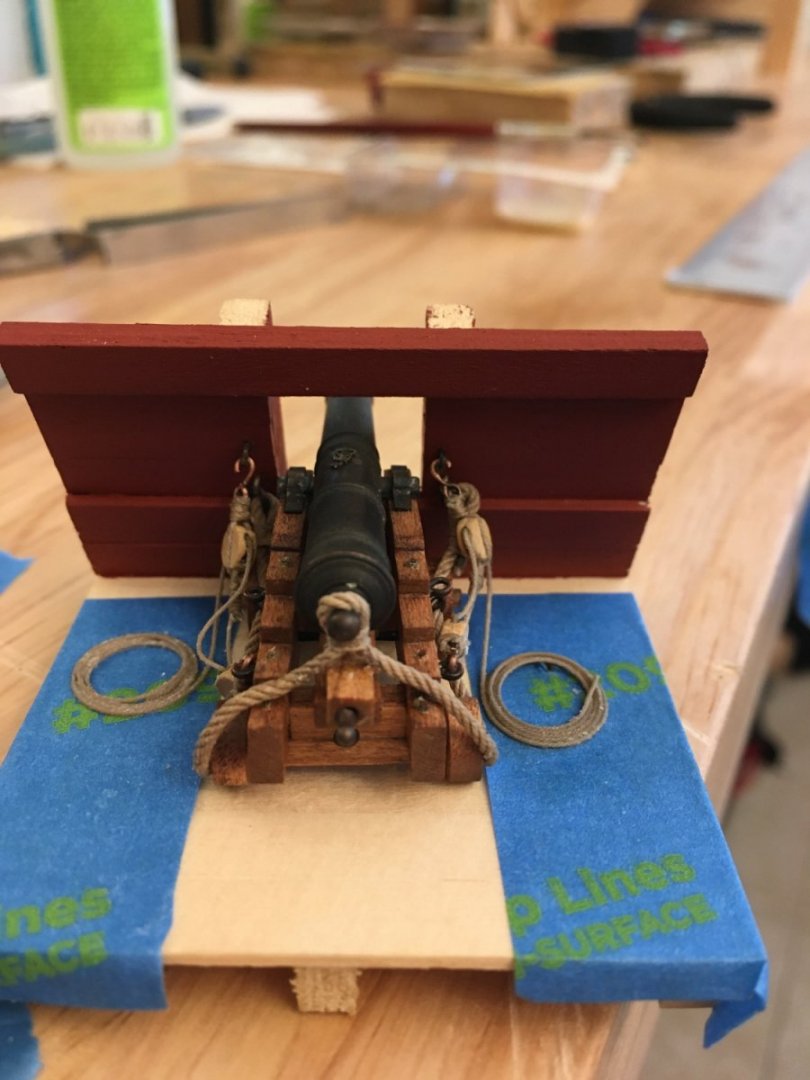
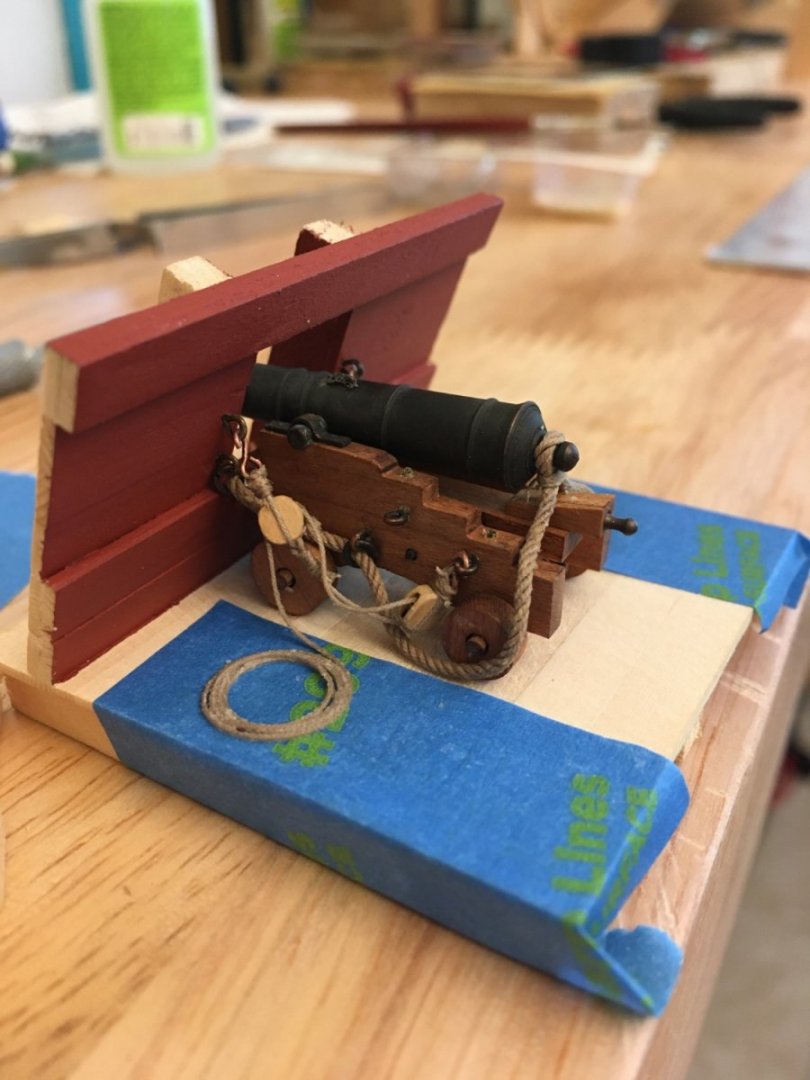
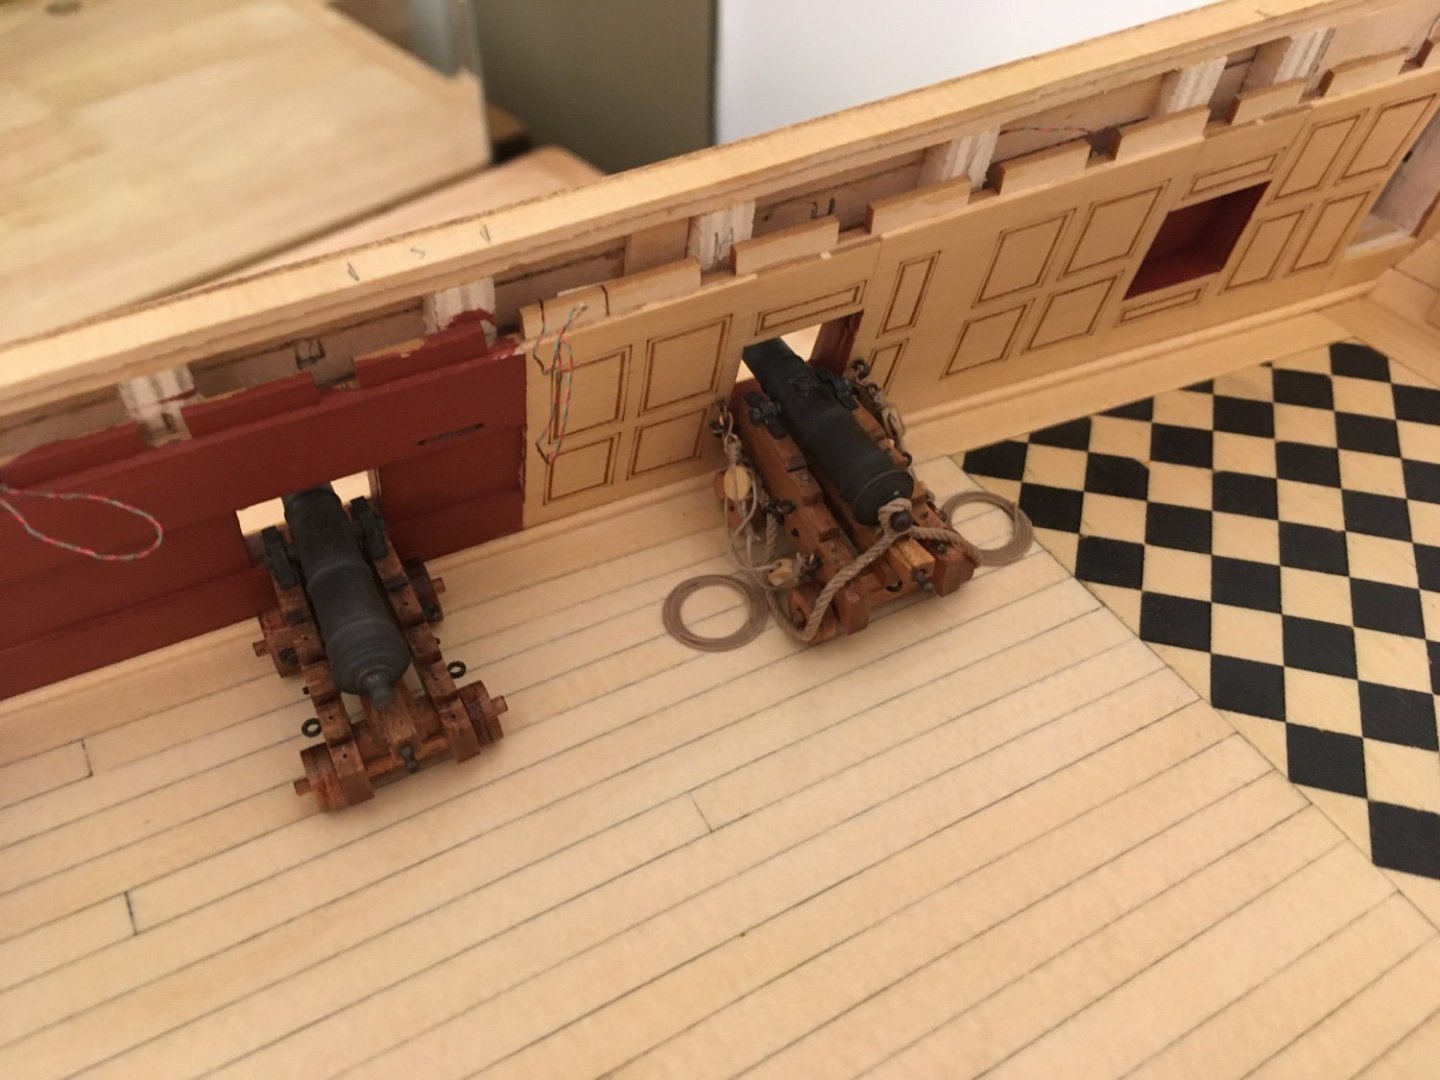
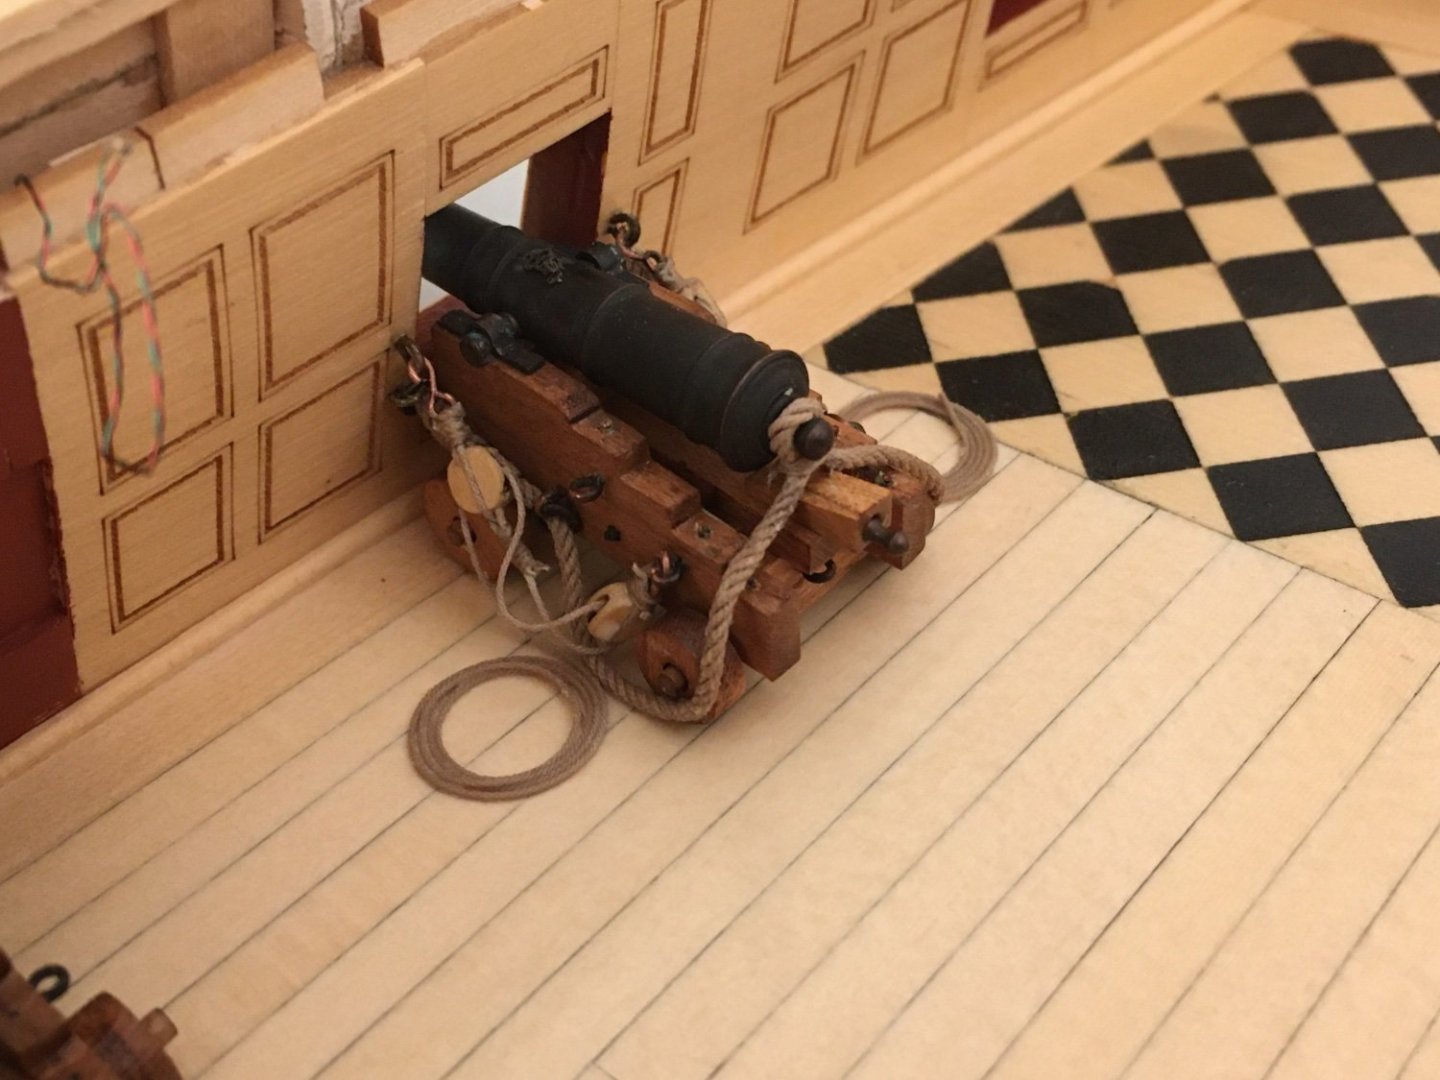
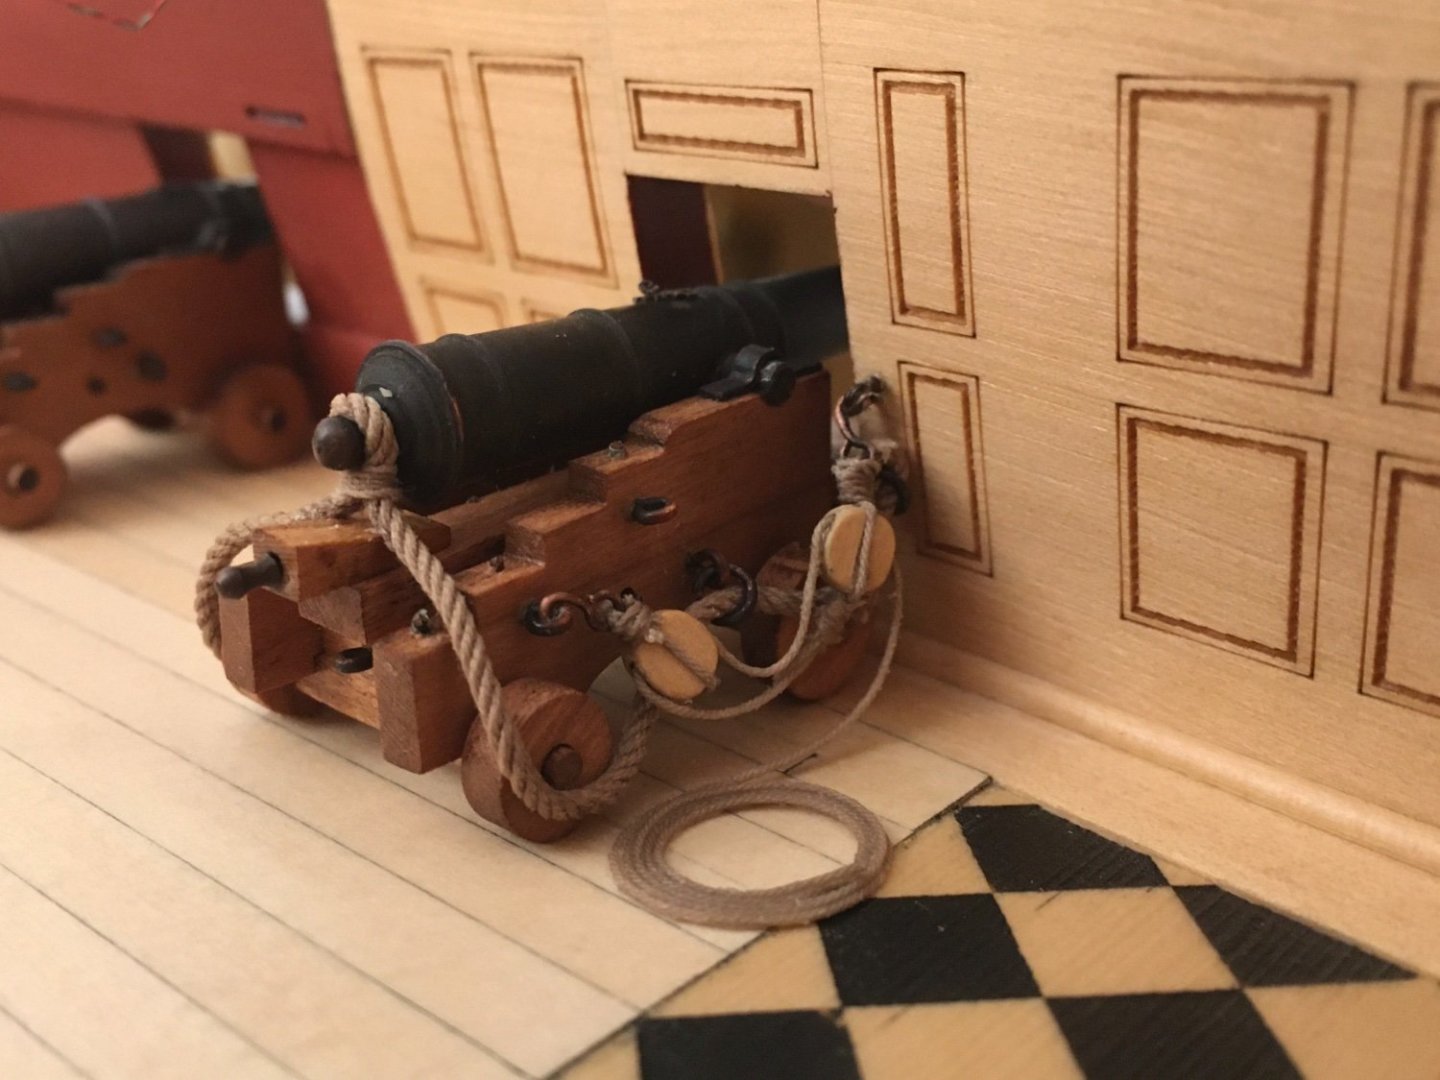
Two down...22 left to go! The crafty sailor 4mm photoetch hooks were a success so far, except I rigged one tackle backward... won’t make that mistake again. I’m going to try another method to fasten the hook to the block, I think I may have gotten it to close. Other than that, I’m pleased with the results. I’m getting better as I go but still seldom find time to work on my winnie, maybe I’ll schedule a vacation somewhere and pack the model up and go!
-

USF Essex by mtbediz - FINISHED - 1:50
scrubbyj427 replied to mtbediz's topic in - Build logs for subjects built 1801 - 1850
Beautiful model! Excellent work! -
Wow! Amazing work Chuck! Brilliant design work! JJ
- 1,784 replies
-
- winchelsea
- Syren Ship Model Company
-
(and 1 more)
Tagged with:
-
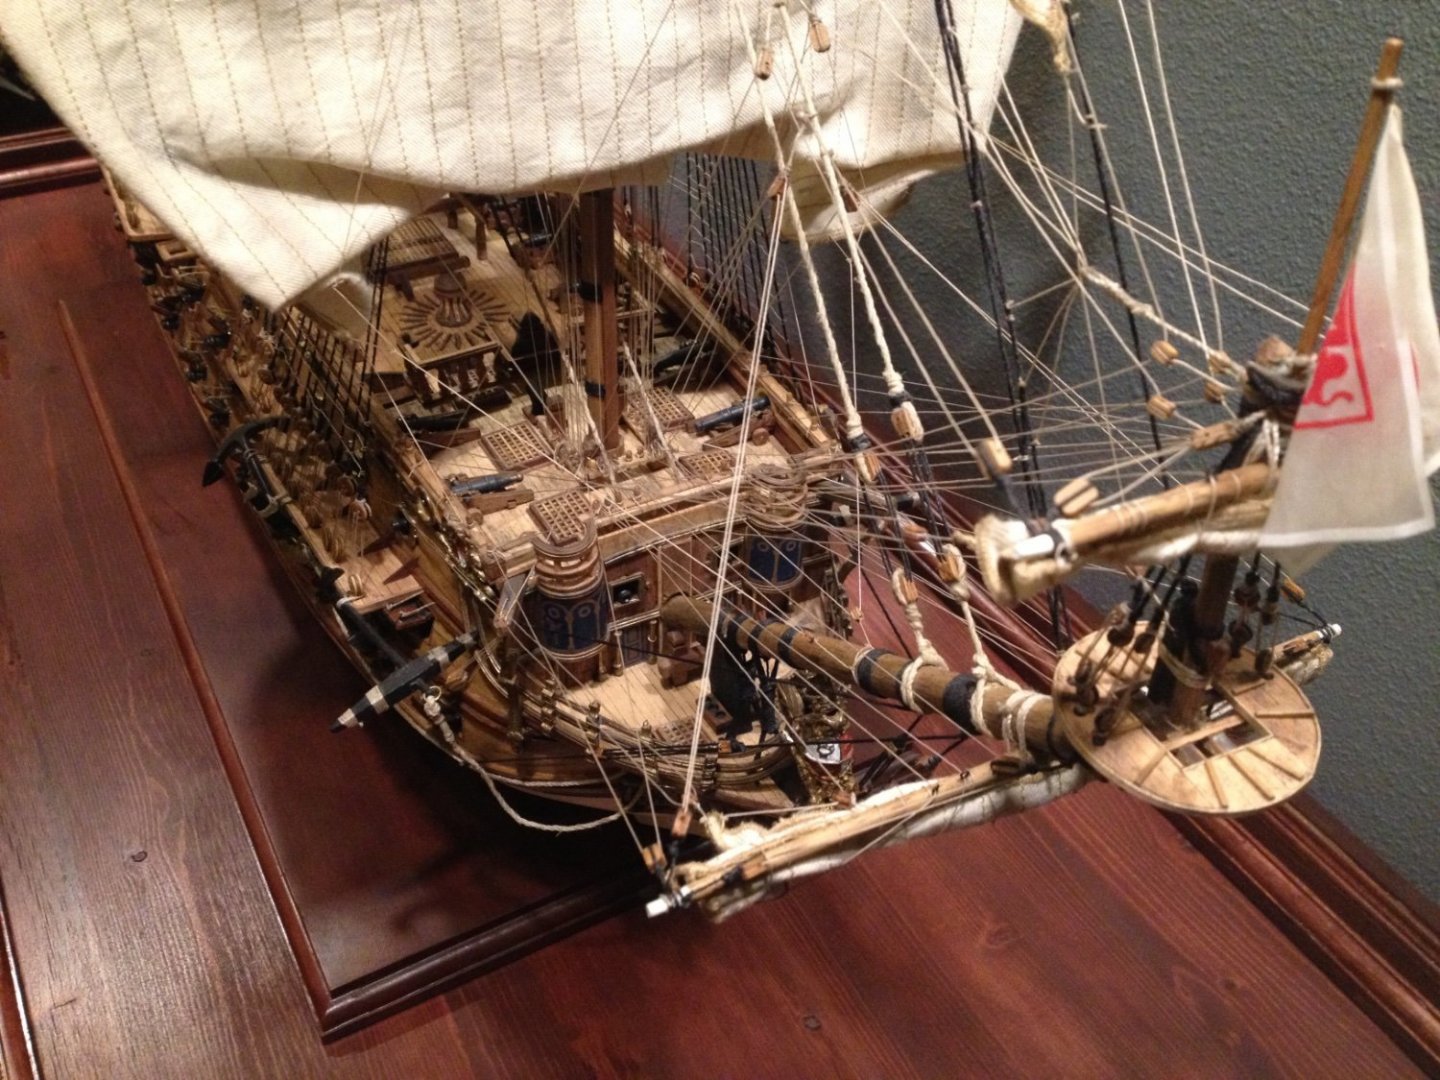
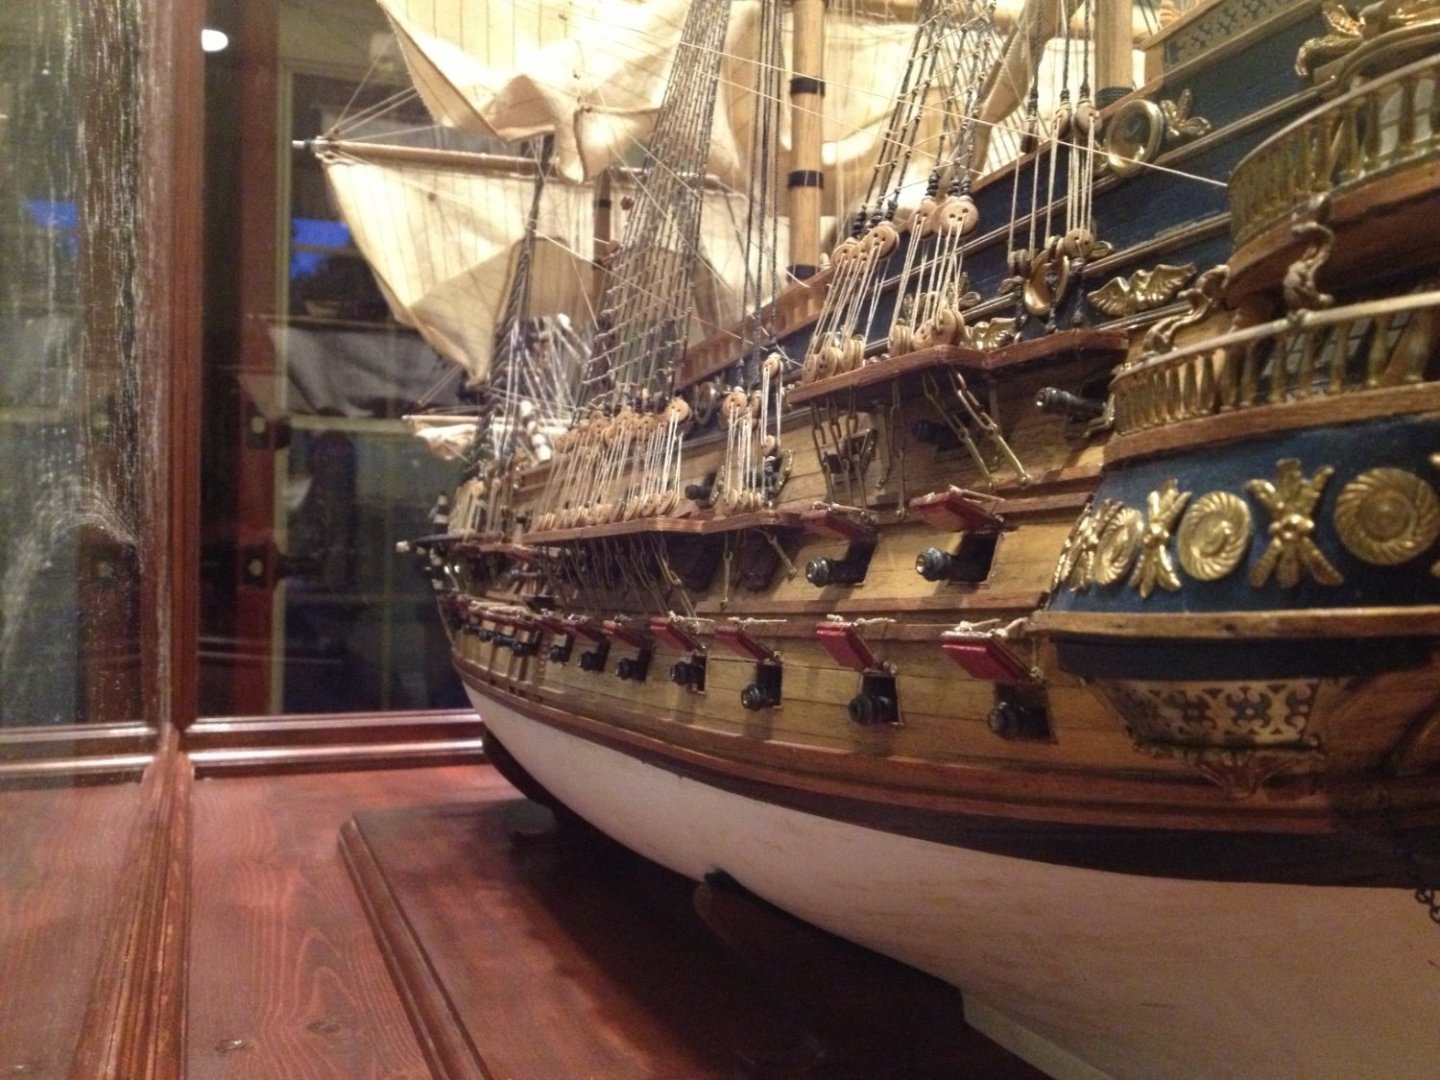
I put them on my San Felipe about 15 years ago, I thought they looked good at the time and I tried to stain them and whatnot, but in hindsight I wish I didn’t put them on. They are very out of scale and heavy. I still enjoy looking at the model though. If I were to add sails again I’d definitely take Allan’s advice and go another route. JJ
-
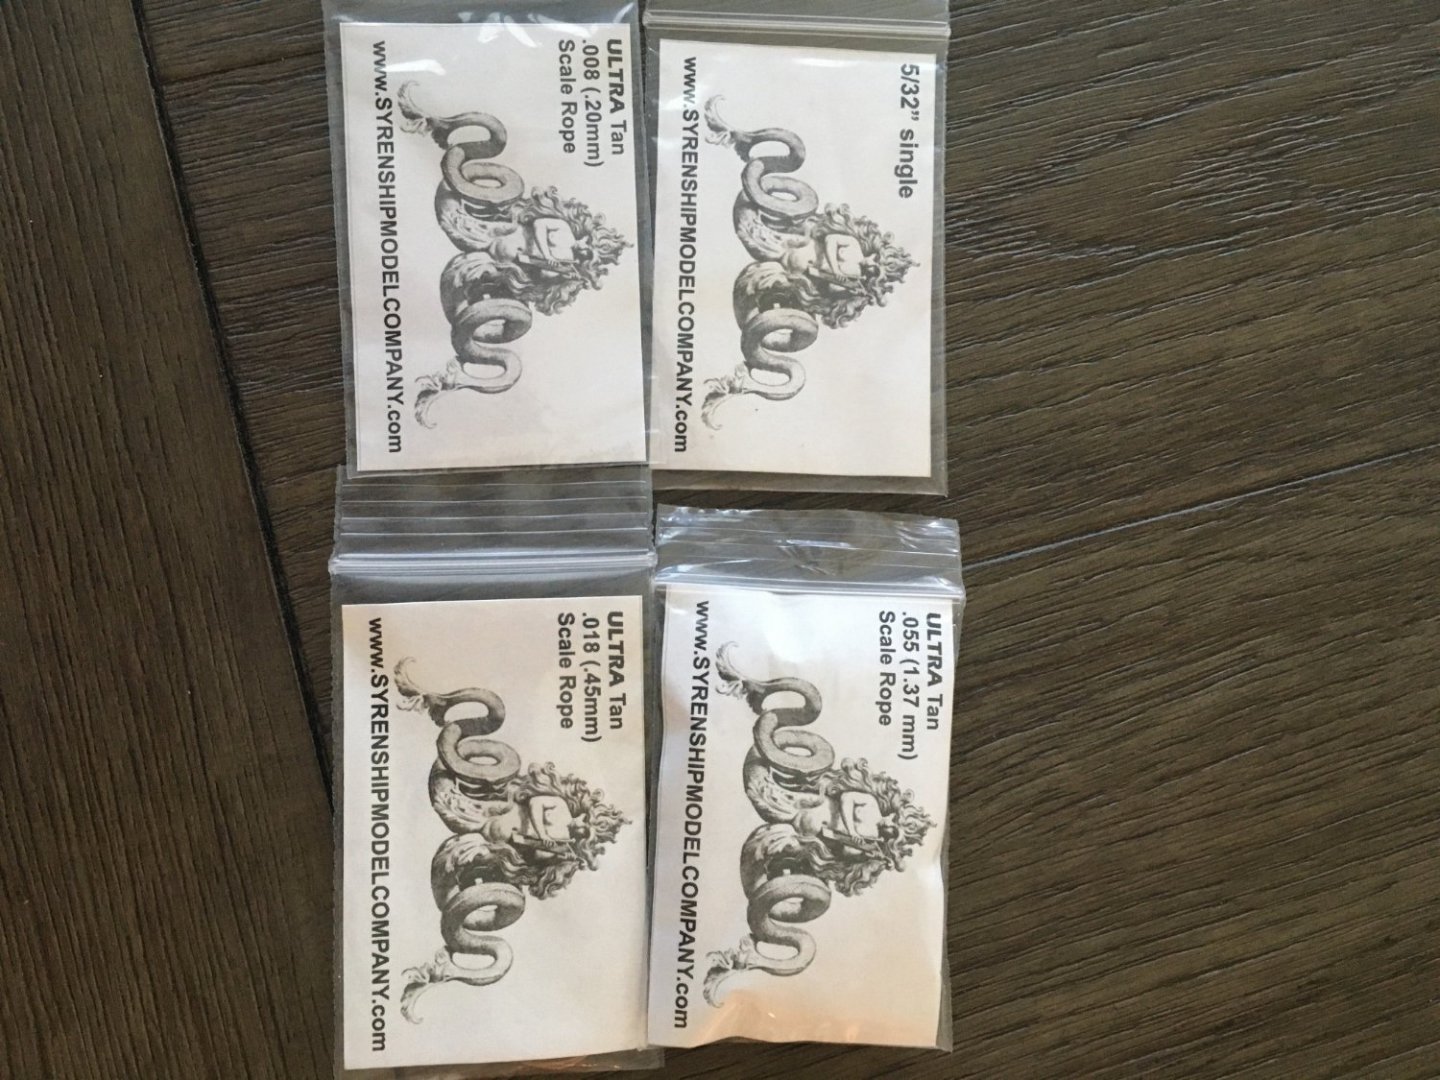
Guillermo @Guillermo Eduardo Madico Per Chucks recommendations, this should get you everything you need to rig your guns. i also just ordered a range of photo etched hooks from crafty sailor (3,3.5 and 4mm), I will use whatever fits the best. https://craftysailor.com/collections/fittings/products/hooks?variant=32532830486616 JJ
-
I’m fairly certain that model shipways uses the 3m copper tape as well... or some version of it. I’m 100% sold on the tape now after seeing your results with Bellona and having used the pre made tiles in the past. Fantastic work!
-
Thank you Glenn. That was my first go around at Chucks method of planking and dare I say it, but I’m excited to try it again soon. The results are well worth it. Your planking work is very methodical and well planned, it’s setting the bar high.
- 840 replies
-
- winchelsea
- Syren Ship Model Company
-
(and 1 more)
Tagged with:
-
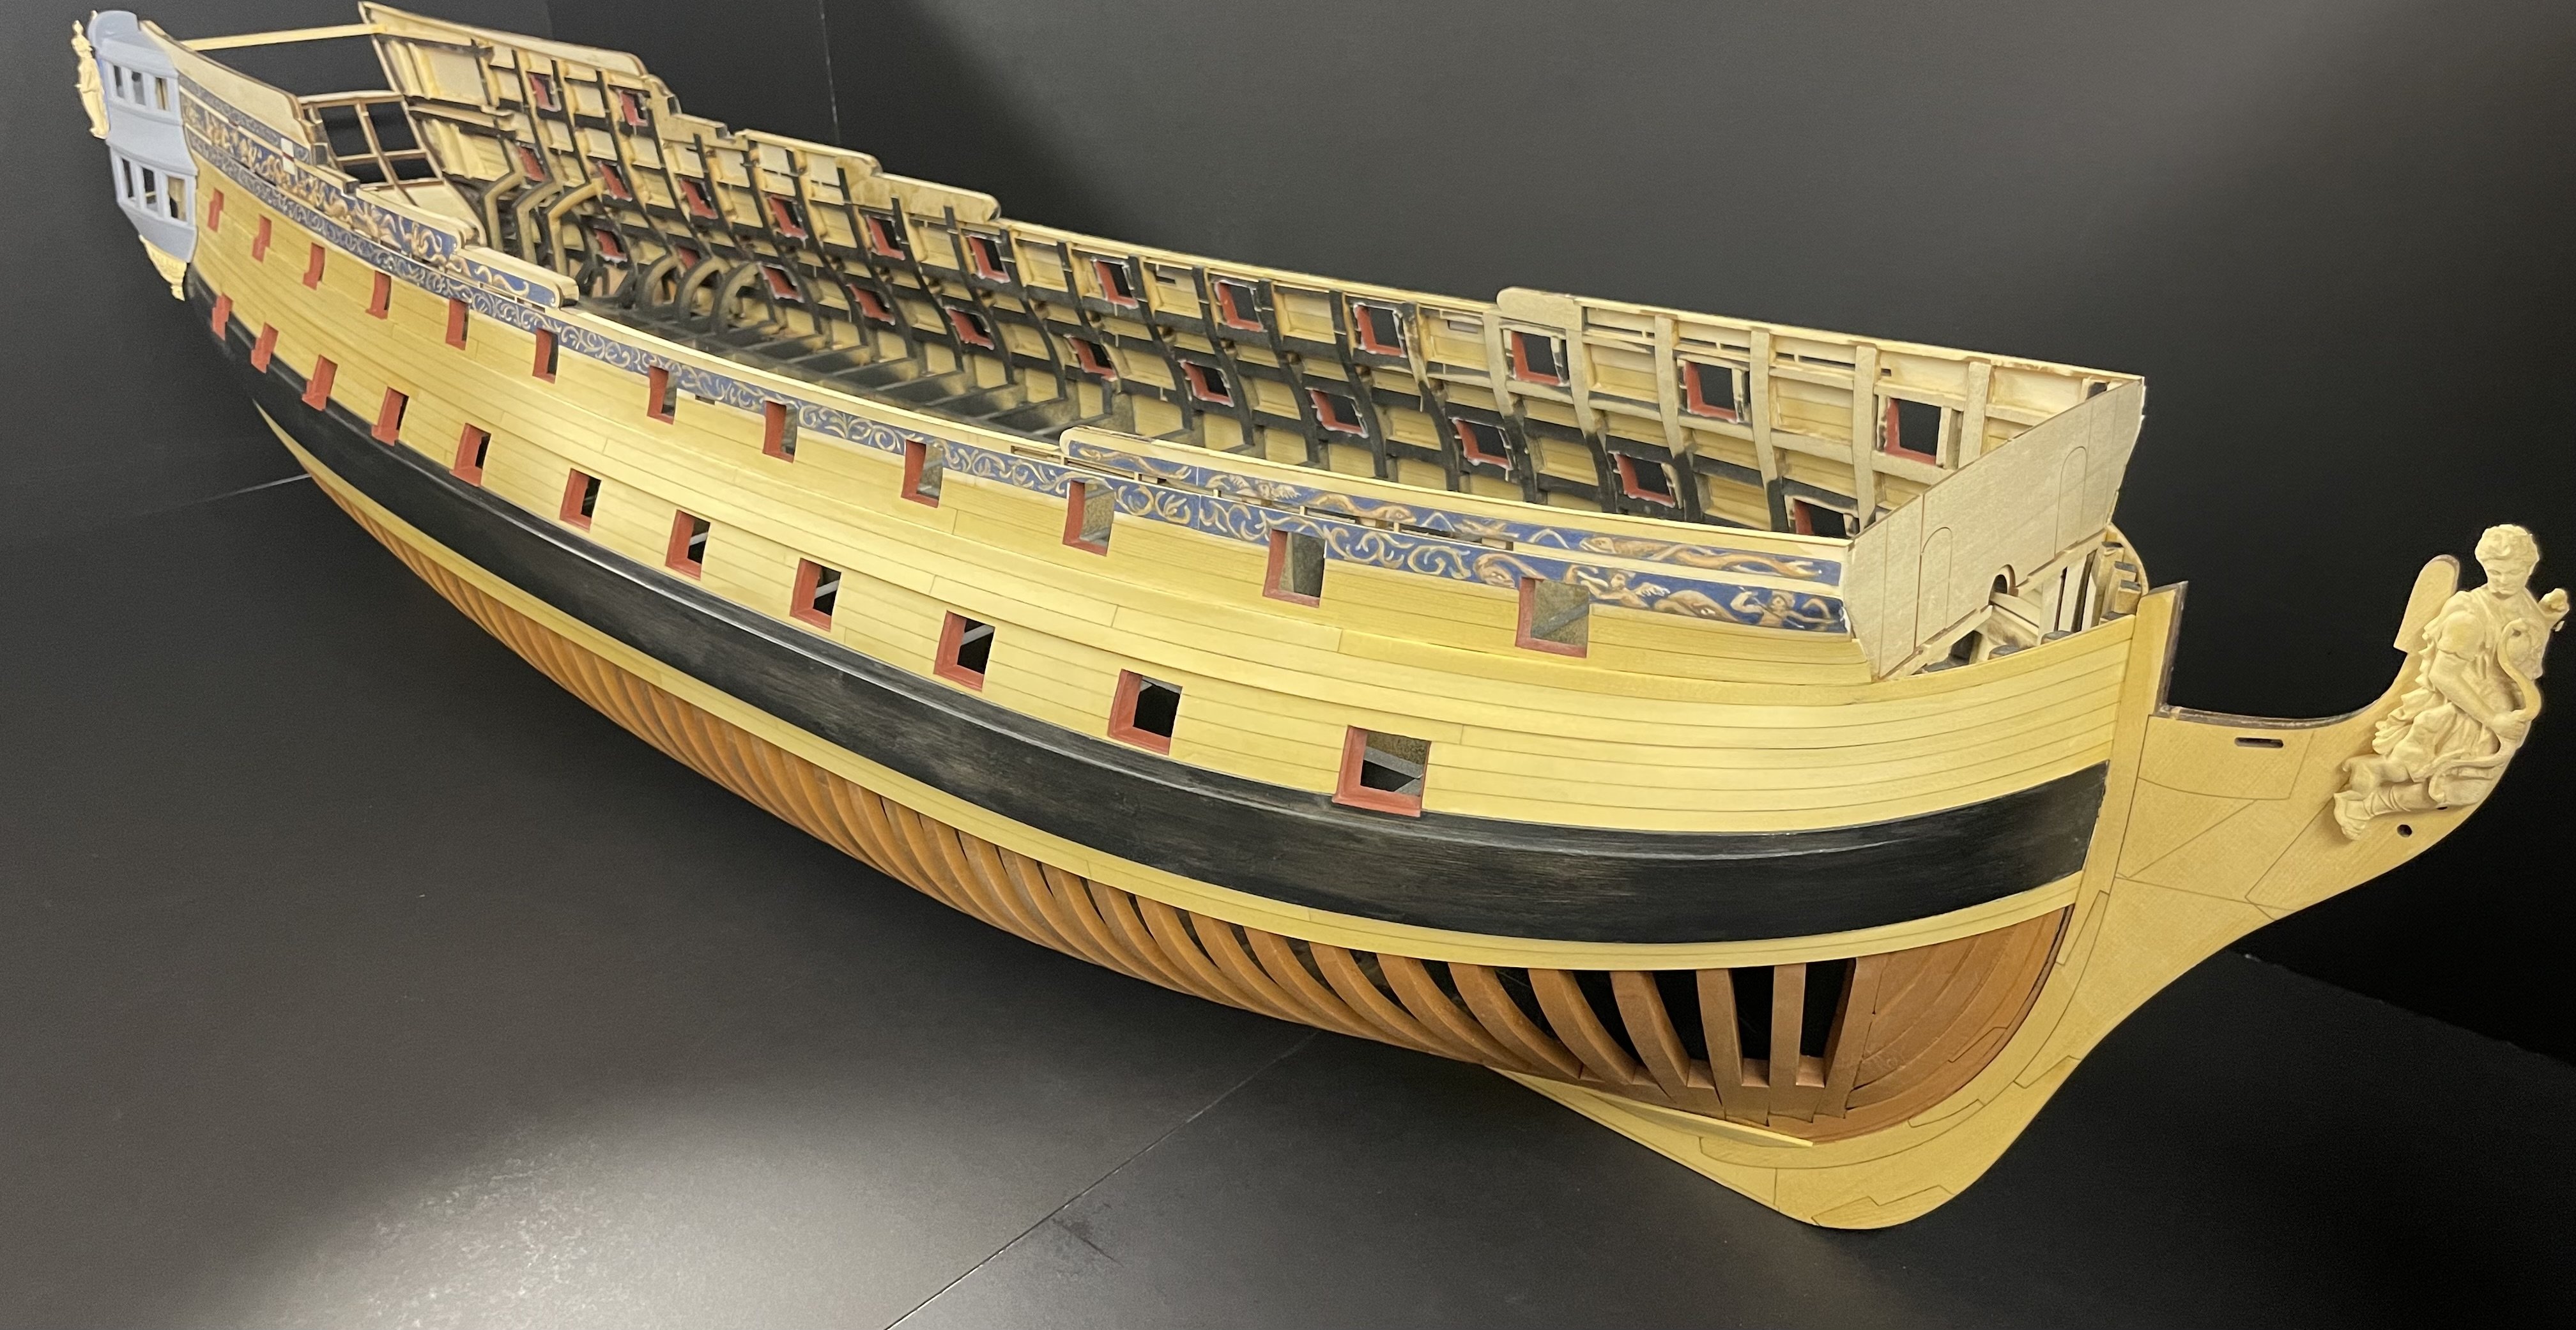
That looks awesome Glenn! For a second, after looking at your stellar planking job, I briefly thought about replanking my Winnie. She’s looking really nice, looking forward to seeing more. JJ
- 840 replies
-
- winchelsea
- Syren Ship Model Company
-
(and 1 more)
Tagged with:
-
That looks very nice. I couldn’t notice any error (if you can call it an error) and neither will anyone else. That decking looks great! Well done.
- 475 replies
-
I think Chuck described frapping in an earlier post as a method of securing the lines on museum ships so folks don’t trip over the lines while walking the gun decks. as far as the breech lines being cross looped or seized as I have shown, I’m still unsure, which is fine as I have to wait for a bunch of hooks to show up before I continue with hun work. Fred...where did you come up with your breech configuration? Glenn, you’ll be there before you know it, you’ll succumb to the desire to rig them. Lol!
-
Thanks for the comments and likes guys, I was about to abandon the whole gun rigging process but finally getting one finished the way I wanted it, inspired to me keep going...at the expense of setting back chapter 7 for a very long time. Lol. I’m going to get started on another one soon, hopefully it will get easier. Glenn, I think I understand what you are saying, I’ve seen both examples online. I’ll post a photo of my next one when I start. Would it just be crossed and that’s it? No seizing or smaller line to at all to keep the loop crossed? Would that be standard on a 12pdr? JJ
-
Looks great Ben! Looking forward to seeing your decks complete. JJ
- 399 replies
-
- winchelsea
- Syren Ship Model Company
-
(and 1 more)
Tagged with:
-
Looks great Rusty! What a great shop.. one can only dream.
- 642 replies
-
- winchelsea
- Syren Ship Model Company
-
(and 1 more)
Tagged with:
-
I really like the balsa idea, I’m going to borrow that from you on my next project. Getting those frames sanded evenly from that angle was a pain!
- 840 replies
-
- winchelsea
- Syren Ship Model Company
-
(and 1 more)
Tagged with:
-
That looks awesome! Amazing work, Chuck!
- 1,784 replies
-
- winchelsea
- Syren Ship Model Company
-
(and 1 more)
Tagged with:
About us
Modelshipworld - Advancing Ship Modeling through Research
SSL Secured
Your security is important for us so this Website is SSL-Secured
NRG Mailing Address
Nautical Research Guild
237 South Lincoln Street
Westmont IL, 60559-1917
Model Ship World ® and the MSW logo are Registered Trademarks, and belong to the Nautical Research Guild (United States Patent and Trademark Office: No. 6,929,264 & No. 6,929,274, registered Dec. 20, 2022)
Helpful Links
About the NRG
If you enjoy building ship models that are historically accurate as well as beautiful, then The Nautical Research Guild (NRG) is just right for you.
The Guild is a non-profit educational organization whose mission is to “Advance Ship Modeling Through Research”. We provide support to our members in their efforts to raise the quality of their model ships.
The Nautical Research Guild has published our world-renowned quarterly magazine, The Nautical Research Journal, since 1955. The pages of the Journal are full of articles by accomplished ship modelers who show you how they create those exquisite details on their models, and by maritime historians who show you the correct details to build. The Journal is available in both print and digital editions. Go to the NRG web site (www.thenrg.org) to download a complimentary digital copy of the Journal. The NRG also publishes plan sets, books and compilations of back issues of the Journal and the former Ships in Scale and Model Ship Builder magazines.

