harvey1847
-
Posts
528 -
Joined
-
Last visited
Content Type
Profiles
Forums
Gallery
Events
Everything posted by harvey1847
-
Amazing Sven! Just coming from looking on 1:24 scale logs and I´ve found your log working to 1:600!! Wordless... Incroyable!! Incrible! Daniel.
-
The timber looks pretty good to me! You´re going to need lots of wood working to 1:24 ... Have you seen the recon54´s log about Le Fleuron? He is working to 1:24 too. With the photos I was meaning to see the process of cutting much more than the timber. Best wishes! Daniel.
-
Some photos rocker? Daniel.
-
Allways enjoing to see your updates! We´ll have to wait till wednesday then. Best whishes. Daniel.
-
It´s Amazing that in one or two months ago from the "crash" we´re all remaking our logs!! Yours has help me a lot. Thanks for posting again!!! Regards. Daniel.
-
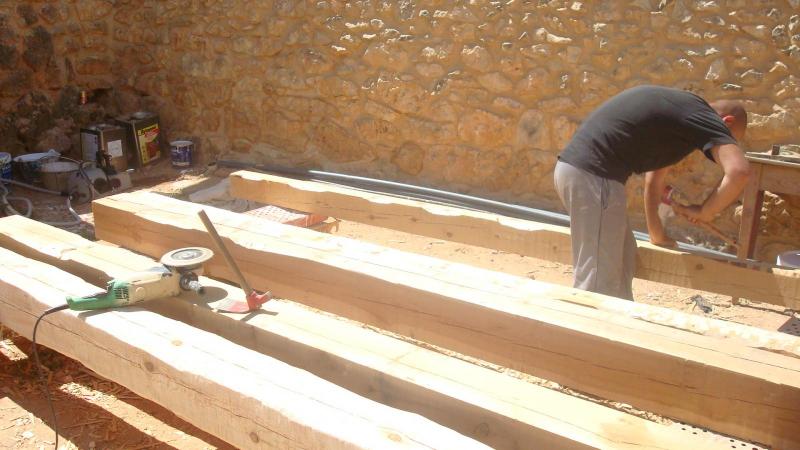
Hello all! Here´s where I am on right now. In order to lay all the frames I have so far, I need to do the keel. Here are the pieces marked with pencil. It has reminded me someway the work I did back in 2011 with the pillars and the joist in my house. It´s amazing how things changed working from 1:1 to 1:48. Good Weekend! Daniel.
-
we want saw dust! we want saw dust! we want saw dust! we want saw dust! we want saw dust! we want saw dust! Is an old sold song that I repeat myself when cutting the frames. Hope will help you. The lyric is quite easy... Happy journey and happy weekend in advance! Daniel.
-
Hello Ron! I use small chips of the same wood to fill the gaps. I glue them with white glue and them cut them with a chisel or a shrarp file. Then I sand the joint. If the gap is tiny the sawdust will do the job. Good luck with this. Daniel.
-
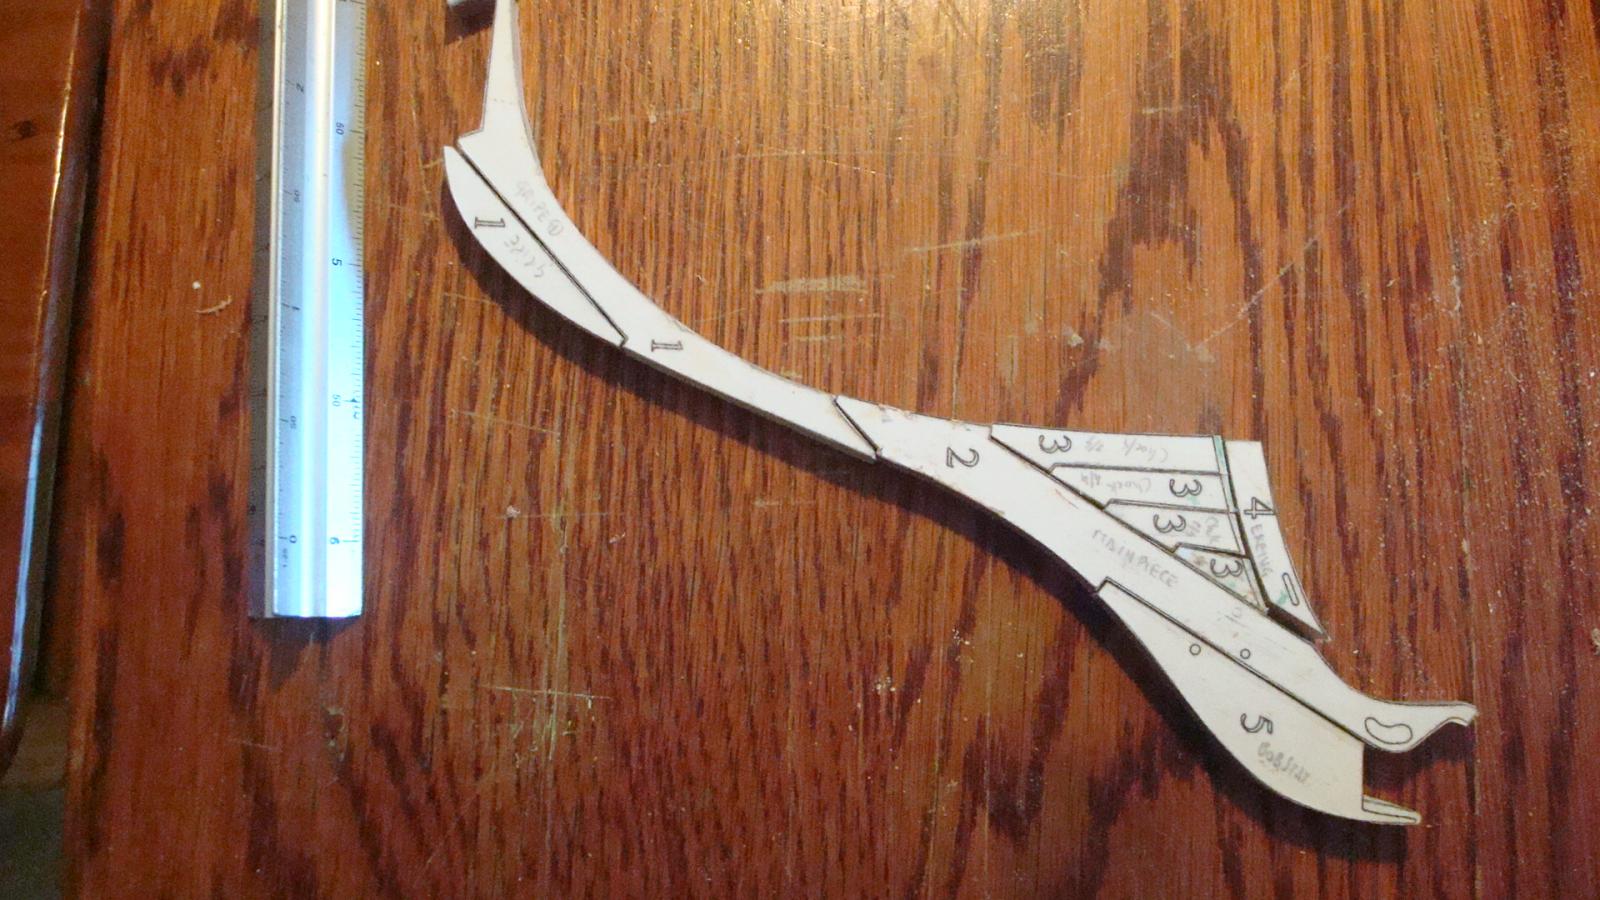
And the thing is completed!! HU HA! (Chimo Bayo) Using a piece of glass has been very useful to ensure the whole piece is flat. I took it from a trash bin on the street. It´s amazing what we trash. I guess is this market economy we all live in. I did my way. (Frank Sinatra) I have glued first all the #3 chocks, then I glued the #2 mainpiece to the #5 bobstay, then #1 + #1 gripes and then the whole thing. I have to repeat the #4 piece. Do not Know why but it does not fit. More scrap pieces!! Good Night! Daniel.

-
Amazing... What a hands god gave to you!! Daniel.
-
Thank you all for answering! Three replies in day is World record in my log... Thanks rocker for the advice. I did just to try and it will not happen again. I hold the piece using my finger nails, actually I look like a guitar player. They are quite helpful. Pete I am not going to simulate the caulking. I´ll do it with the deck planking only. I don´t like the caulking stuff. I hope that with the finish with wax or tung oil (not decide yet) all the lines will come out. The joints are there! Grant, The stern jig was a copy of the John´s and Bublehead logs from MSW 1.0. I separated the top of the upper jig 17.9cm. Jonh separated 16.5cm. If I have had to do it again I would use the three of them not just the upper one. Back to the workshop! (my living room) Thanks! Daniel. info about treenailing (copied from the Matrim´s notes) 1/48 scale Frames, no 61 bit (.039", 1mm), hull planking, no 76 bit (.020" .5mm), deck beams, knees, bitts, etc, no 68 bit (.031" .8mm), and for securing the frames and the keelson, a no 52 bit (.0625" 1.5mm) will do fine.
-
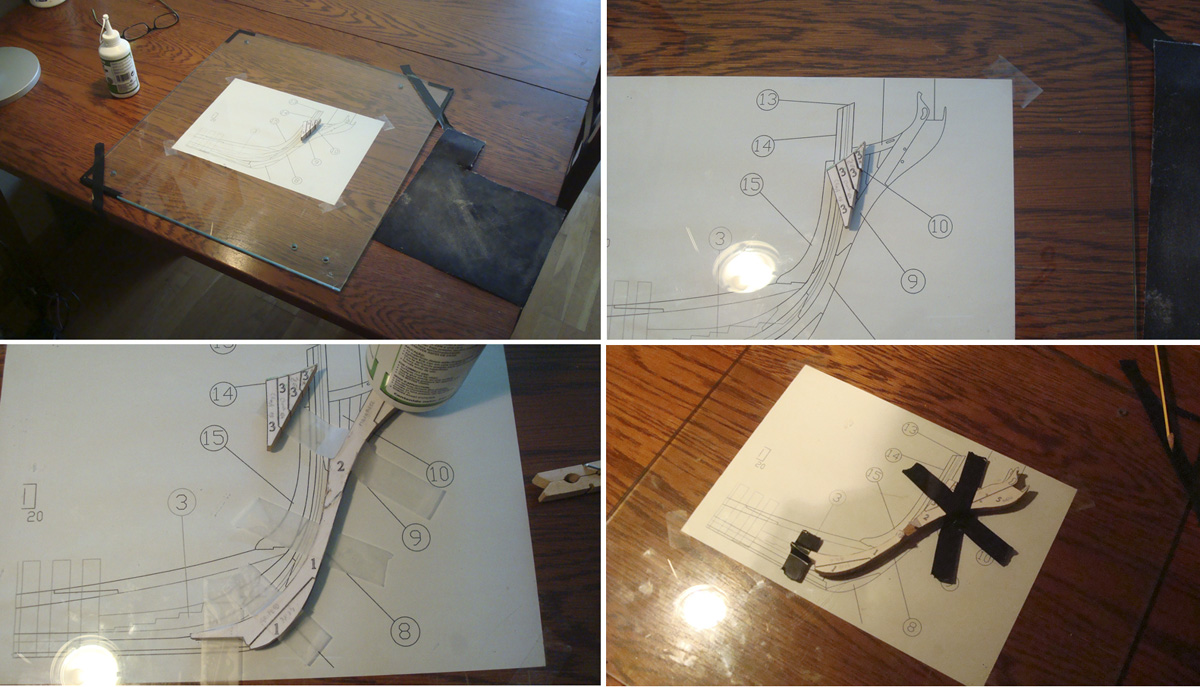
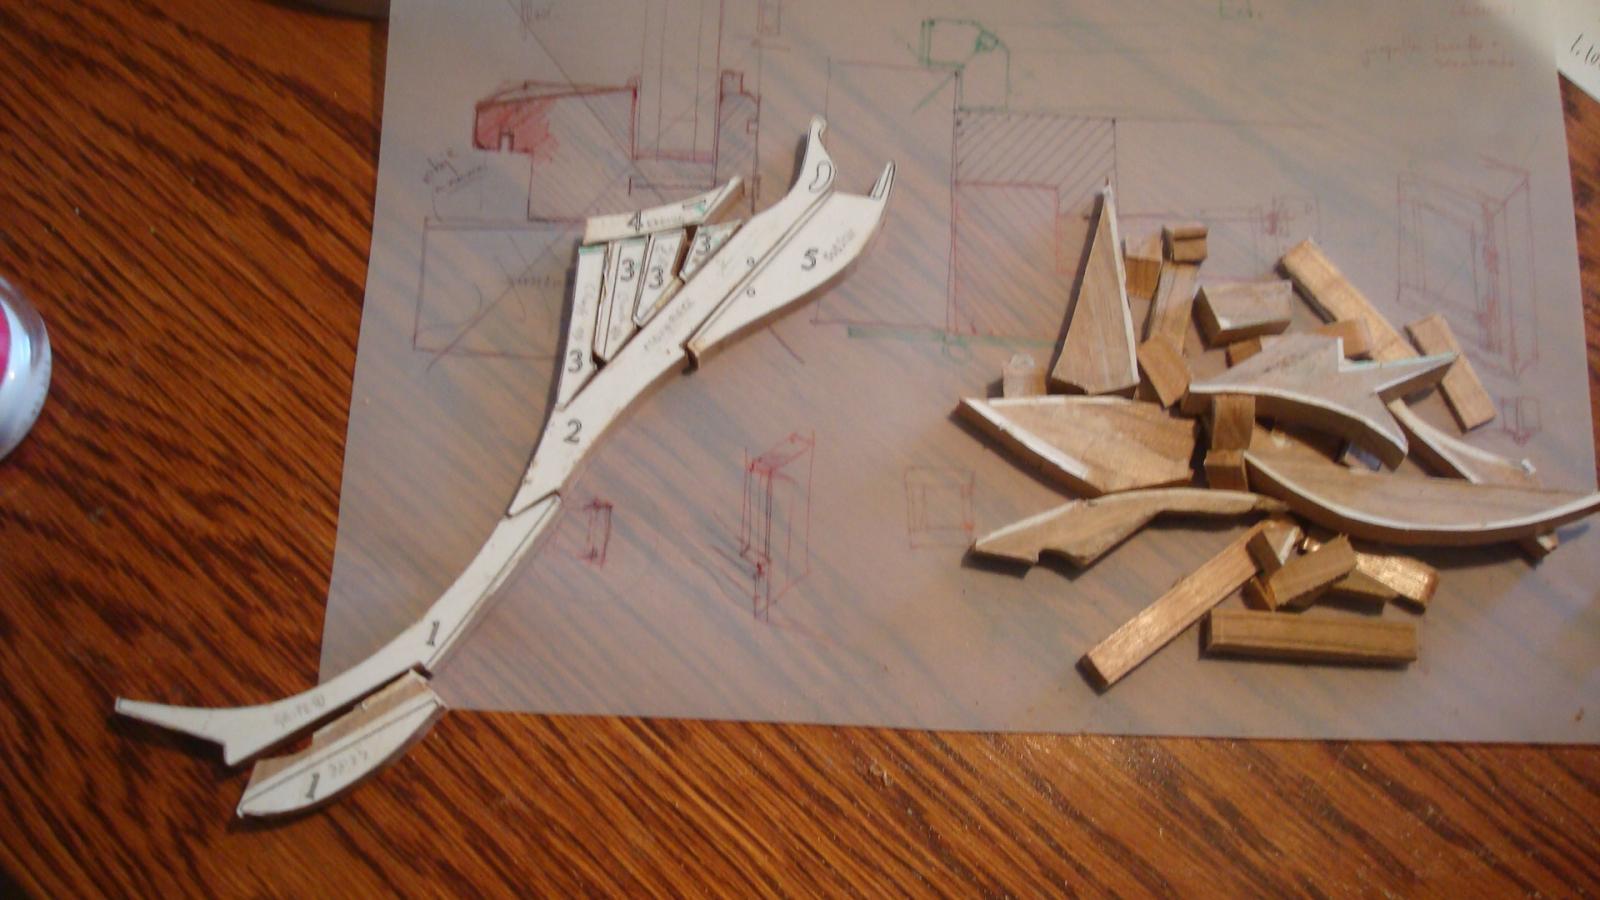
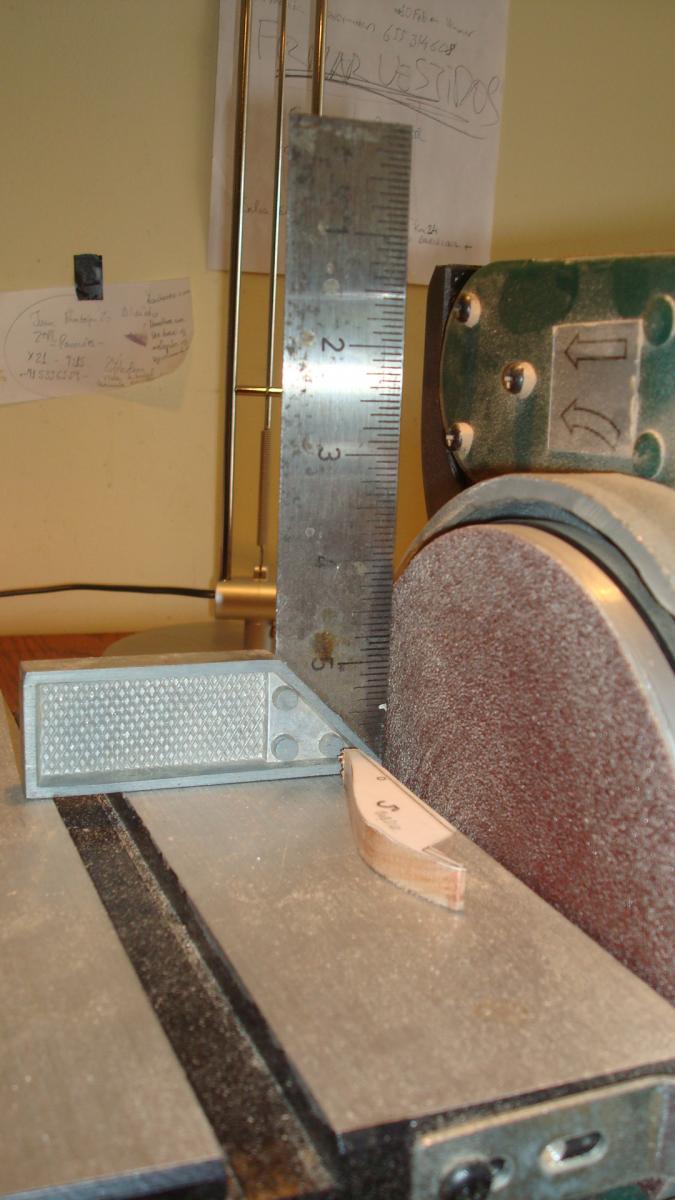
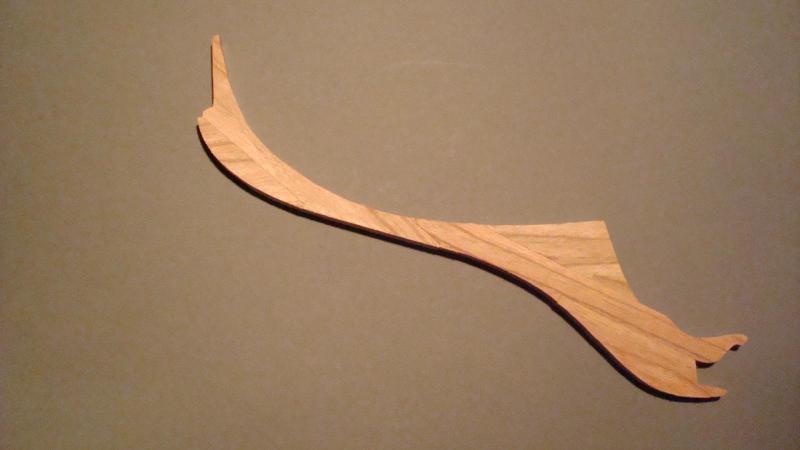
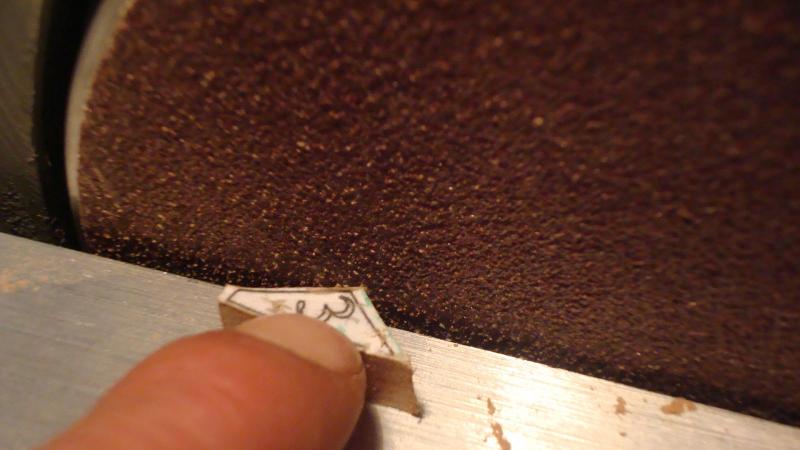
Hello all and thanks ! (We are just four or five... ) I have stolen a little time just to cut the parts of the stem. My intention is to glue all the four pieces #3 together and then sand and fair them. That´s why I´ve left some extrawood above where they joint with piece #4. Here are the rough cut pieces and the lefties. Then in order to sand them I always ensure the perpendicular of the table sand machine. Here is the tyniest piece I´ve ever sand with the disc sand. And here is the result of sanding. I have to fair them much more. I hope to have some time tomorow and glue the whole thing together. We´ll see. Best wishes! Daniel.


-
HMS Euryalus by egen -
harvey1847 replied to egen's topic in - Build logs for subjects built 1801 - 1850
Really nice work Egen! Good pics and very good explanation about them. I will folow you for sure! Regards. Daniel. -
Excellent Paul! Are you going to photoetched some parts of the ship? You´re going to go the smallest details if doing so. Best wishes. Daniel.
-
What´s happening with that planking Sinan!!?? As Mark said to me once "sometimes the best It is just to start and go for it" or something like that. You can correct me Mark on this one. GOOD luck! Daniel.
-
At last a Spanish ship! Here I am being from Madrid close to the MNM and I am building one from Her Majesty Service ship... Shame on me! Here´s a link with some photos of the San Felipe completed http://www.modelismonaval.com/galeria/category/75-san-felipe-de-san-martin and here is the homepage of the museum. You can sail on it in english and you can ask for plans. Send me a PM if you´re interested on and I´ll explain you how to get them. Link to the museum: http://www.armada.mde.es/ArmadaPortal/page/Portal/ArmadaEspannola/ciencia_museo/prefLang_en/ And here´s a link with a video (youtube) with a very good music from Master & Comander: Good Good Luck with this endevour! Daniel.
-
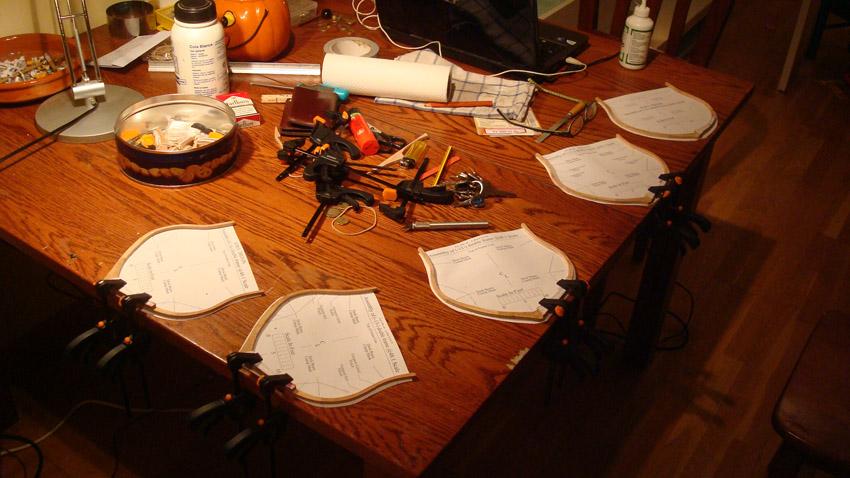
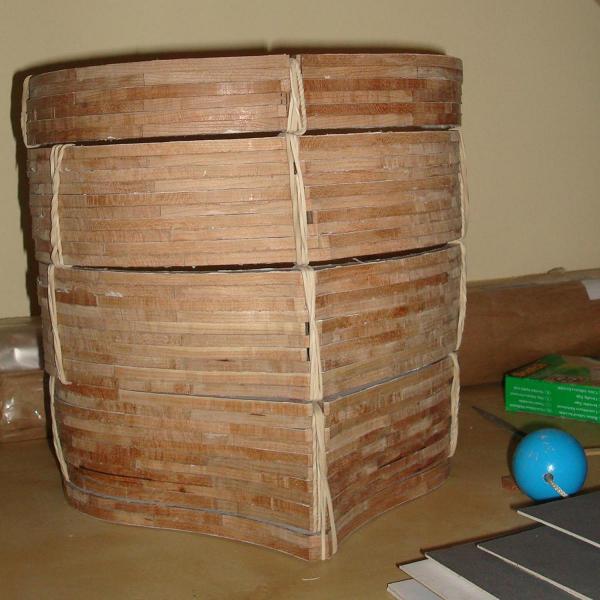
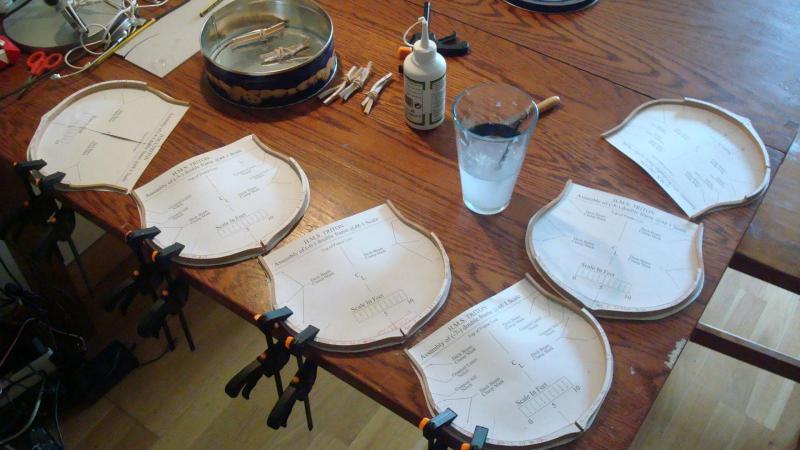
Good morning people! I have completed all the aft frames from #19 till #0 The dead flat one. Number 3 is not in the picture. I´ve allready printed out the copies for the fore frames so the next days I will be busy again writing and cutting more patterns. Back to the post #4!! Enjoy your day. Daniel.
-
Good morning Grant and all! Superb work with the cannons! Where you get them? Did you use a lathe to make them? Bought them? Where? Daniel.
-
At last a modeller who explains the way to make treenails!!!!! You could make a practicum just with these photos. THANK YOU VERY MUCH. Daniel.
-
Wellcome to the forum! Good luck. Daniel.
-
AH HA!! At last the radar stations!! Congrats! Daniel.
-
I´ll keep your practicum about DY rings and how to blackened the copper... Thanks very much! Daniel.
-
Set, ready and Go!! Here´s a ruler at 1:24, hope it will help you...When print the ruler in the scale box just put NONE. 2 feet at 1:24 = 1 inch 4 feet at 1:48 = 1 inch. the plan at 1:48 fill completed an A4 (297x210mm) (I do not Know the ANSI size you have there in USA) and at 1:24 which is exactlly the double will fill an A2 (594x420mm) and an A2 is FOUR A4´s... We´re all waiting you to make some dust so we can start to blame you!! Best wishes! Daniel. 24 to 1 ruler A4.pdf
-
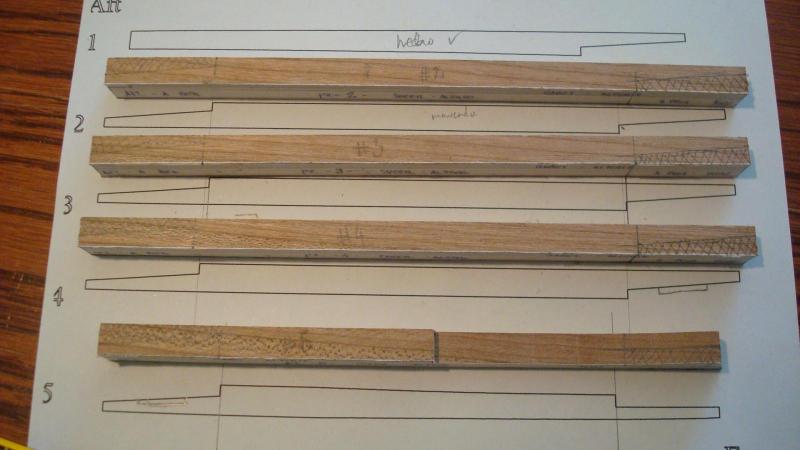
still alive! same method, there´s only 23 more frames to do, from A till W! Good luck to all. Daniel.
-
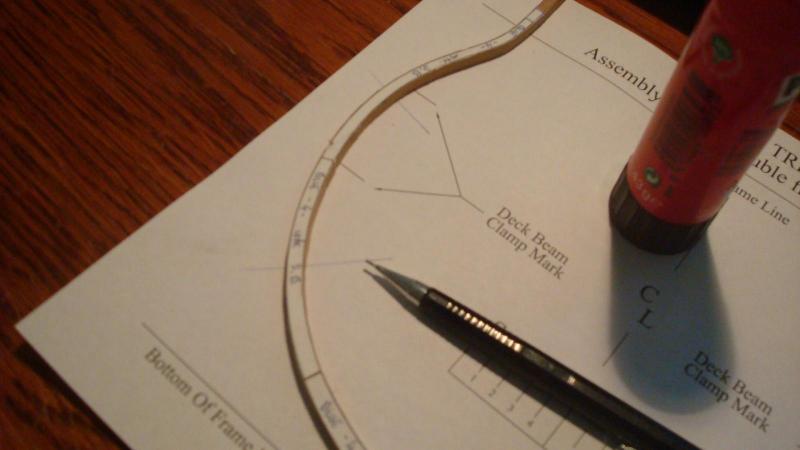
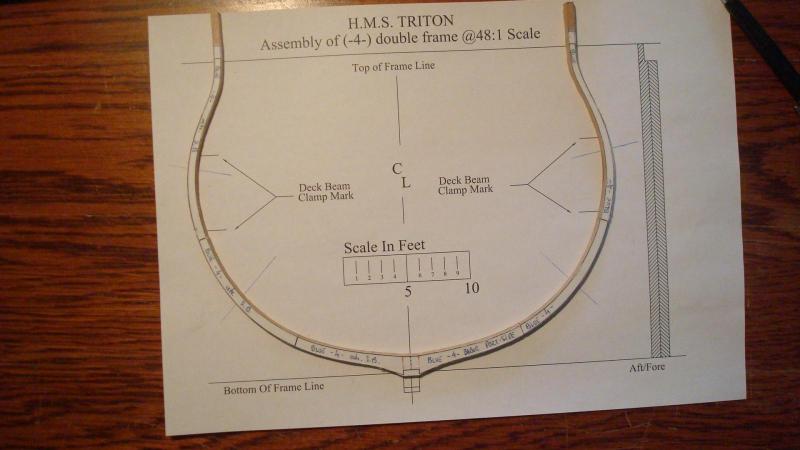
Hello Olphart! I like this jig better than the other one. I have never use a jig to assemble the frames. I glue the "blue pieces" to the assembly patern with "Pritt" or similar. What I do and I have found it very important is to extend the line where the futtoks of the red ones come together (you can see a pencil pointing the intersection line) Then with a brush and water I remove the paper and glue the "red pieces" with white glue using clamps. As you can see I leave some extrawood at the end of the frames. There will be time enough to cut it later when all the frames were in place. Good work so far and excellent workshop you´ve got there. Good luck! Daniel.