Nirvana
-
Posts
5,458 -
Joined
-
Last visited
Content Type
Profiles
Forums
Gallery
Events
Everything posted by Nirvana
-

Buying an Expensive Kit and throwing most of it away
Nirvana replied to pirozzi's topic in Wood ship model kits
Just another 2 cents, I don't feel there is anything wrong of replacing material in a kit. All wood has different charactarisctics, have they behave when bending and taking paint and stain/varnish. And yes, if anyone of us like show the ship in her skin (no paint on the hull and/or deck), a different wood can certainly enhance the final product. -
Buying an Expensive Kit and throwing most of it away
Nirvana replied to pirozzi's topic in Wood ship model kits
Chuck, you are so right about golf even though I don't play I understand it is very costly. Okay, with golfing you will spend time out in the fresh air, in comparison to our workshops. -
Randy, If you have a Dremel with a chuck, you can make your own belaying pins. I tried it and it's not that hard. Otherwise I would recommend the Bluejackets.
-
Tom, all boats/ship (or I would say most) has a slight curved deck this to let water not puddling up. That would be bad for the crew running around. As for the kit of Connie I have no idea. Now it's time for someone else to help out. I bowe my head for the amazing job of the orphanage. Just wondering were you will find time for "this new hobby of your" I know how hard it is for me without the "life"job you have. Cudos to you!
-
3rd, this will be fascinating to watch.
-
Mobbsie, A warm thank you for that recipe..... it sure will get useful for up-coming builds. That is sure a very nice ebonizing, that with softer and more workable wood but the finish of the extreme hardwood.
- 129 replies
-
- 5
-

-
- armed launch
- panart
- (and 1 more)
-
Pat, I have read about the Red Gum but have no experience with the material itself. Thought Red Gum was some exclusive material for the southern hemisphere. But it sure looks good.
- 517 replies
-
- 4
-
-
- Endeavour
- Artesania Latina
- (and 1 more)
-
Lettering
Nirvana replied to chborgm's topic in Painting, finishing and weathering products and techniques
Okay, I understand the whole concept of lettering but when I like to do a name and port below ( all centered) and there are curves in several ways, then what to do? The yacht America 1851 and stern display has many various angles..... Like the know the trick.... -
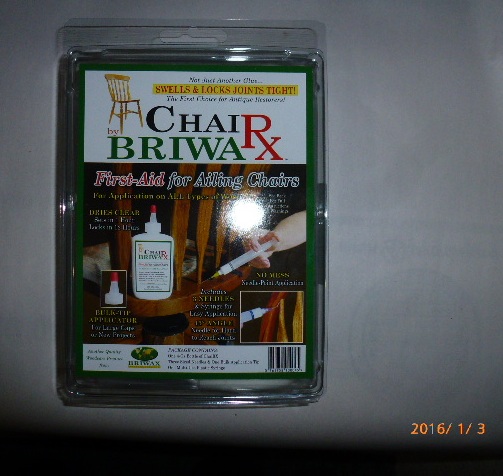
The other day during last week, I made a visit to my local WoodCraft, to get some glue of various kind. A week prior to my visit I had recieved a news letter with savings, ..... put it this way, I paid 76 dollars for huge drill bit set along with five different type of glues, and saved almost 40 dollars. This is one of them, which I am very curious about. The Chair Briwax is to be used as a First-Aid for Ailing Chairs............. but then my mind started... Becuse this glues works as a filler as well. On the other hand it is not sandable according to what I have read. This is what the back of reads: ChaiRX Joint First Aid Glue by BRIWAX International works by penetrating the wood cells, swelling the joints and locking the glue in the fiber of the wood. The unique formula permanently swells the joints and bonds them together. I could see this glue to be useful when it comes to framing of all the ships of ours. I have to try the product and test will be attached later.....

-
From me, I would say...... to both of you. And the secret is, use a small plastic cup of some kind to transfer the glue.
-
LivingStoneMan, I just found your build log, and all I can say HOLY Boxwood...... Secondly I would give you a Warm Wow, are you living close to the border of Congo? And What are you doing there, besides being the reincarnation of Dr.Livingstone? I think many of us are wondering...... Thirdly, That build is coming along extremely nice, and as David B. said "it is not a race" unless you are racing against yourself..
-
Ronald, sometimes ME are short of material to complete a kit. It's not unussual. And I think the Constitution is manufactured to order.
-
Those are great crates as for cargo. Why not wrap them with a thin wool HD ( high dense) material...... oh, yes that's the way I would go....
-
GentleGiant, Look at the parts list and explain the material to us, but to me it looks like a drum piece made out of brass. This will help us unless someone else has the list and will be able to give a direct explanation. Good luck
-
GentleGiant, Use medium CA (15-25 sec.) to glue the cleats to wood. This will give you the best result, when it comes to CA glue "Less is More", an activator helps to strengthen and shorten the time. In general you when gluing metal to metal/wood/plastic or in any combination, CA is the best applicator. Good luck
-
We should be very fortunate of having Jasons and Chucks companies around. Saves a lot of extra time instead making your own blocks and lines.
-
Tim, I have no doubt that Jason work is top notch, I am to order from him when it comes to my Syren, if not before.....
-
Oh oh, another sale from Jeff. Better be ready with the wallet, was lucky last time.
-
The symbol Ø represent the drill bit diameter for making the hole. If part 46 and 47 are to installed then yes, those should be installed, use part 47 to line up the holes. Guessing part 46 is the rudder stock. Drill that hole in sequences starting with smaller drills going up to 6mm. Your Bounty is coming along nicely.
-
Pat, The Endeavour is beautiful...... and then the rigging is another chapter itself! I just realized I am missing a book in my library, a book shown in the second to last picture for the moment. Anatomy of the Ship - Endeavour Btw, how's the summer?
- 517 replies
-
- 2
-
-
- Endeavour
- Artesania Latina
- (and 1 more)
-
Erik, Nice finish! Having Chuck around is an amazing help! What is now waiting to be touched and built by your hands and fingers? Happy Ending of this year!
- 222 replies
-
- 3
-
-
- 18th century longboat
- model shipways
- (and 2 more)
-
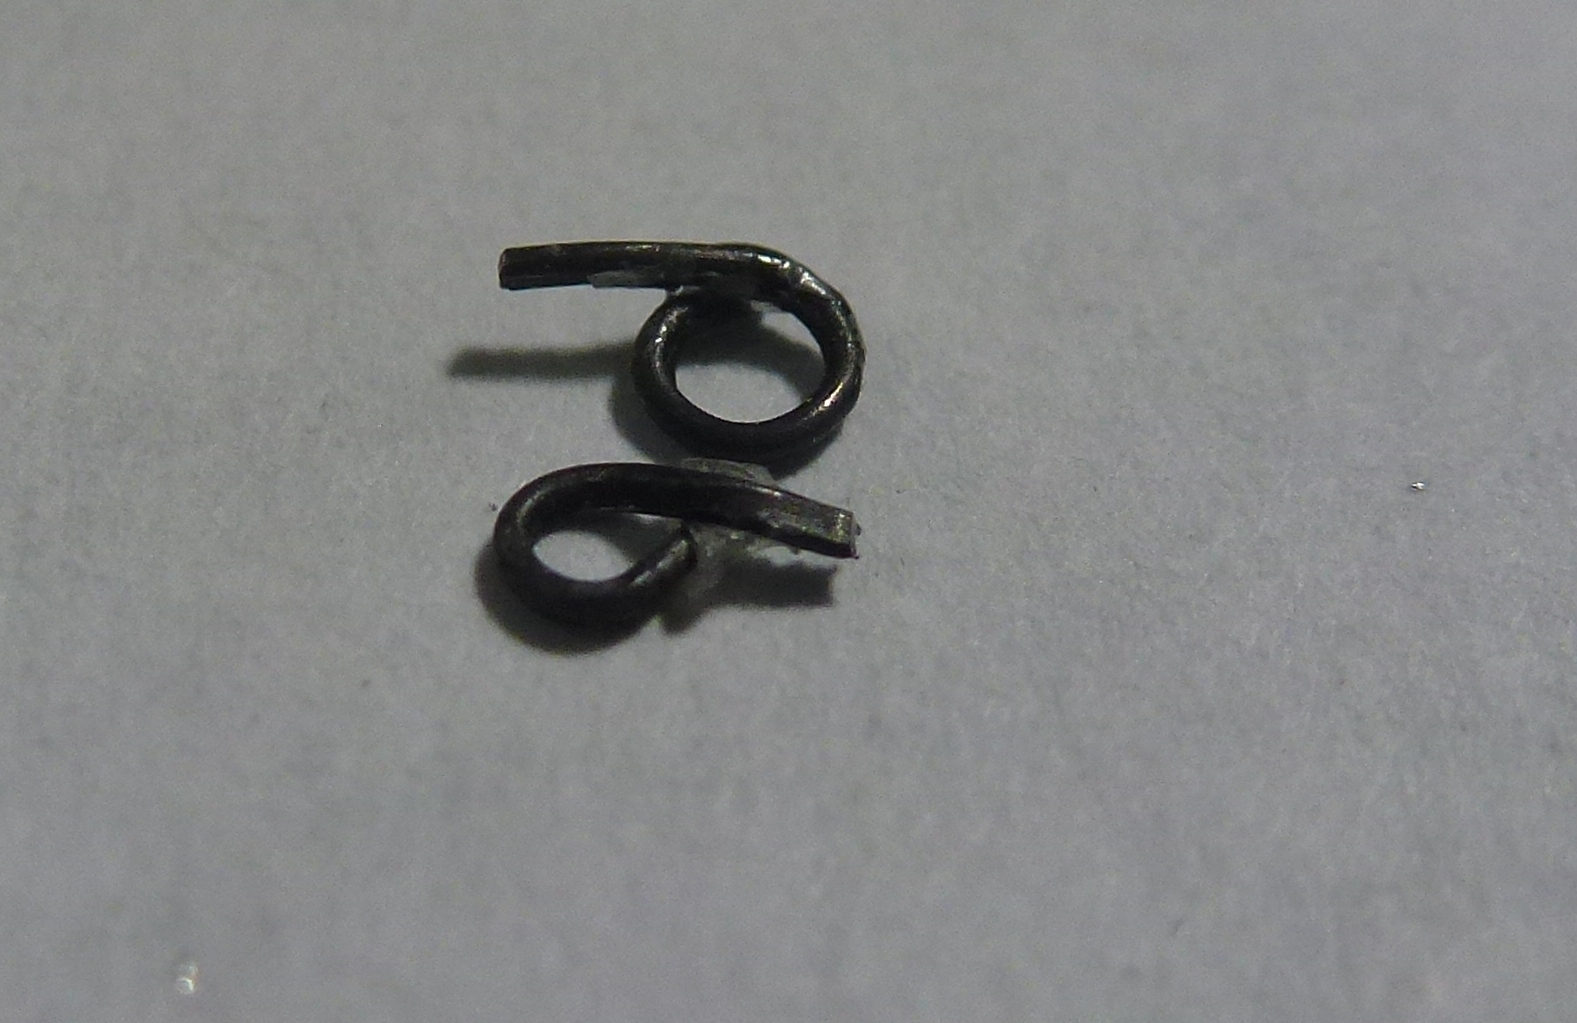
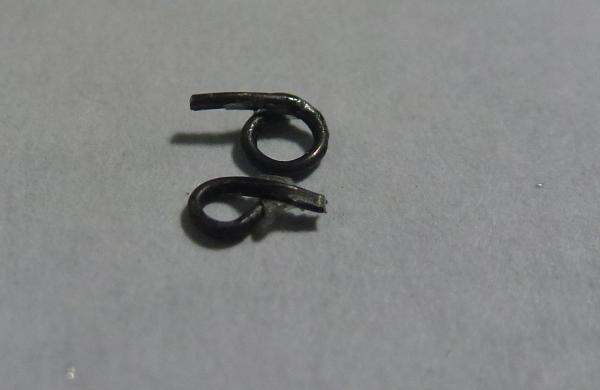
Creating the downhaul ring for the boom was harder than I anticipated. The first one (top) came out to large The second one (bottom) to much CA, which is revealed in the picture but not with the naked eye...... go figure... And the bottom one is not in the shape of a circle. However this is the one I am going with.
- 335 replies
-
- 5
-
-
- 18th century longboat
- Finished
- (and 1 more)
-
As Mark mentioned, so far the little group of society for finding the cure of Shipaholism are struggling........ The client and test group is to small to get accurate readings out from the trials. I am fully aware about the bookaholism, toolaholism situation...... still of today, it is an small but expanding group. But, once there... we are looking at the Nobel Price! As for the Endeavour, looking sharp! Keep us posted!
-
Jud, I still have the drill, maybe I will try it someday.