


ChrisLBren
-
Posts
736 -
Joined
-
Last visited
Content Type
Profiles
Forums
Gallery
Events
Posts posted by ChrisLBren
-
-
-
Id use a type of wool - super fine steel wool - or even brass wool - which I hear doesn't shred as much in between your two coats. Your first coat of 50/50 will absorb pretty well. Not sure if you decided to sand off the earlier coats though - so not sure what the effect may be.
I'd leave your second 100 percent strength Tung Oil as is. As Gaetan says - do not let the full oil sit on the piece more than 15 minutes before removing and watch for seepage.
-
-
-
Hey Mike,
The proper way to apply pure Tung Oil is 50/50 cut with Mineral Spirits for your first coat. Let that dry 24 hours which lays your base for uniform penetration. Then you apply full strength - let it sit for 15 minutes or so before buffing out. Continue to monitor for seepage and always allow 24 hours between coats.
It sounds like you should just let the piece gas out - applying Danish Oil on top could compound your problem. Hope this helps
-
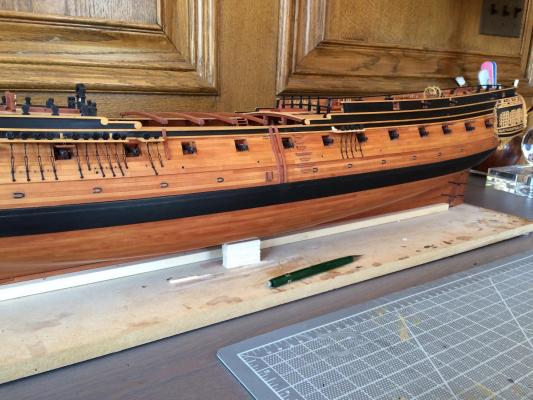
She's back on the bench - continuing the channels and chainplates. No more guarantees when she will be completed - maybe sooner than later ?!?
- dvm27, Mirabell61, Dubz and 14 others
-
 17
17
-
You need a table saw to do it - do you have one ? Then its just a question of cutting your wood to to fit in the space occupied by the lights and then cutting some mullions/slots using your table saw. The construction is very similar to making your own gratings. Does this help ?
-
Hey Mike - sounds like you've got an interesting approach - I would caution you on using Fiebings to dye Pear on large areas - it's fading out already on my Confederacy and Remco has been having issues with it on his build. Several thin coats of acrylic paint sanded in between is a better option.
-
Thanks Nigel ! I've held on to her because Ive always loved this ship and have wanted to represent a vessel as it actually appeared. So the thought of using some paints is fun - and this particular vessel lends itself to it. My plan is to mimic the scheme of the model in the German museum as closely as possible - and using some weathering techniques Ive picked up over the years. We will see - good to be back at modeling.
-
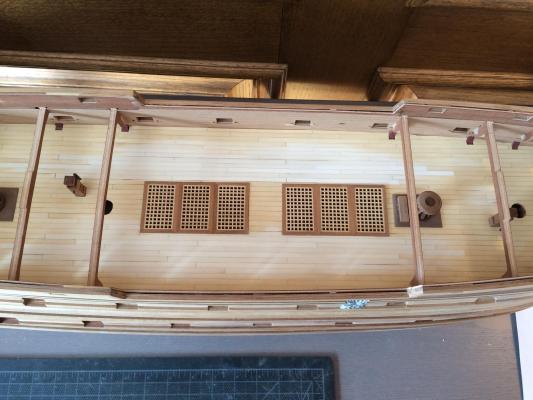
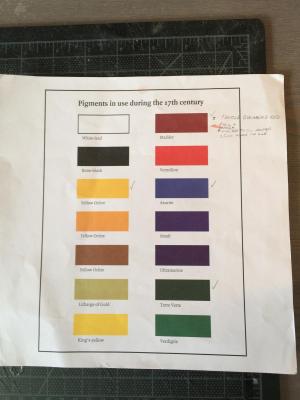
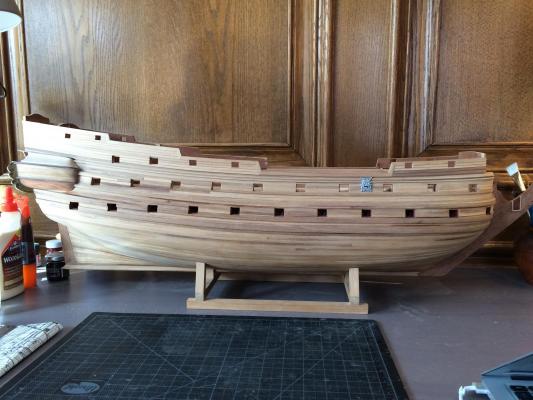
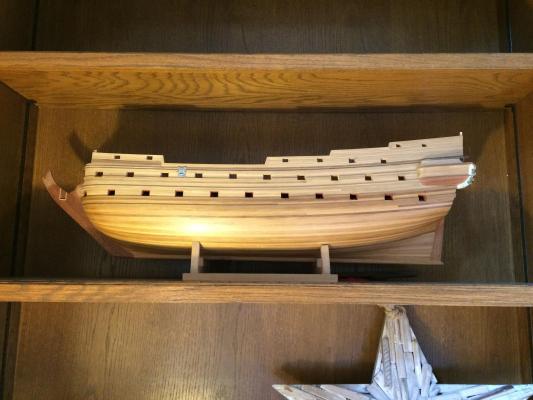
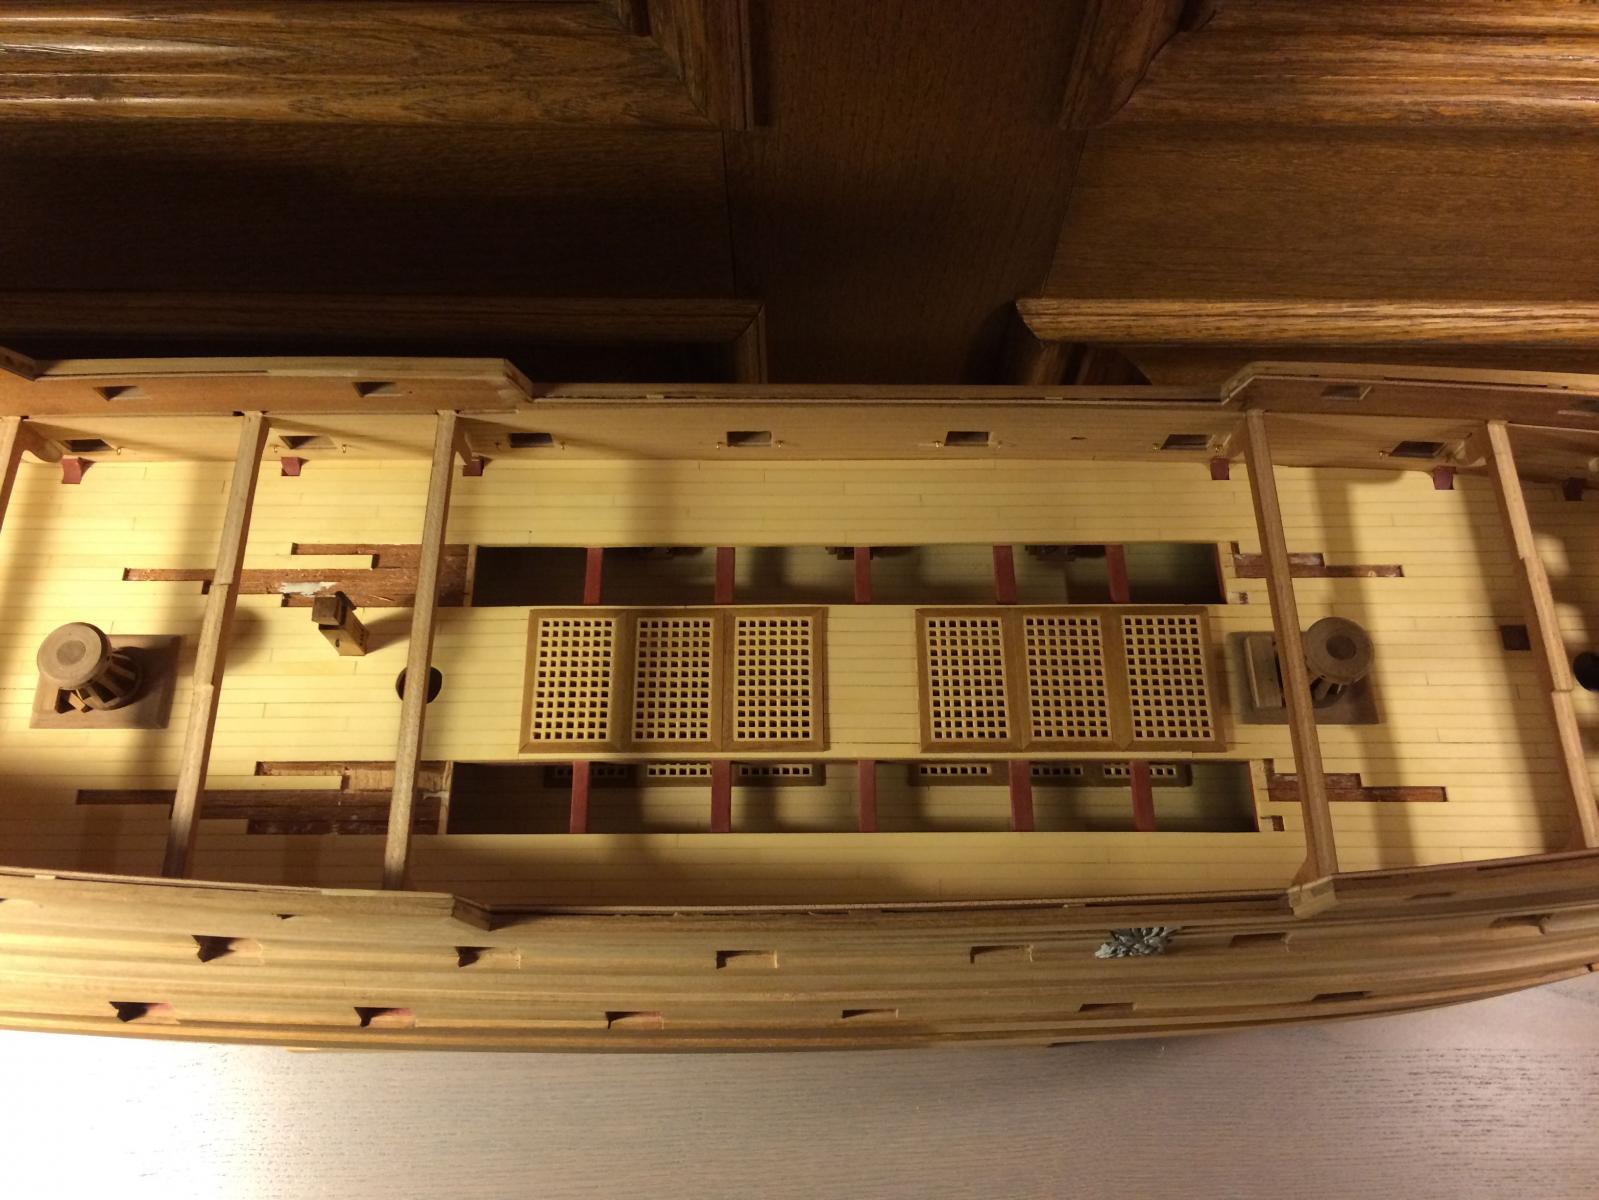
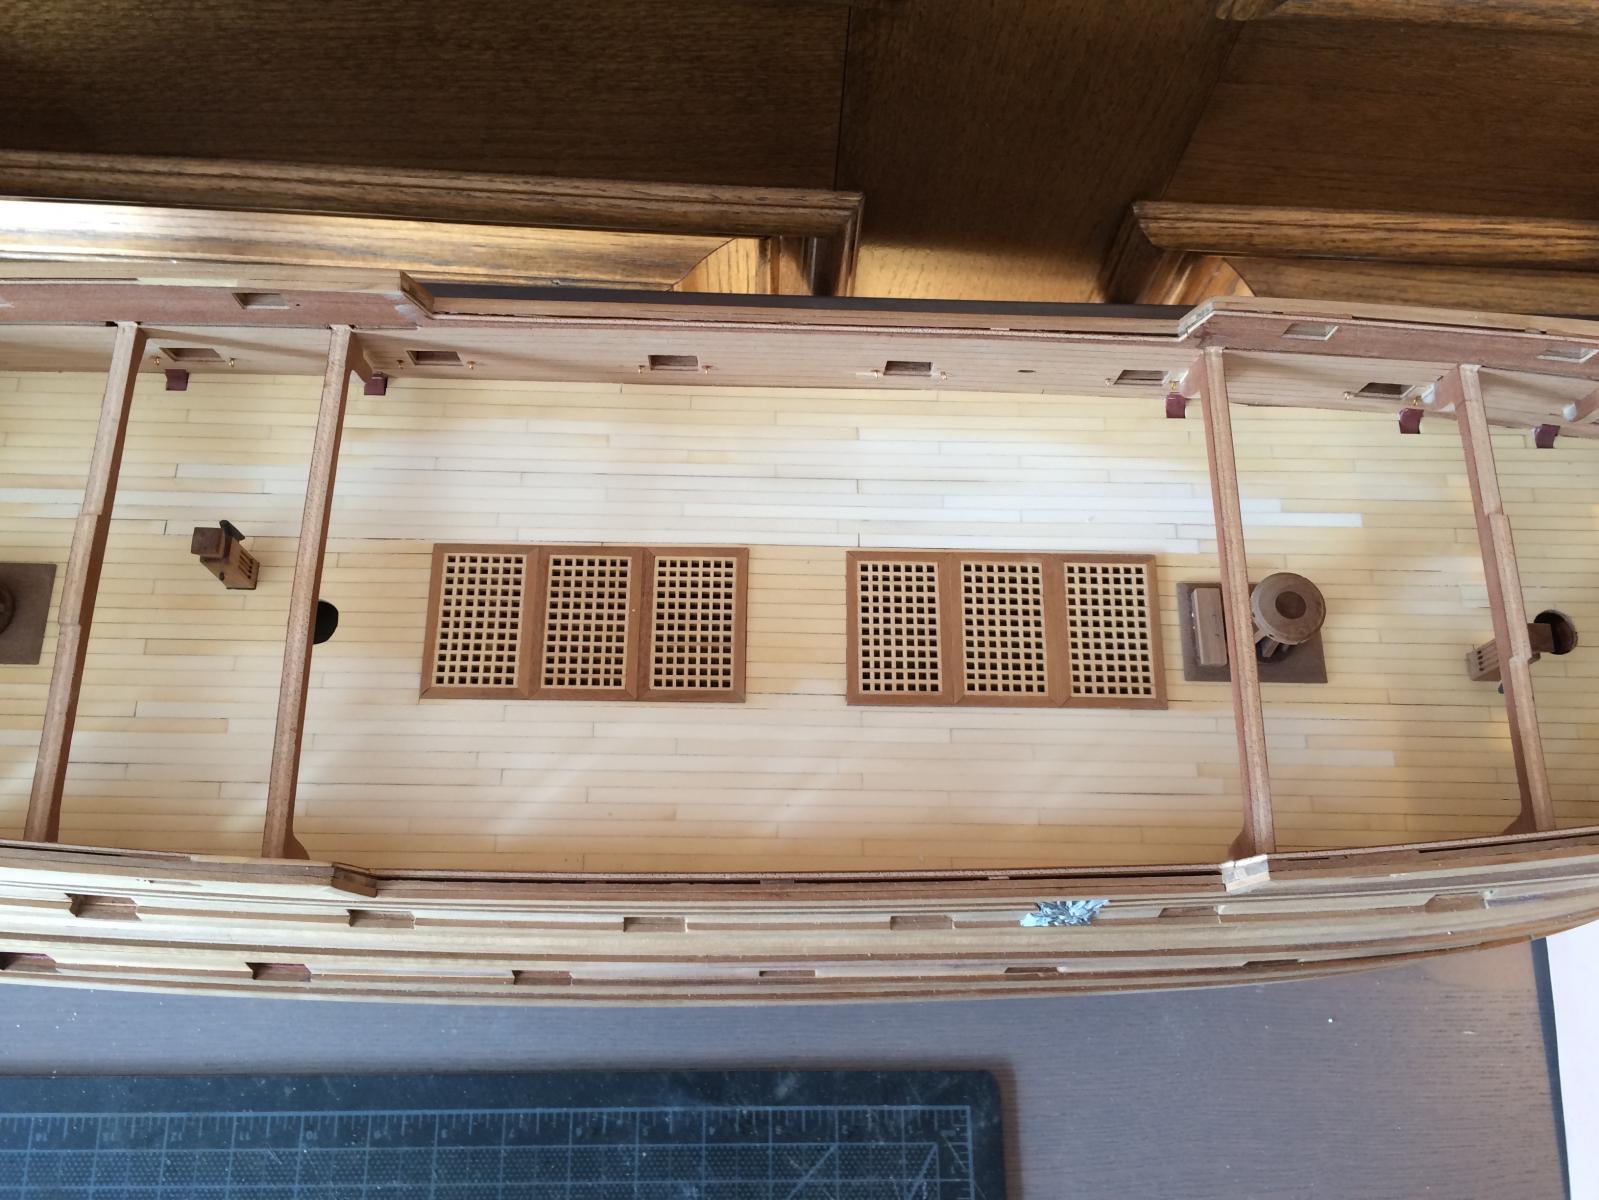
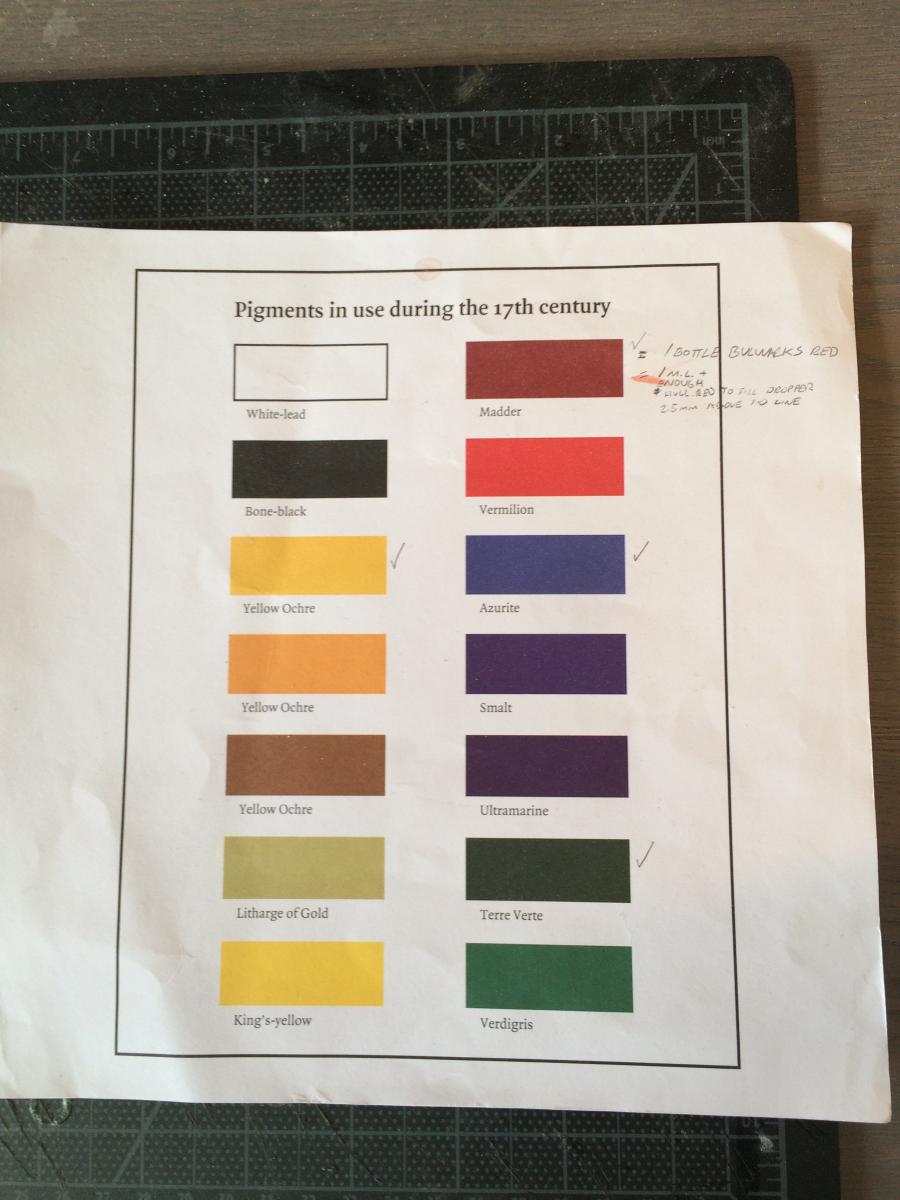
Guess who's back on my workbench ? My old friend the Wappen Von Hamburg. My three year old twins are fascinated by her (they think she looks like a pirate ship). I managed to sand off the wipe on poly on the lower hull - seal the cracks in the planking with epoxy on my so so planking job (she will be painted off white anyway below the wales) and seal up the deck (from my sorry attempt to show simulated Hahn style deck openings back in 2002). Ive attached some paint pigment guides from my earlier research - unlike my Confederacy - I want paint her to look as realistic for the period she existed in the 17th Century.
The LGV in 1/36th is still waiting in the wings as is my Confederacy - Im getting back to into the hobby. I'm finding working on a kit after a long breaks from modeling is relaxing and fun !

- GrandpaPhil, mtaylor, Piet and 1 other
-
4
-
-
On my WVH - which is fully planked and begging for some attention - I epoxied the gun carriages (which were scratch built - I got the crappy pot metal ones in my kit from 2002) to the deck. Ill add the barrels later with a drop of epoxy onto the carriages - the ones below deck will not be rigged. I agree with Josh - if you can remove the upper deck to access the cannon - would be best
- Piet and Landlubber Mike
-
2
-
-
-
That finish you've achieved is SPECTACULAR
- paulsutcliffe and wyz
-
2
-
There was a kit by Sergal of the Great Harry - larger than 50 inches. It looks like the Mary Rose on steroids. Its no longer in production but pops up from time to time on ebay. Google it for images of the kit - hope that helps.
- mtaylor, mtdoramike and Canute
-
3
-
Hey Bob and Greg,
Thanks for your input - I took dremel and drill press back - I think a spindel is a better piece of equipment. Im not too worried about the parts dissolving since the frames are pretty big at 1/36th scale. So if you have any reccos for a good sander - Id appreciate it.
-
Thanks for the replies - just picked up a new dremel (mine was 35 years old and still works !) to fit in their workstation (basically their drill press) - thinking I mount the dremel at 90 degrees and dial the motor to a lower speed and it should work - any input here is appreciated. I wish Jim Byrnes had some sort of spindle sander as good as his disc sander....
- Canute, mtaylor and Landlubber Mike
-
3
-
Hey Group,
I'm gearing up for my first framed build next year and wondering what is the preferred tool for sanding interiors of curved pieces - is the desk top stop spindle sander the best solution or could you simply mount a dremel rotary tool in a drill press attachment and use that ? Dimensions of the wood should be no larger than 1/4 inch thick. Just wondering if the spindle would be too high powered for this sort of operation.
Thanks,
Chris
-
-
-
-
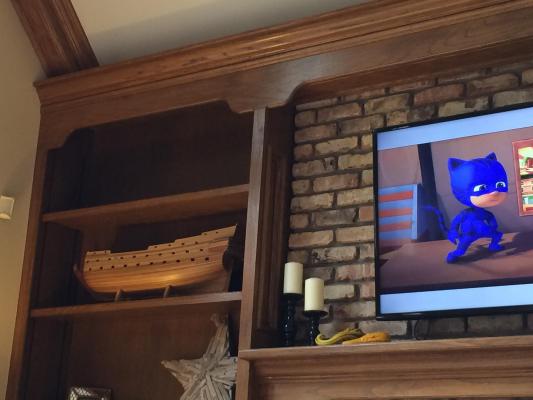
This hull as is may become a decorative fixture (our interior designer for our new house loves it as is). Keep in mind all of this wood work/shelves will be painted some shade of white soon - Here's a model of how she should look like in a German museum. I keep entertaining the idea of restarting this build at some point to try to get her as close as I can to this appearance.

-


USF Confederacy by ChrisLBren - FINISHED - 3/16 Scale
in - Build logs for subjects built 1751 - 1800
Posted · Edited by ChrisLBren
Hey Group,
Back at it with Confederacy - all of the channels and chainplates are installed - now its back to the head timbers and finishing up the bow