


usedtosail
-
Posts
2,421 -
Joined
-
Last visited
Content Type
Profiles
Forums
Gallery
Events
Everything posted by usedtosail
-
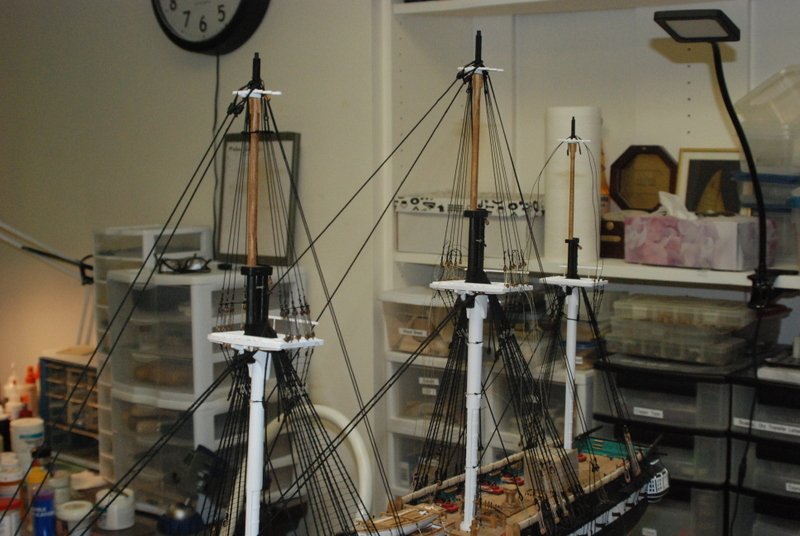
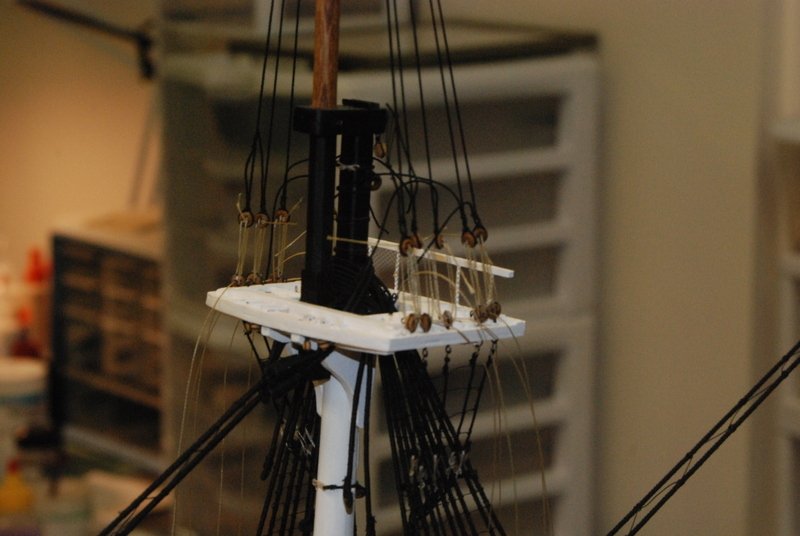
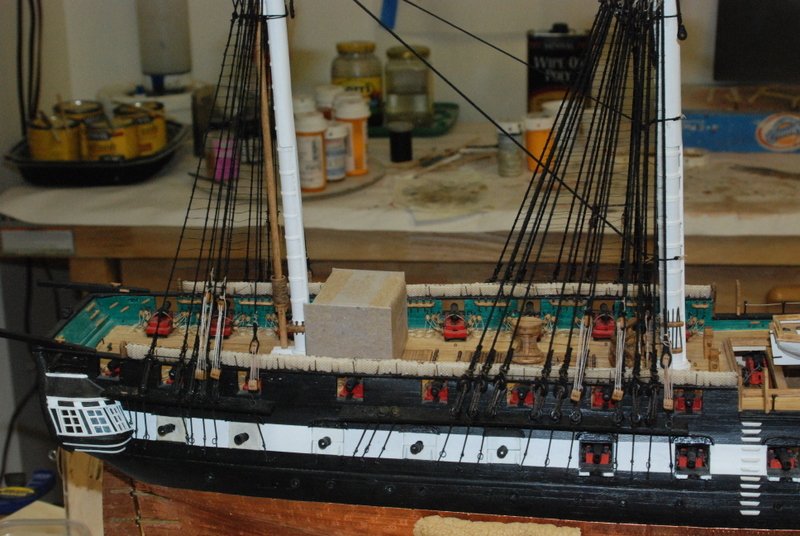
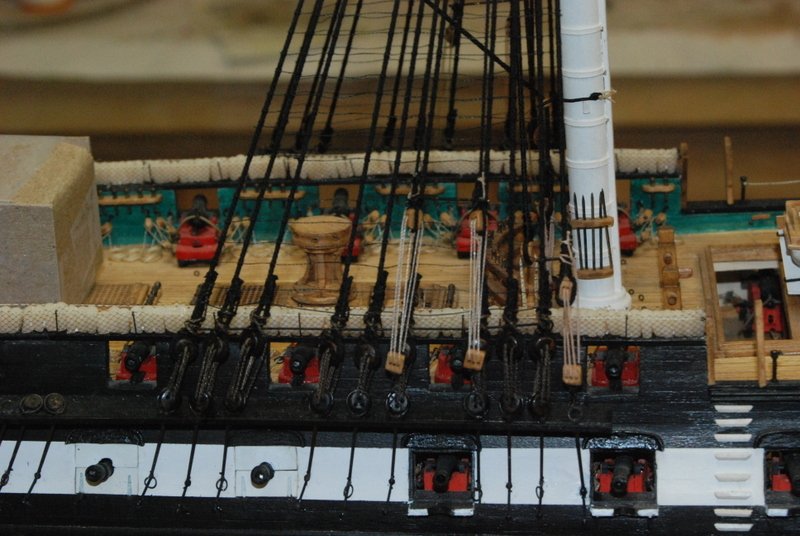
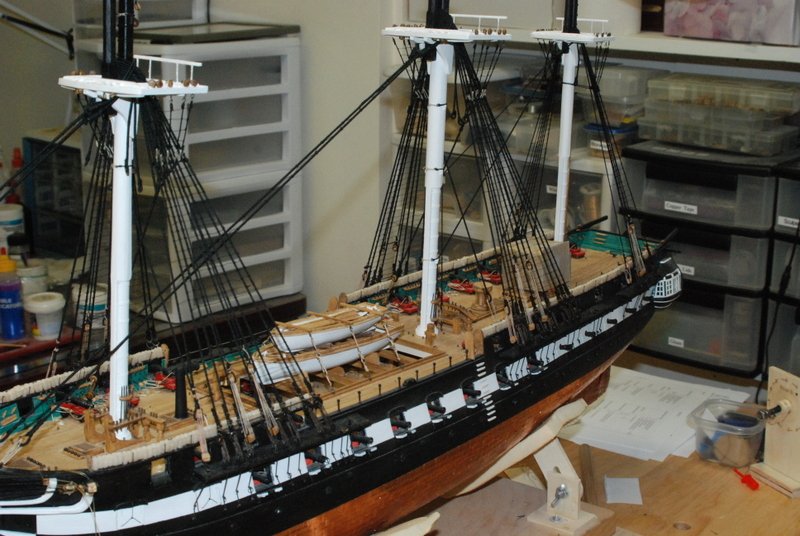
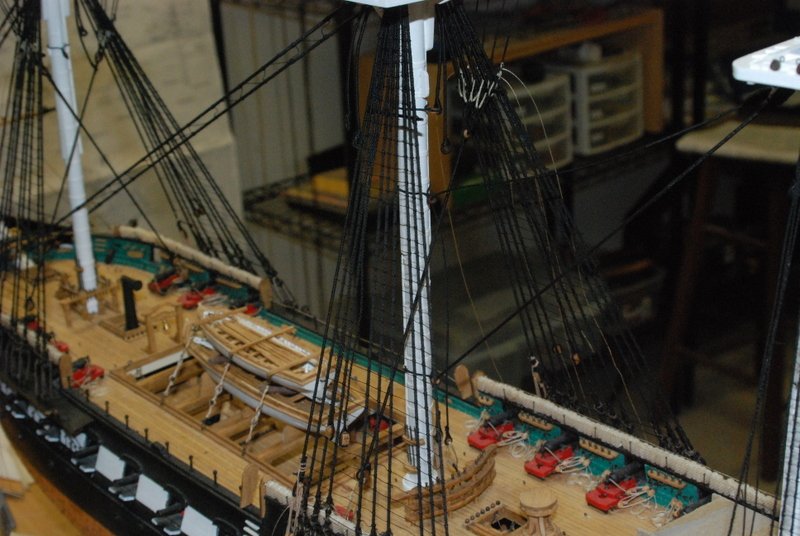
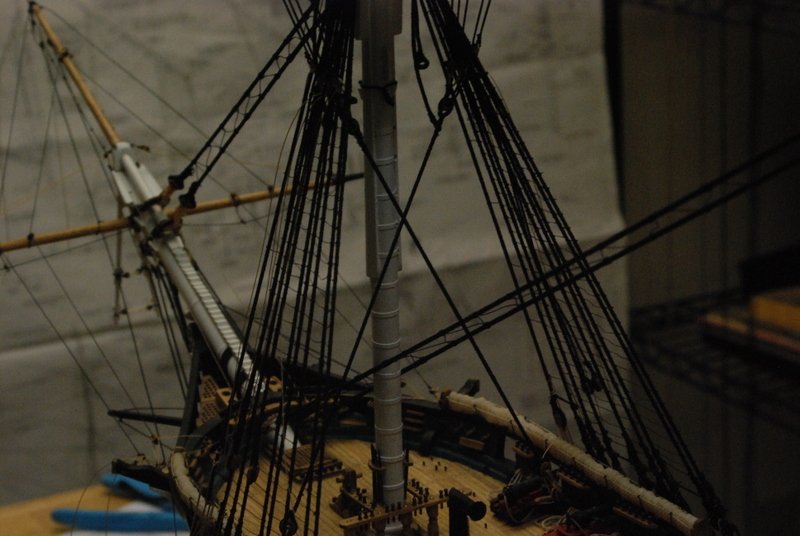
 I added the main topmast stays which were a little tricky. They have a mouse on top like the other stays and go through bullseyes on the back of the fore mast, then down to bullseyes on the deck. I had placed the eyebolts for these bullseyes a while a go while outfitting the deck, but failed to add hook the bullseyes to them. These eyebolts are inside the fore pin rails so I found it impossible to get enough room to hook them. I then tried suspending the bullseye with the hook down from a loop of thread, which allowed me to get them hooked with tweezers from underneath the pin rail. The problem now was how to keep them hooked while I threaded the lashing between the bullseye on the end of the stay and the bullseye on the deck. That loop of thread turned out to be the trick, as I just looped it around some of the belaying pins in the pin rail and clamped it, which not only held the bullseye hook in the eyebolt, but also held the bullseye up so it was easier to get the lashing line through it. I was able to thread both stays without them coming unhooked. Here is the result. You can see how close to the pin rails these are. And here is an overall view with the stays in place. I finished up the main topmast shrouds last night and have two of the four mizzen shrouds in place. I had to remove the fore futtock staves because they were too low and the catherpins would have interfered with the fore topmast. I was able to carefully cut them away from the shrouds, but I did have to cut off all the small bullseyes and tie them to new wood pieces. I installed the fore and main topmast futtock staves last night, and am working on the catherpins for these shrouds.
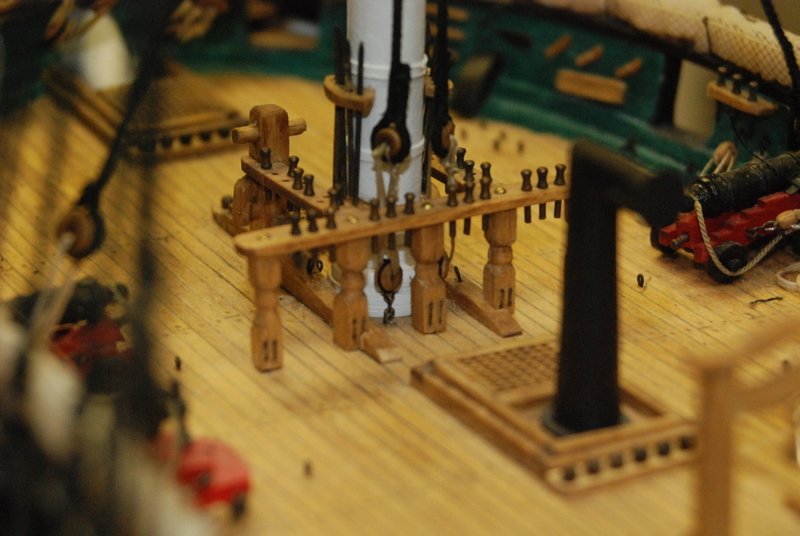
- 1,354 replies
-
- 9
-

-
- constitution
- model shipways
- (and 1 more)
-
I think you did a great job on those canopy frames Dave. I didn't even attempt to make them, rationalizing top myself that they wouldn't have been on the 1812 version. We'll have to call you SolderDave for a while.
- 742 replies
-
- 6
-
-
- constitution
- frigate
- (and 1 more)
-
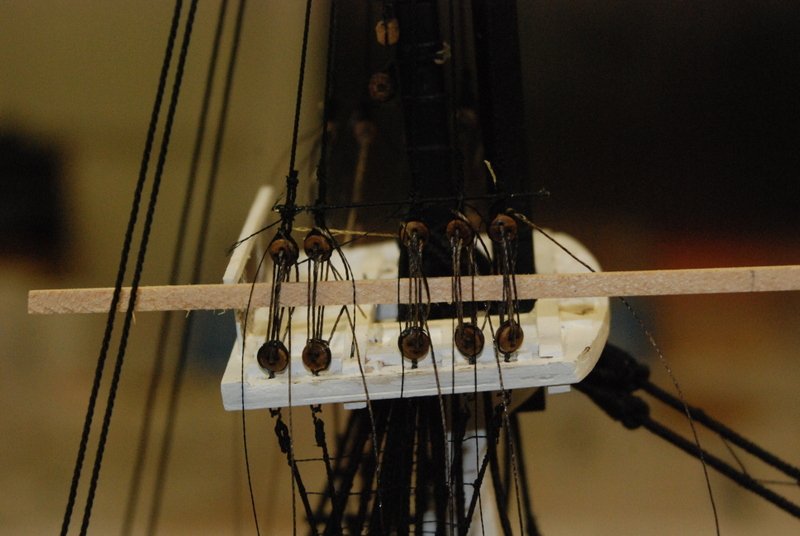
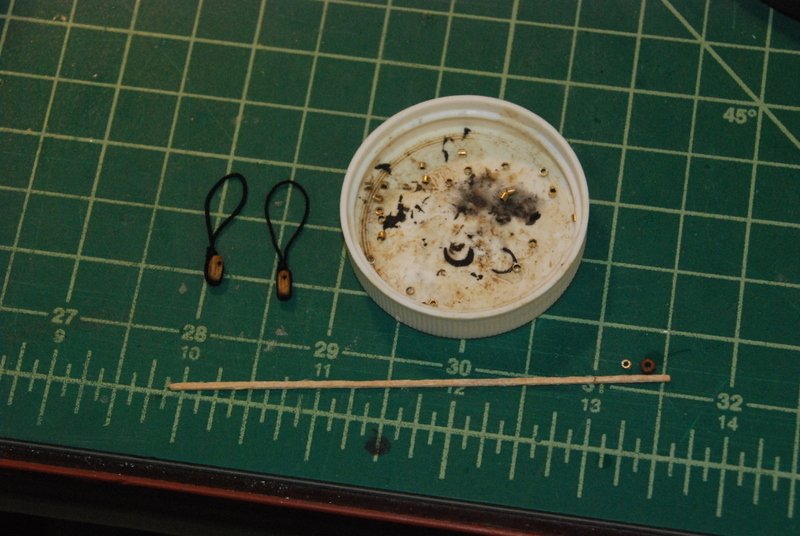
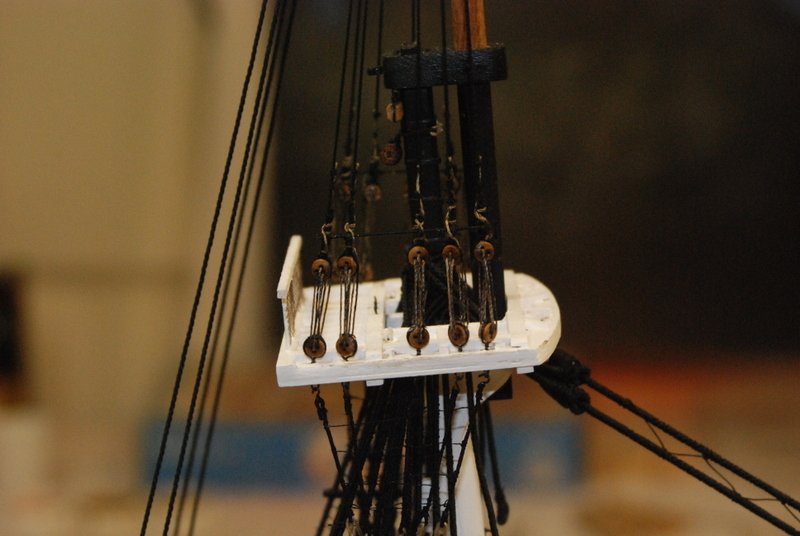
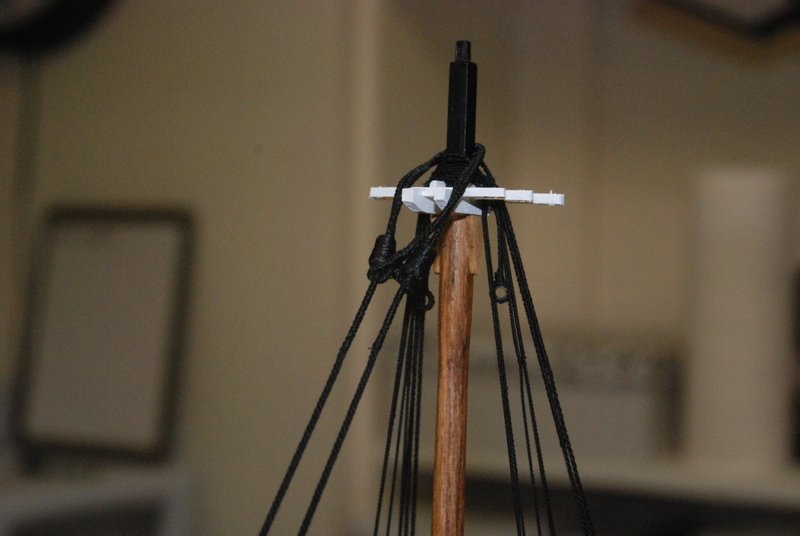
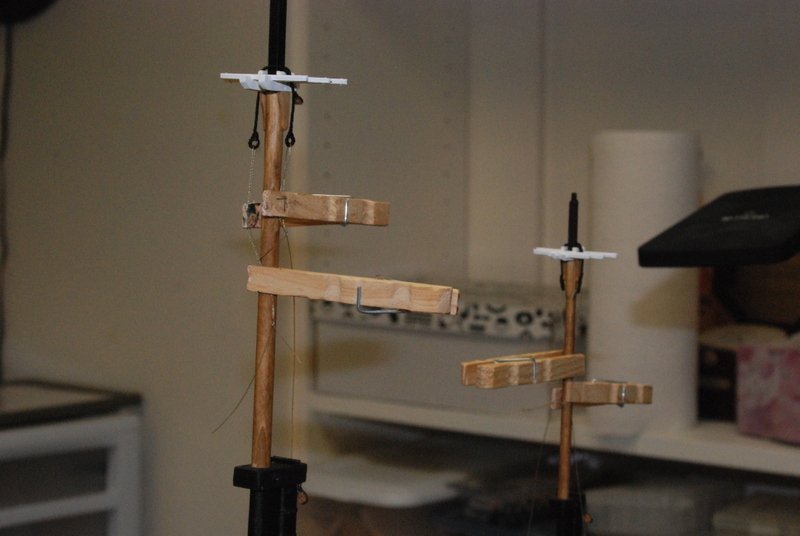
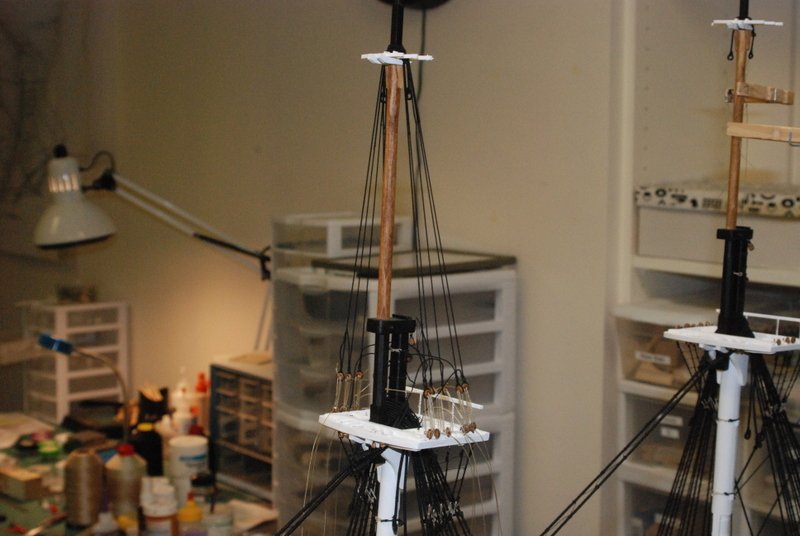
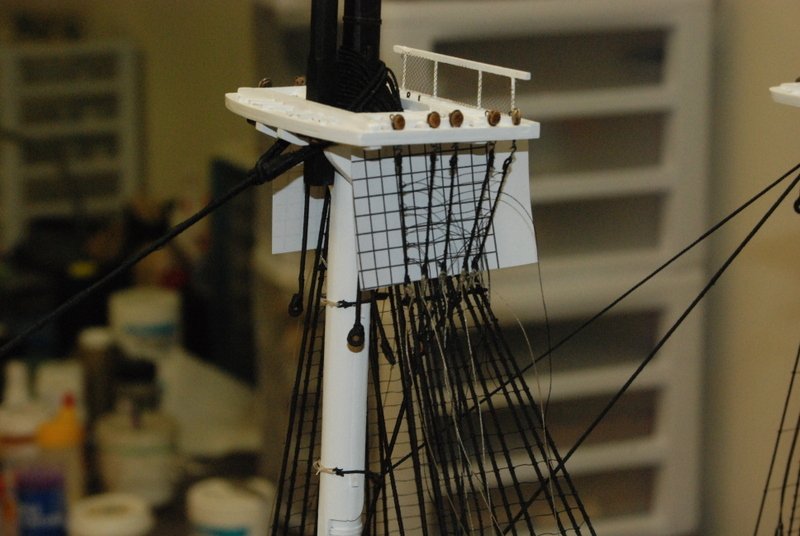
First off, I want to extend my well wishes to you members in Houston and Florida. Hurricanes are a b****, don't mess with them, especially these monster storms. I was having problems with the topmast deadeyes wanting to rotate in the top, sometimes a full 90 degrees or more, because I had made the holes a little oversize to get the strops through them more easily. I should have made them with thinner slots. But, I saw this trick in xken's build log, and it worked so well I wanted to make sure future readers of this log find it. By inserting a strip of wood through the deadeye lashings before tying the sheer poles to the shrouds, the deadeyes are held in the right direction and the seizing on the sheer pole holds them that way when the wood is removed. Thanks Ken for the tip. The topmast futtock staves on the Constitution have 5 bullseyes lashed to them to guide the topG and royal shrouds to the mast top. I was going to use some bullseyes supplied with the kit, but as you see in this picture they are too big to fit on the 1/2 inch or so long staves. So, I made new bullseyes from brass tubing. I had always used a vice to hold tubing to cut it, but on a whim I bought a jewelers bench vise which provides a nice flat surface to cut on, and had much better results. In fact, I was able to cut all 30 bullseyes, with some spares, in less than an hour. And they did not crush or have rough edges like when cut in a vice. I blackened them and tied them to the staves with a single overhand knot that was fixed with glue. I also made the two collars with single blocks that will go over the shrouds on the fore topmast for rigging the topmast yard. The collars are one strand of served line wrapped back on itself and held under a single seizing. Here are the fore topmast futtock staves in place on the shrouds, with the catherpins on them too. Stay safe and have a good weekend
- 1,354 replies
-
- 6
-
-
- constitution
- model shipways
- (and 1 more)
-
Thanks Al and Popeye - happy belated birthday. I hope you did something fun. Tim - I didn't look on the back before glueing the sandpaper to the drum, but from the front it looks like 100 or so. The paper on the shaft is finer, maybe 200 or so. I only tumbled the blocks, as the deadeyes look good out of the box.
- 1,354 replies
-
- 1
-
-
- constitution
- model shipways
- (and 1 more)
-
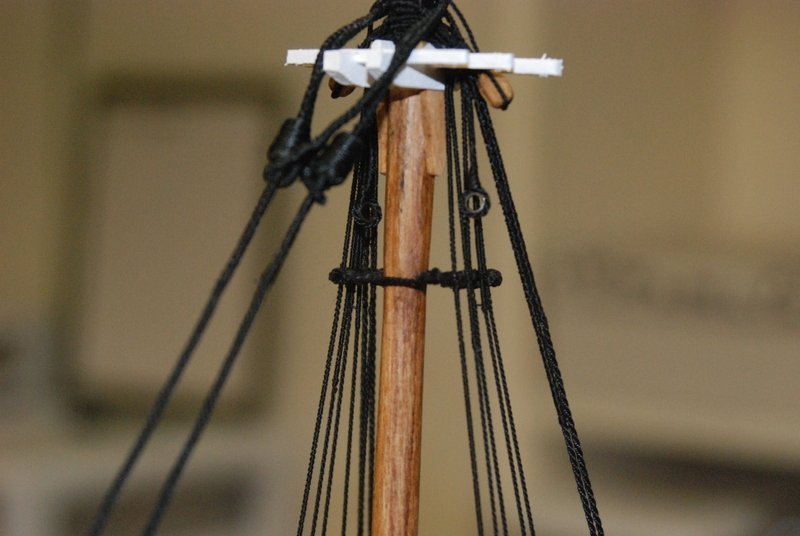
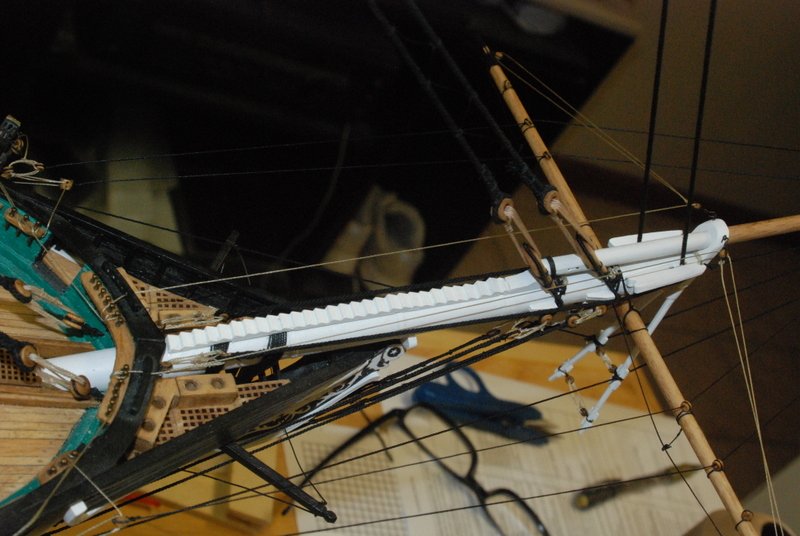
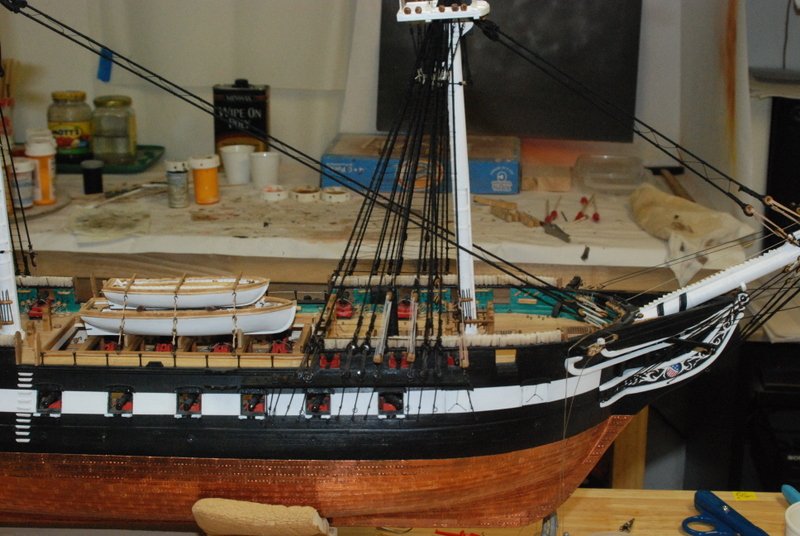
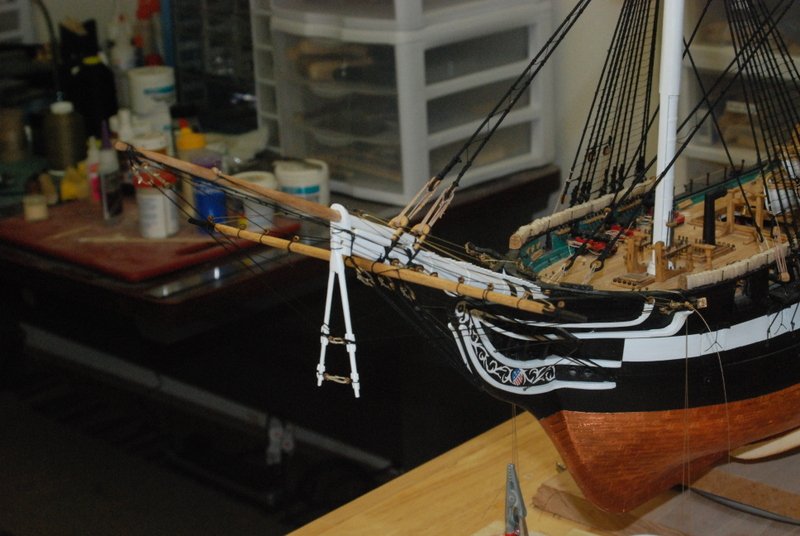
So, I finished the fore topmast stay and fore topmast preventer stay. I started by making the two mice for the stays. I used my new lathe, which made the process much better than the mice I made for the lower stays. I was able to drill a hole precisely in the middle of a dowel for the line to go through, then rotate the lathe head slightly and cut a taper into the dowel for each mouse. After painting them black, I glued them to the line I had served for the stays. I then put them in the serving machine and served over the wood. This time, I used a diagonal pattern for the serving after coating the mouse in white glue, so it looks even more like the real thing then the first mice I made. Once the serving was dry, I wrapped the stays over the topmast and ran them through the bees on the bow sprit. I then seized a bullseye into each end and lashed them to bullseyes at the bow. I need to finish up the fore topmast shrouds and add the sheer poles, then I will move to the main topmast rigging (although you can see in the above picture that I have started adding the main topmast shrouds already).

- 1,354 replies
-
- 7
-
-
- constitution
- model shipways
- (and 1 more)
-
Ken, congratulations on a very fine build. It has been a pleasure working along with you.
-
Thanks Popeye and the likes. I apologize for no update yet - I was on vacation all last week. I have started the fore topmast stay and preventer stay and will have pics when I have them in place. I would have been a lot closer if I didn't put the mice too close to the topmast last night. I really don't know how that happened. I was able to remove the serving line and reposition them, but I have to serve over them again before I can install them.
- 1,354 replies
-
- 2
-
-
- constitution
- model shipways
- (and 1 more)
-
A very sad day. I will miss him a great deal.
-
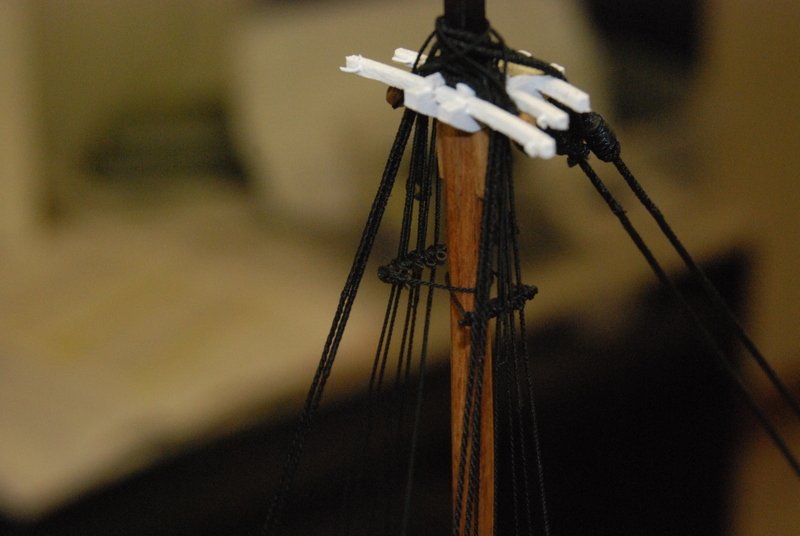
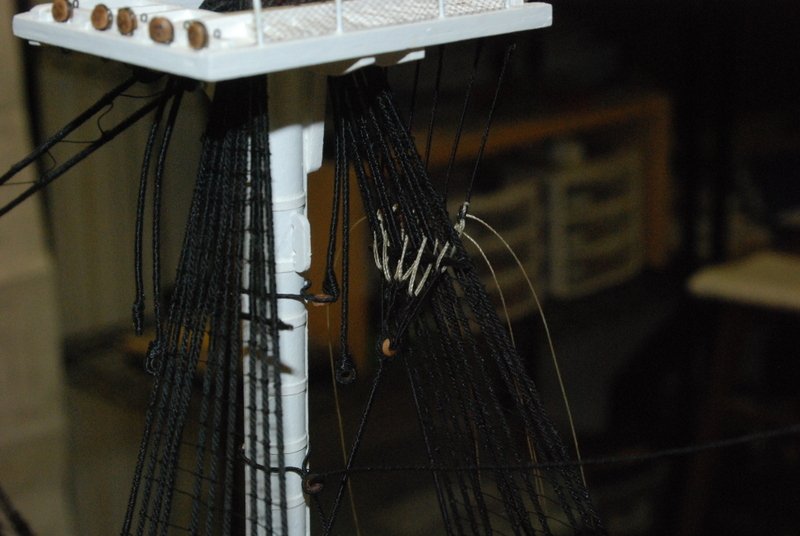
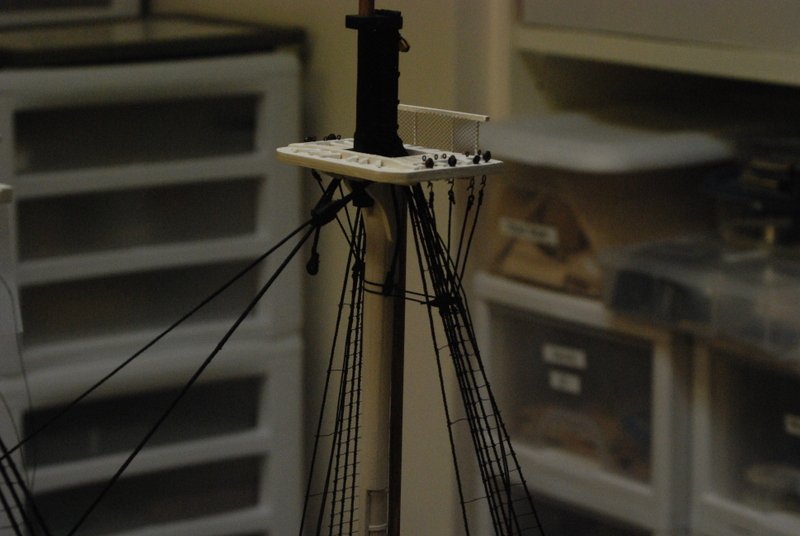
Thanks popeye, Bill and Dave. It was a real pleasure meeting you too and your son. I am working on the topmast shrouds, backstays, and stays. I have the fore shrouds in place with their deadeyes and lanyards, but have not fully tightened them up yet until the fore topmast stays are in place. I didn't like the way the burton pennants were (not) hanging, so I threaded some line through them and clamped that to the mast, then coated them with slightly diluted white glue. They look much better now, as you can see in the last picture of the fore topmast.
- 1,354 replies
-
- 7
-
-
- constitution
- model shipways
- (and 1 more)
-
You have enormous hands, Dan! Seriously that is very good work for so tiny a piece.
- 295 replies
-
- 3
-
-
- amatsukaze
- halinski
- (and 2 more)
-
Recommendations For A Good Milling Machine
usedtosail replied to Thistle17's topic in Modeling tools and Workshop Equipment
Joe, before you pull the trigger with another seller, try calling Kat at Sherline. I just got a 15% "senior" discount on a lathe package with milling column, although I am only 62. It should arrive Wed. next week. -
Welcome back! I can't help you with the pictures but I hope you get that worked out so we can see your progress. Sounds like you have made a lot.
-
Thanks Rob and Michael. I appreciate the support. Well, the lower mast rigging is just about completed. I finished the ratlines on the futtock shrouds, added the breast backstays, and the sheer poles on them. I made the sheer poles from brass rod that I served in the serving machine, like the ones I made for the lower deadeyes. I also cleaned up a lot of the excess rigging line around the bow. Next up is the topmast rigging, so I made a few more thimbles for the topmast burton pennants and will start making up the shrouds tonight.
- 1,354 replies
-
- 10
-
-
- constitution
- model shipways
- (and 1 more)
-
Congratulations on reaching that milestone. Someday I'll get there...
-
Cutty Sark by NenadM
usedtosail replied to NenadM's topic in - Build logs for subjects built 1851 - 1900
That is a great way to add the look of clinker planks. Bravo.- 4,152 replies
-
- 5
-
-
- cutty sark
- tehnodidakta
- (and 1 more)
-
Thanks Dave and Popeye, and for the likes. I haven't been in the workshop too much lately because of the holiday, but I did promise a few photos of the inside view of the futtock shroud extensions and Bentinck shrouds. So here they are: I am going to give those lashings a coat of stain when I do the topmast shroud deadeye lashings, so they won't be so stark. I have also added the mizzen shrouds and catherpins. The shrouds are wrapped around the futtock staves and lashed to the shroud underneath the stave. The plans show the catherpins straight from side to side, but the first shroud is even with the mast so unless the futtock staves stick way out forward there is no way I could see to get them straight, so they are angled back a little. I have also tied all of the ratlines to the fore and main futtock shrouds but have not fixed the knots yet. After that, I will finish up the breast stays and start on the topmast shrouds and deadeyes.

- 1,354 replies
-
- 10
-
-
- constitution
- model shipways
- (and 1 more)
-
Are you kidding, JS. If you put half the effort into the big ship as you have in these boats, your model is going to be spectacular.
-
How civilized...except for all those cannons, ha ha.
- 742 replies
-
- 7
-
-
- constitution
- frigate
- (and 1 more)

