-
Posts
535 -
Joined
-
Last visited
Content Type
Profiles
Forums
Gallery
Events
Everything posted by FrankWouts
-
Thanks Keith and shipman, I'll have a look. Sad your helpful chap passed away chipman...the good ones always go first we say in Holland...
- 399 replies
-
- cutty sark
- revell
-
(and 2 more)
Tagged with:
-
Hi shipman, I have a question: which brand are these one and two ball stanchions and where can they be obtained? I have a Revell first edition of Nannie Dee's Cutty Sark lying around as well for building sometime in the future and following with great interest. Compliments to Bruma for this lovely build! Thanks, Frank.
- 399 replies
-
- cutty sark
- revell
-
(and 2 more)
Tagged with:
-
Beautiful and very tidy work Steve. Following your log as a benchmark as well! 🙂 Frank.
- 99 replies
-
- winchelsea
- Syren Ship Model Company
-
(and 1 more)
Tagged with:
-
Hi Mike, That again looks so awesome and clean: beautiful inspiring work. That shine of the red paint on the inside of that transom in the last picture looks so nice! I specially like the aft gun port hinges: now I clearly understand how they open vertically as I always thought they would open under an angle... Thanks for your always clear explanations and well thought through steps you took and describe so clearly, also with the little accident with your rudder, action you took to solve it and decision to place it back later when it's safe to do so... This will not only be a reference but also a great help when we get to this point. Frank.
- 607 replies
-
- winchelsea
- Syren Ship Model Company
-
(and 1 more)
Tagged with:
-
Hi Hubac, I was having the same thought. Though the printed freezes look awesome, how will they look in ten years from now? Will they look fainted or perhaps there will be only a white printing paper on the freezes left? Perhaps this risk will be less when letting it print at a professional printing shop with dito ink on high quality paper? Is oil painting them a totally bad idea? Frank.
- 607 replies
-
- winchelsea
- Syren Ship Model Company
-
(and 1 more)
Tagged with:
-

Le Soleil Royal by Nek0 - 1/72 - Marc Yeu
FrankWouts replied to Nek0's topic in - Build logs for subjects built 1501 - 1750
Hello again Marc and welcome Julia! Congratulations with your beautiful daughter to you Marc and your wife! Now I feel ashamed I haven't checked your build log for so long and only see this until now. Very understandable you weren't active last months/year, as it takes a lot of responsibility caring for such a new beautiful young life. But I hope by now you have enough sleep again in the night :-). I know I had not the first months with all of my three daughters... Take your time and enjoy! Frank.- 208 replies
-
- le soleil royal
- 104 guns
-
(and 2 more)
Tagged with:
-
Thanks Vladimir, I hope so and am enjoying the ride already, but don't forget, I'm just a beginner, I only started Corel's Victory 35 years ago when I was in my twenties, but never finished it as the gun ports sat 2 millimeters too low and some in front of the bulkheads... :-). The instructions were so bad and made you do things in the wrong order, that for a beginner one just got stuck. I now already see lots of things I would have done differently when buidling it now. I will follow your build as well for sure to admire and learn!
-
Thanks Edward, yes they definitely make our hobby life much easier and look good too. But they make me respect everyone in this group build who saws them themselves as there are so many of them! Though I see now on my own posted photo's I forgot to angle the last bulkheads with the portside bearding line. They should also blend in little more fluently in the tapered area under the bearding line too I think.
-
Hi Matt, I did notice this finished build of yours until now. What a very nice model and very decentley completed! Now back to your Winnie report...
- 68 replies
-
- virginia 1819
- artesania latina
-
(and 1 more)
Tagged with:
-
Wow those colors, so warm and colorful... Maybe I’ll build a second one with your example, when this one’s finished in Alaskan Yellow Cedar. Plenty of Swiss pear lying around here, didn’t know it combines so nice with the cherry!
- 642 replies
-
- winchelsea
- Syren Ship Model Company
-
(and 1 more)
Tagged with:
-
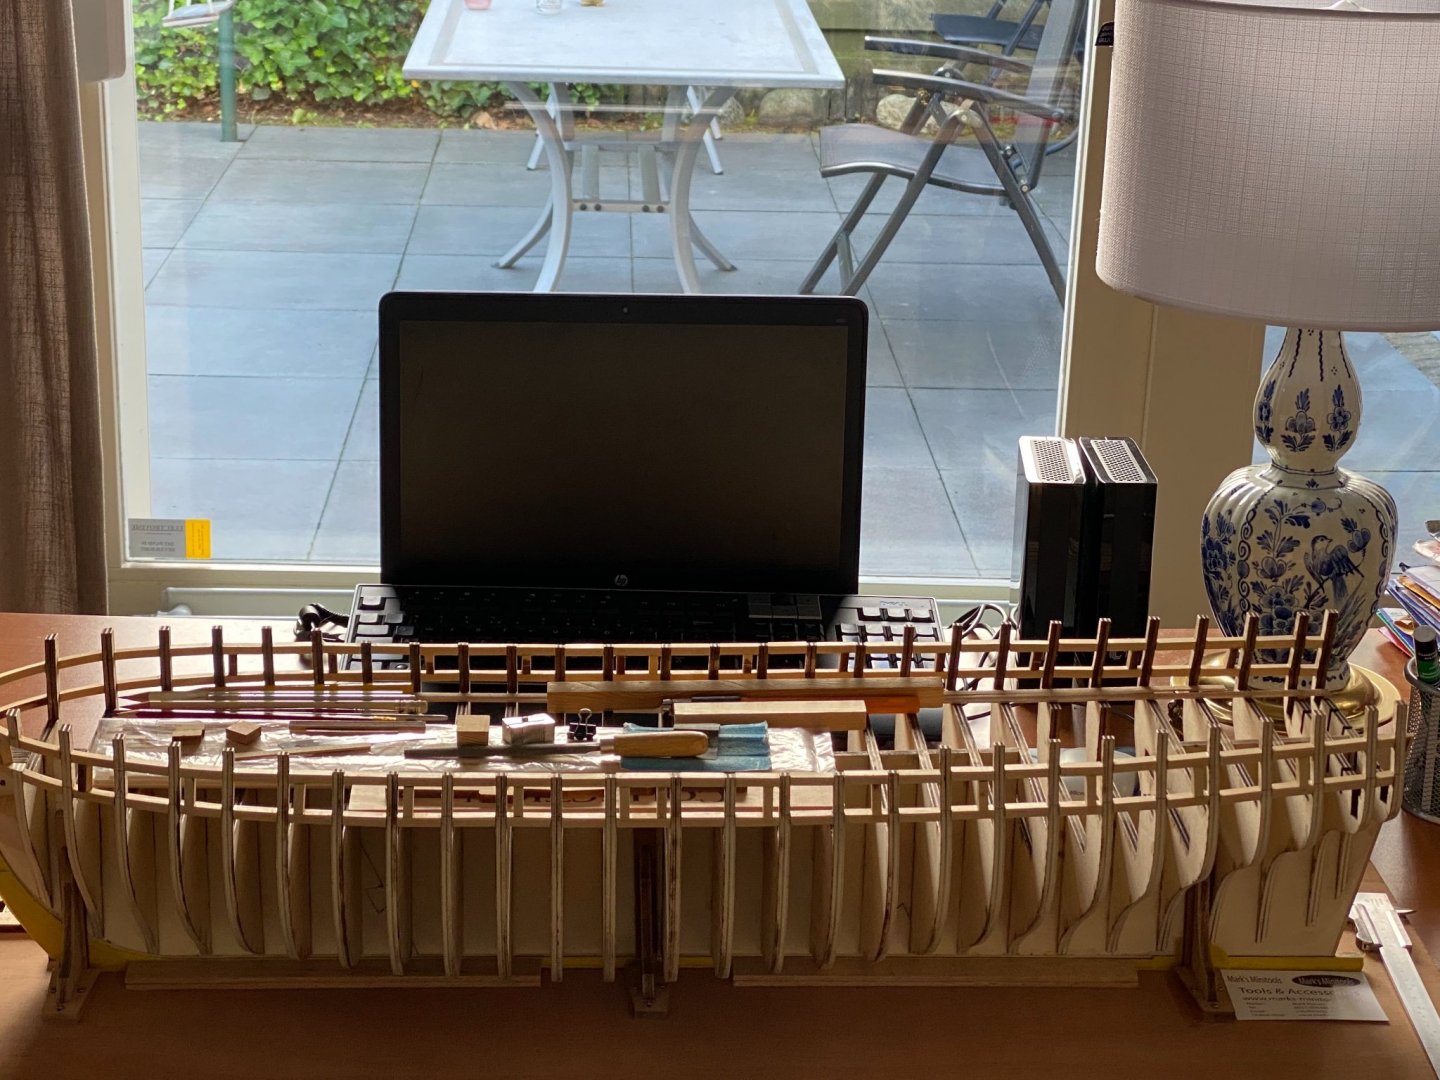
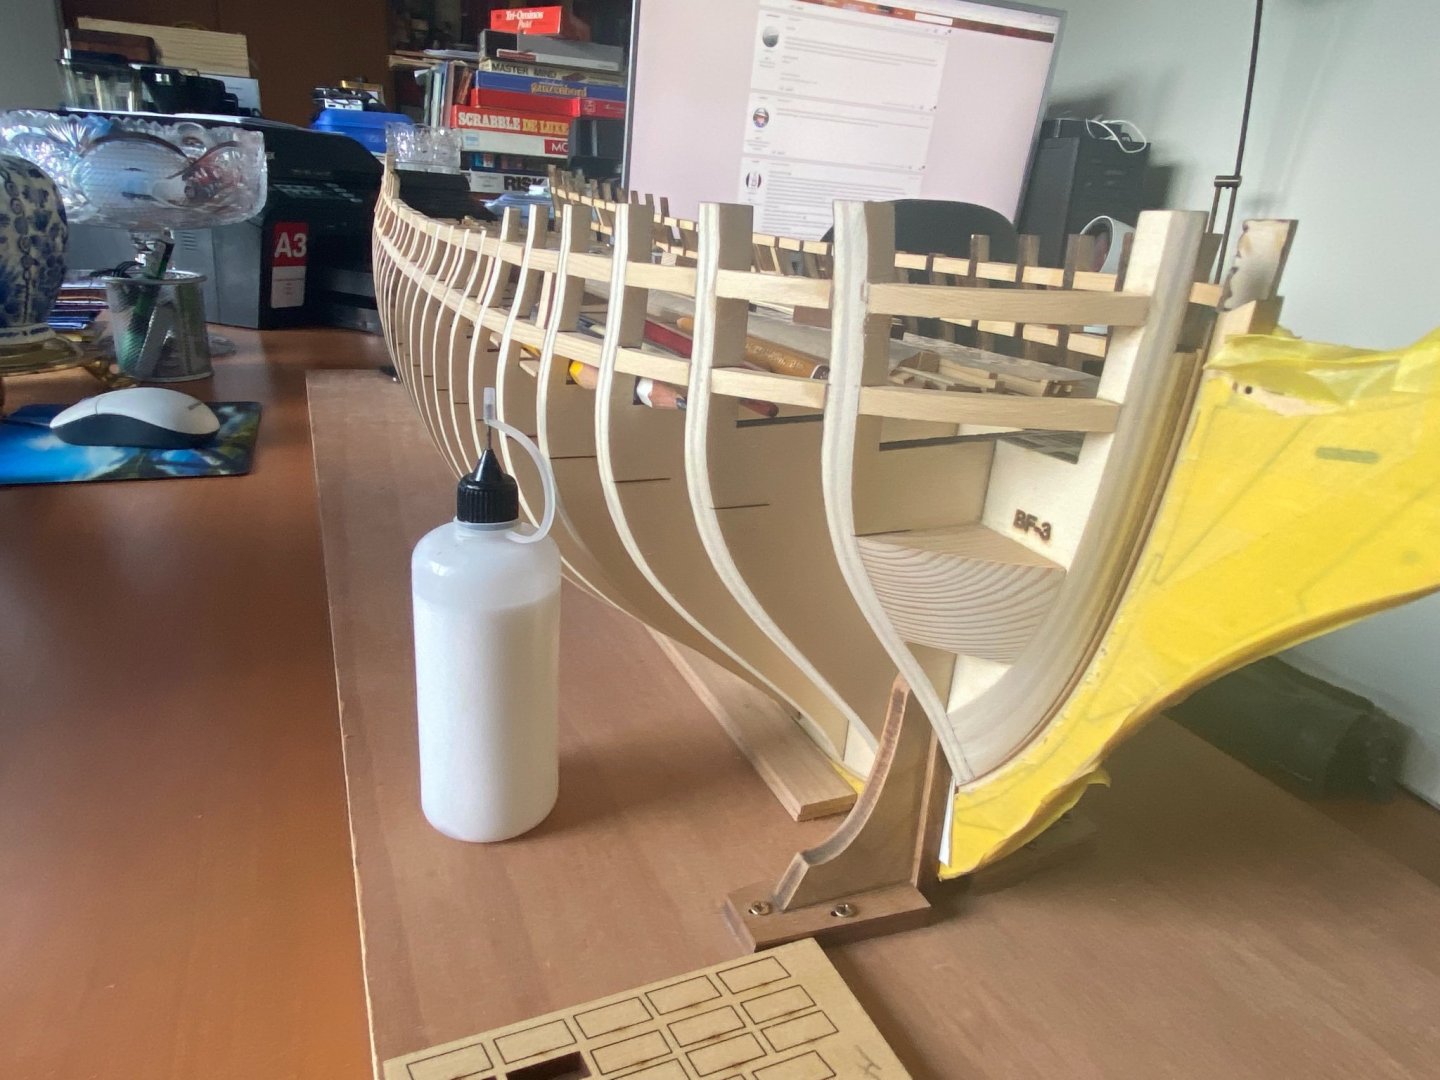
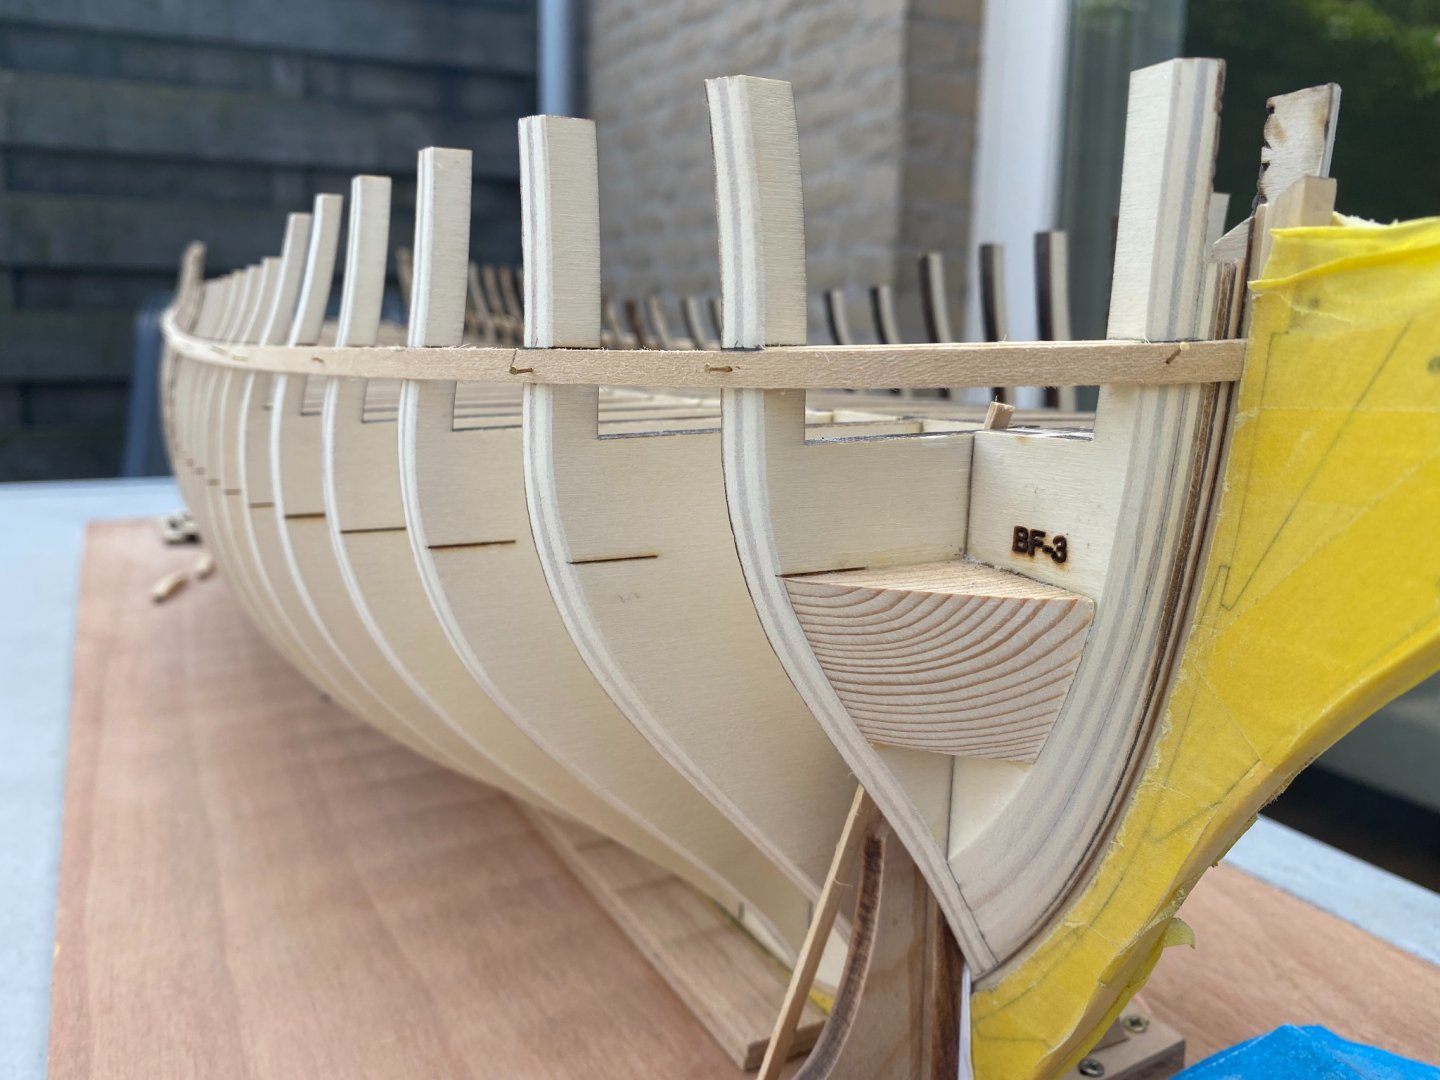
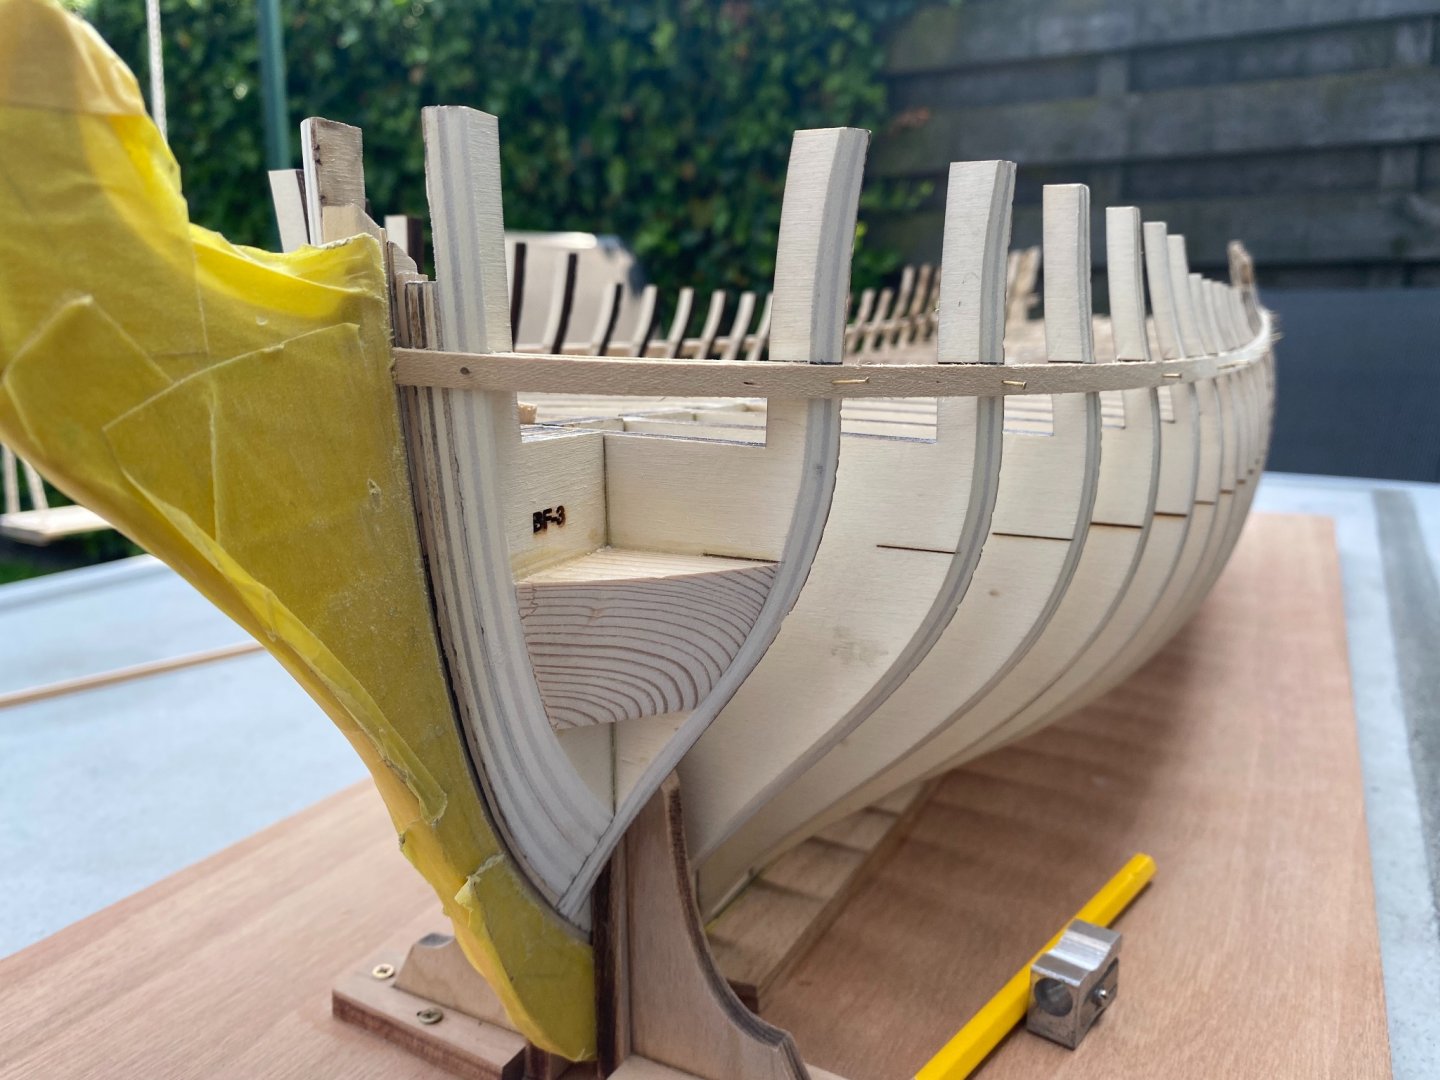
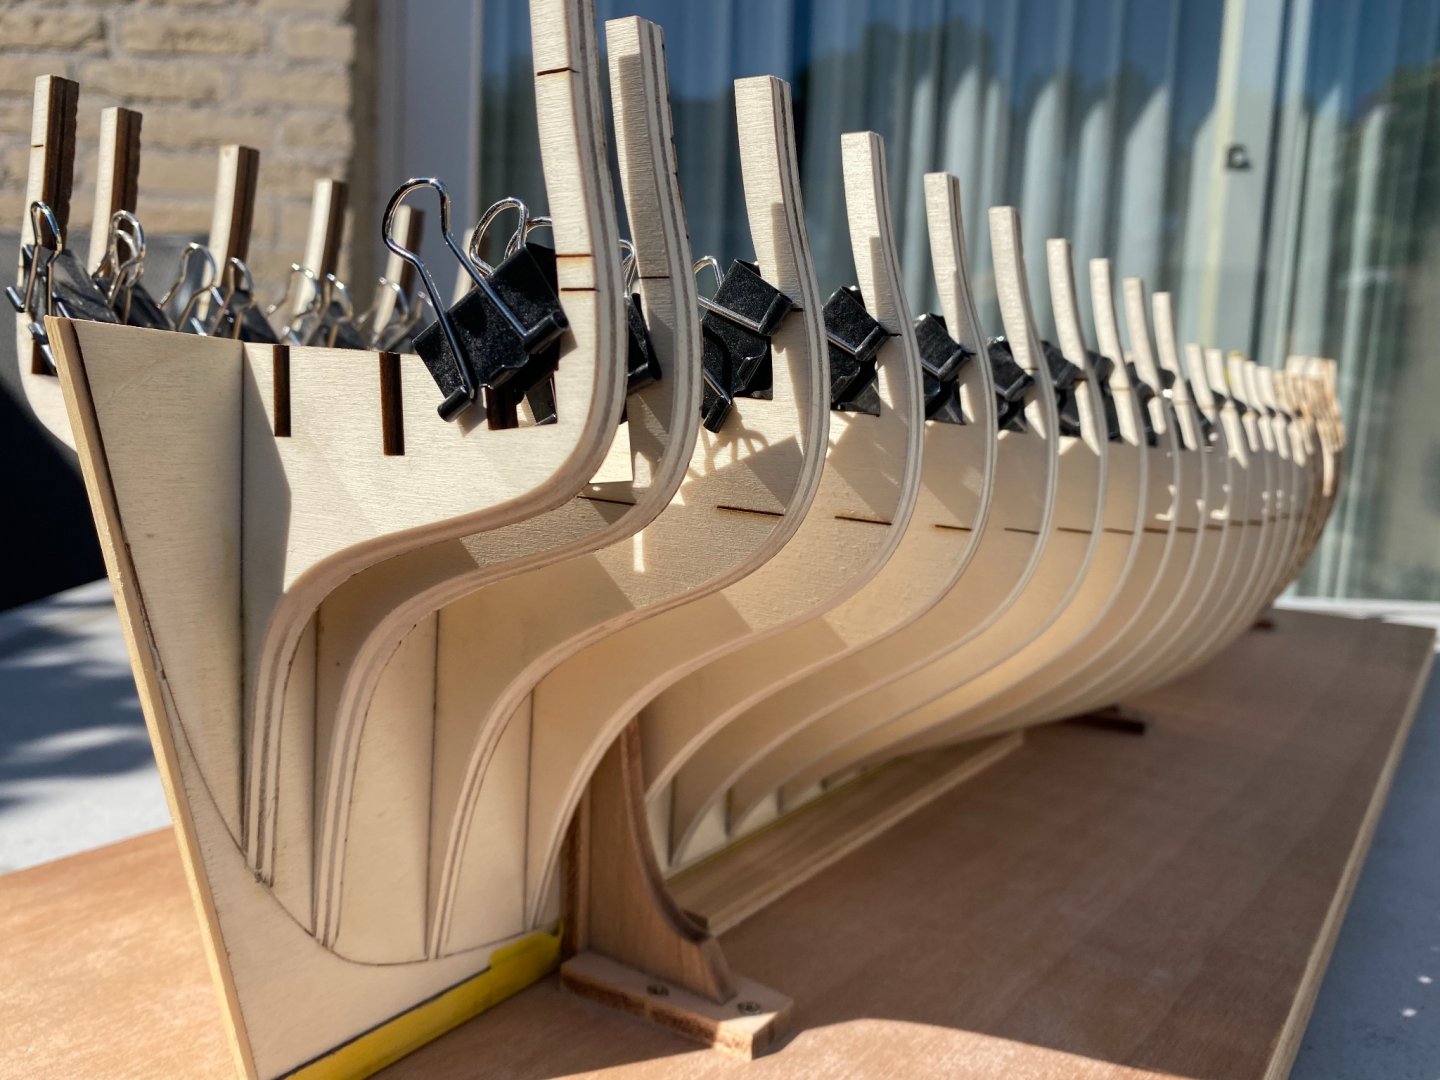
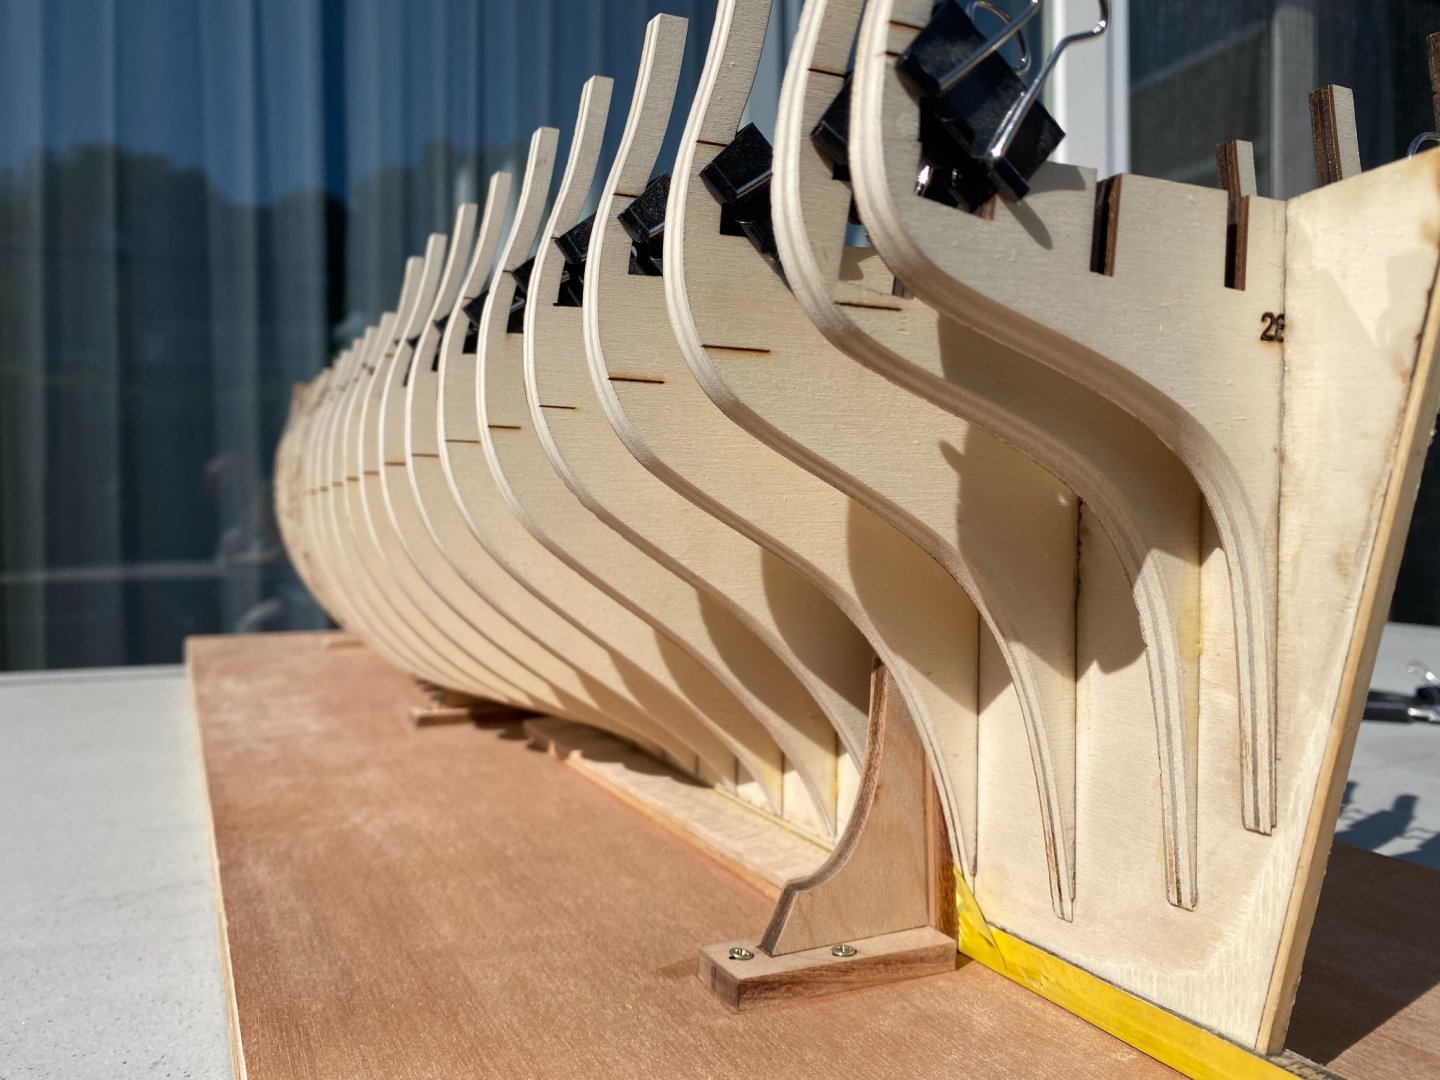
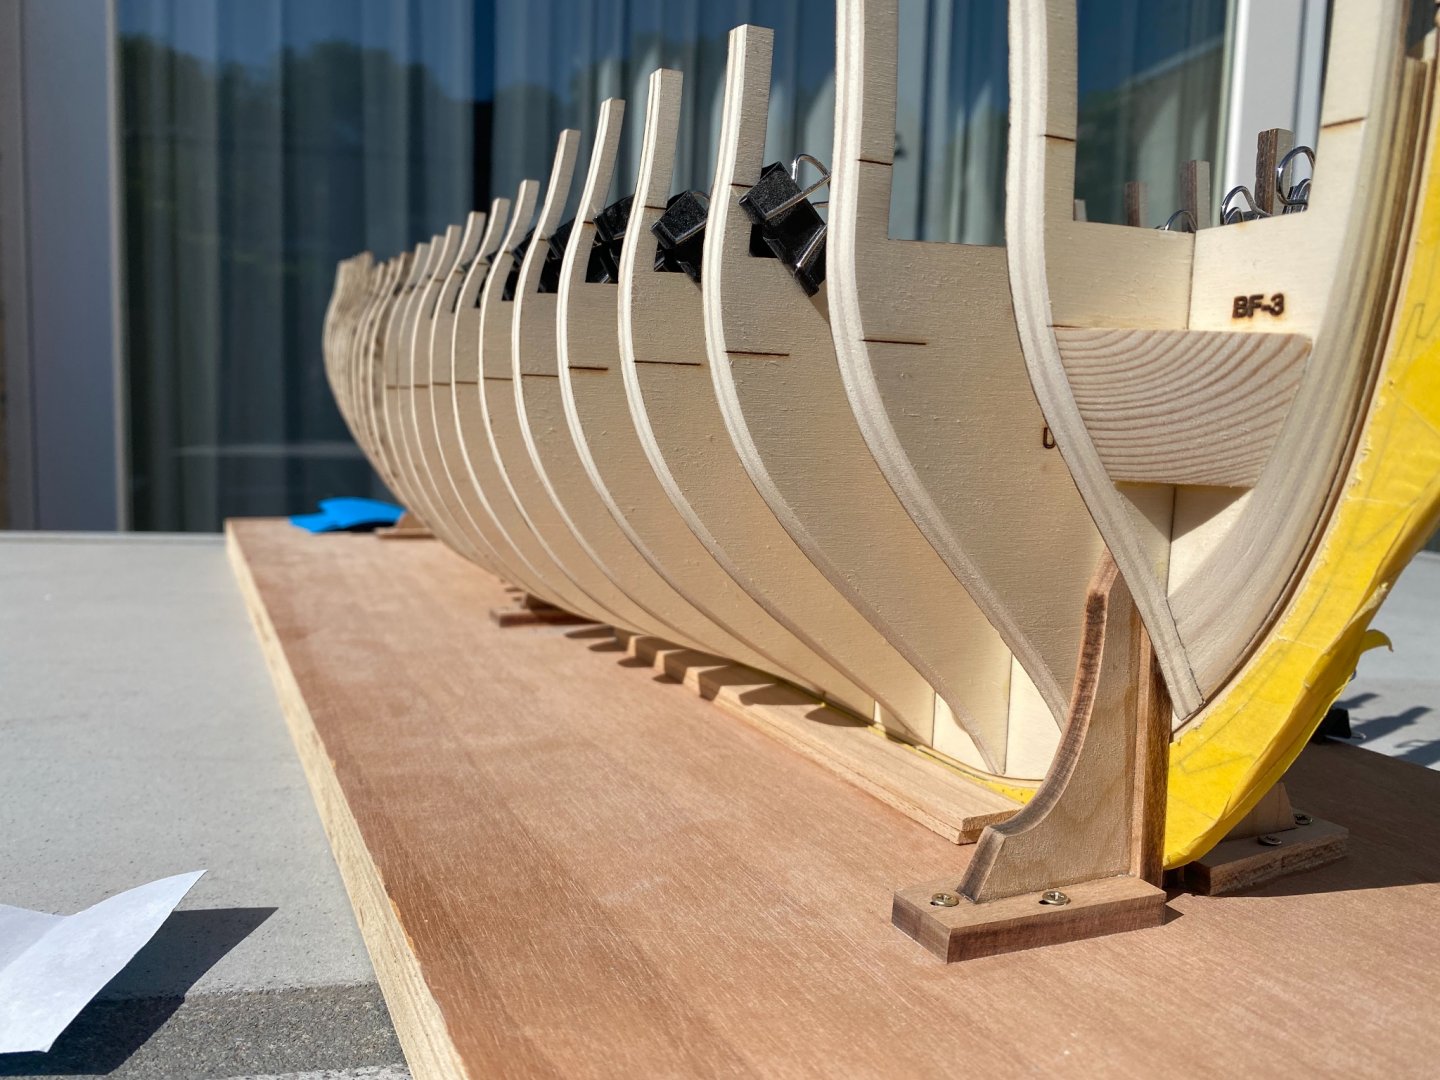
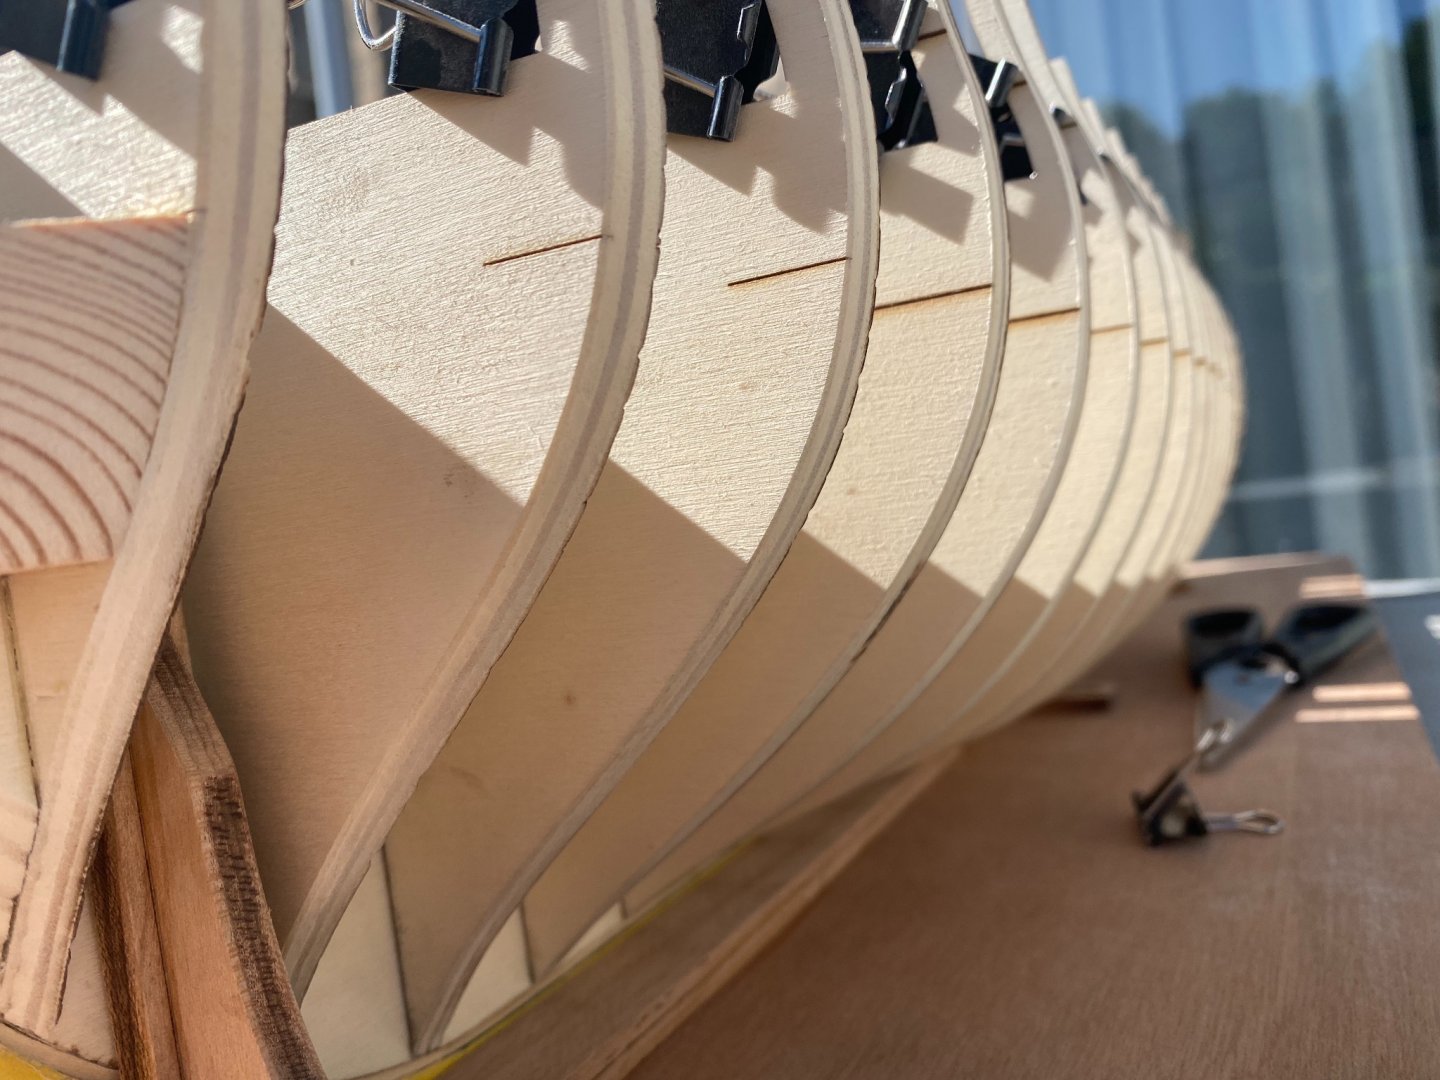
I just place two small sigar boxes on my table, turn Winnie upside down and make sure the sturdy part of the top of the bulkheads where the decks will be on later, are on those sigar boxes. This way, the fragile and with clips reinforced tops of the bulkheads are free from my table, on which I place also newspapers for some soft protection. But I see no reason for not fairing the lower half of the ship’s hull later like you mention, other than not following Chucks instructions to the letter. Maybe others here?
-
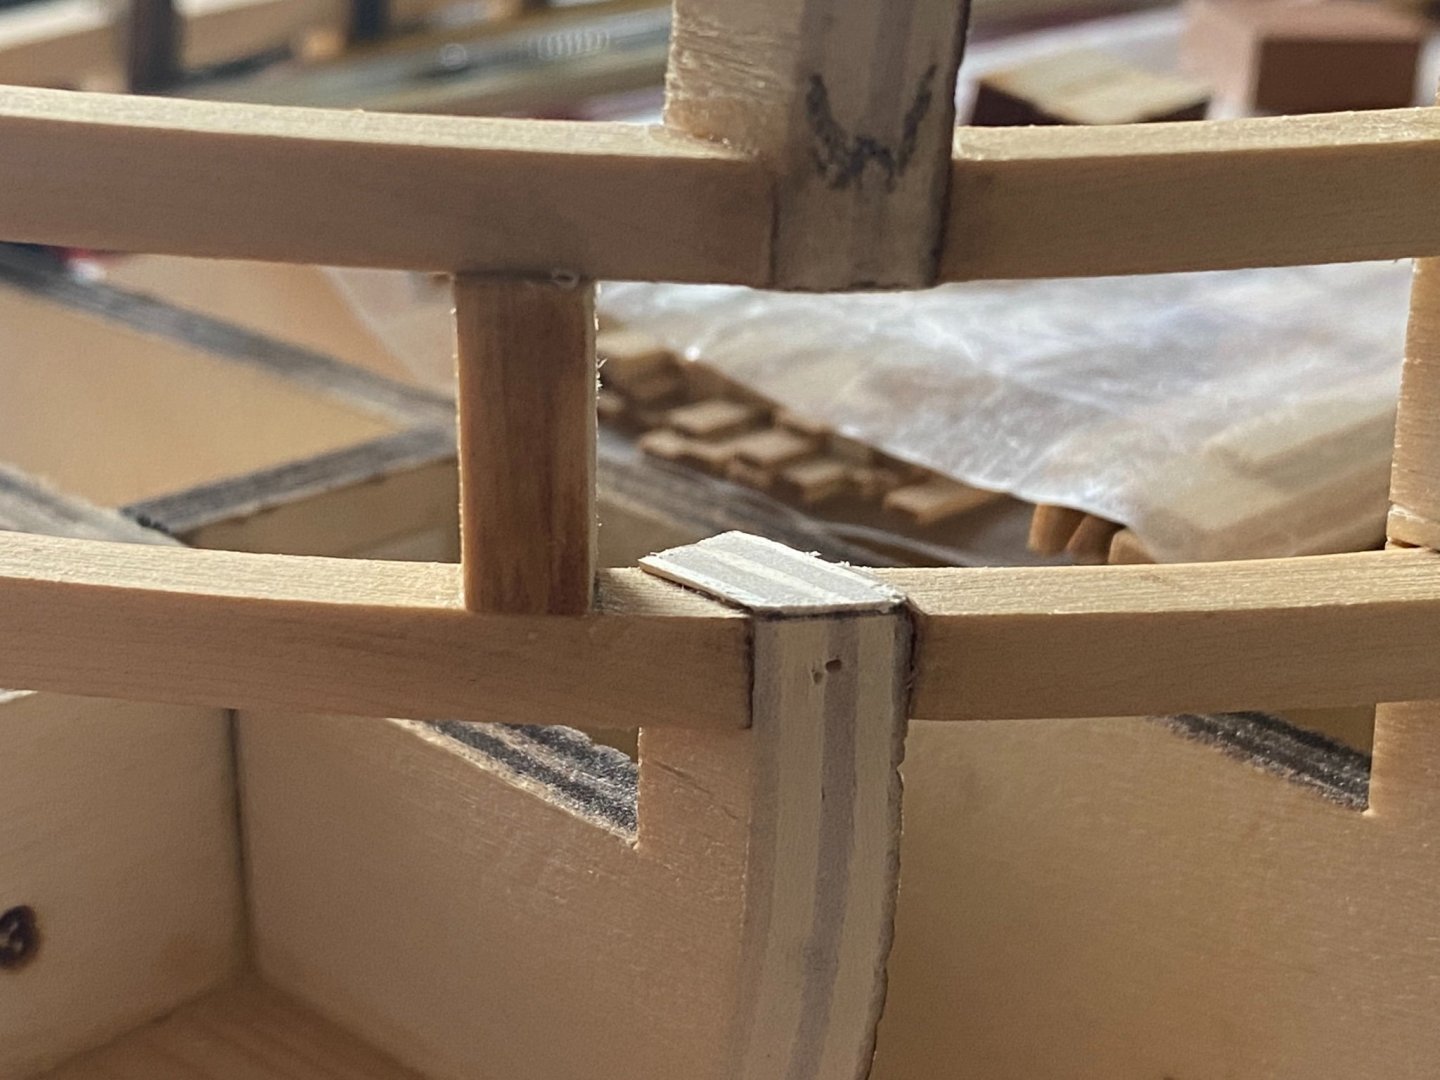
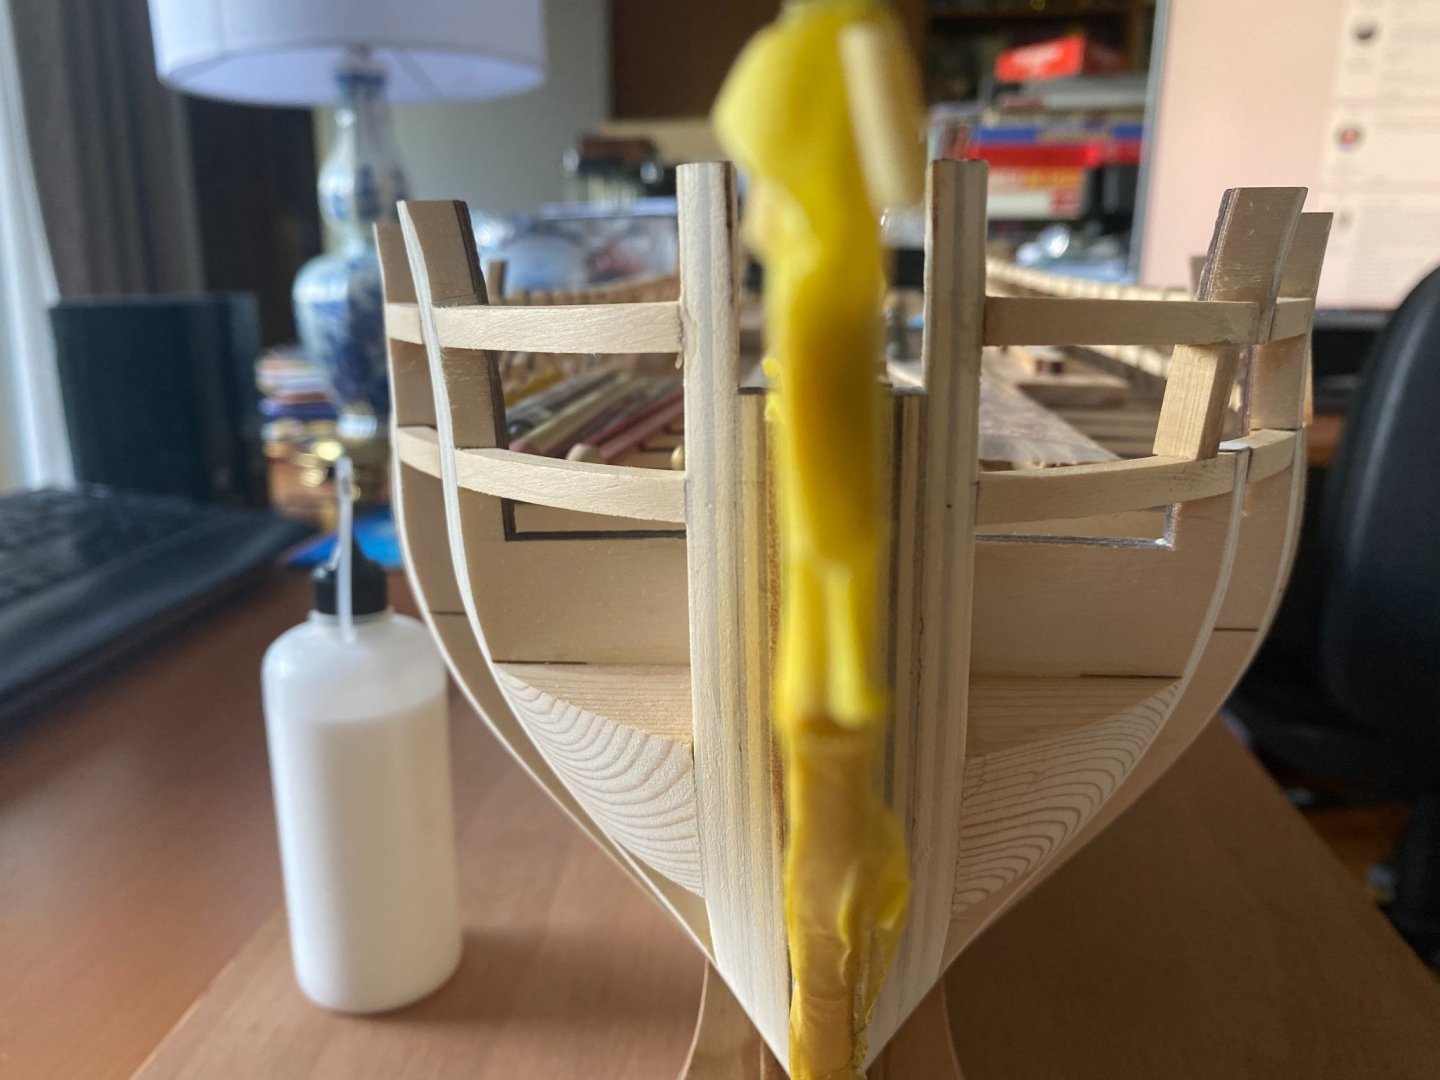
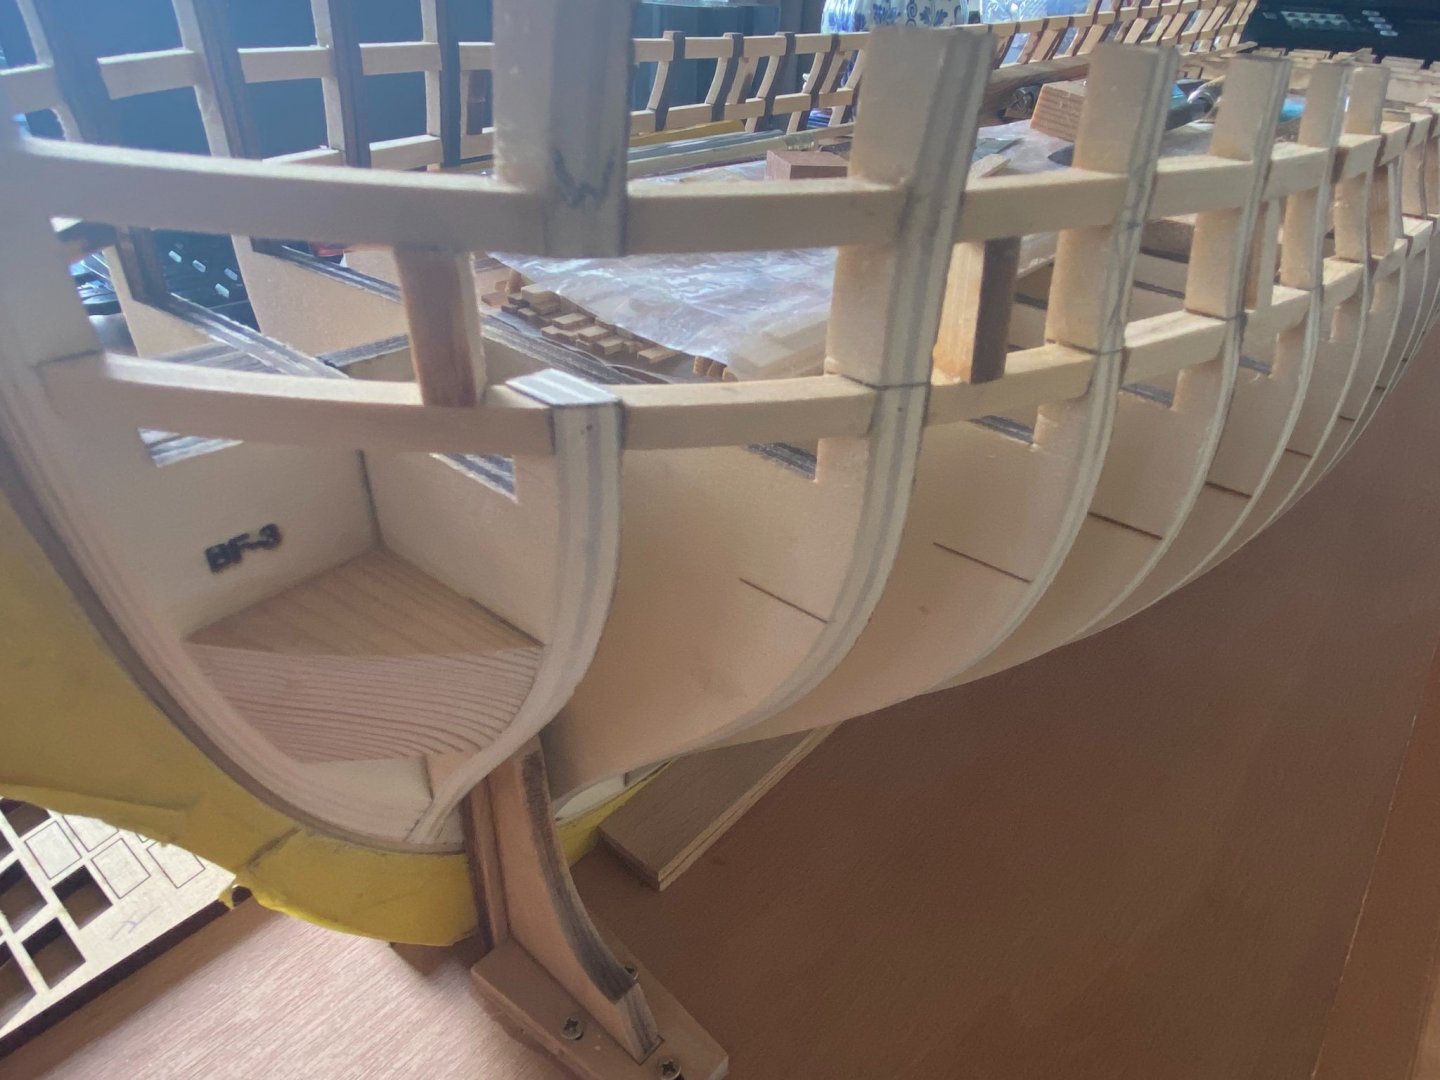
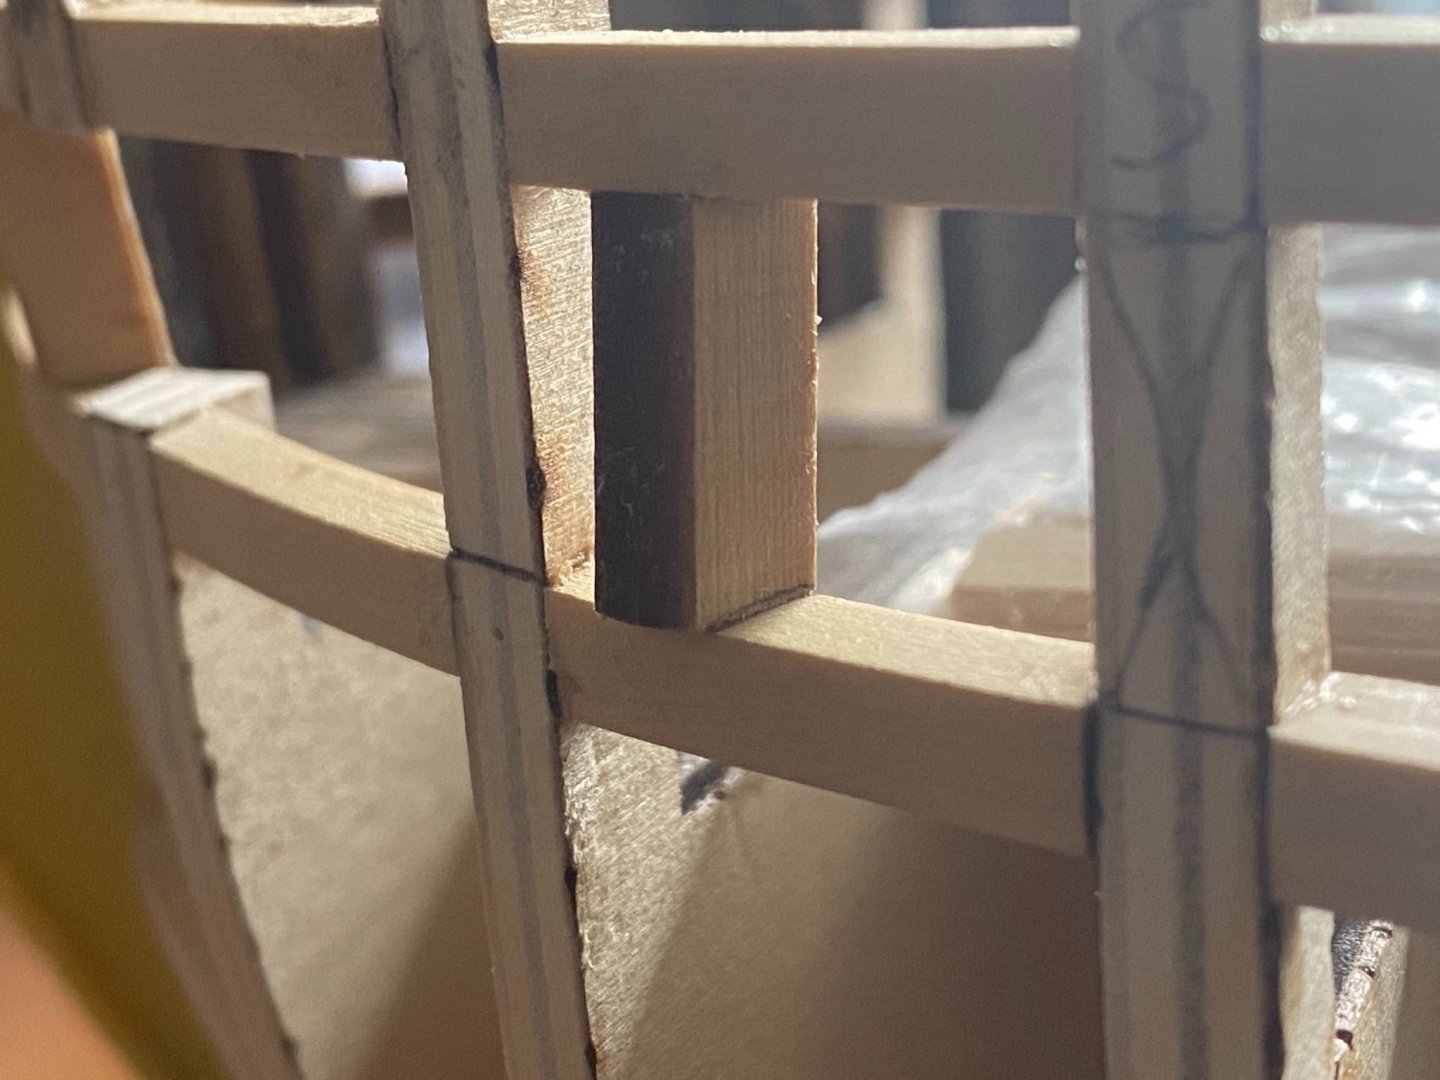
Looking really good and sharp to my eye! Chuck’s laser cut frame and bulkheads fit really well, just be sure to glue them tight and that the glue is on every inch where the bulkhead makes contact to the frame and that they’re as square to the keel and frame as you can. Use small steel squares and clamps to keep them in a 90 degree angle to the frame. Also check if they don’t overlap the rabbit line/opening just above the keel, but that they touch the upper line of the rabbit line exactly, thus keeping it fully open, then you should be okay. Later, as your wrote your concern on fairing the hull in my build log on fairing, just go slow and imagine the run of the planking and its curved surface already when you’re sanding, how it will bend, check if all is still in line with the angle of sanded surfaces of other frames. It should fluently when you look over it with one eye and the other closed. Also, all the laser char should be sanded away. When there’s still a small line of laser char on the bulkheads just sanded, you’re not finished sanding yet while then the planking will not be glued to the maximum amount of surface on the faired bulkhead as when you sand some more till the small remaining line of char is gone. When not using laser cut bulkheads with blackbrown laser char edges, but when e.g. you scroll sawed the bulkheads yourself, you could paint the edges of the bulkheads e.g. red to help you in the same way. At the stem/bow, you can follow not only the line or curve of the rabbit line, but also the line over the frames when holding a double folded sanding paper sanding in fluent lines and moves along these lines and while at the same time checking, looking and imagining the form of the ship. When you sand these on and off and vice versa, you should get a sharp line forward like for a fregat and also get that twist from a dead to a sharp angle from top to bottom of the bow/stem. This is how I do it, not sure if that’s the best method, but I get there this way I think. Hope this helps you.
About us
Modelshipworld - Advancing Ship Modeling through Research
SSL Secured
Your security is important for us so this Website is SSL-Secured
NRG Mailing Address
Nautical Research Guild
237 South Lincoln Street
Westmont IL, 60559-1917
Model Ship World ® and the MSW logo are Registered Trademarks, and belong to the Nautical Research Guild (United States Patent and Trademark Office: No. 6,929,264 & No. 6,929,274, registered Dec. 20, 2022)
Helpful Links
About the NRG
If you enjoy building ship models that are historically accurate as well as beautiful, then The Nautical Research Guild (NRG) is just right for you.
The Guild is a non-profit educational organization whose mission is to “Advance Ship Modeling Through Research”. We provide support to our members in their efforts to raise the quality of their model ships.
The Nautical Research Guild has published our world-renowned quarterly magazine, The Nautical Research Journal, since 1955. The pages of the Journal are full of articles by accomplished ship modelers who show you how they create those exquisite details on their models, and by maritime historians who show you the correct details to build. The Journal is available in both print and digital editions. Go to the NRG web site (www.thenrg.org) to download a complimentary digital copy of the Journal. The NRG also publishes plan sets, books and compilations of back issues of the Journal and the former Ships in Scale and Model Ship Builder magazines.

