Landlubber Mike
-
Posts
4,543 -
Joined
-
Last visited
Content Type
Profiles
Forums
Gallery
Events
Everything posted by Landlubber Mike
-
 Sorry to post on your log - Alan, I'd make sure you spray the Vallejo Metal Color paints at a low PSI - like 15-20. Too much pressure and I've gotten weird pooling and other effects. Just go light passes and you'll be fine. Their Metal Color paints spray very nicely.
 -
Hey Alan, that came out great! Nice work showing that stubborn kit who is boss! Like anything else, working on something difficult teaches more than something that falls together. You should feel proud having completed it! After slogging through this one, you should try a Tamiya or Hasegawa kit. My Hs 129 kits by Hasegawa have perfectly fitting parts. After my JRS-1 and Special Hobby past build, I was practically confused and couldn’t believe my eyes when the fuselage just snapped together to the point of likely needing little to no filler. Congrats again!
-
Depending on the task, I'll use either a hand vise (usually the Starrett ones I mentioned earlier) or a power tool. A few years ago, at the recommendation of a forum member here, I upgraded from my old Dremel to an NSK Evolution micromotor. It was pricey, but well worth it in the end. It's similar to the type of machine a dentist uses. The handpiece is much smaller and lighter than a Dremel, so you have a lot more control and less fatigue if working for a longer period of time. I have the foot pedal to give further control. There's also a quick change lever on the handpiece to easily switch bits out. Now I rarely use the Dremel. I find myself using the micromotor more and more to drill holes, sand, grind, etc. On my current Hs 129 build, I had to do a lot of cutting, drilling sanding, grinding, etc. of the kit parts and the resin aftermarket. It probably took less than 5% of the time to do all I had to do with the micromotor compared to if I tried doing it using hand vices and other hand tools. I haven't tried it for carving yet (ultimately, I'd like to carve figureheads and other decorative pieces for my wooden ship models), but similar tools are used by wood carvers. One member here was I think using a similar machine to do amazing lifelike carvings of birds in wood. Again, as with most Japanese tools, it was certainly not an inexpensive tool, but it's kinda like the Byrnes machines - very well made that should last a lifetime and that make modeling a lot easier. There are some less expensive options out there for sure, so you just have to do a cost-benefit calculation to figure out what makes the most sense. As much as I like my Dremel, the micromotor is a game changer.
-
Very cool subject Alan - looking forward to following along!
-
Looking good, nice start! The Pontos set is really comprehensive for sure.
- 97 replies
-
- 3
-

-

-
- Enterprise
- Tamiya
- (and 2 more)
-
Very cool looking figure - will be a fun one for sure.
-
Some really cool details there Yves - great work!
-
Bright Eyed Athene by Jsk - 60mm
Landlubber Mike replied to Jsk's topic in Completed non-ship models
Nice job! -
100% agree with this. You've already got experience building wooden kits (and lots of experience building plastic kits), so at this stage I would argue that you can probably handle almost any kit out there. To me, assembling the hull/planking and rigging are probably the two areas with the biggest learning curve. You've already built two hulls and rigged both a 2-mast and a 3-mast ship, so you're well on your way as you already have experience with the pitfalls, things to look out for, etc. The bigger subjects typically just involve more repetitive steps than the ones you already built. If you feel like you're still not fully comfortable "moving up" then just buy a kit you like that is well designed with good instructions - like the ones from Vanguard or Syren - which have really good instruction manuals and/or kits with detailed build logs on here to help you along. FWIW, I started with the Caldercraft Badger, and I hadn't built a model since I was a kid. I picked it over some of the very basic kits that were recommended to me in large part because I wasn't interested in those subjects and Caldercraft put together a very good manual to help walk me through the build. Also, there were a few other people here building the kit, so us "Badger Brothers" helped each other along the way. Took me a while to get up the learning curve, but to me it was a better use of my time starting with a subject I liked than having first gone with an easier kit that I wasn't too into. I've gone the opposite route of you and got sucked into plastic kits at the moment, but I managed to make a good start on the Amati Pegasus, MS Charles Morgan, and Euromodel La Renommee and felt like I had plenty of experience from the Badger to work on those. I know this is counter to what a lot of people recommend here - essentially to start with a level one kit, move to level two, and so on. I'd argue that with your experience on the two kits that you've built, you have the experience to tackle almost any kit out there so pick a subject you like, take your time, and have fun.
-
Gunboat Philadelphia 1776 by tmj
Landlubber Mike replied to tmj's topic in - Build logs for subjects built 1751 - 1800
Are you pushing the wood through the draw plate using a drill press? Interesting, I never thought of that. -
I managed to find a 2000 boxing on eBay for a really good deal, so I will do two dioramas (especially since I already have an Opel Blitz kit I can use for the tow vehicle). It's for a B-1, but really the only difference is the intakes on the nacelles so I can easily convert it. Another good thing is that this kit has an "O" decal, which I can use as a template to create a mask the Blue "C" for the subject I'm doing. I've spent the last few days working on the various CMK sets, cutting them from their plugs, cutting open the fuselage and wings, etc. Here you can see what was cut from the first kit versus what the original parts look like from the second kit. Given that the second diorama will be covered in tarps and partially disassembled, I probably won't use much aftermarket at all on it. If you're building this with the various CMK sets, the wing/undercarriage details need to be modified to fit everything in the wings. You have to really shave back the undercarriage tubs to be able to fit the wing fuel tanks from the CMK exterior set. I also had to cut an opening into the fuselage to fit the ammo magazine from the armament set. Thanks for looking in!
- 51 replies
-
- 16
-
-
Really nice job Alan! I agree with CDW, you've got a nice collection now.
-
I have a set in different sizes from Starrett - a little more expensive, but very well made.
-
Wow Craig, that finish is amazing! Yellow is not an easy color to paint, and probably even harder to pull off when trying to replicate a showroom finish. Really well done! With the enamel/this brand, do you think the undercoat made a difference? Or does the enamel give a solid yellow color regardless of the undercoat color?
-
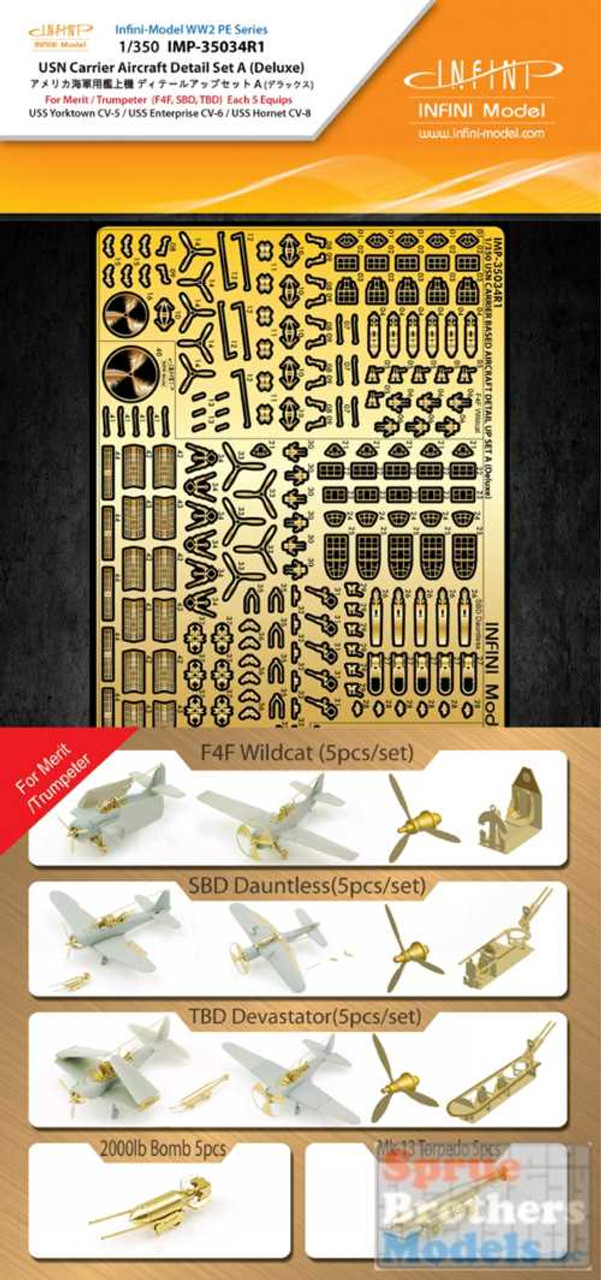
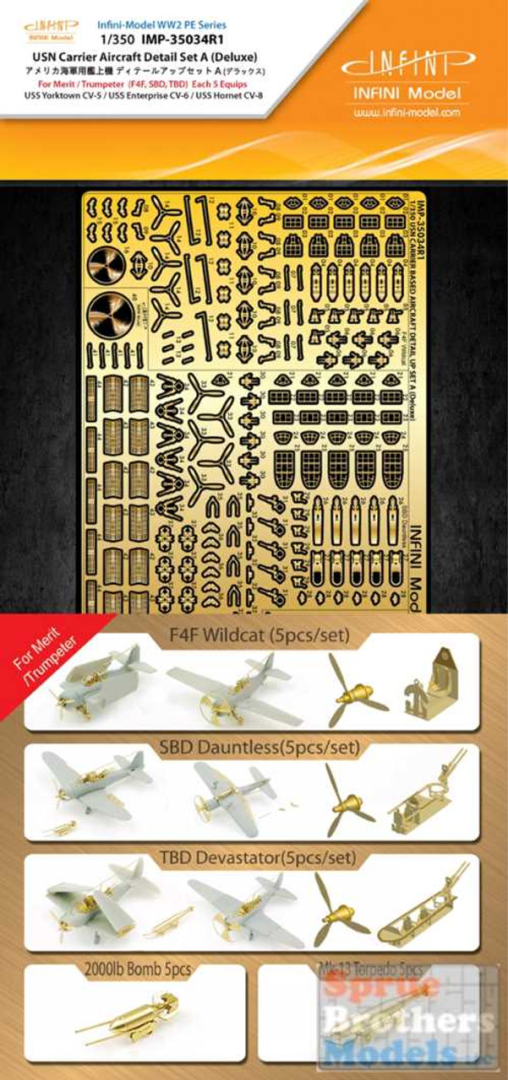
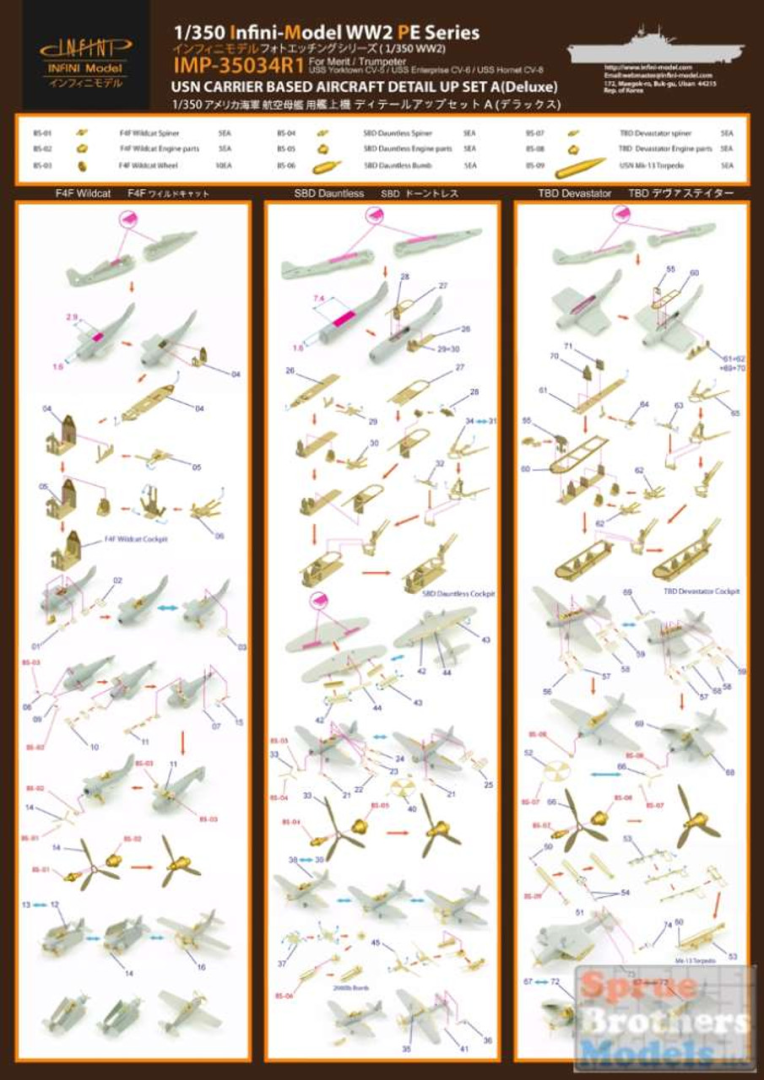
If you're really a masochist, Infini makes a nice upgrade set for the aircraft:
- 97 replies
-
- 2
-
-
- Enterprise
- Tamiya
- (and 2 more)
-
Hey Peter, I'm in for this one. I've got the kit in the stash with the Pontos upgrade set. Looking forward to seeing you work your magic on it!
- 97 replies
-
- 1
-
-
- Enterprise
- Tamiya
- (and 2 more)
-
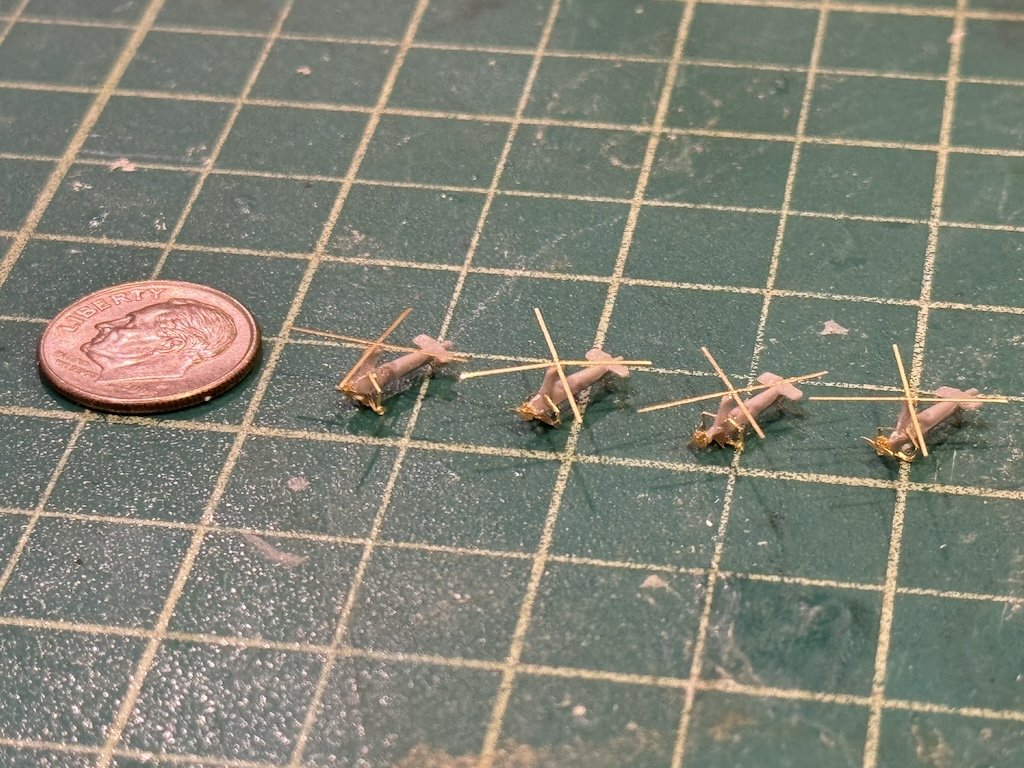
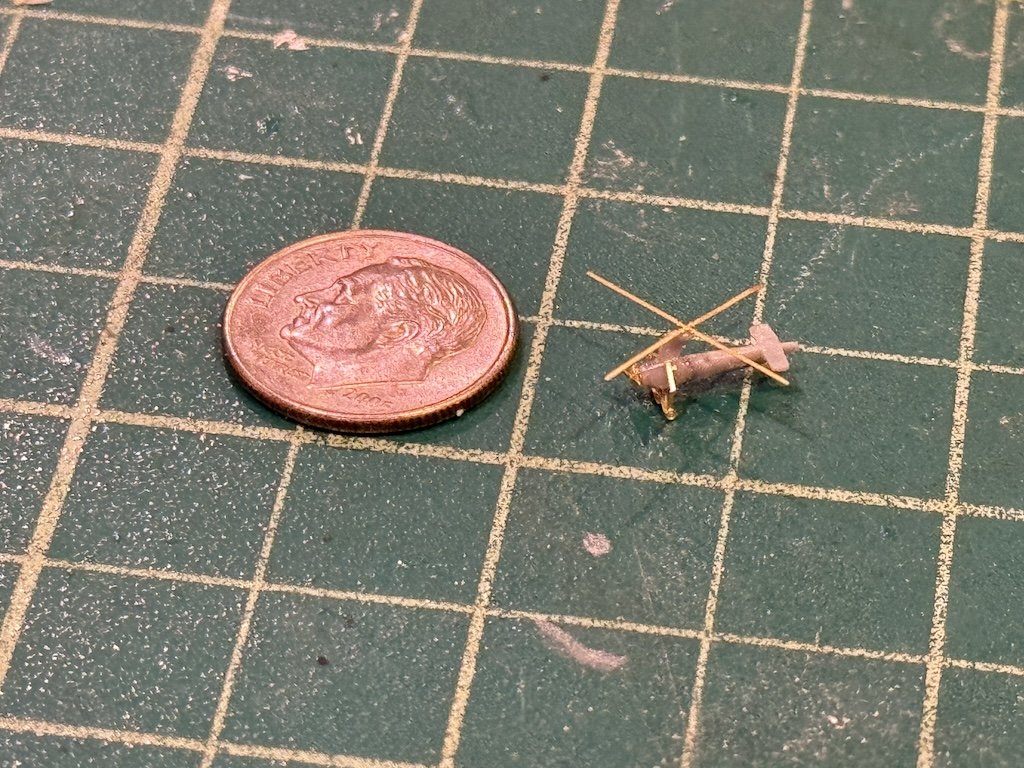
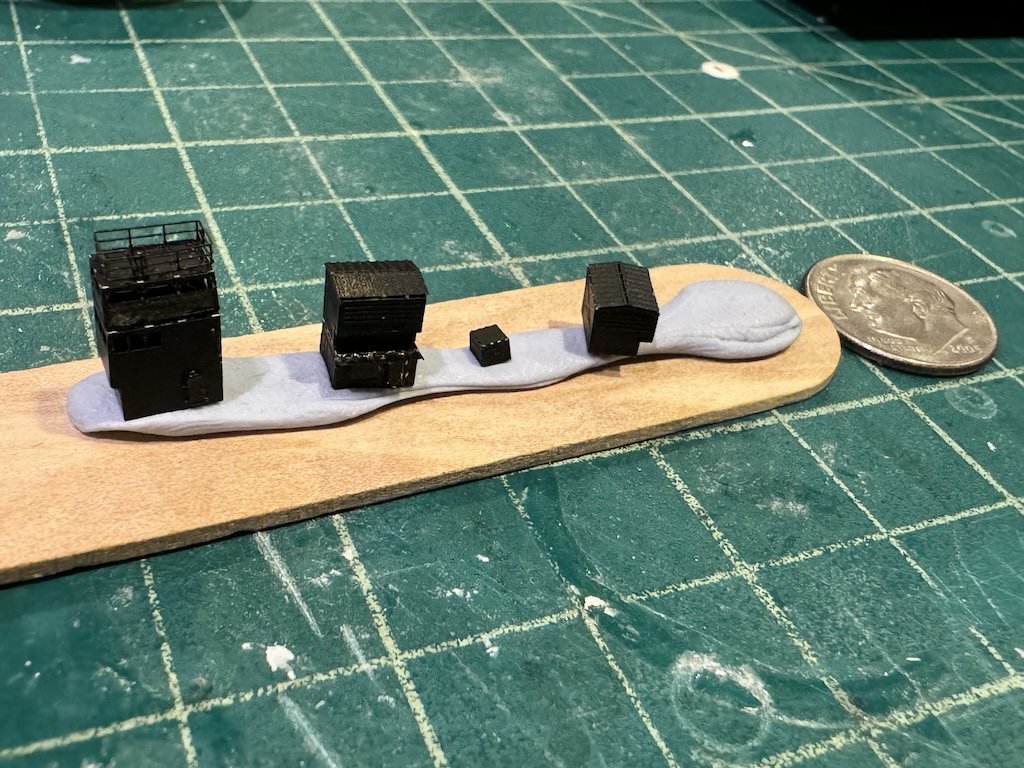
While waiting on some paints to arrive for my Hs 129, I put in a little more time on this build the last few nights. I built up the deck structures which make up the bridge. I thought pre-painting them in black would be a good idea, given that there are windows and doorways so it would save me a step in trying to later paint the interior black given that if left unpainted, the brass would be clearly visible and annoying. So, I primed the PE frets with Mr. Surfacer 1500 black before removing the parts. The downside of this is that it's a lot harder to see what you're doing folding PE parts, not to mention, seeing what the part numbers are when the frets are painted black. But, I managed to make it work. I also built up four the Ka-1 gyrocopters using an aftermarket FiveStar set that gives you four units. These surprisingly took a long time to put together. The set gives you a resin body, to which you add 10 separate PE parts (three of which are stacked on top of each other to build up the engine) to complete the gyrocopter. Some of the parts were probably less than 2mm in diameter. Very delicate work to say the least. When done though, the gyrocopters look much better in my opinion than the plastic ones in the Aoshima kit. Thanks for looking in!

- 39 replies
-
- 10
-

-
-
- Five Star
- Akitsu Maru
- (and 1 more)
-
Looking great Alan and the finish line is in sight! I'll echo what OC said that it's an extra hurdle or five when the kit isn't the best. You're doing a very nice job with what you were given in the box.
-
Looking really good Biggles! The decals, washes and weathering really bring it to life. I'm still low on the learning curve when it comes to painting/washes/etc. It's true artistry when the pros use pre- and post-shading, weathering, washes, filters, etc., along with using oils and other types of paints, to bring everything together in the end. I tend to try to go shade lighter on some colors knowing that washes will darken things a bit, and have started coming back with a very diluted filter if I need to lighten things back up a bit. A lot more complicated than the old days of when I was a kid and painted a coat of Testor's enamels and called it a day!
-
Yeah, not sure how common that was/is. I haven't fully gone through the cockpit area, but it looks like there is what could be a metal armor plate between the seat and fuel tank to maybe offer a little protection. I think this plane also had fuel tanks built into the wings, as one of the CMK detail sets allows you to model those.
-
Well done Peter!! Sorry to have missed this earlier. You put it together quickly! Makes me want to finish my SIB build. I got a little stuck in how I wanted to represent the bulwarks in a thinned down version and just decided to start something else. I wanted to get it thin, but then of course needed to be strong enough to hold the rigging. I was originally trying to use thin plywood, and might try it again. After building 1/700 scale ships, I have better tools and ideas on how to proceed with details like that. Your build log is very inspiring!
-
Nice job Alan, looking great! I know what you mean about trying to figure out the order of things when it comes to handling the model. I ended up doing the PE first on my JRS-1, as I was worried about excess glue that I couldn't remove over the painted surface, but it took a lot of discipline to remember to grab and hold the model in only one position. A few times I forgot but thankfully I didn't knock anything off.
-
Thanks Scott, really appreciate it!