Landlubber Mike
-
Posts
4,549 -
Joined
-
Last visited
Content Type
Profiles
Forums
Gallery
Events
Everything posted by Landlubber Mike
-
 The funnels are insane! Too bad he hasn't done IJN ships in this scale. All my 1/700 kits are IJN.
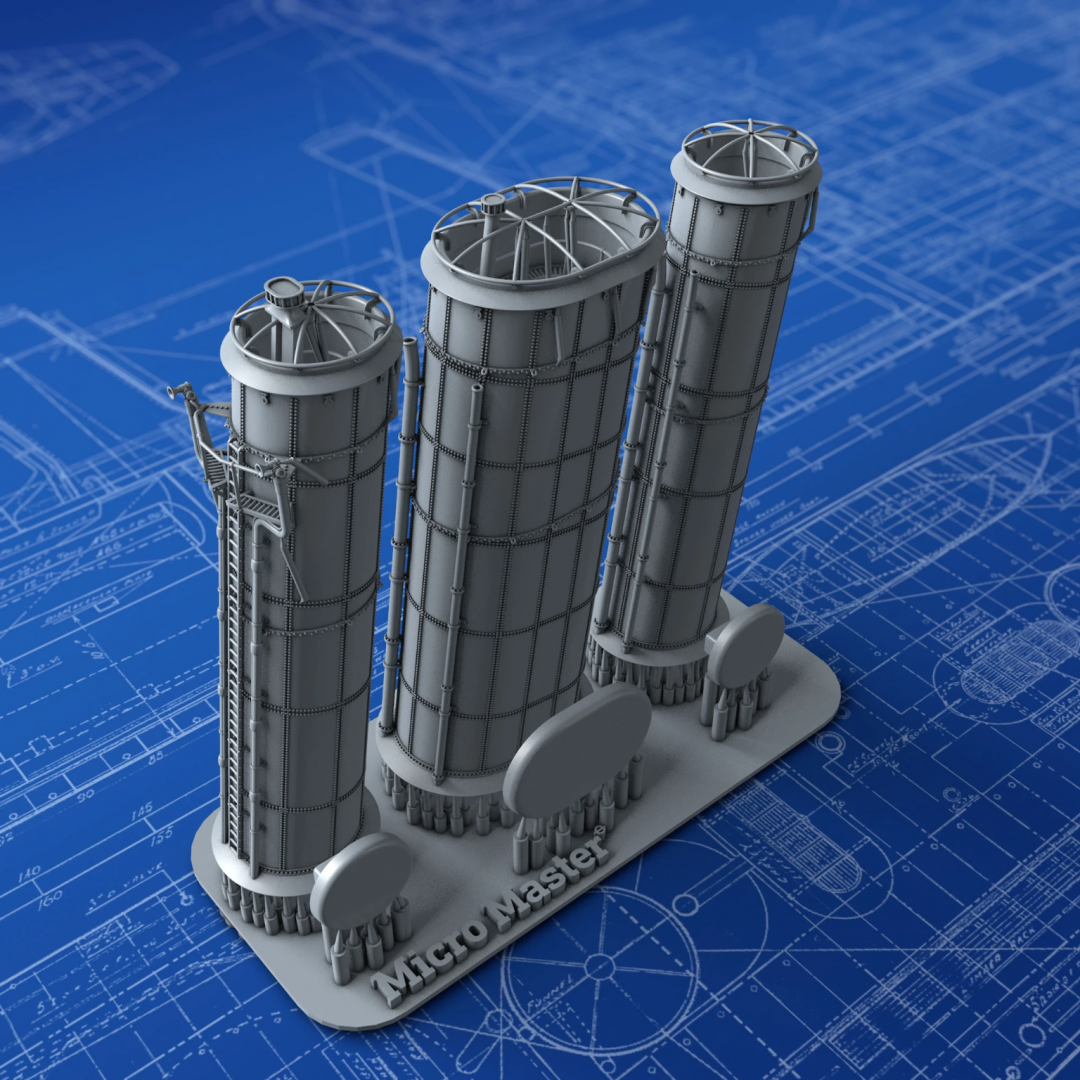
- 174 replies
-
- 9
-

-

-
- prinz eugen
- trumpeter
- (and 2 more)
-
Hey Glen, looking really great! Can totally tell it's the Charles Morgan, nice job at this scale! Good luck on getting it into the bottle. If it doesn't fit, you could always find a bigger bottle. One of the side benefits of the SIB builds is you can consume the contents when looking for the right bottle
- 71 replies
-
- 1
-
-
- Charles W Morgan
- bottle
- (and 1 more)
-
It's a fun little kit. Two things to look out for: (1) make sure the height of the ship can clear the bottle (it's an awfully tight fit), and (2) be careful with the bowsprit and masts, which are very fragile and prone to snapping. Enjoy!
-
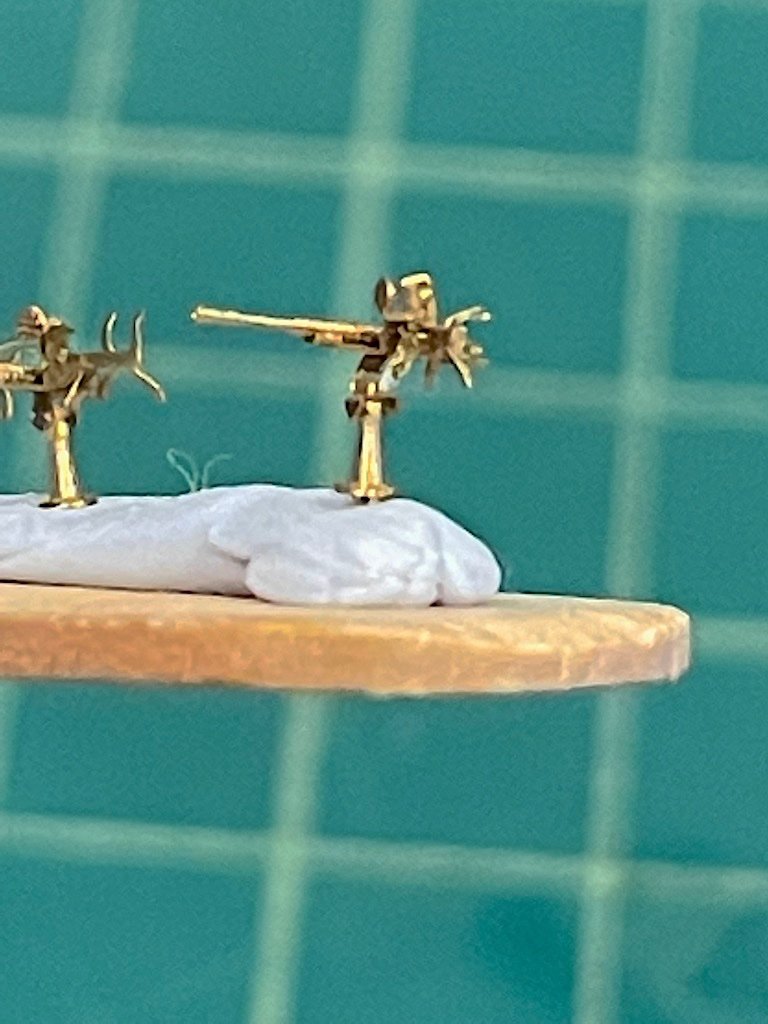
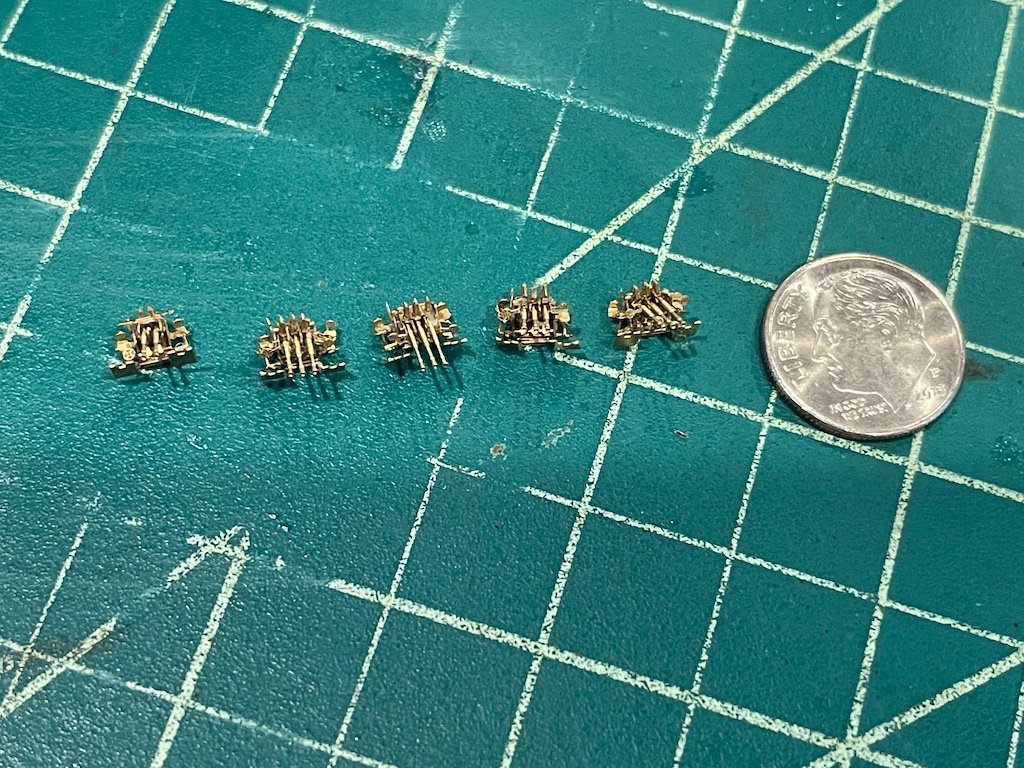
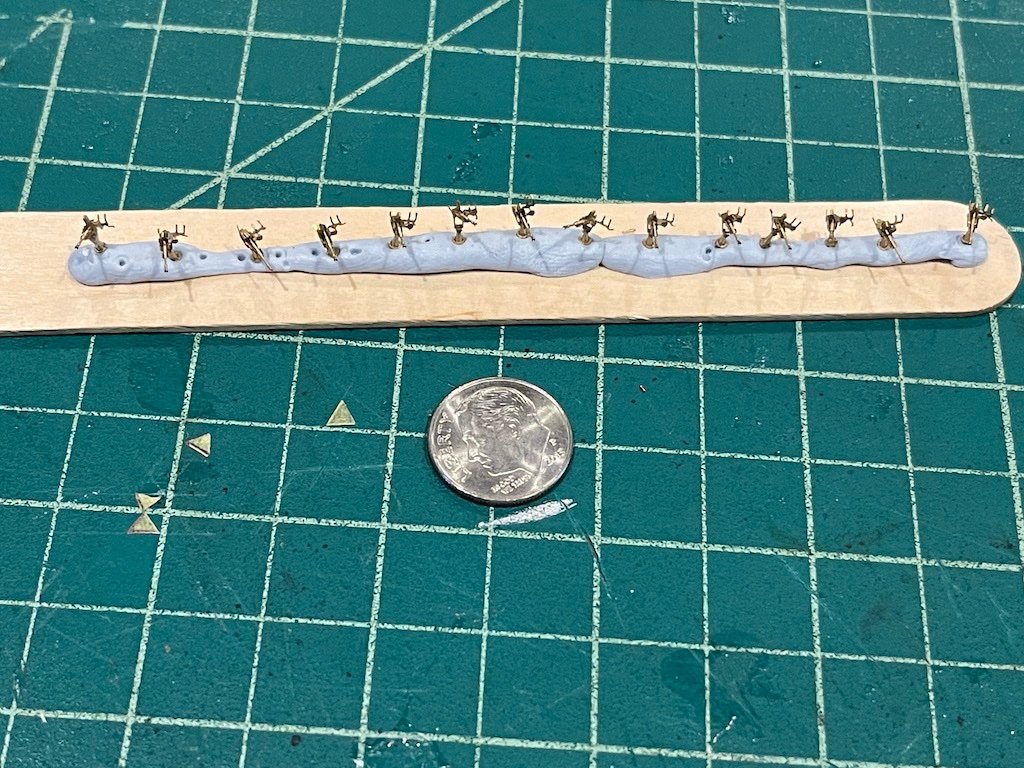
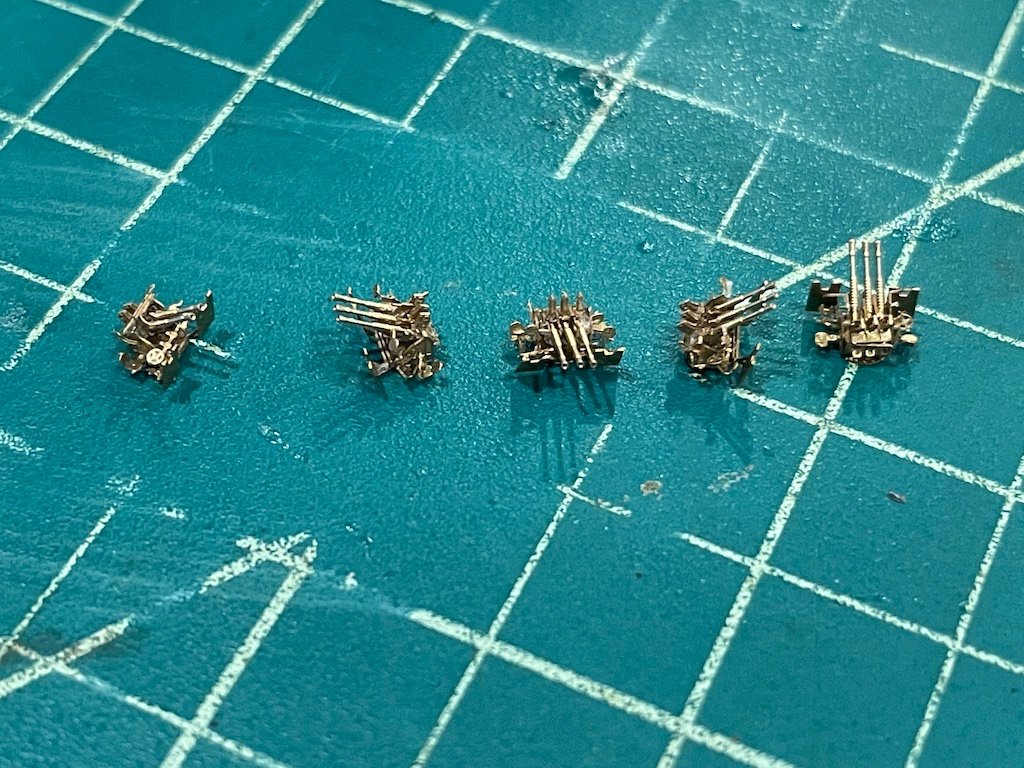
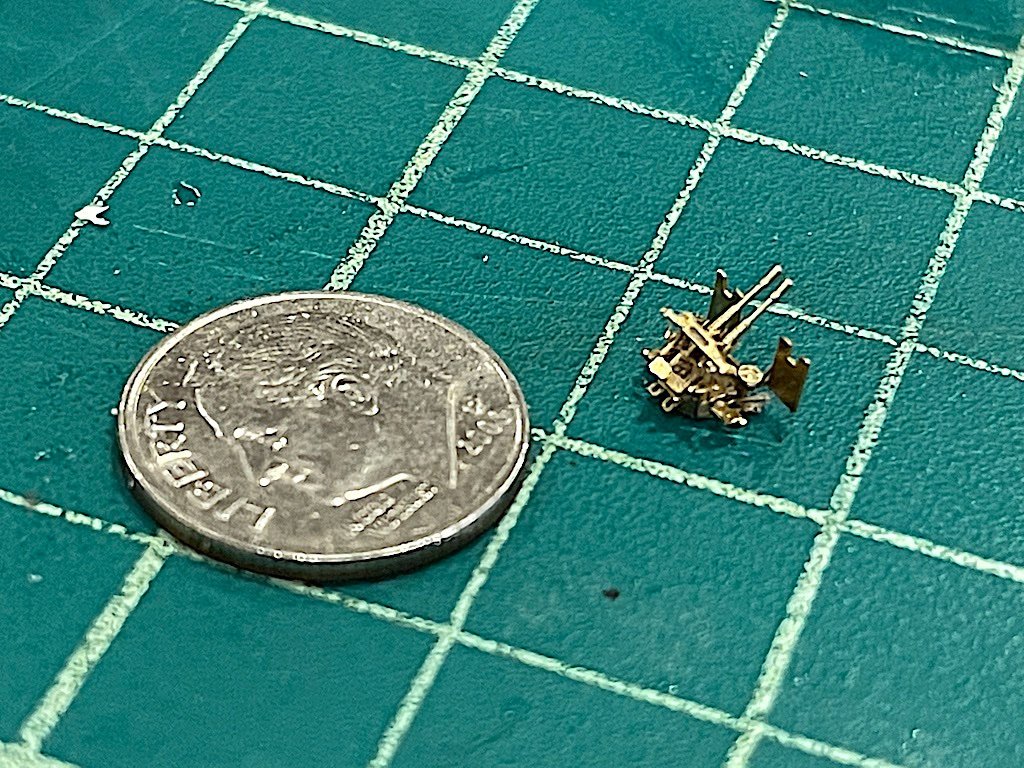
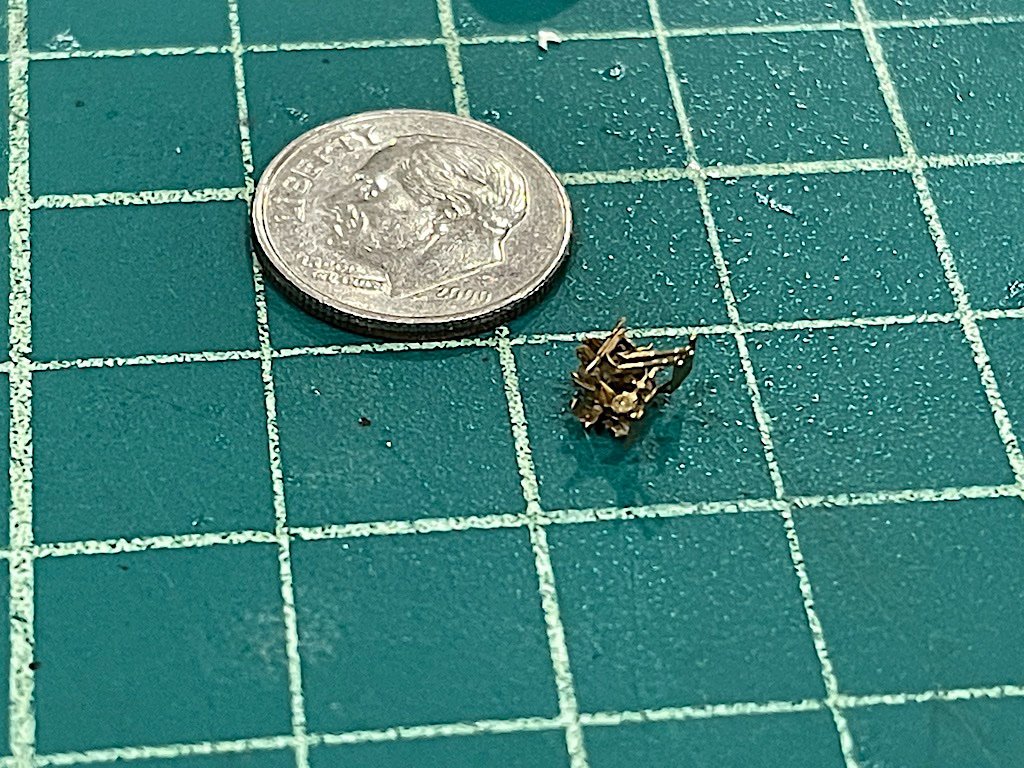
Slow and steady progress on this. I finally have all the guns completed. Here is the sole twin AA gun, along with the four triple AA guns. These AA guns probably had close to a dozen PE pieces each. These pictures are under extreme magnification, but the detail is pretty amazing. The barrels especially have little ridges and and inset where the barrel opening is. Also finished the 14 single AA guns. Only 8 pieces on these, but they took quite some time: I'm trying to replicate oil canning effects on the hull sides, which so far isn't looking too bad, just need to clean up a few areas. Once that's in good shape, I will add the linoleum decks and structures to the hull, and then these various details. Famous last words, but it should come together fairly quickly now that a lot of these details are finished. One could probably finish this kit in a week or two if building straight from the box. With the Infini detail set, the time is multiplied probably by at least a factor of ten I would conservatively estimate.
- 154 replies
-
- 13
-
-
Putting together 1/350 and 1/700 guns using PE is a huge time suck. I decided to pick up some resin guns to try out on my future builds. You only have to use a few pieces of PE, rather than build up guns from a dozen or so parts.
- 174 replies
-
- 6
-
-
- prinz eugen
- trumpeter
- (and 2 more)
-
You could try using a hair dryer to soften and then reshape the part. Or put in warm/hot water and see if that works. I used a hair dryer to fix the cowl on a biplane a few months ago and it did soften the plastic to be able to reshape. Only problem was that the part was round so it was too hard to get a perfect circle. Your bend should be much easier. You also might be able to find a replacement mast in brass that would likely be in better scale. Infini makes a number of mast sets for various subjects, and then you can also get generic masts from companies like FiveStar.
-
Great job! For the white railings, did you use thread? Very effective!
- 71 replies
-
- 1
-
-
- Charles W Morgan
- bottle
- (and 1 more)
-
On my 1/700 build, I was worried about the 2D look of the single AA guns as well, but with the folds, some paint, and in situ, they look perfect. Definitely much better than the plastic kit counterparts.
- 174 replies
-
- 6
-
-
- prinz eugen
- trumpeter
- (and 2 more)
-
I'm working on my triple AA guns at 1/350 scale and feel the same way even though I only have four to do. I don't think I could remain sane if I had to do 28, let alone at 1/700!
- 174 replies
-
- 6
-
-
- prinz eugen
- trumpeter
- (and 2 more)
-
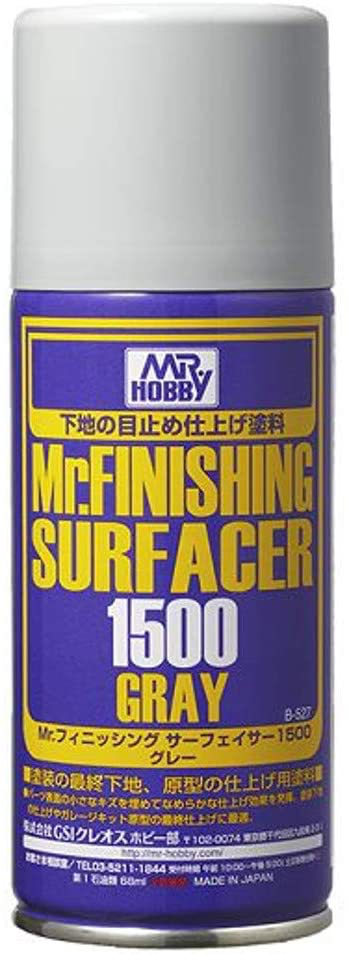
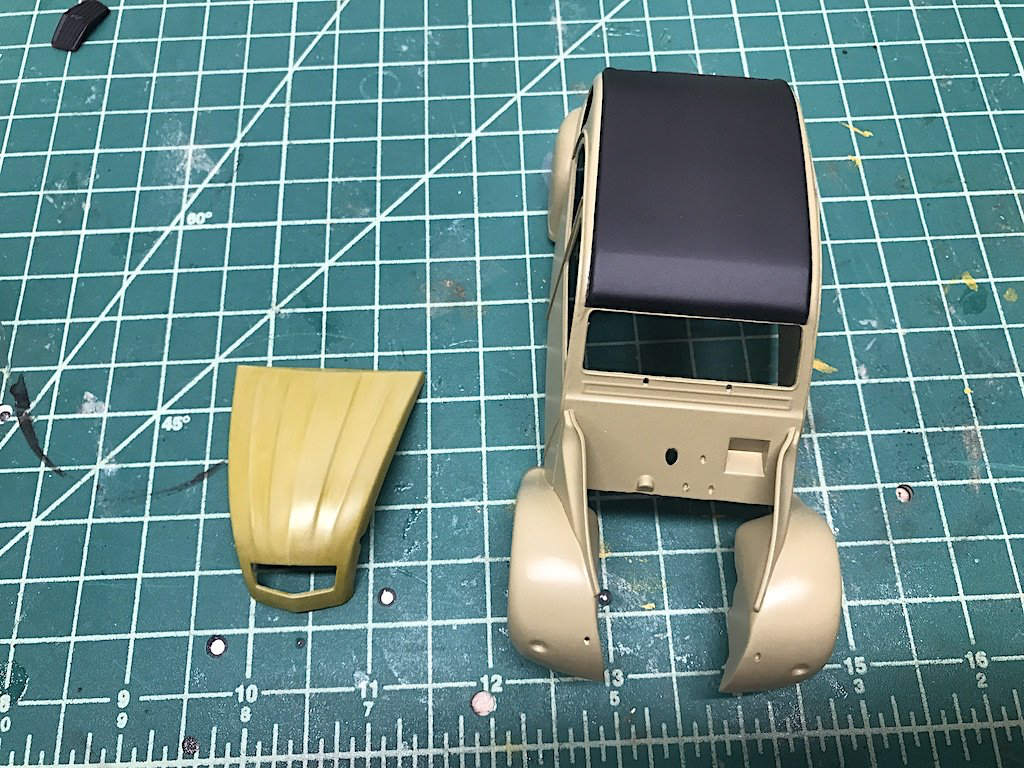
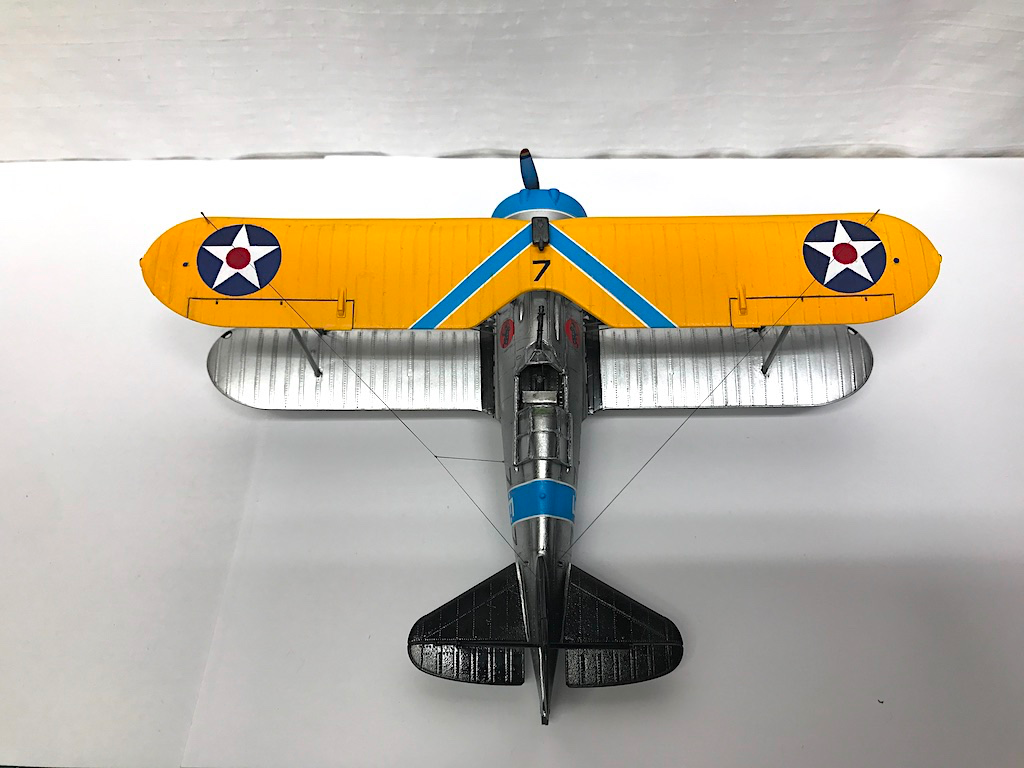
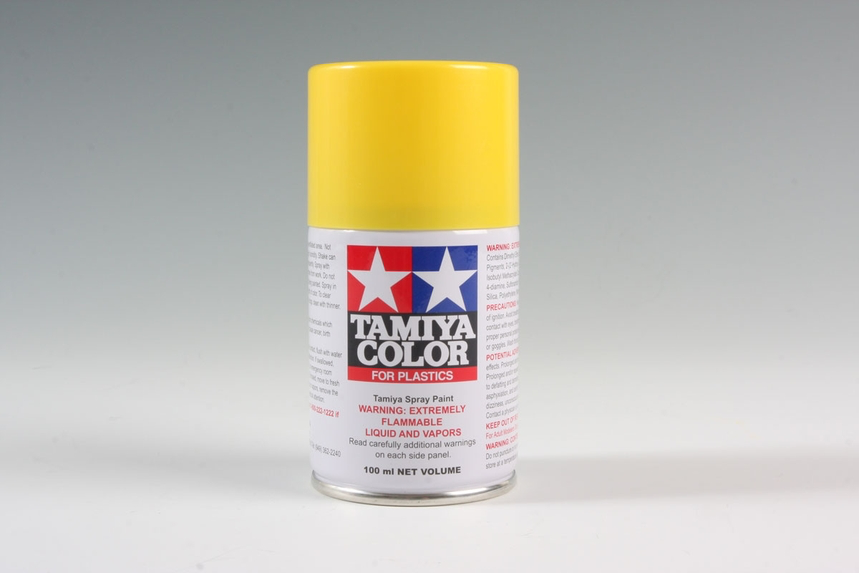
Some colors are affected by the underlying color (primer in this case). Reds for example can look completely different if you use white, pink, or other color. Metallics usually have a gloss black undercoat to get the full effect. I think yellow might be one of those colors that could be affected. I'd probably go gray and not white or the yellow might be too bright. A lot of people use Tamiya primer, but I think I tried the white once and wasn't too happy. Probably user error on my part. This is what I use - it is really amazing stuff, and self-levels perfectly. You can sand it after spraying if there are any imperfections, and it will fill tiny gaps for a very smooth finish. You can also get Mr Surfacer in 1000 and I think 500 which progressively will fill bigger imperfections. 1500 should work well though. One thing about spraying Tamiya from rattle cans - make sure you shake the can plenty, and watch out for dried paint on the nozzle which will set onto your painting surface and cause you a lot of grief. I haven't experienced that with Mr. Surfacer, but the Tamiya rattle cans I've used seem to be more prone to this. Good idea to clean out the nozzle after spraying. Here's another option I just thought of - you can use Tamiya's Dark Yellow in the rattle can, which comes out a beige-ish color, and then add Vallejo Yellow Wash on top (the Vallejo wash comes in a plastic bottle and you can hand brush it on). It subtly changes the color as you can see on the hood in this picture, and might give you more of the ochre you are looking for. Tamiya's Camel Yellow in the rattle can will give you this color. I guess it will depend on what kind of yellow ochre you want for your model. I guess it will depend on what kind of yellow ochre you want for your model.
-
Nicely done Craig. Makes you cross eyed building those doesn't it!
- 174 replies
-
- 7
-

-
-
- prinz eugen
- trumpeter
- (and 2 more)
-
If you're looking for yellow ochre, you might be able to get away with Tamiya's Camel Yellow (TS34) which [only] comes in a spray can: There's also Pearl Yellow which possibly could work: For best results, I wouldn't try to paint or prime large areas by brush - i'd either use an airbrush or a rattle can. Tamiya, Mr. Surfacer, and others make good primers that come in rattle cans. You can use Tamiya paints over Mr. Surfacer primer - I do so all the time. If you do go with Tamiya rattle cans, make sure you buy the TS line of paints which are designed for plastics, and not the PS line which is for polycarbonate. I made that mistake and it was not fun! The PS line runs very hot. It's too bad because the PS line offers Mustard Yellow which could be a good option:


-
At 1/700, I wouldn't bother deburring. Any tiny bits are likely not going to be seen, and I found you run a risk of ruining the part - or worse yet, losing it if it happens to ping off somewhere. On my current 1/350 build, I'll spend some time deburring but only for larger, more robust pieces. The spiders take time but really aren't too difficult. Pre-bend the legs down, then test fit. Rinse and repeat. Just make sure that if the funnel is not symmetrical, that you have the spider set up the correct way. Once you get the legs close to final fit, you can start gluing one end, and then adjust the legs as you glue the others. This is one area where having very thin brass is an advantage.
-
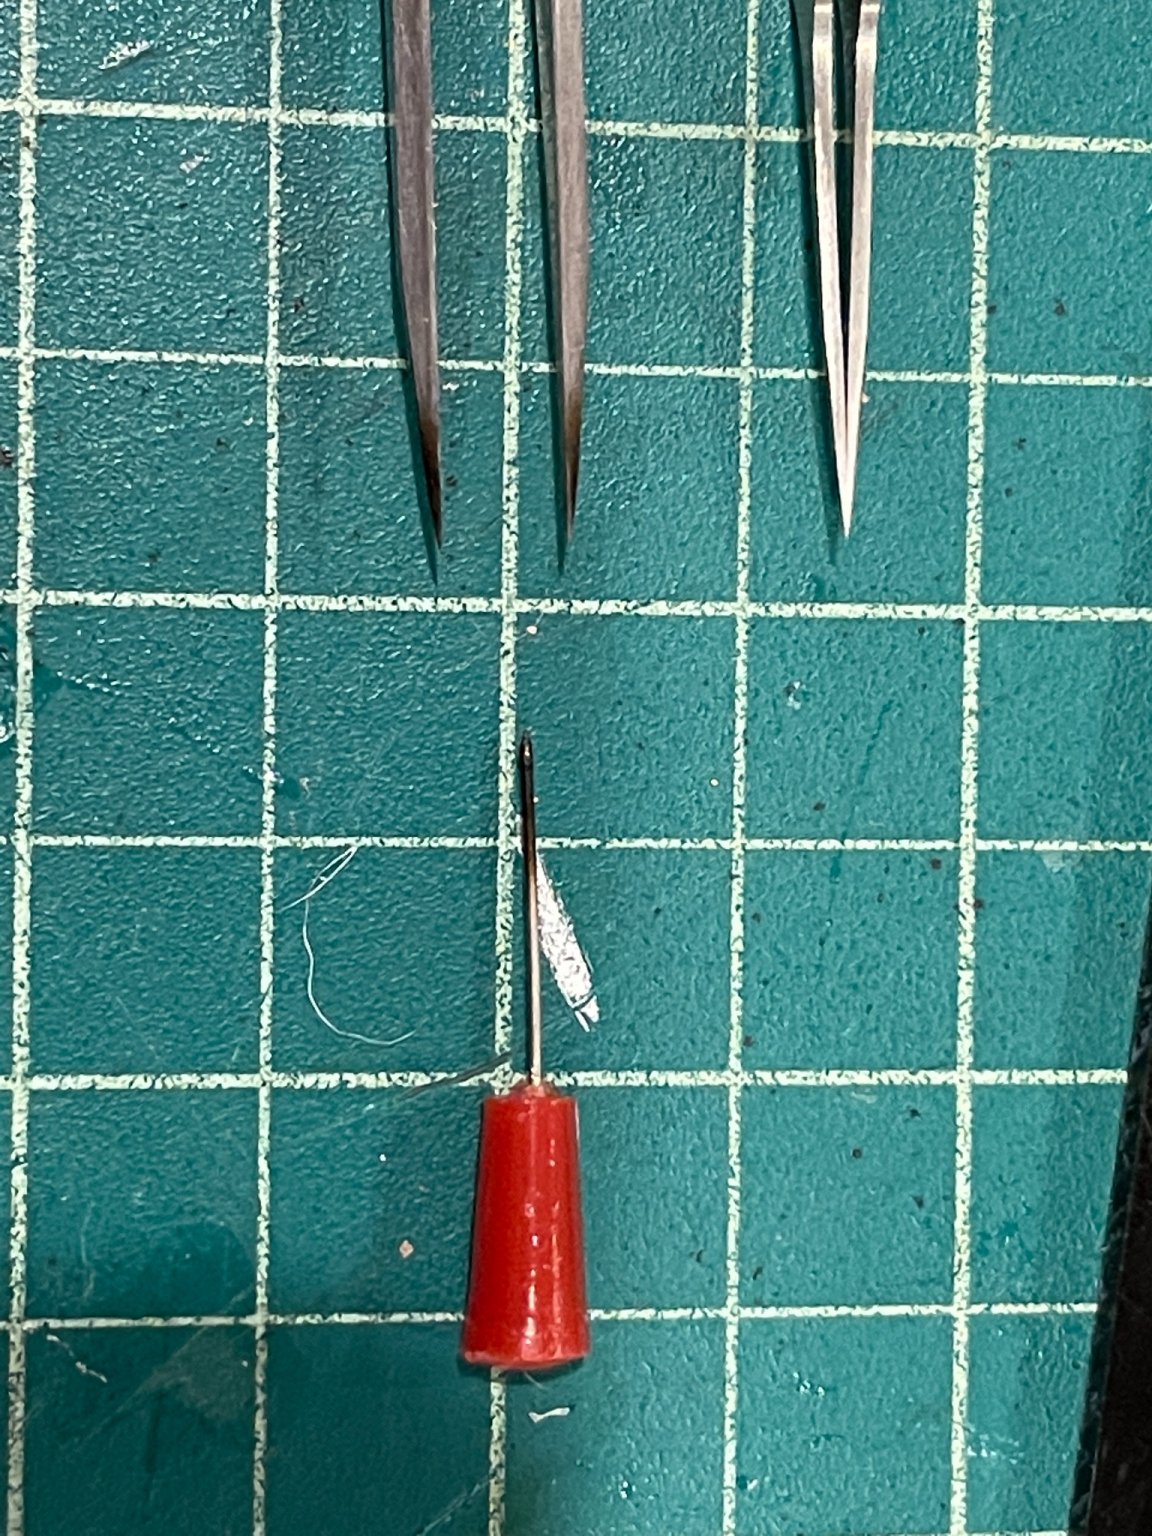
They aren’t cheap, but after trying out many tweezers, I tried Dumont tweezers which are very good. I believe I first heard about them when reading a book on miniature ship model building. Here is a picture of the tips of two that I use the most. Very sharp points!

- 174 replies
-
- 8
-
-

-
- prinz eugen
- trumpeter
- (and 2 more)
-
I saw that in my FiveStar set for the 1/700 destroyer I built. Hair-thin PE that bends from just breathing on it.
- 174 replies
-
- 5
-
-
- prinz eugen
- trumpeter
- (and 2 more)
-
Great start Glen! Looking forward to following along. If you need any plan details, etc., let me know and I'm happy to help.
- 71 replies
-
- 2
-
-
- Charles W Morgan
- bottle
- (and 1 more)
-
My PE prep process is slightly different. I usually soak the frets in water with dish soap, though sometimes I've forgotten and I'm not sure I've seen any different results. I've had success using Mr. Surfacer and Vallejo primers in the past, but Vallejo can flake off with masking which can be annoying. I did try that Mr. Metal Primer once, but forget what I was using it on. For most subassemblies, I'll first attach the PE and then prime and paint. I figure that the primer can help fill in minor gaps left from the PE not fully sitting on the plastic, PE folds that aren't perfect, etc. For things like railings, I've primed and painted right on the fret and then attached it to the model. Since railings are just about the last thing to go on, it's just easier that way and like Craig said, you don't want to paint the railings if you have a wood or linoleum deck or other colors on the model that differ from the railings color. And again like Craig said, you can touch up any parts where the brass shows, glue spots, etc. I was watching someone on YouTube yesterday who was working with PE on a ship model. He prepped the PE fret by rubbing it with an Infini 400 sanding stick. I think the idea is that primer has more surface area to stick to, and maybe to remove and residue from the PE process. But like I said, I haven't really had issues painting primer directly to PE. I'd also be a little nervous using a sanding stick on 1/700 PE frets or PE frets in general with very fine details as I'd be worried that the stick would catch some of the free floating details and ruin the part. But, the guy yesterday didn't seem to have that problem.
- 174 replies
-
- 4
-
-
- prinz eugen
- trumpeter
- (and 2 more)
-
Nicely done!
-
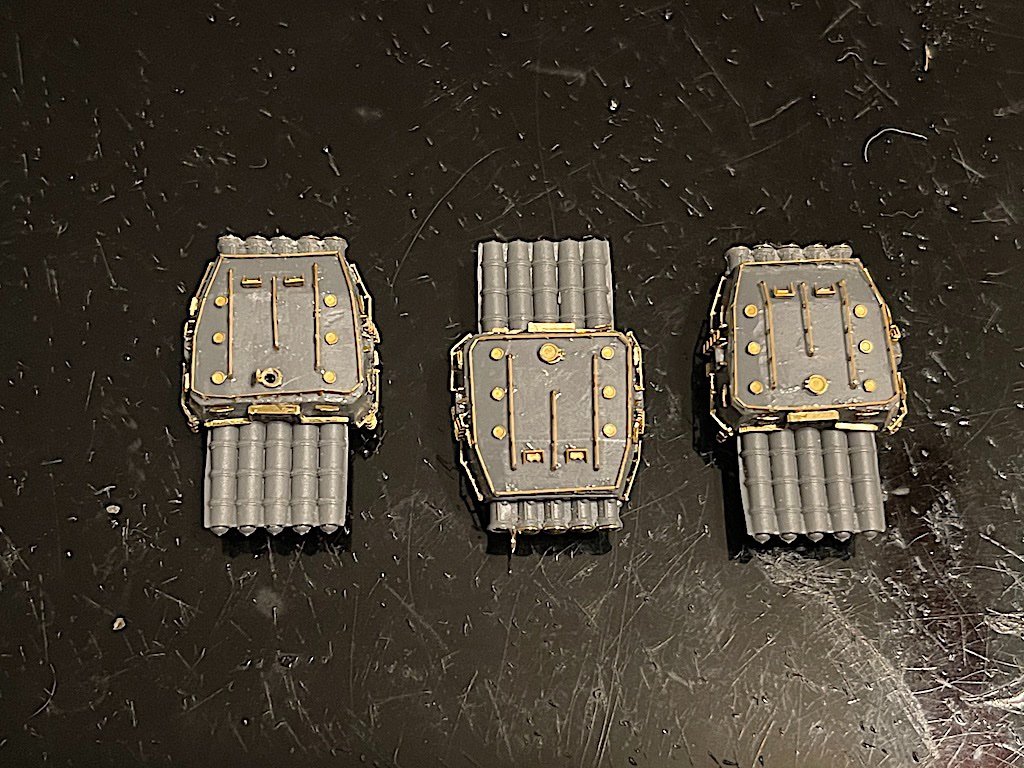
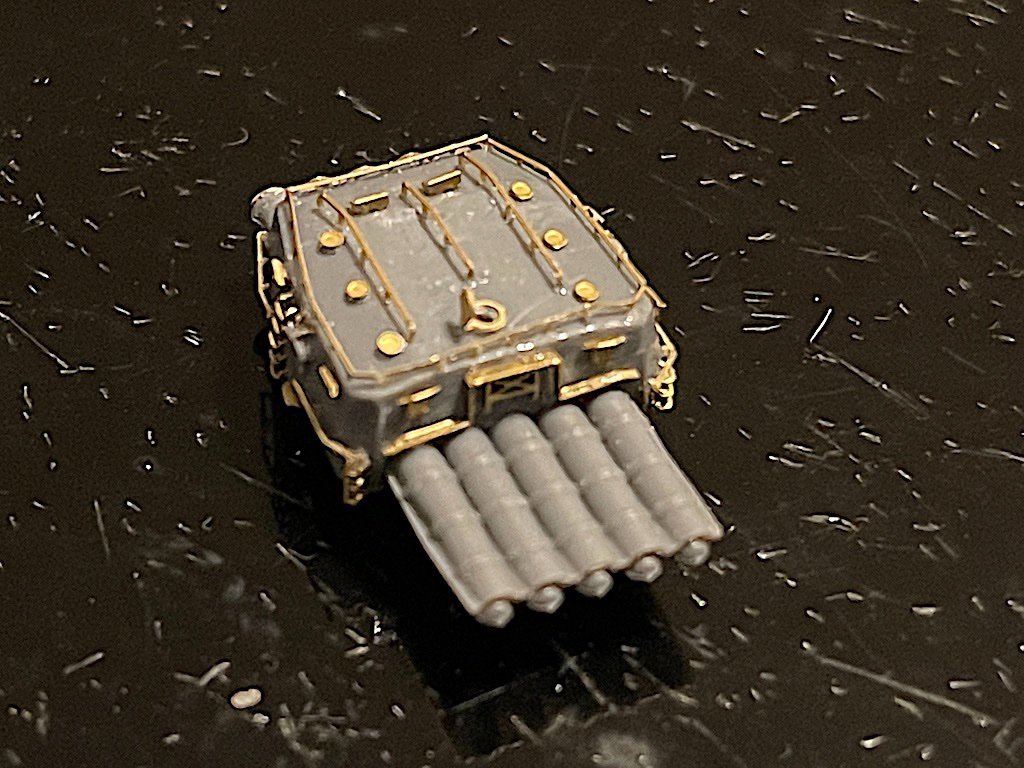
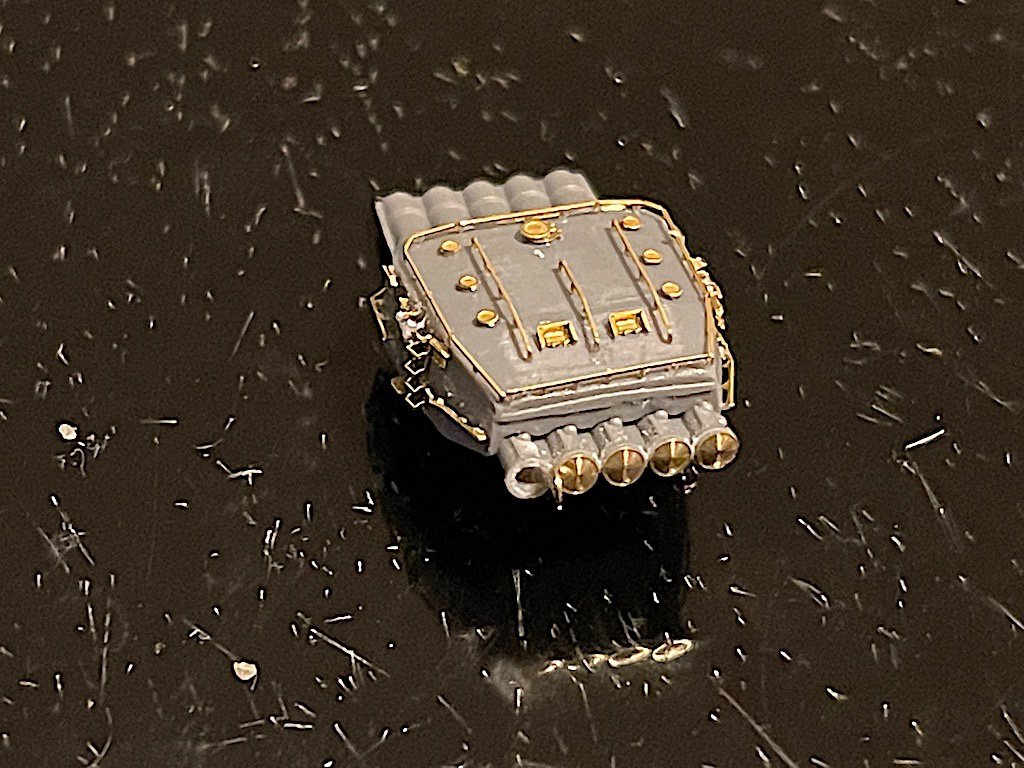
I ended up finishing the three quintuple torpedo launchers this weekend. Only 36 pieces of PE per launcher 😳 All in all I think they came out ok. Since I'm planning on doing a diorama setting, I decided to make a few modifications. First, I opened the hatch on one of the turrets: Second, I had found an aftermarket set of torpedo launcher covers, and decided to add them to the launchers as they had a little more definition than the kit plastic, and I was able to model one of the covers open: Next I worked on the twin 25mm AA gun. There is only one of these, and Infini has you build it completely from PE. This time only 18 pieces. I couldn't get a decent macro photo on my phone, but hopefully this gives an idea. I'm really impressed by what companies like Infini can do with brass. There's so much detail it's pretty amazing. Thanks for looking in!
- 154 replies
-
- 15
-
-
-
I believe Zoukei Mura is coming out with a series of F-4s, if they haven't already. *EDIT* ZM recently released the F-4 in 1/48, not 1/32.
-
Great work on a really nice subject Craig. Fantastic! Can't believe I missed this one. I don't want to bring up too many things from prior posts, but: 1. Some of the PE on my destroyer was so thin, you could breathe on it and it would bend. I'd say just do the best you can. If it works, great, if not, the detail is probably so small nobody will notice anyway. 2. On the acrylic primers, I was just PM'ing with Craig the other day. I was a big fan of Vallejo, and still am to some extent, but now that I've figured out airbrushing a little better, I think I'm going to be moving to paints/primers like Mr. Color/Mr Surfacer, Tamiya, etc. At least for bigger areas. I've gotten decent results thinning Vallejo a bit, but the annoying clogged airbrush gets frustrating. It's almost like you need to shoot lacquer thinner through the airbrush at the end of the session to ensure you have removed the invisible sticky remnants. I'm ok with the smells because I vent outside. For things like cockpit interiors and other small details, I'll probably stick with Vallejo for ease of use.
- 174 replies
-
- 8
-
-
- prinz eugen
- trumpeter
- (and 2 more)