


Landlubber Mike
-
Posts
4,543 -
Joined
-
Last visited
Content Type
Profiles
Forums
Gallery
Events
Everything posted by Landlubber Mike
-
 Thanks Kevin, really appreciate the kind words. I have this set that maybe could fit the bill…
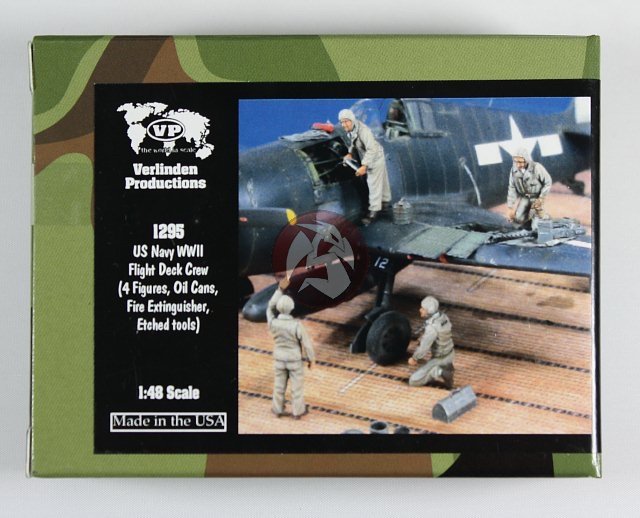
-
I bought mine from a seller on another forum, but Free Time Hobbies has them: https://freetimehobbies.com/search-results-page?q=infini+easycutting
-
Nice job - moving along quickly! I know what you mean about the cast pieces. I was planning to scratch mine but you seem to have gotten them to work nicely.
-
Infini makes a few different types, including straight lines, curves, etc. I was really happy with the purchase after first using mine. On my current 1/350 build, I used one of the templates to cut masks for the stripes on my destroyer's funnels. I think the stripes were about 0.5 or 1mm in width. The template worked very well. In the last couple of years, I've tried to cut perfectly straight/rectangular strips using a straight edge and never could quite get it right on the very thin masks. The template makes that exercise easy and fool proof.
-
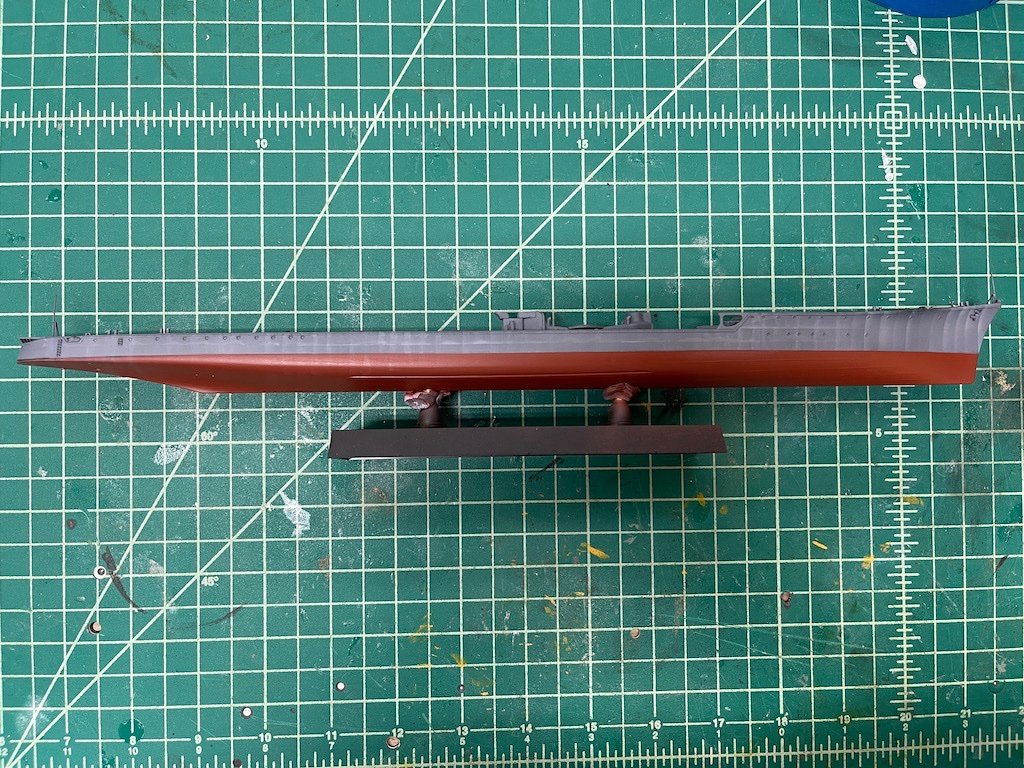
So I think I've managed to get the hull painted. I'm not as concerned about the lower portion as most will be covered up in the diorama. I did try to emulate the oil canning effect by shooting lines of very diluted white mixed in with the hull color. I found the vertical lines much easier to do than the long horizontal lines - maybe something to do with hand motions being a lot straighter up and down than left to right. I had to correct a portion at the starboard side of the bow which looks pretty good without the horizontal lines, but not sure if I want to repaint the full upper hull again. I sprayed some very diluted paint to help blend everything together and I figure that after adding some shading and grime with oils, everything should tie in ok. For what it's worth, I used a GSI-Creos PS-771 from Spraygunner. It has a 0.18mm nozzle. I figured if I was going to do 1/700 models, I might as well try out a smaller airbrush for fine detail work. I really like it - very nice quality and easy to use and clean. Gives me a little more fine spray than my 0.35mm Iwata Eclipse. I think at this point I can assemble all the pre-painted pieces, then clear coat for decal, shading, and weathering work. Should start looking more like a destroyer very soon. Thanks for looking in!
- 154 replies
-
- 13
-

-
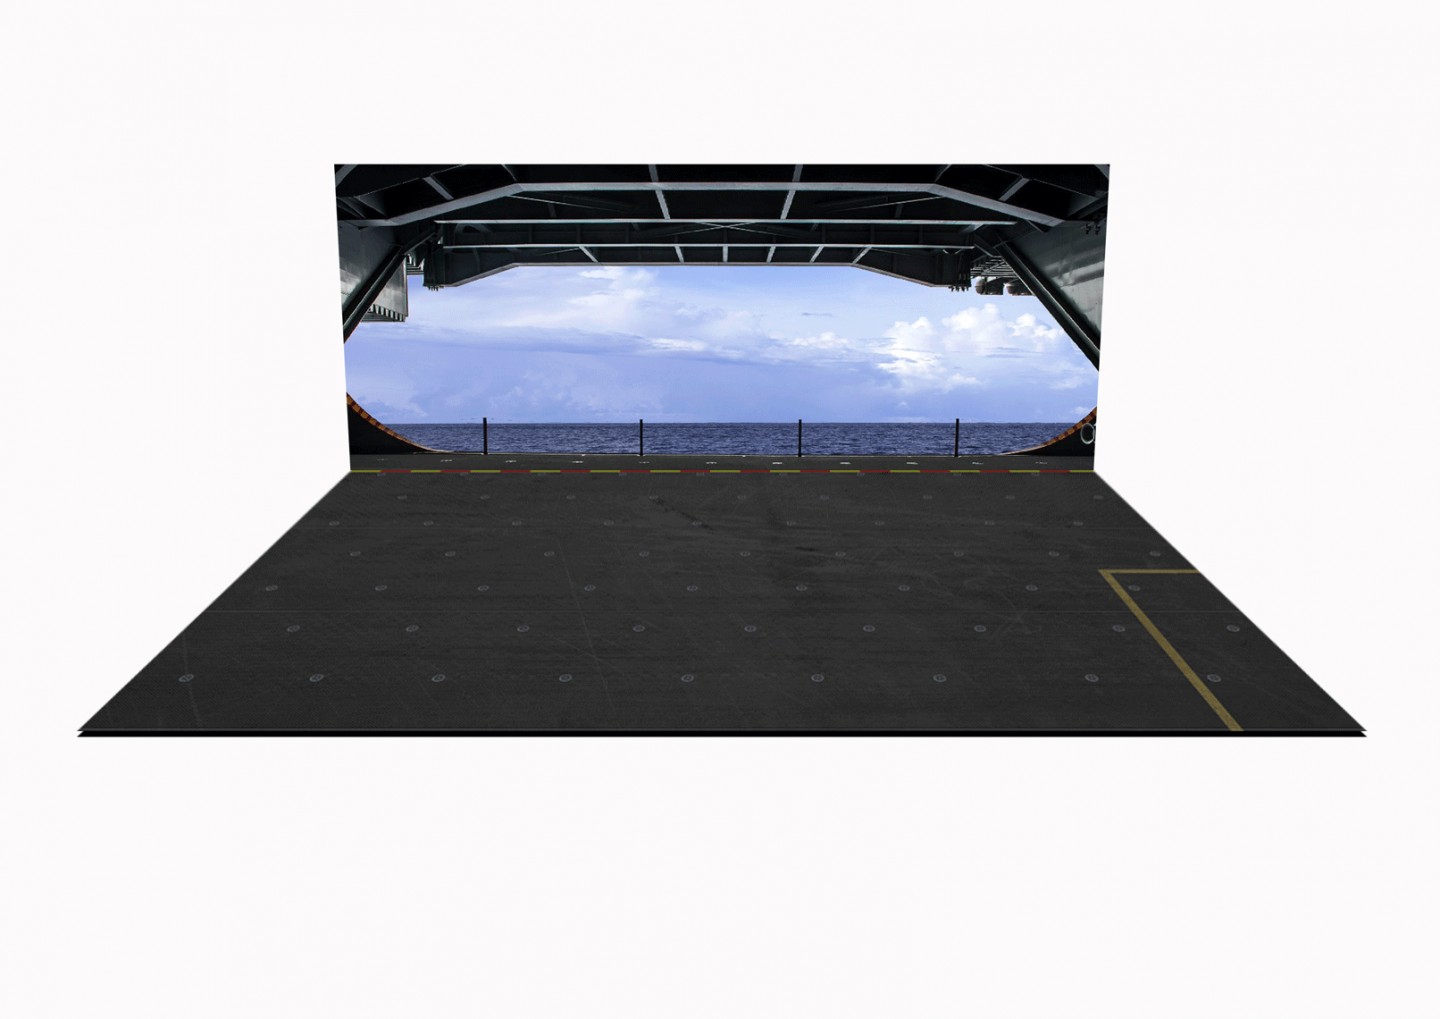
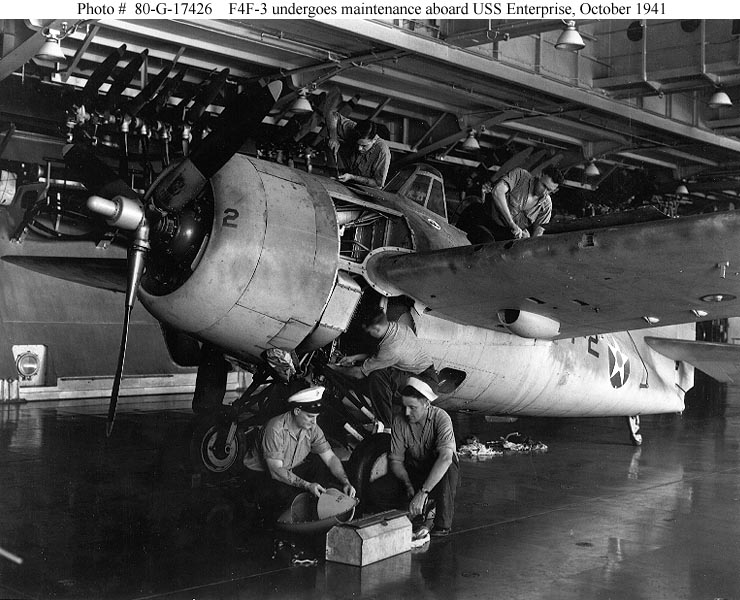
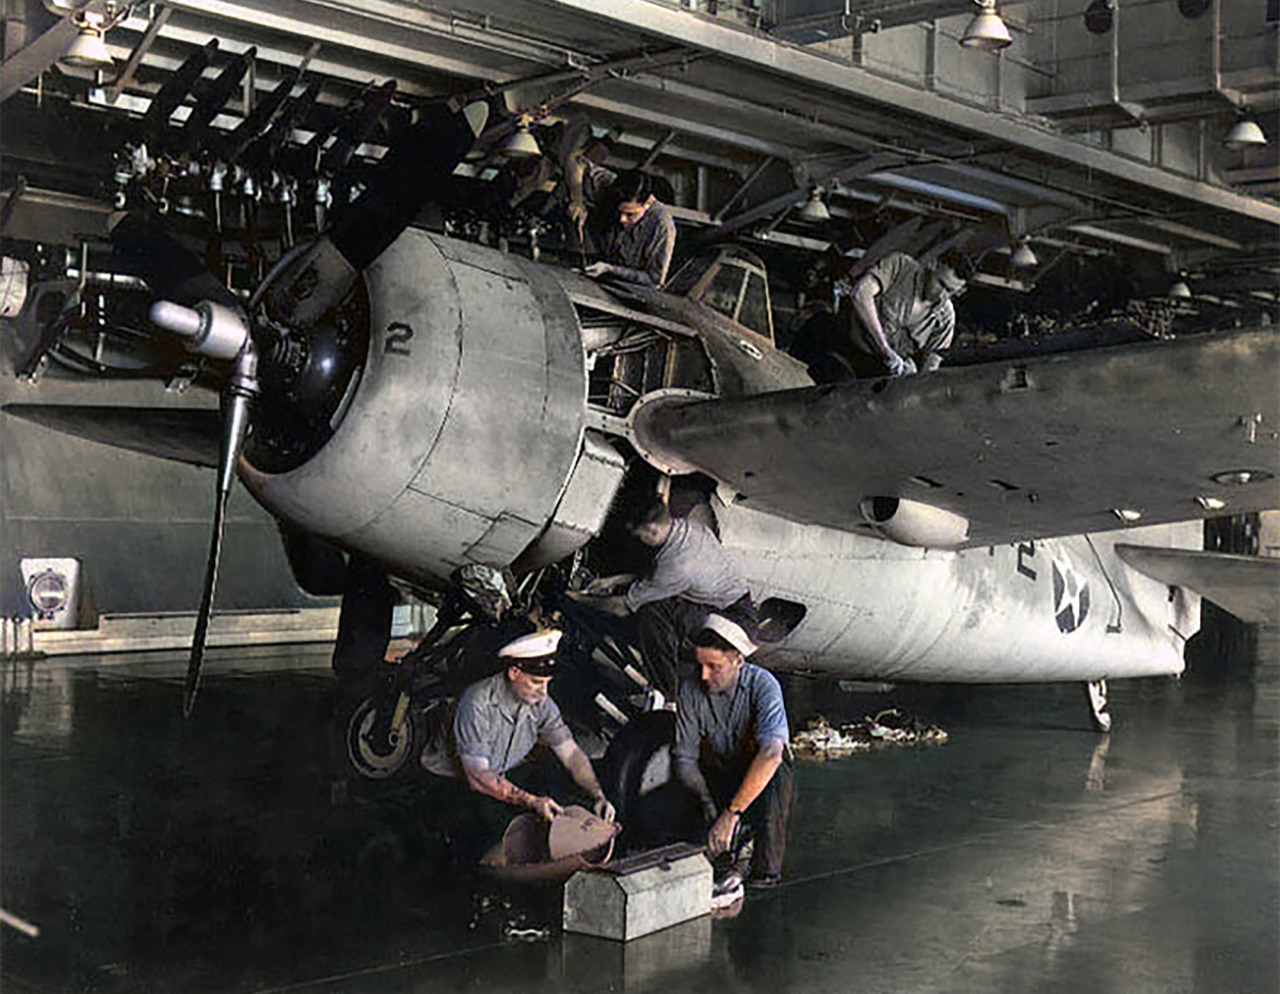
Thank you for the information! Makes a lot of sense. Still not sure about putting it on a diorama or just leaving it as is, but this has been a real learning experience for sure - WW2 aircraft, colors, flight decks versus hangar decks, etc. Not to mention, learning how to really chop up a kit and add resin details. Maybe making a base that is a dark gray base with sorta big squares etched out like in this picture would get me there. Then I can add a mechanic or two and lay the panels down and have a nice little scene. I started looking at hot wire cutters to be able to cut styrofoam to make plane and ship dioramas, so maybe I should just go with the flow. I've been thinking about what to pull off the shelf next, and I'm leaning towards staying with US WWII aircraft and going with the Accurate Miniatures TBF-1C kit. I've got a few goodies for that kit and could build it similarly to this one with the exposed engine bay, wings folded, etc.

- 241 replies
-
- 11
-
-
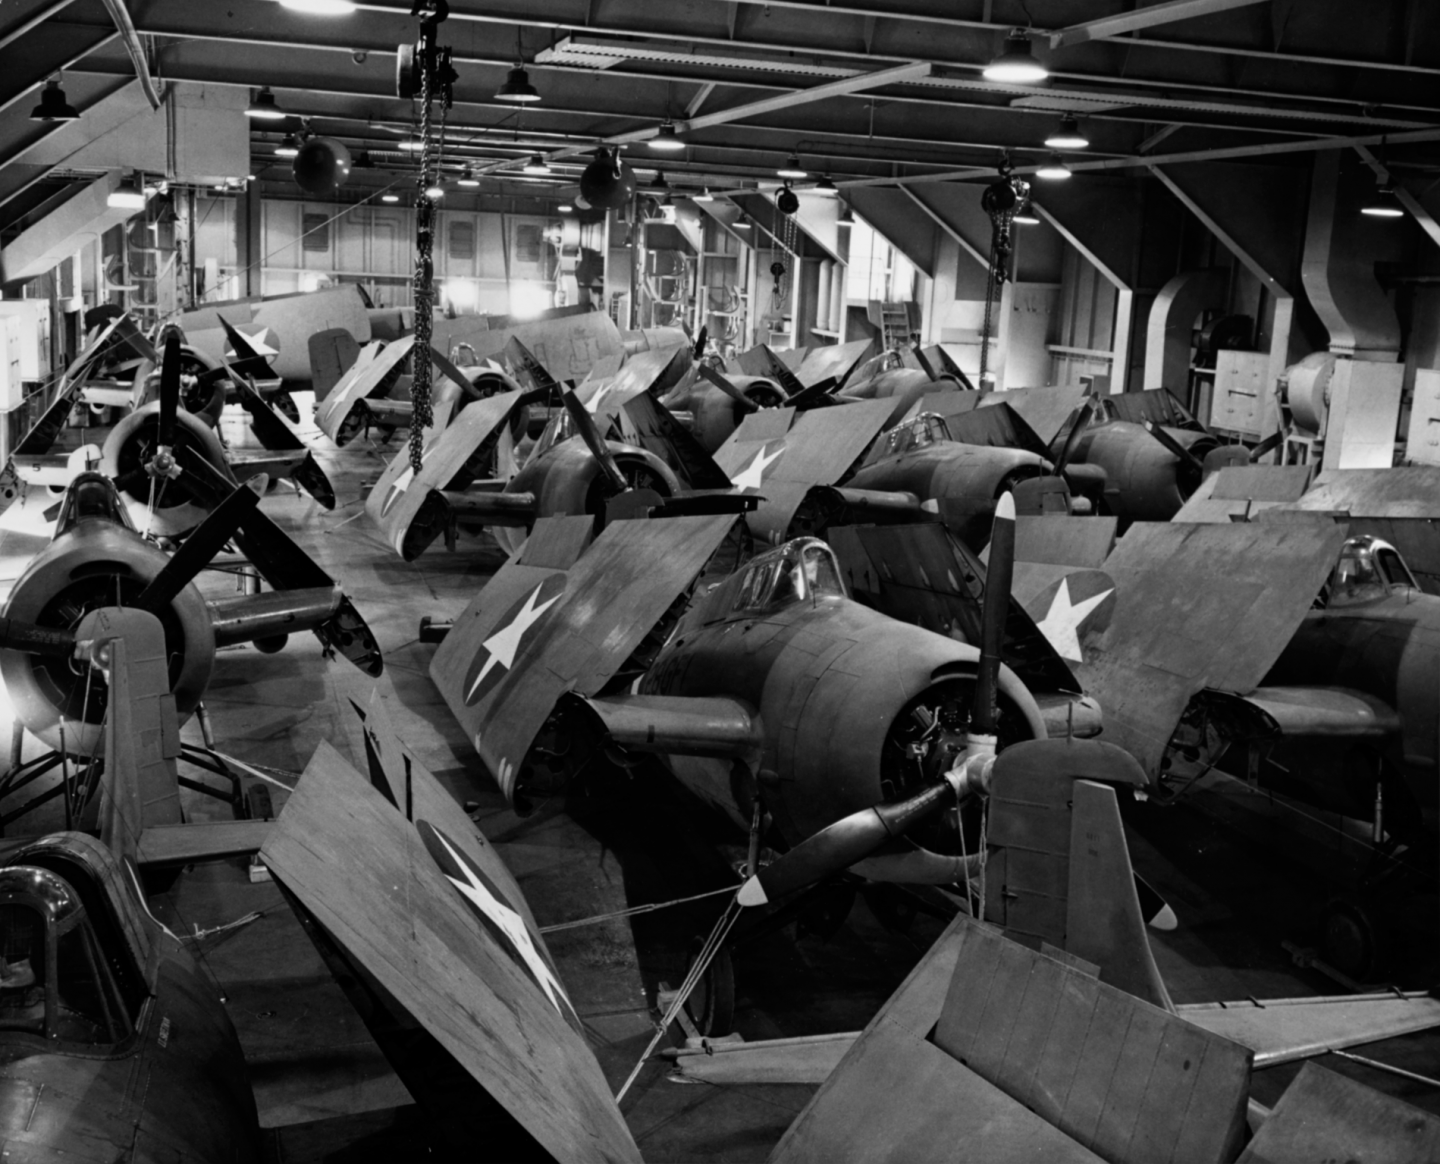
Interesting post on US Navy hangar deck paint - looks like they used to be painted white, but then paint was stripped to lessen issues from fires: http://www.shipbucket.com/forums/viewtopic.php?t=5363 Some time ago, I asked for info on what color to paint the hangar decks on my USN aircraft carrier ship models. Several of you responded, and said that the appropriate color was flat white. I replied the Samuel Eliot Morrison's History of U.S. Naval Operations in WWII indicated that all USN ships were ordered to remove interior paint in the wake of the shipboard fires during the Battle of Savo Island. Again, I was told that hangar decks throughout WWII were white. In the book 1942: The Year That Tried Men's Souls, author Winston Groom writes on pp. 275-276, that the navy ordered paint stripped from all interior compartments, due to its contribution to spreading onboard fires from battle damage. Also, the USS Enterprise (CV-6) Plan of the Day for 29 August, 1942 states: "From an analysis of the fire we had below on the 24th (Aug 1942), it is apparent that we were greatly aided in fighting the fire and the fire did not spread from the original damaged areas due to the fact that nearly all paint had been removed from the compartments affected. The many laborious hours that the crew has spent scraping paint paid real dividends in that emergency. There is still a considerable amount of paint to be removed from compartments in which there is a possibility of fire as the result of bomb or shell damage in an engagement. It appears that the next two weeks will offer an excellent opportunity to finish the job, and we should by all means make the most of it in order to place the ship in the best possible condition for future engagements. It is desired that those divisions which do not have spaces in the damaged area start again today on the paint removal project, being guided by the priority lists which have been prepared by Heads of Departments. ... Divisions having spaces and areas exposed to the weather should also take this opportunity to clean up and touch up rust and corrosion spots and in general look to the preservation of the ship." (signed) W.F. Boone, Commander, U.S. Navy, Executive Officer Based on this info, I believe that after August 1942, the proper color for a USN hangar deck should be bare metal. I have found no info to indicate that the USN had any non-flammable paint to use in hangar decks, nor that hangar decks were specifically exempted from paint removal - especially as hangar decks were the principal areas damaged by enemy bombs, and were very prone to fires, due to the aircraft stored there.
-
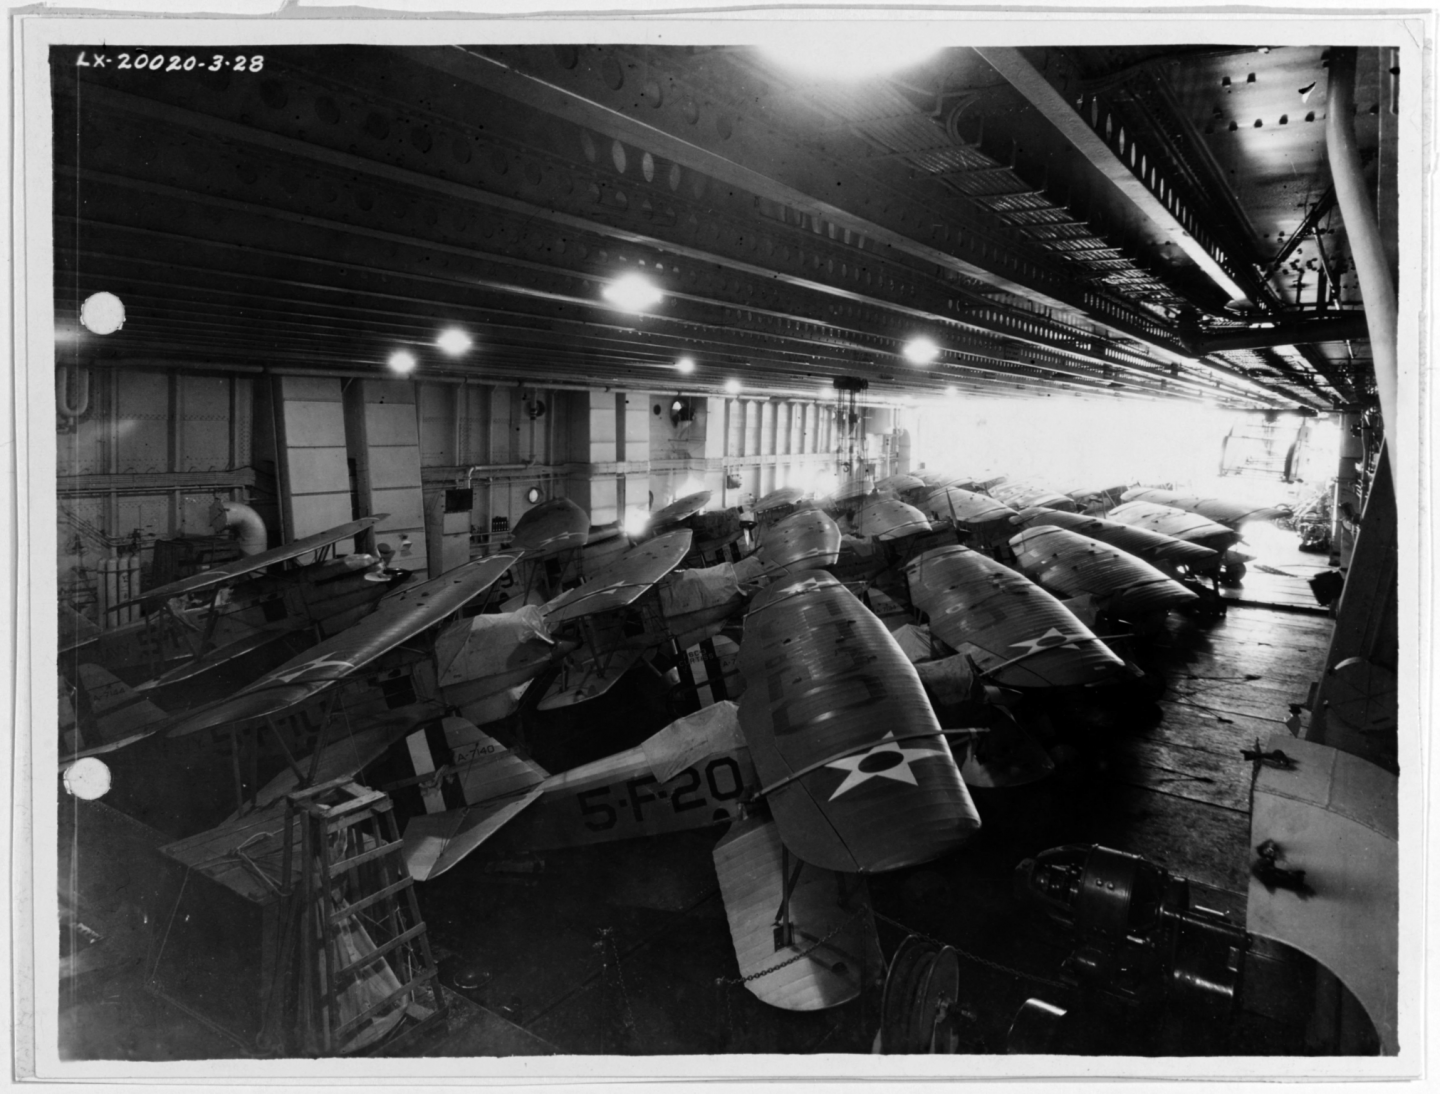
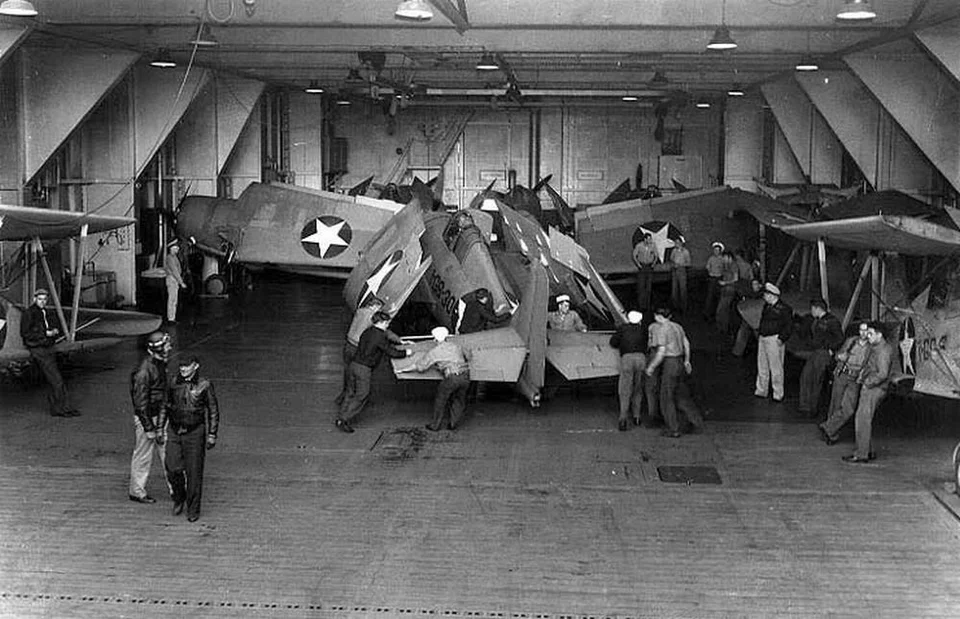
Thanks! I was thinking of that but there aren't many pictures out there, and of course most are of the flight deck. USS Lexington: Edit: Just found a colorized version: This is said to be the hangar deck of the USS Long Island, but the decking looks like the flight deck type of deck: Yorktown: I did find this from carrier base and background from Coastal Kits but I think it's for a modern day carrier:

-
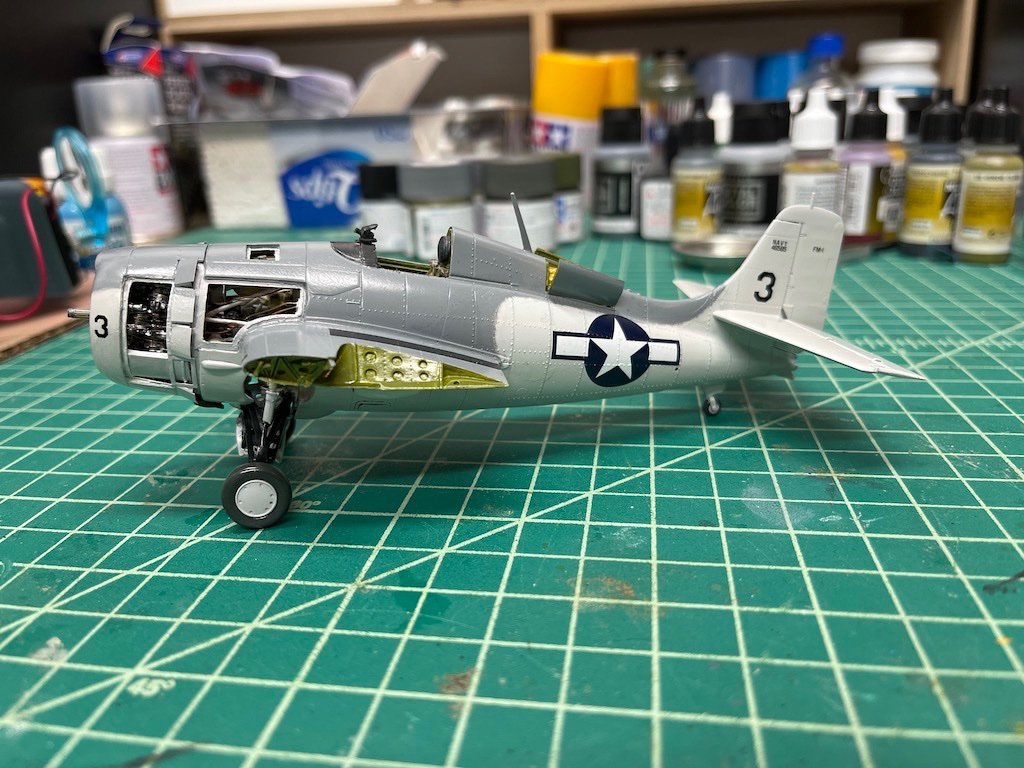
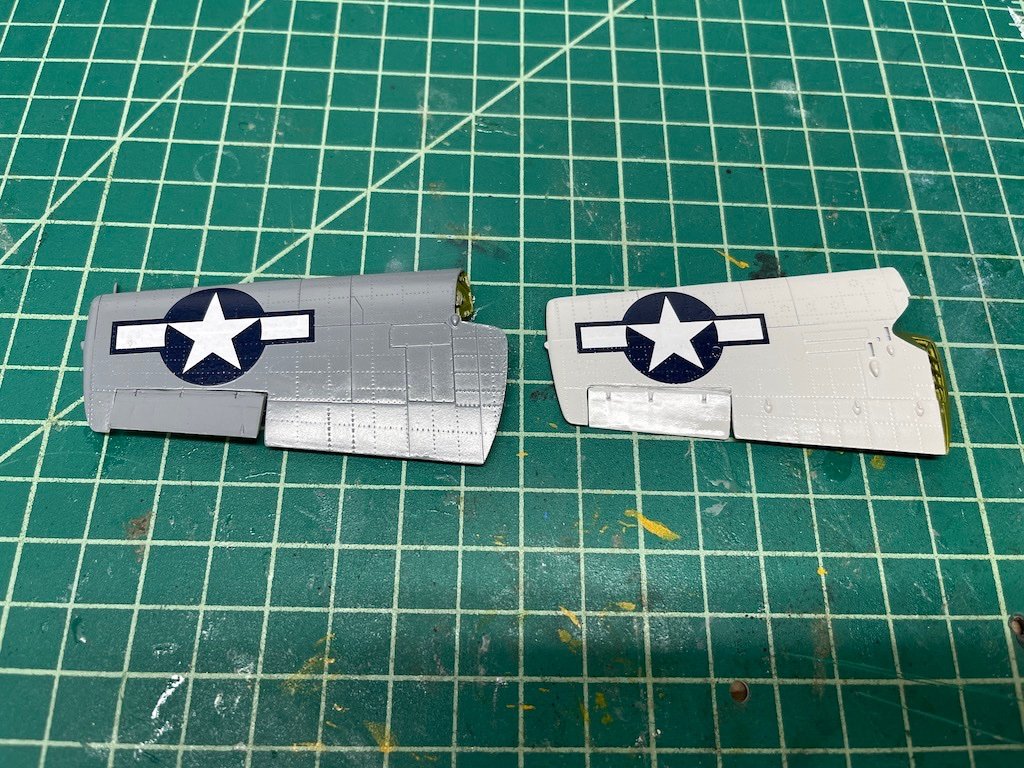
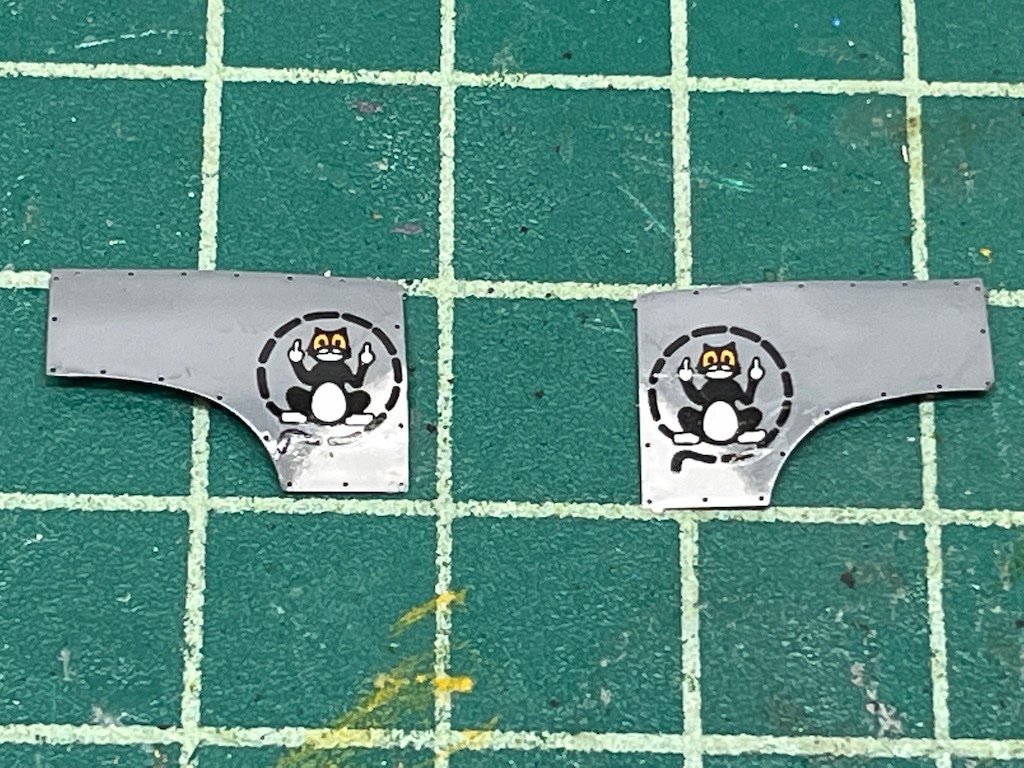
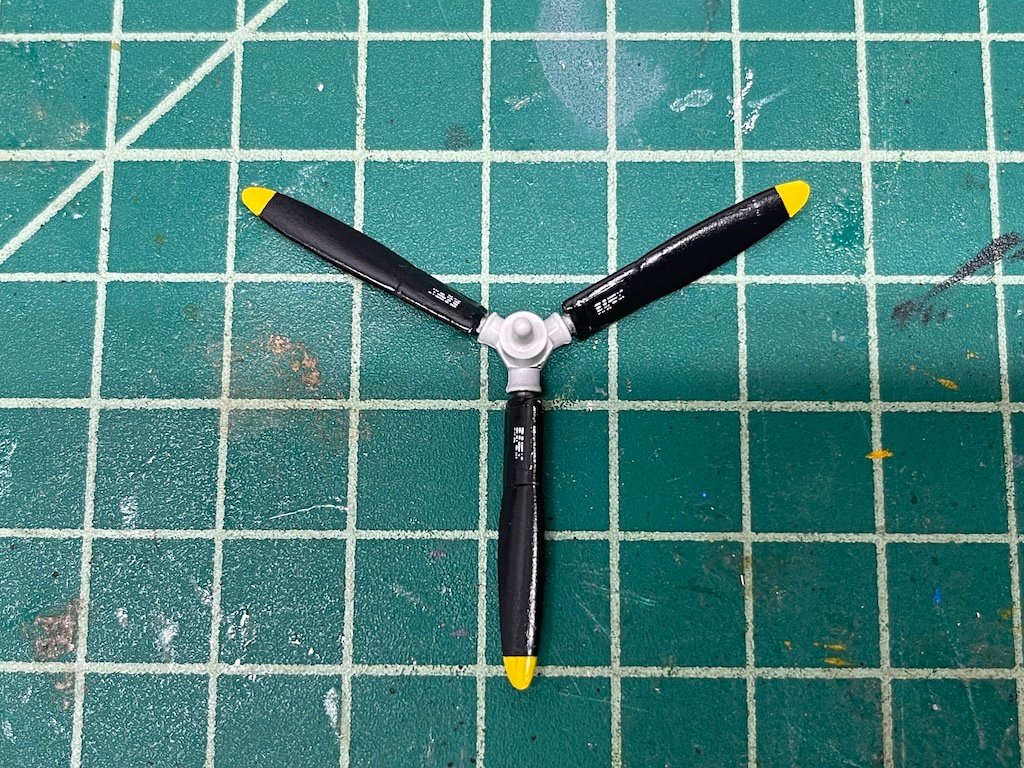
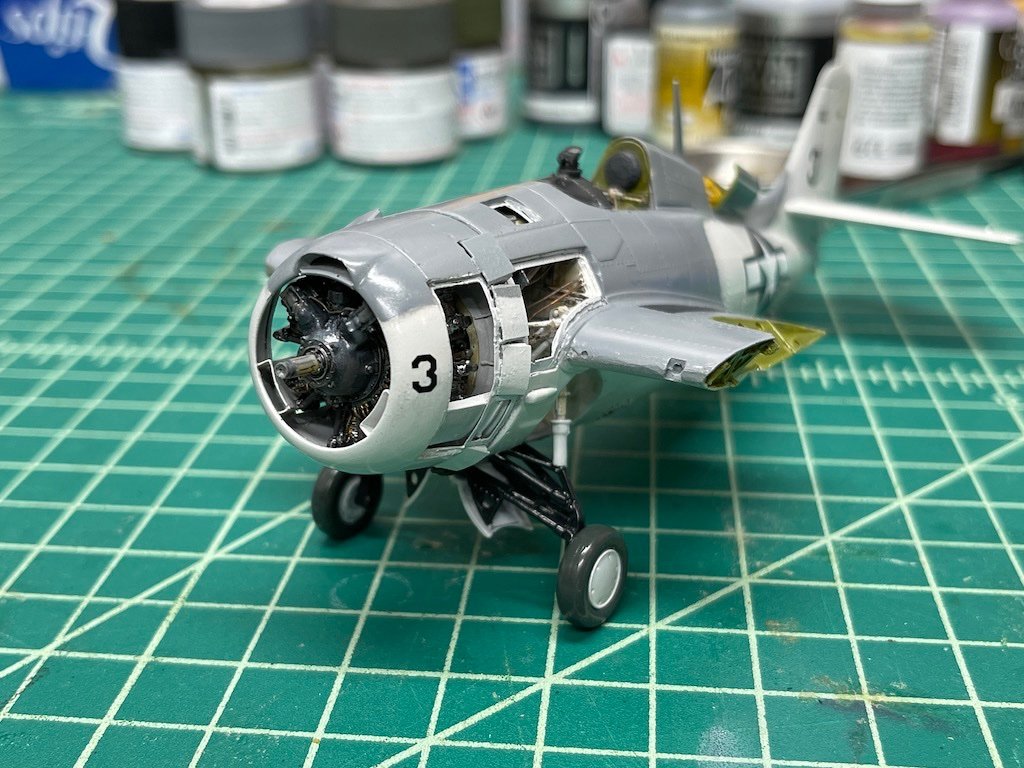
While waiting on paint to dry on other projects, I picked this one back up. I was stuck for a while in trying to figure out how to soften the demarcation between the gull gray and the insignia white. Eventually I tried using blue tack and spraying diluted paint at an angle, but I wasn't too satisfied with how that came out. So, I tried the sponge technique of almost dry brushing using a tiny bit of sponge in between a pair of tweezers, and blotted it down along the long. That worked much better, and so after some touch ups, I sprayed a gloss clear coat and then applied the decals. The decals are from the Wolfpack wing fold set, and they went down really nicely with really no trace of silvering. I did goof and put the propeller decals on the wrong side of the propeller, so had to use the kit decals. The kit decals had a very thick carrier film, which took a while to settle down with Micro Set and Micro Sol. I'm glad I had the Wolfpack decals as I have a feeling it would have been a real pain to try and get the larger decals down if I was stuck with the kit decals. One thing I'm kicking myself on is that I cut out the cowl panel that had the cat insignia for VC-12. Pretty funny insignia, though not particularly family friendly. I was originally thinking about making a diorama out of this one and having a mechanic removing one of the panels, but now now I'm leaning towards just finishing it and moving on to something else. So, I might see if I can attach at least one of the panels to the model. It might take a little creativity as the holes I cut are a touch big, so I might need a filler strip, etc. Hopefully something works out. Next up is another gloss coat, then I will work on panel lines, shading, breaking up the solid colors, etc. I don't think I'll weather this all that much, but might dirty it up a touch. Since it was on a carrier, these planes were generally kept in pretty nice condition. Thanks for looking in!

- 241 replies
-
- 11
-
-
Thanks for posting that Craig. The 1/700 destroyer I finished earlier this year was a Pit Road kit and Five Star upgrade set. I thought both were really nice. The good thing about the Pontos set is that it's all in one, so hopefully you don't have to remove too many kit details to accommodate the PE. By the way, you inspired me on the Flyhawk kits - I ended up adding the 1/700 Flyhawk Lutzow and Bismarck kits to the stash, and also ordered the Trumpeter Roma with Flyhawk upgrade set.
-
Hey Craig, nice to see you starting this kit. I considered buying it but have the Fujimi kit with Flyhawk, Infini and Shipyard Works add-ons. Maybe I’ll build the Musashi.
-
Hey Alan, thank you. In the past, I mostly used toothpicks with a bit of blue tack on the tip. Found that tricky to hold the part and then as you say, having to pick out stray blue tack after isn’t much fun. The hole drilling approach and the approach of just using CA glue on the tip of a toothpick is so much easier.
-
Eh, Lou, I find it just easier to take swigs from the bottle. Thanks for the nice words!
-
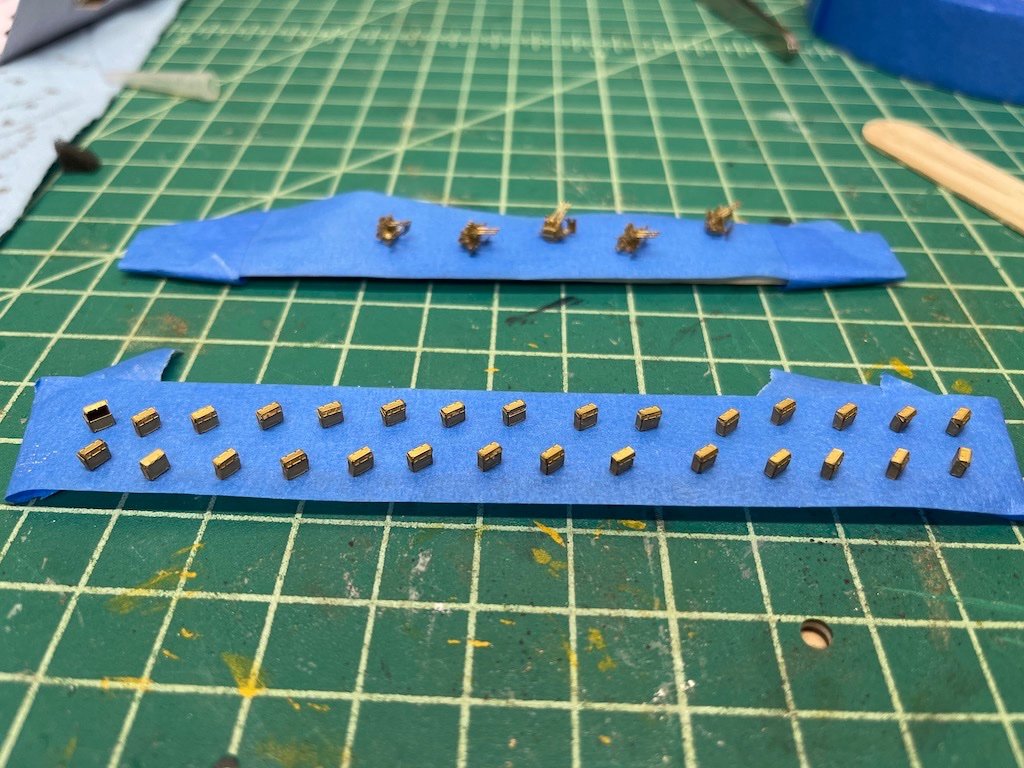
Thanks guys! And Craig, yes, that was a lot of work! The 29 ammo containers took a surprising amount of time. It was tricky to get the folds perfect, so I found myself first trying to bend them into shape, then applying CA while using tweezers to get the corners tighter. Invariably there were gaps, so then there was another round of applying medium CA to fill gaps. Many hours of work! They do look a tad nicer than the kit ones, so not all was lost. I bought some resin ones to try out on my next builds.
-
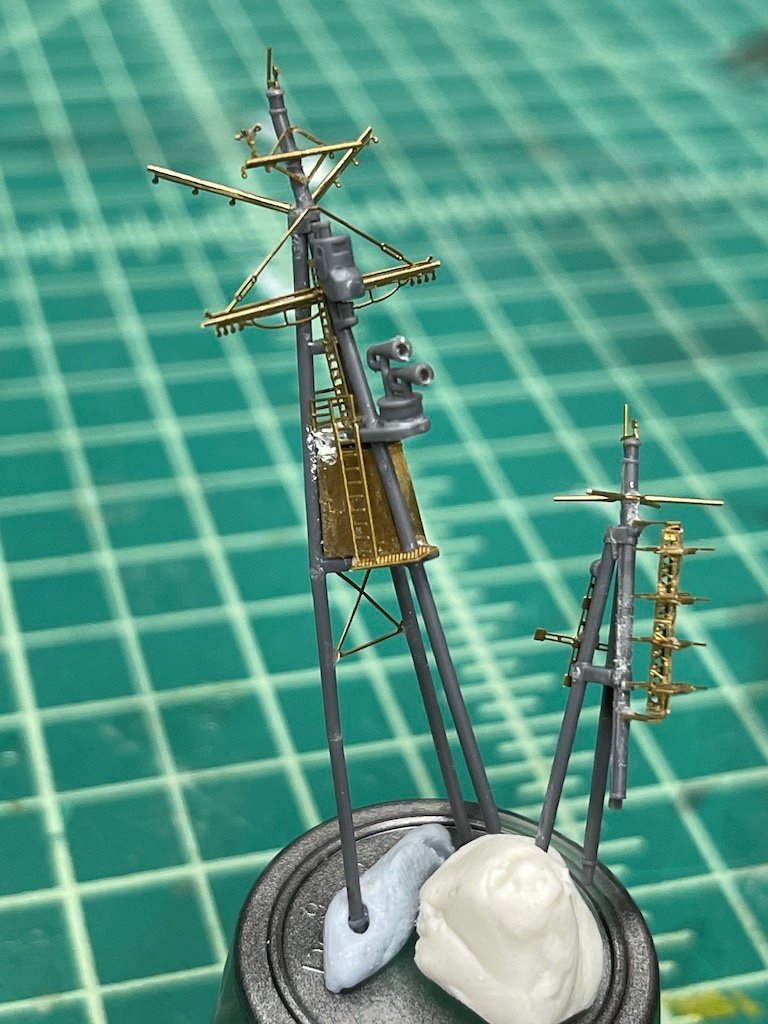
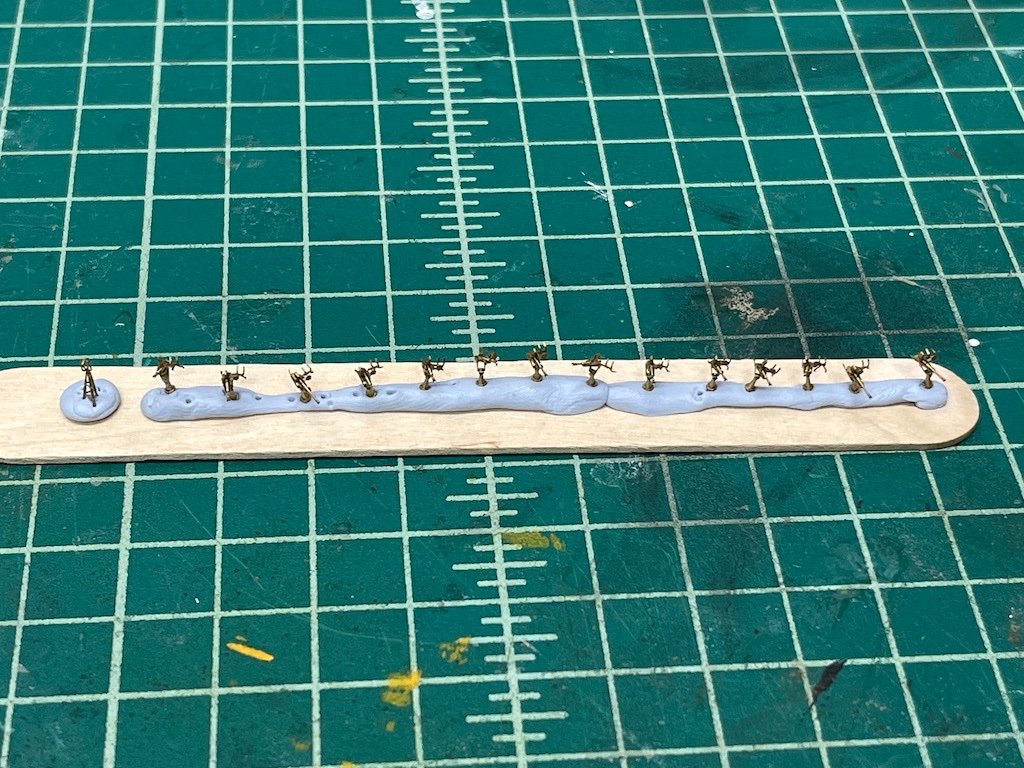
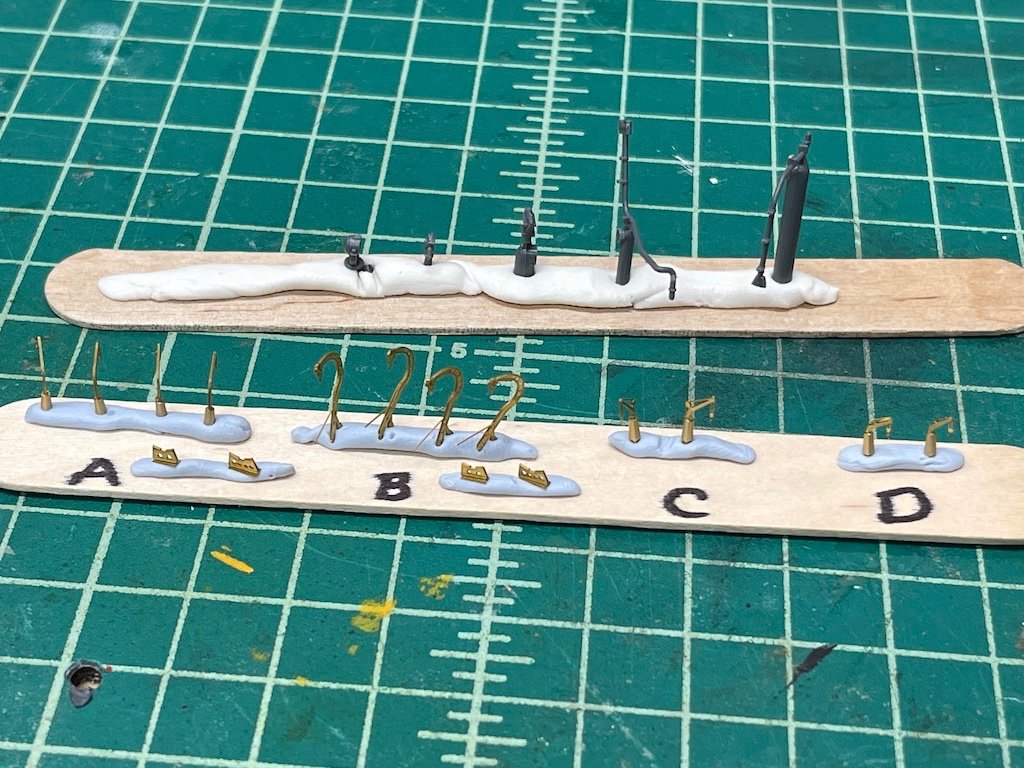
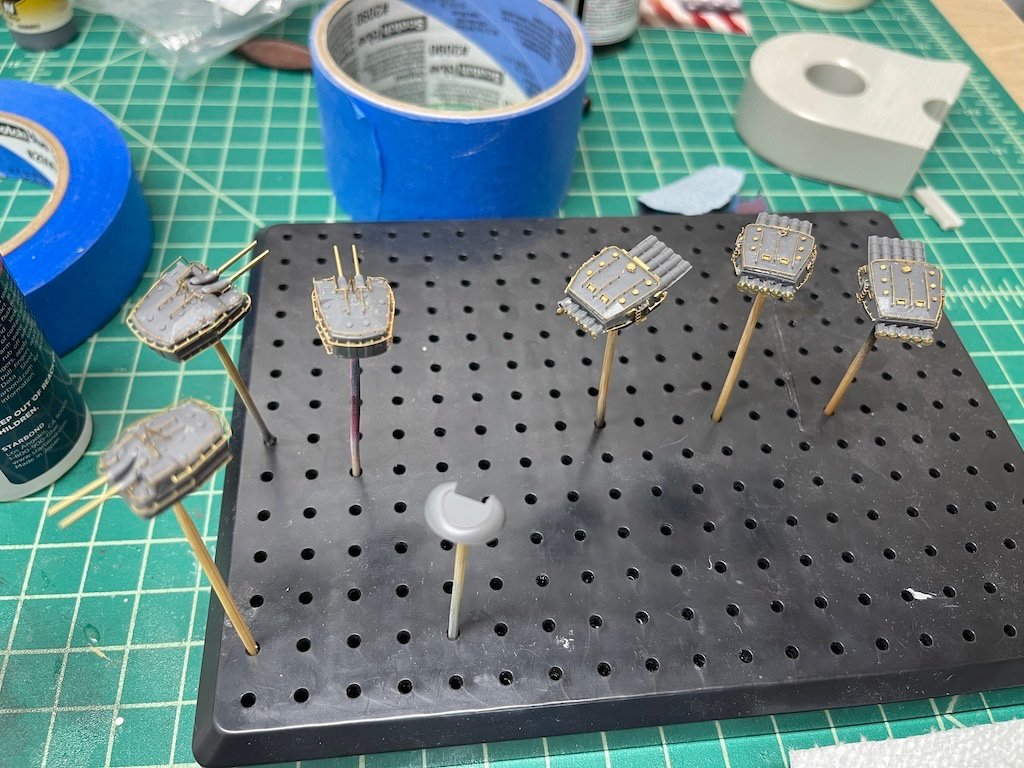
I managed to finish what I think should be all the sub-assemblies i wanted to build off the model. Lots of details with the Infini upgrade set. The Hasegawa kit is actually really well done, but Infini really kicks it up a couple of levels with their detail set. I primed them all in black using Mr. Finisher 1500 from the airbrush (thanks @CDW for the recommendation!), and should be able to paint and start assembling later this week. Should come together fairly quickly after these are painted. Here are some pics: Masts (using blue-tack). I find blue-tack on a small item like a plastic shot glass help keep the part stable while adding PE to it): Single AA guns and some kind of tower: Davits and random plastic pieces that will be added to the model. Infini did a really nice job on the davits, giving turned brass pedestals that the PE tops pop right into for the smaller davits: Double and triple AA guns, along with 29 ammo boxes (using painters tape because these items had flat bottoms and the painter's tape has just enough adhesion to keep these parts secure while airbrushing): The big guns - here you can see how I use toothpicks to serve as little stands for the guns for ease of painting. For the guns, I drilled a small hole in the bottom and stuck a toothpick into it. This helps to reach the entire gun in one painting session, and the hole the bottom won't be seen. For the other piece in the pictures, which is the back part of the main funnel, I just used CA to glue a toothpick into the bottom (again, that won't be seen). Just thought I'd pass along some techniques that I've found to be helpful. Thanks for looking in!
- 154 replies
-
- 12
-
-
Nice work on the guns Craig. Really impressive at that scale. The deck looks really nice as well!
- 174 replies
-
- 4
-
-
- prinz eugen
- trumpeter
- (and 2 more)
-
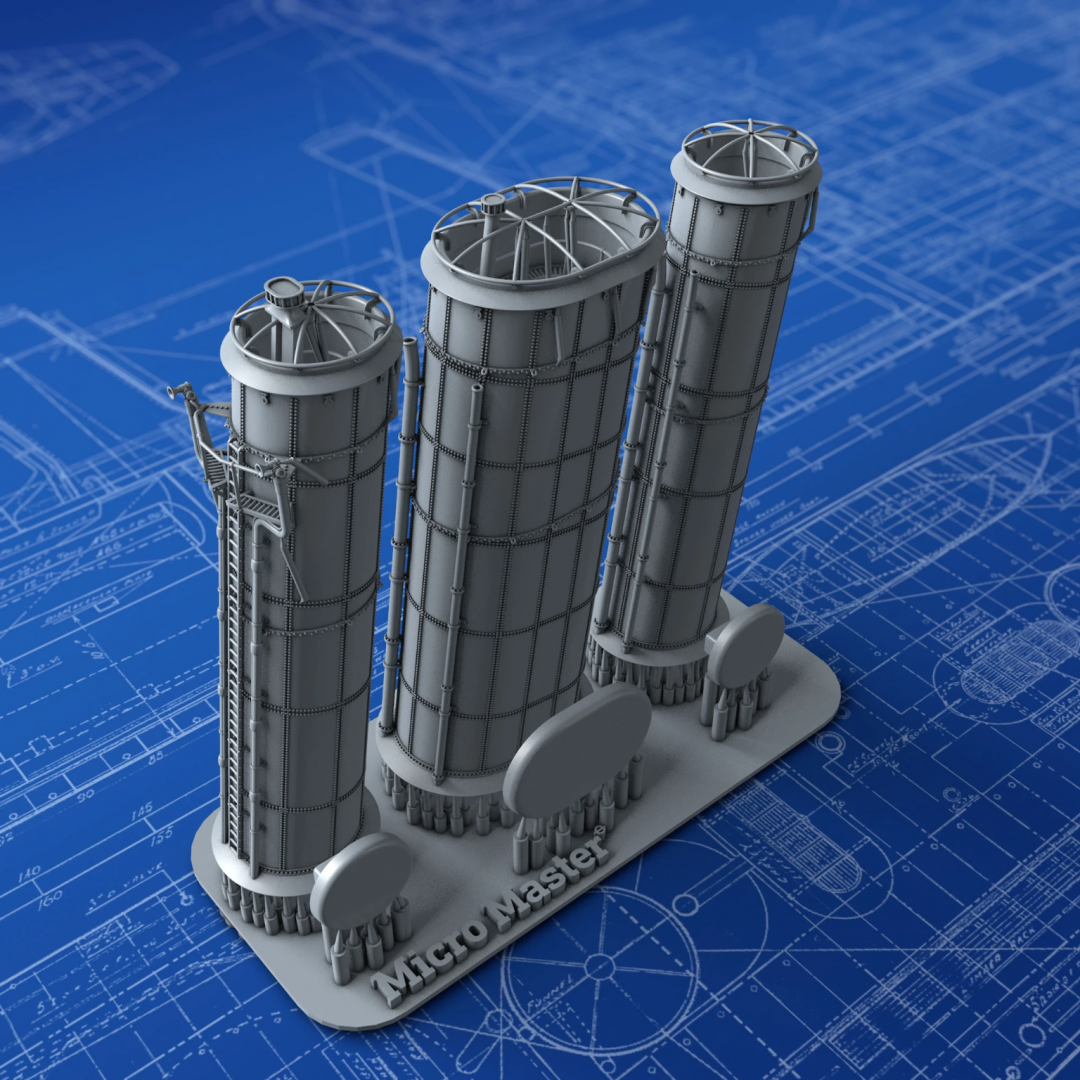
The funnels are insane! Too bad he hasn't done IJN ships in this scale. All my 1/700 kits are IJN.
- 174 replies
-
- 9
-
-

-
- prinz eugen
- trumpeter
- (and 2 more)
-
Hey Glen, looking really great! Can totally tell it's the Charles Morgan, nice job at this scale! Good luck on getting it into the bottle. If it doesn't fit, you could always find a bigger bottle. One of the side benefits of the SIB builds is you can consume the contents when looking for the right bottle
- 71 replies
-
- 1
-
-
- Charles W Morgan
- bottle
- (and 1 more)
-
It's a fun little kit. Two things to look out for: (1) make sure the height of the ship can clear the bottle (it's an awfully tight fit), and (2) be careful with the bowsprit and masts, which are very fragile and prone to snapping. Enjoy!
-
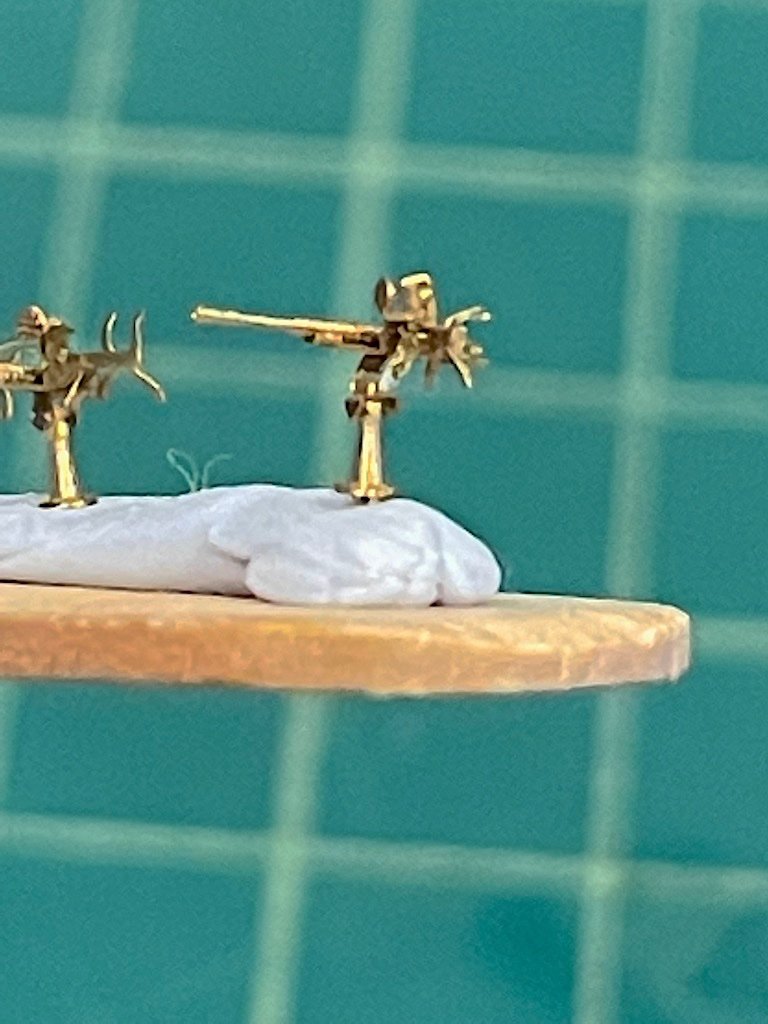
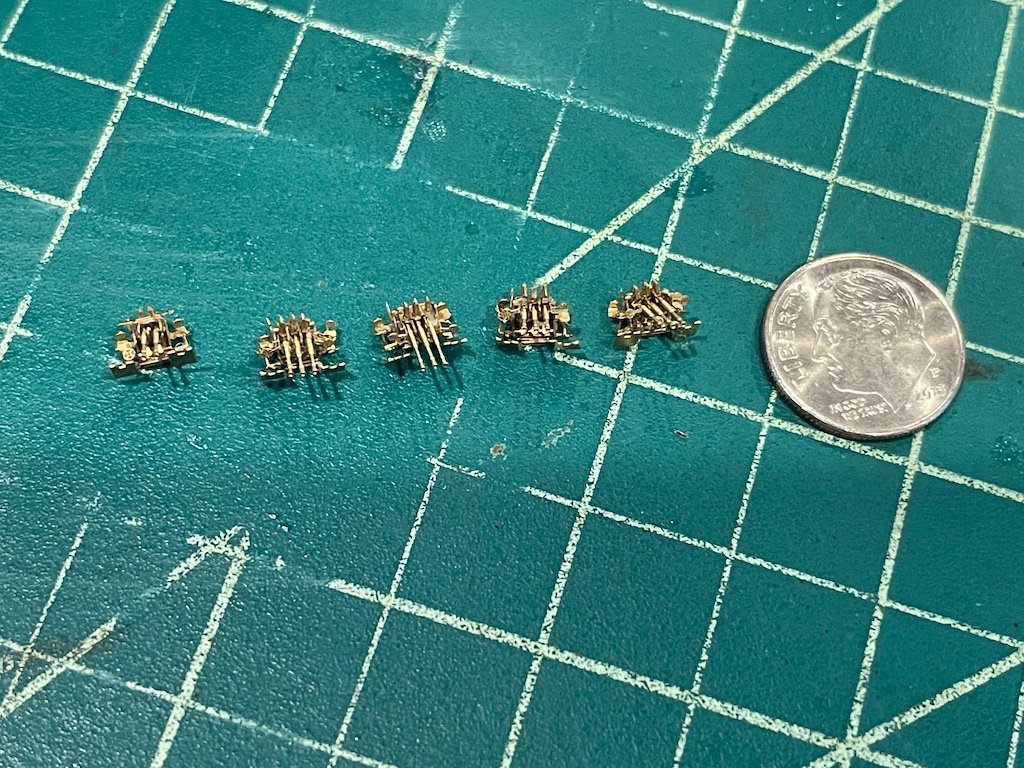
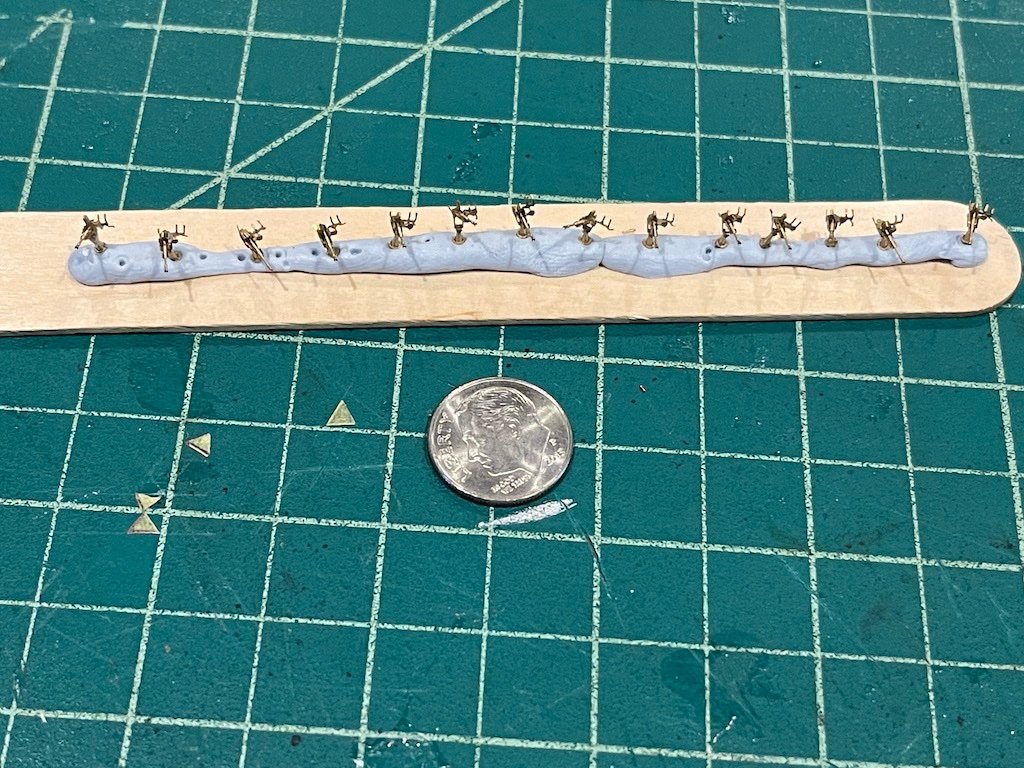
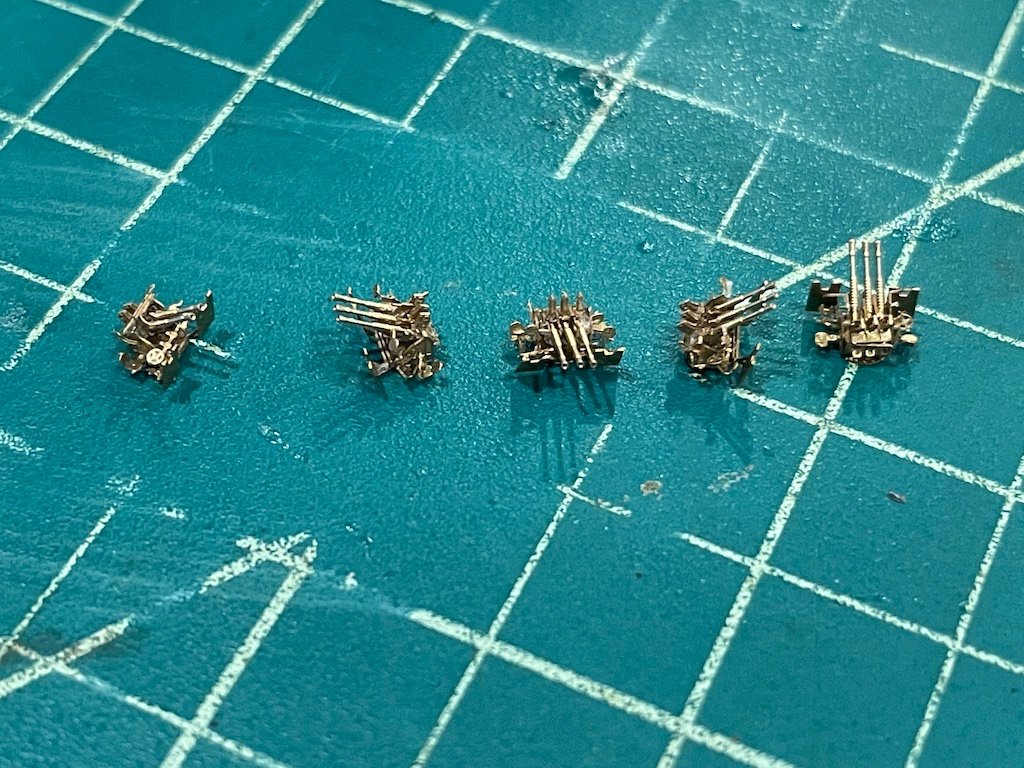
Slow and steady progress on this. I finally have all the guns completed. Here is the sole twin AA gun, along with the four triple AA guns. These AA guns probably had close to a dozen PE pieces each. These pictures are under extreme magnification, but the detail is pretty amazing. The barrels especially have little ridges and and inset where the barrel opening is. Also finished the 14 single AA guns. Only 8 pieces on these, but they took quite some time: I'm trying to replicate oil canning effects on the hull sides, which so far isn't looking too bad, just need to clean up a few areas. Once that's in good shape, I will add the linoleum decks and structures to the hull, and then these various details. Famous last words, but it should come together fairly quickly now that a lot of these details are finished. One could probably finish this kit in a week or two if building straight from the box. With the Infini detail set, the time is multiplied probably by at least a factor of ten I would conservatively estimate.
- 154 replies
-
- 13
-
-
Putting together 1/350 and 1/700 guns using PE is a huge time suck. I decided to pick up some resin guns to try out on my future builds. You only have to use a few pieces of PE, rather than build up guns from a dozen or so parts.
- 174 replies
-
- 6
-
-
- prinz eugen
- trumpeter
- (and 2 more)


