clearway
-
Posts
2,238 -
Joined
-
Last visited
Content Type
Profiles
Forums
Gallery
Events
Everything posted by clearway
-
 it is good when all the brain ache comes together and looks like a ship😁. Keith
- 322 replies
-
- 3
-

-
- enterprise
- caf
- (and 1 more)
-
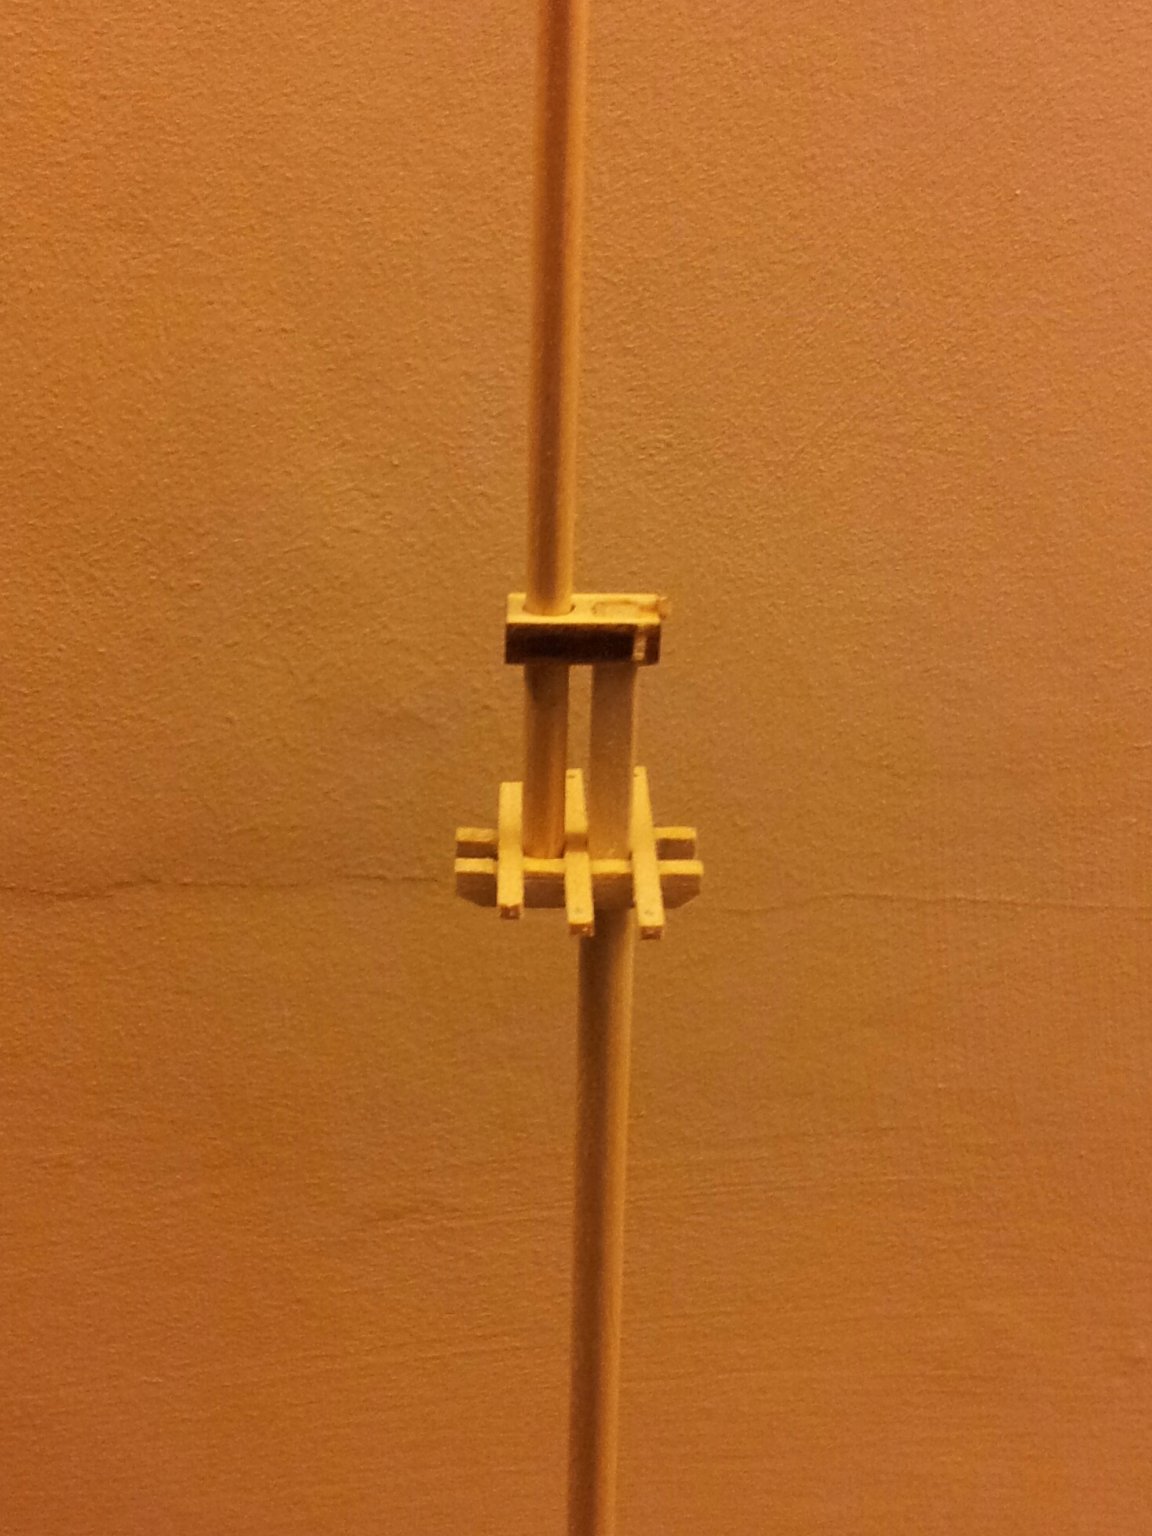
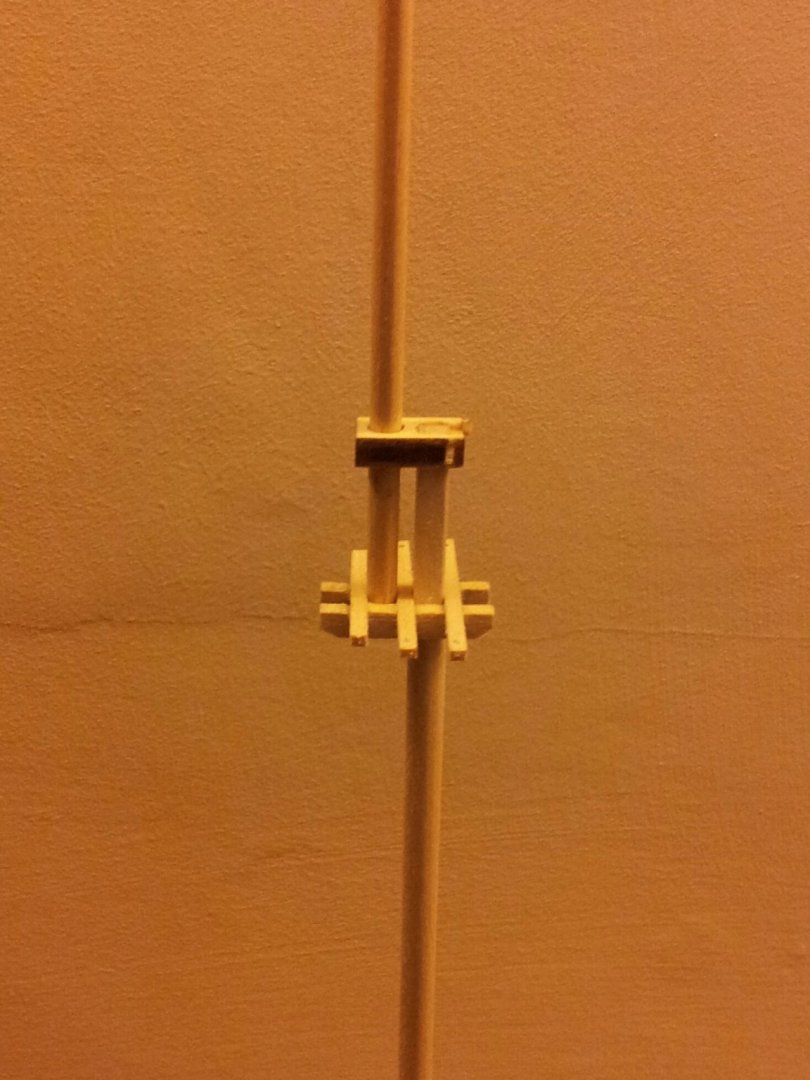
thanks for looking in everyone, started on the topmast trees (topgallant mast still needs tapered, and new mastcap made). Also after Keith s timely advise made a new tiller using brass stock though still not glued in place yet. take care all Keith

-
seems strange as caldercraft are among the top kit suppliers compared to occre ,artesenia etc Keith
-
Thanks Keith, luckily i haven't glued the tiller in place yet so still option to remodel (tis a bit strange because tillers were normally wood... the intrigue of the arctic ships continues)! The set up with the wheel and tiller lasted until the steering quadrant was invented most likely as you say for mechanical advantage. slightly later ships like Cutty Sark had a worm screw arrangement right atop the rudder head. I was looking at them pin racks on Erebus foredeck which makes sense for the rigging from the jib boom (can we assume terror was the same)? Also thinking did they still fit kevels or had they replaced these with cleats like on HMS Trimcolee🤔 as Terror lost her bulwlarks when she collided with Erebus in Antartica, you can go bonkers trying to work this out and mr Betts book isn't due out til spring next year. Keith
-
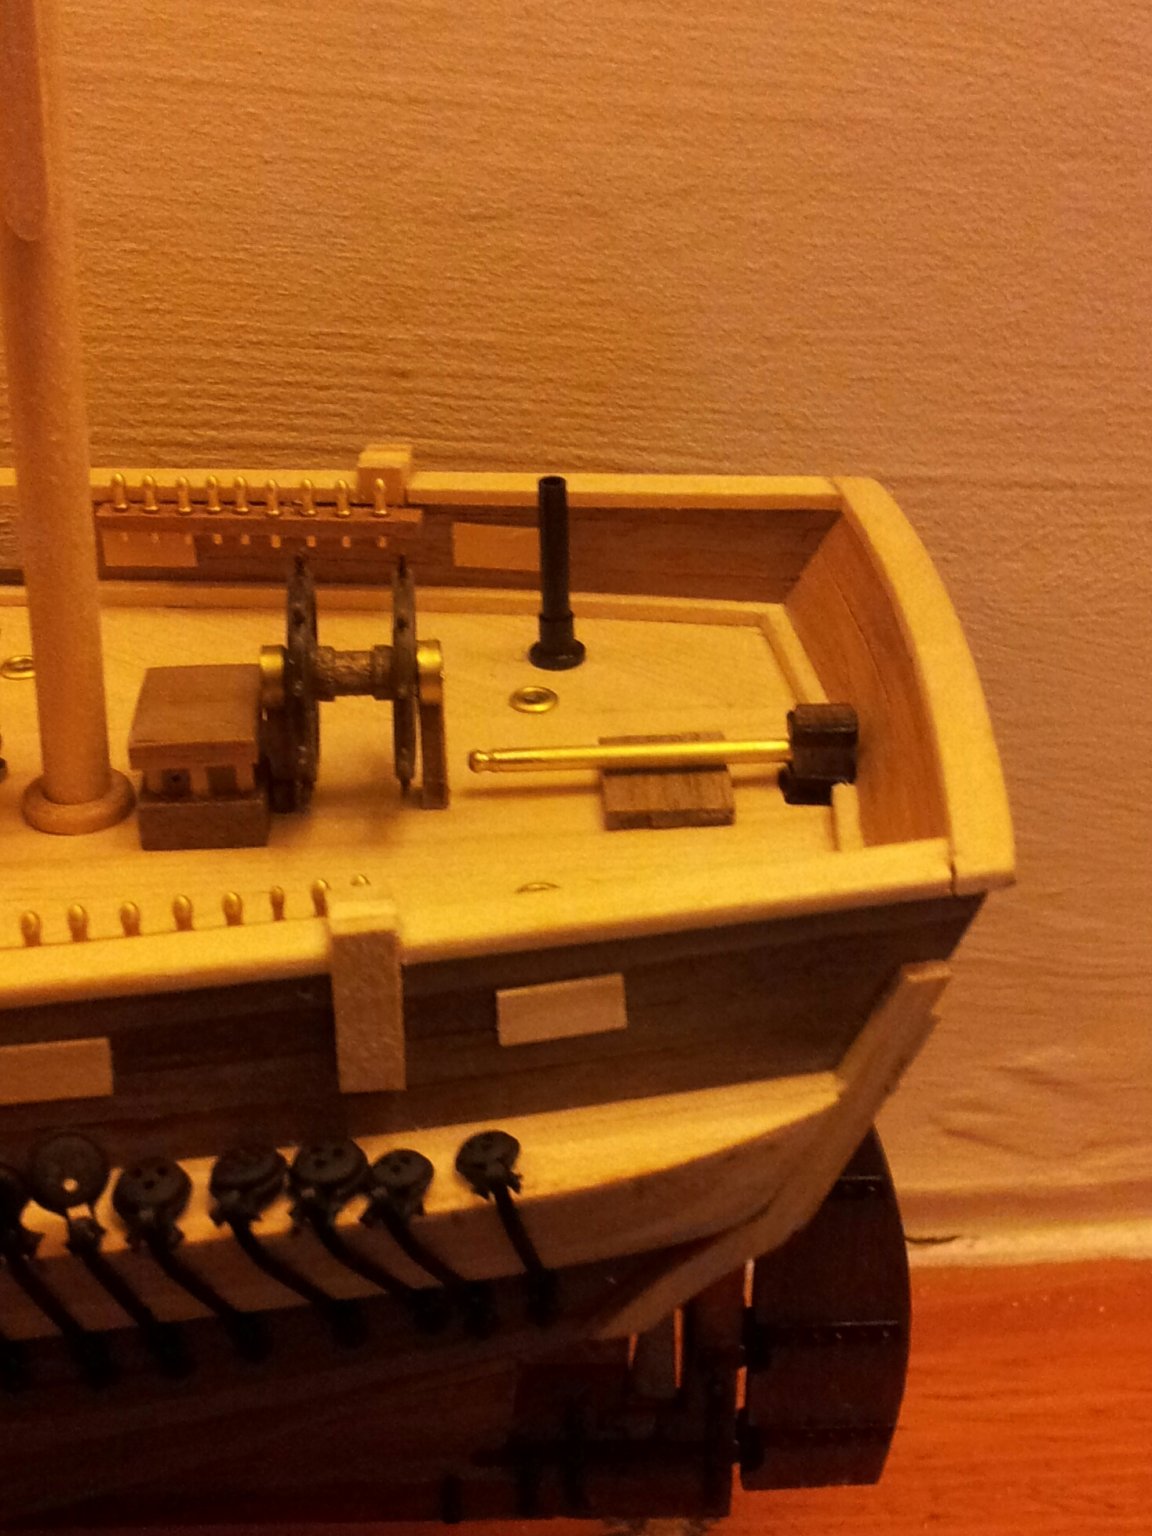
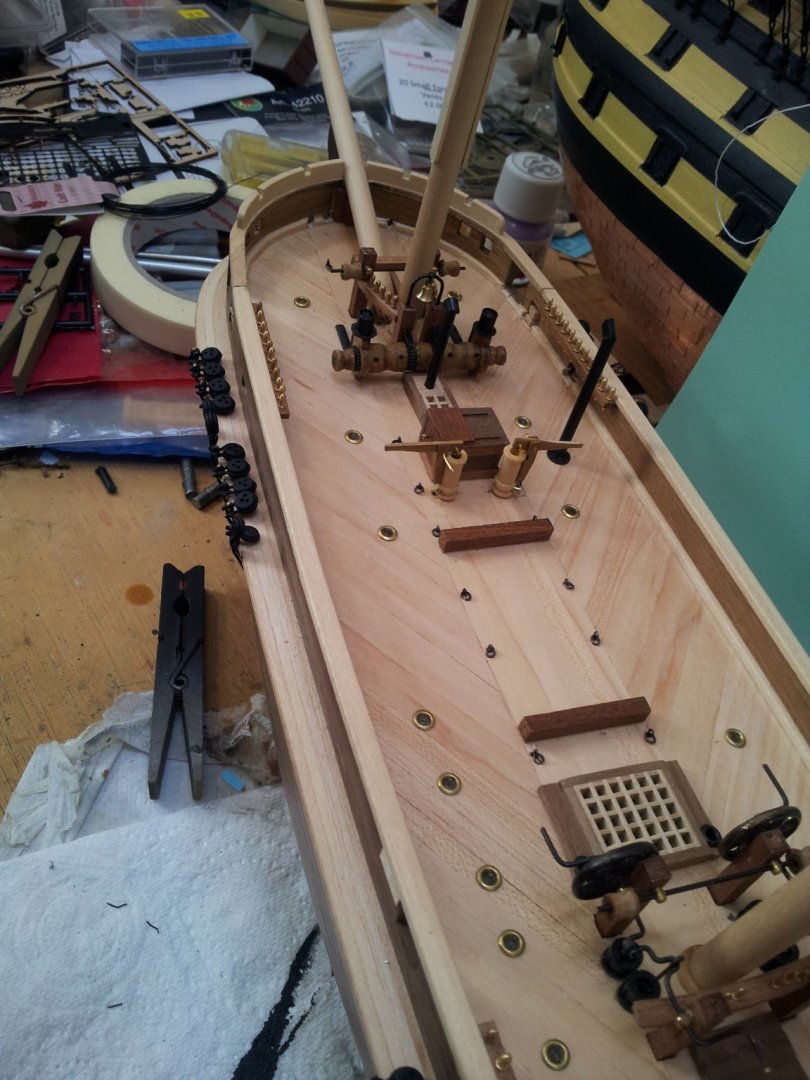
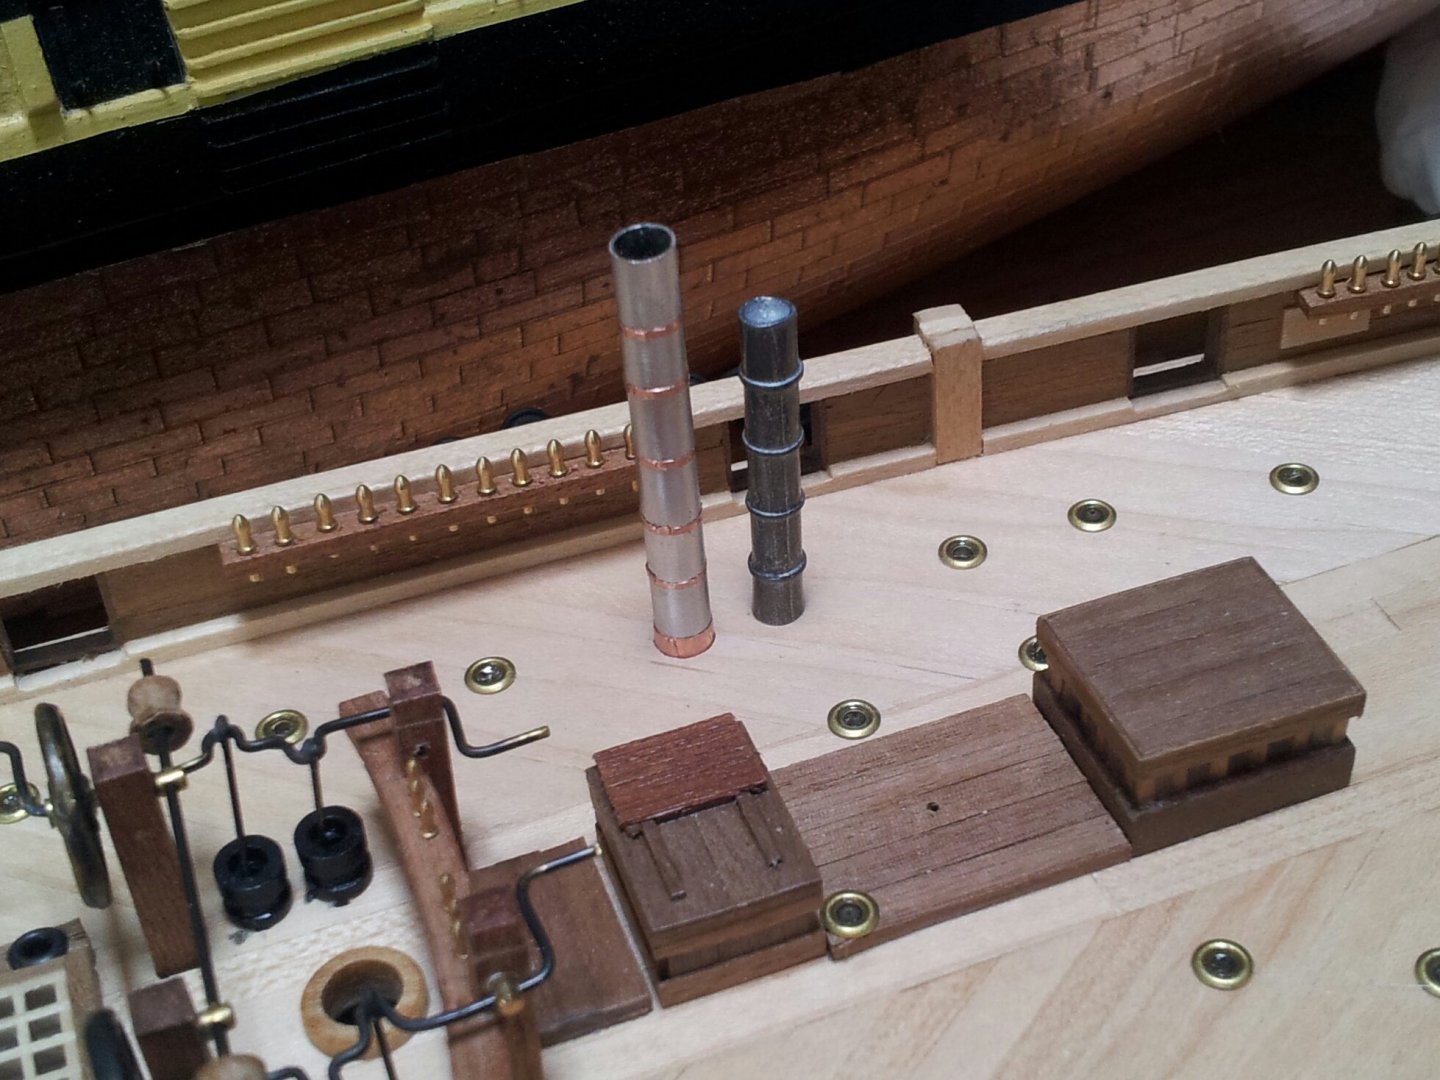
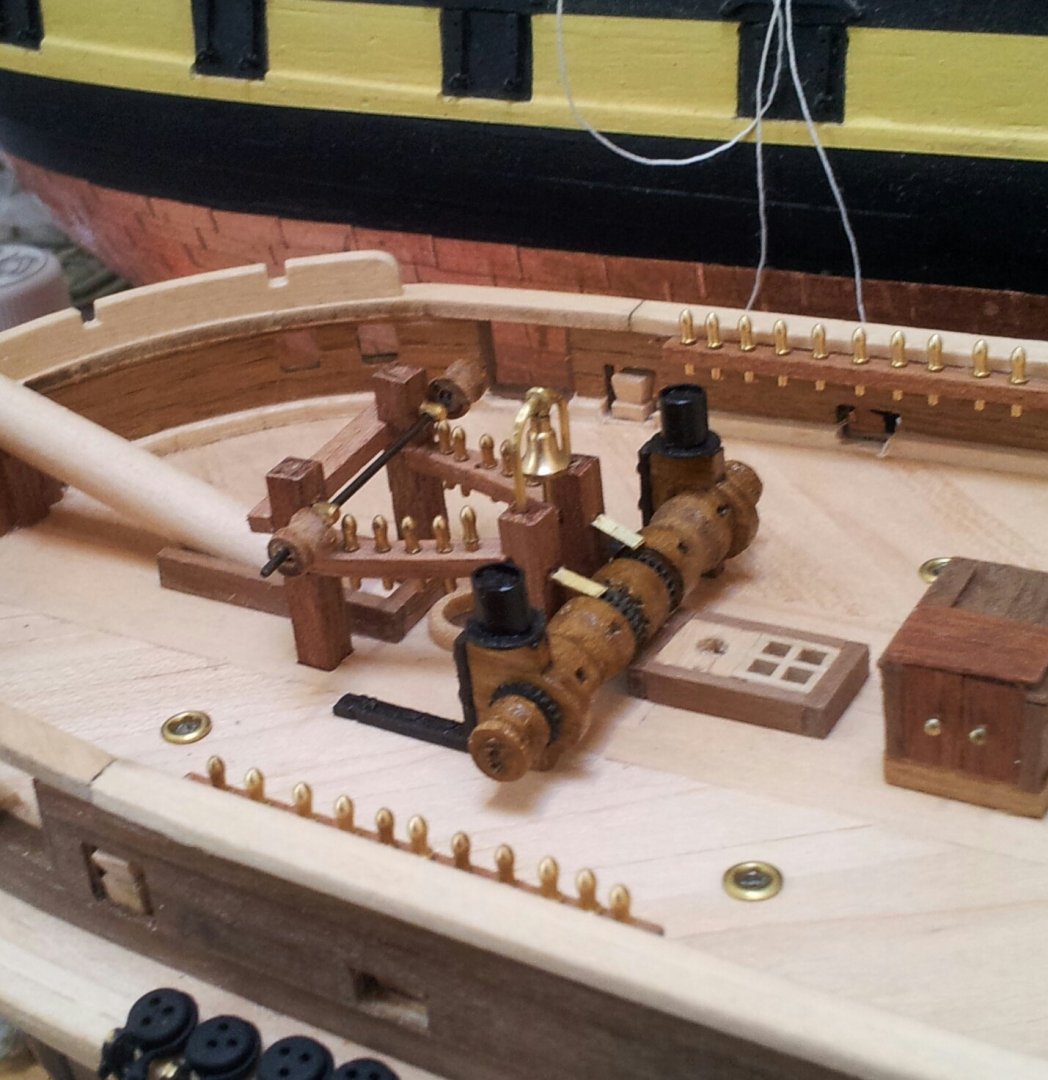
work continues on terror.feels weird just having all day to myself at weekends only again after 5 months furlough! got the eyebolts and rings for nipping anchor chain in place and painted loco engine funnel and heating flue along with a coat of matt varnish ( make sure to clean aluminium and paint as soon as possible because of oxidization). I might make some people curse here, but another faux pas by occre is giving her a metal tiller, fashioned tiller out of some walnut stock and made a band for the end using some scrap etch and made eyes out of anealled iron wire. starting to look really busy on the decks now😁. take care all Keith


-
ca dries hard and makes the knots brittle- try using the p.v.a. straight (i never dilute mine) just work it in with your fingers after applying. the thread looks glossy which won't help either. Keith
-
looks o.k. all comes with practice, more tedium = better results 😁 Keith
-
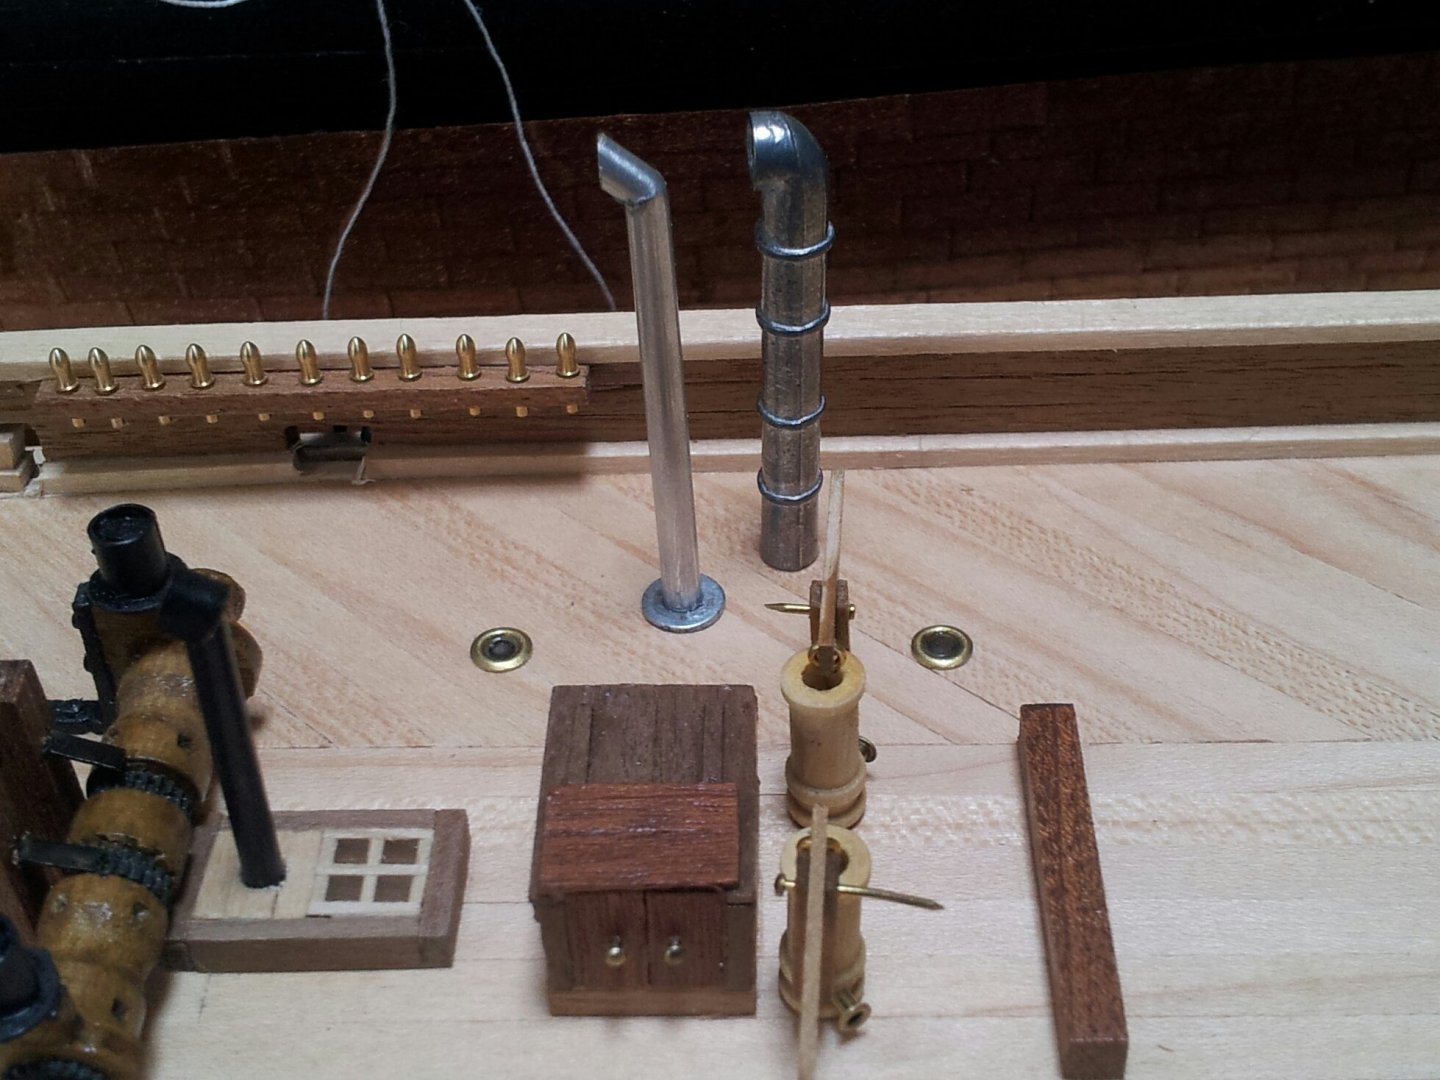
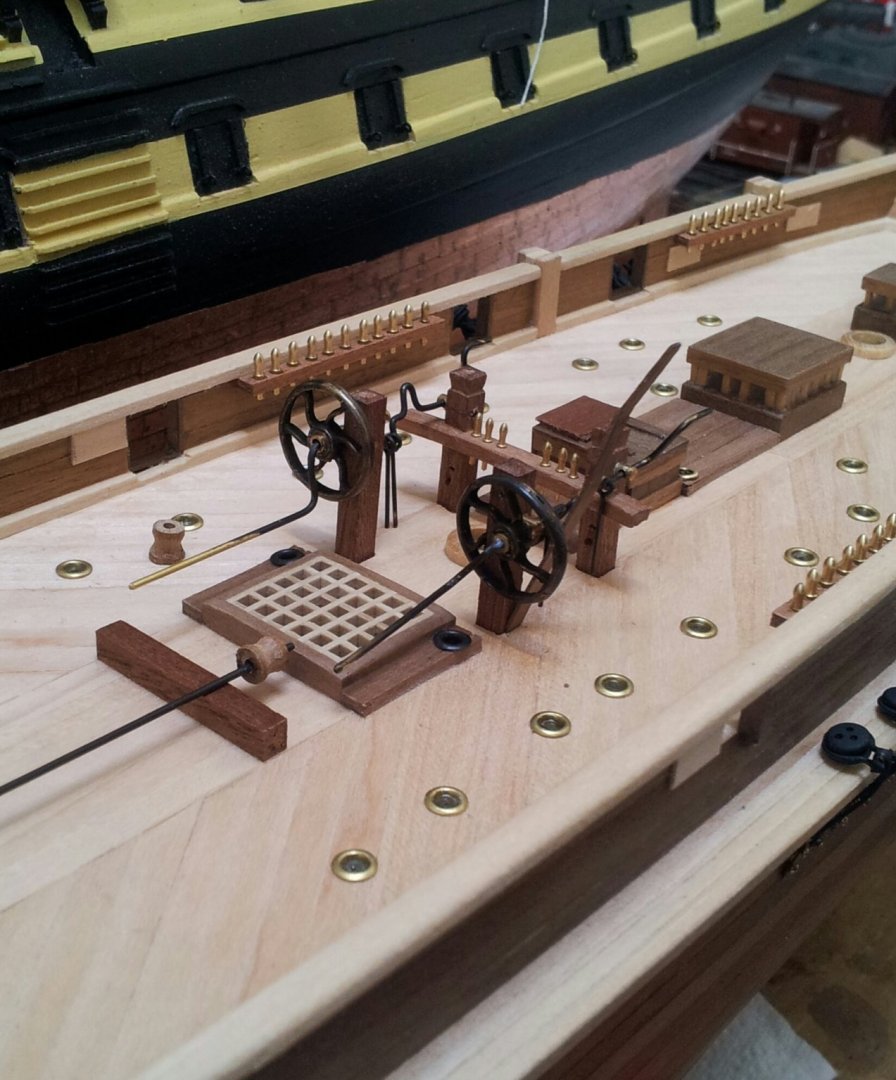
thanks for likes and comments everyone, work continues on the deck fittings with the massey pumps finished (though still not glued in yet till i get the eyebolts in place for the rigging around the base of the masts). got some of the "iron work" around foremast painted, and not happy with the occre fittings, made a new fluepipe for the heating stove and the funnel for the steam engine out of aluminium pipe out of my stash (used self adhesive copper strip cut into thin strip for joins on funnel).The original occre castings are shown alongside the replacements. also need to think about cleats and fastenings for the topmast tyes as well before gluing everything onto deck and blocking access. take care all Keith

-
it all gets easier with practice guys honest. Keith
-
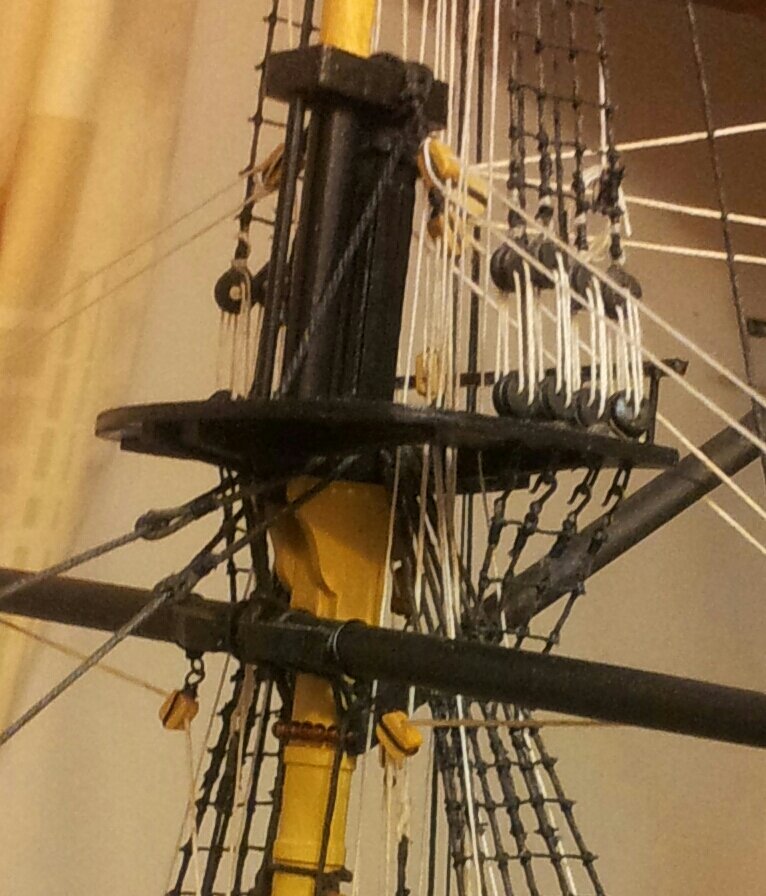
weird olde wonderful ship is the word alright! i will be fastening to the chain collars around the mast (will make a copper ring to fasten chain to it) the bit i am going to simplify is the actual futtock chainplates for want of a better description, the chain/ rope futtock shrouds were anchored to the chainplates with a hook then to the mast collars (see tops on my victory build below) don't fancy doing this on terror as everything including deadeyes are smaller, Keith
-
Hi Keith- the deadeyes on the tops are fitted into a plate which has a hole in the part below the top itself into which a hook secures it to either the mast or lower shrouds depending on era. As regards the winches they would have to go above the battens so will be near the top of the doubling- however they do look removable and maybe were just used to winch up the topmast and topgallant masts + spars, because most of the running rigging is controlled from the deck? the quandry that is Teror continues! Keith
-
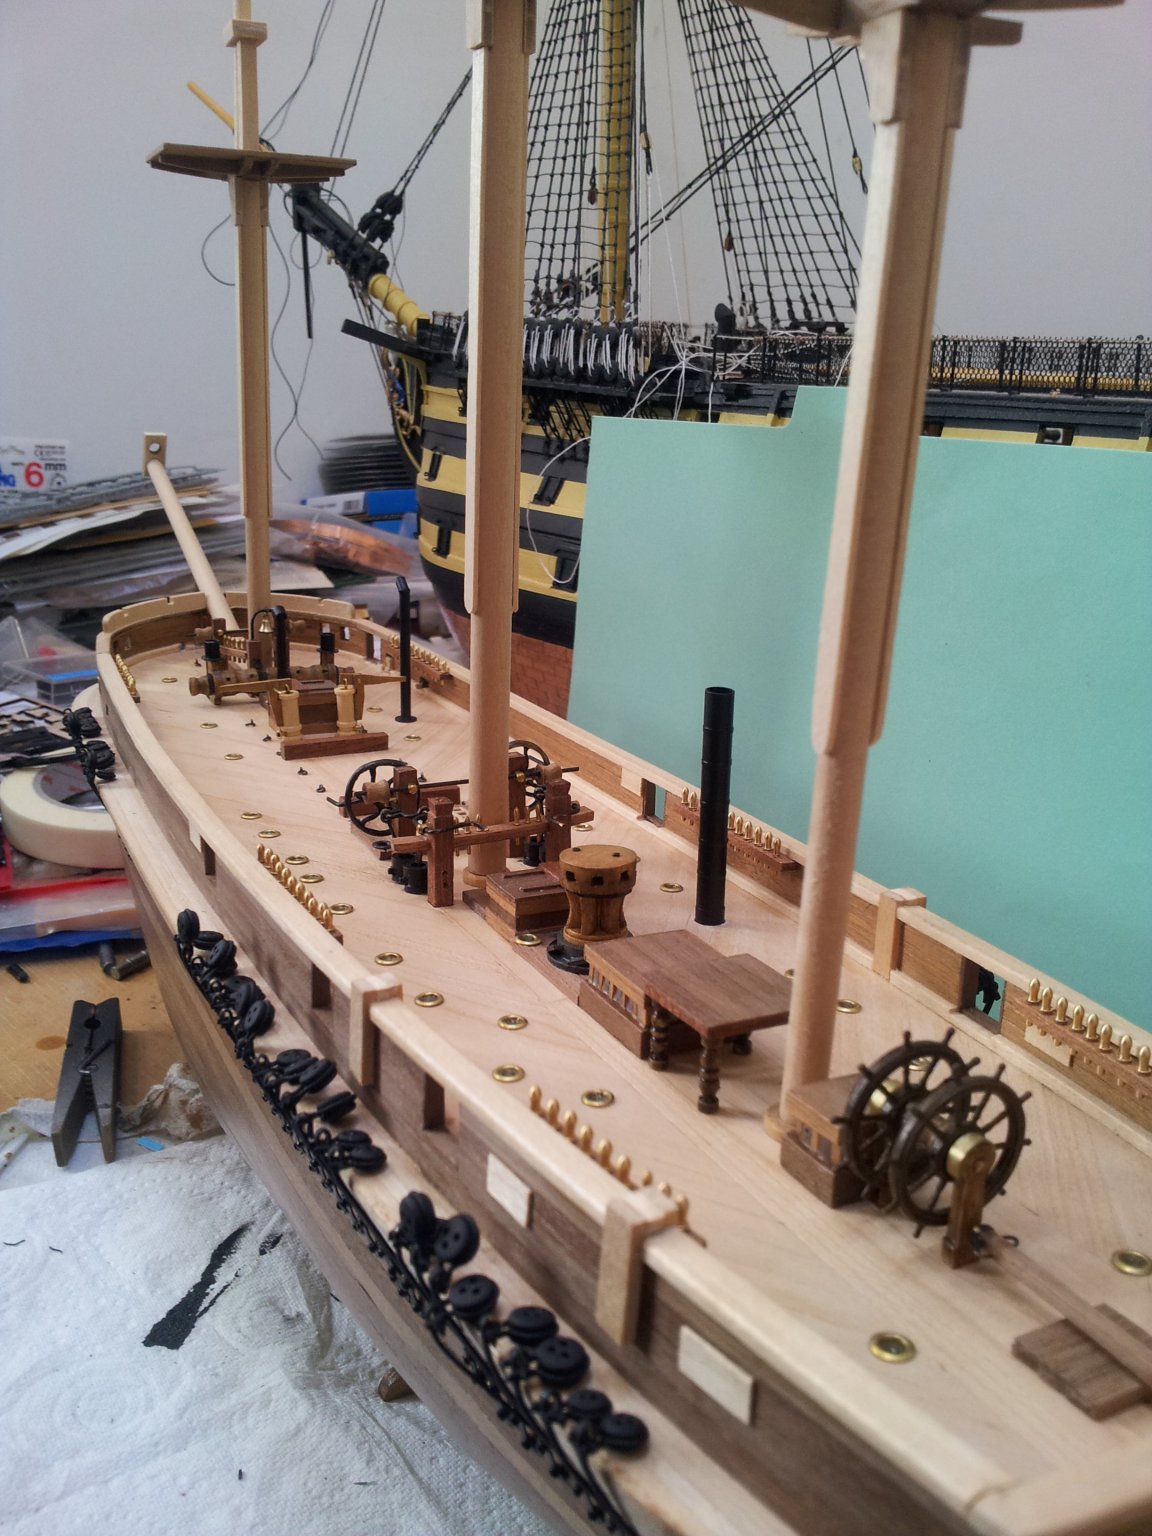
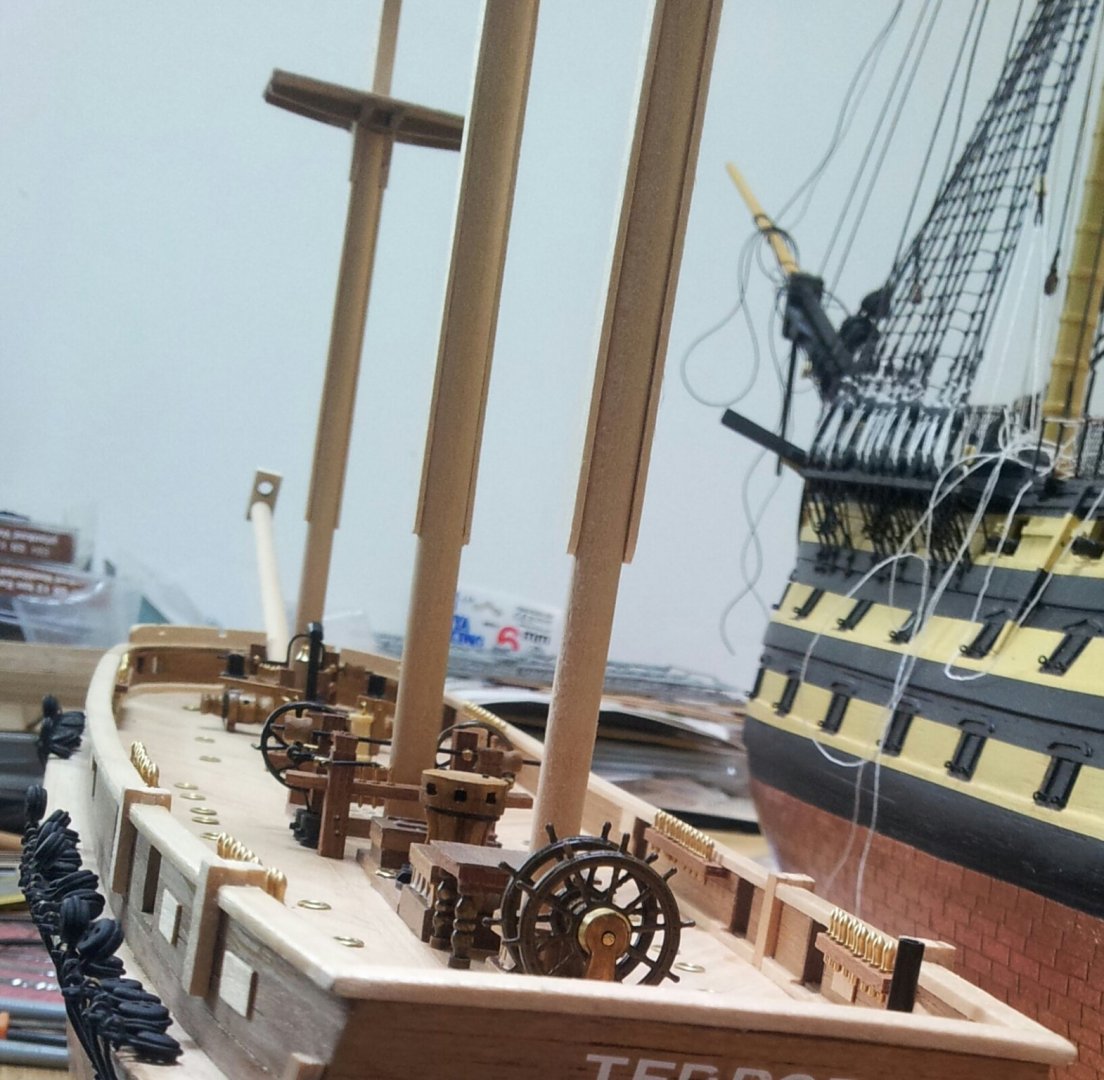
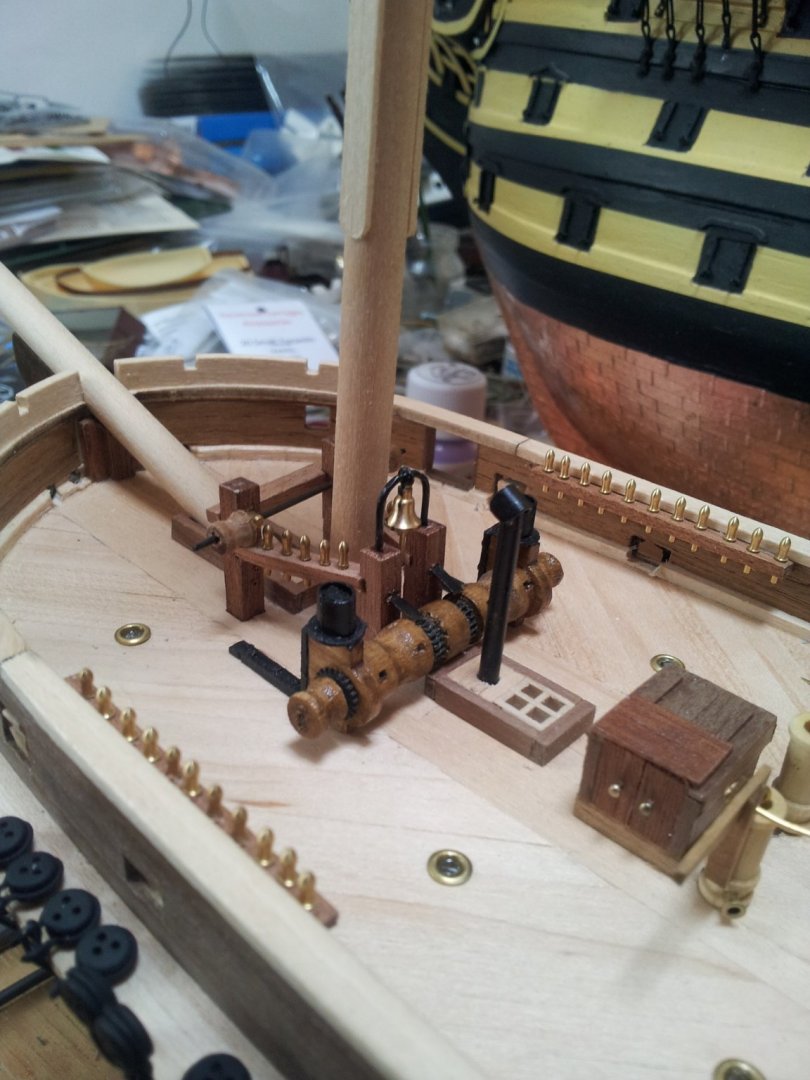
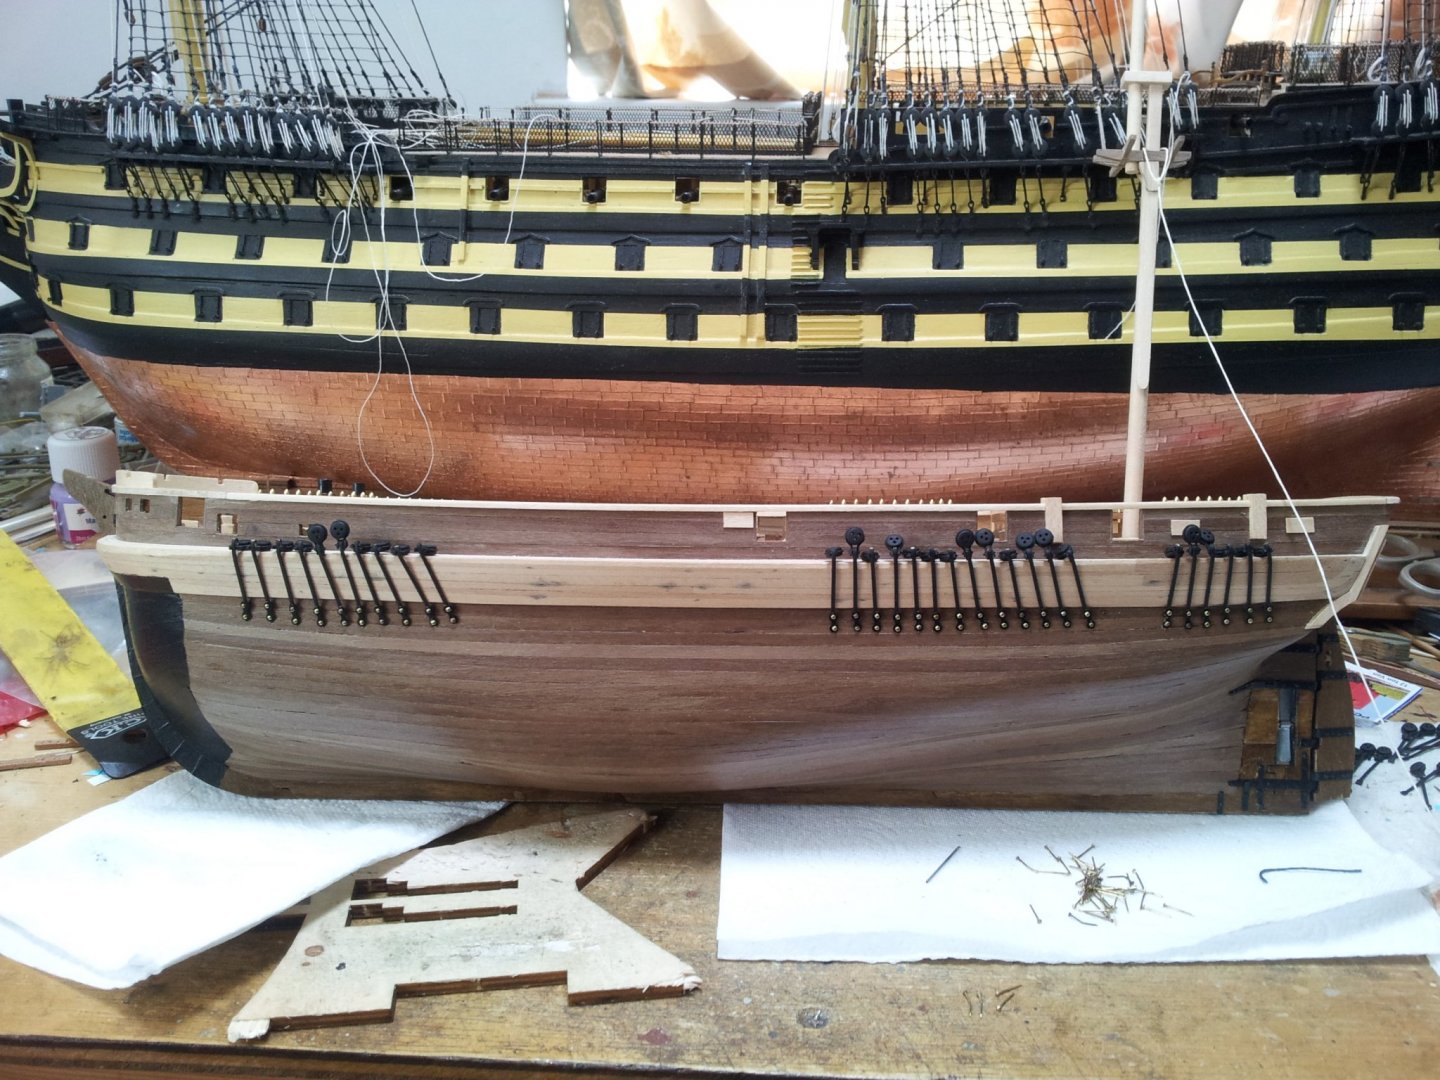
work continues with the last of the chainplates (for the backstays) added along with the warping drums for the foremast jeers, Also got the flywheels added to the massey pump (nothing glued into the deck though). take care all Keith
-
That's another chore of dread as well keith! Plus we need to sort out the deadeyes on the tops as well 😱, but they are a different set up and i am working on a cheat🤔. Keith
-
it all takes practice, but looks like they are sitting nicely (don't forget as keith s states the bows will be hidden by the plating anyways. keith
-
thanks for the looks, likes and comments guys, you never know what you can do til you try even though this was one of the jobs i was dreading to be honest. Keith
-
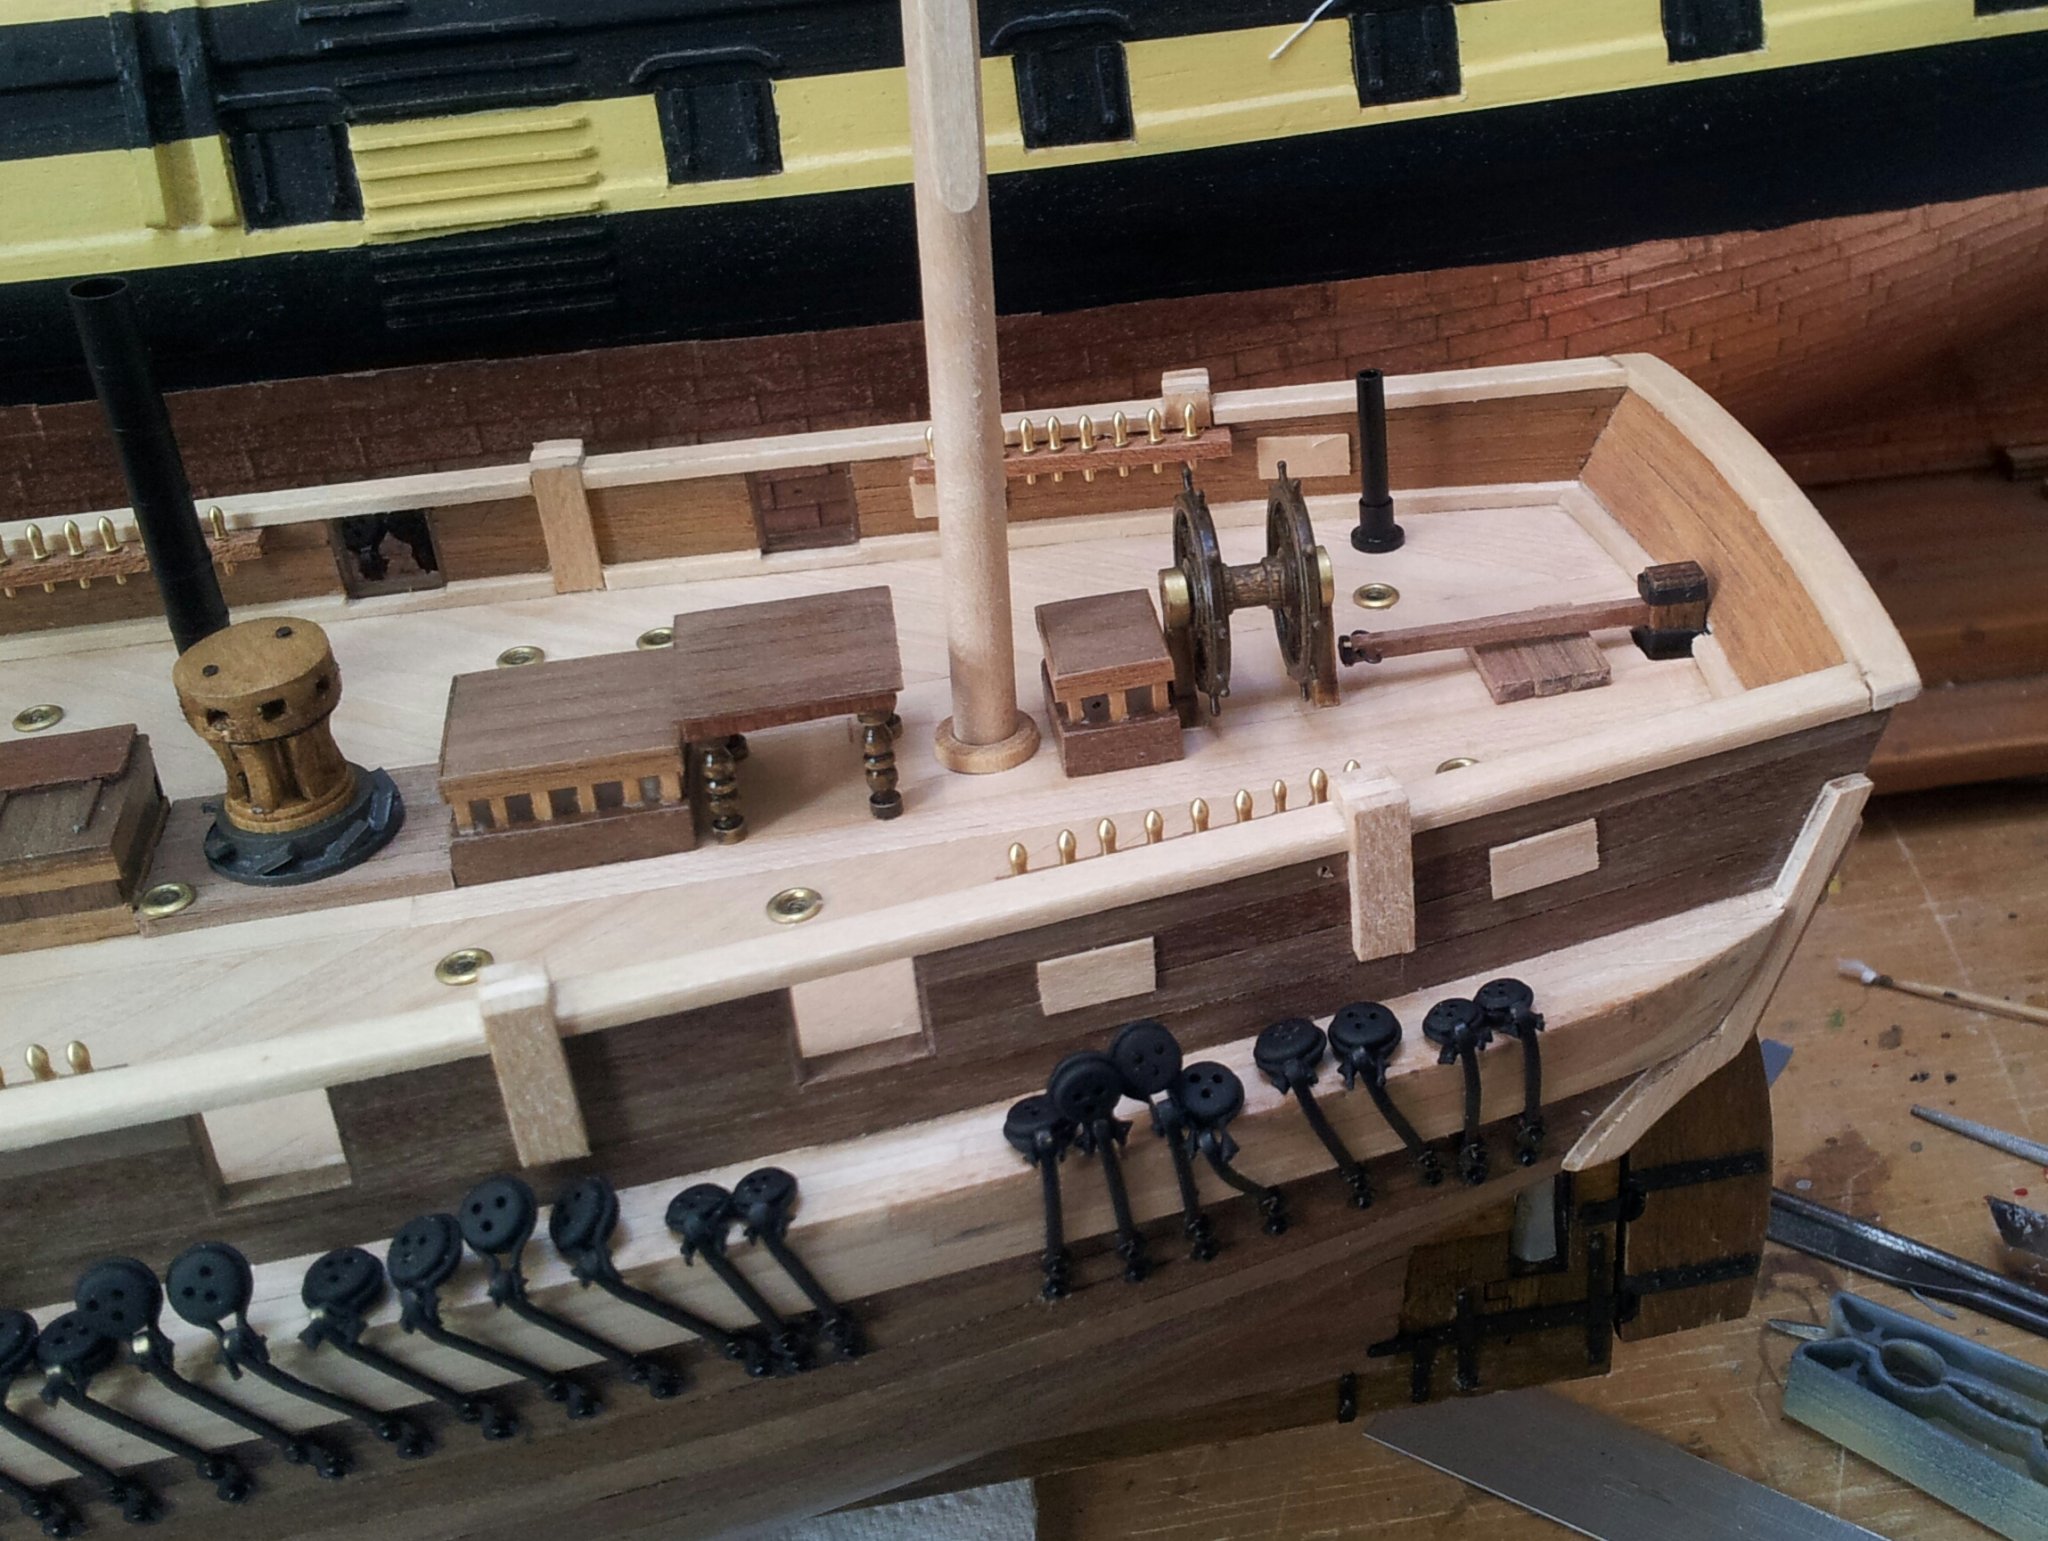
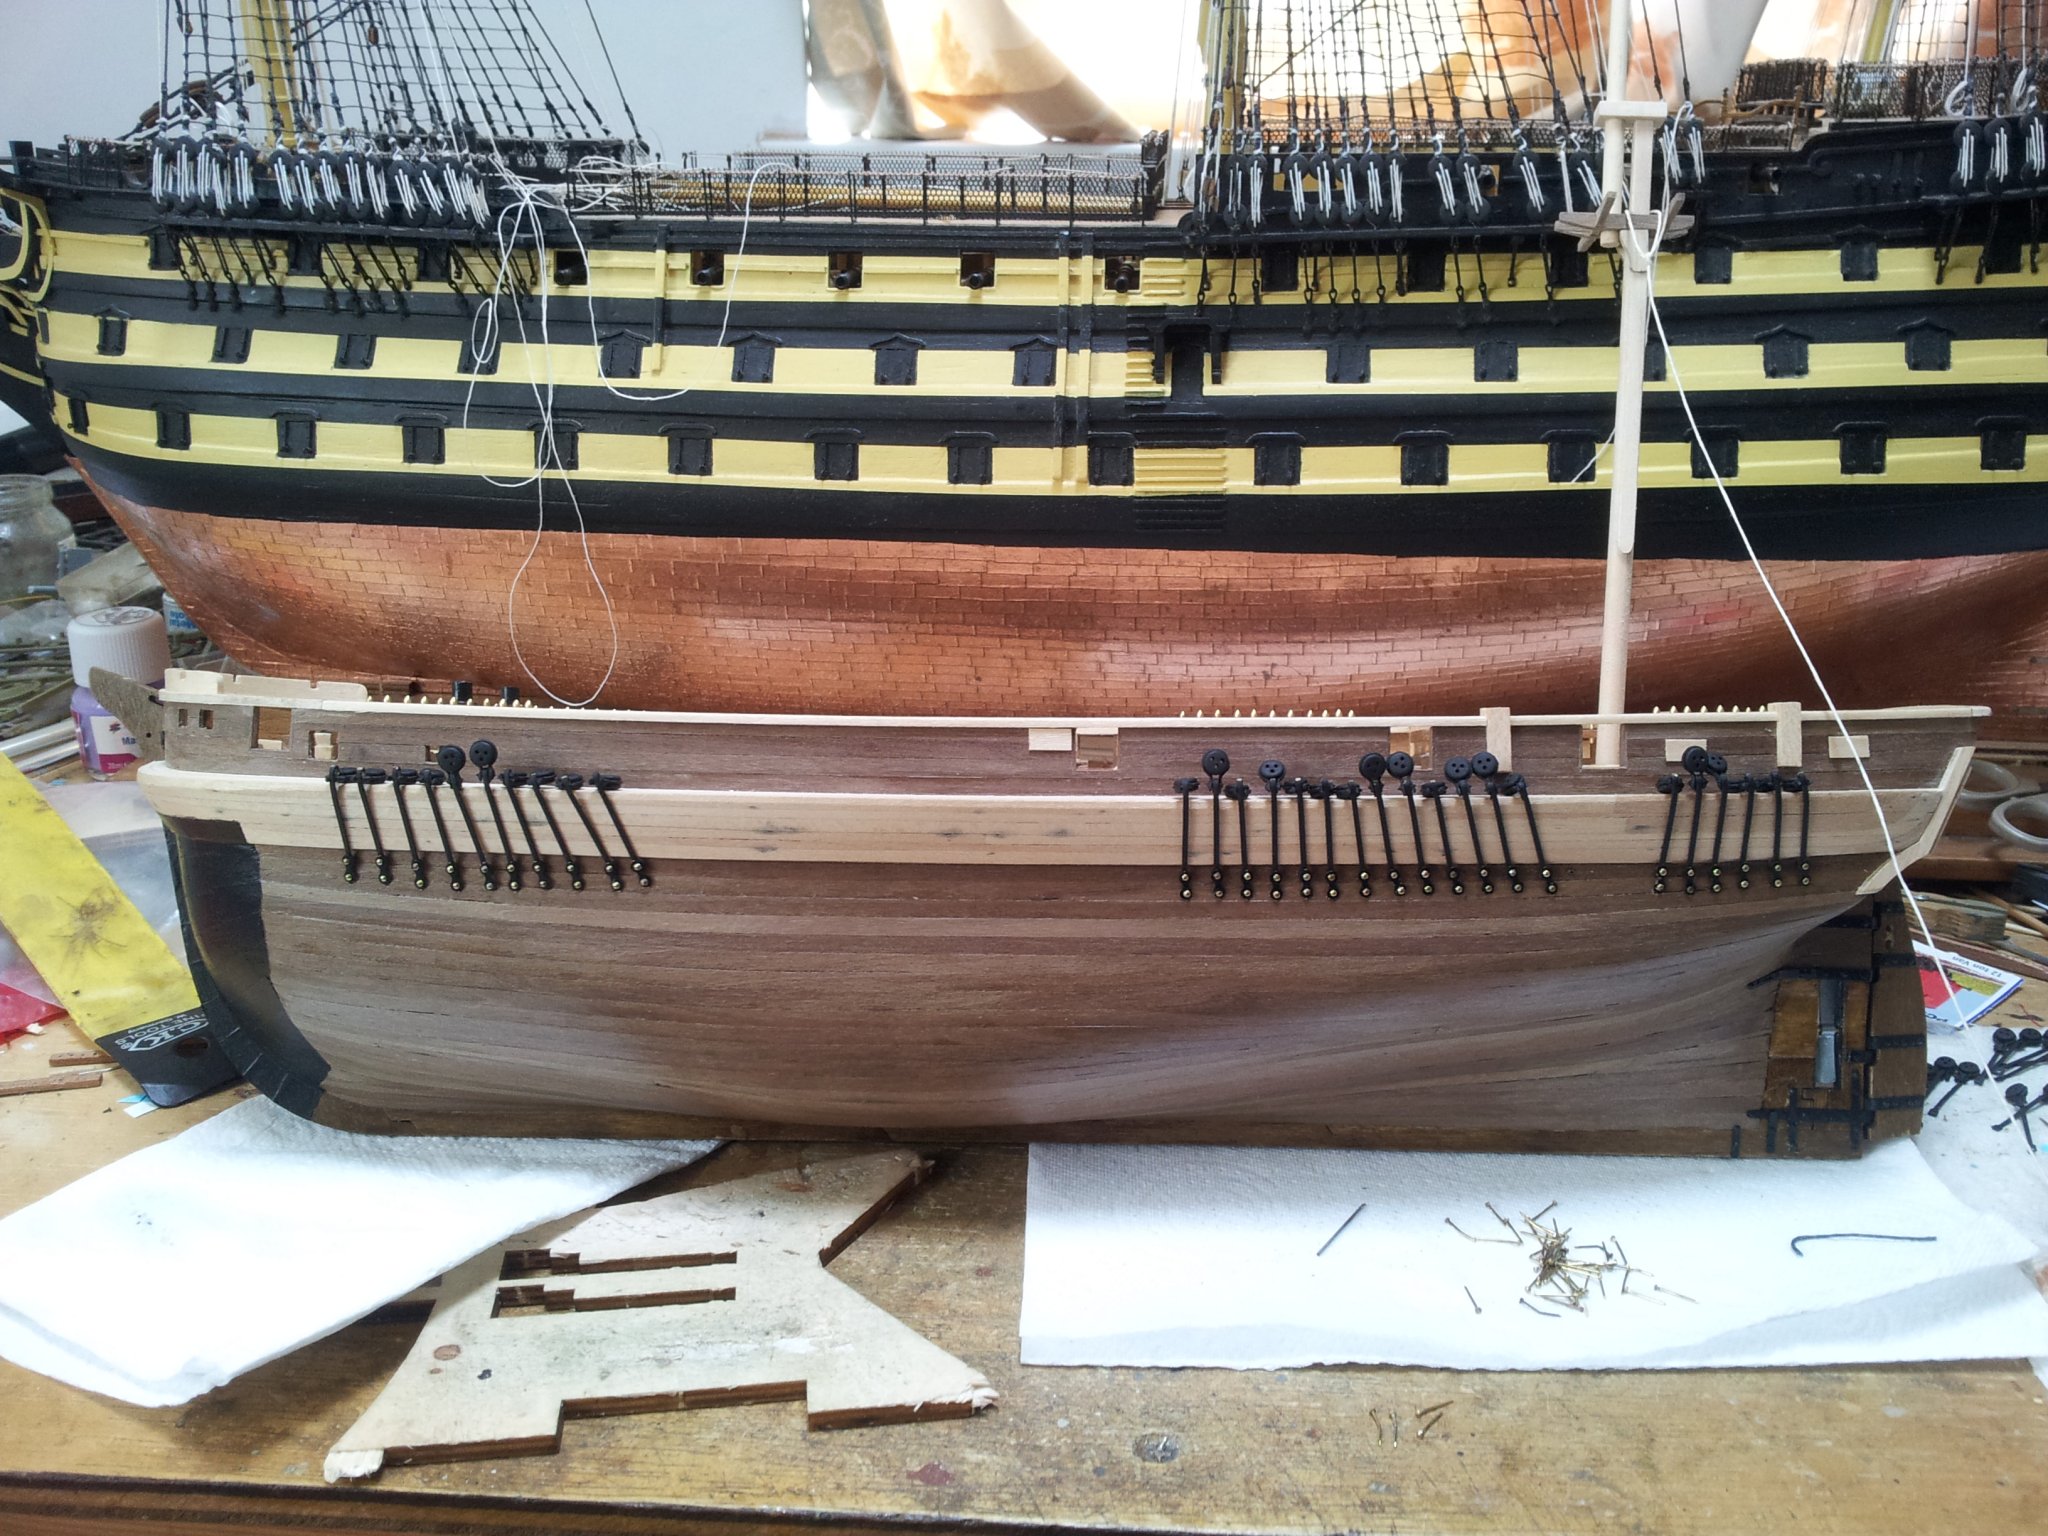
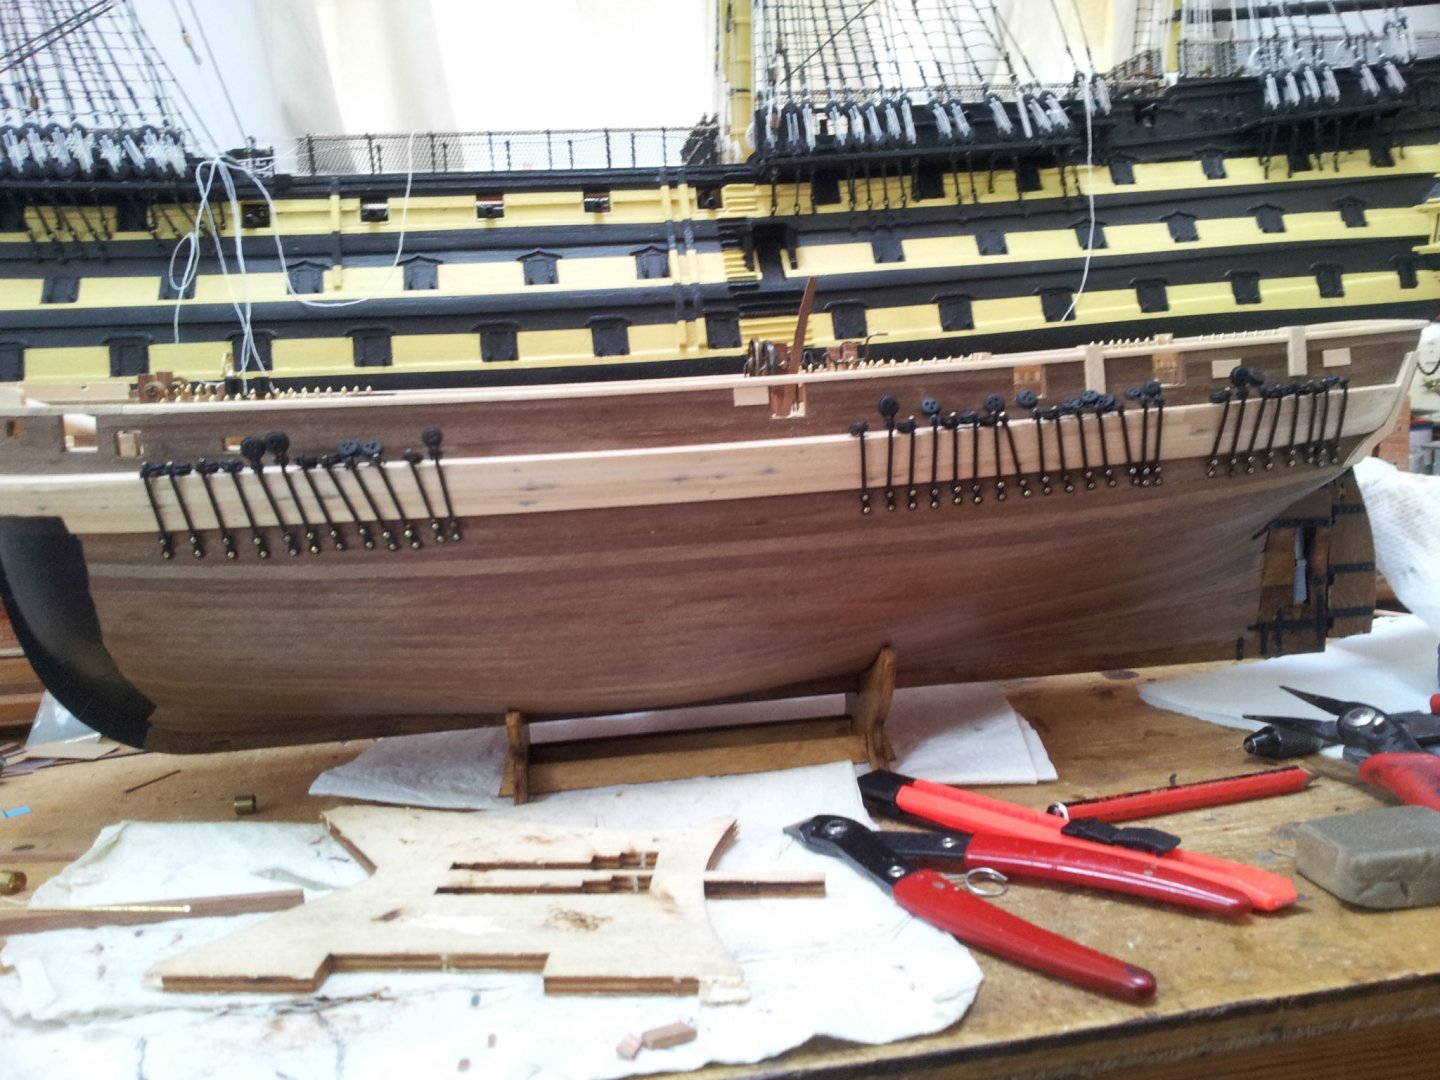
Thanks for views and comments everyone, got the chainplates painted and fitted which is a way to use all those pins i removed after planking (not sure whether to leave pins in the brass or paint them black)? have got the smaller deadeyes for the backstays finished, and when paint dried will fit them as well. used a piece of old rigging thread tied to mast to map out angle of plates as they follow the angle of the shroud in practice wherever possible. the tops of the chainplates arn't glued in place only the pins are anchoring them to the hull. Take care all Keith
-
looks good so far- maybe occre have heard us all complaining on here and given themselves a kick up the backside! - it is common to use the pins to hold stuff in place til the glue dries though, i had to do the same. Keith
-
been weird being back at work this week after 5 months! back int shipyard and got all the chainplates for the larger deadeyes fitted and need painted now (still need to do strops and chainplates for smaller deadeyes). take care and keep up the great work everyone😉 Keith
-
cool , i read a book about the german surface raiders of ww2 published by penguin years (decades) ago, they certainly had intriguing and colourful voyages. Keith
-
Ouch so not a cheap project, but then none are (with extras i have doubled cost of occre kit for terror, and as for victory)! For cleaning up inside the frames you could wrap sandpaper around some large diameter dowel/ tubing (that is how i do inside curves when needed). Keith
- 322 replies
-
- 4
-
-
- enterprise
- caf
- (and 1 more)
-
comes with practice wahka, on my hms victory log i put a demonstration of how i do it (will be in last couple of pages somewhere). i used to do it with the ends pulled in etc but found an easier method. Keith
-
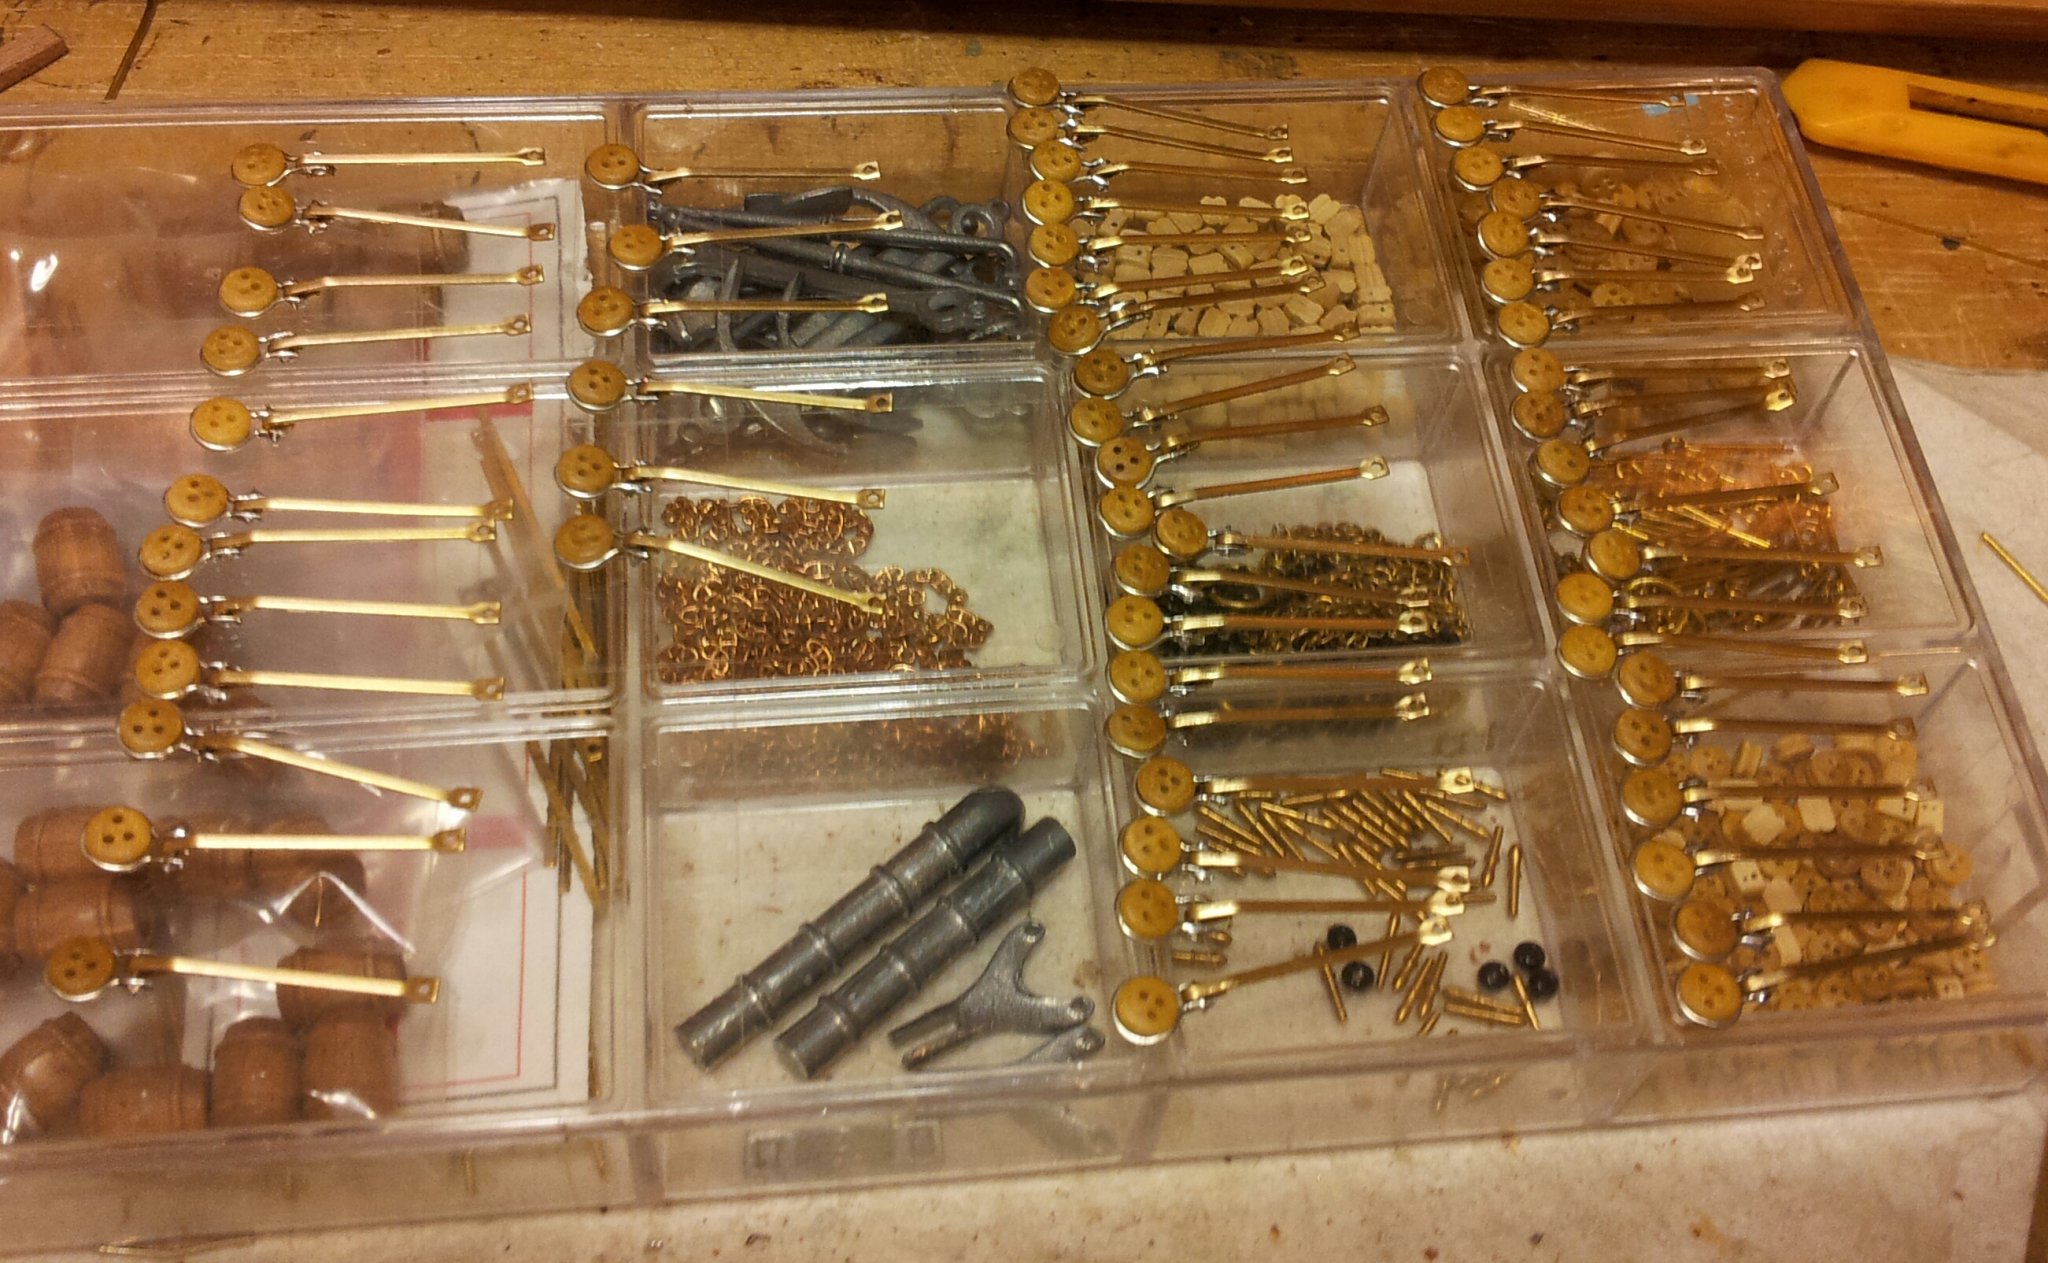
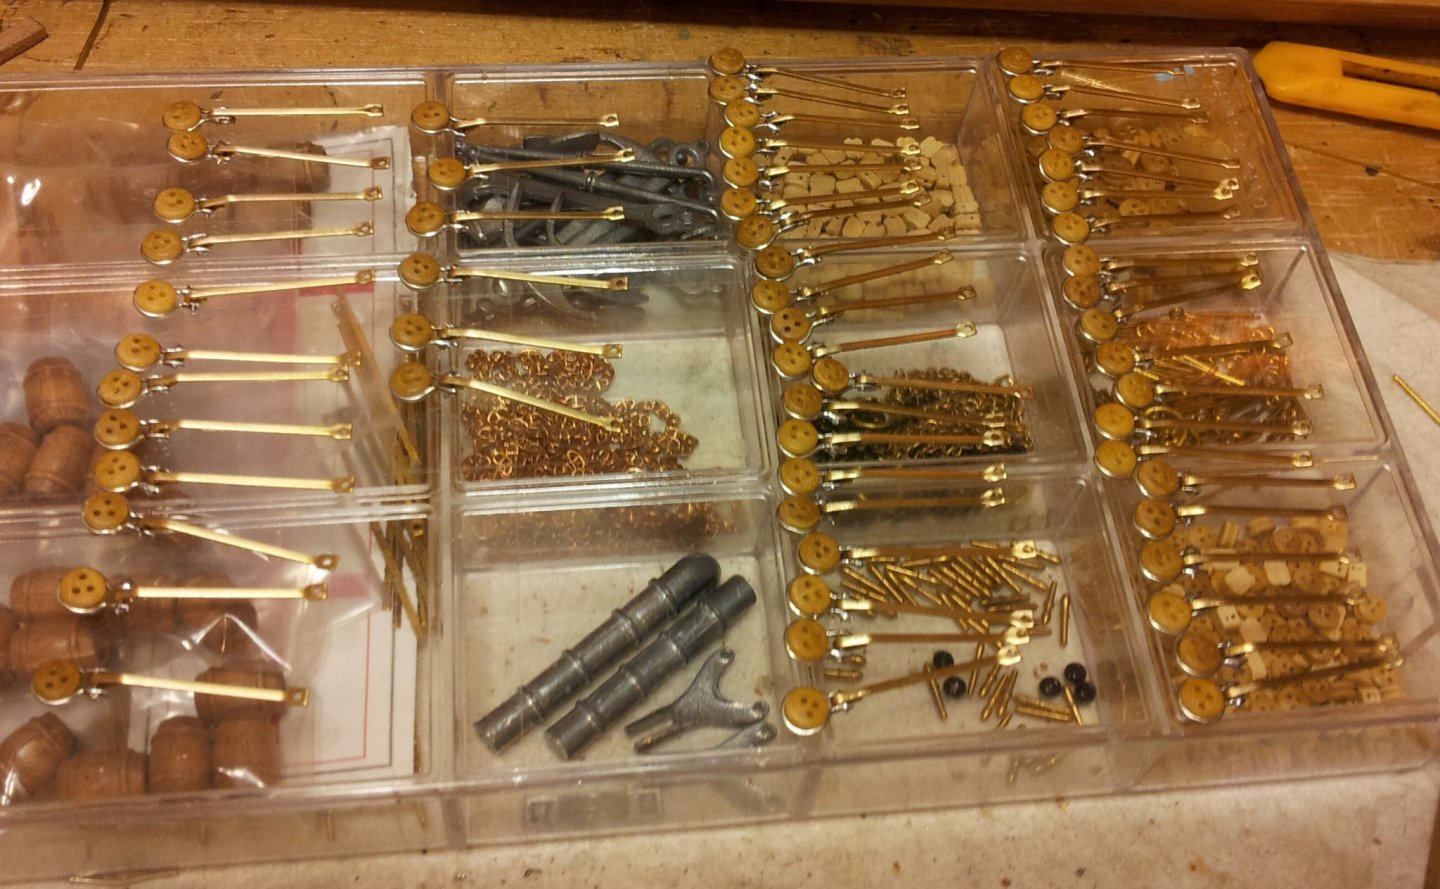
thanks for the views and comments everyone, when i scratchbuilt new chainplates for my billings victory i was left with a load of billings brass chainplates which while incorrect for victory will be ideal for terror😁. Luckily the deadeyes are a loose fit in the strops so easy to turn to correct alignment! take care all Keith
-
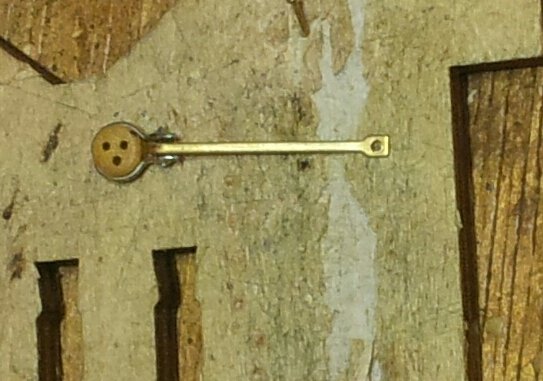
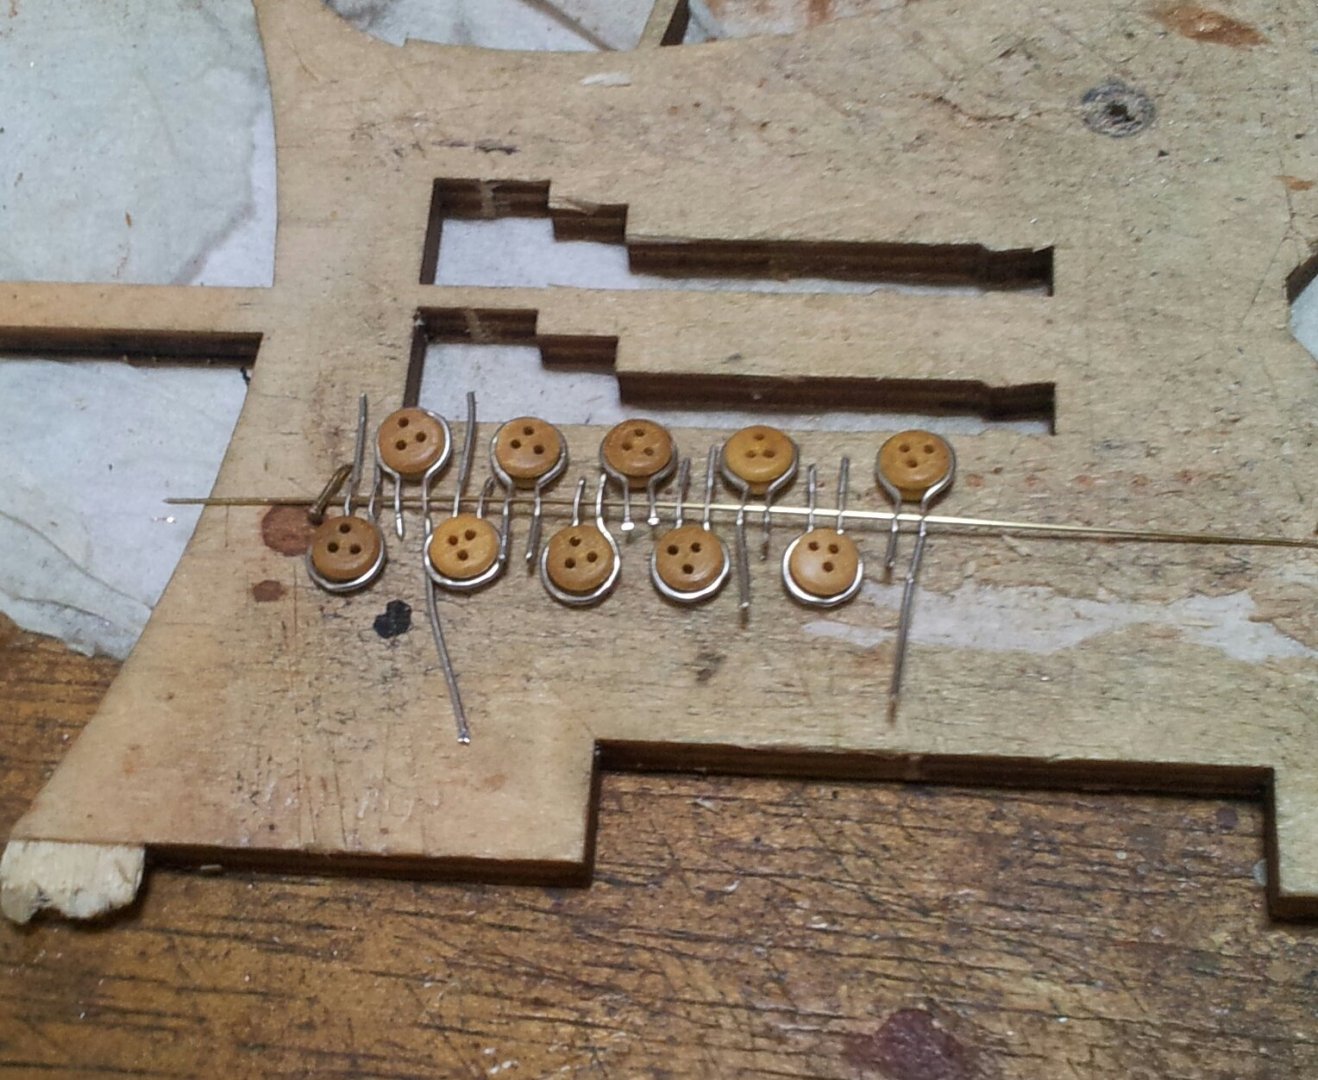
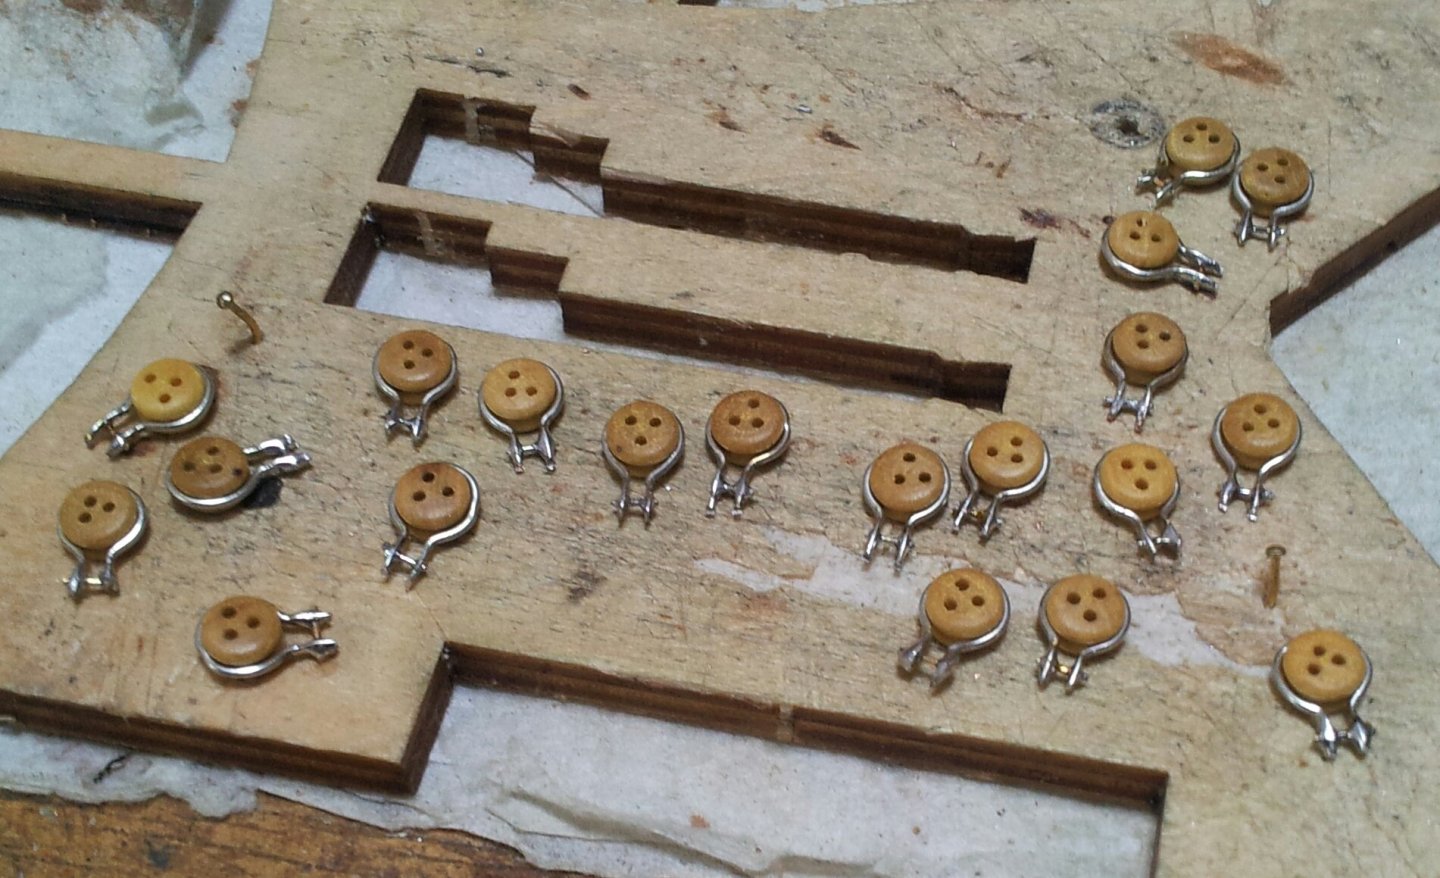
take care Emmet and ty. Tackled the deadeye strops today (well about 36 of them)! I formed akeyhole shape using 22 gauge tinned copper wire then flattened the ends and drilled through with a 0,6mm drill, then in batches of 10 ran 0,45mm brass wire through and soldered. take care all Keith
-
it will be easier doing it occres way, i added another frame in the bows and planked fully but the plating will cover it all. the only thing i would recommend is staggering the frames the planks end on as they arn't long enough to plank the hull, even missing the bow section! Keith