HOLIDAY DONATION DRIVE - SUPPORT MSW - DO YOUR PART TO KEEP THIS GREAT FORUM GOING! (89 donations so far out of 49,000 members - C'mon guys!)
×


Jack12477
-
Posts
5,666 -
Joined
-
Last visited
Content Type
Profiles
Forums
Gallery
Events
Everything posted by Jack12477
-
 Thanks Lou
 -
Thanks, Marcus
-
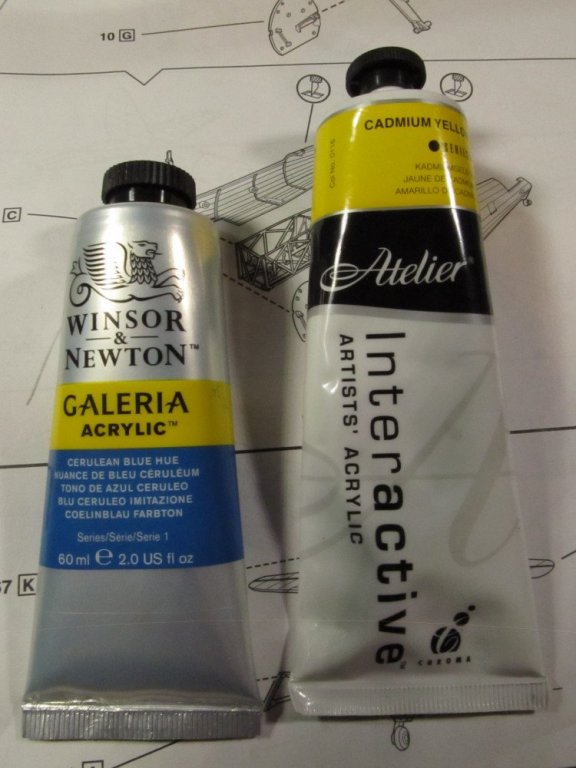
JCT, They aren't "oil" but rather water base artist acrylics. I prepped the plastic with Tamiya Fine Surface Primer in a rattle can. I then applied the paint with a brush. I dip the brush in water then take a dab of paint on the brush, then a little more water, then mix it around till it thins out then apply it to the model. Same mixing/blending technique an artist uses to put acrylic on canvas. I use a plastic egg carton style palette I get in Michaels. There is probably 4 maybe 5 thin coats of paint on the model when I am done I overspray with Testors Dullcoat to seal the paint and decals.. Winsor Newton produces both oil and water base artist paints.
-
Fantastic layout Michael. Loved the video as did my wife. Beautiful garden.
-
Carl why write us off ! We have plenty of places to explore.
- 238 replies
-
- 4
-

-
- leviathan
- troop ship
- (and 2 more)
-
I have never used "the Cloud" for anything, never will either, Denis.
-
I'm using a Canon PIXMA MG7520 with a DPI of 9600 (horizontal) x 2400 (vertical) and 6 individual ink cartridges (Cyan, Yellow, Magenta, Grey, Black and a double black for plain printing) for both my photos and decals. (Also has a Scan, Copy, and "Cloud" feature)
-
Thanks Steve and Craig.
-
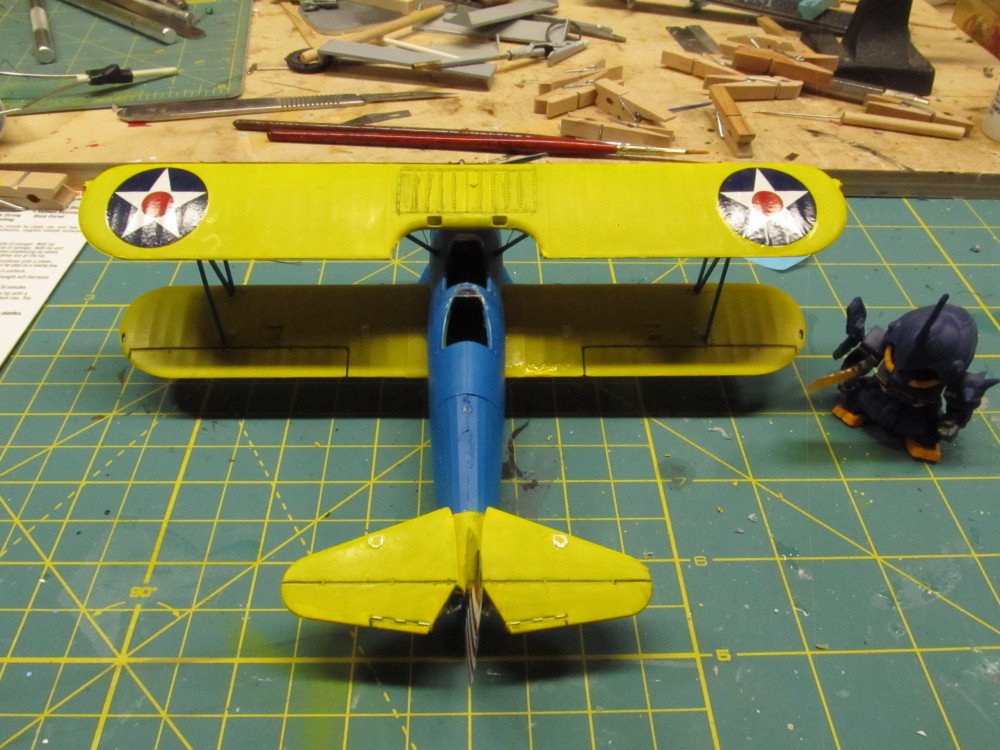
Thanks Carl ! Yes, my Security Chief, Dr. Gundam, did tell me he encountered a group of your spies trying to penetrate the StealthWorks, but he chased them off. But, Carl, you really must teach your spies to be more discrete; they left a very large and obvious trail of Hollandaise. <pun intended> But they did not succeed in discovering our next Stealthy project.
-
Thanks. Denis
-
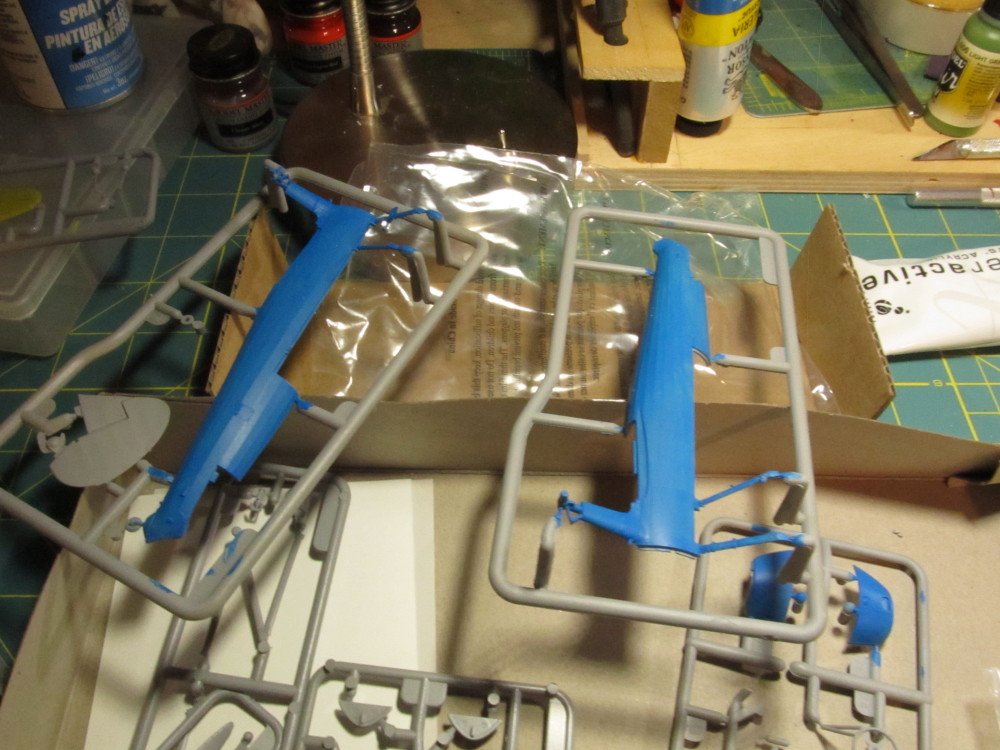
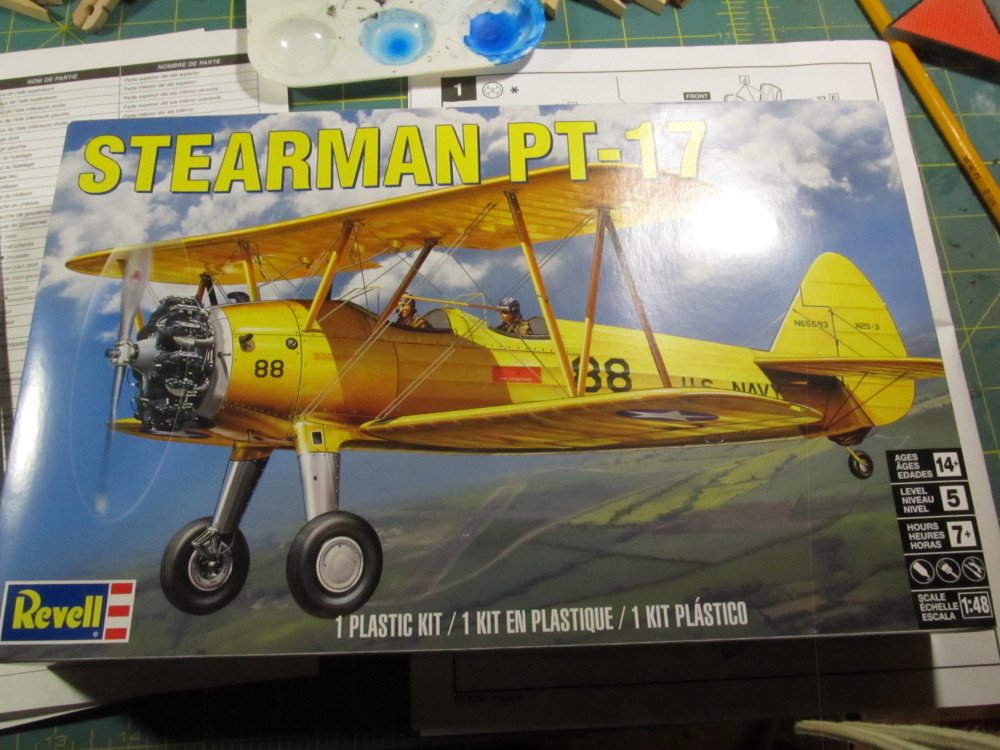
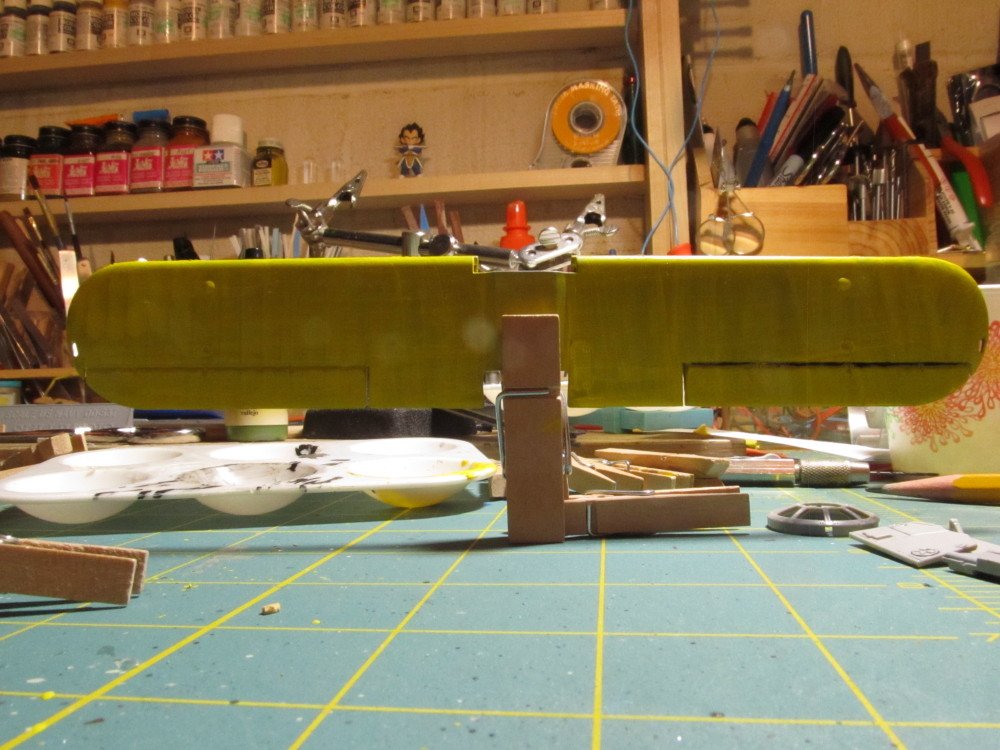
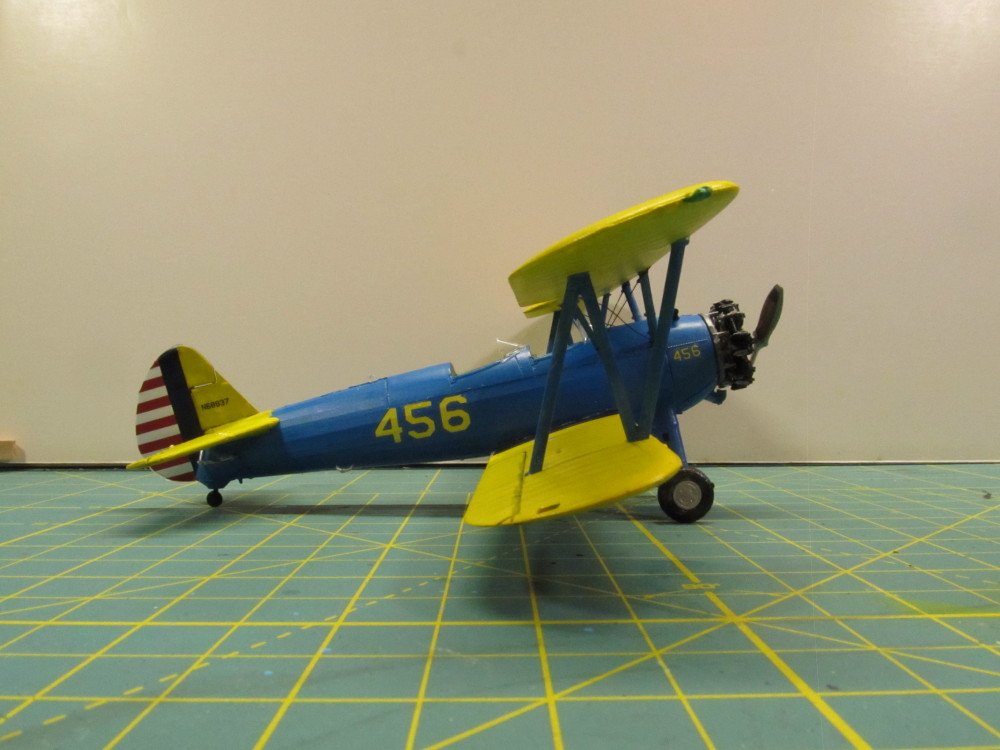
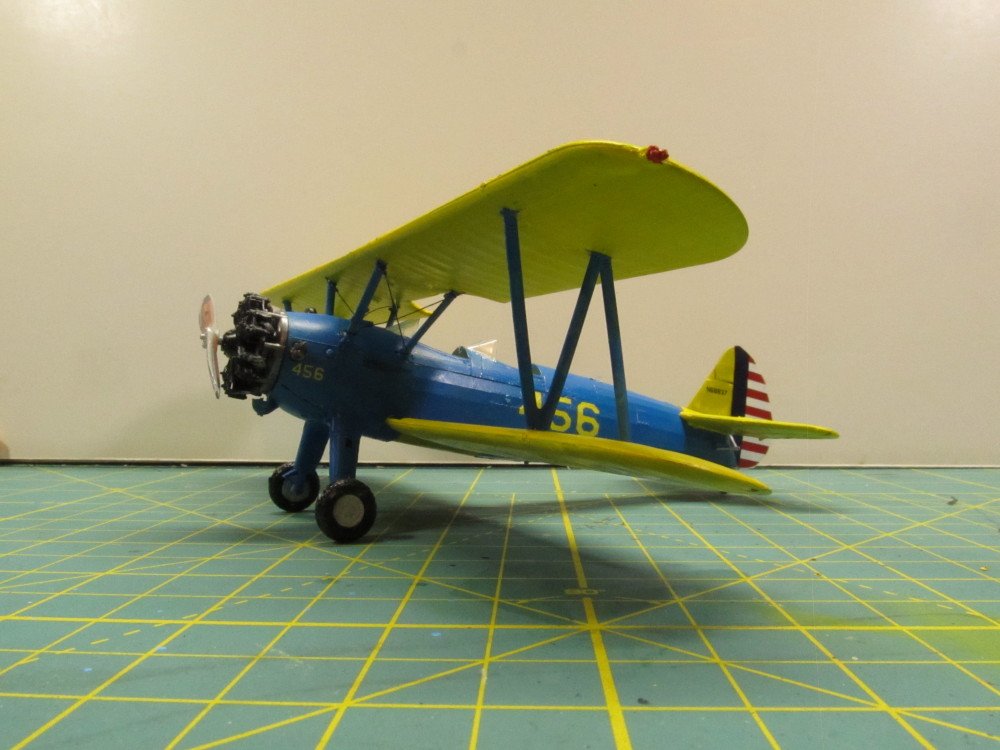
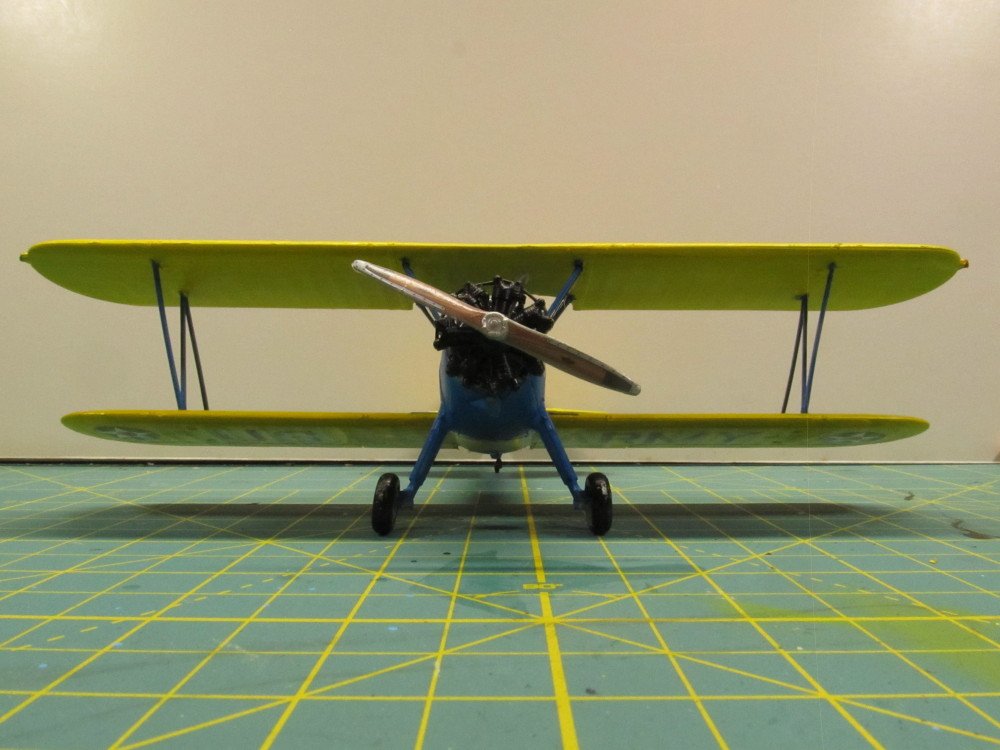
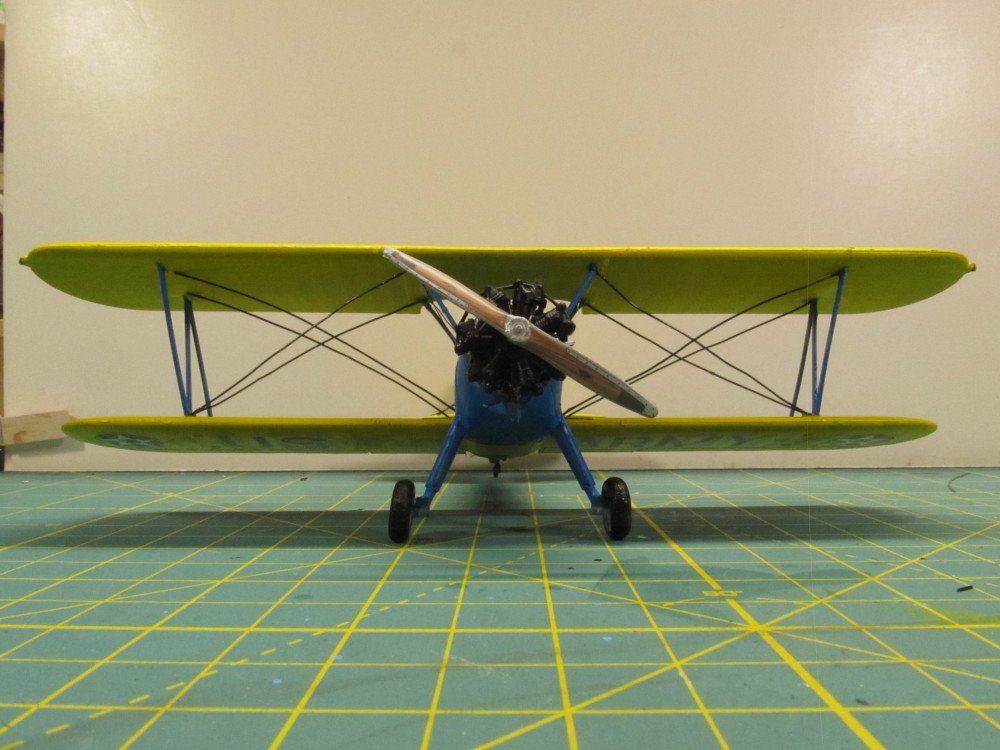
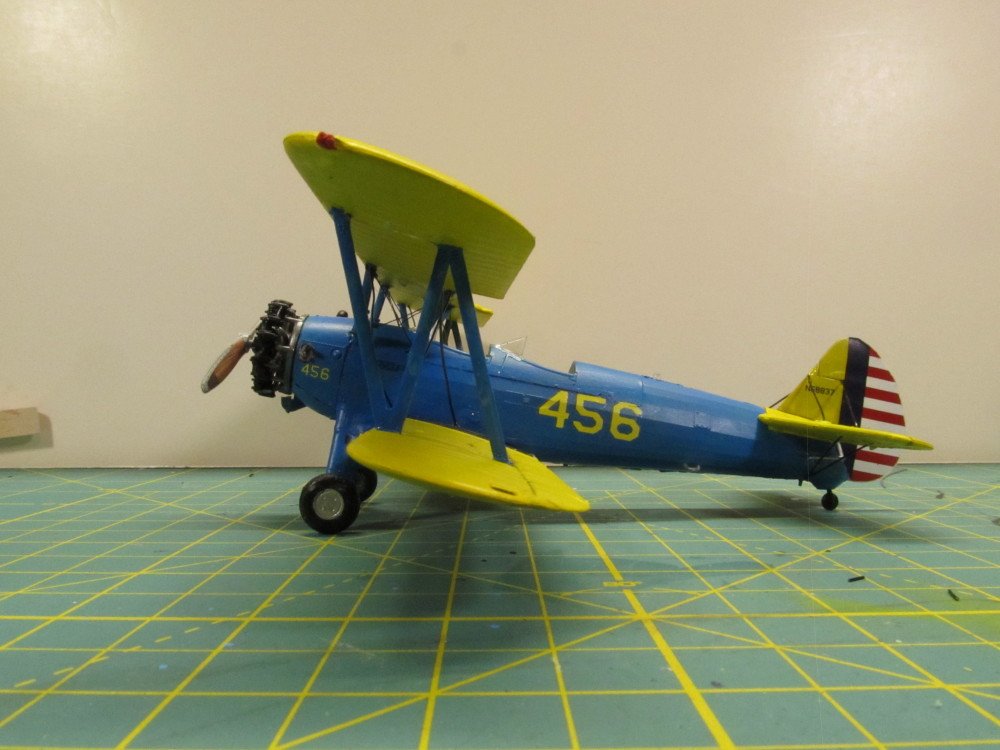
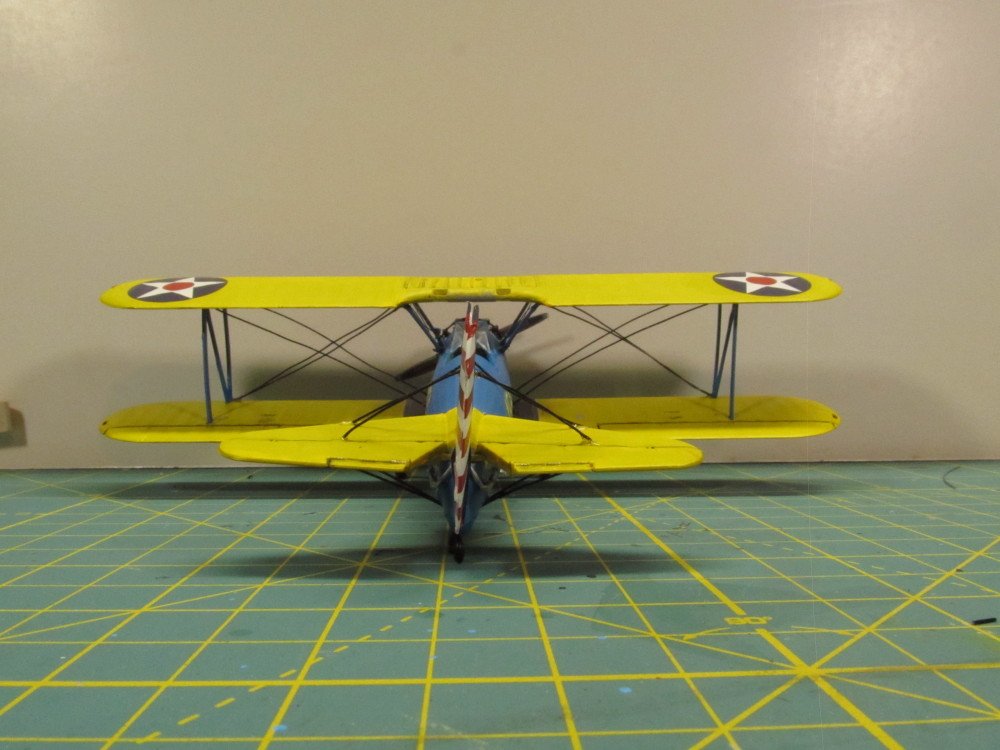
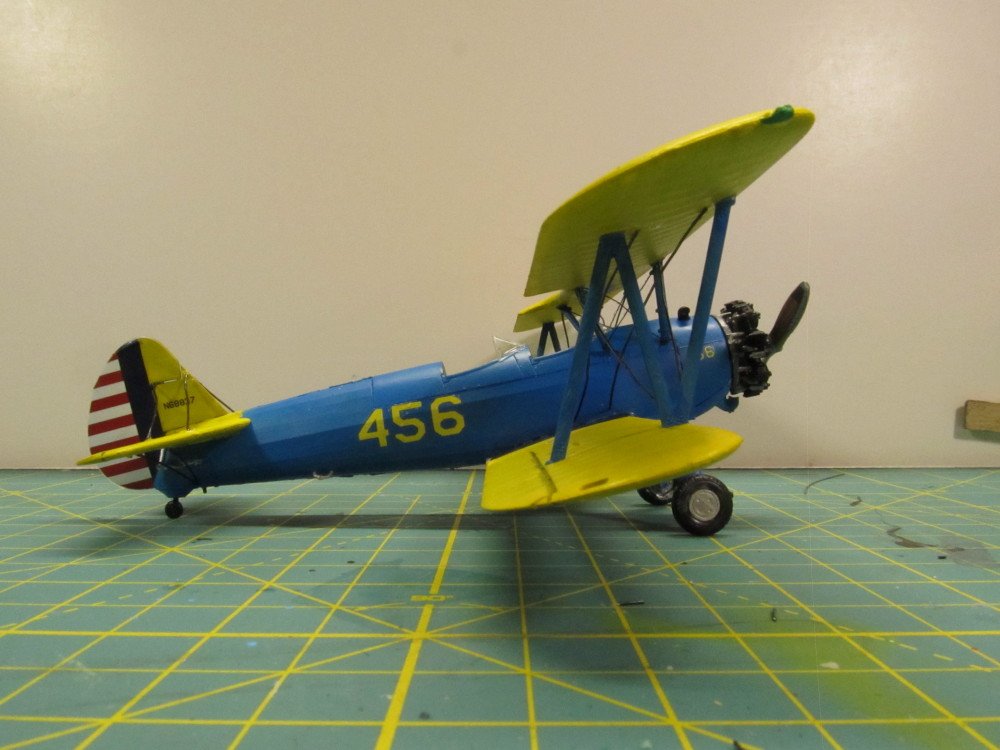
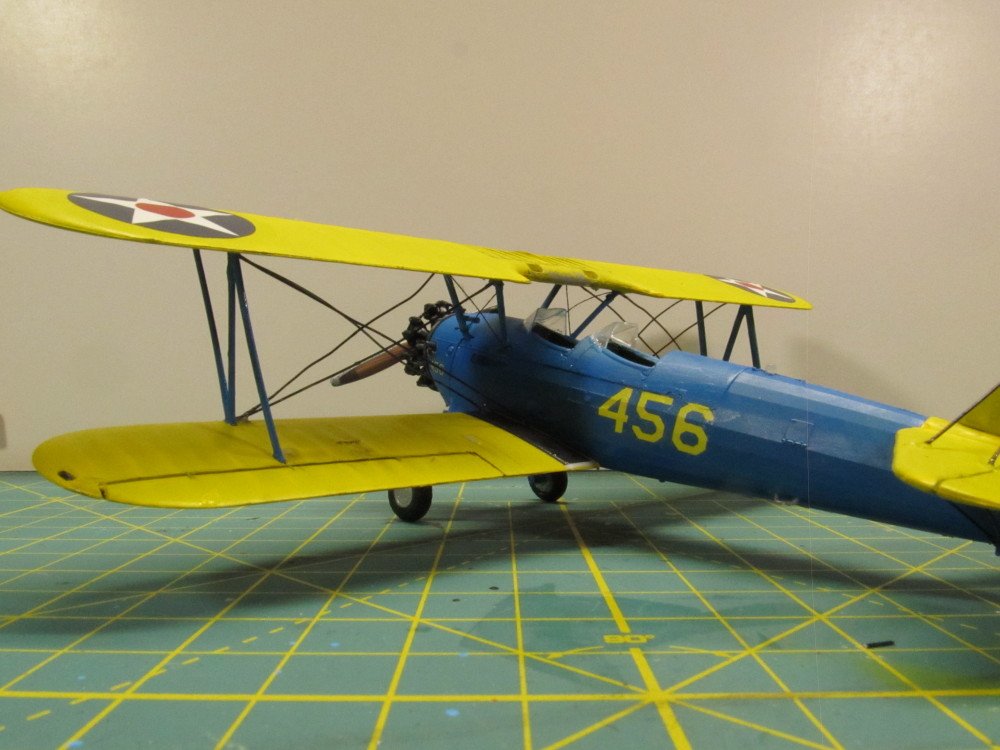
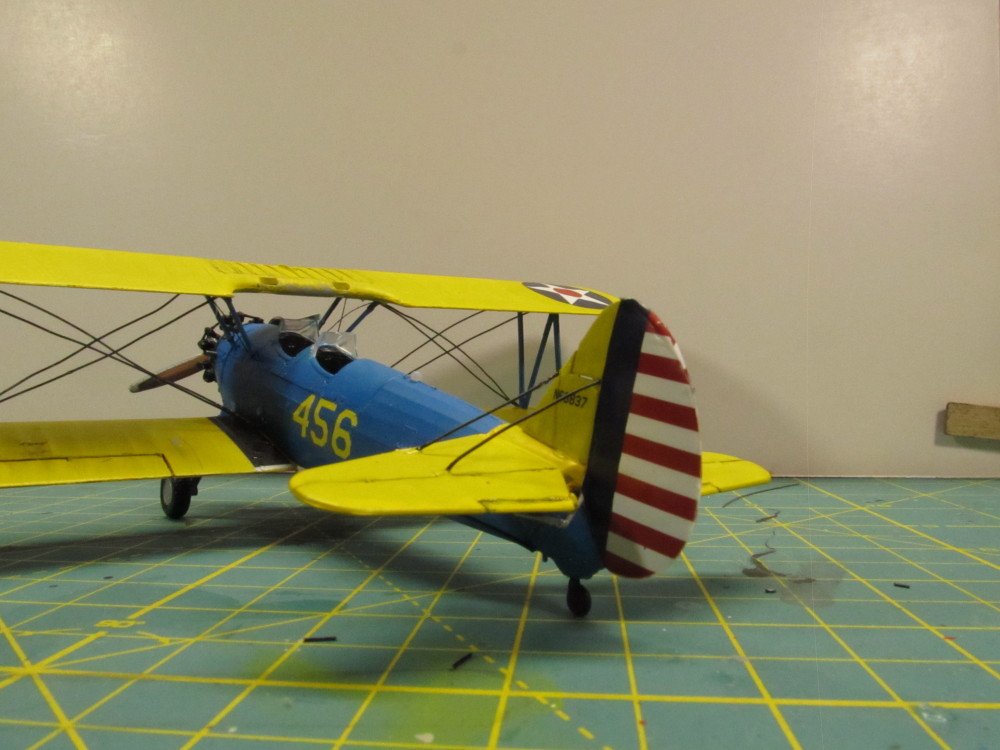
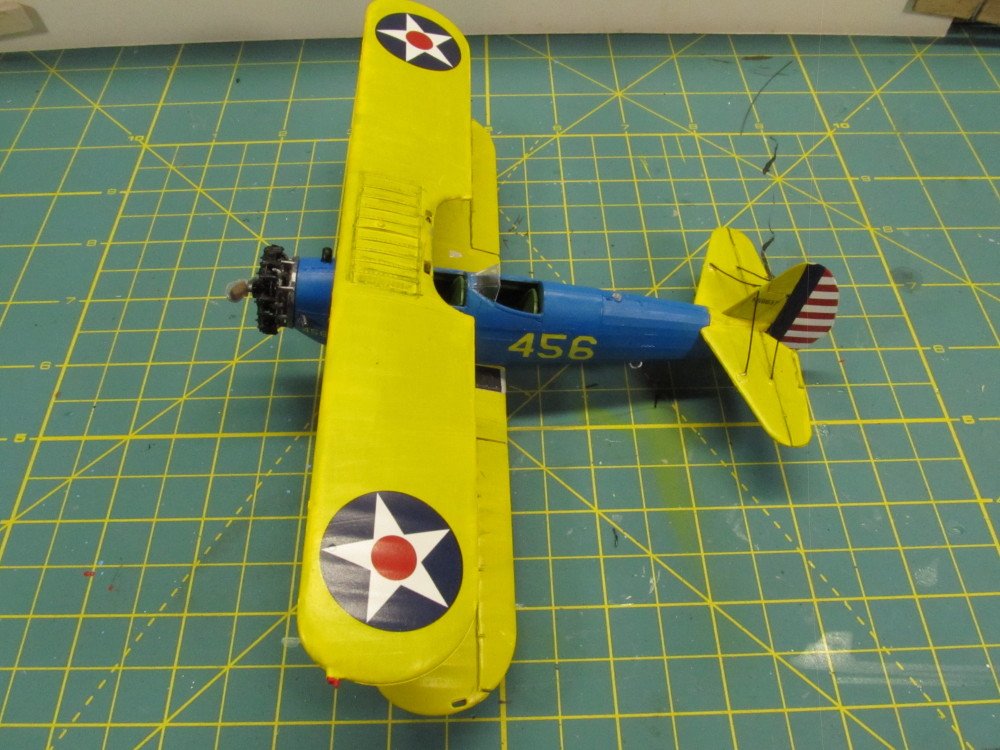
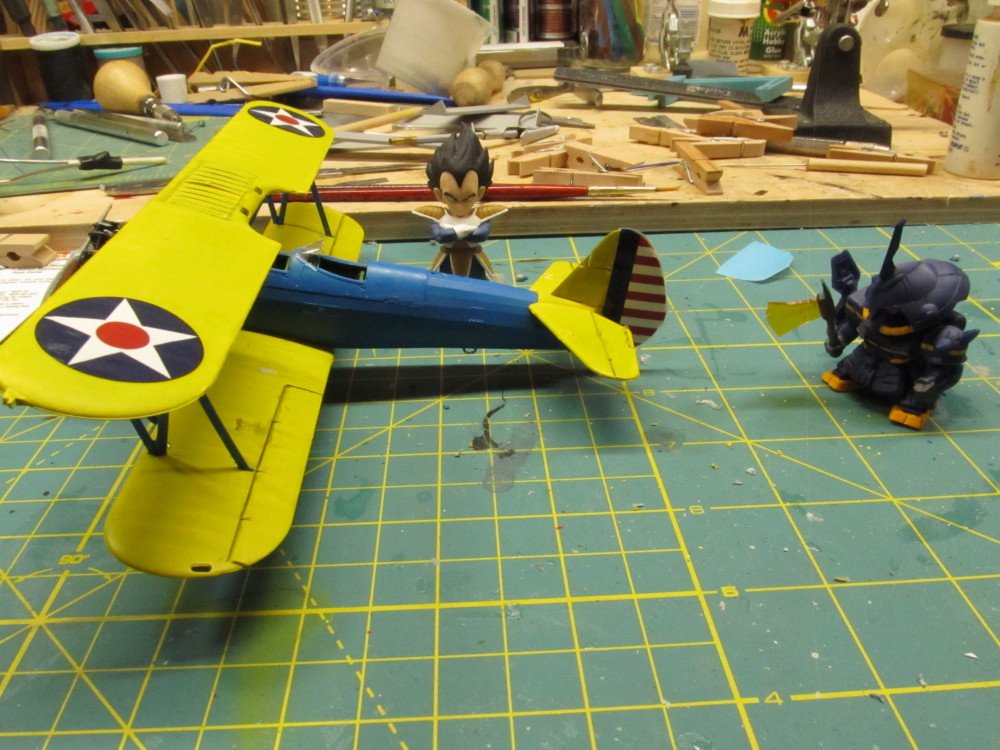
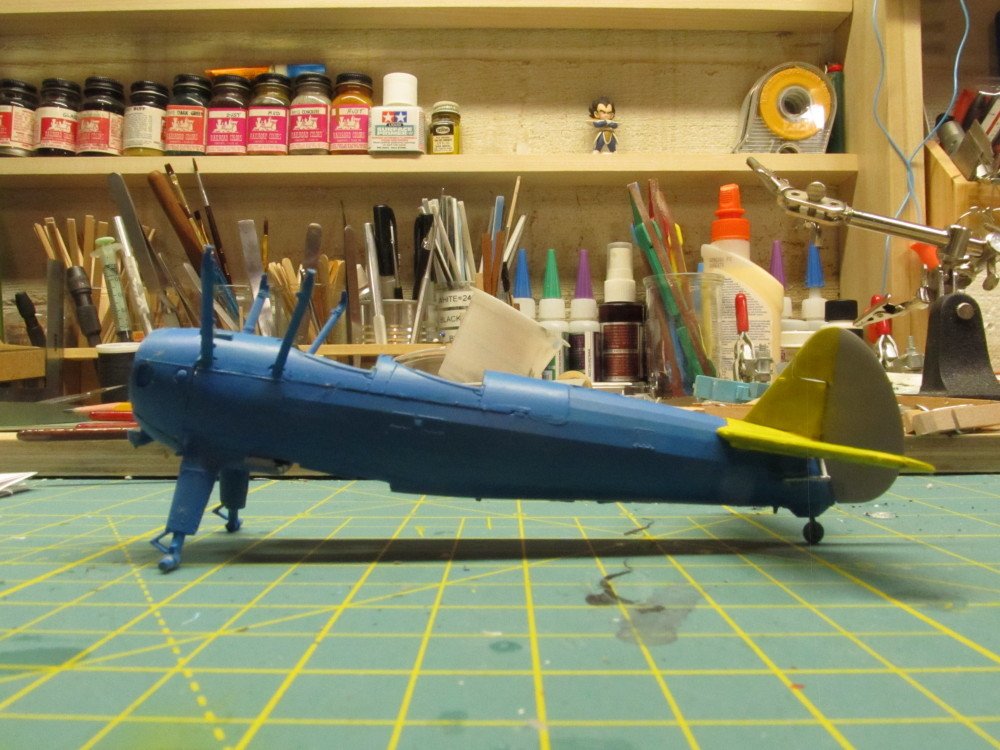
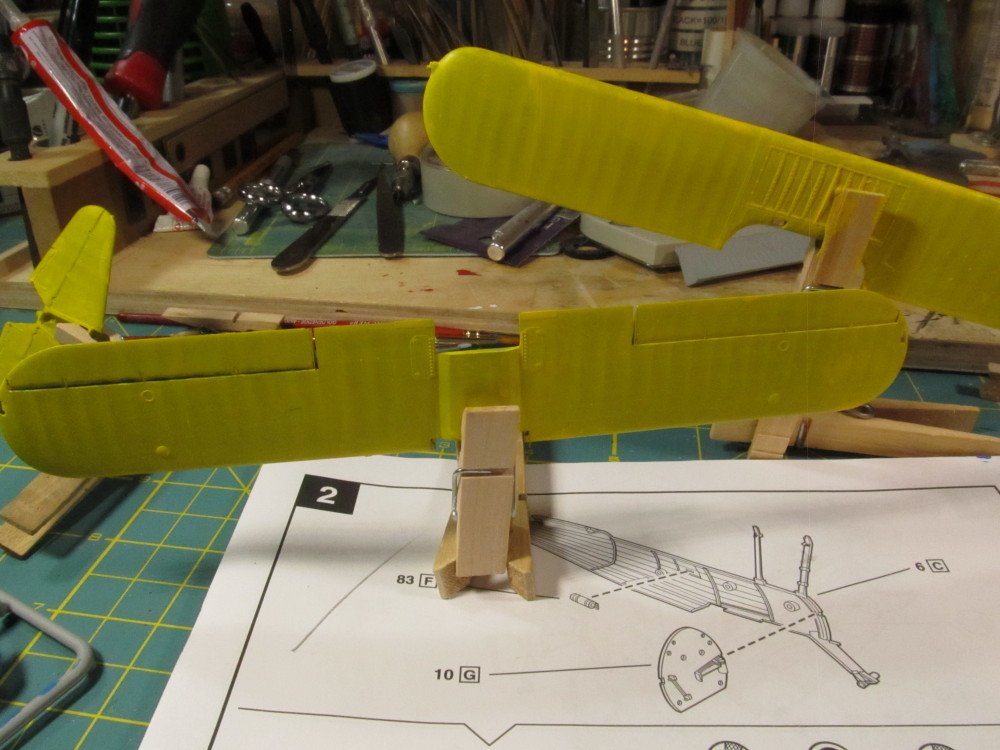
Thanks Vossie, I tried to match the colors in the box art side panel. Not having any typical model brand paints available I decided to use Artist colors instead . I think they matched pretty well. Now for the finishing touches - adding the wire cross bracing to the wings - tried several different materials from fly fishing tying line to sewing thread but none of it worked too well. Switched to solid 26 gauge black coated wire, rigid enough to stay in place until I could CA glue it. Since it was spooled I had some trouble getting the curve out of it but got it pretty straight after several attempts. Model is now finished. Before attaching the cross bracing to the wings: With the cross bracing installed and FINISHED : This was a fun and easy kit to build. What took the longest was painting and then waiting overnight for the paint to completely set before continuing. All the parts fit together nicely and will little to no flash. Thanks for following along .


- 37 replies
-
- 11
-
-
He's the spy annihilator, Ken ! Keeps Carl's spies from seeing what we are doing ! The stern looking sourpuss is the yard foreman!
-
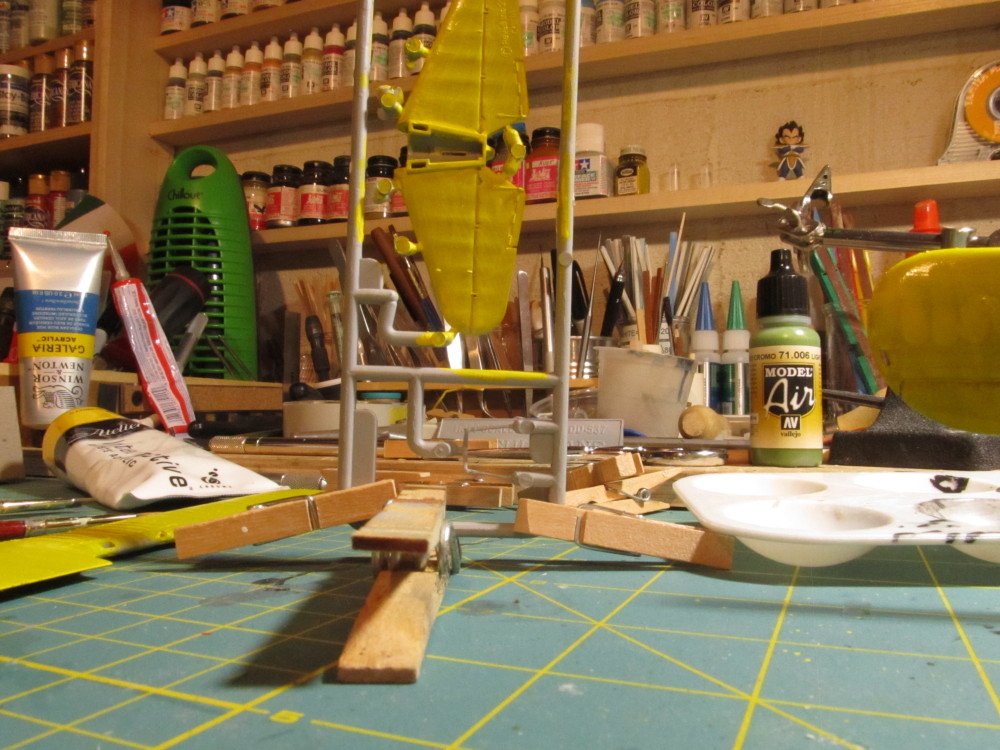
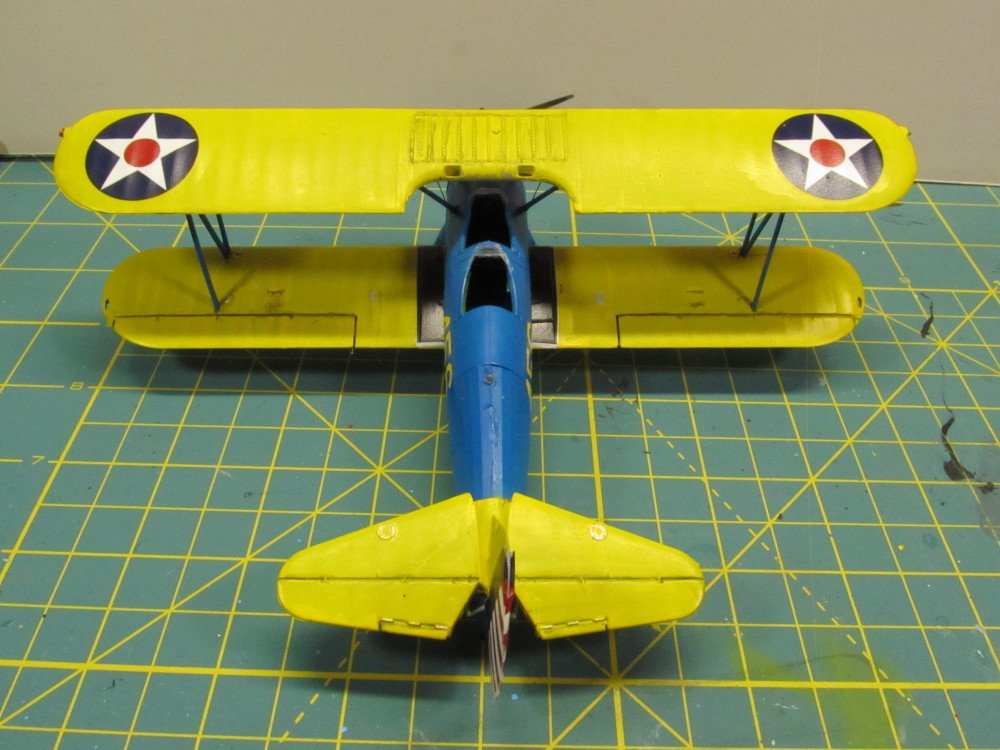
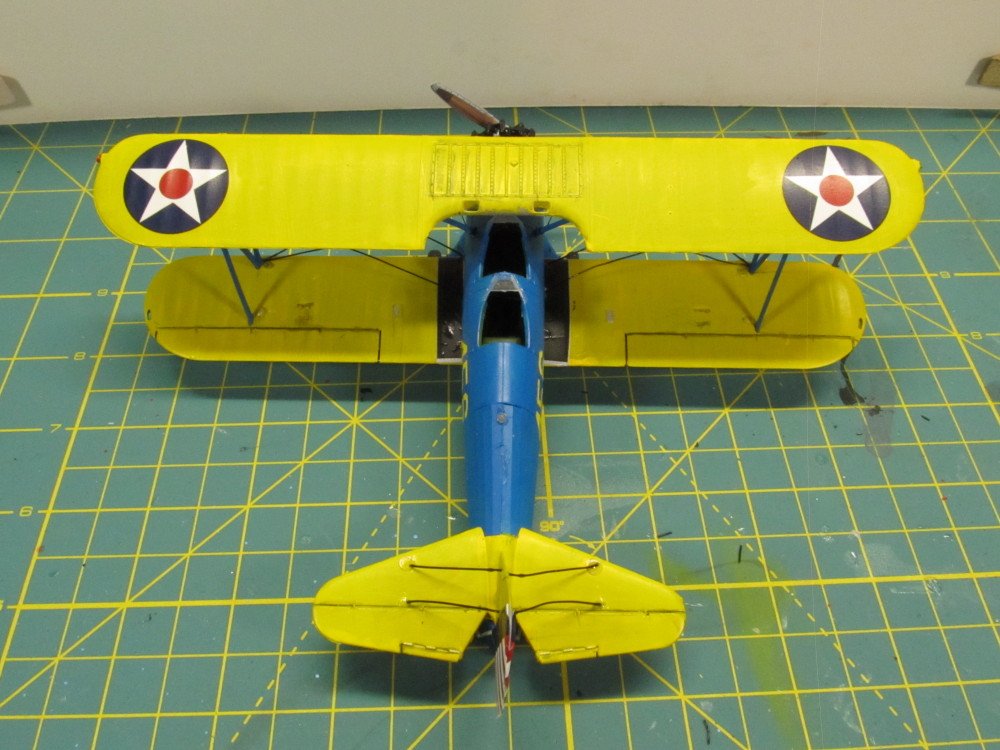
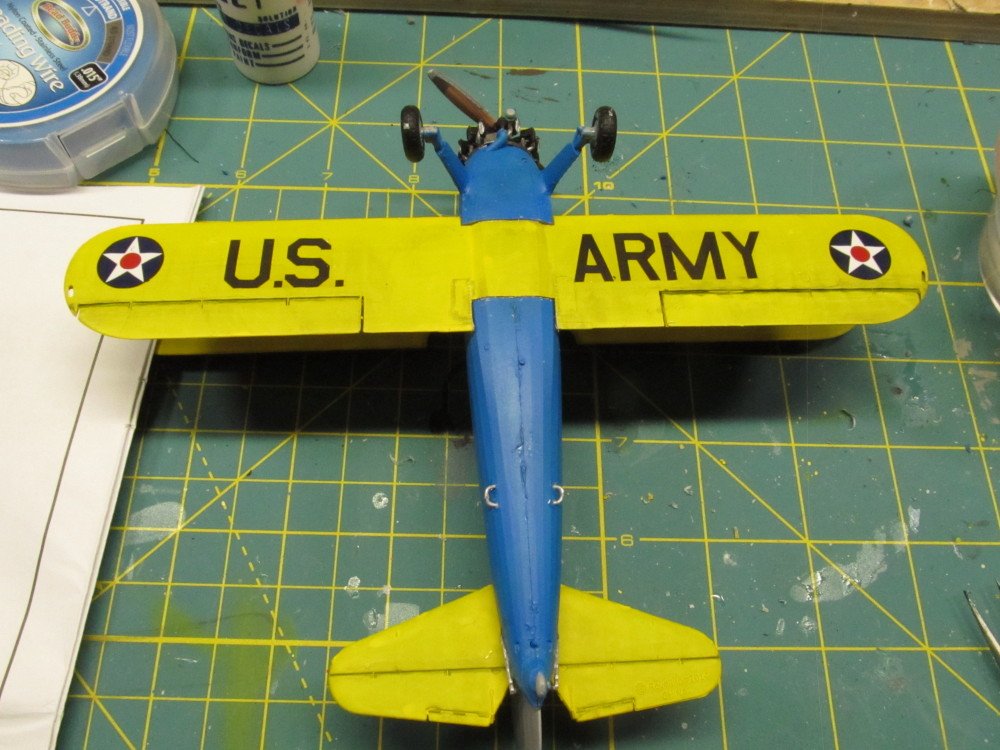
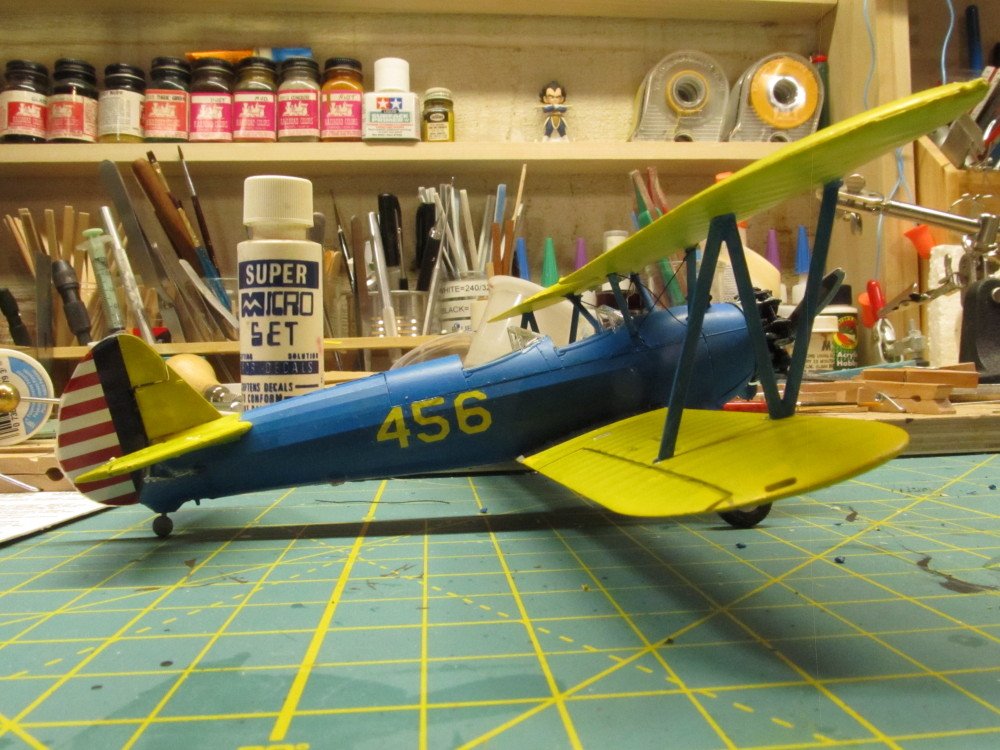
Thanks, Denis. Yes I was surprised at that decal also. Nice touch tho. Some more progress photos: Upper wing and struts installed; starting to apply decals

- 37 replies
-
- 12
-
-
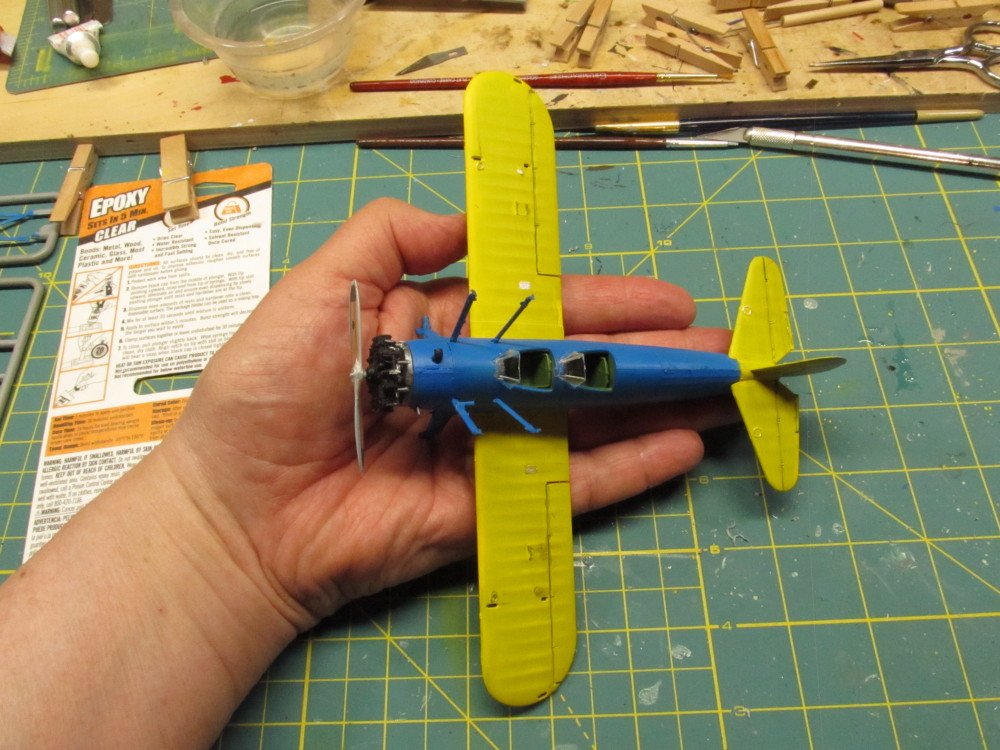
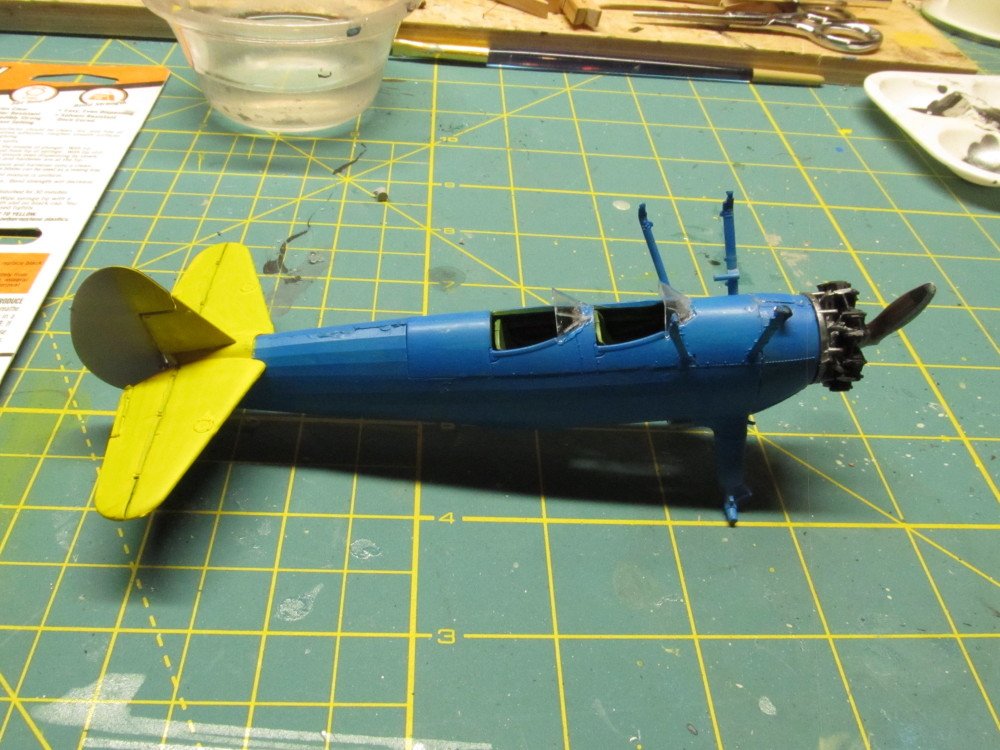
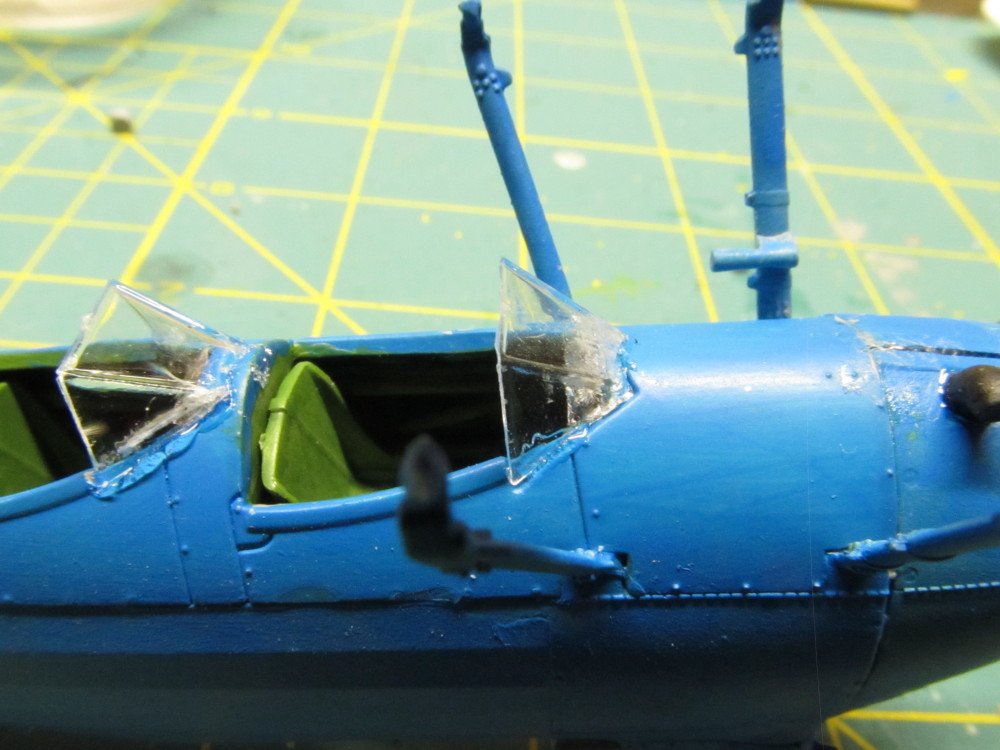
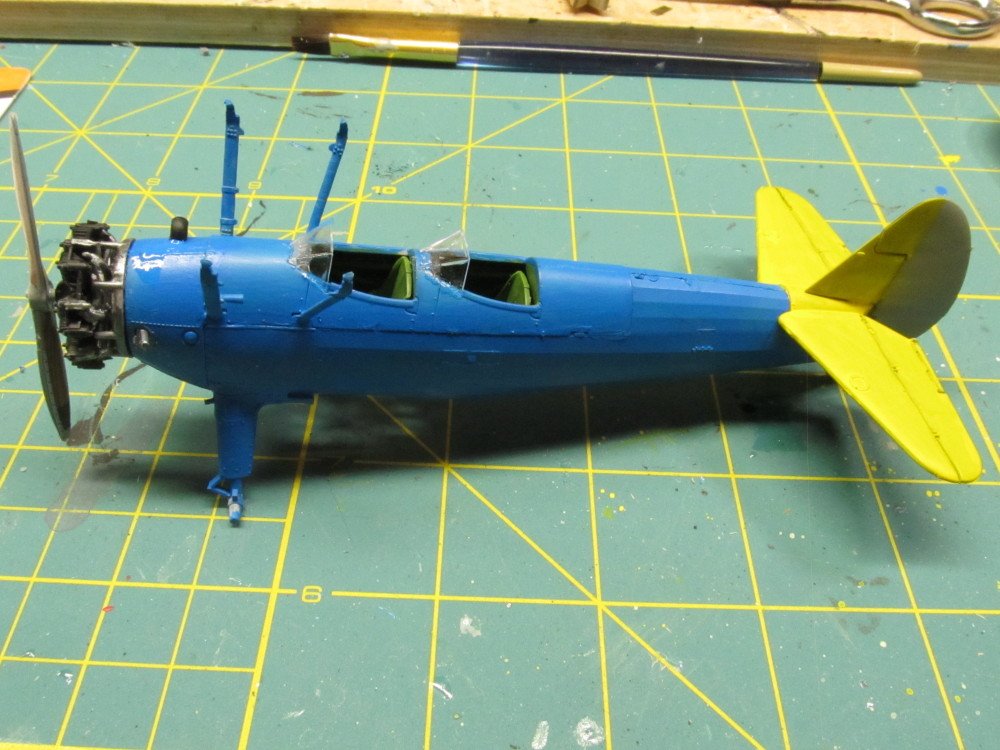
Moving right along: Installed the engine into the fuselage,installed the wind screens, and lower wing To show just how small this model really is - it fits in the palm of my hand
- 37 replies
-
- 13
-
-
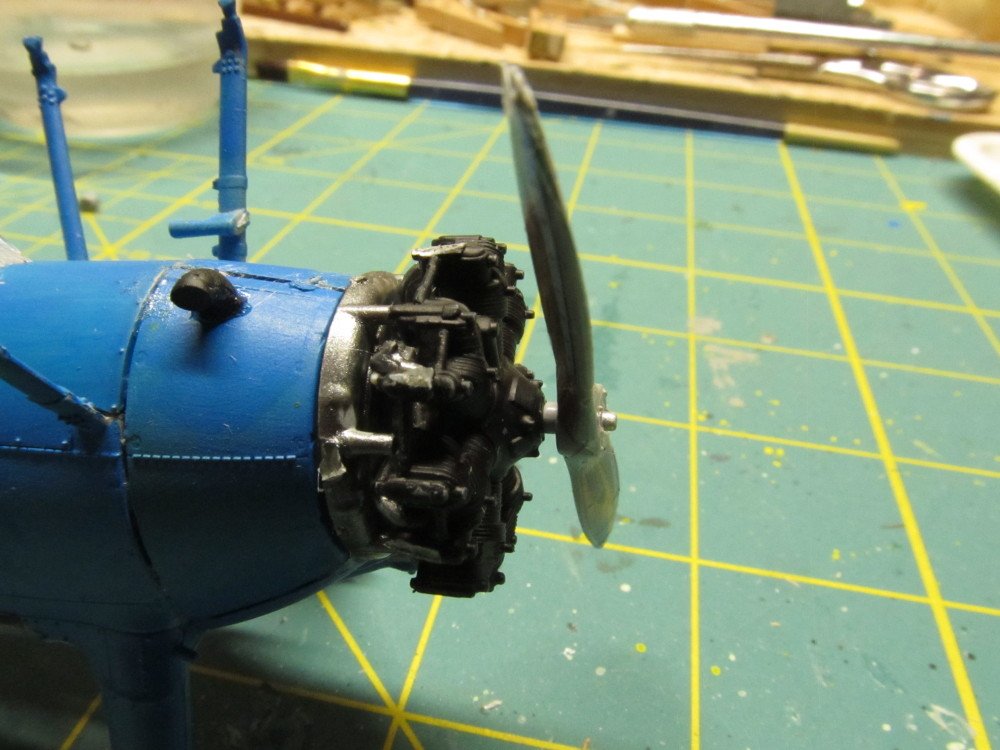
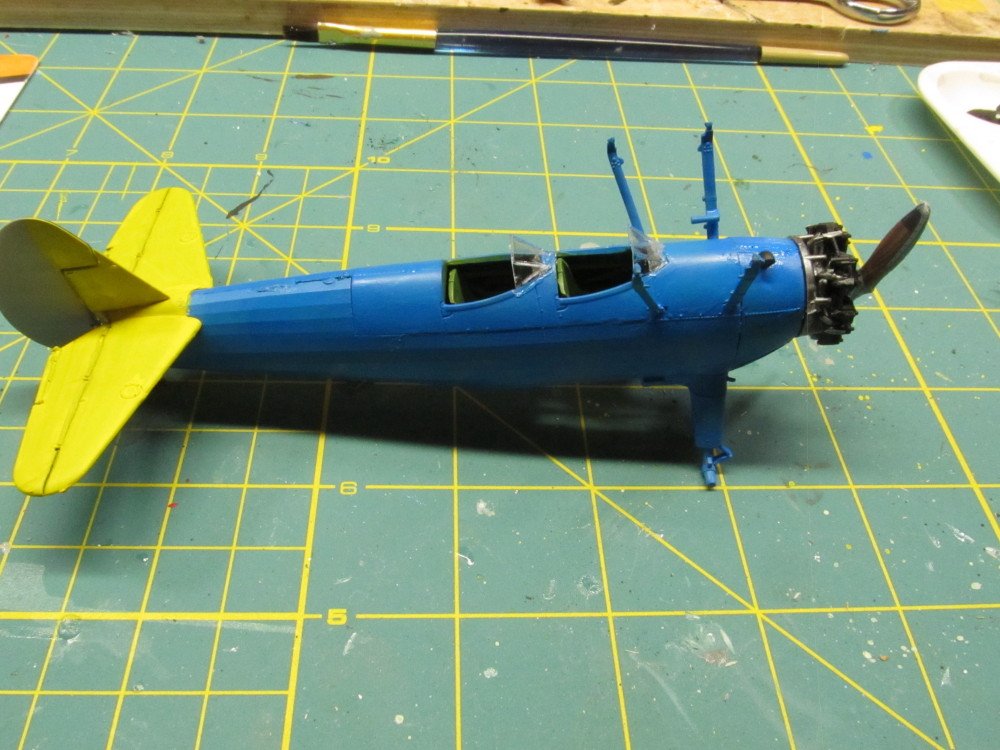
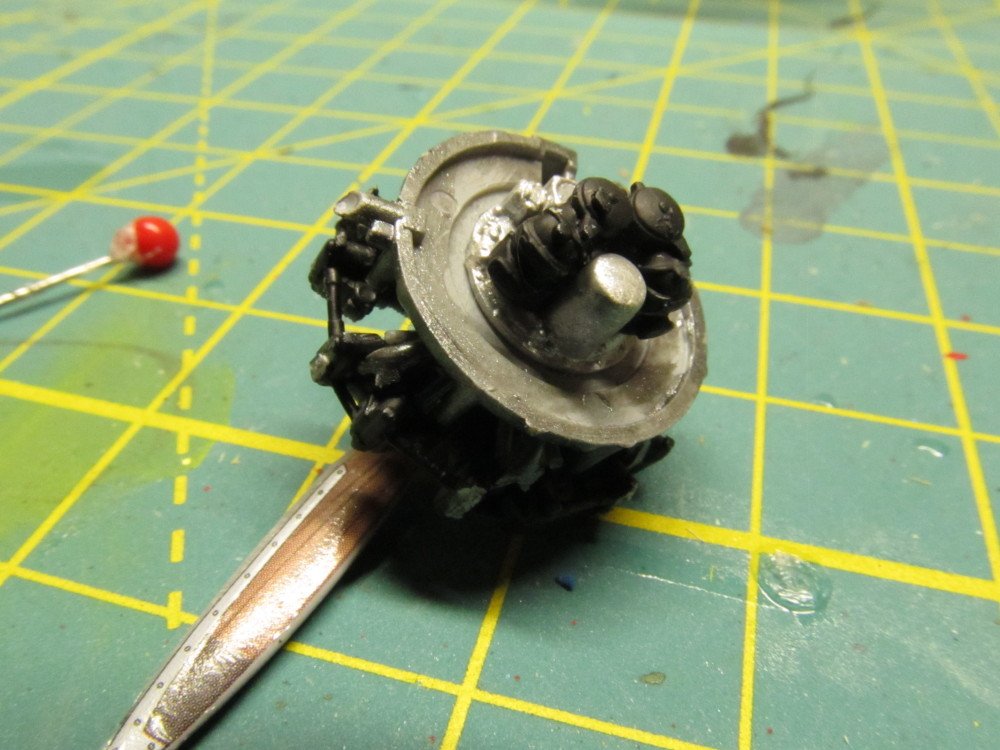
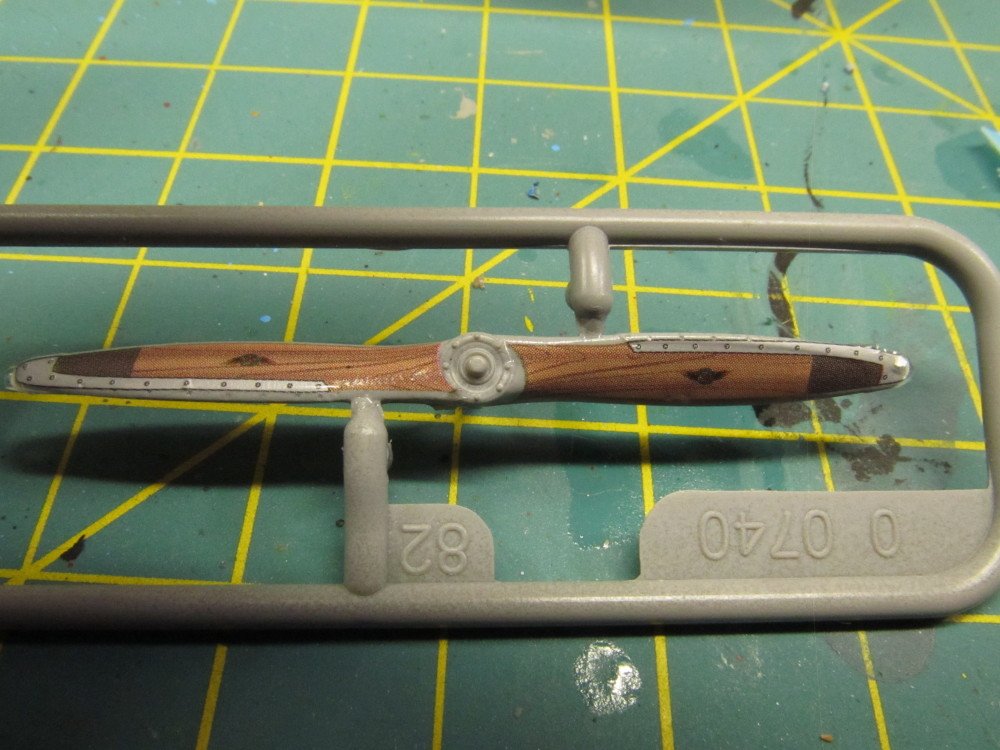
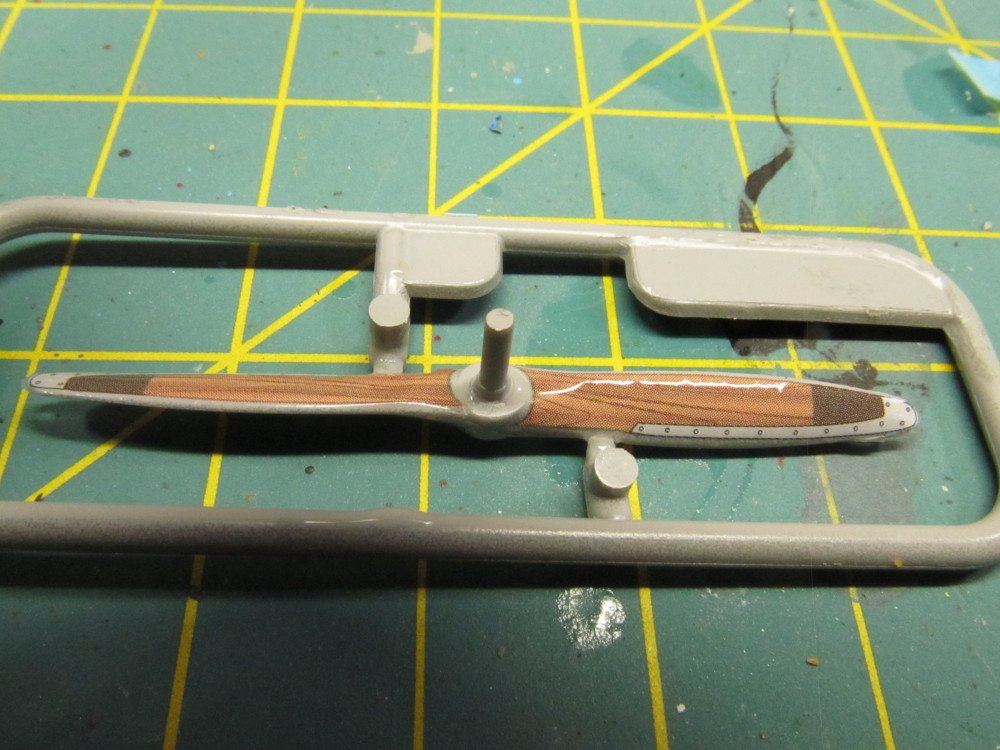
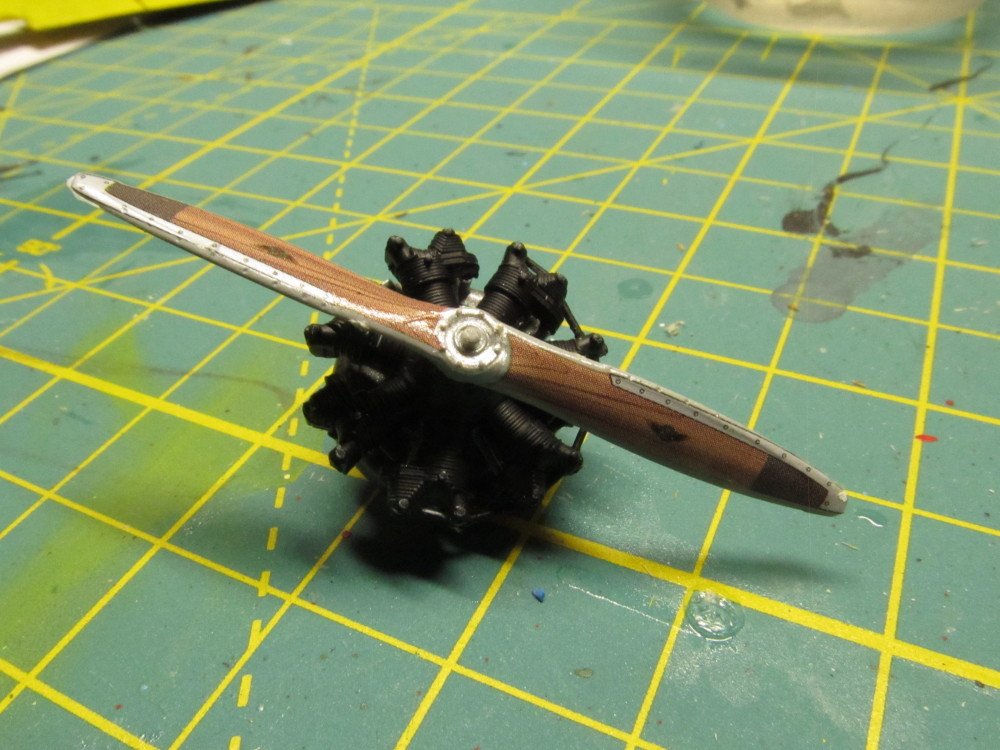
Thanks, Lou . Now some updates: Tail section installed Panel lines highlighted Simulated wood decal applied to propeller Engine assembled

- 37 replies
-
- 13
-
-
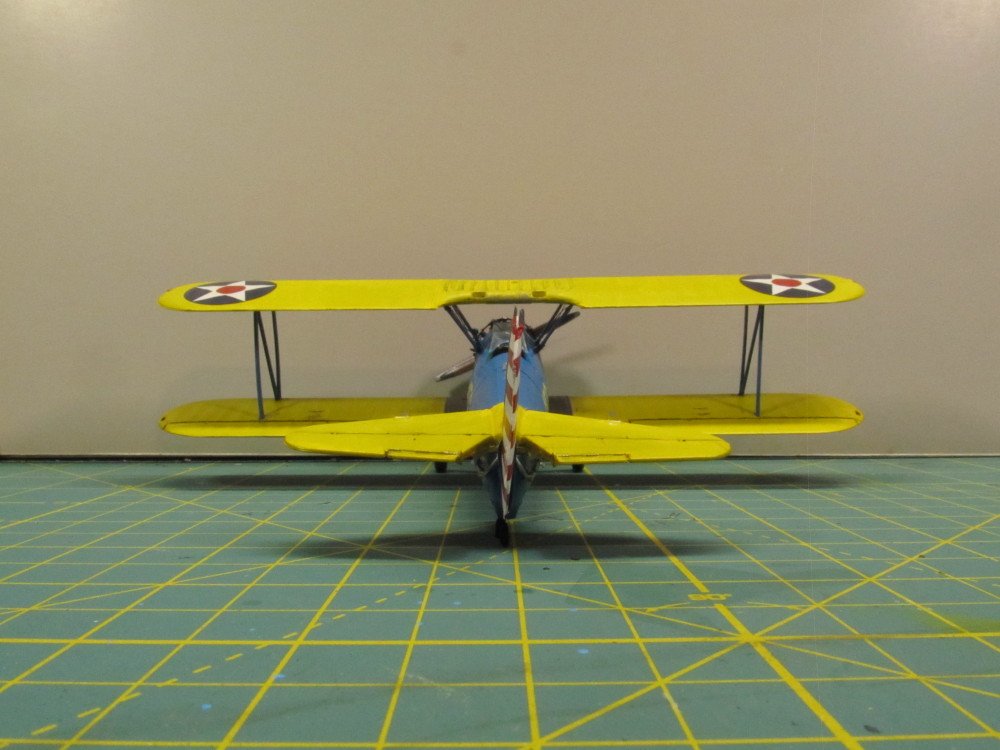
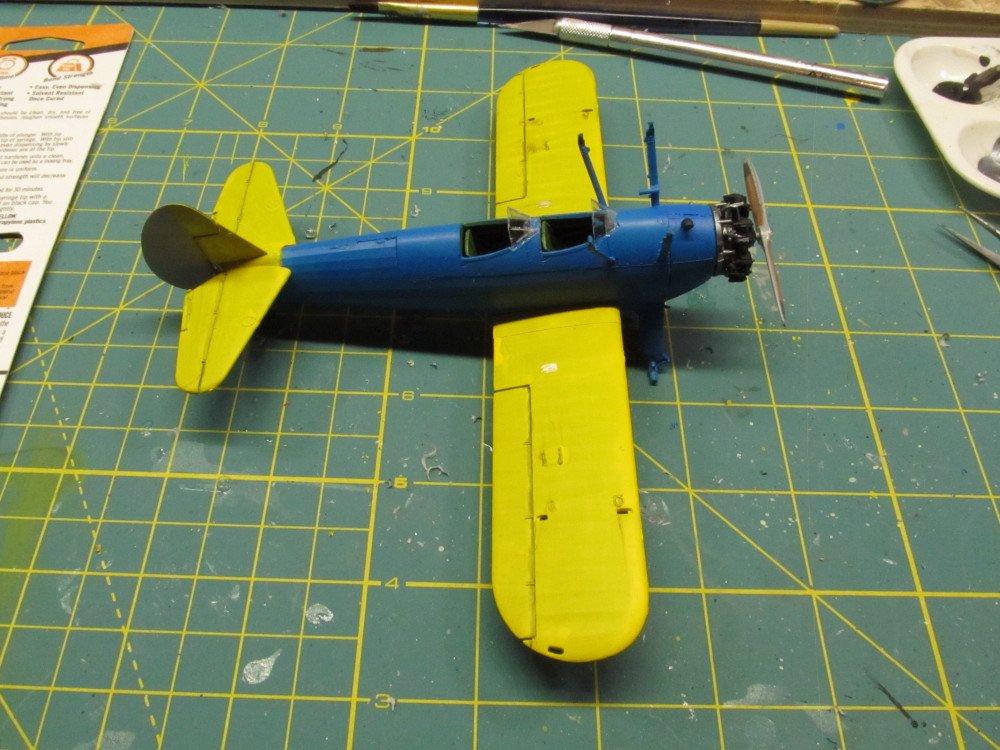
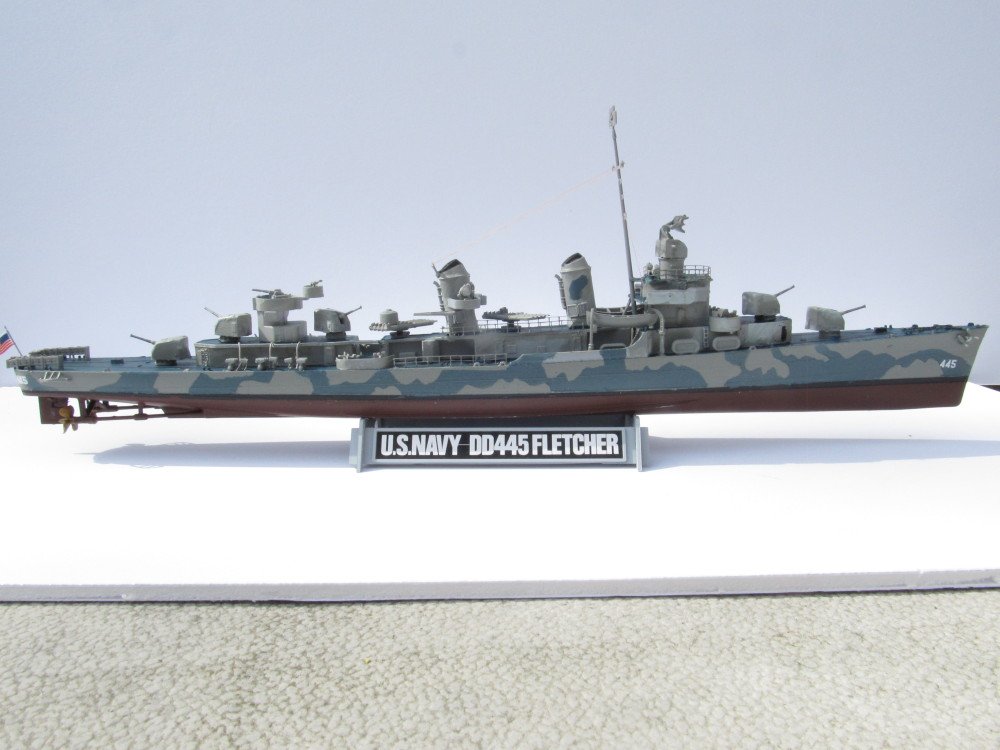
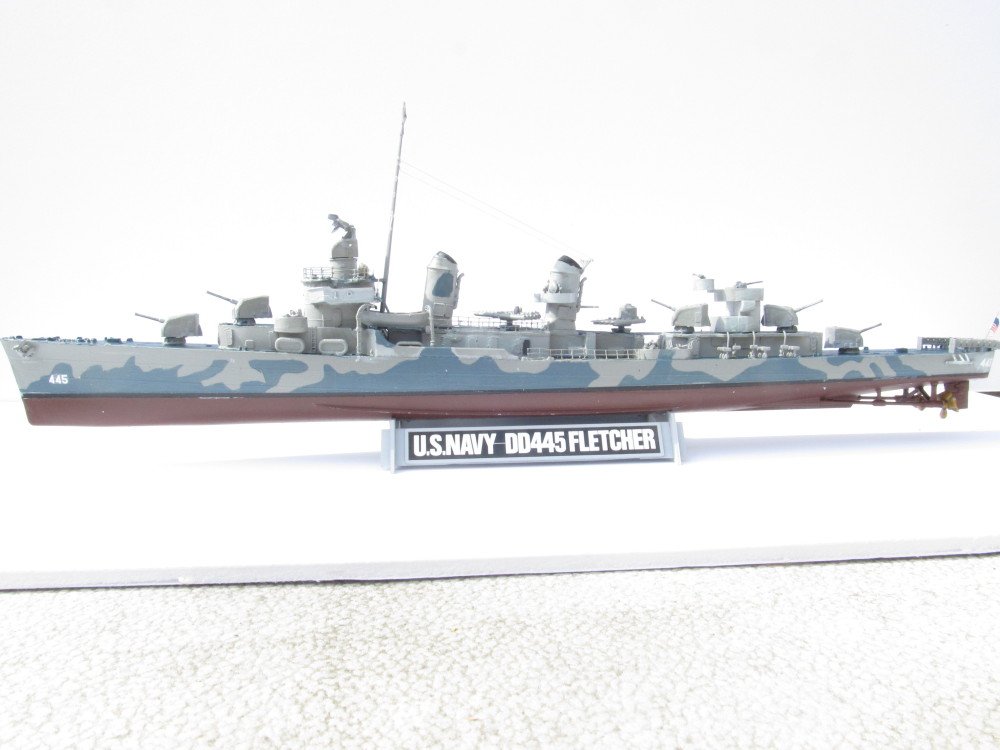
Yea, Mark, the Navy version is all yellow like on the box art.. Didn't want a Canary Bird so I went with the Army version.. It is small enough to fit in palm of my hand. Sorry Carl, these went together so fast I didn't think to stop and document each step. I used PE left over from previous ships, doors and some railings, on the Fletcher. Lou, the kit comes with a paper template for the hull camo. So I photocopied it, put some Tamiya masking tape sticky side down on a piece of glass, taped the template over the Tamiya, then cut the pattern out with a scalpel, transfer the cutout to the hull. I then brush painted drawing the brush from the tape onto the hull so the painted didn't build up along the tape edge. Thanks for the compliments and Likes
-
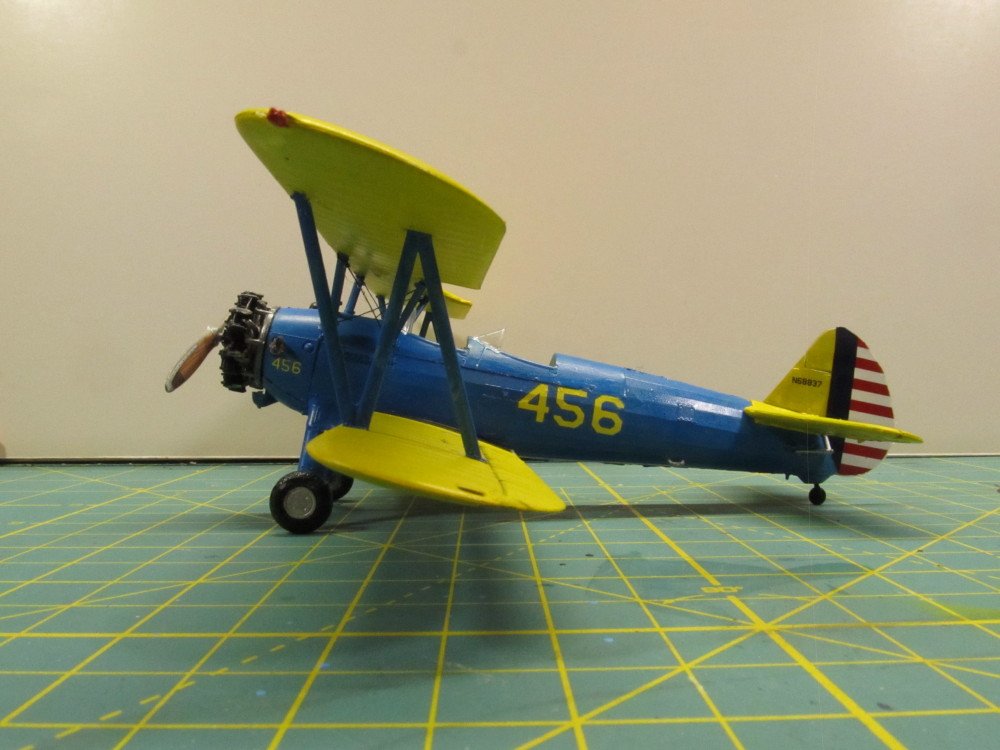
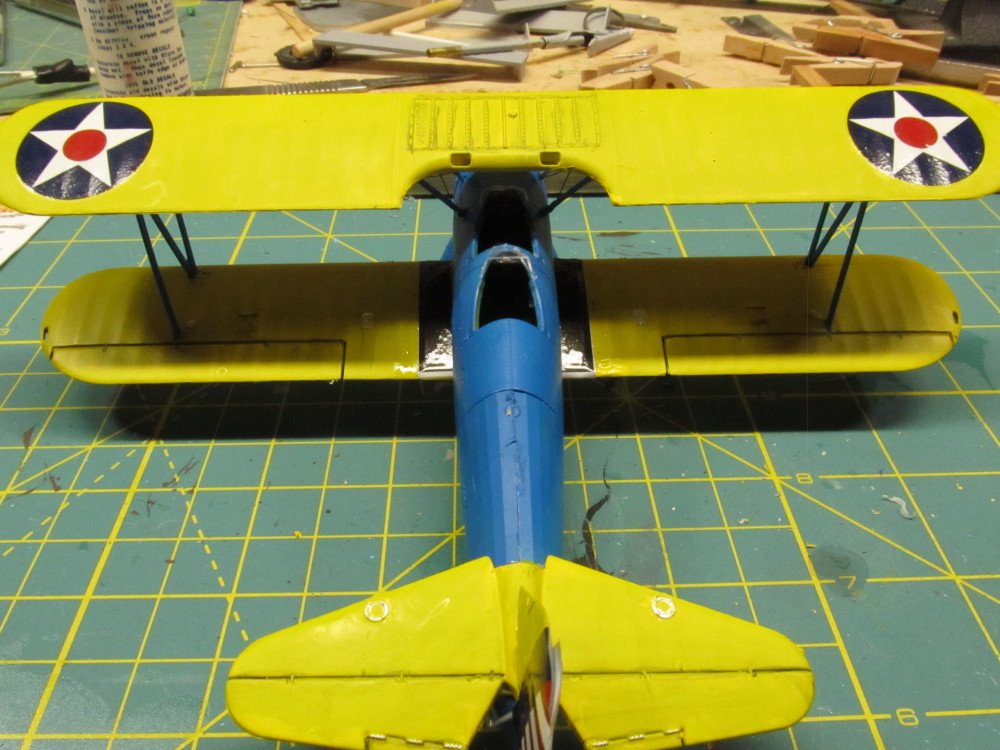
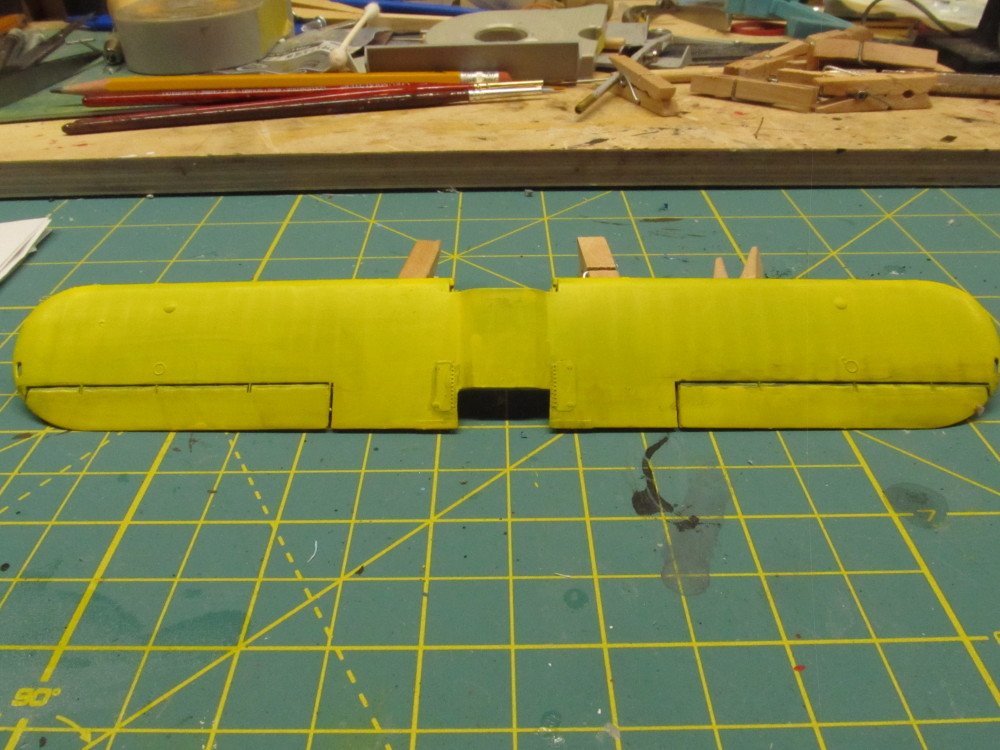
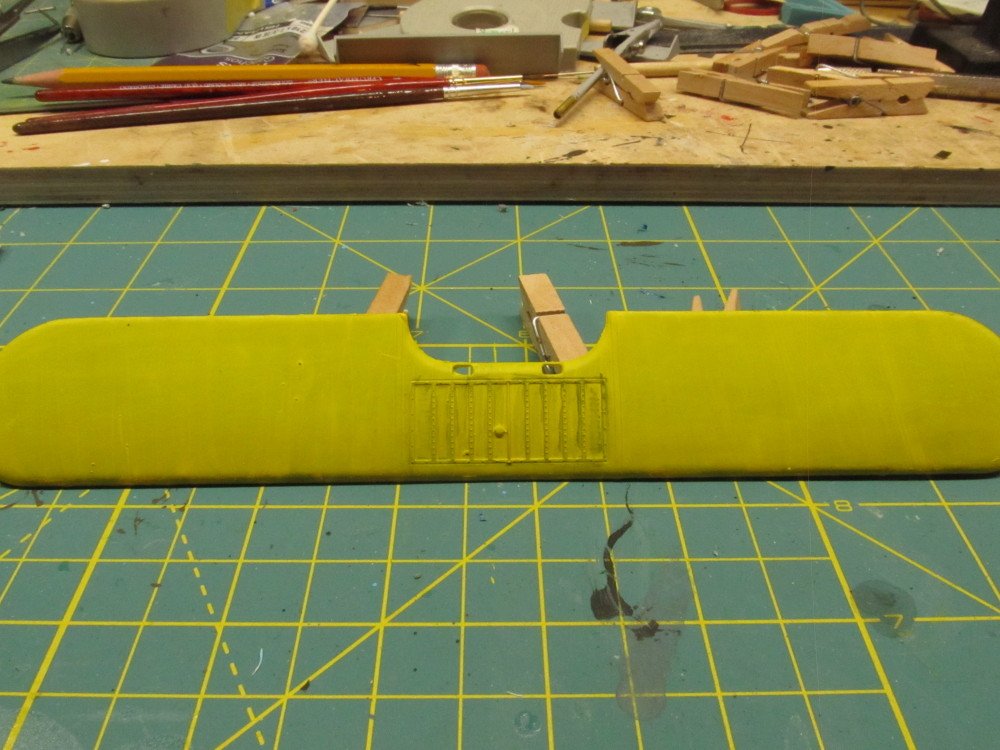
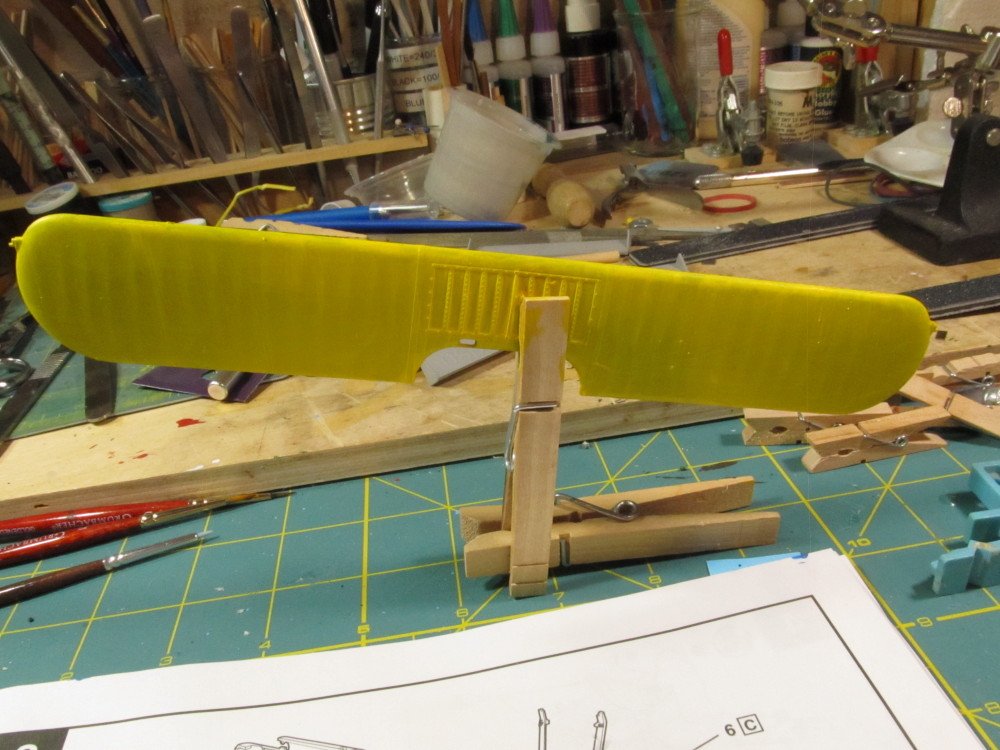
More progress on the Stearman Panel lines on wings were done using a watery black paint with a 0 brush running it down the length of the groove then before it dries wiping my thumb across the groove perpendicular to the groove - leaves the paint in the groove - slightly smudges the wing surface (weathering it a little). Did likewise with the raised surfaces


- 37 replies
-
- 12
-
-
Oh I forgot to include the 1:350 USS Fletcher kit I completed before I launched into those other kits. (All in Stealth mode ) Photos of the USS Fletcher
-
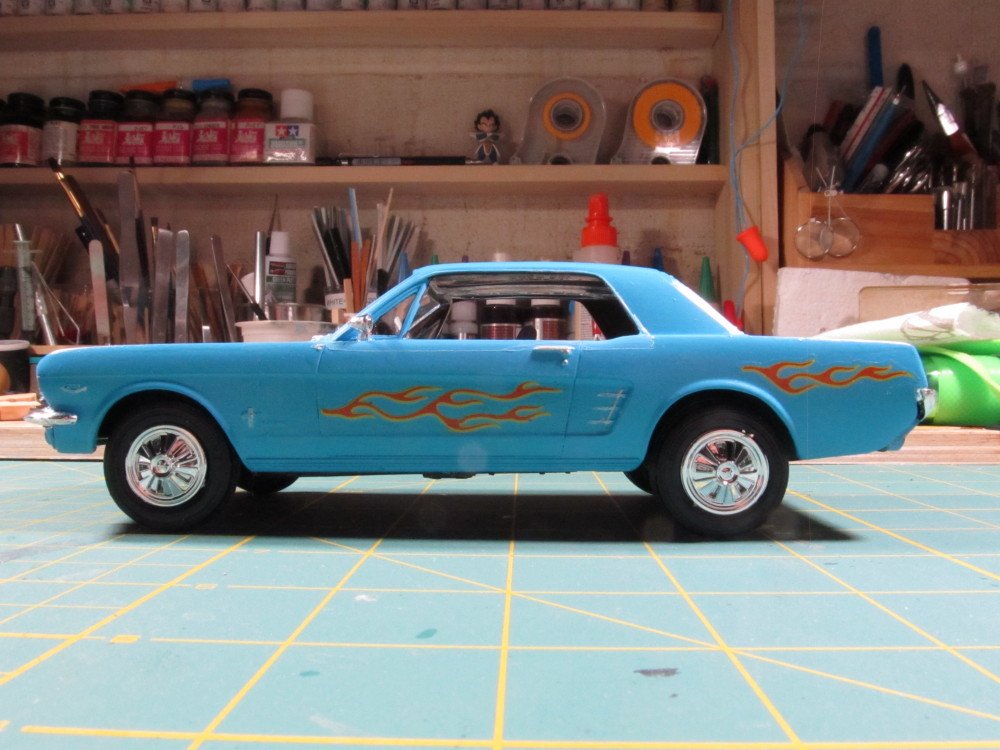
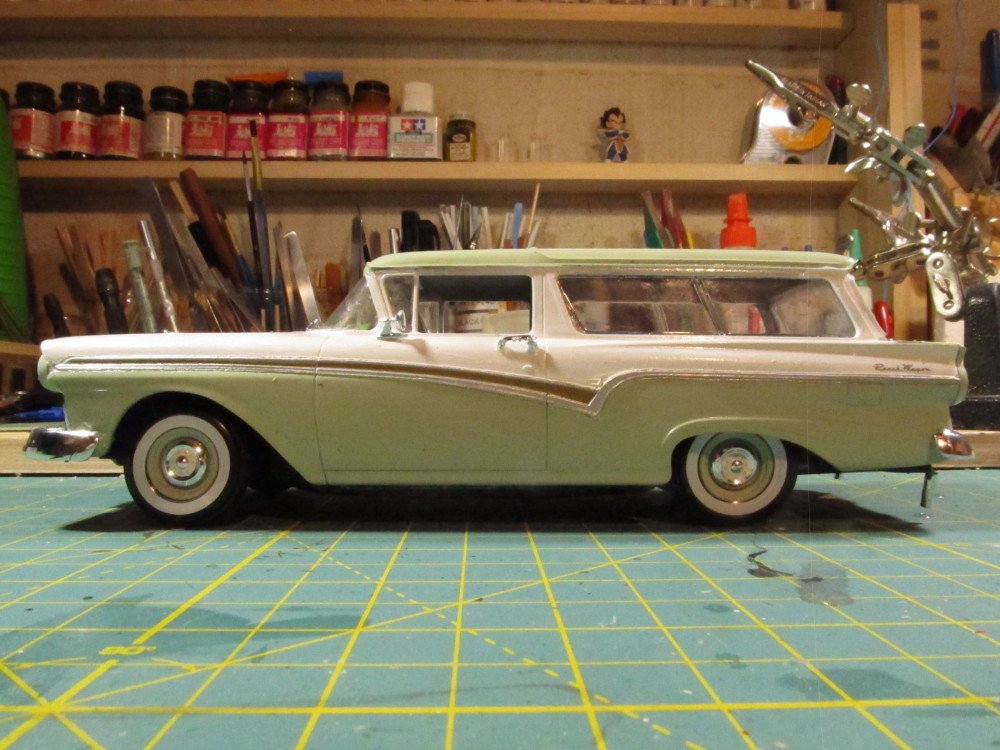
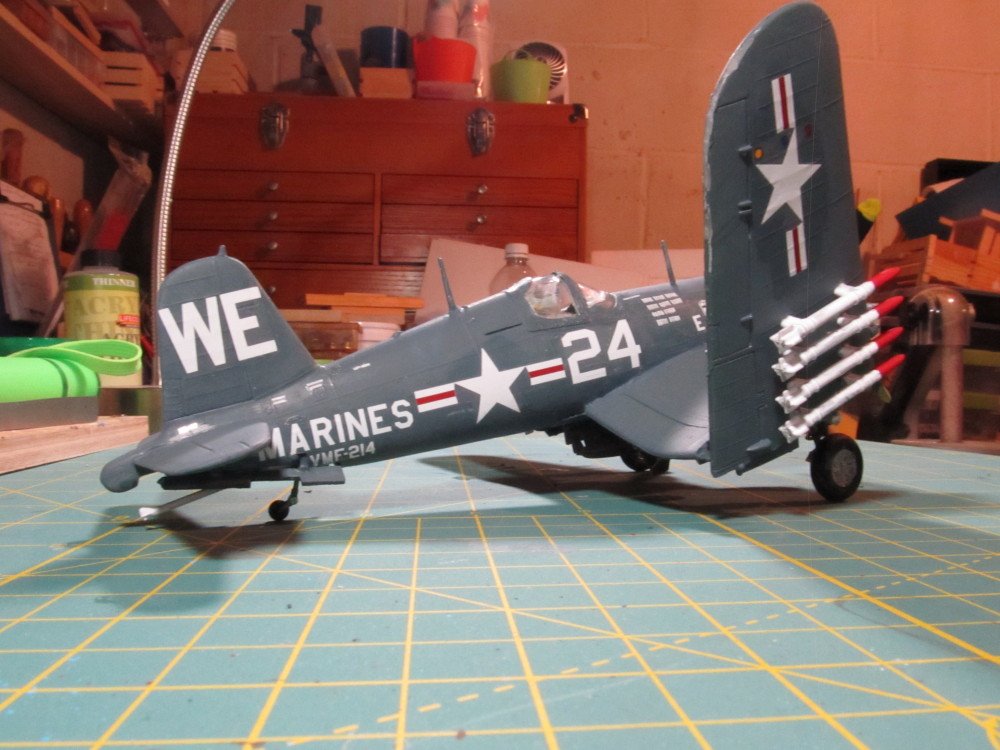
Some photos of the other models I completed before starting this one 1965 Ford Mustang 1957 Ford Del Rio station wagon F4U-4 Corsair
- 37 replies
-
- 12
-
-
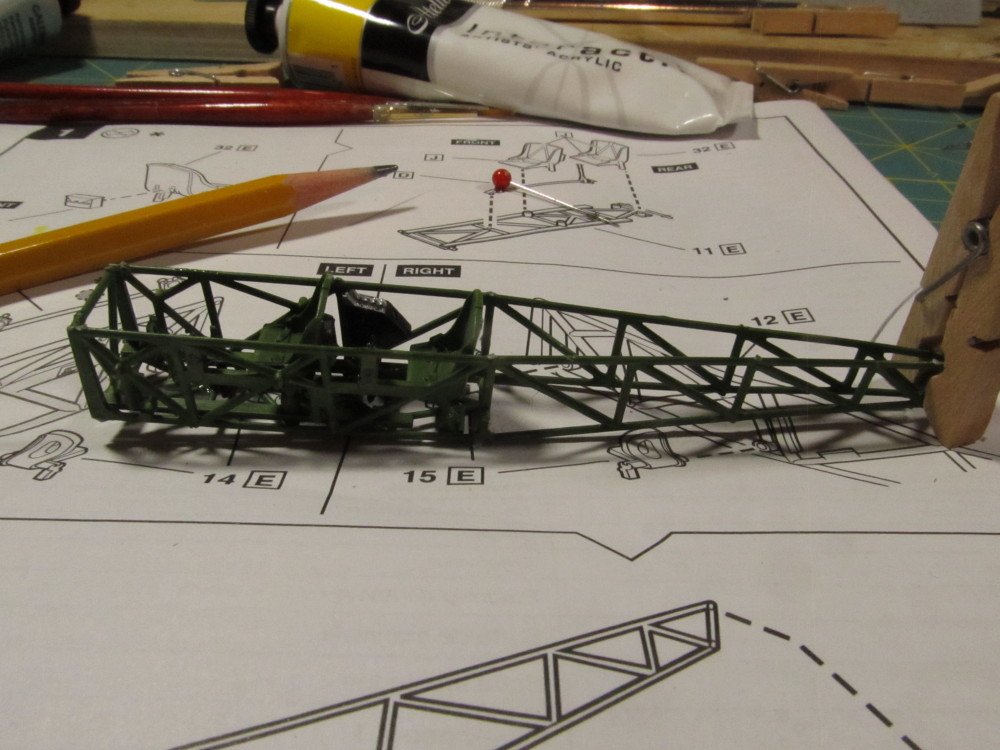
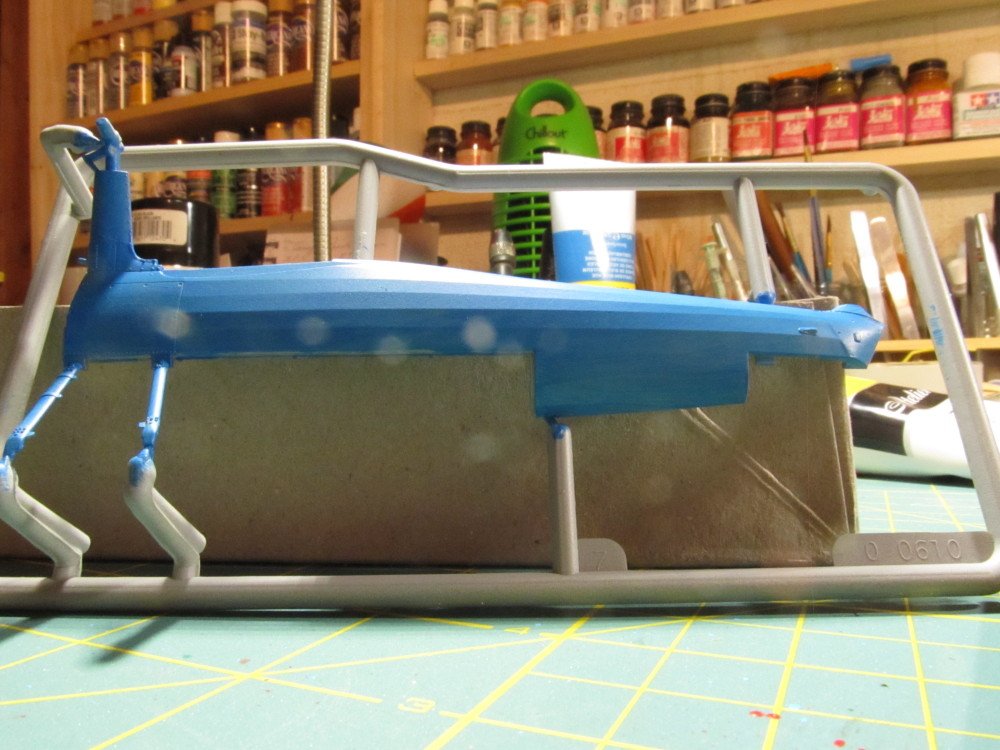
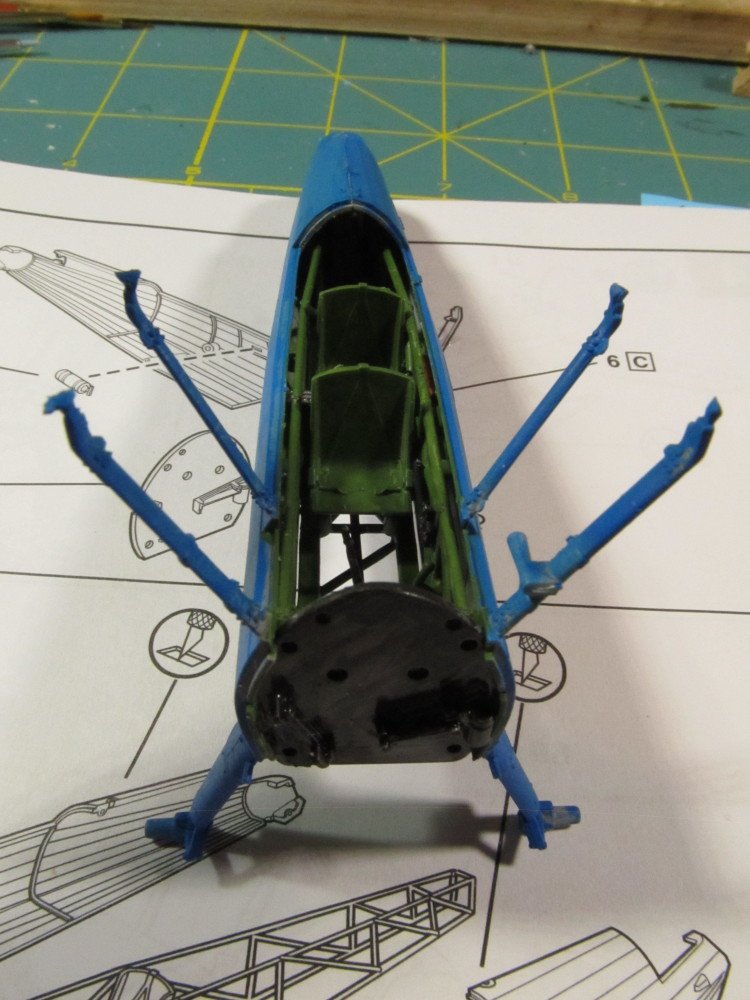
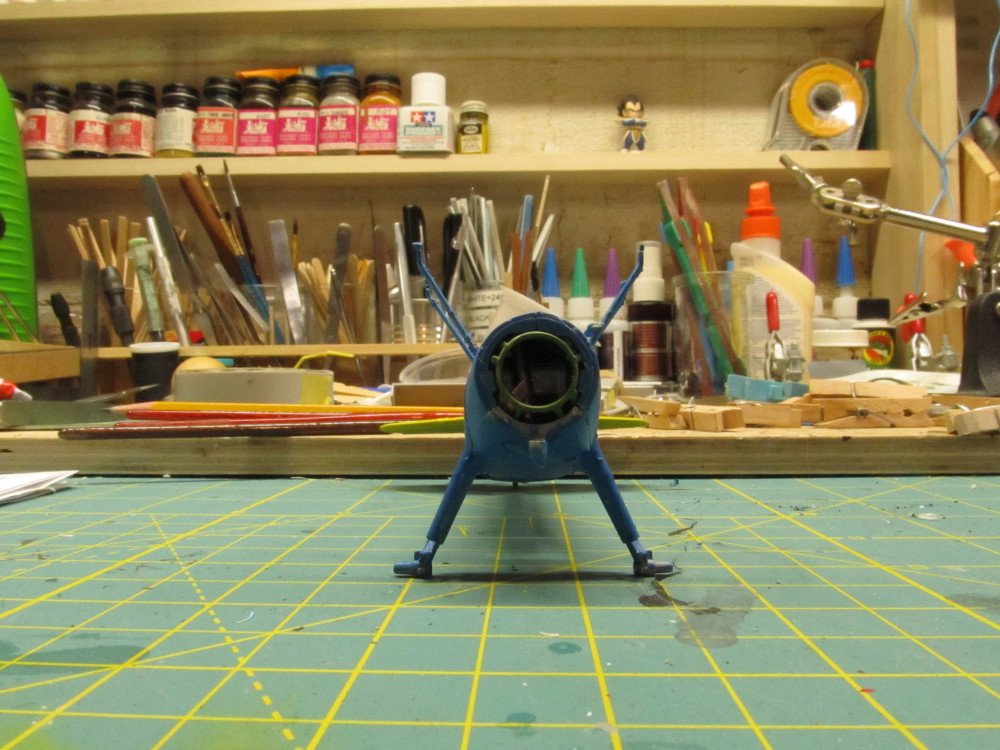
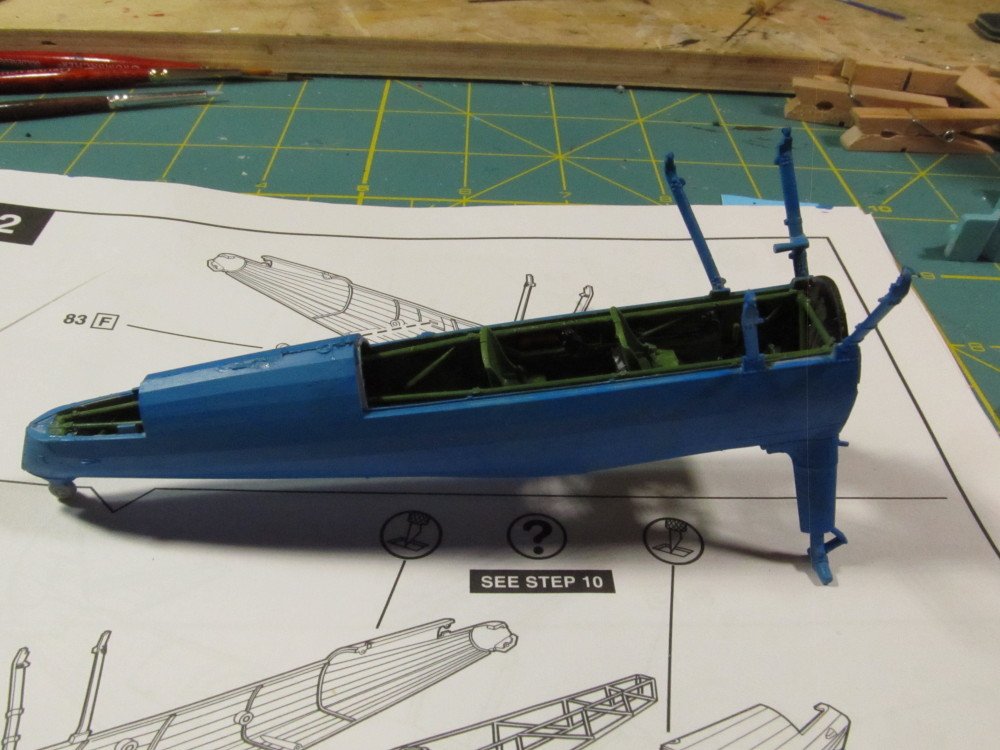
I decided after completing the 1:350 warship models that I would venture into other categories of plastic models. After completing 2 car kits and another airplane kit, I decided on the Stearman bi-plane. I started it before I thought about documenting the build. I am painting it in the US Army blue and yellow livery. For paints I am forgoing the usual hobby paint like Vallejo and going with artist colors instead, Cerulean blue and Cadmium Yellow. Assembling the interior frame