hof00
-
Posts
1,654 -
Joined
-
Last visited
Content Type
Profiles
Forums
Gallery
Events
Everything posted by hof00
-
Carl, I have to say it, you sound like a New Zealander, "Mate 😊." Yup the Camera is on!! Managed to fix the Rudder, but broke the Tailplane, one side anyway. Was strengthening with Epoxy and dropped the damn thing.... (Not too bad, Taped and glued, Epoxy this time.) I think it'll be o.k. And, yes Carl, I'll get some photos once the Epoxy goes off and I get the "Sub Assemblies" in a presentable state. 😊 Cheers....HOF.
-
Small update, Tailplane complete, Elevators later today perhaps.... Was a bit of a mission (Masking Tape is my friend, (Sometimes), to hold things square/vertical.) Rudder started but the Muntz Rudder Post fell to bits.... ☹️ (No surprises there.) Never mind, I'll either use 3.0mm Dowel or Brass wire to replace. I'll get some photos up soonish. Cheers....HOF.
-
 Hi Chap, Nice build, excellent result!! Cheers....HOF.
 -
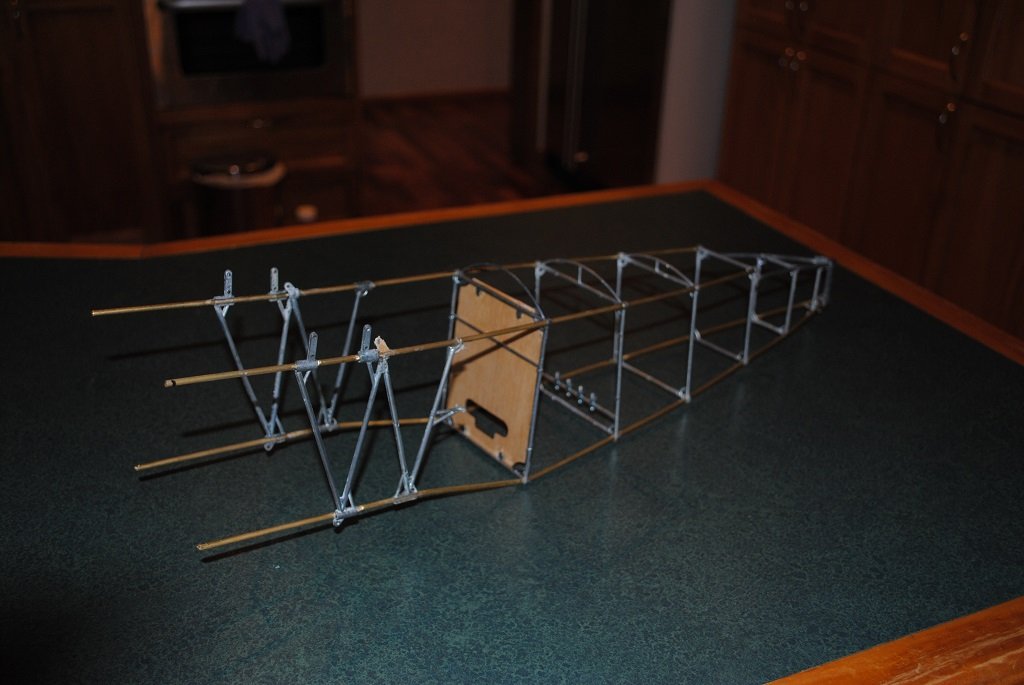
A very quick update. Managed to fabricate the Foremost Cockpit Frames, 3.0mm Brass and have temporally mounted the Firewall on the Stringers to hold everything in the correct orientation. There are a couple of fixings that I'll need to manufacture at the very front of the above frames. (I think for Landing Gear Strut mounting points? Have gone through the Various "Joints" in the Fuselage with 24 hour Epoxy, I'll tidy up once this has gone off. (More like 48 hours given the cold temperature/humidity at this time, no matter, heaps of other tasks while I wait....😊) Cheers....HOF.
-
Hi Chap, Not really.... My passion is the "Ship Model." Have done Aircraft before in my youth, the DR1 has been languishing for too long, a waste if I don't at least attempt it.😊 I couldn't get back into Sanson for some reason, so decided to get into something.... (Sanson is still in the Ship Room awaiting my attentions.) The work search is and has been a pain.... I just need an outlet.😊 (The Grey matter as you so rightly put it.) Have an awesome week!! Cheers....HOF.
-
Some additional Photos, Cockpit Floor, Firewall, Spandau's mounted temporarily on their Ammunition Box, Fuel Tank and Outboard Wing Struts. This particular model has more than a few issues and I'm busy reviewing previous builds and solutions. Anyway, onwards and upwards....😊 Cheers....HOF.


- 96 replies
-
- 11
-

-
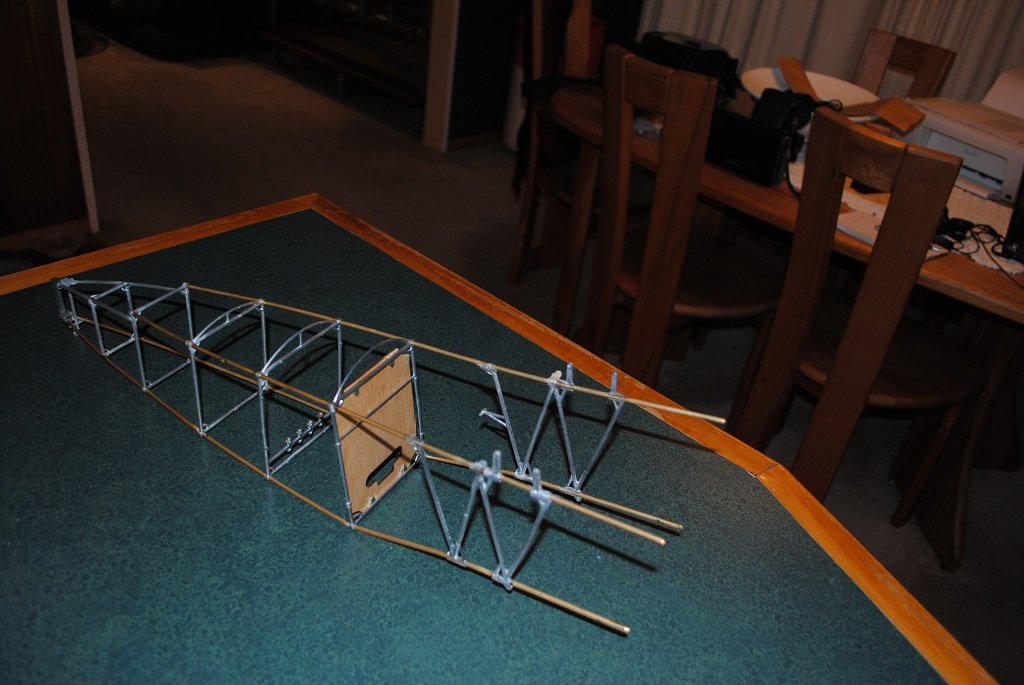
Hi All, Some photos for your viewing pleasure.... Fuselage as it stands at this particular moment.... Not fantastic, but getting there. The bottom Longerons will need to be extended a few mm, no prob, 3.0 mm ID brass tube and 3.0 mm Brass wire so the Firewall is not left dangling in space. The forward Cockpit braces were missing, as previously alluded to, so suitable Brass wire or Dowell, unsure as yet. I finally have the length of the Longerons past the last Cockpit frame installed, (Top and bottom), so should be able to get some accuracy.

- 96 replies
-
- 11
-
-
Thanks Gentlemans, The Cats will not being evicted any timer soon!! 😊 Cheers....HOF.
-
Small update, Completed the second Spandau, Ammunition Box, Fuel Tank, Firewall, Fuel Pump, Wing Struts and started on the Fuselage. The Fuselage has and is a bit of a mission, comprised of Brass Longerons and Muntz Metal Bulkheads. I've never constructed any model aircraft this way.... Normally, one would lay out the sides, once complete, the Bulkhead/Formers would be placed in situ. Not this.... One additional problem is the last of the Cockpit support frames are not there, Issue 55 shows what they look like but they packaged the wrong parts.... I got a Couple of Wingtip Skids, (I now have four of these....) I'll just have to be resourceful and make my own components. 😊 (Trying to locate all of the parts after the Kittens had a "Mistake" in the Box where they were stored has also been an issue but coming together none the less.) Photos will be posted soonish. Cheers....HOF.
-
Nice work Sir!! Looks great. Have you considered a Cabinet to stop any knocks? (God forbid) Cheers....HOF.
- 14 replies
-
- 1
-
-
- cutty sark
- mantua
- (and 3 more)
-
Tomorrow, I'll be sanding the wings, getting rid of the "Char" and planning the next move/s. (I might even build the other Spandau.... 😊) Cheers....HOF.
-
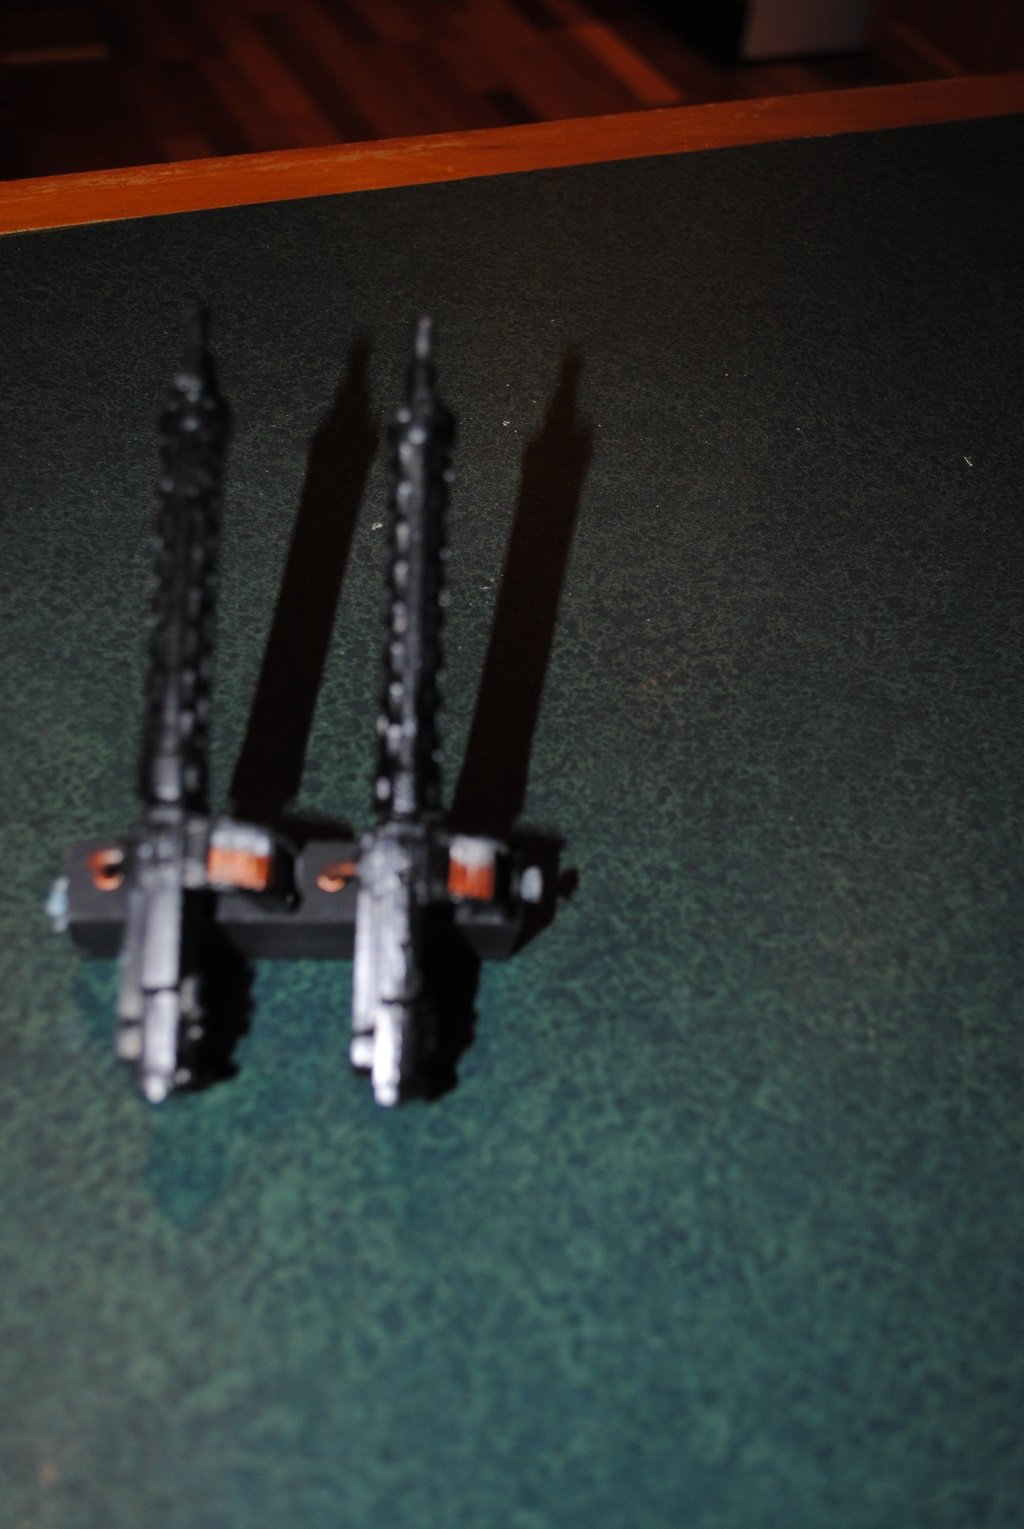
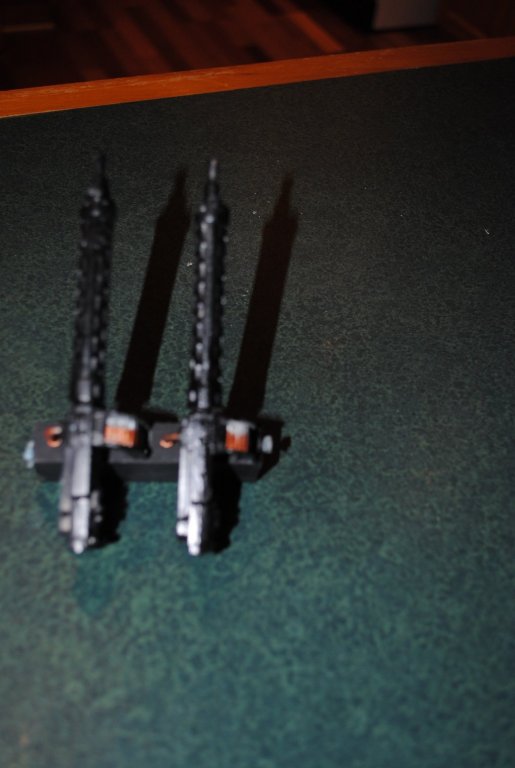
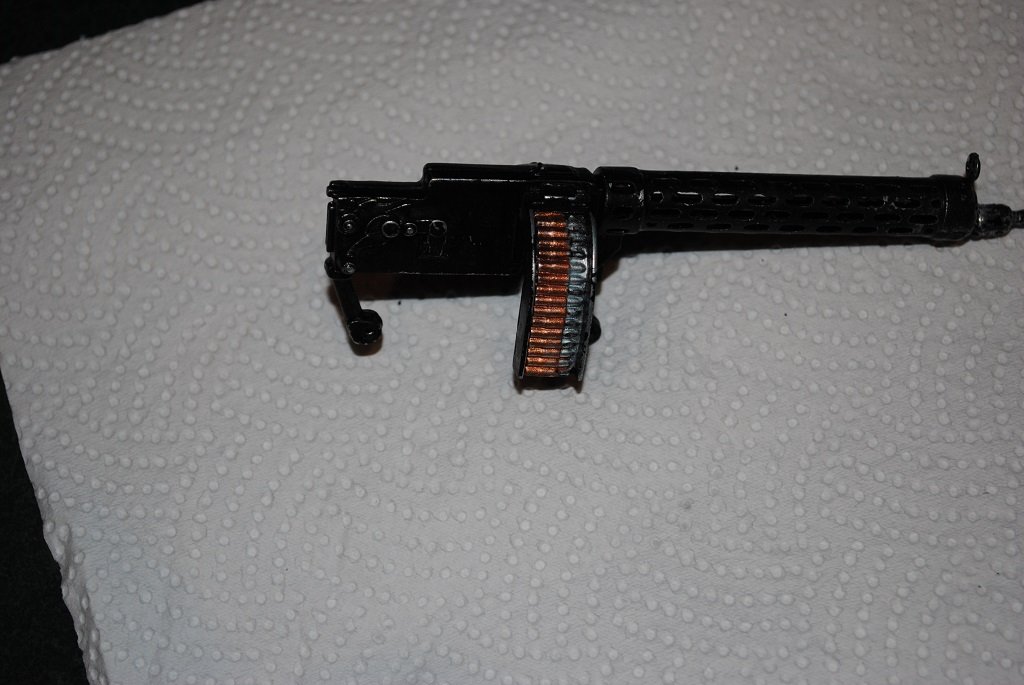
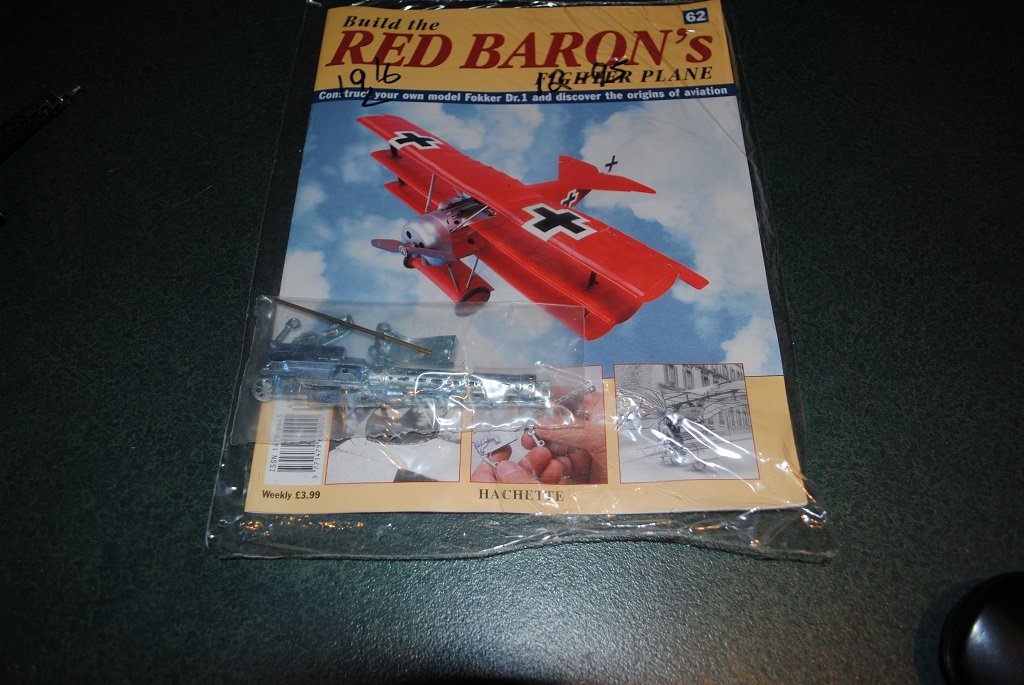
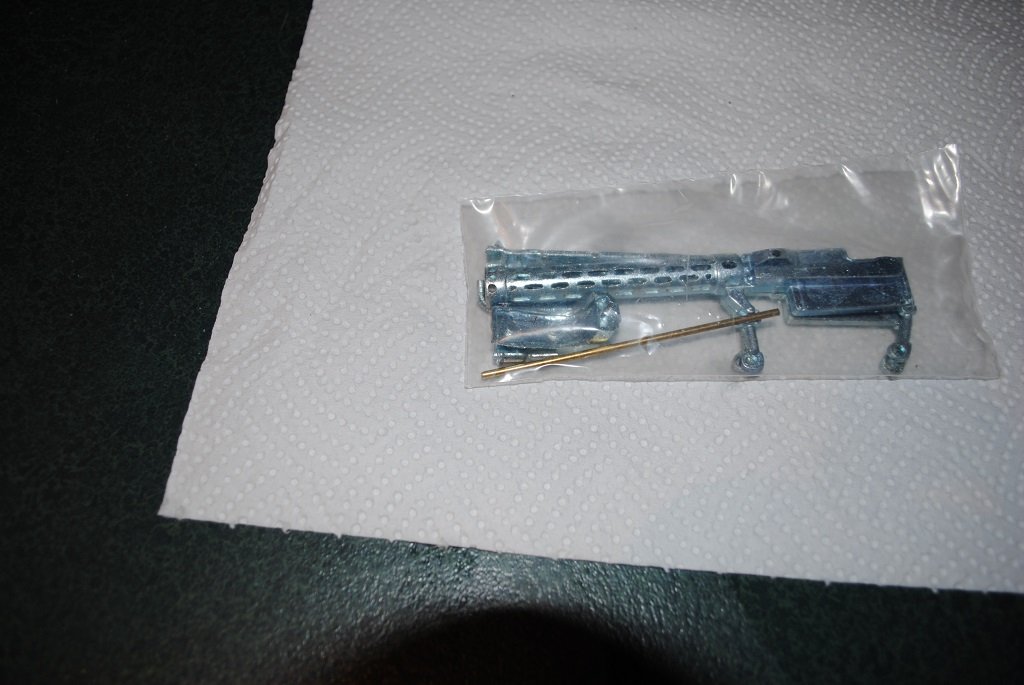
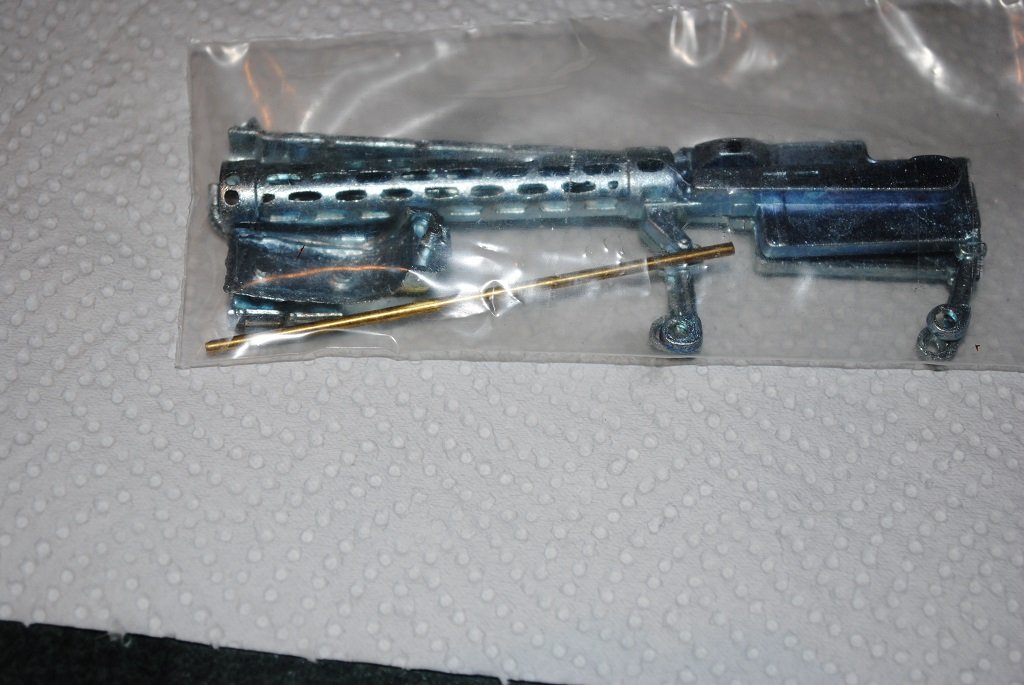
Small update, Spandau MG and what an "Unboxed" one looks like.... (Guns are approx. 100.00mm in length.) Thinking anout my youth, (A couple of years ago), I used to covert the plastic cereal models sealed in Cellophane.... Maybe that's where my modelling passion started? (My Sister and I used to argue about these, much to my parents chagrin…). My parents always threatened to not buy Cereal with the Plastic Kits, but thankfully didn't!! 😊 Anyway, a lifetime ago. So, some photos....

- 96 replies
-
- 10
-
-
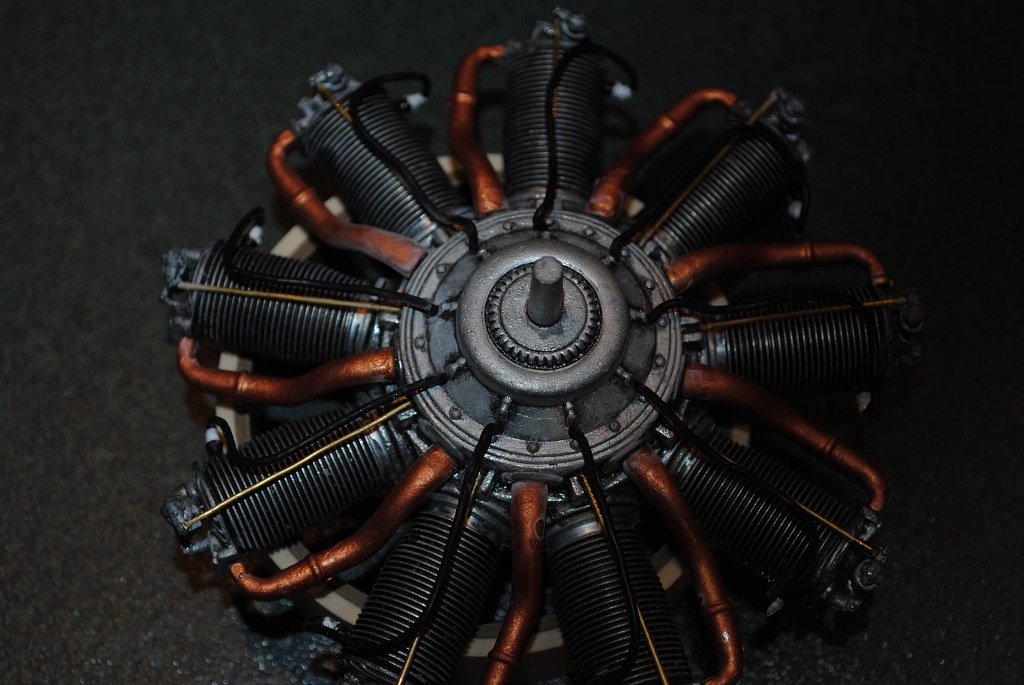
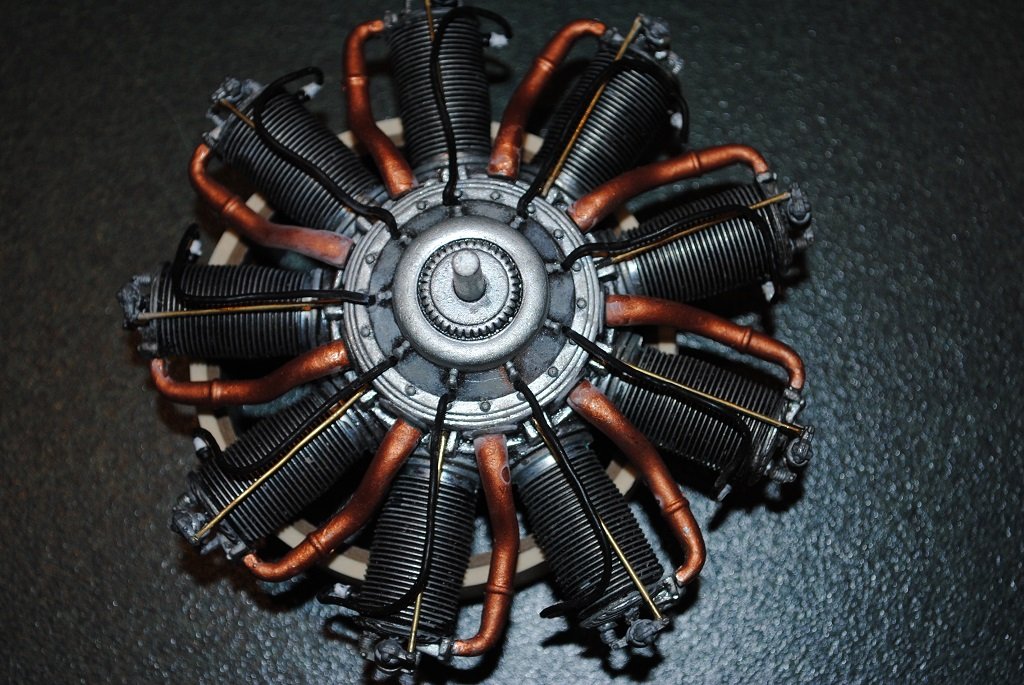
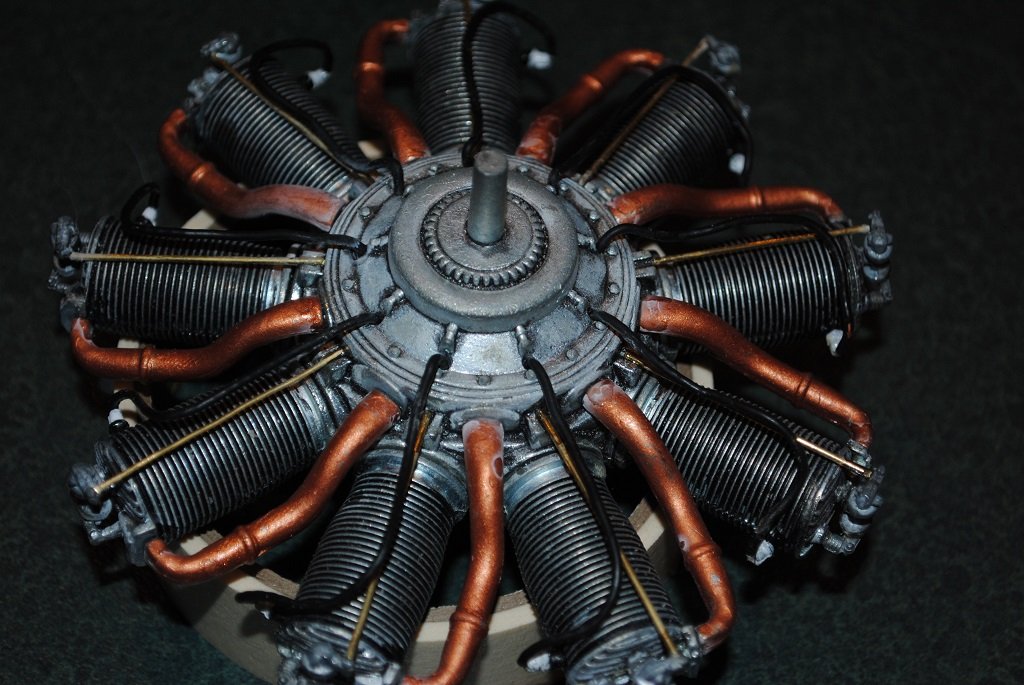
Hi All, Thanks for your likes/comments, much appreciated. Chris: Yup the Engine was assembled from 74 Muntz Metal components, I don't recall how many Partwork, issues, several.... The thing with the Partworks stuff is the first issue is reasonably cheap to "Pique" your interest, the other 99 issues were treble the cost.... (Good Business strategy/model!!😊) (I bought a 1/200 Bismark from the same publisher, completed the Hull and stopped after I bought the Trumpeter version out. I still have all the issues, 140 in all.... One day maybe....) Dennis: I don't believe I can source "Back Issues" for spare parts, so to speak, I purchased the original issues so long ago.... (Hence my Brass Wire Aileron tips.) I did try the publisher, Hatchette, years ago and they were not that forthcoming. I just need to be more careful/patient cleaning up parts, esp. the Muntz. 😊 The completed model will be just open framework, a little like the Hasegawa 1/8 Aircraft series which I think this was based on. Partworks did provide Plastic, (Monocoat?), Heat Shrink (Red, Of course), covering material I wont be utilising this. (I believe that Hasegawa had a fire many years ago and lost tooling moulds for their 1/8 Aircraft series. You can sometimes see these on eBay/Trademe for large sums of money.) Like the 1/16 Model Airways Aircraft, the control surfaces are supposed to operate from the Cockpit controls. (We'll see how this goes.... 😊) Trailing Edges on all of the wings, should be wire but the wooden ones are structural components, so stick with them. (Pardon the pun.😊) Anyway, have a good week. Cheers....HOF.
-
Here you go Chap.... Ailerons almost complete.... The Trailing Edges are a little fragile to say the least. I've had to repair more than once. Reasonably happy with the Aileron "Tips." (Broke one of the Muntz Metal Hinges, so if I can't repair, I'll do 2 Hinges per side. Engine back together, I'll need to "Wick" some good quality CA around the components and touch up. (Engine diameter 127mm (5")) Cheers....HOF.

- 96 replies
-
- 14
-
-
Hi All, Still mucking around with Ailerons, I guess that they need to be as good as they can be.... (The Cockpit Controls move the Fight surfaces, or, at least they are supposed to.... 😊) I'll take a break and affix the Engine components that came off.... (A bit of Epoxy will help.) Enjoy the Weekend!! Cheers....HOF.
-
Hi Chris/Dennis, Ditched the Brass Spar for the Ailerons and substituted Birch Dowell of the same diameter. (So much more conducive to CA Stuff.) So, the Ailerons are built, just waiting for the "Cure." (Much improved and I don't have to wait for days....) (Upper Wing 35" with Ailerons, whatever that is Metric....) I need to get some adhesive that will "Strengthen" the joints without waiting for Christmas.... 😞 I saw something in Mitre 10 Mega. (Dennis, We don't have "Drug Stores.") (Sounds like something that Californians would go to get "Space Cakes." 😊) Yup, Missed Esmerelda, Chilean Barqueintine…. I did not realise there was a very dark past associated with a certain General Pinochet. Anyway, thanks Gentelmans…. One more glass of plonk and I'll tun in. Cheers....HOF.
-
And there lies madness trying to maintain/service the batteries when they're connected!!
-
Trying to Epoxy the Aileron Tips to the Aileron Spar. I guess I'm not patient enough, it's my fourth attempt leaving the stuff to cure for 24 hours.... (48 should do it, hopefully....) The Ailerons are proving to be a bit of a mission.... (I also missed the "Esmerelda" today, she leaves Wellington tomorrow.... Damn....) Cheers....HOF.
-
Hi Mark, It's 1/8th scale. Unsure of the finished size but the upper wing is 84cm (33") (Its going to be a heavy beastie, the engine is about 250 grams....) Chris, Did you see the kit review for the Tram? Cheers....HOF.
-
Hi Chap, I guess go for it!! 😊 I've seen a review or two here on this site.... (Kit reviews.) I believe there's also a "Diorama" that is available also? I also understand that there is much painting!! Cheers....HOF.
-
Thanks Chris/Dennis, Once again!! Words of encouragement are powerful.... Thank you. 😊 So, Sanson is on hold for the mo, God knows why, I love the ships, I guess something a little different. My doctrine, (Up until a few months ago), was to concentrate on one project at a time, so, breaking with the afore mentioned....) Off to get a WOF/COF for the Admirals car tomorrow so will have a look at different Epoxies available. (Leaning towards a two part, malleable paste, like strips of chewing gum?) (Mitre 10 Mega Hardware) The broken Aileron Tips are fixed, bent Brass Wire.... Cheers....HOF.
-
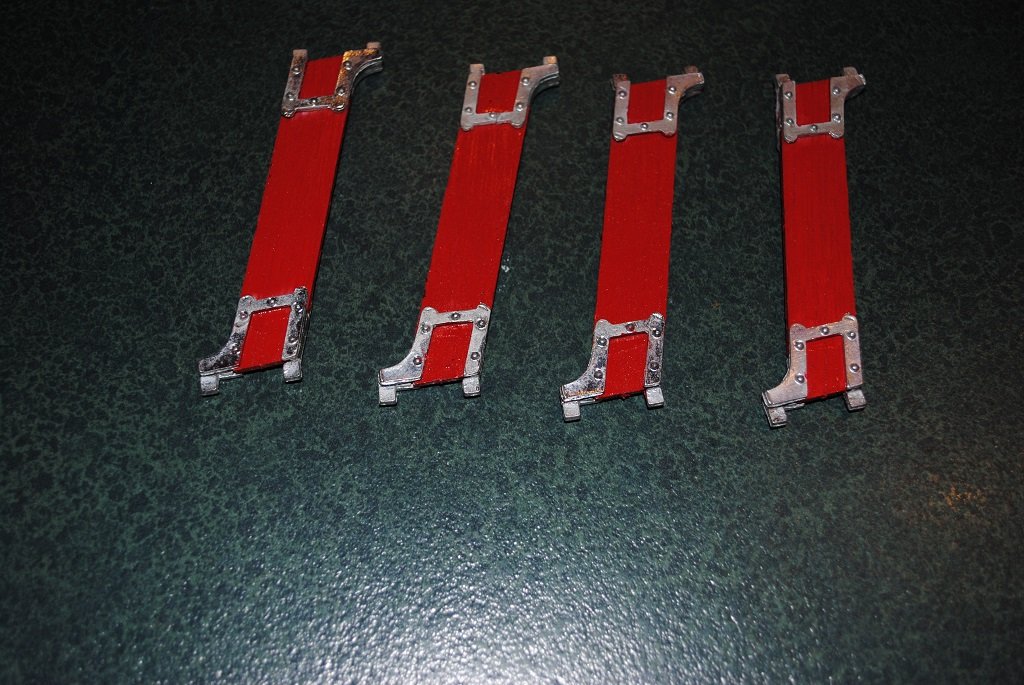
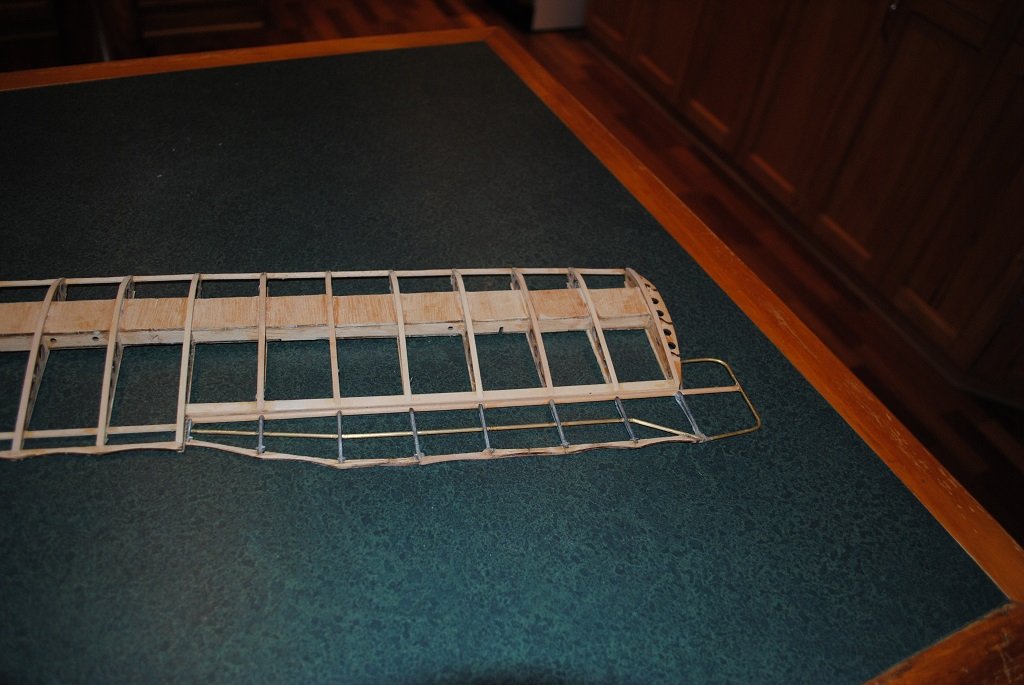
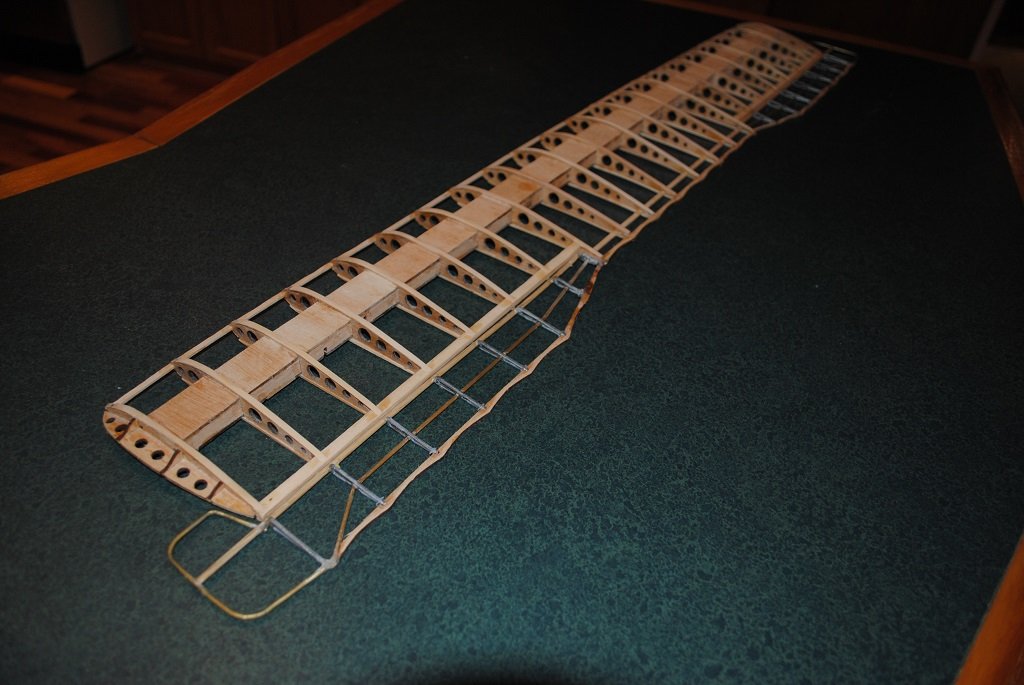
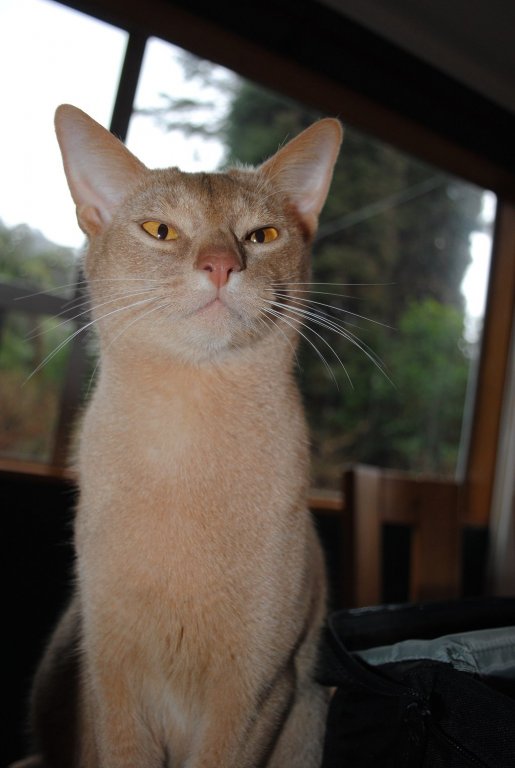
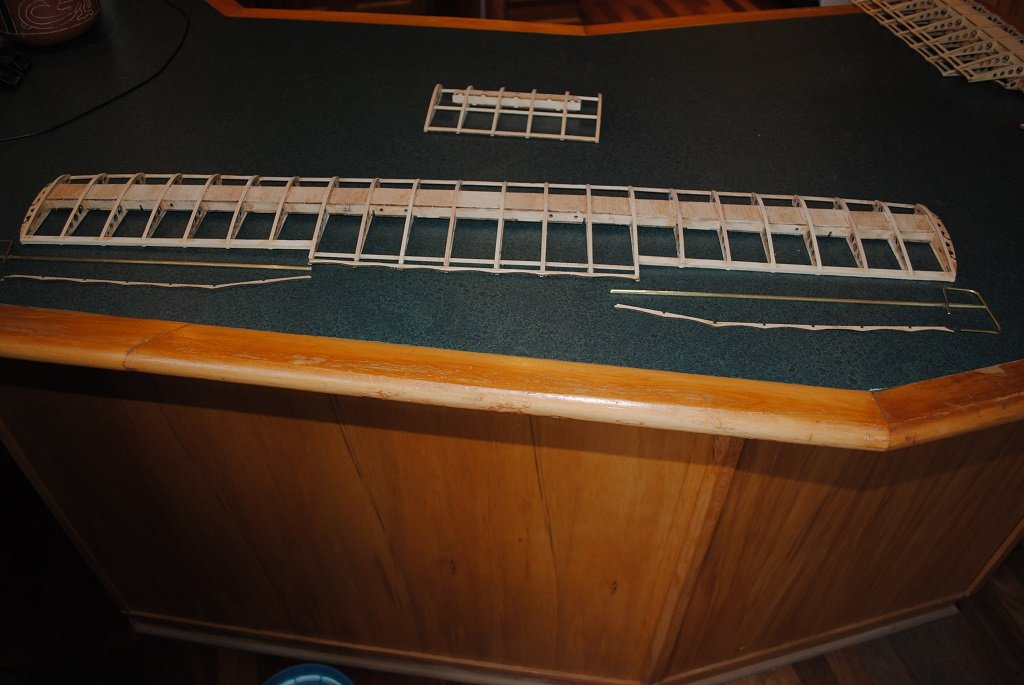
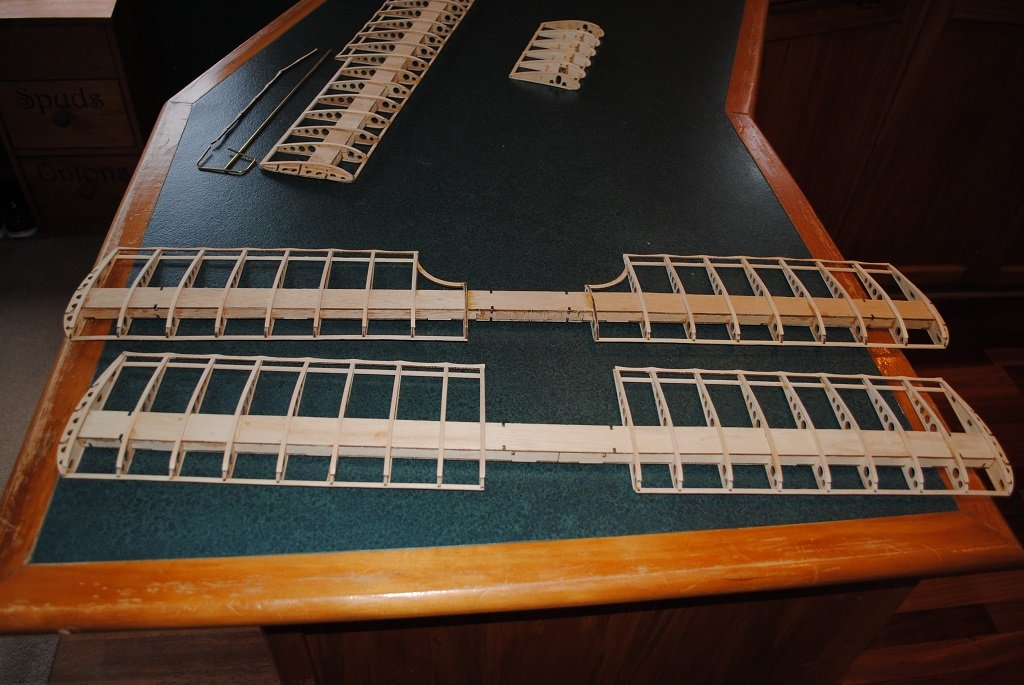
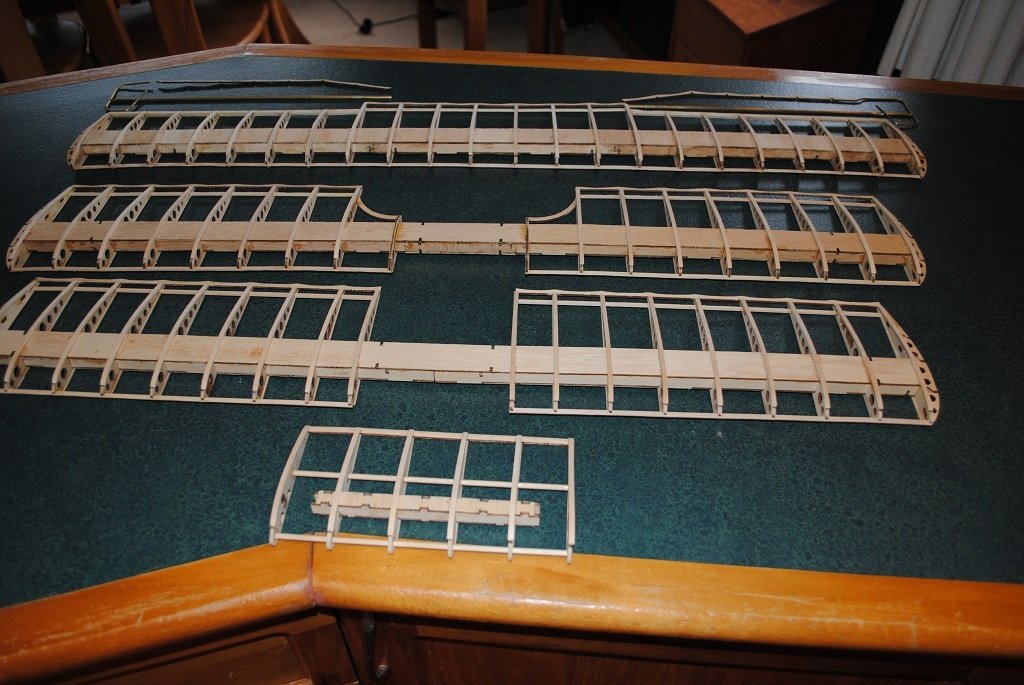
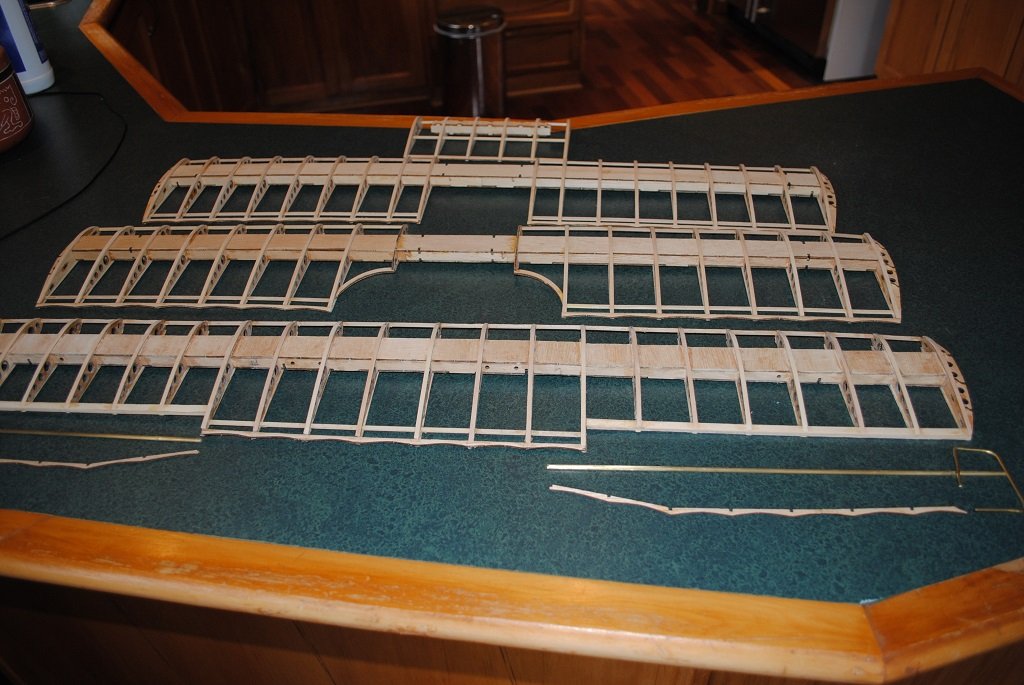
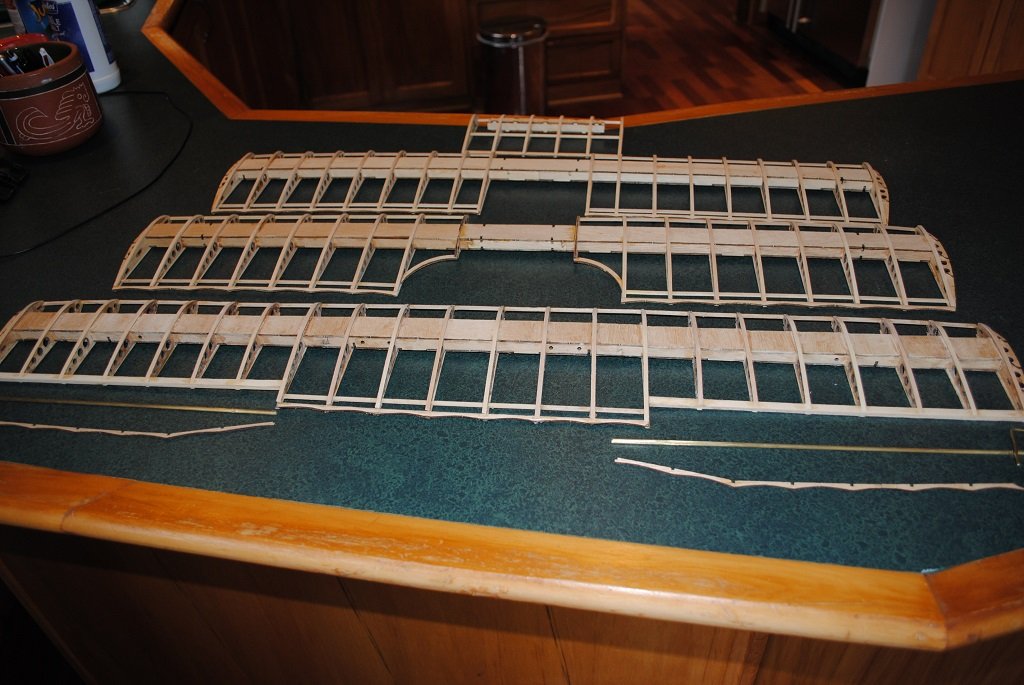
A few photos.... 3 Wings and the Landing Gear "Winglet." And, one of my three Abyssinian cats, (Or, Stomachs on legs, Anubis), trying to be helpful. The Upper Wing Aileron Tips created from Brass Wire as the Muntz Metal broke, never mind.... I'll re-attach some of the Engine components tomorrow with Epoxy, CA proves a little fragile.... Cheers....HOF.
- 96 replies
-
- 11
-
-
Thanks Chris/Dennis, Yup, something to get myself "Back in the groove." 😊 Not my site.... Someone in the UK. Cheers....HOF.
-
Hi All, Thought i'd give this another go.... I started this in 2003/4, a Hatchette Partworks thingy. So Engine and the three wings are pretty much done, I have to affix some engine components as the "Muntz," (White Metal,) doesn't take well to CA, so, Epoxy. Stumbling block, Ailerons…. Had to manufacture my own Aileron tips as the "Muntz" fell apart. (The whole thing ts large and heavy.) The kit, (If you can call it that), is comprised of Laser Cut Birch Ply and the afore mentioned "Muntz." I'm pretty sure I've got all the components/issues so we'll see how it goes.... (Got to get inspired somehow after redundancy!! 😊) I'll post some photos tomorrow day. A link if your interested.... http://www.buildafokkertriplane.co.uk/ Cheers....HOF.