hof00
-
Posts
1,654 -
Joined
-
Last visited
Content Type
Profiles
Forums
Gallery
Events
Everything posted by hof00
-
 Hi Mike, Better to lay the Deck Planking after the False Deck is attached? This way you can "Pin" the False Deck and True it up. If you have used white Glue, can you not carefully release it with a Scalpel and re-glue? My Two Cents worth. Cheers....HOF.
 -
Hi All, I really thought that I would have finished this but no such luck this weekend.... Fractured a couple of ribs, (Mine), a couple of weeks ago, the Pain Killers preclude any work that I wanted to do, so, instead, have been tidying the Ship Room and pre-planning the Cabinet. (Dimensions 640mm long, 800mm high, 120mm wide.) Next weekend maybe.... So close.... Cheers....HOF.
- 70 replies
-
- 3
-

-
- pen duick
- artesania latina
- (and 1 more)
-
Very nice Mike!! I would hope that the cooking fumes doesn't disturb sleep!! Are you sure that the Crew wouldn't just take a packed Lunch? (Vegimite Sammies?) (I did the Bunks also but didn't think about the Kitchen facilities.) Great start regardless. Cheers....HOF.
-
Thanks Derek, That's very kind of you. It's been a bit of a "Mission" with the re-paints, (X3), my fault for trying Lacquer over the top of Acrylic. Kit Sails were a bit of a disappointment also. I'm hoping to get it finished this coming Weekend.... (Minus Cabinet as I still need to plan this.) Cheers....HOF.
- 70 replies
-
- 2
-
-
- pen duick
- artesania latina
- (and 1 more)
-
Hi Mike, Welcome to the Mare Nostrum Build "Bods." A good start. I believe that the later version of this kit has room for improvement. (Steve 12345 Build) I'll be watching with interest. Cheers....HOF.
-
Well done Sir!! Ditto Steve's comments. Cheers....HOF.
- 134 replies
-
- 1
-
-
- artesania latina
- mare nostrum
- (and 1 more)
-
Hi Chap, Can't really add any more compliments, they have already been said!! Awesome!! Cheers....HOF.
-
Yup, That was my Boy, Sudamo. Unfortunately passed away a few years ago. (His Sister outlived him by three years. I now have Phoenix and Shewa. I'll never be without an Abby!! (I'll Post a couple of Photos if you wish.) Cheers....HOF.
- 115 replies
-
- 1
-
-
- Scottish Maid
- artesania latina
- (and 1 more)
-
Hi Tim, For a second build, what can I sy? Fantastic!! (There is nothing wrong with the colour scheme at all and the Plating loos good too.) My Partners Son had started this some time ago but the unfinished article is languishing in my "Ship Room" awaiting his attentions. Cheers....HOF.
- 115 replies
-
- 1
-
-
- Scottish Maid
- artesania latina
- (and 1 more)
-
Same. Have looked at the MS offerings in the past. (Have seen, don't know where, a "Diorama" of this model on a Slipway, any Ideas?) Will be interesting to follow regardless. Cheers....HOF.
-
Ditto for all the other replies Carl, Awesome work!! (One day soonish, I'll have to do the PE bit too.) Cheers....HOF.
-
Hi Chap, Doesn't look like a "Big Toy" in the slightest. The Colour is something that you could leave off but I think that it enhances the build. Once you have Masts/Rigging in place, it will all come into "Perspective." I really think the colour will enhance things. (If your worried about "Bright" Colours, just imagine that it's just come out of the "Slipway.") The Hull looks awesome, as do the Decks/Bulwarks. It's a really nice build, don't doubt yourself!! (My two cents worth....) Cheers....HOF.
- 291 replies
-
- 4
-
-
- bounty
- billing boats
- (and 1 more)
-
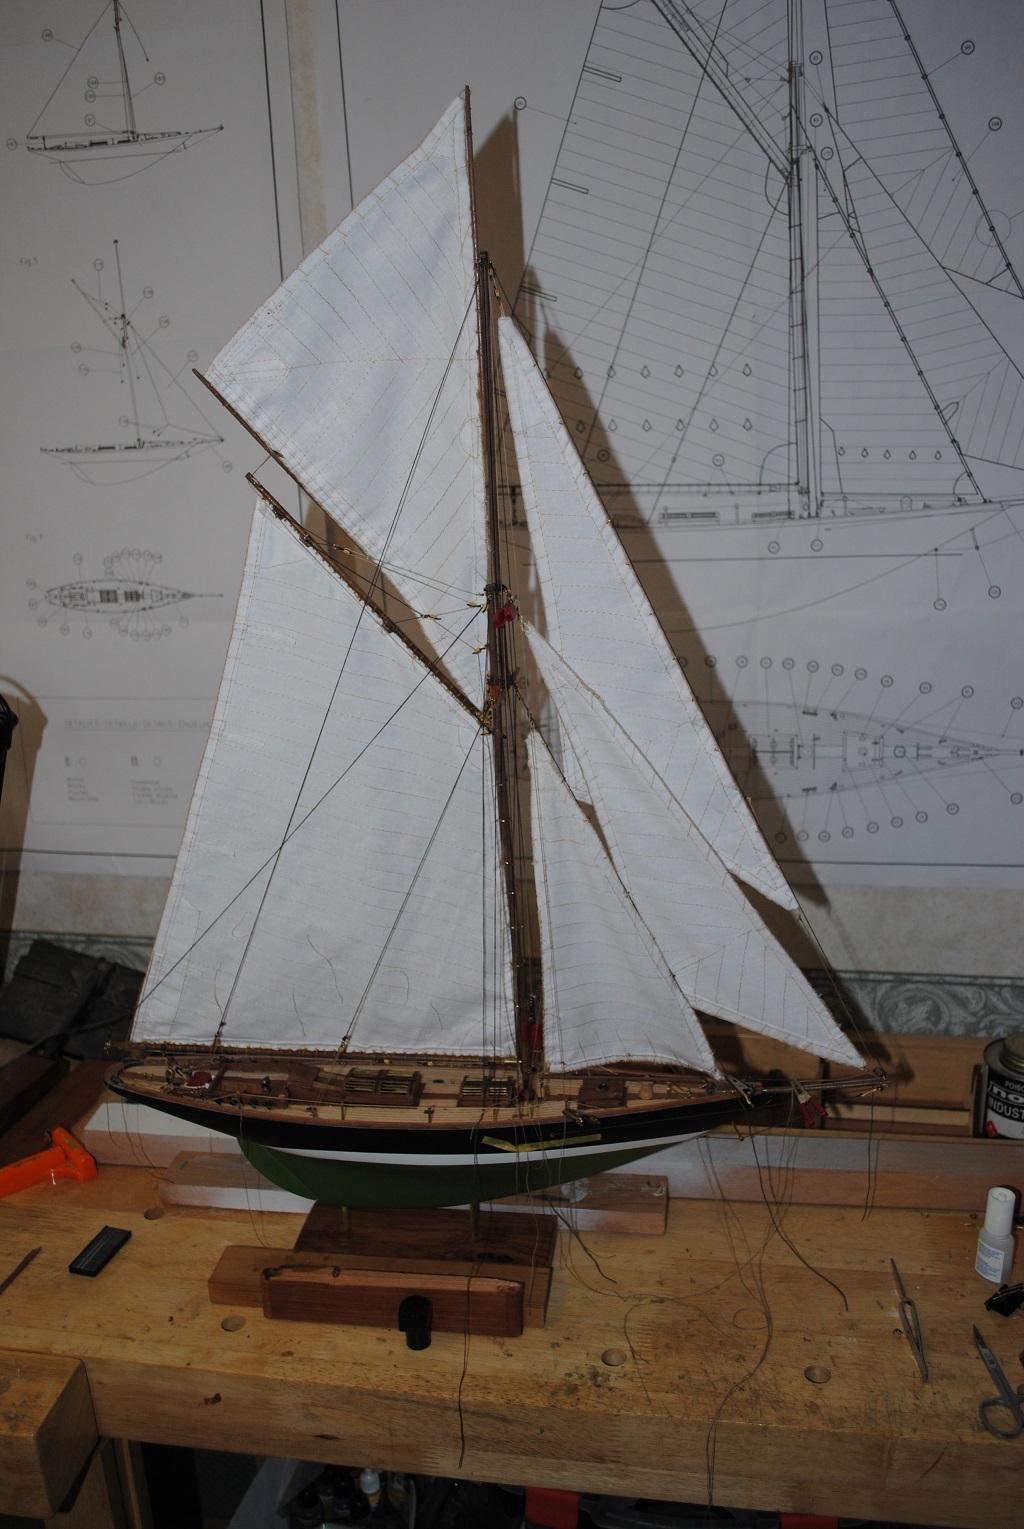
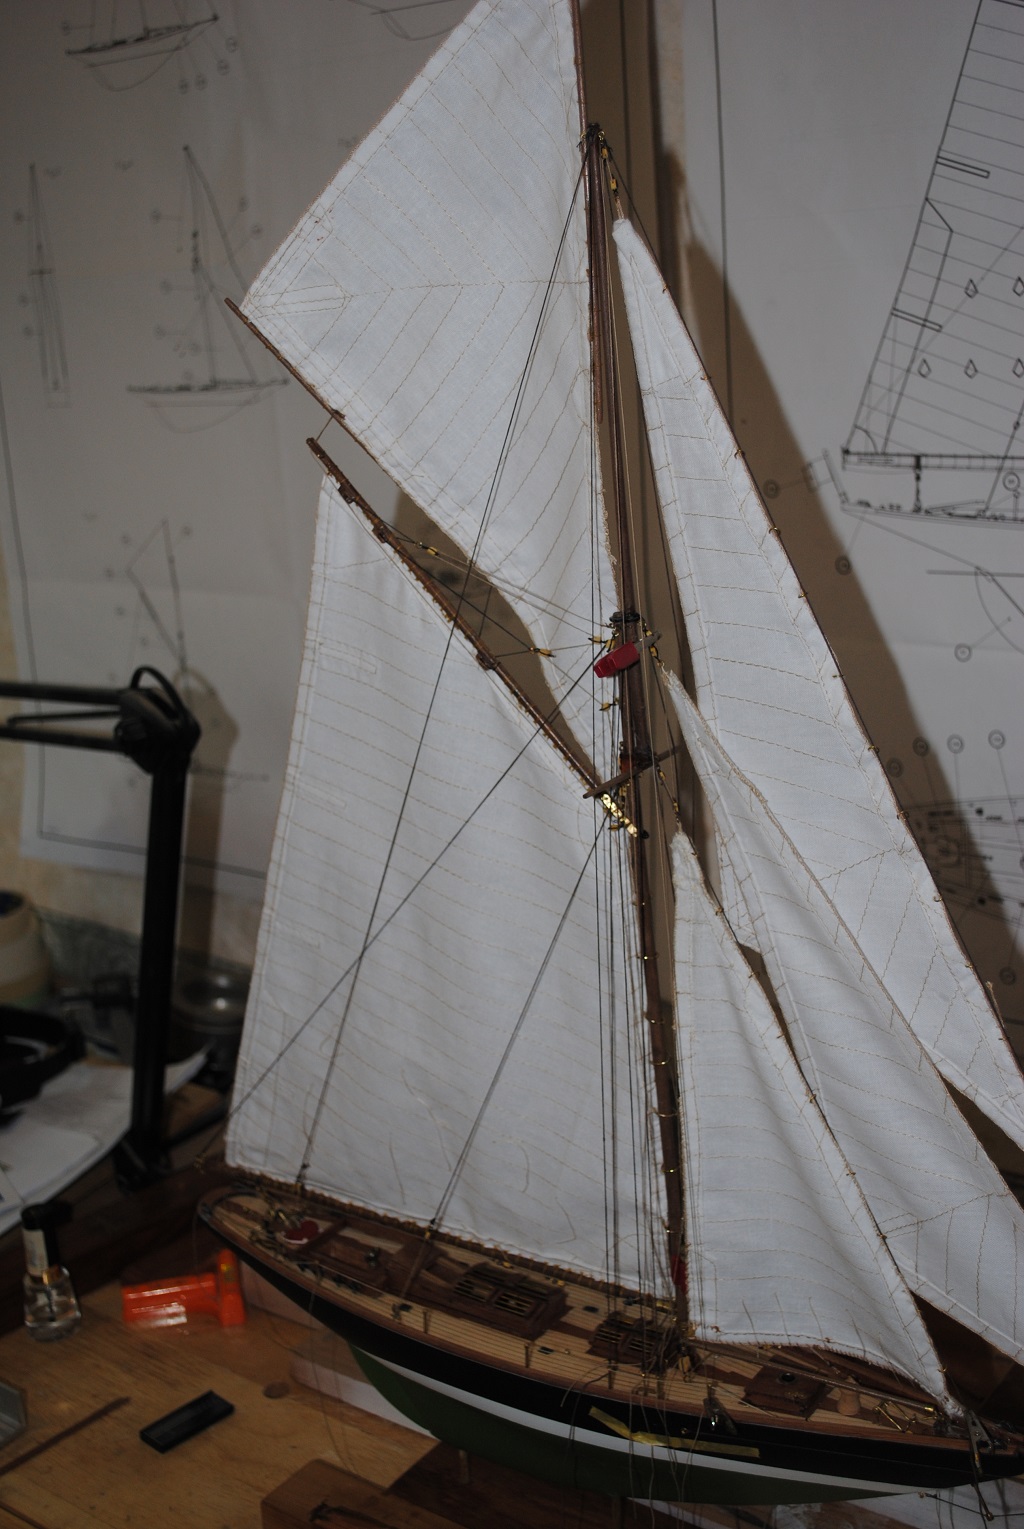
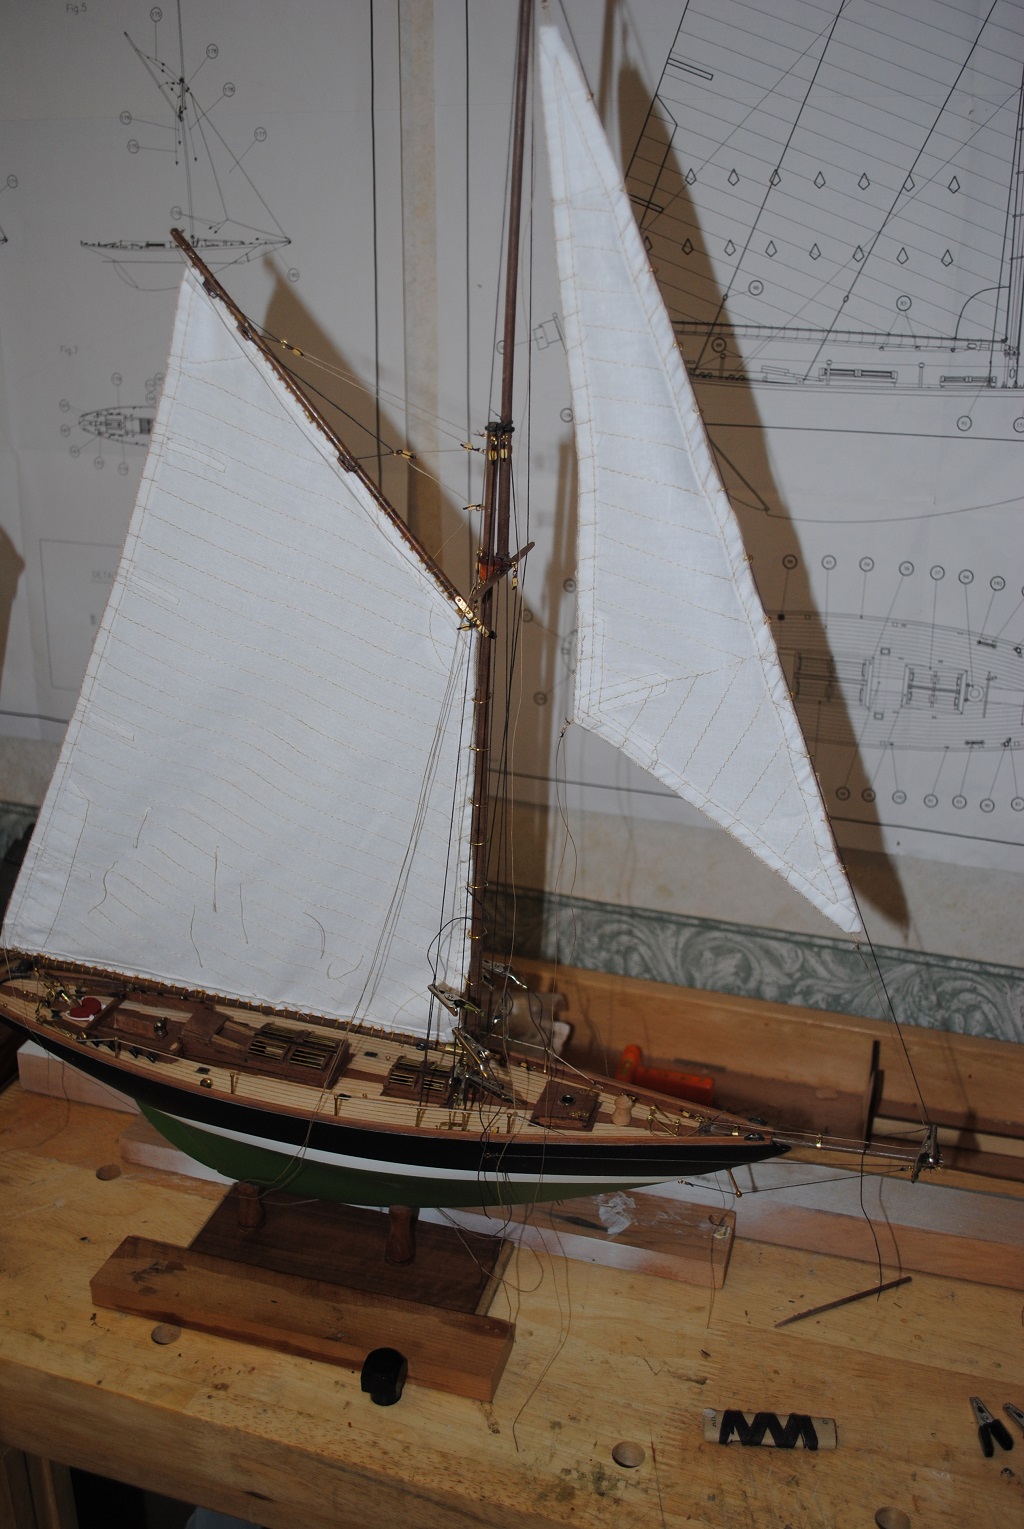
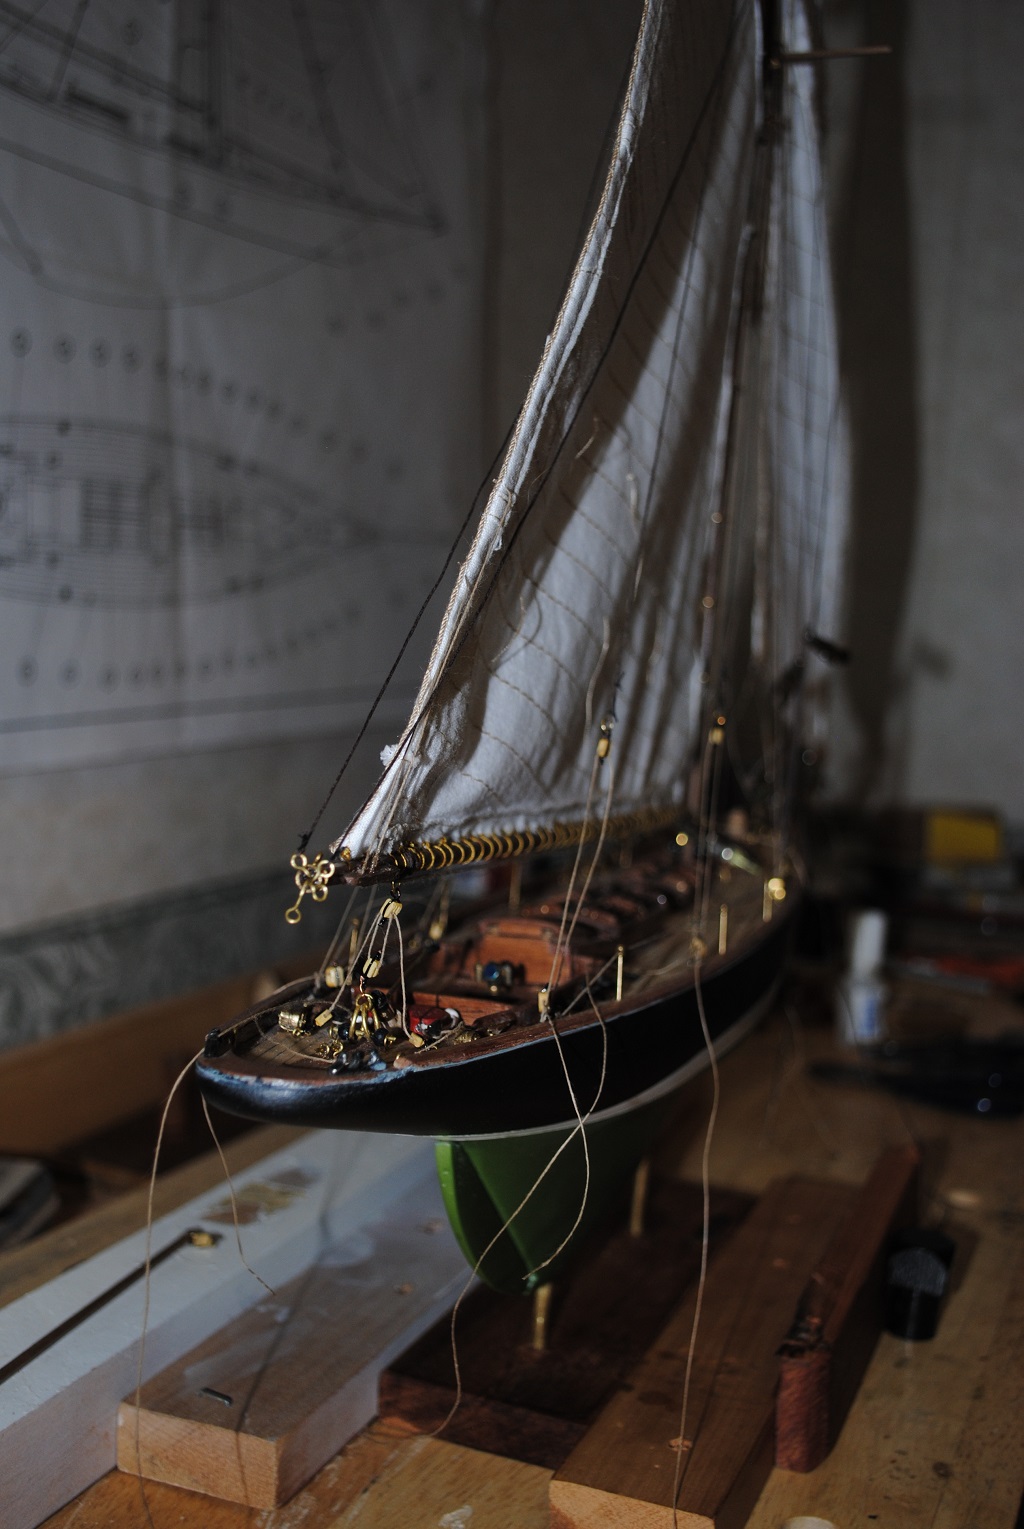
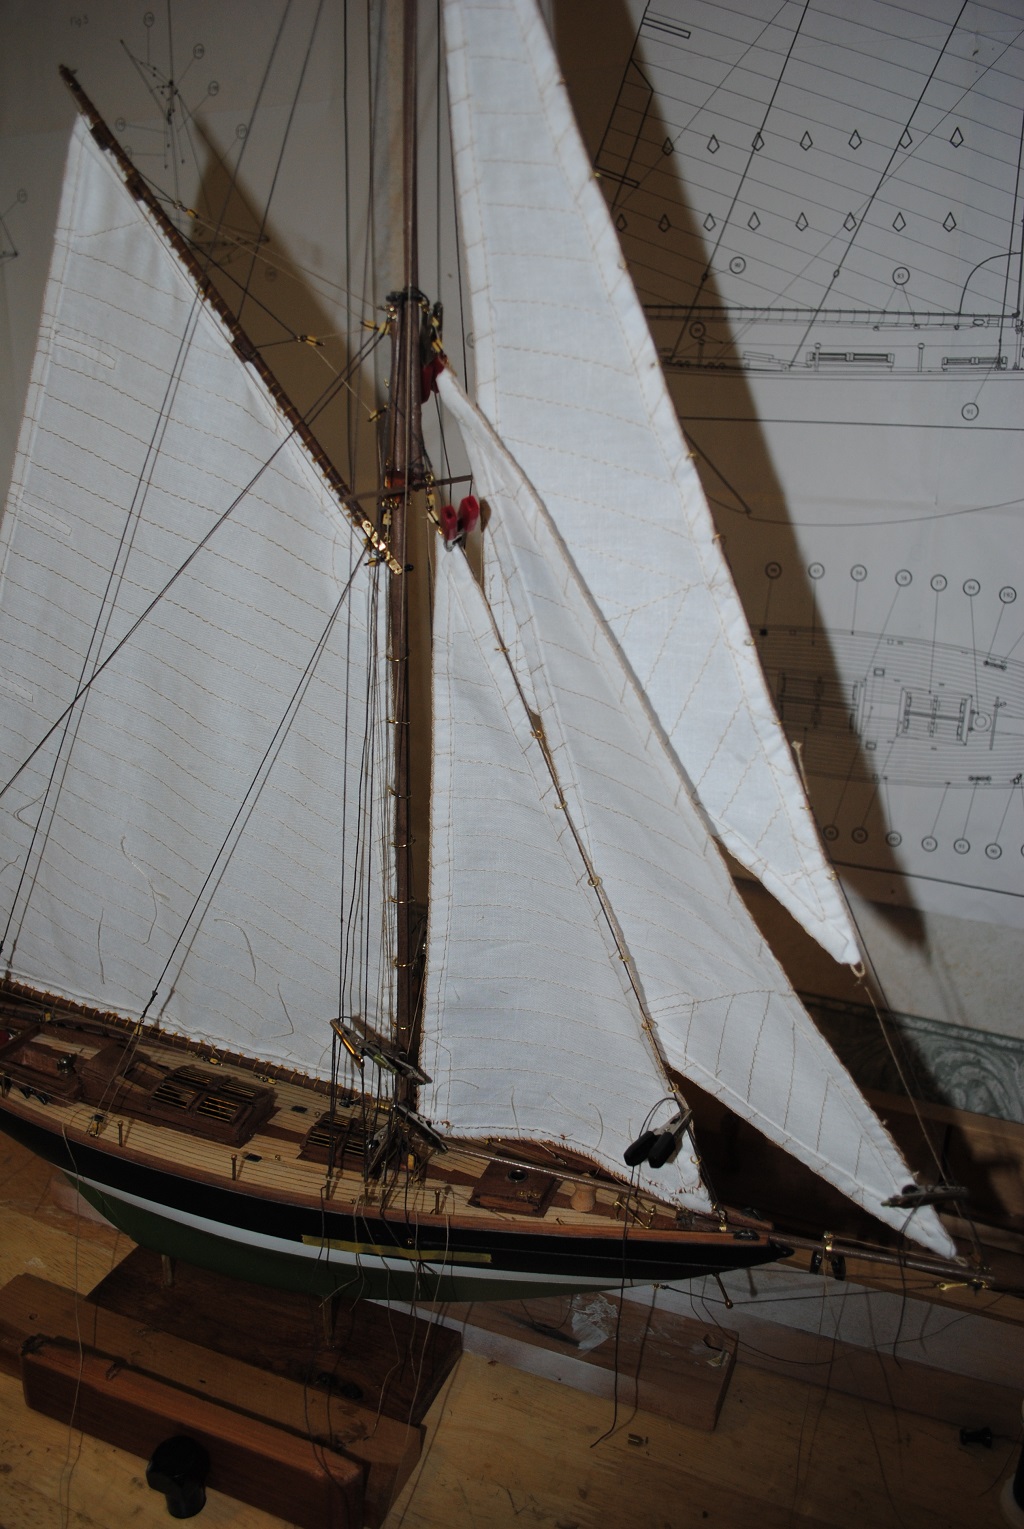
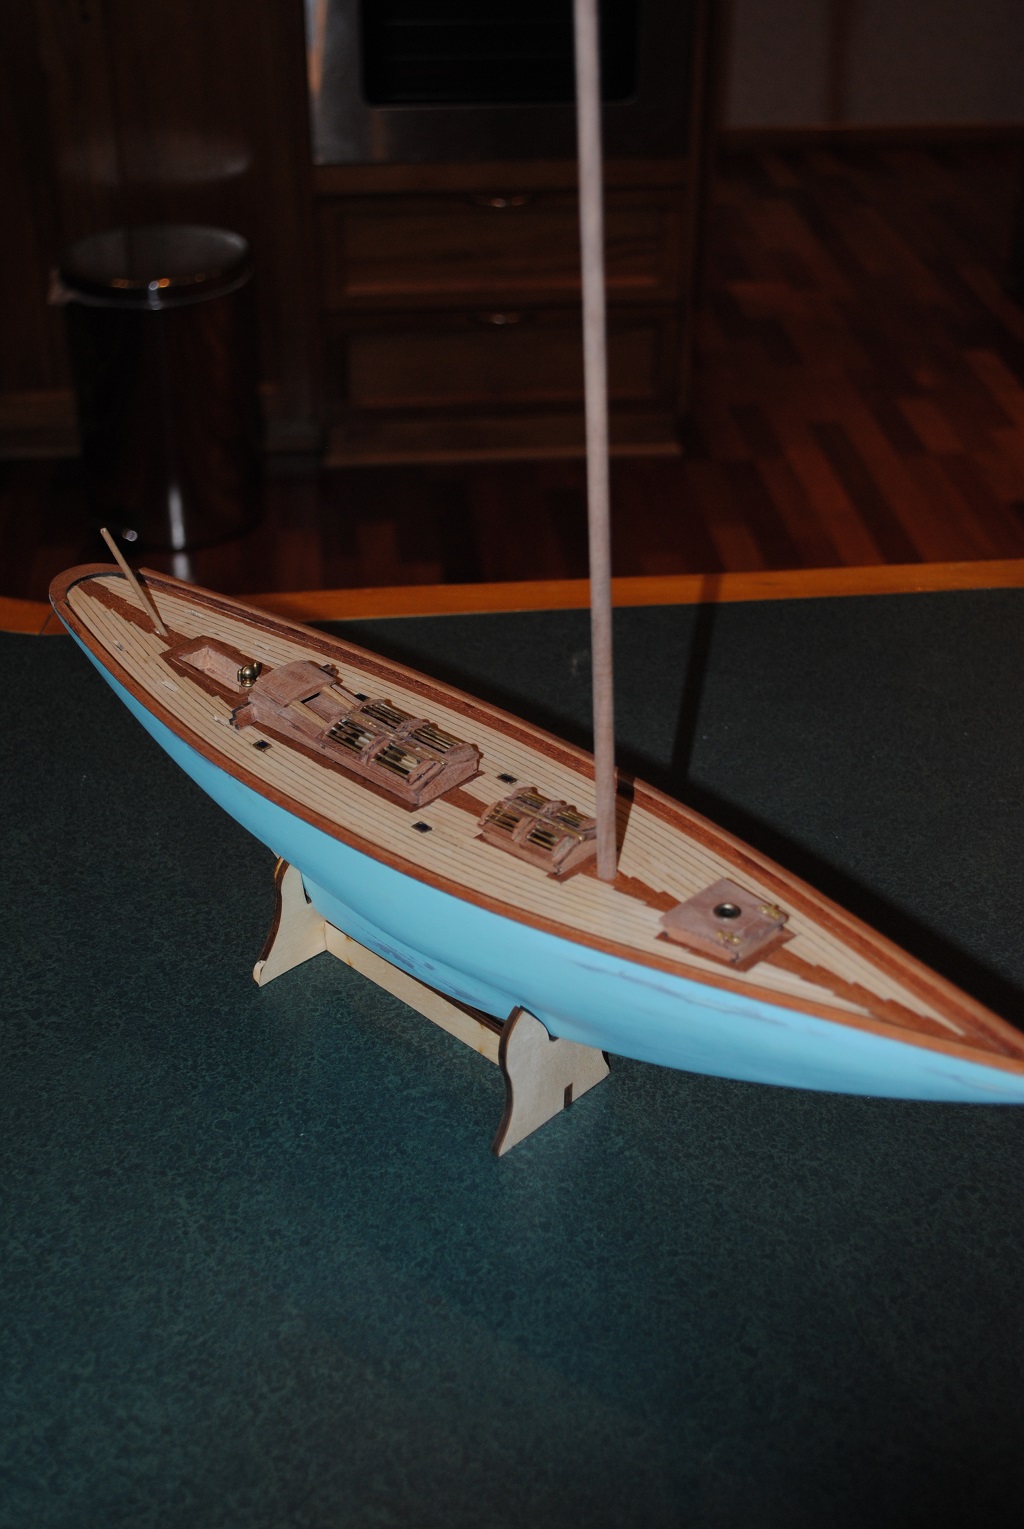
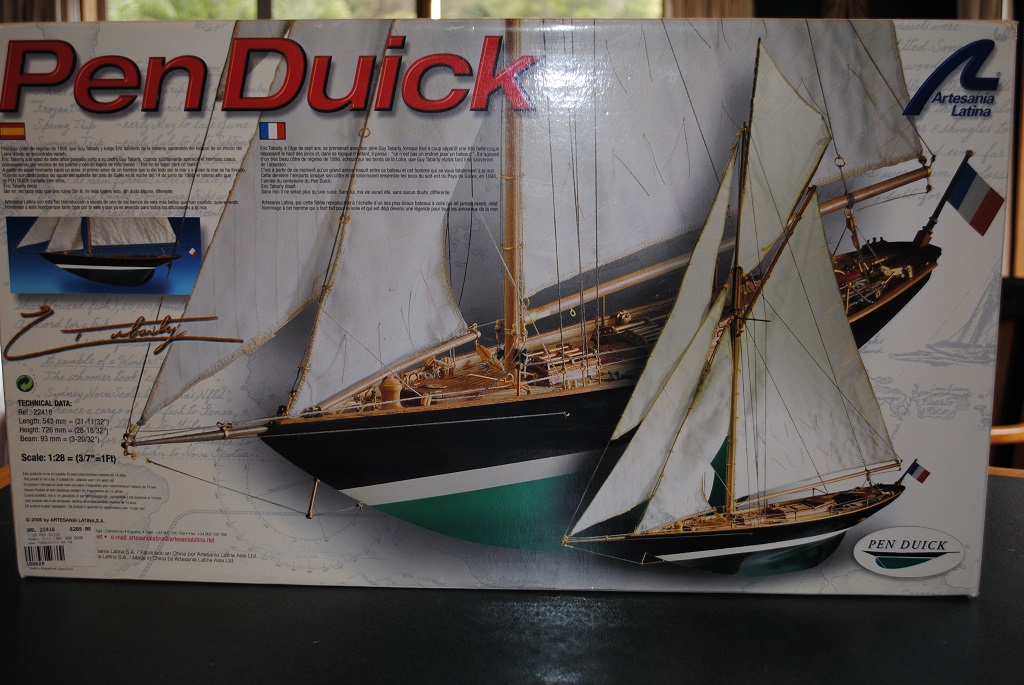
Thanks Gentlemen. Yup, there is a lot of Sail and agree the lines are very graceful. Regarding the Sails, I had a gripe in my previous Thread, The Kit supplied Sails are not 100%, if anything their too small. A video of the real thing, not too bad for an 1898 Yacht design.
- 70 replies
-
- 7
-
-
- pen duick
- artesania latina
- (and 1 more)
-
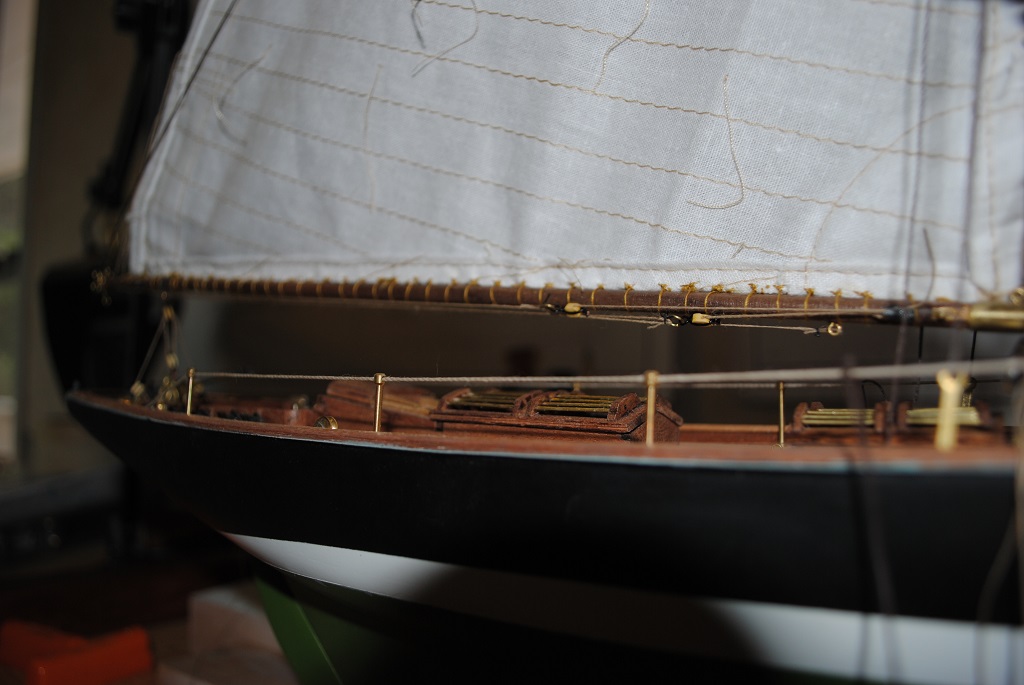
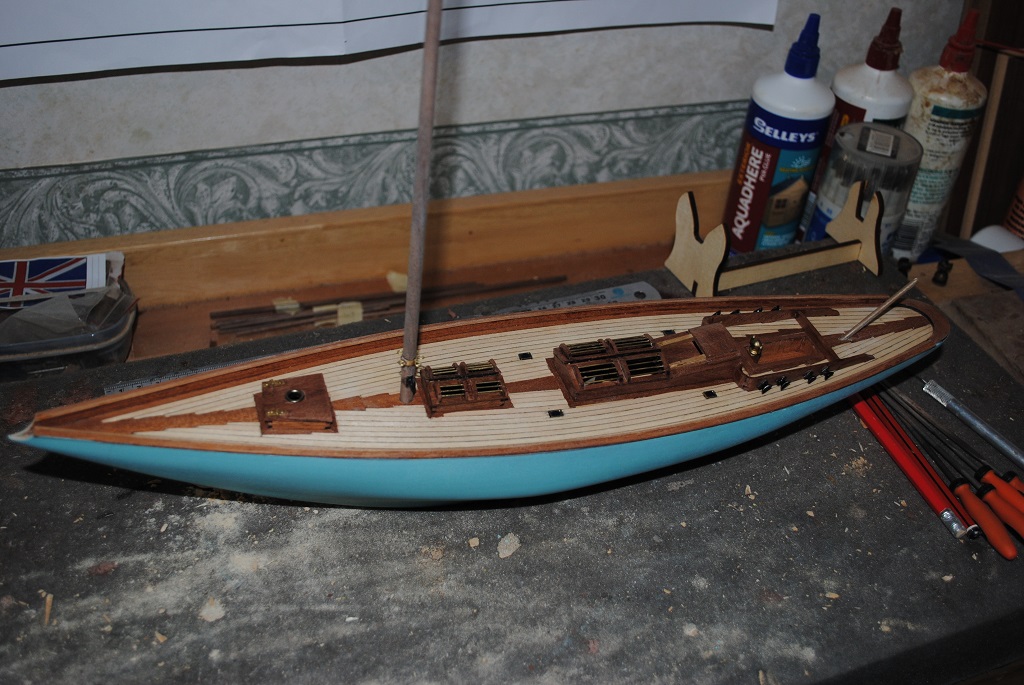
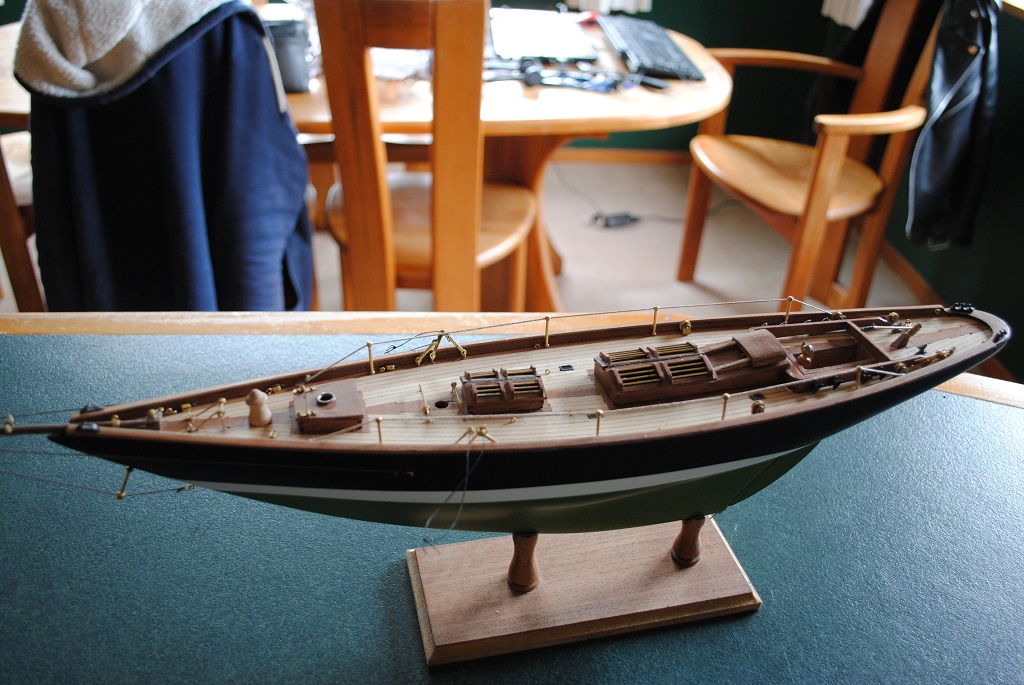
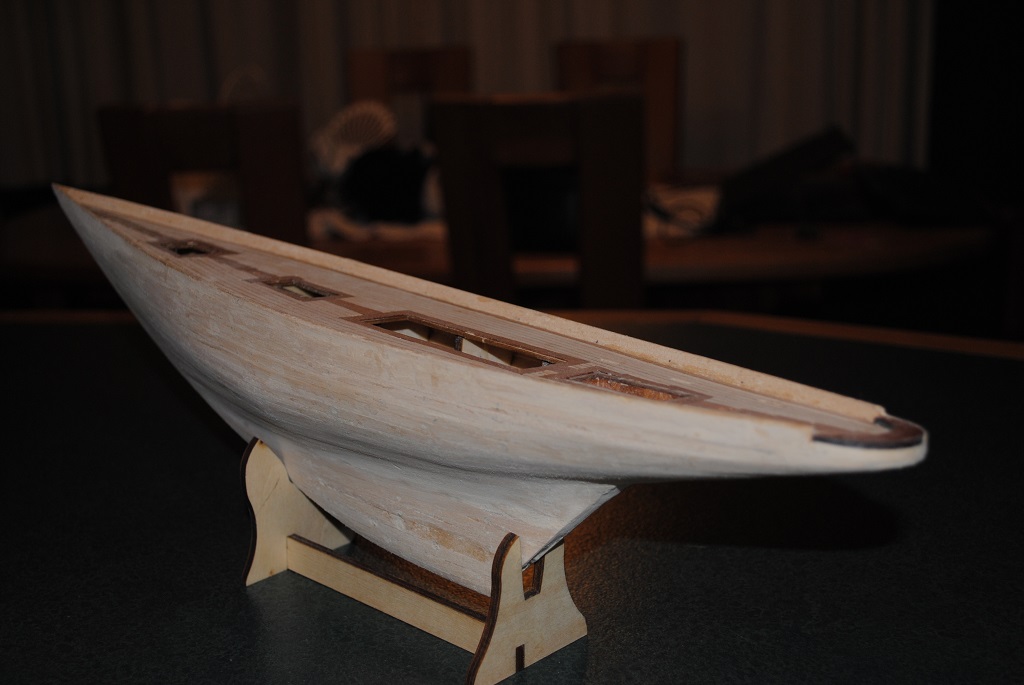
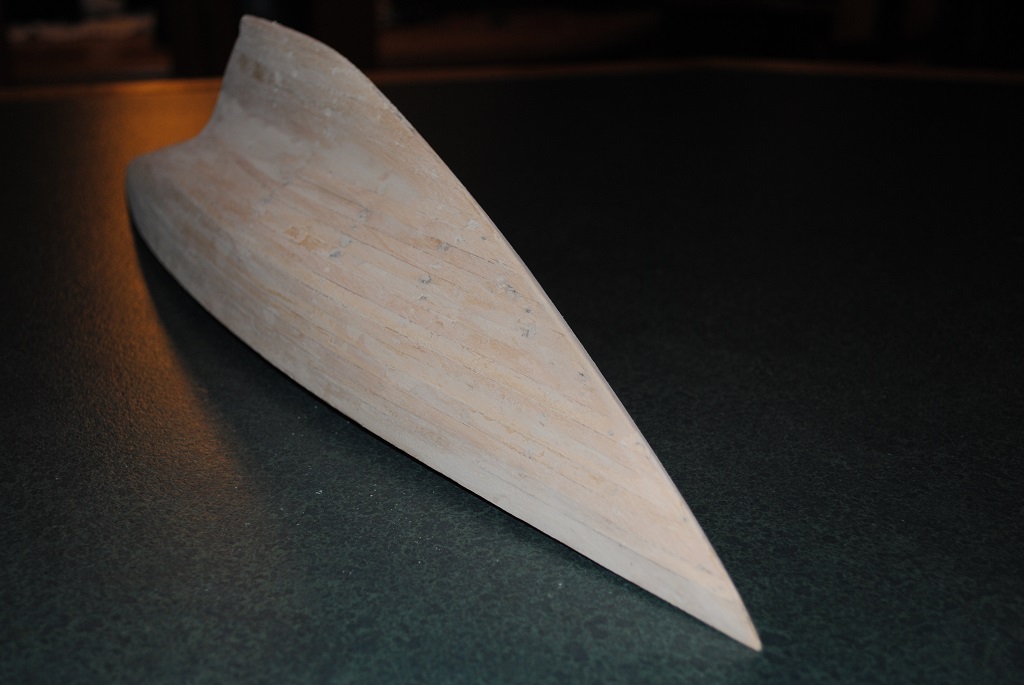
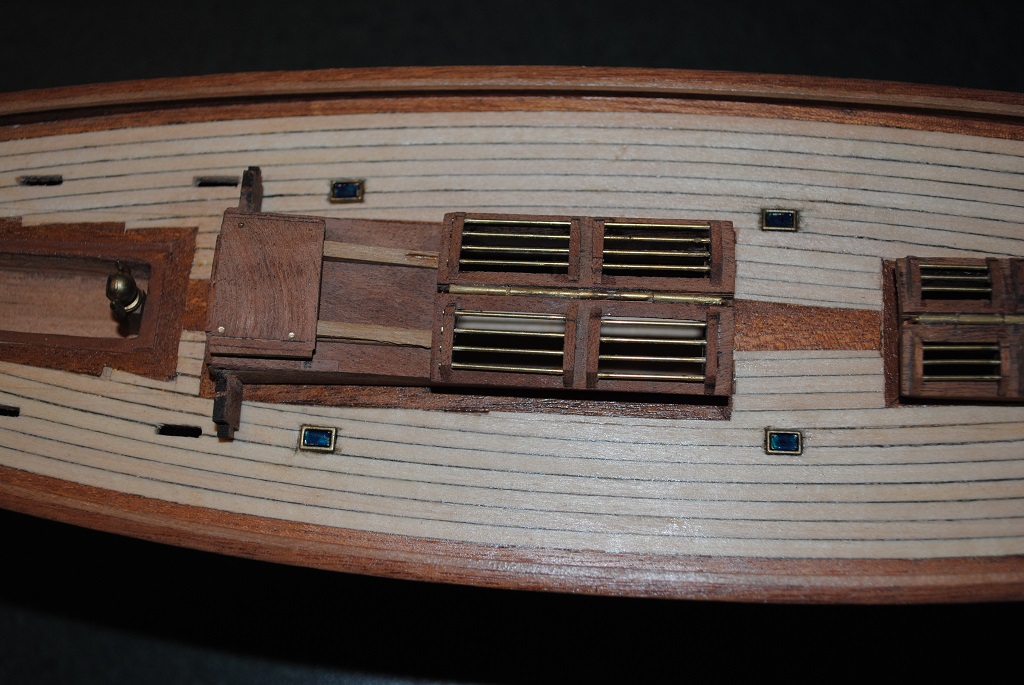
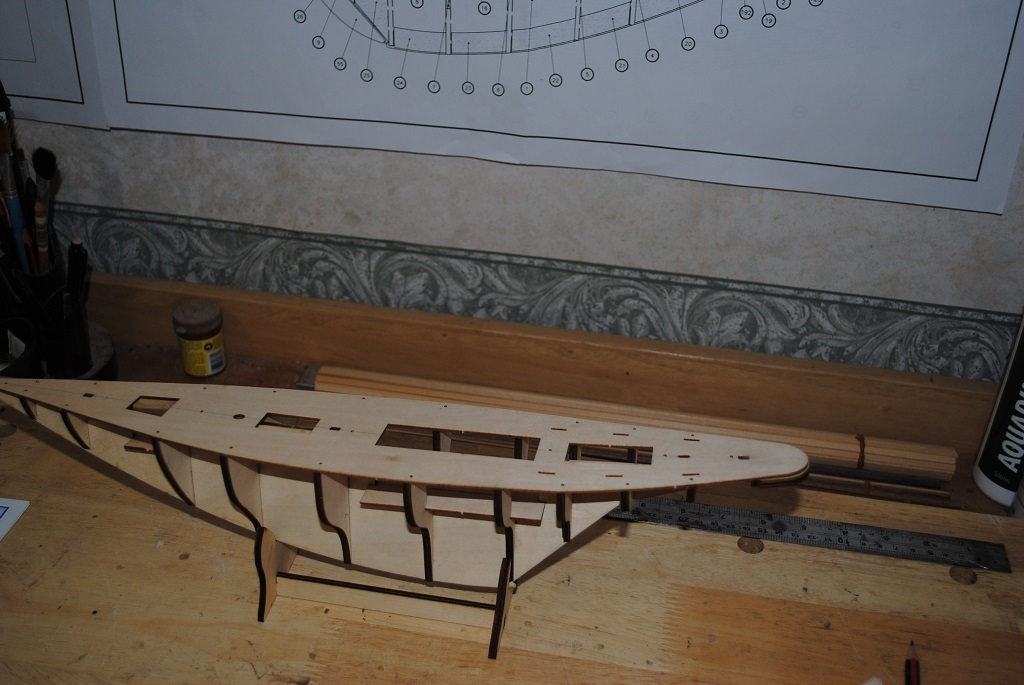
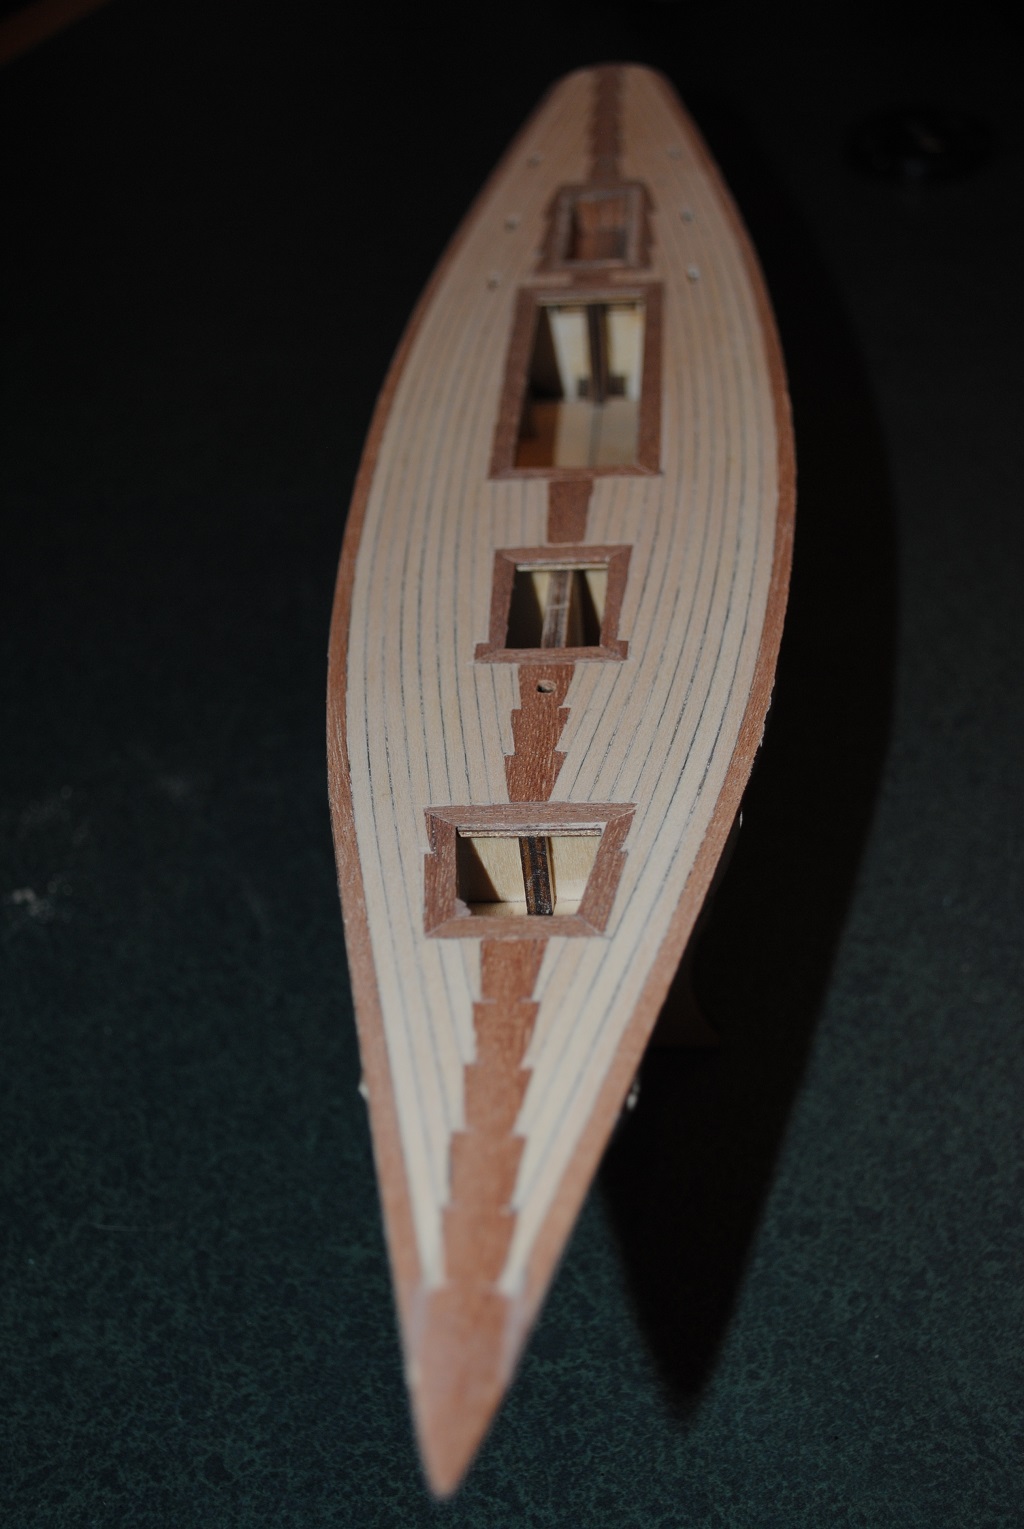
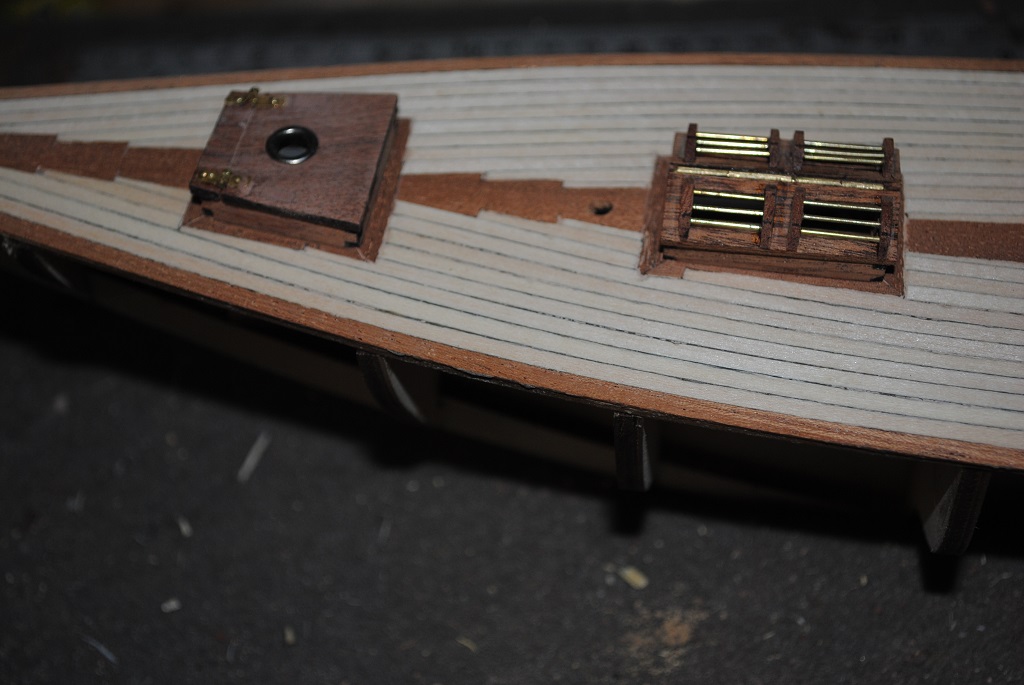
Unfortunately, I managed to delete my previous thread the other night, very clever of me. One Member, (Can't remember their "Handle"), was requesting information on the method used to perform the Deck Planking, but, I don't think that they had a chance to see my Post regarding this. Anyway, if they see this, they can ask again.... Over the next few hours, I'll post photos of the build thus far, for posterity and anyone else attempting this model.

- 70 replies
-
- 4
-
-
- pen duick
- artesania latina
- (and 1 more)
-
Apologies, Didn't pay too much attention to the Scale, just wrongly assumed, not reading properly. Cheers....HOF.
- 44 replies
-
- 4
-
-
- schnellboot s-100
- revell
- (and 2 more)
-
Hi Craig, I believe that this subject lends itself to R/C Are you contemplating this? Good to see regardless. Cheers....HOF.
- 44 replies
-
- 5
-
-
- schnellboot s-100
- revell
- (and 2 more)
-
Hi Derek, Good advice all around, was going to put in my 5 Cents worth but everyone has already said wot I was going to say, Faring/Filler/Fix. Cheers....HOF.
-
Hi Steve, Nice, clean, crisp build!! Awesome with a capital "A" (Brings back memories.) Really good "Upgrade" for an otherwise "Down Graded" A/L kit. I have enjoyed being on the Journey, thank you. Looking forward to see what you do with a Cabinet for this. I guess it's time to get back to the Bounty? Cheers....HOF.
- 130 replies
-
- 1
-
-
- mare nostrum
- artesania latina
- (and 1 more)