HOLIDAY DONATION DRIVE - SUPPORT MSW - DO YOUR PART TO KEEP THIS GREAT FORUM GOING!
×


hof00
-
Posts
1,642 -
Joined
-
Last visited
Content Type
Profiles
Forums
Gallery
Events
Everything posted by hof00
-
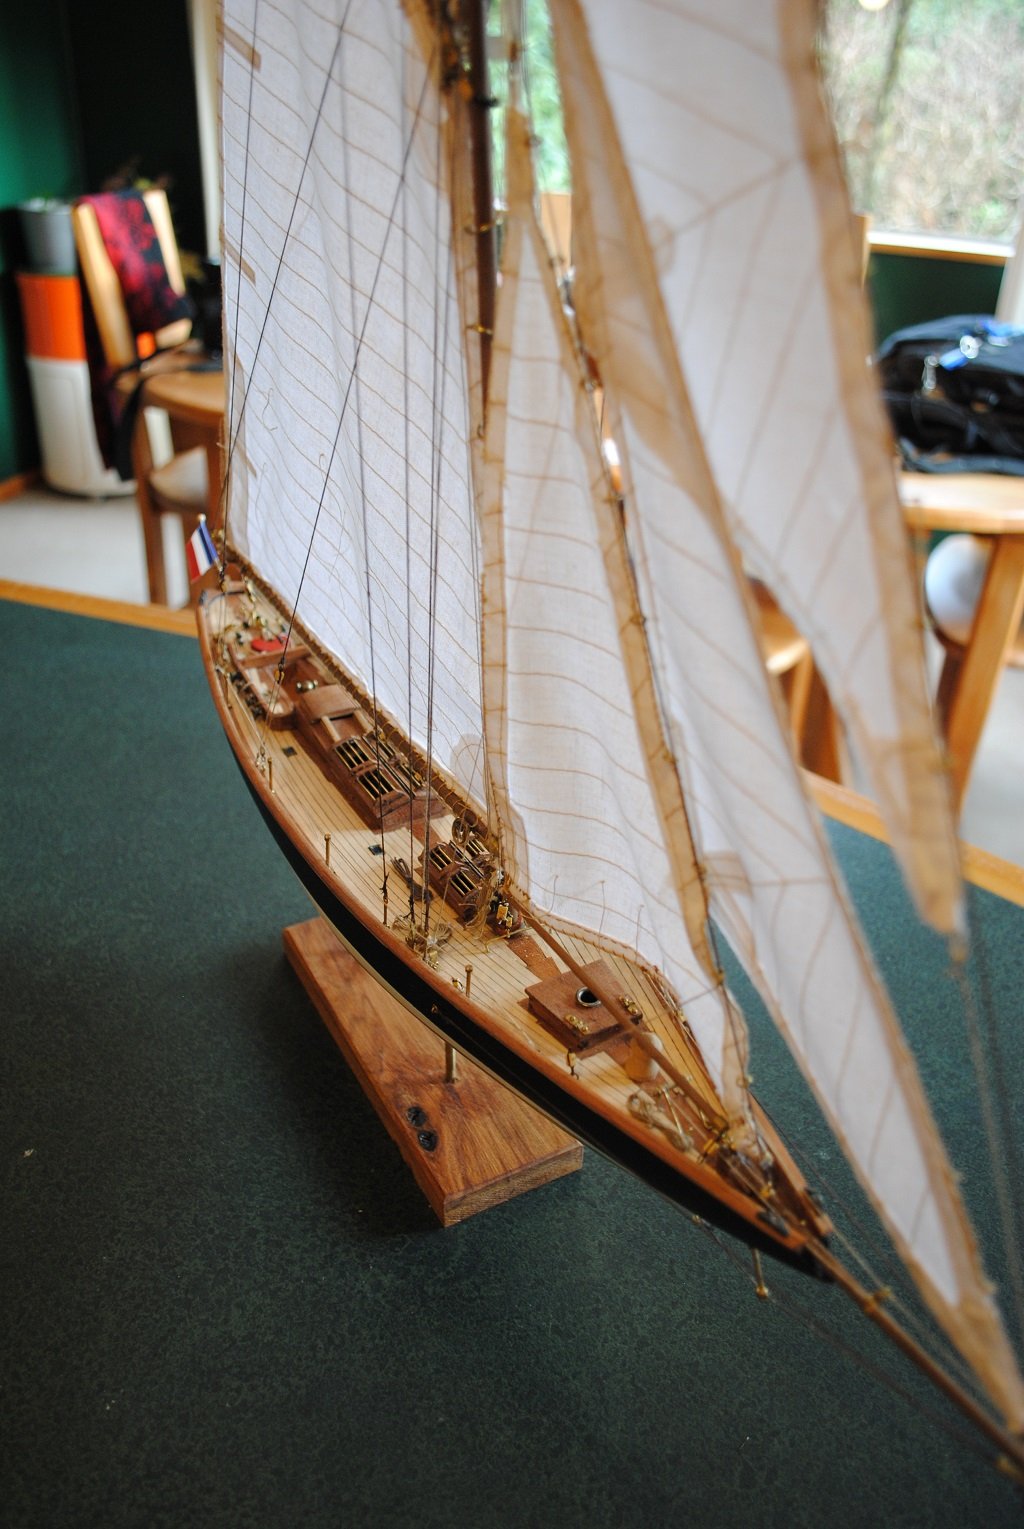
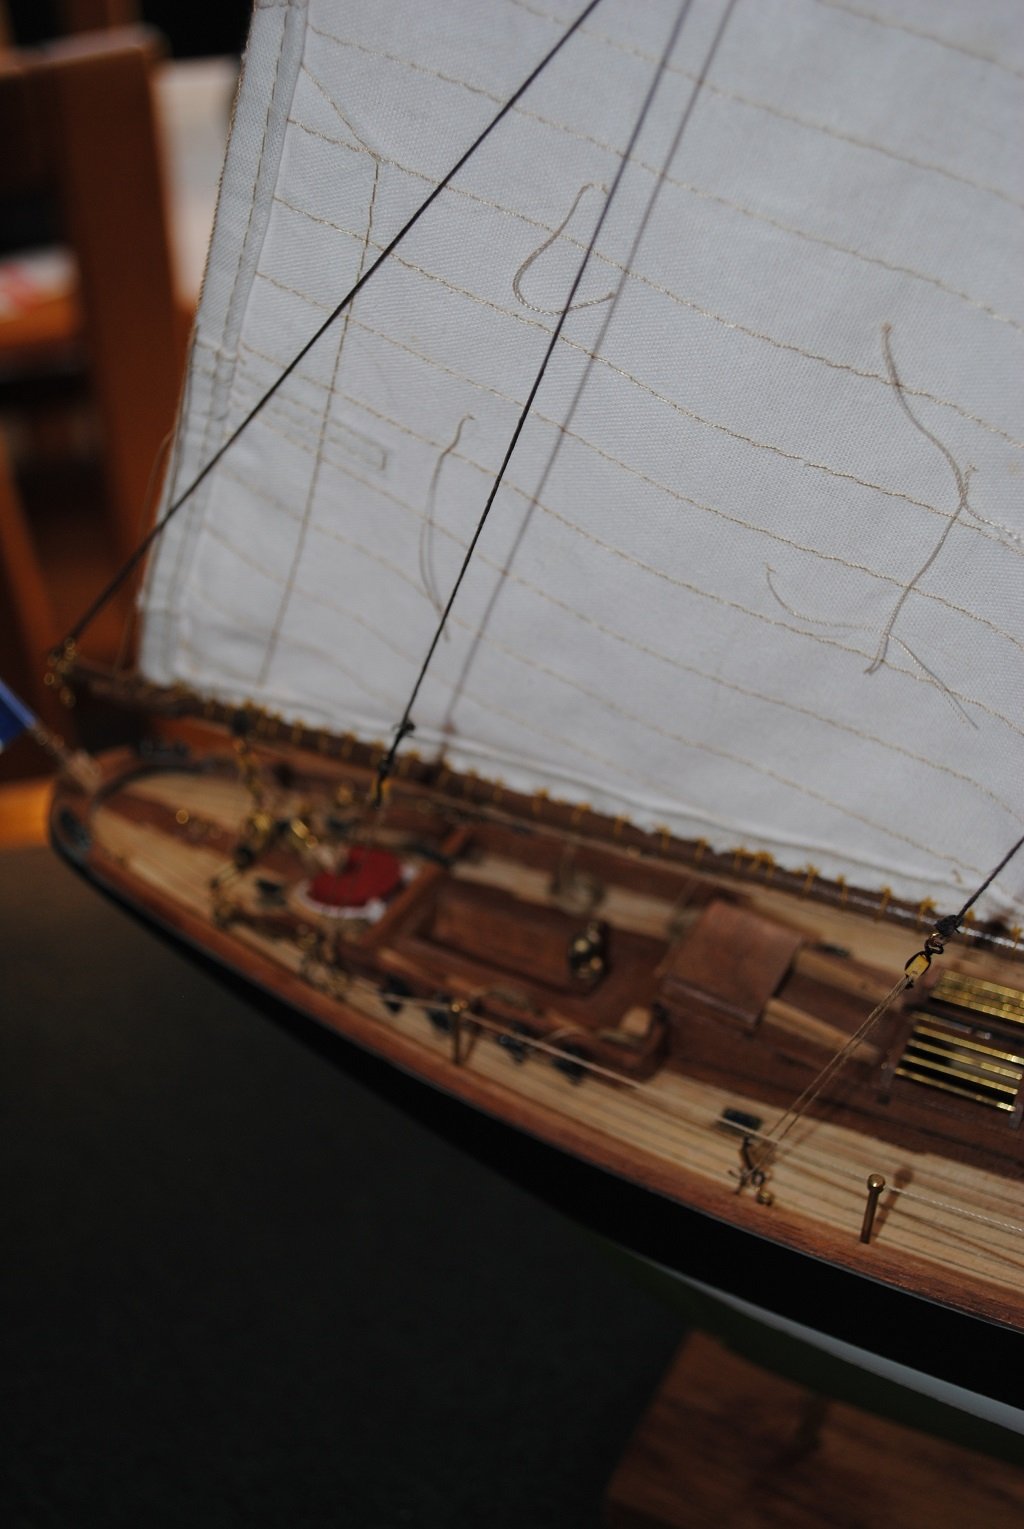
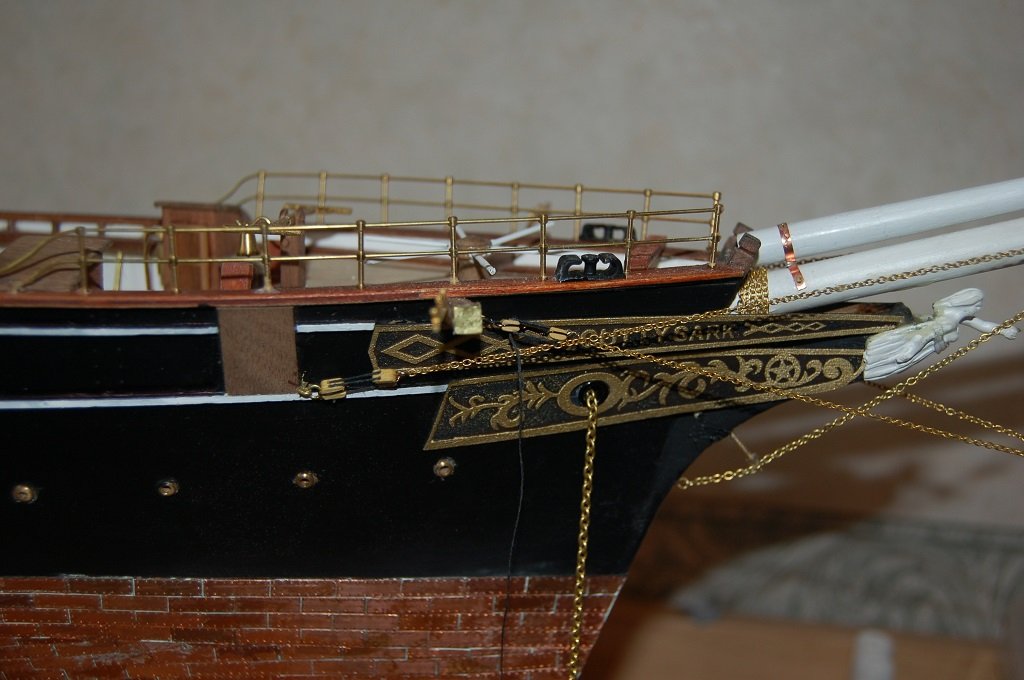
 Hi Tim, Just had a look at photos of my build, a couple here.... Hope this is of some help. Cheers....HOF.
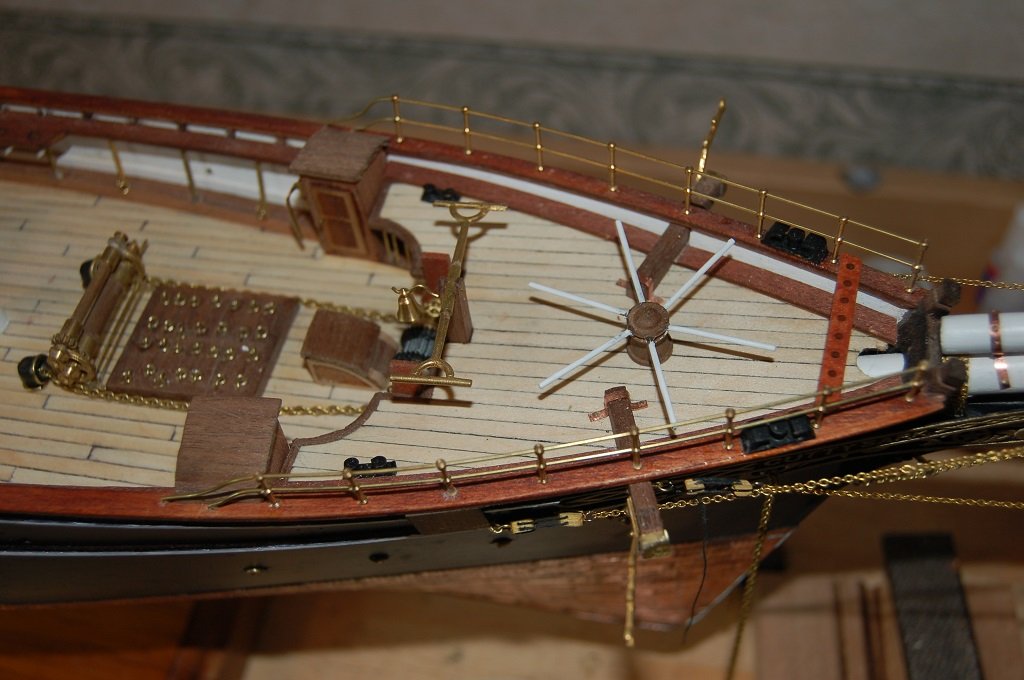
- 55 replies
-
- 4
-

-
- cutty sark
- sergal
- (and 2 more)
-
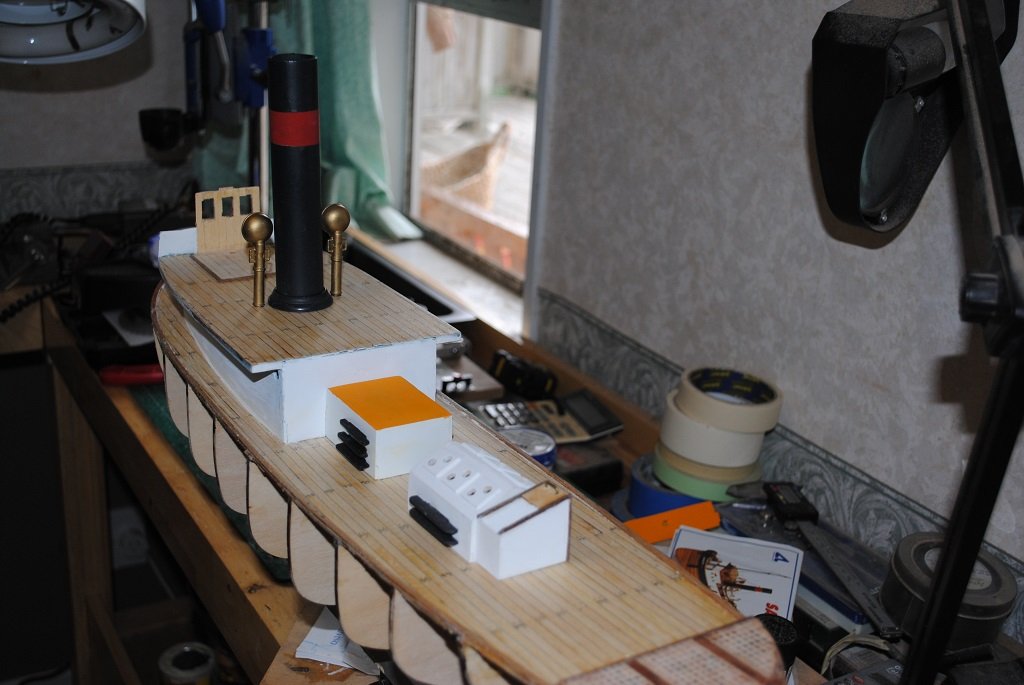
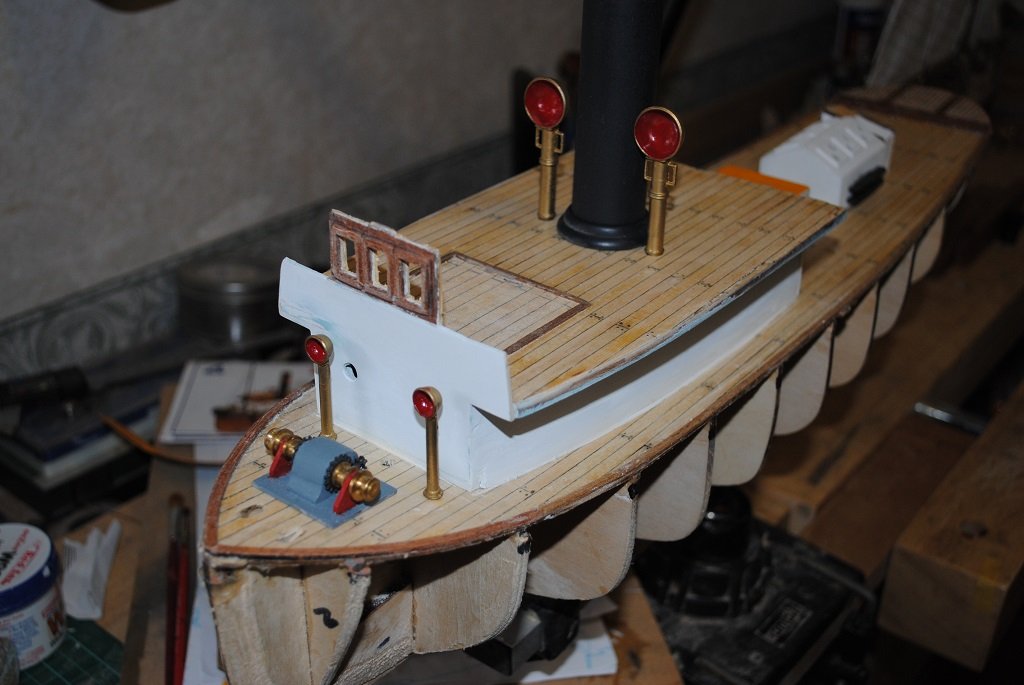
Hi All, A couple of photos of progress on the re-build thus far. So, I wanted to see how things looked, a bit of a "Mock-up" really. Ventilators were sprayed with Alclad, Polished Brass, as I'm not that wealthy that I can get these cast in Brass. (As much as I'd like to....) Still much to do but I think will be worth the effort. Cheers....HOF.
- 118 replies
-
- 3
-
-
- sanson
- artesania latina
- (and 1 more)
-
Thanks Carl/Slideways, Yup, slow and steady this time around. Lighting and a bit of extra detail will help the basic kit overall. (I'm hoping anyway ) Cheers....HOF.
-
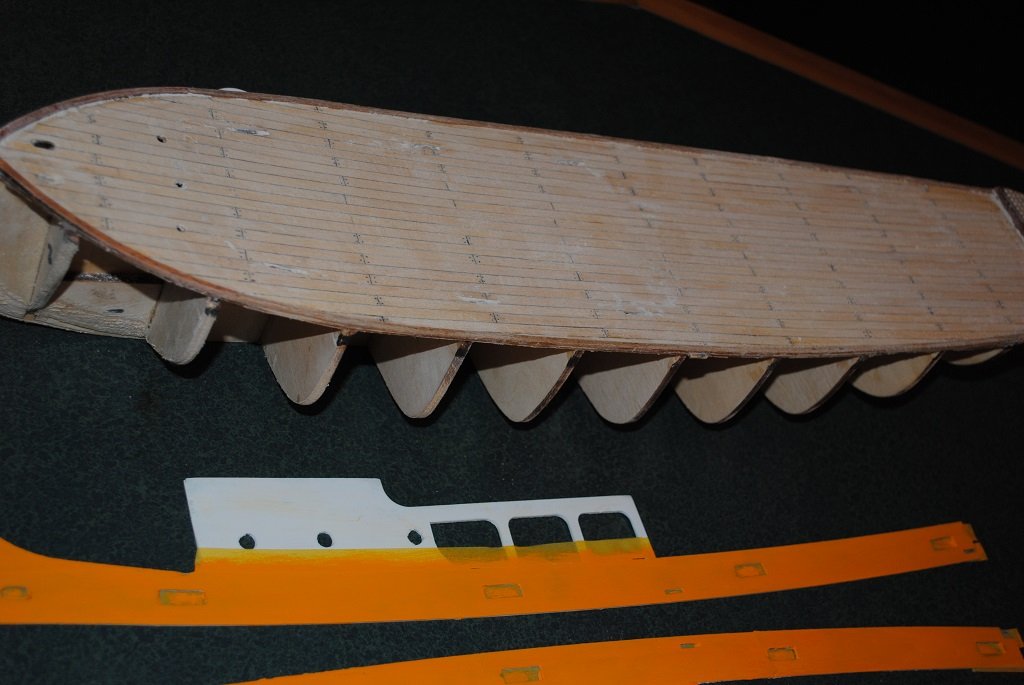
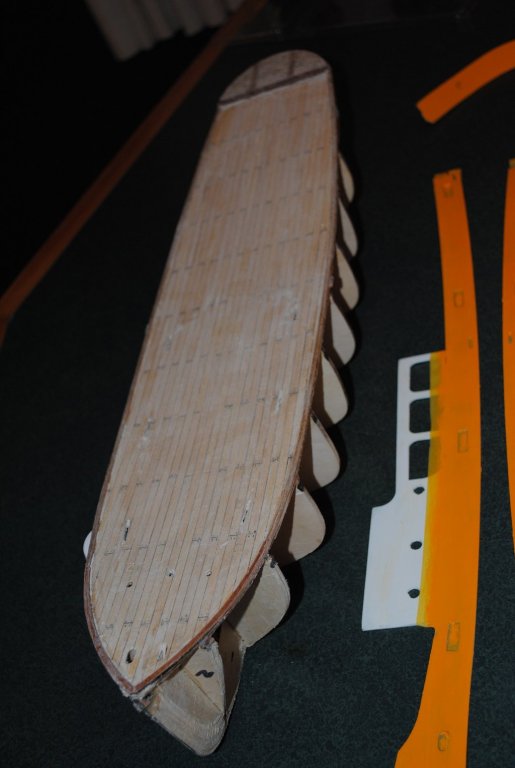
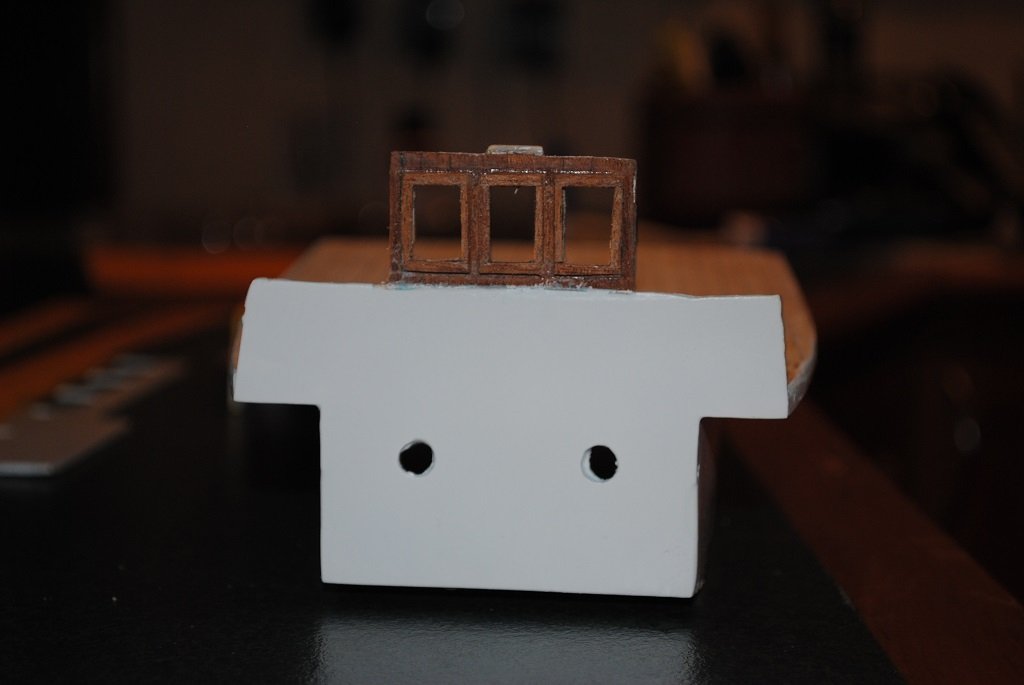
Small update, Started putting things back together after cleaning up the various components. Not too much damage, a good thing. White components sprayed with Tamiya TS 26, Inner Bulwarks Brush Painted "Atelier" Deep Yellow. (Need a thinned coat to finish) Time to start on the Wheelhouse, Interior to be Re-Planked and I'll add some internal detail, Ships Wheel, Telegraph. Lighting, Interior and Exterior to be planned. Some Photos of the "Tear Down for your viewing pleasure. Cheers....HOF.

- 118 replies
-
- 2
-
-
- sanson
- artesania latina
- (and 1 more)
-
Small update, Bought some Diodes, Green/Red/Yellow White, Veroboard, Etc. Still stripping Glue, old paint and generally tidying things up. I'll add some detail to the Wheelhouse with a Ships Wheel and a Telegraph. Pretty happy with progress at this juncture. Photos soonish....
-
Thanks Scott, This was something that I thought would be a "Quick Win" after the Cutty Sark, a Planking and Painting exercise, unfortunately, there are no quick wins in this hobby.... Patience is a virtue. So, I halted the build in 2014 and "Shelved It." (Literally) I was never happy with the input thus far so best to "Tear" it down, I feel better for it. I hate re-work but I should have done it right first time!! (Feeling "Positive") Cheers....HOF.
- 118 replies
-
- 1
-
-
- sanson
- artesania latina
- (and 1 more)
-
So, things are moving on a little, removed old Glue/s on components, sanded back and starting to re-assemble. Bulwarks tomorrow but the bulk of the tear-Down/Re-Furbish is complete. I did have Coamings around the Main Deck House, unsure if I'll re-install these. Main Deck House reassembled and will give it a "Spray" tomorrow. I'll hopefully get some photos posted tomorrow also. It is my intention to add Lighting to the interior and exterior, could someone point me in the right direction as to what the colours should be for the various lights on the Mast? Cheers....HOF.
-
O.K. Disassembled what I had already done. Not particularly happy with what I had done, or, for that matter the "Finish." So, Superstructure has gone as has everything that touched the Deck! I am pretty confident that I can rescue all the bits and have already started to gauge/think about the way to approach things in a constructive manner. The first thing is to sand back components, assemble and paint. (No Photos as yet, will Post when I have something "Positive" to share.) Cheers....HOF.
-
Thanks Chap, I think I'll probably "Re-Work" Sanson, although I am sorely tempted by the Mamoli "Flying Cloud" that I have in the closet. Good luck with the Aircraft!! (Are you going to Post it on "Shore Leave?" Cheers....HOF.
- 70 replies
-
- 3
-
-
- pen duick
- artesania latina
- (and 1 more)
-
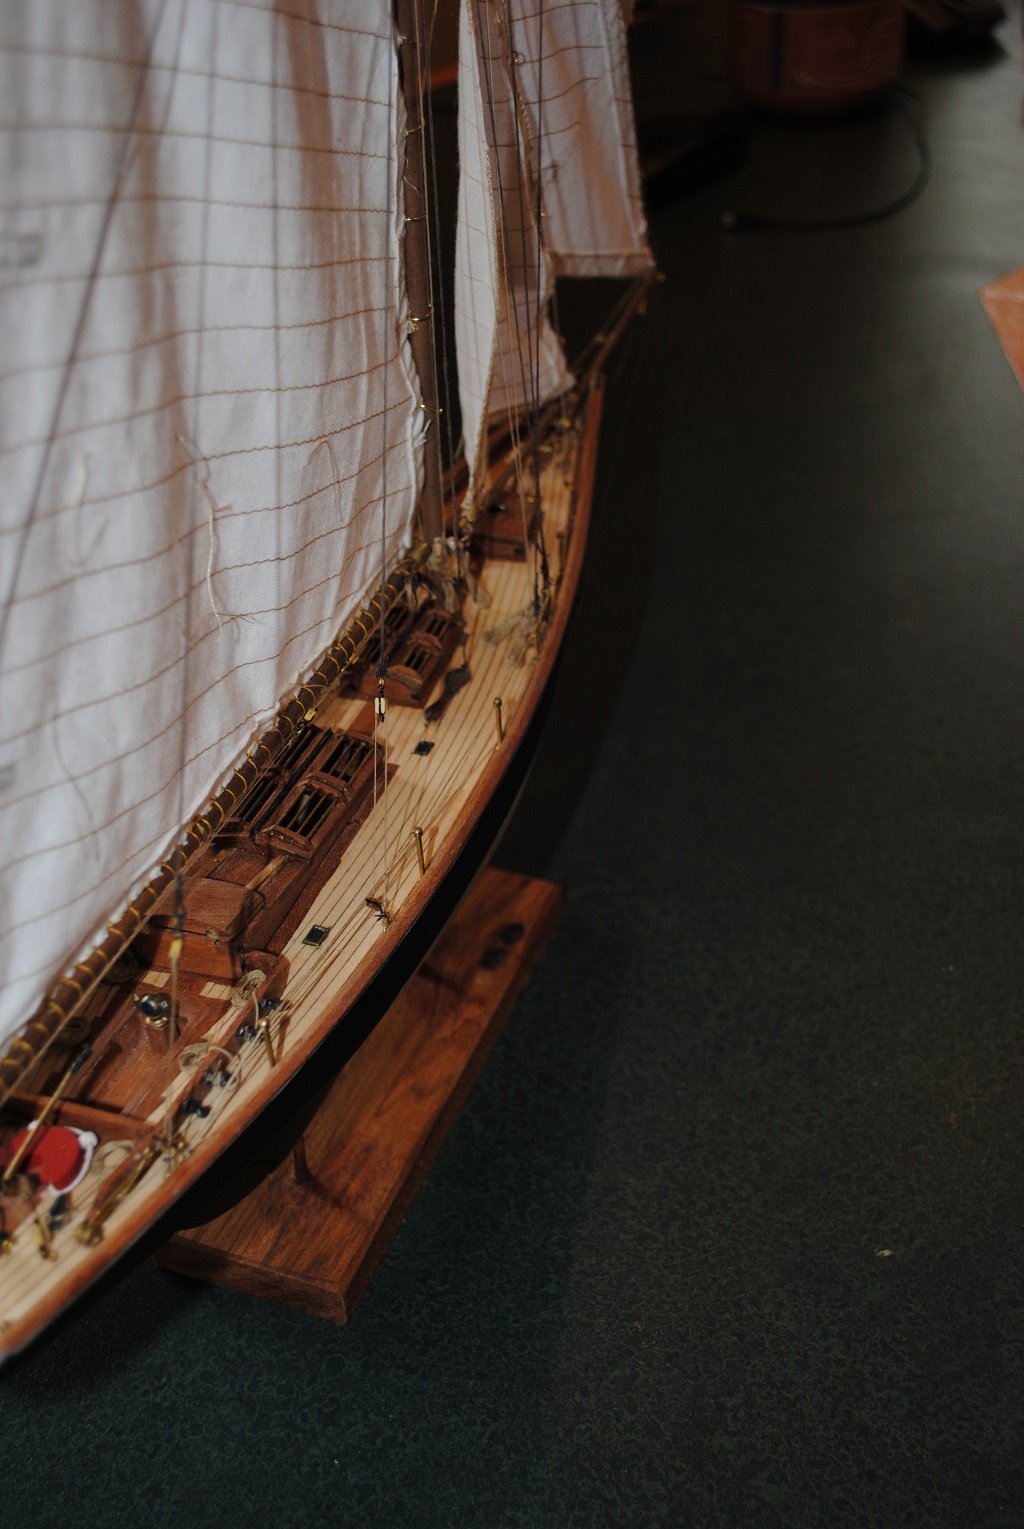
Thanks Chap. A few aspects I was not 100% happy with but I can live with it. Cheers....HOF.
- 70 replies
-
- 2
-
-
- pen duick
- artesania latina
- (and 1 more)
-
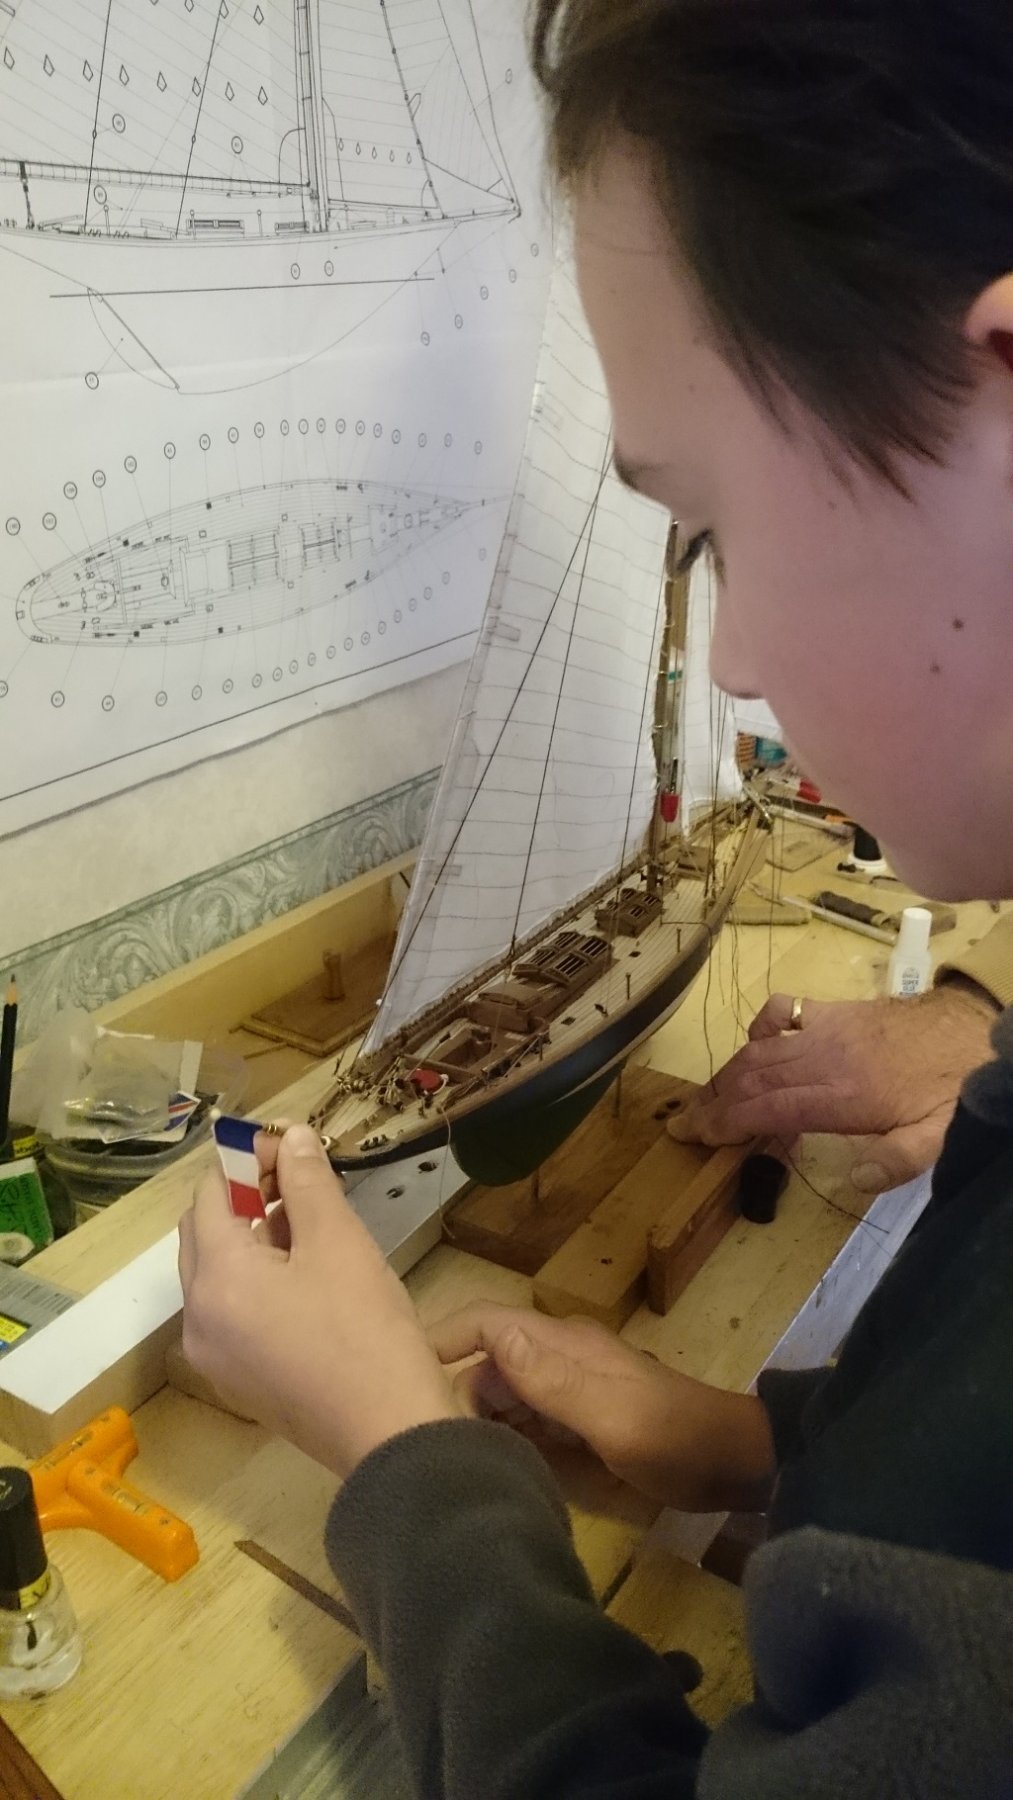
One more Photo, My Nephew Jacques placing the Tricolour....

- 70 replies
-
- 11
-
-
- pen duick
- artesania latina
- (and 1 more)
-
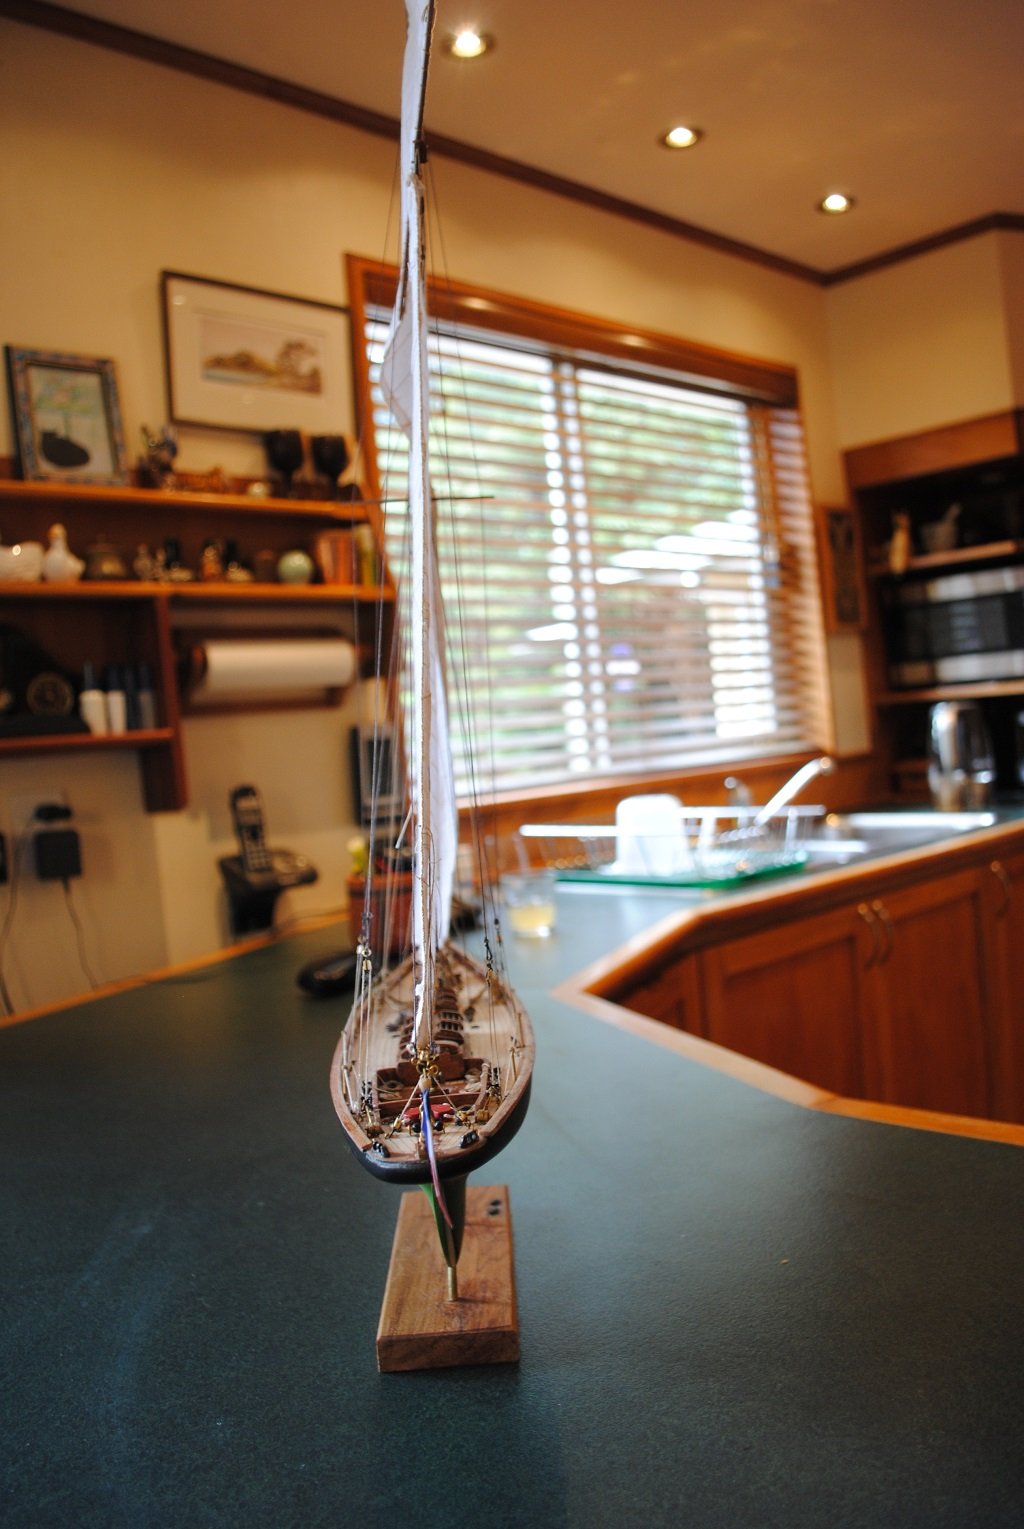
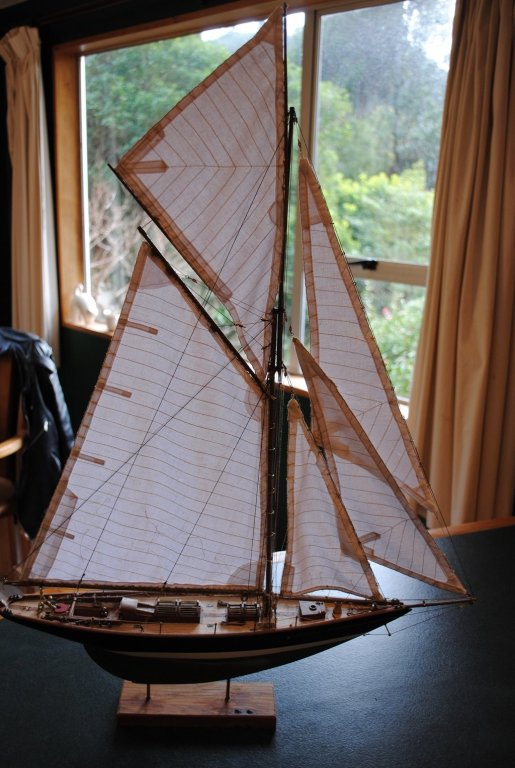
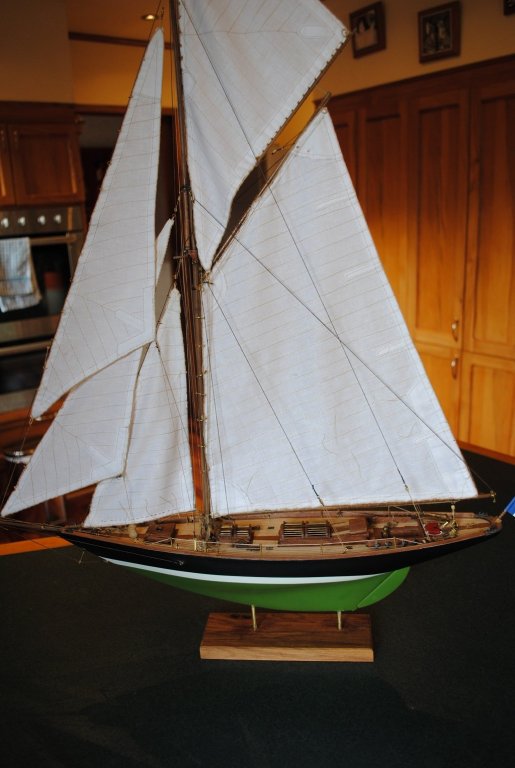
Pen Duick is now complete.... Just have to build the Cabinet now.


- 70 replies
-
- 14
-
-
- pen duick
- artesania latina
- (and 1 more)
-
Hi Chap, Nice work on the Bounty, looking 100% Interesting that you are looking to an R/C Aircraft. I used to do this a few years ago but I was a "Shocking" Pilot, so, I found Ship Modelling.... Cant "Wipe Out" a Ship Model in a Cabinet!! (You're doing things in reverse!! ) No, really, go for gold Man!! (I Look forward to your "Shore Leave" progress.) Cheers...HOF.
- 291 replies
-
- 1
-
-
- bounty
- billing boats
- (and 1 more)
-
Julie, Awesome craftsmanship!! I think your work is "Socond o None!!" NZ won the latest Cup, as you may know,,,,: Cheers....HOF.
-
Hi Chap, Have a look at the pictures in the URL that I gave to you pictures from the URL that I gave to you. Use these as a guide, you should be able to calculate joggle interval from these. On the Plan View Pictures, Stem and Stern show 5 joggles each. I just had a re-measure of mine, 12.0mm interval. The template is a very good idea!! Cheers....HOF.
- 70 replies
-
- 3
-
-
- pen duick
- artesania latina
- (and 1 more)
-
Hi Chap, I printed out the Plan View Photos of the Deck on A4, the photo of the Bow Plan view was large enough for me to more accurately judge angles, Etc. So, if you haven't got a Table Saw, do you have a Razor Saw? you could use this and support the Mahogany on some suitable "Scrap" wood? In my Kit, there was enough Mahogany to allow an error or two, I learnt a bit too. (Its just the "Cross Grain" cuts, "With the Grain," no issues as long as you are using a new Blade.) Cheers....HOF.
- 70 replies
-
- 3
-
-
- pen duick
- artesania latina
- (and 1 more)
-
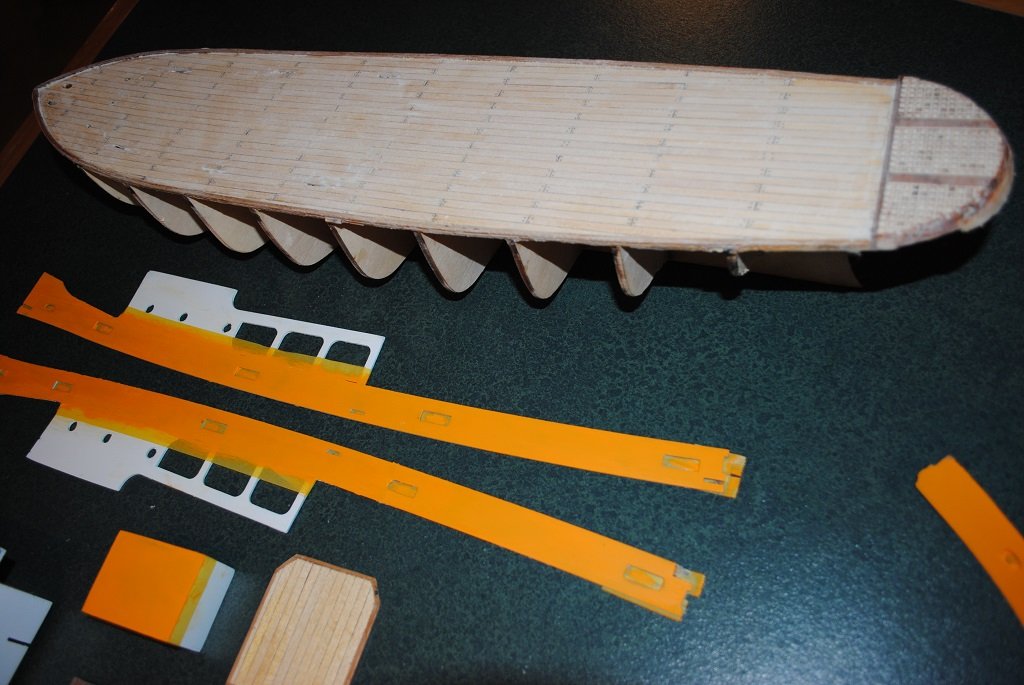
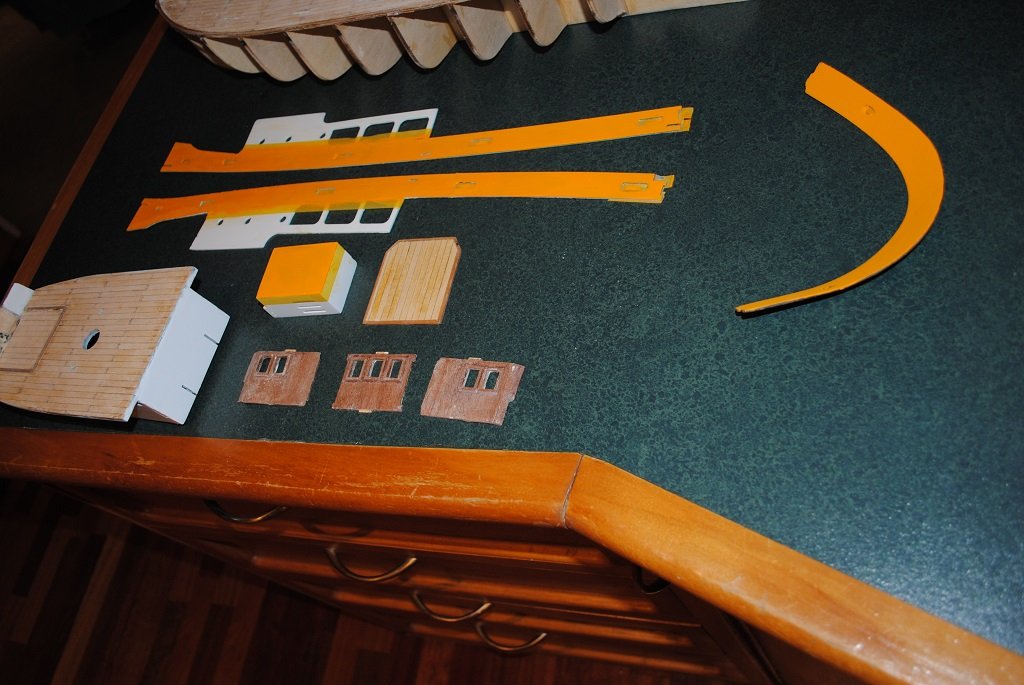
Yup, A push of the wrong button.... Anyway, here you go: Pen Duick Deck procedure, (For me anyway), as follows, probably easier to give you the "Full Monty" version. (I had the same question ) I started with a Margin Plank, I had some 1.0 X 3.0 mm Mahogany strip lying around, I guess you could use the Basswood that the Kit provides, just personal choice, I used the "Micromark" planking Clamps to hold the curve. (Make sure the Margin is perfectly flush with the outside of the False Deck as all subsequent Planking follows this and gives symmetry both Left and Right.) For the King Plank, this is 15mm? (Cant Recall.) Anyway, King plank cut to length, C/L drawn on, my Joggle interval was about 15.0mm along the C/L from the termination of the Margin Plank. (I guess that it's dependent on you deck planks, anyway, it should just flow after the first couple.) Vertical cuts about 2.0mm each side of the King plank and tapered back to the Apex of the next Joggle, about 80', if that makes sense. (A bit of trial and error here, keep in mind how long each segment of the King Plank is and how many Deck Planks are Joggled in to each.) Planking laid from the Outside In and slightly tapered where it meets the "Joggle." (Caulking is Pencil rubbed on both sides of each Plank.) (The Mahogany used for this is very brittle, all cross cuts were made with my Proxxon Table Saw, cutting with the Grain, "Super" sharp Scalpel.) Note: The Mahogany is very brittle "Period", very easy to fracture the Deck House/Skylight components!! Don't forget the Centre Line on the False Deck!! Have a look at the below URL. I printed these out, (A4), to assist with calculations/guesstimates ) http://5500.forumactif.org/t1271p50-pen-duick-d-artesania-latina
- 70 replies
-
- 3
-
-
- pen duick
- artesania latina
- (and 1 more)
-
Hi CK, I possibly do. Could you elaborate a little? View from Deck or from the Hull? Cheers....HOF.
-
Thanks CK, Yup, looking at your progress also. Brings back memories!! Cheers....HOF.
-
Nice work Chap. The Deck Furniture looks great!! (Does the Steering work?) Cheers....HOF.
- 291 replies
-
- 3
-
-
- bounty
- billing boats
- (and 1 more)
-
Looks great!! Ditto the comments above. What's next?
-
Looking good!!
-
Thanks Chap,
-
Hi Chap, From my perspective, I wouldn't tear off what you have already done. This is double Planked, Yes? If it were me, I'd continue with what you are doing, make it a learning experience.... If you end up with "Longitudinal" gaps between adjacent planks, you don't have to rely on Filler alone but you can cut material to fit the gaps. Once the first cover is done, Fill/Sand and try to make the second cover as good as possible. (This is what I went through also with my BN II, if any consolation.... ) I found also, that it was best to move on and "Make Good" rather to "Tear Down" and try to make perfect. "Perfect" will come with time, at least, that's what I tell myself. Cheers....HOF.