Piet
-
Posts
3,568 -
Joined
-
Last visited
Content Type
Profiles
Forums
Gallery
Events
Everything posted by Piet
-
 Just caught up with your marvelous work Mobbsie. Terrific looking hull and deck. Cheers,
- 129 replies
-
- 5
-

-
- armed launch
- panart
- (and 1 more)
-
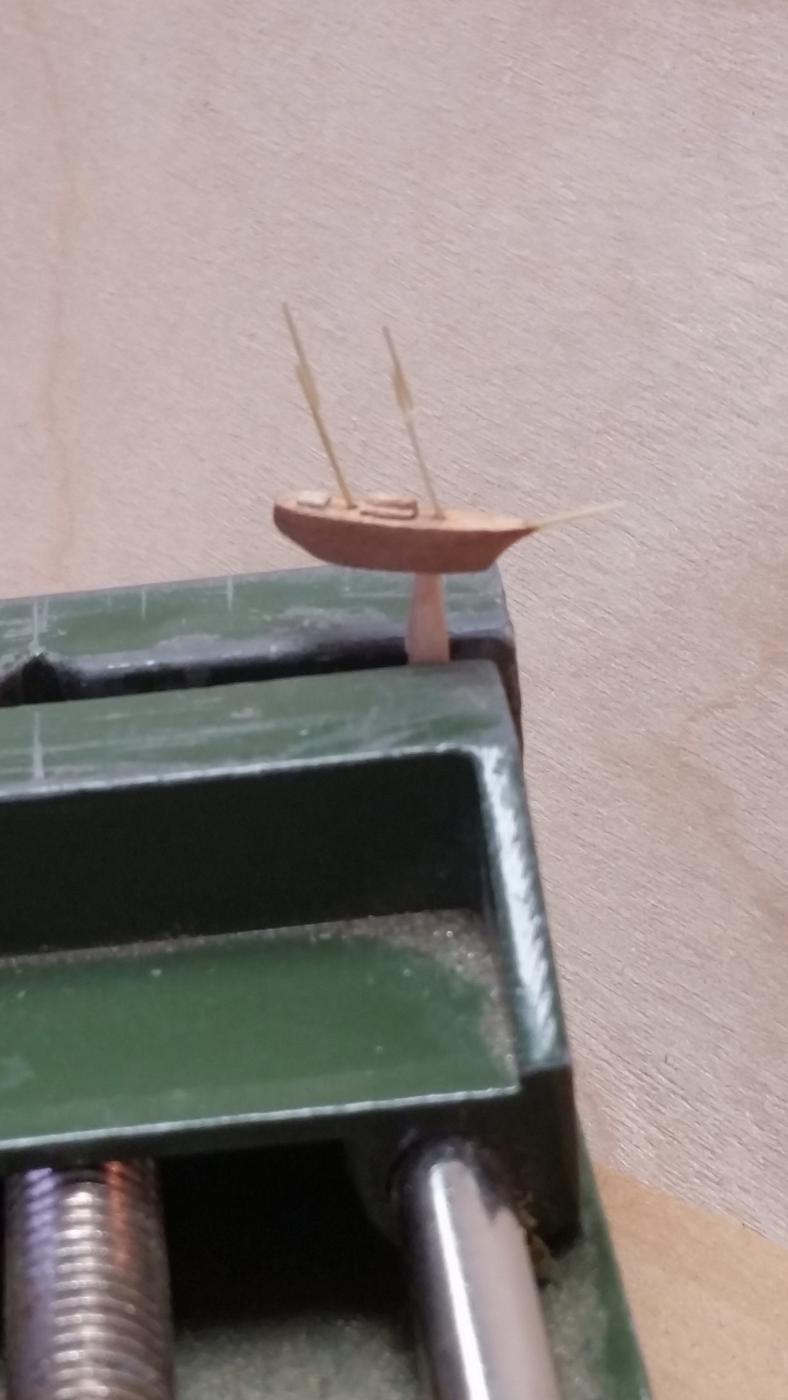
Thanks Patrick for enjoying my struggles with this project. It sure didn't start out very well but better things are coming I left off with a new hull in the previous post, version 2.0. So far I like it and continued with adding the deck houses and lower masts and bowsprit. This time I used bamboo. This worked out much better and more to scale. They measure 0.9 mm thick. The bowsprit is permanently cemented into the bow, which allowed me to do a final shaping of the bow. I left both masts removable for convenience so I can do the final shaping of the hull and adding the ship's boat to the roof of the deck house. With the masts still off the ship I now could cement the top masts easily to the main masts. I marked the location where the lower part of top mast should be on the lower masts and but a tiny drop of CA on the lower part of the top mast, then wiped off some of the CA with my finger and quickly attached the top mast to the lower mast. This worked great, I had no appreciable CA showing. It's looking much better then version 1.0, I think. I am extremely fortunate still having very steady hands which helps me tremendously with this delicate project, so far so good. Next steps will be the trestle trees and the rest of the round work. This shows the schooner with bowsprit and deck houses. Both lower masts temporarily placed in their mounting holes. Masts temporarily removed in order to mount the ship's boat on top of the forward deck house and cementing the top masts to the lower masts. Here we see the top masts cemented onto the lower masts. Cheers,


- 159 replies
-
- 12
-
-
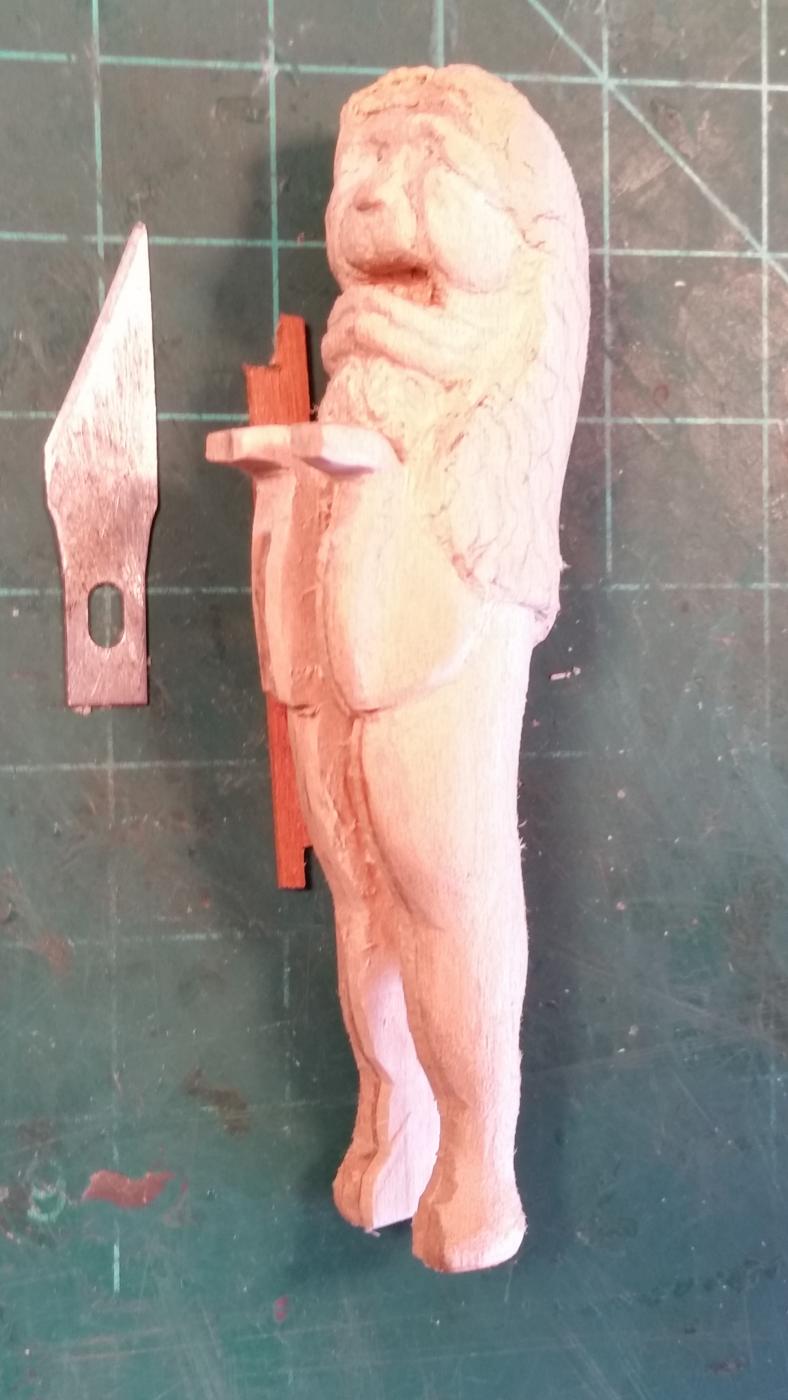
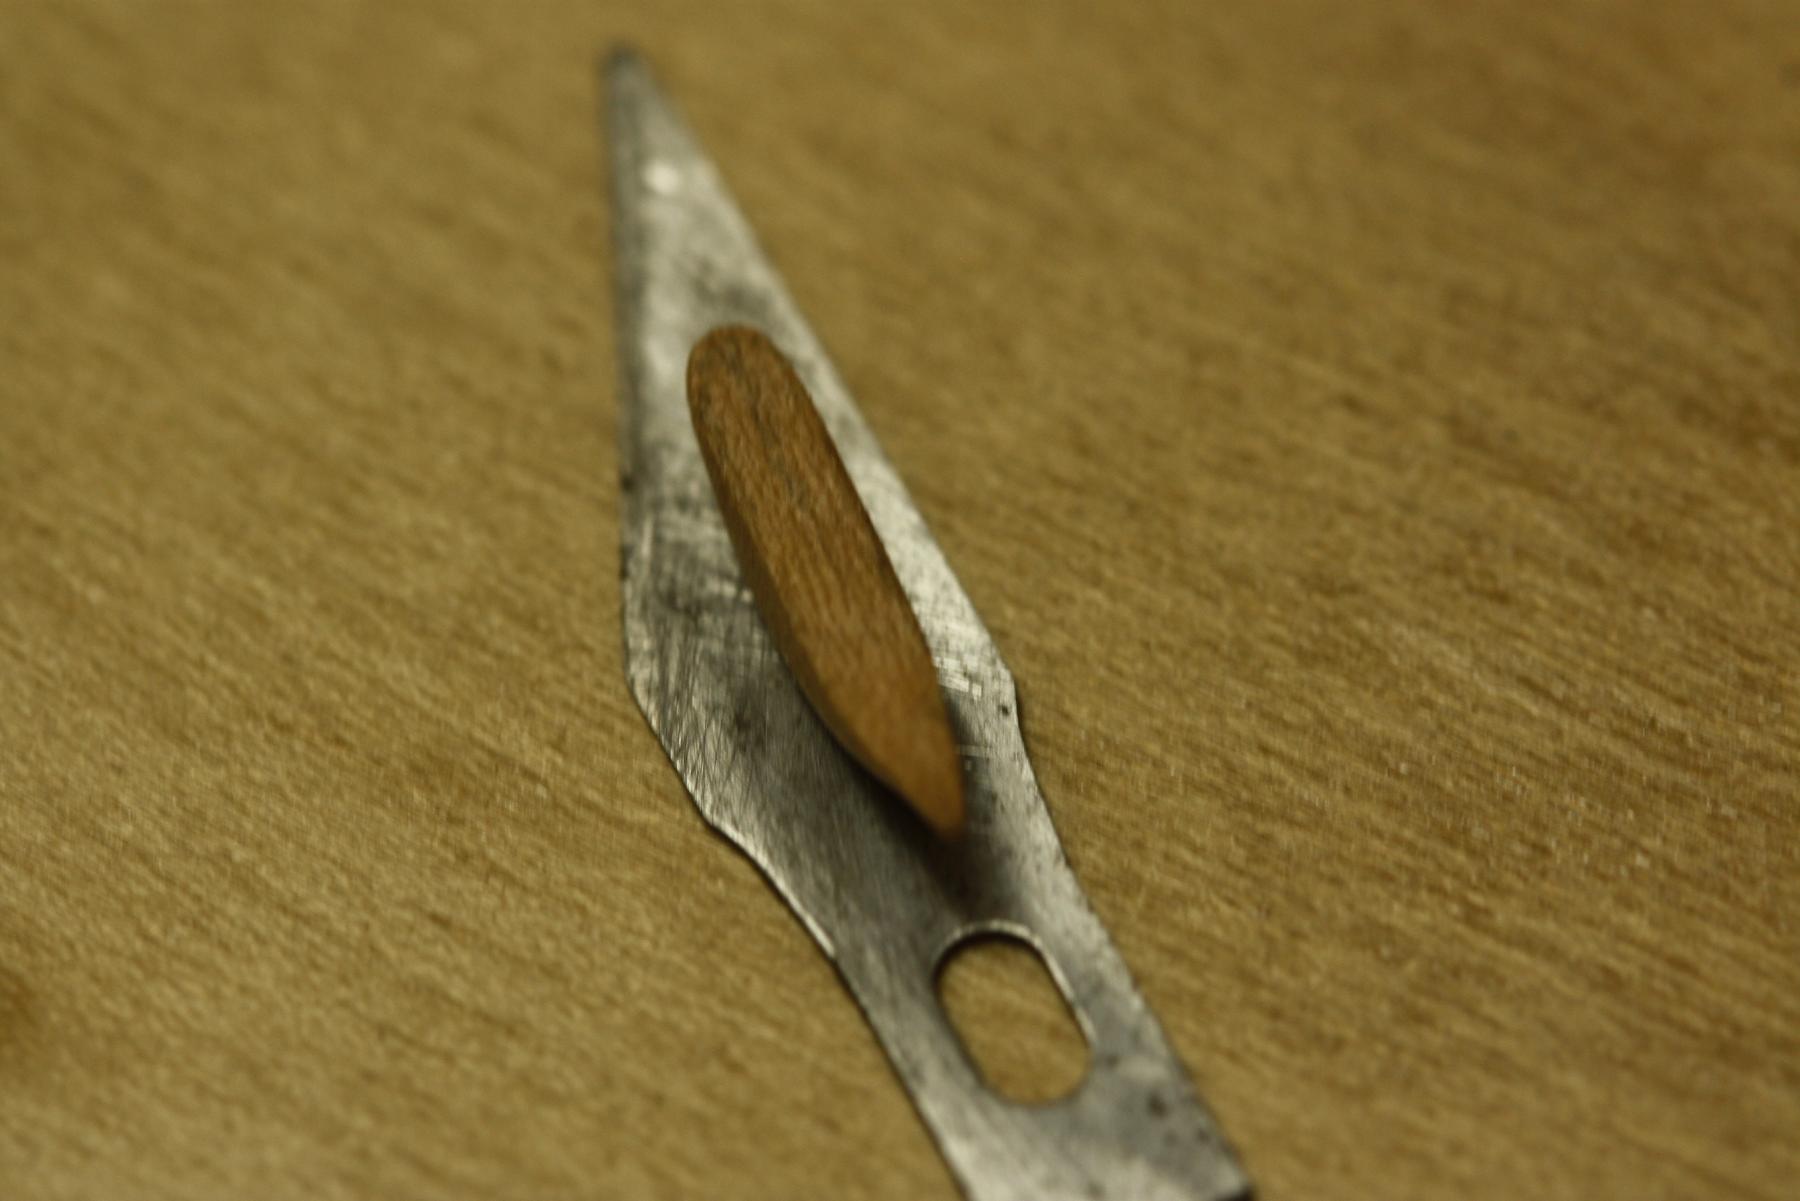
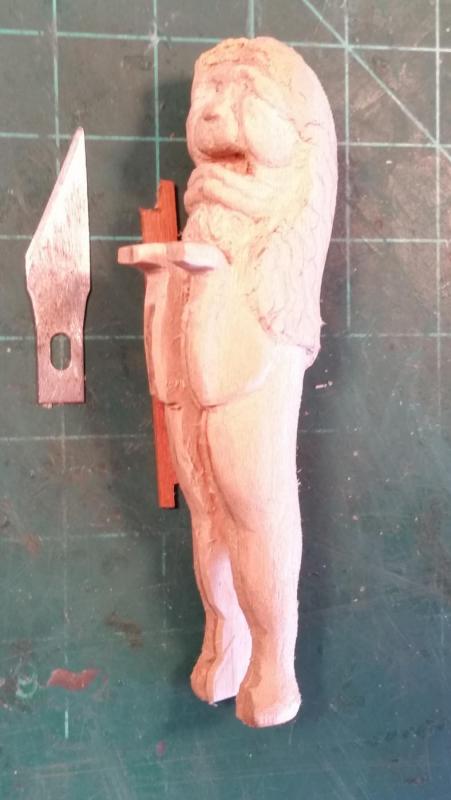
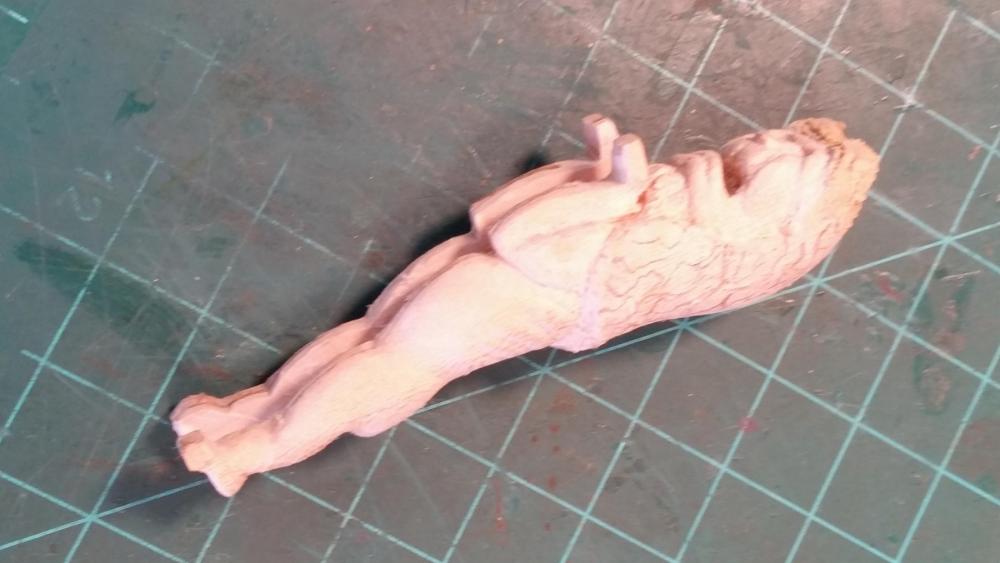
Thank you Sjors and Kees for dropping in and your encouraging words, it's much appreciated. Yes, I keep in plugging ll the lion needs is shaping and modeling, remove what doesn't belong on a lion or adding some putty that does belong. The basswood I am using for this training and practice session is really giving me a fit. The wood is not only too soft to my liking but there are harder strands running through it that cause my burs and knife to slip and dig into the soft part where I don't want it. I decided to continue using the basswood just so I get a feel of using the different tools and how the shape of the lion will be when close to completion. I may change the position the lion is featured in, don't know yet. It's been a few days now and not much has changed. I have been very busy with other - - umm - - more pressing projects - so not much time at the bench. I do sneak in an hour here and there but that doesn't give me much time for some real progress. I'll post a few pics I took yesterday but unfortunately some of the details are washed out, like a few ribs on the one side. Yup, it's still very rough but hopefully I can make some time and finish it in the few days or week. This was taken yesterday morning from where I left it Tuesday evening. I had been working on the head, which still needs more modeling. This was taken yesterday morning before lunch. Here I have been working on the legs. The ribs I managed to "carve" into the side are barely visible but they do look okay. I plan to add a tongue and teeth, of course and nails for the claws. Cheers,
-
Oh yes, that deck shot is just marvelous, simply marvelous. Dead-eyes lined up nicely and the deck looks weathered, great job Nenad.
- 4,152 replies
-
- 7
-
-
- cutty sark
- tehnodidakta
- (and 1 more)
-
Hey JesseLee, I'll echo Jason's advice, don't get discouraged now and that after you have done such an outstanding job in hand-making those carronades. If the final paint job looks a little rough try to twirl them in some fine sandpaper, like 360 grit or so. Then put another coat or two of thinned enamel. Actually, a little roughness to the finish may simulate cast iron and once on the ship it should look just fine. On the photo they look quite nice, great job so far. Cheers,
- 1,306 replies
-
- 9
-
-
- syren
- model shipways
- (and 1 more)
-
Lovely work Nenad and a great touch with that video. Cheers,
- 4,152 replies
-
- 5
-
-
- cutty sark
- tehnodidakta
- (and 1 more)
-
Great progress and very nice work. Cheers,
- 2,625 replies
-
- 5
-
-
- kaiser wilhelm der grosse
- passenger steamer
- (and 1 more)
-
Thanks to all for your likes and yes, Nenad - - planking. The deck planking is from maple and hull planking from cherry. The deck planks will be 10 X 2 X 180 inches. At the scale of 1:2000 that works out to about 0.12 X 0.03 X 2.3 mm I am using the same measurements for the hull planking, except for the thickness, they'll be 0.04 mm. Most of the planks have already been cut and are waiting to be nailed to the hull. The future sawmill on sight will have tree trunks ready to be cut into frames, beams and planks. There'll be plenty of that stuff laying around. That's the reason for not being able to run my cooling fan in the garage or having any draft with the doors open. I hope all y'all understand that I am really not going to plank the ship, she'll be a solid hull model but the shipyard must show stacks of planks just for show However, there'll be a surprice in the offing as we reach a certain point in this project, so stay tuned The sail beams and gaffs are 0.2 mm at the mast end. You should now also see that to make the booms and gaffs at true scale they'll be unmanageable, less then 0.1 mm. So my compromise to 0.2 mm looks acceptable. To clarify my CA predicament a little more - even with the tiniest drop of CA on the end of a boom or gaff the drop is still larger then the wood. I wont go into my fix method here but will tell all yuns when I get to that part of the build. It was a rather simple solution but it worked. In trying to stay is scale as much as possible you can also see that the rigging lines must be extremely thin. A three inch diameter stay will then be 0.04 mm. The running rigging will have to be human hair and no, I am not putting running rigging on, just the standing rigging. The round work and rigging lines have been my greatest challenge, so far. And Igor, can you now see what I am up against with the rigging? Cheers,
-
Willem Barentsz by ceestoorn - FINISHED
Piet replied to ceestoorn's topic in - Build logs for subjects built 1501 - 1750
That's a marvelous piece of work Cees, especially the sails. Cheers, -
ancre La Salamandre by tadheus - 1:24
Piet replied to tadheus's topic in - Build logs for subjects built 1751 - 1800
Beautiful work Pawel, just outstanding! Cheers, -
Thanks Mark, Igor and Mobbsie for stopping buy and your comments. Also my thanks to all who clicked the like button. Yes Mark, I have used the very thing CA for it. In version 2.0 I am using a different technique and it looks much better. Yuns just have to wait till we get to those steps. Acetone may work to thin it out even more and nail polish is not strong enough. Thanks Igor for showing your spools of thread and the tiny model. Your work was one of the triggers for my effort. Yes, the three spools I have look similar but when we reduce the size of a 90 or 95 foot ship to 7 mm then the thinnest of threads available is still outside my scale. I really have no choice but to untwist the thread end use only a few of the individual strands. With version 2.0 I have solved the problem with the rigging thread and I will show all of you following this craze build how I have done it. Actually, I have checked one strand of my hair and one of Gwen's. Her hair is slightly thicker then mine and that's the size I need! No, I didn't use her hair but found something else, just wait and see. Patience, patience, patience Hey Mobbsie, good seeing you here, welcome. What do you think I am using, scrap pieces from my extensive scrap pile. Just think how big a 4 X 10 inch beam is at scale 1:2000. I can't run my fan in the garage to keep me cool otherwise all my parts blow away. No kidding, I sneezed one time and a bunch of deck and hull planking blew away. Yup, planking! Hey, I need all the luck I can get and all of yuns input. Cheers,
-
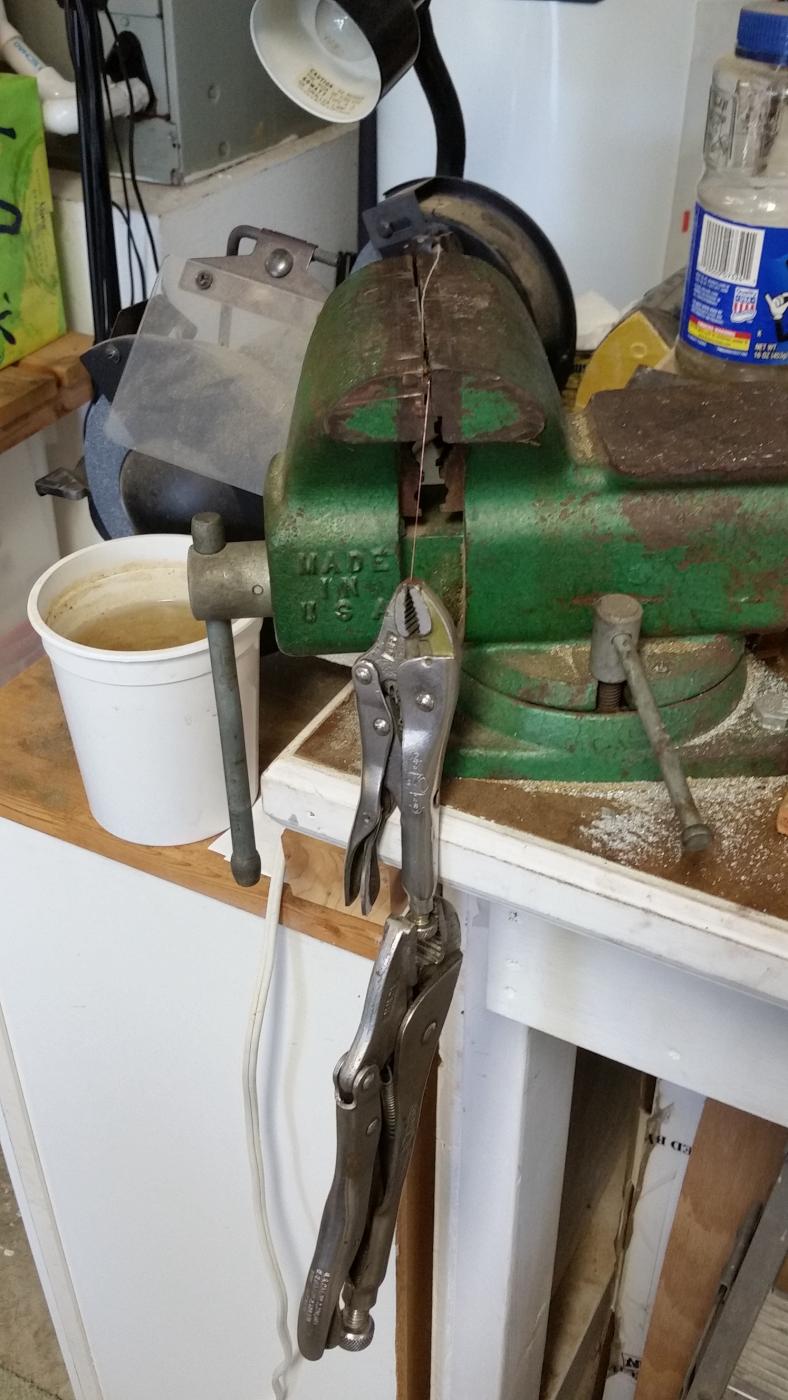
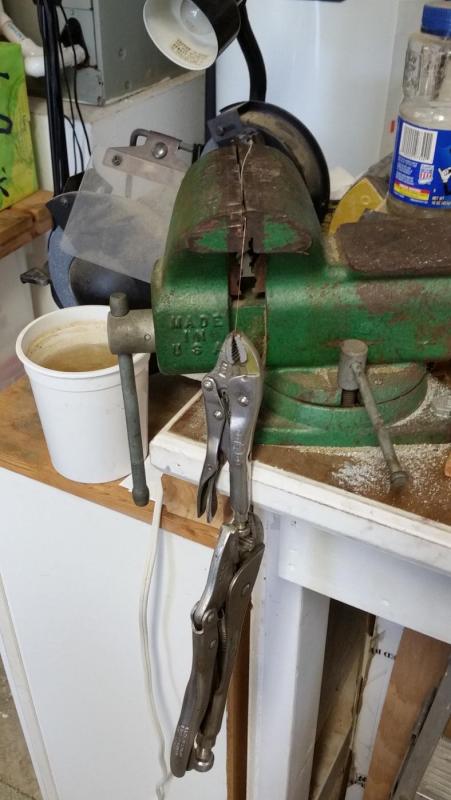
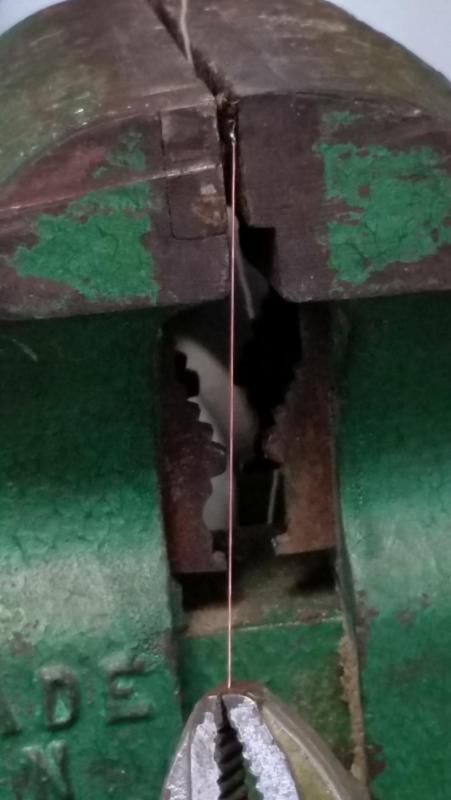
Fantastic looking row of dead eyes Nenad. I deleted two paragraphs to my message yesterday regarding Carl's comment on using 2 each 0.1 mm copper wires twisted together for your dead eyes. Reason being that I didn't run a test myself but made an educated assumption on the 0.1 mm wire. I meant it be for general information in case someone wants to use it, or even you Nenad. I am also a certificated metallurgist, a little rusty right now but still know enough. In any case, I stated that the 0.1 mm copper wire could easily take the strain of the rigging and certainly 2 of them twisted together. I first twisted two two of the 0.1 copper wires together and they measured 0.5 mm! Conclusion? Use your 0.5 mm wire, case closed. Okay, now I wanted to know whether my educated guess was correct. I ran one strand through a 2 mm single pulley block I had made for my VOC ship, twisted the ends together and spot-soldered it close to the pulley. The twist length was only 2 mm. I put the pulley in my vice and clipped two vice grips to the other end. The weight of the vice grips is 1.5 US pounds or 0.68 kg. I even tugged on it and the wire held. The point is that yes indeed, 0.1 mm copper wire is strong enough. The next question is the holding power of the cement used to cement the wire into the deck. I don't think there is an issue with using CA to cement the wire at the dead eye end. A double or triple twist-end can be made where it goes into the deck for better holding power. Having said all this your decision to use the 0.5 copper wire is the right decision for you. Copper wire at that small size is rather delicate and can't stand much abuse. I would use 0.1 or 0.2 brass wire for the added strength. If you can't get brass wire then again, your decision is the right one. Here are two pics I took this morning of my test as proof of what I am telling you. Sorry to hijack your log but let's look at it as an educational dissertation This shows the test setup with two vice grips clamped to the end of one single 0.1 mm copper wire. This is a close-up of the small pulley in the vice with the copper wire attached to it. Cheers,
- 4,152 replies
-
- 9
-
-
- cutty sark
- tehnodidakta
- (and 1 more)
-
Great work Nils on that very intricate work and nice save on the shrouds. Cheers,
- 2,625 replies
-
- 5
-
-
- kaiser wilhelm der grosse
- passenger steamer
- (and 1 more)
-
Very nice work Mark. As I mentioned some time ago, I love the French flair for the artistic look and you are surely following in that direction. Cheers,
-
Nice work JesseLee and very inventive. Really admire your perseverance in solving these little set-backs. Cheers,
- 1,306 replies
-
- 4
-
-
- syren
- model shipways
- (and 1 more)
-
Awesome looking dead eyes Nenad. They do look like the real thing. Cheers,
- 4,152 replies
-
- 4
-
-
- cutty sark
- tehnodidakta
- (and 1 more)
-
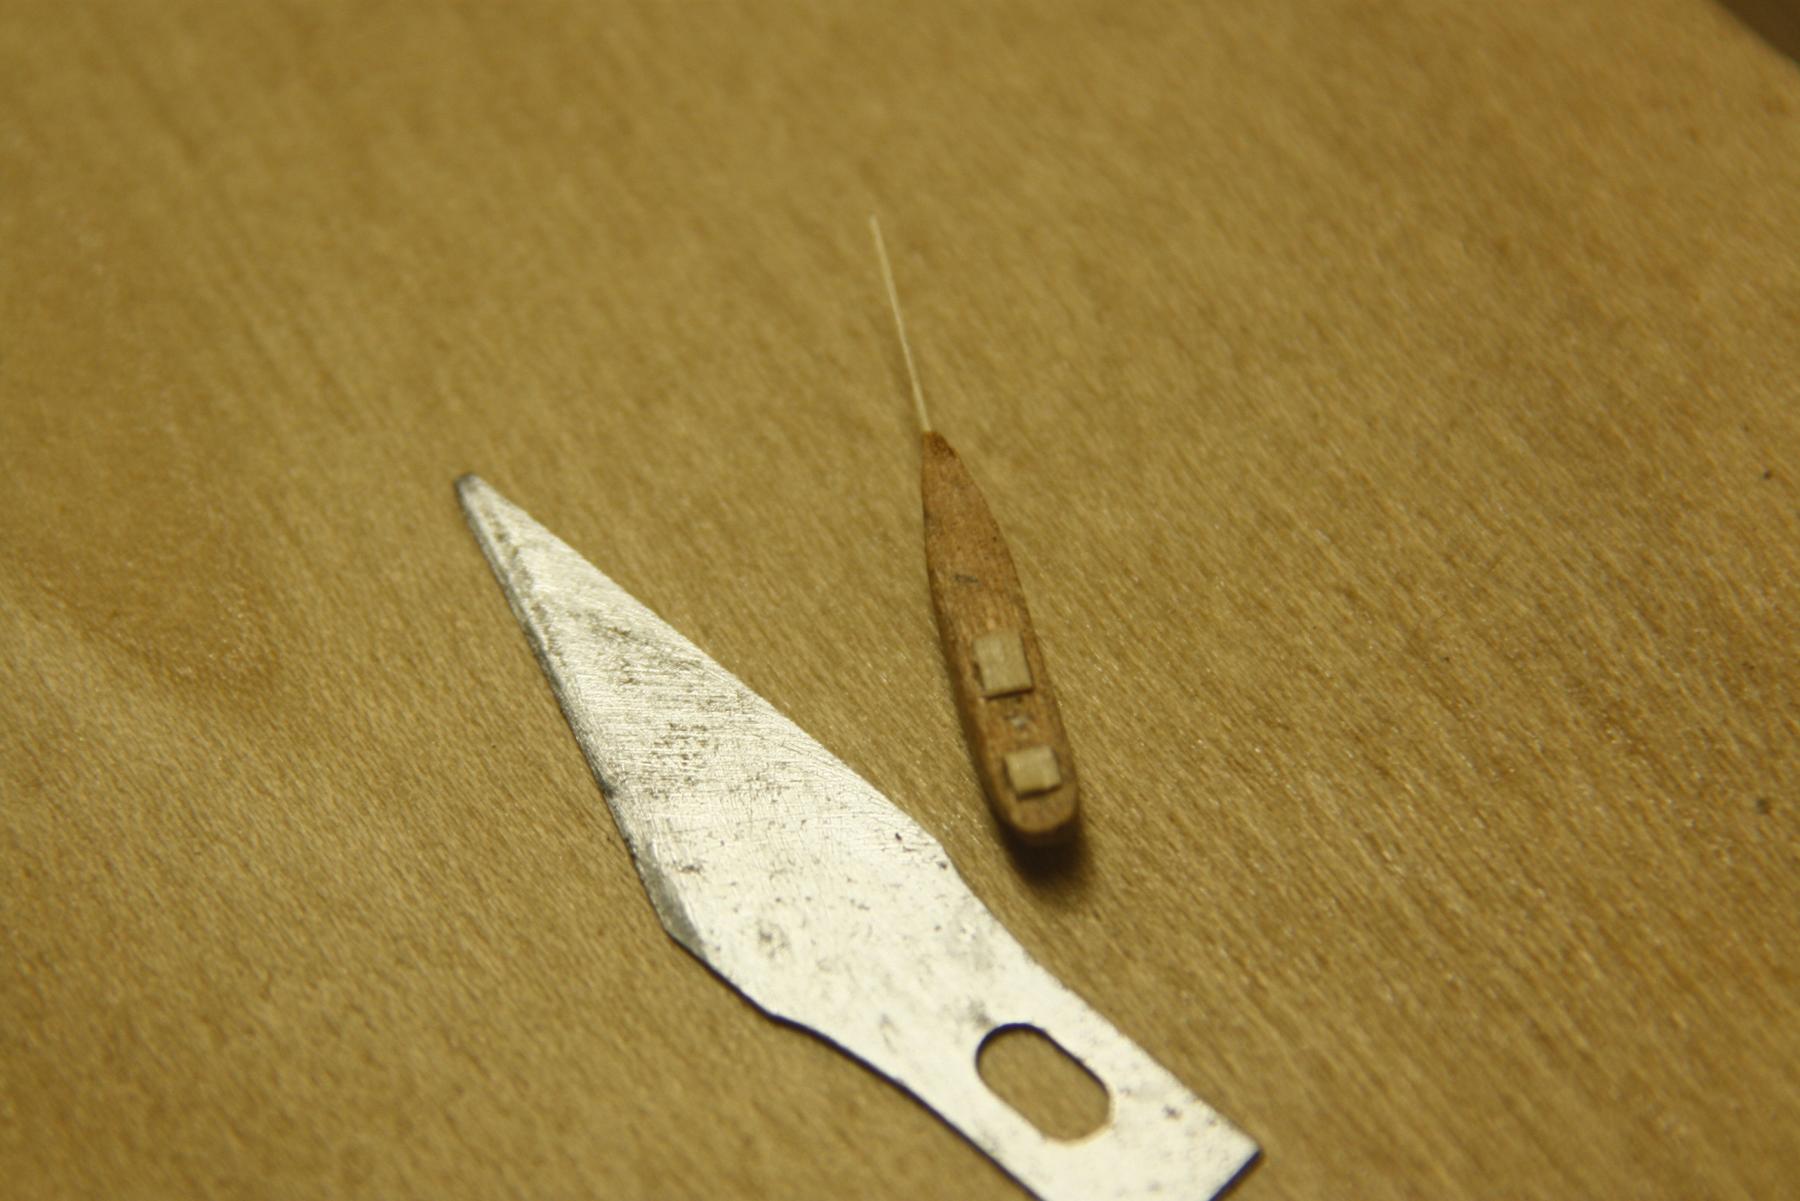
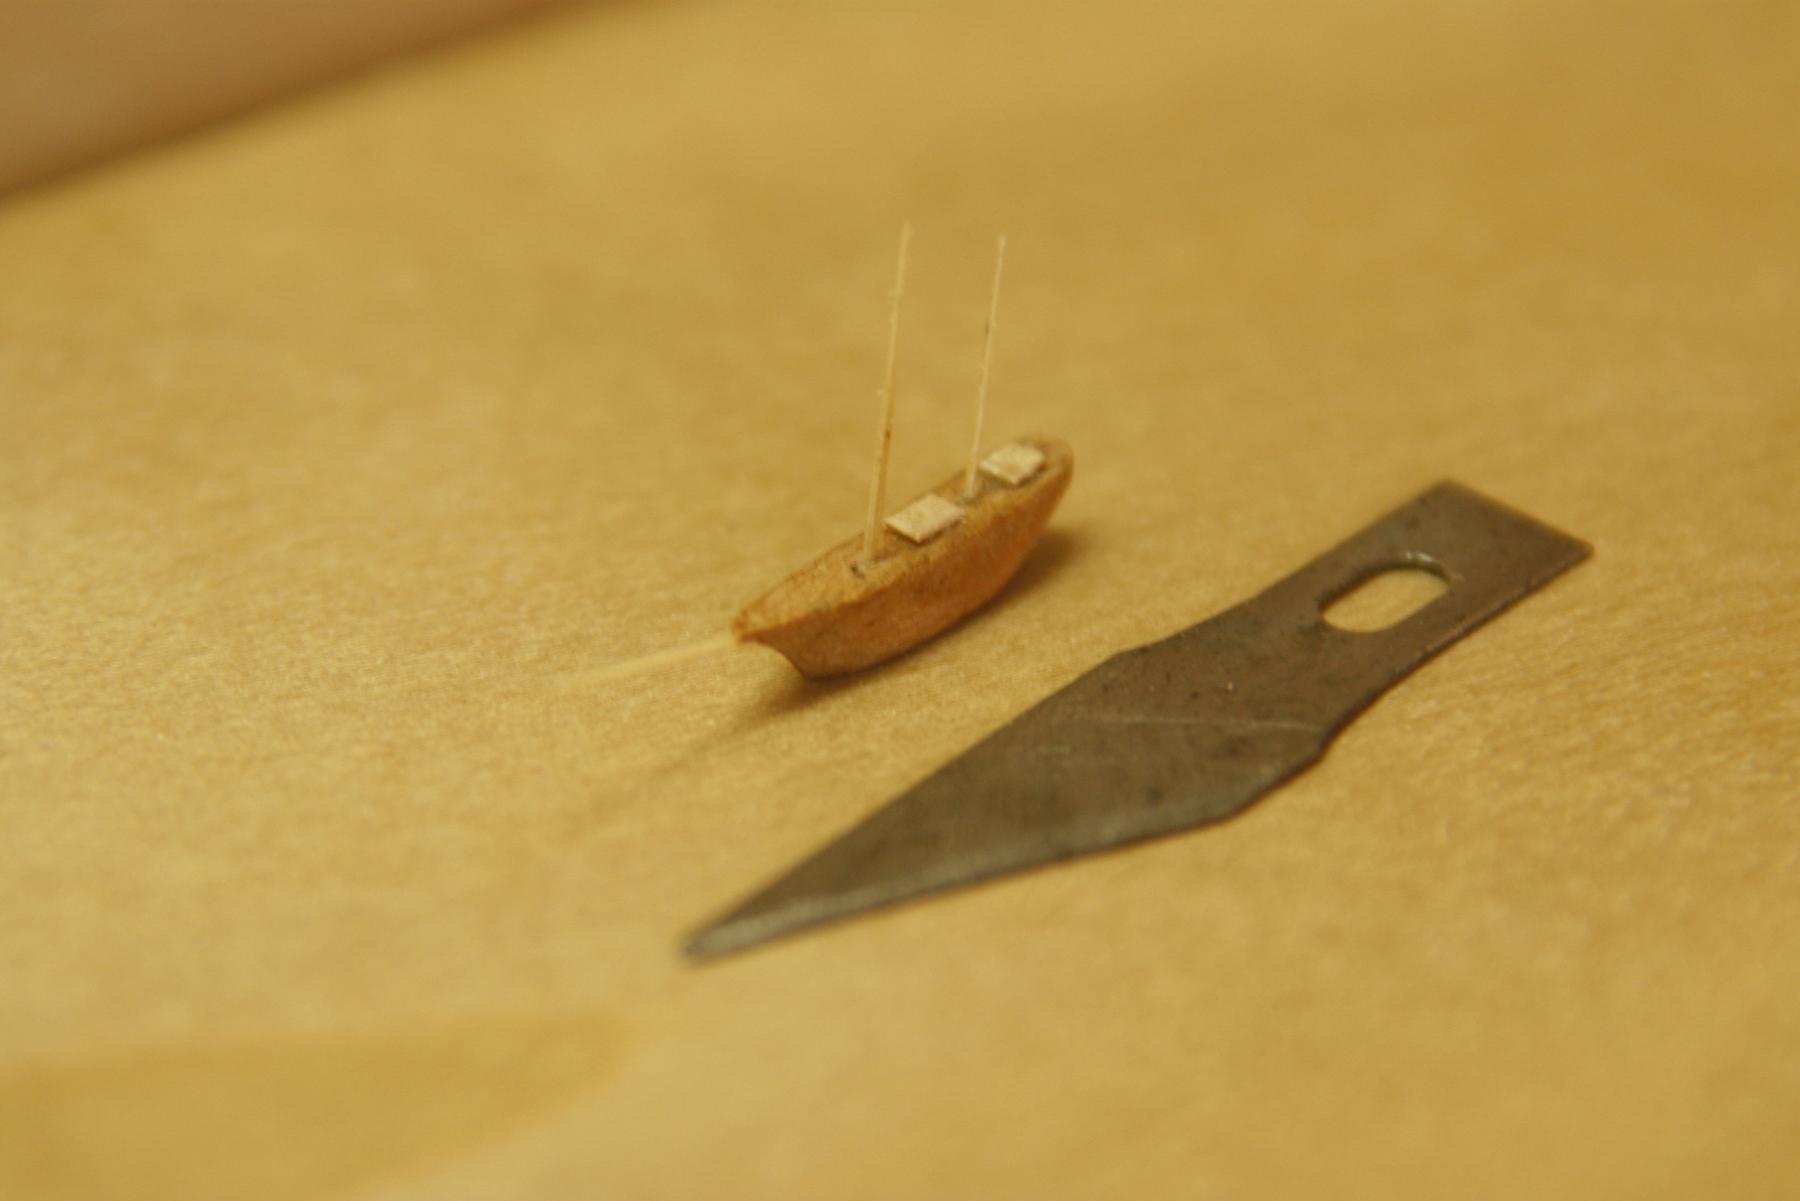
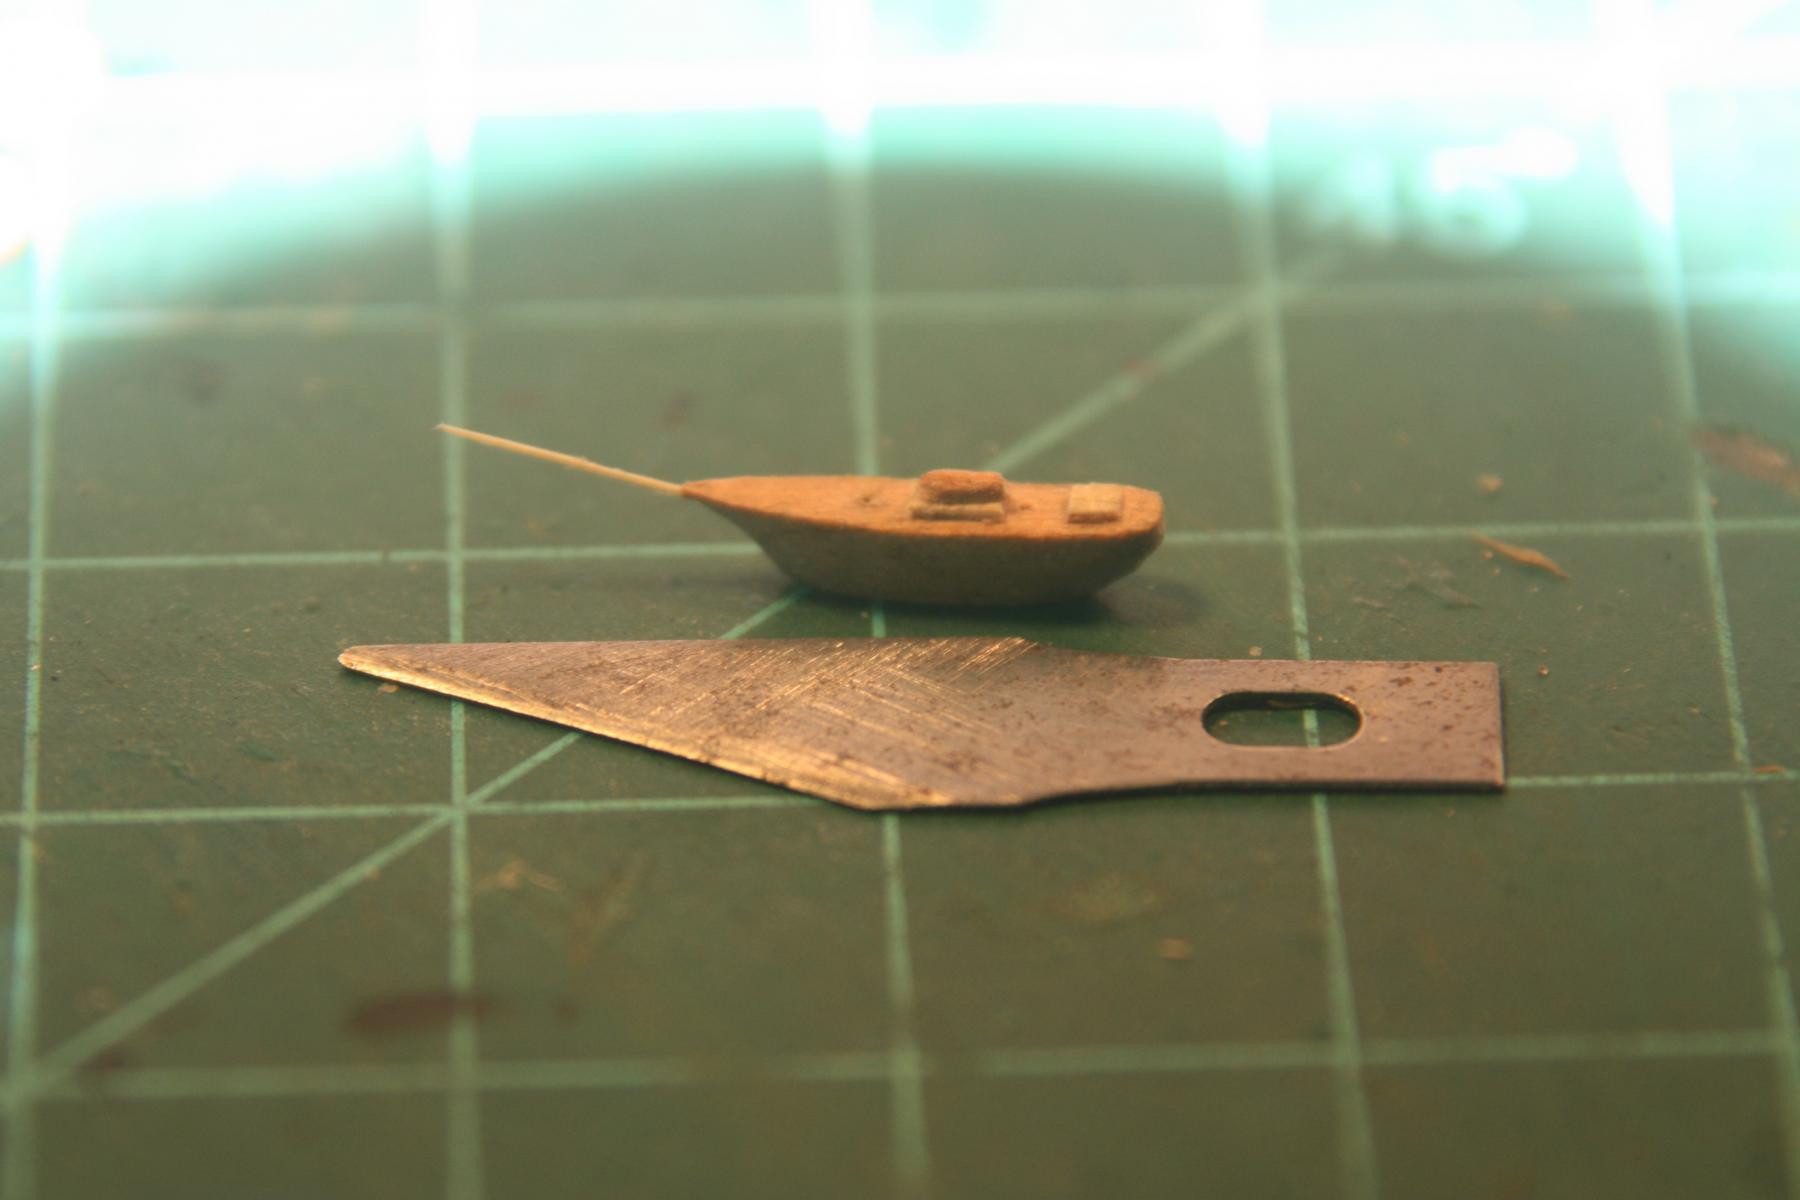
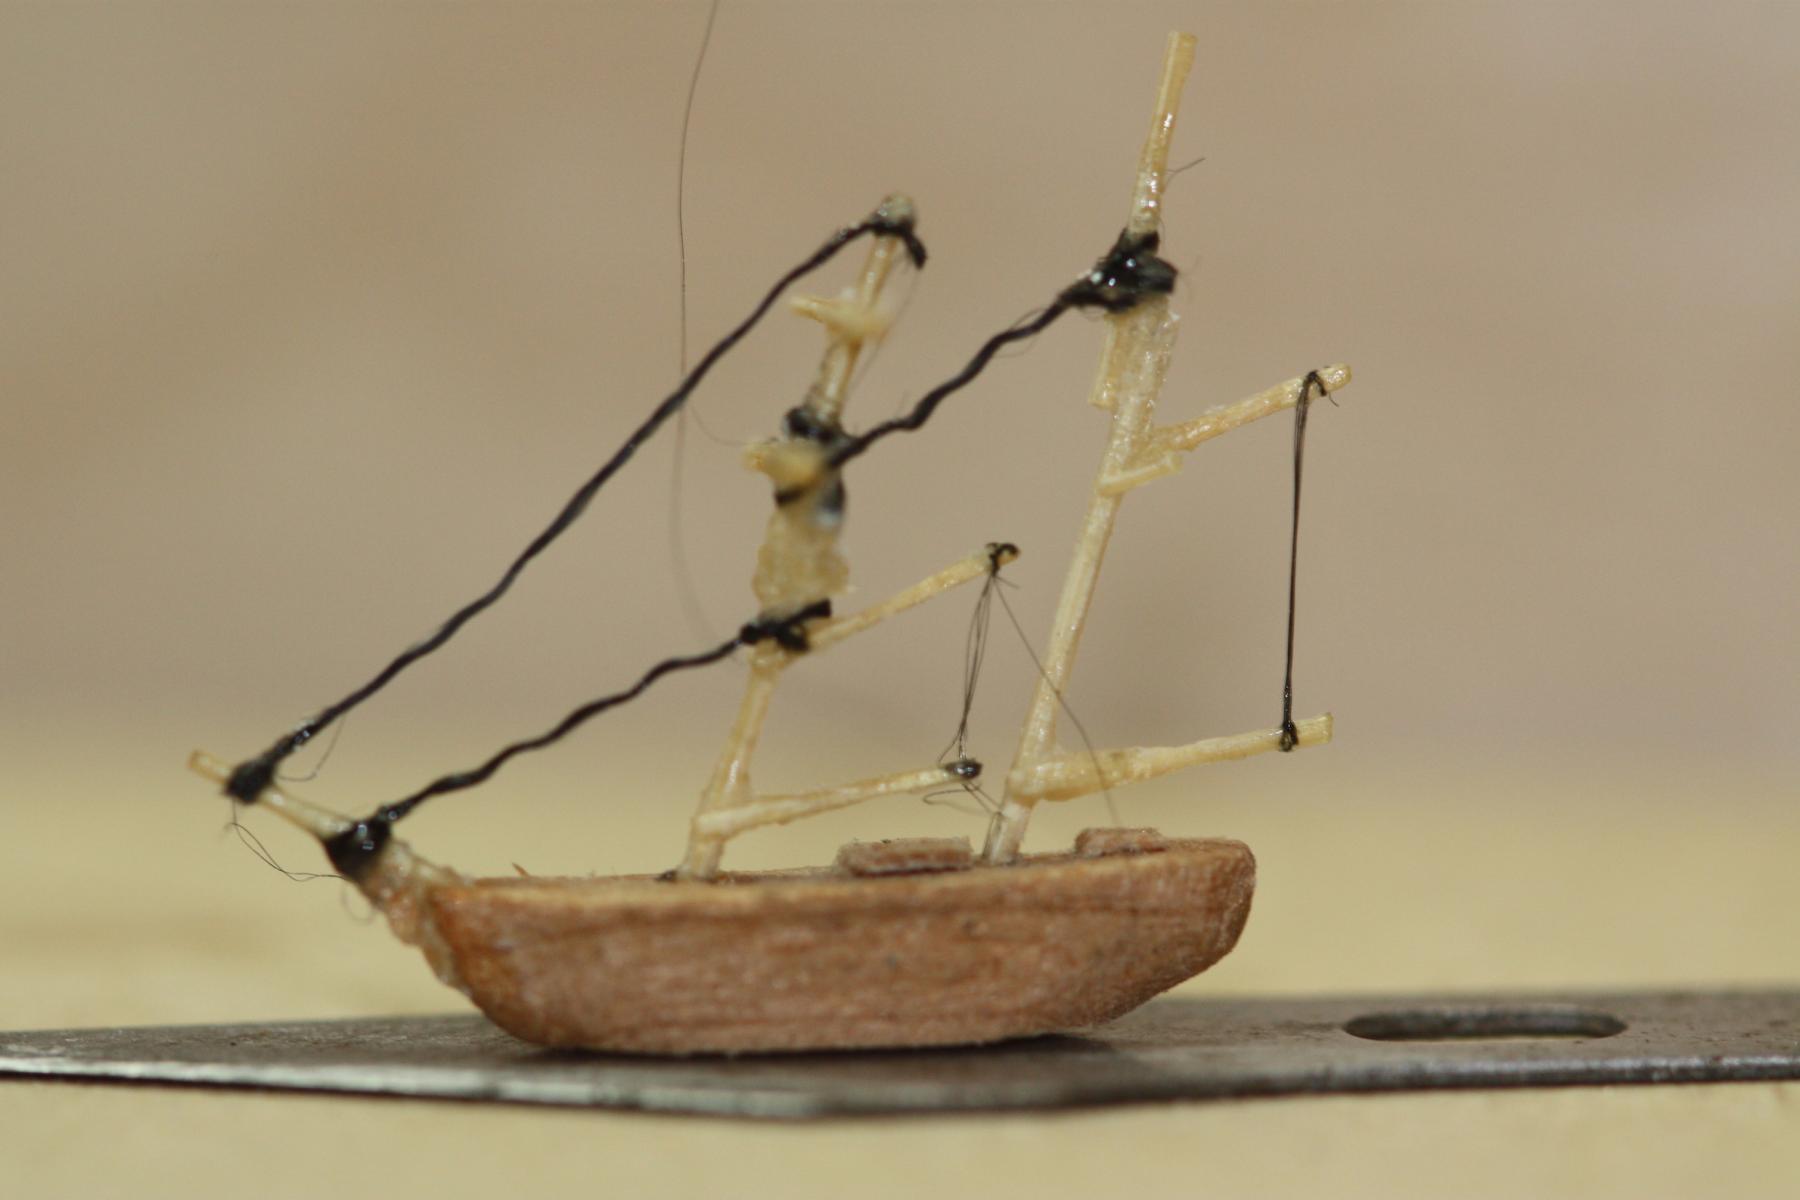
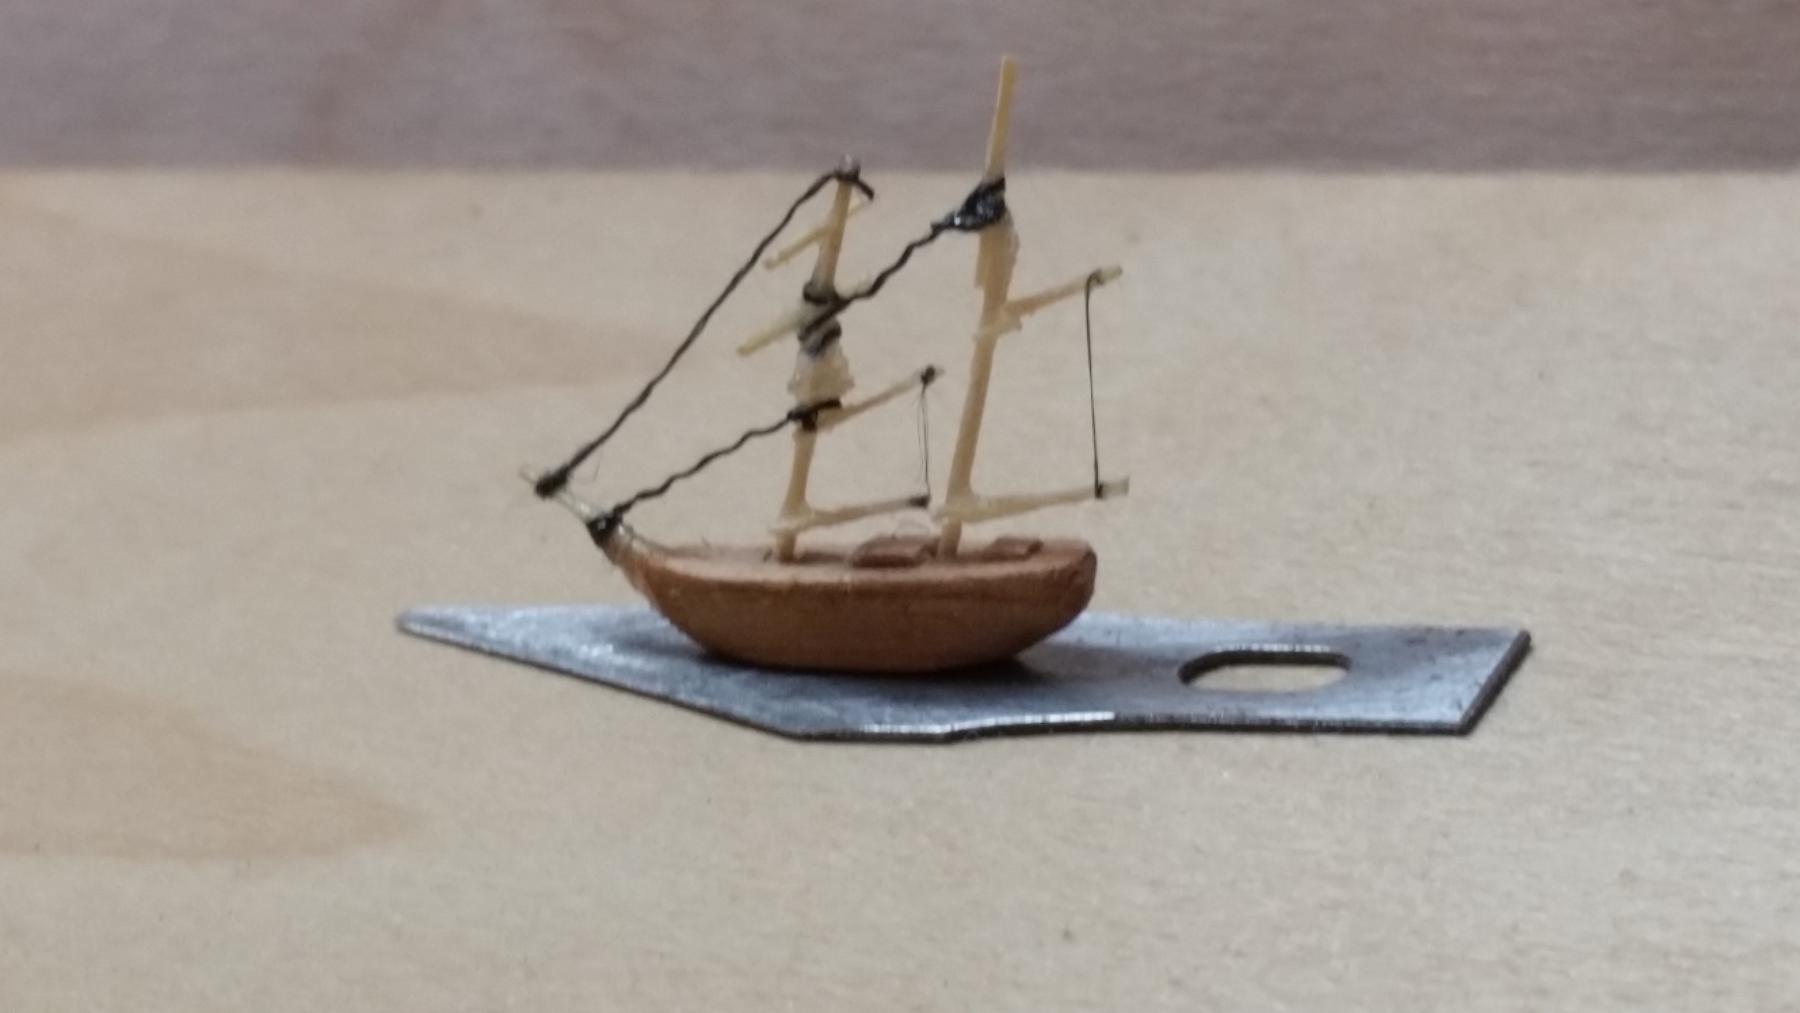
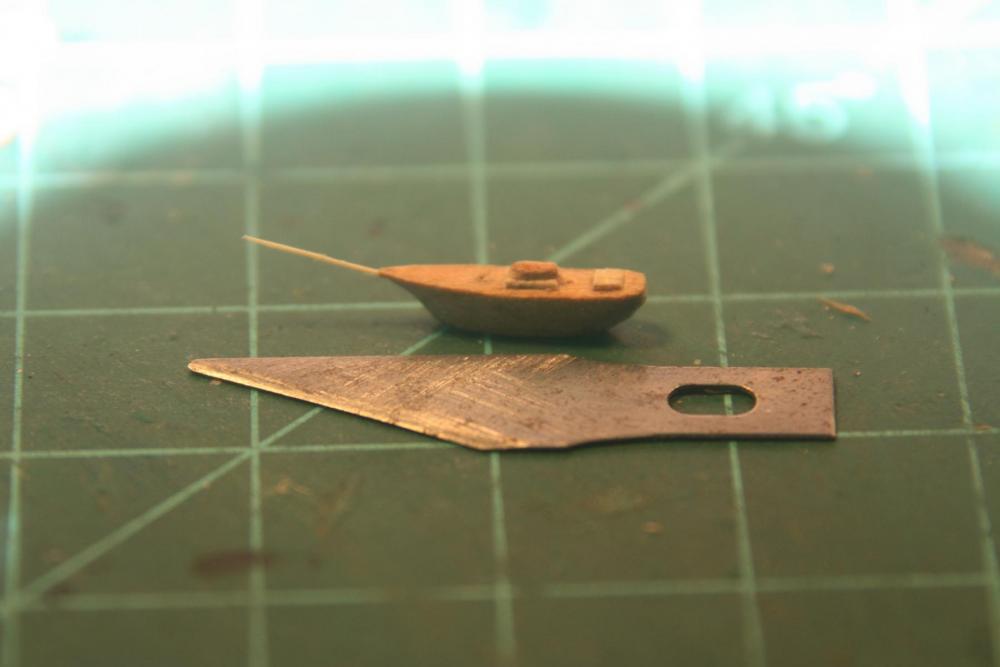
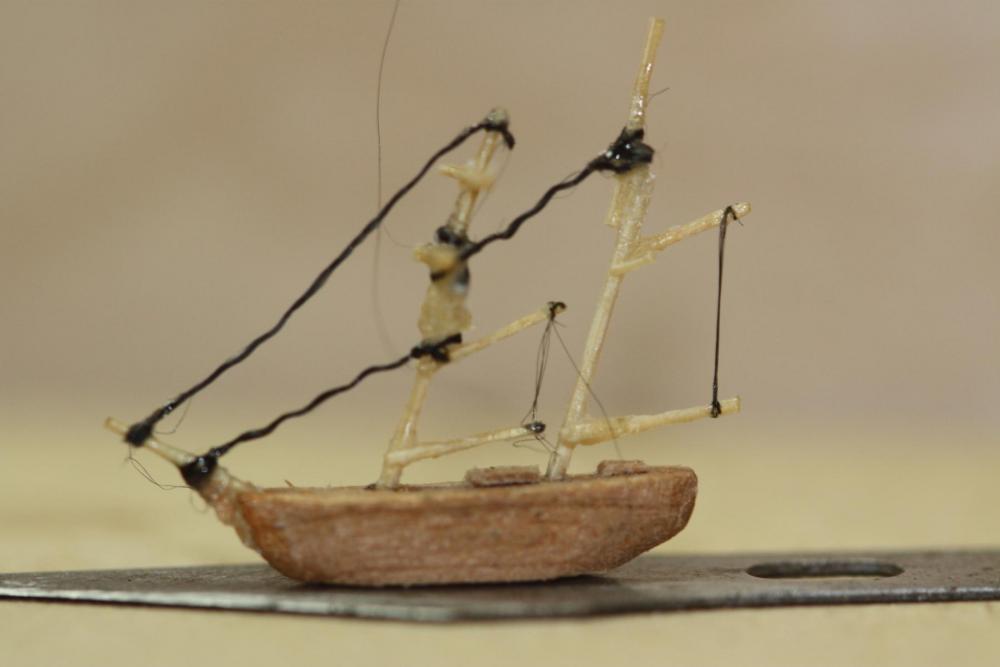
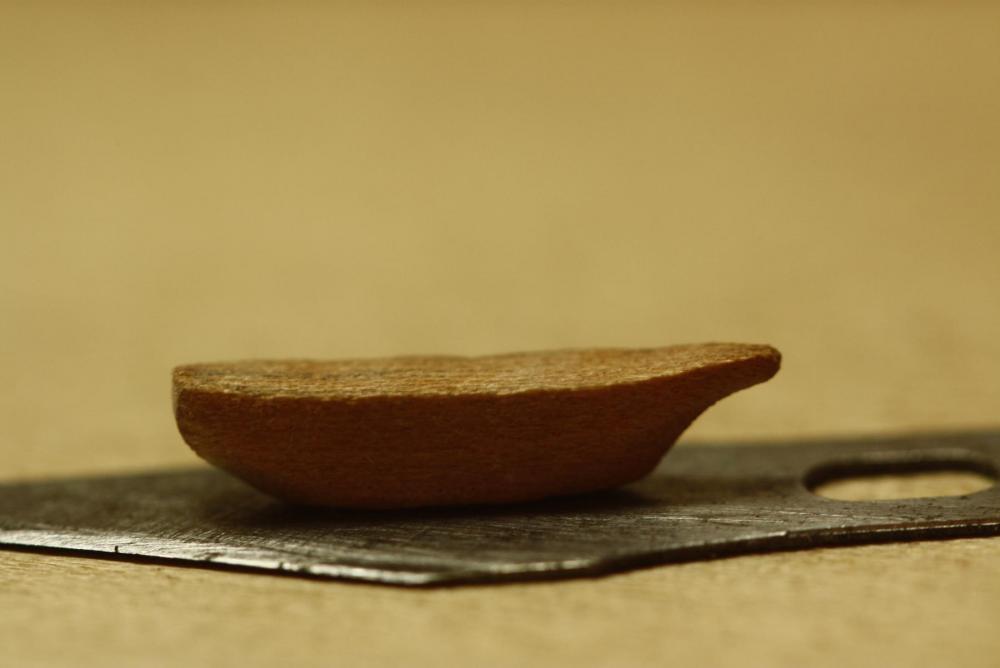
Thanks everyone for visiting, your comments and likes. Hey Cap'n Bob, there is plenty of space in my virtual shipyard, glad to have you, make yourself at home, coffee is on. Well, I'm happy to report that dinner was very successful, our neighbor Jill wanted to take a batch home with her. A very good sign. Today's update is about my attempt with rigging. I raided Gwen's sewing box and found some very thing black thread. It's cotton / polyester mix but still looked a little too heavy. I unraveled a piece to what I thought may be thin enough. I immediately had a problem on my hand. One was that it retained it's original twist as it was spun. The other problem was the fuzz from the cotton. I figured that with a little tension the thread would pull tight and also being careful in removing the cotton fuzz. All best intentions didn't work out, as you can see in the pics below. What I should have done was to find the polyester thread, then heat it up, either with a blow-dryer or a soldering torch. However, I didn't and being the stubborn Dutchman I put the fuzzy thread on anyway. Beside that, I also had problems with the CA being very difficult to handle. No matter how little I put on a needle as applicator it still seemed to make a nasty white clump. Put cementing didn't give me a strong enough bond for the rigging. I showed Remco what I was running into and he said that he had some extremely fin e mono filament thread that looked like being the thickness of a hair. Problem is that it was white but could be painted black with either ink or permanent marker. So he send be a couple of feet and at that time in the build I was already disgusted with how it looked and decided to start all over. I didn't like the shape of the bow, the masts and other round work was too thick, the CA glue issue and the rear mast kept breaking. Version 2.0 will have bamboo masts and round work that'll be shaved down closer to scale. You can only go so far with making the bamboo thin enough and still being able to hold up to the rigging tension of the lines. I found this out by trying it and had to come to a workable compromise. While waiting for Remco's thin thread to arrive I carved a new hull that had a much nicer looking bow, more clipper like. Like I mentioned before, it was still being treated as a trial piece, not knowing yet if a scale of 1:2000 would be doable for what I had in mind. So, this'll be the end of version 1.0 but the lessons learned will help me tremendously with version 2.0 as the future updates will show. This closeup shows how ugly the poor little boat looks. But the lessons learned were worth it. Even with using boxwood for the round work it would probably have worked if I had shaved them down more and using much thinner thread as I would up doing in version 2.0. I have actually reworked 1.0 with bamboo round work and am ready to install the aft mast. No, I may not use that first version if a new thought I am working on works. Keep fingers crossed. Same comment, ugly. But yuns can see how she's supposed to look with the standing rigging. This is version 2.0 still at the rough stage. Still more shaping to be done. The bow will be more refined after the bowsprit is cemented on. I now need to find a way to control the CA not "glopping" up. Rather sleek looking hull from a seagull's vantage point. So far I'm happy with it. Cheers,

- 159 replies
-
- 11
-
-
Thanks very much everybody for dropping in at the micro mini shipyard and all the likes, it's much appreciated. No update yet, just ran out of time, it's now close to my bedtime. None tomorrow either, I will be busy cooking Piet's kicked-up beef stew. Have invited lour dear neighbor to partake of it. I'll also have a fruit" salad of cucumber, avocado, cherry tomatoes, crumbled goat cheese, with an olive oil / balsamic vinegar glaze. Salt and pepper of course. Anyone care to join us? To answer Igor's question, yes, I did decide on a thread but that'll be a story for the next few posts. Like I said, I was still in the trying stage here. As all yuns see, the masts, booms and gaffs are rather thick and lout of scale. Soooooh, change will be forthcoming. Cheers,
- 159 replies
-
- 10
-
-
Hey Andy, the birthday card I send you came back with a postage due stamp on it. mmmm, cheap Dutchman thought to sneak one by the USPS Okay, I'm sending it again - - - happy birthday Andy Cheers,
-
Great going Sjors - I also agree with the lighter colored planking . Cheer,
-
Nicely done Igor, the old man looks really good, even with only one hand. Cheers
- 131 replies
-
- 4
-
-
- bottle
- the old man and the sea
- (and 1 more)
-
Beautiful piece of work Nils. With the railings being so delicate my guess is that the clamps you made put almost no pressure on them them. Should not be needed but to just hold the railings in place. Cheers,
- 2,625 replies
-
- 4
-
-
- kaiser wilhelm der grosse
- passenger steamer
- (and 1 more)
-
Yup, that's the learning curve most of us go through from time to time. You'll get there Nenad and it'll look great in the end. Cheers,
- 4,152 replies
-
- 6
-
-
- cutty sark
- tehnodidakta
- (and 1 more)
-
Unbelievable I am awestruck by what you have achieved so far. Magnificent work Kees! Cheers,
- 434 replies
-
- 4
-
-
- pelikaan
- beamtrawler
- (and 2 more)