Piet
-
Posts
3,568 -
Joined
-
Last visited
Content Type
Profiles
Forums
Gallery
Events
Everything posted by Piet
-
Congrats to your son, not a bad grade at all. Now on to the next step in the exam process. I wish him good luck with it. Cheers,
- 4,152 replies
-
- 6
-

-
- cutty sark
- tehnodidakta
- (and 1 more)
-
 Hoi Marcus, just caught up with your catboat build. She's really beginning to look very nice. Bully to you catching a few errors and correcting them. For a fellow who hates painting you did a splendid job on her. Your sister will be very pleased, I'm sure. Cheers,
- 165 replies
-
- 5
-
-
- cape cod catboat
- Finished
- (and 1 more)
-
Hello all and thanks for dropping in and your very kind comments. Also my thanks to all who clicked the like button. Sorry for the delayed responses but I'm still very busy with chores around the house, specially now that Gwen is enjoying herself with our daughter Marianne in Holland. She deserves a break from putting up with me For now the Surabaya build is kinda taking a backseat looks like. I had the intend of starting with the ship's boats but a redo of the bow lion is also an attractive project. I have an idea in mind that I hope will produce a more realistic lion then just a "caricature" of one. I like what they did for the Batavia and the Zeven Provincien but not quite what I been thinking of. Whenever I have some time to sit down I'll start with sketching out what I see in my mind and show to yuns. I have also been working a little on the Topsail Schooner diorama project. I have a lot of pleasure playing with that one. Hey Sjors, how are they progressing with the build of the Delft? Any more pics you can share? @ Jan: I mainly used the example from one of Ab Hoving's and Empke's drawings of the fluyt "Zeehaen." But modeled the body using the lion on the Batavia. The actual carvings on the Batavia, ZP and Utrecht are very nice but more of a "caricature" of a lion. I had something in mind that looks more lion-like. It may not be traditional for Dutch VOC ships but I need to satisfy my desires. @ Nils: Thanks and for your info, according to Ab Hoving there seem to have been a Fluit named "Red Lion." @ Brian: Thank you as well for your kind words but I see the many shortcomings in my attempt and will try to do better on the next one. The drawn-up legs are part of the new design although there is another option with legs outstretched that I also really like, daring flor a beginner carver but something not seen on these ships. The problem with the bow configuration is that there is very little space between the cut-water and the main bow beam. If I utilize the existing space the lion will be too small and to redo the bow is a little late. Let's wait and see what my ideas will give me to play with what I have. Otherwise the lion will be roaring with a very high pitch, if yuns catch my drift @ Markus: Thanks and yes, teeth are kinda bright. Have used the idea from the Batavia lion, I guess he used Pepsodent for toothpaste Thanks again everyone and cheers,
-
Impressive work Hans, a real tribute to one of the most famous ships in the Dutch Navy. Don't fret too much about the English nomenclature for all the parts of the ship. I'm also still learning but my excuse is that I am an airplane guy Cheers,
-
Gallery roof with those minute pullers look fantastic. Well done Mark and well earned a shot or two of good old Kentucky bourbon.
-
Happy birthday Mark and nice detail work - - hope they all don't burn up on you Cheers,
-
Very nicely done Sjors. I'm about to start with two ship's boats for my Surabaya and really apprehensive. Cheers,
-
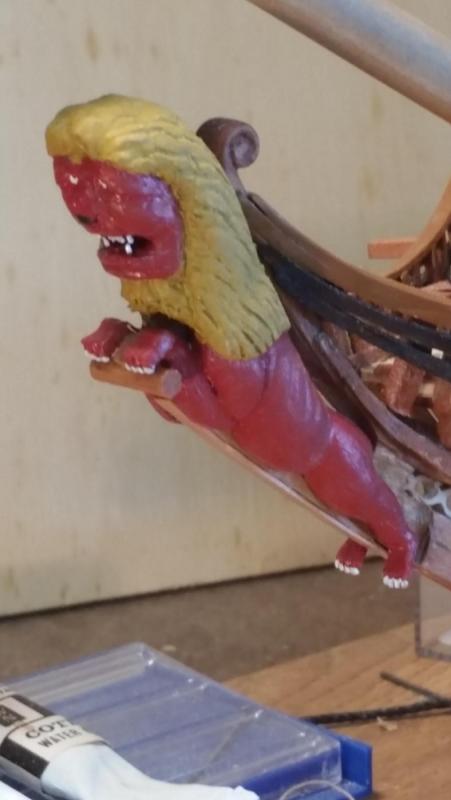
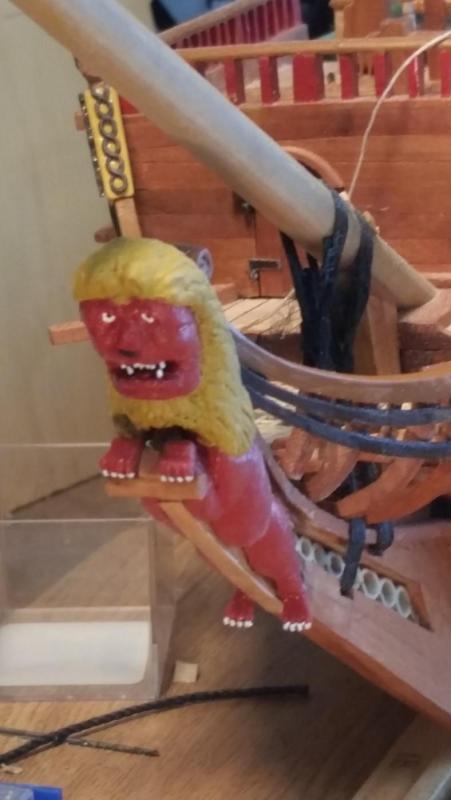
Hello everyone and thank you all for your comments and likes, it's all very much appreciated. Well, this'll be the last post about the prototype lion. I fixed the cut-water and just slipped the lion on. The future final lion will be different and I'll have to rework the cut-water at that time. Oh yeah, I am working on the tail and will add that too. Okay, without further ado here are the last pics. Let me point out the things I don't like. The rear legs should have a bend in it so the soles of the feet can push against the cut-water. The head is proportionally too large for the body. The manes are too long and flat. The face is not shaped correctly, he looks more like drooling China man (no offense to the Chinese). Well, that'll do for starters. Cheers,
-
Great recovery Patrick, she looks splendiferous, Fantabulous and all that sort. Well done. Cheers,
-
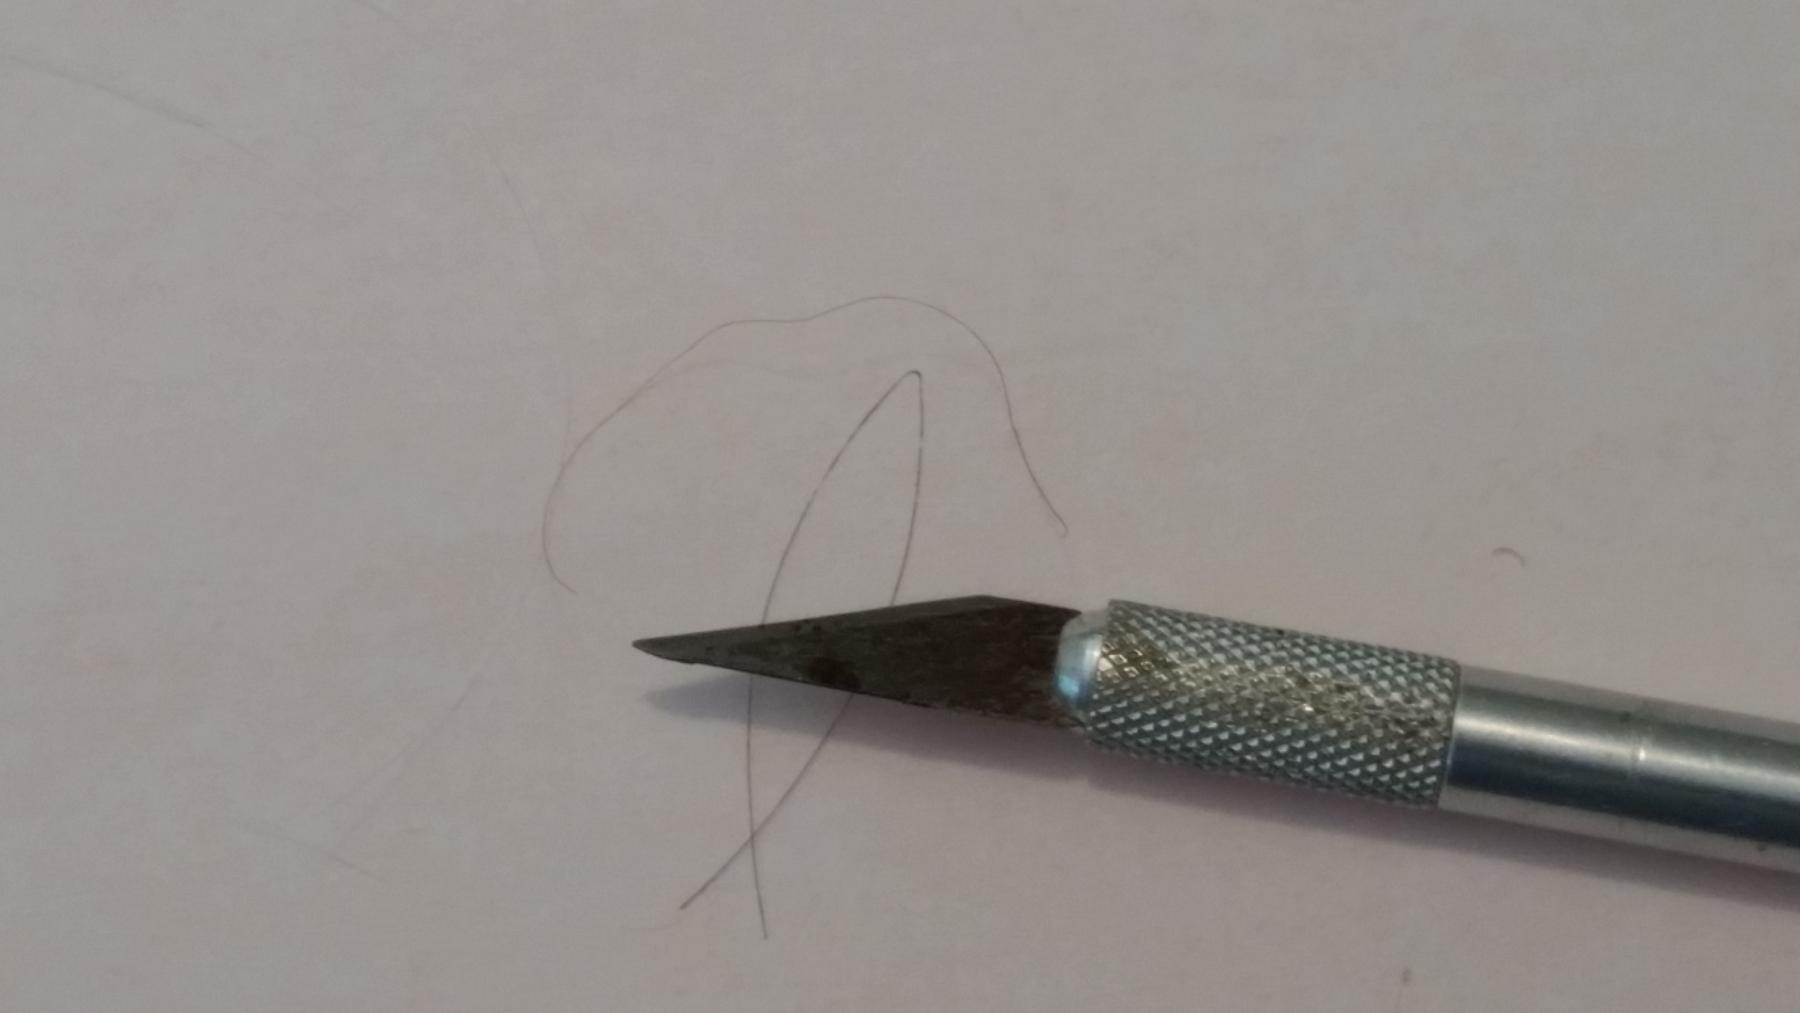
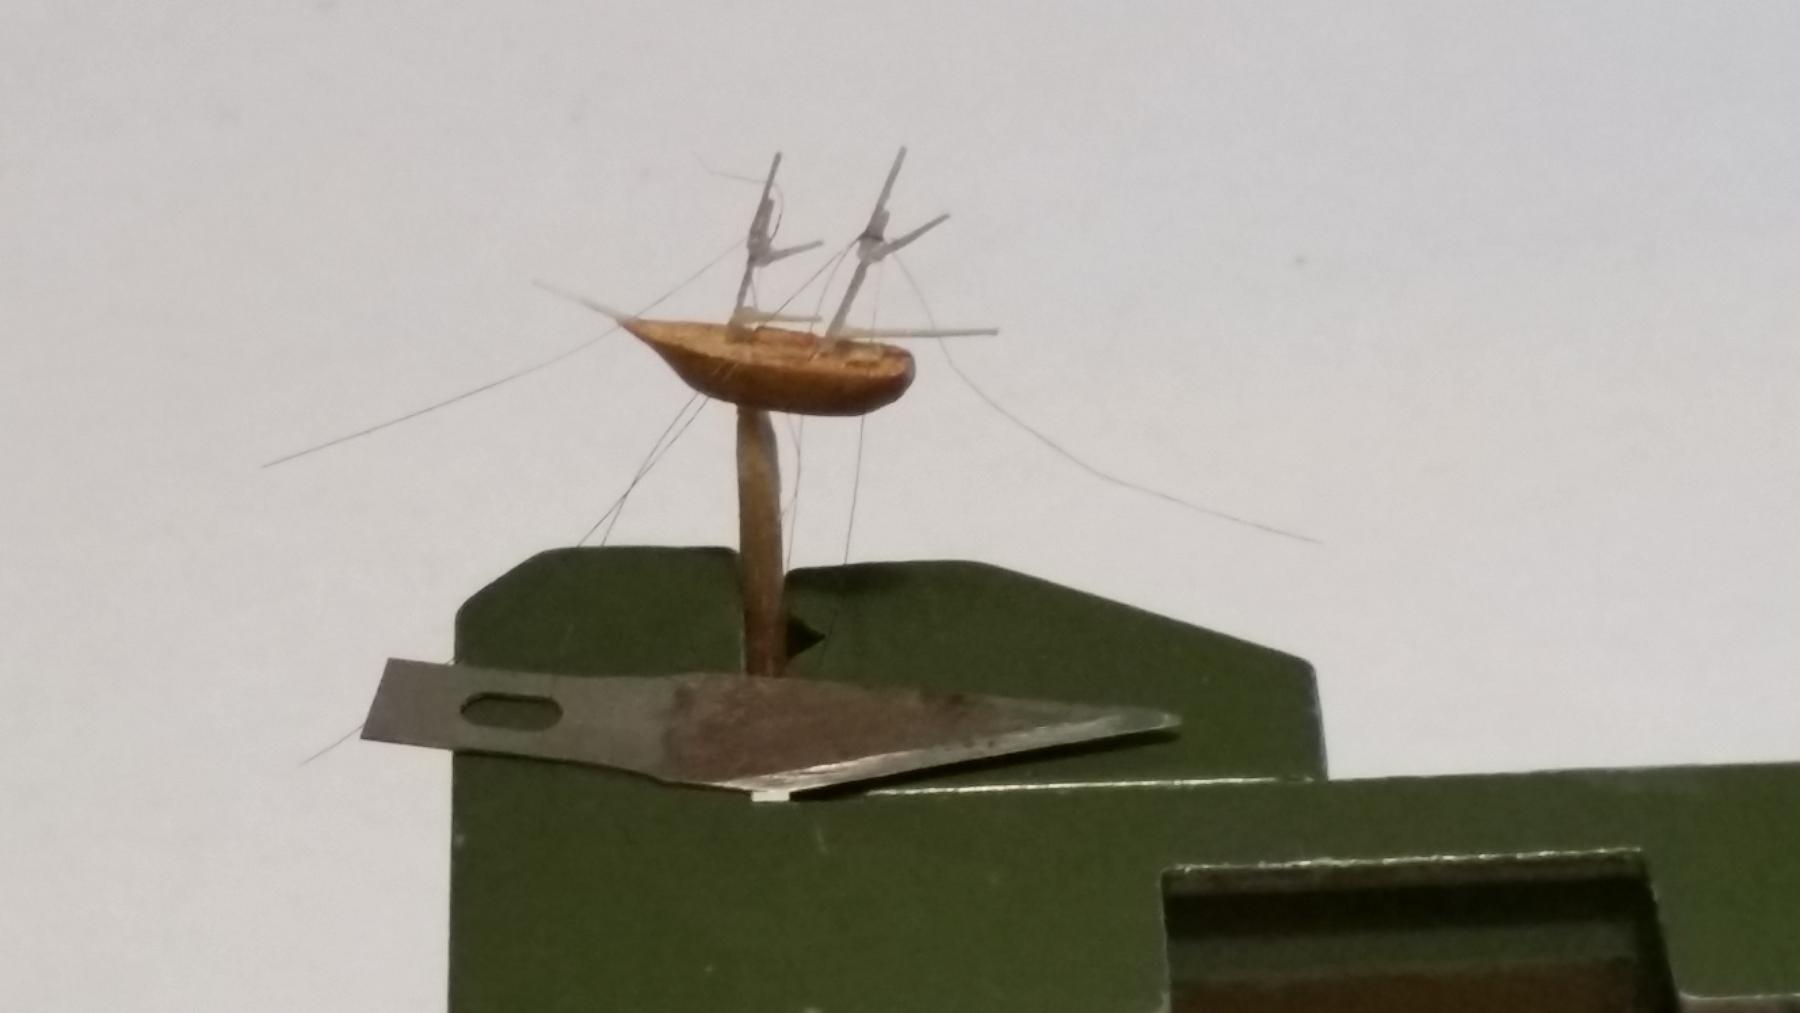
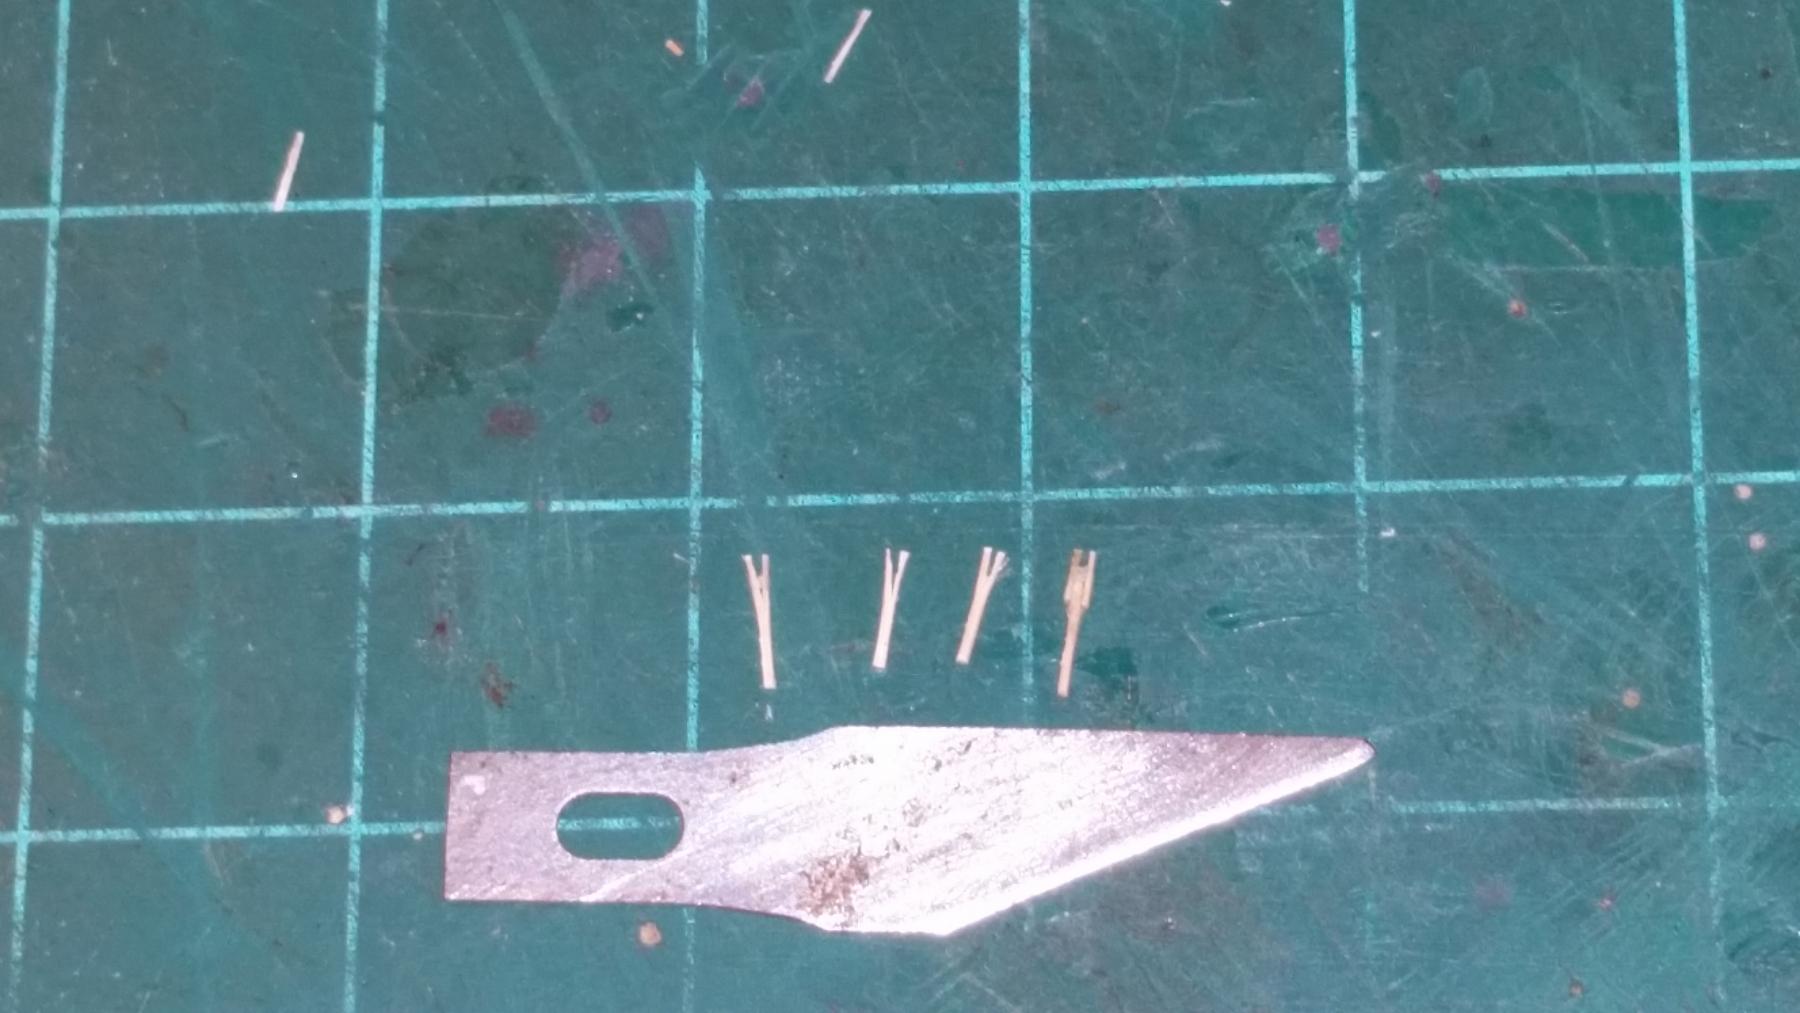
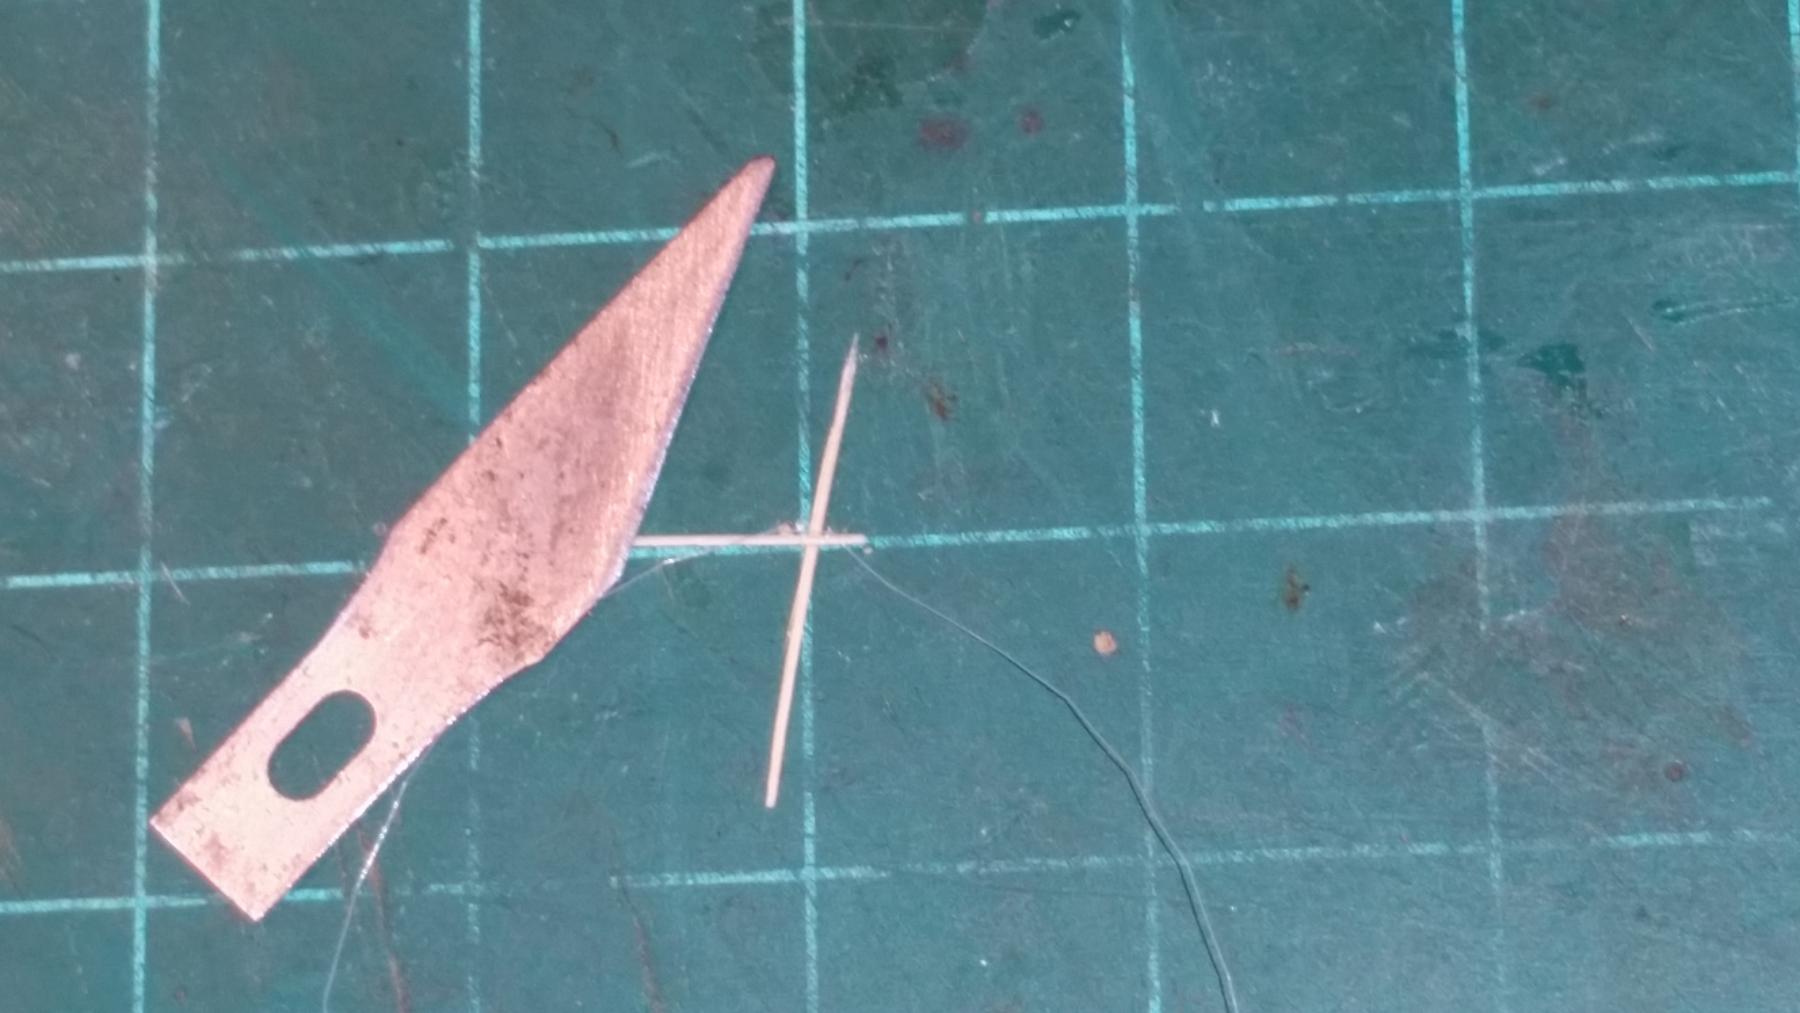
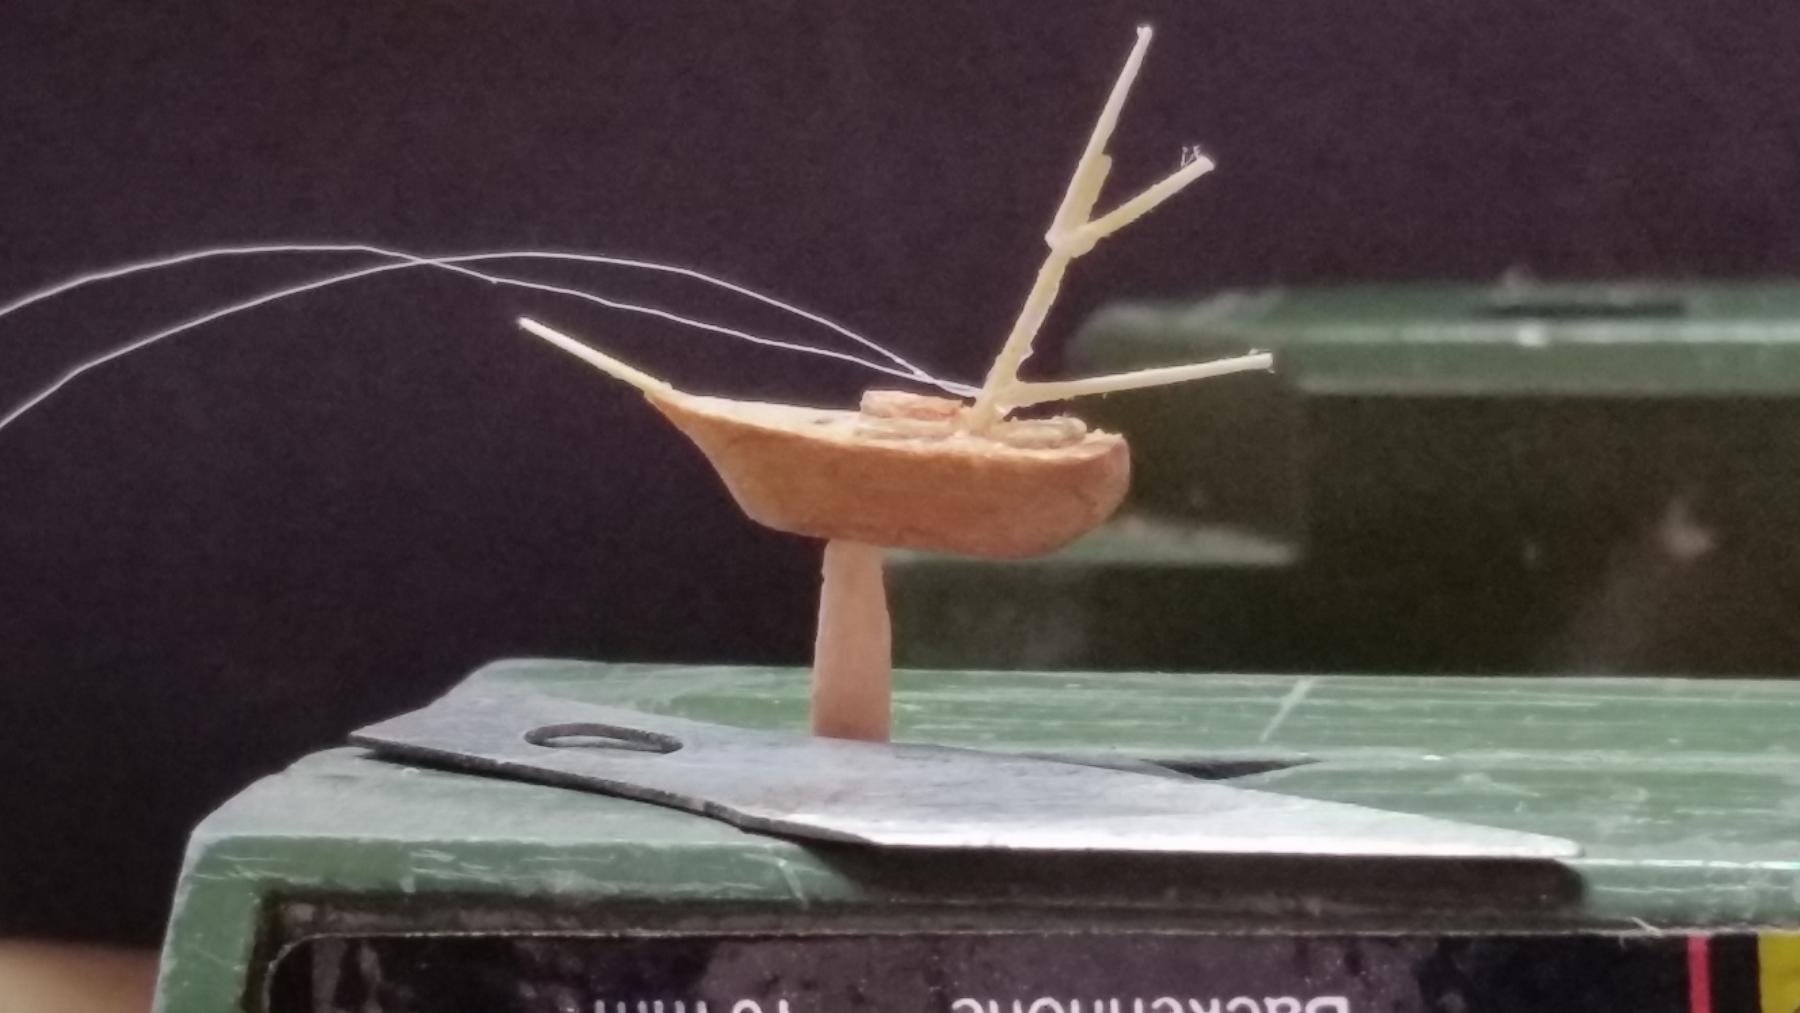
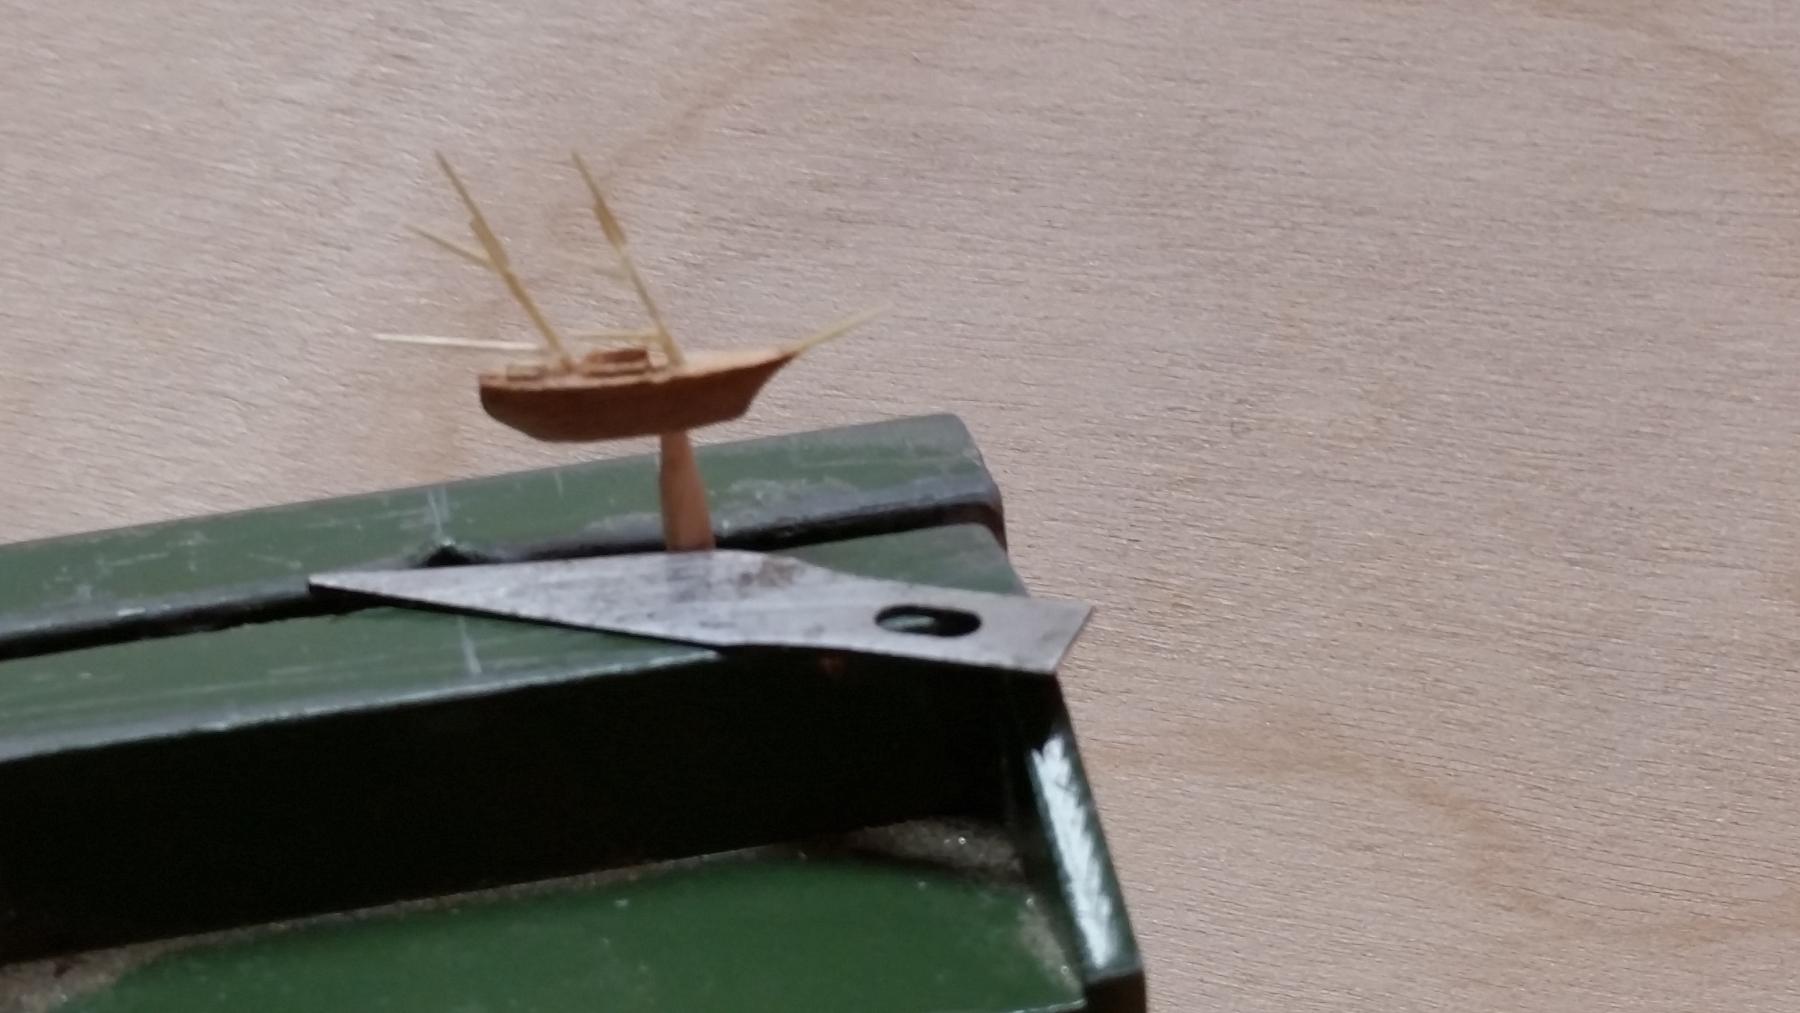
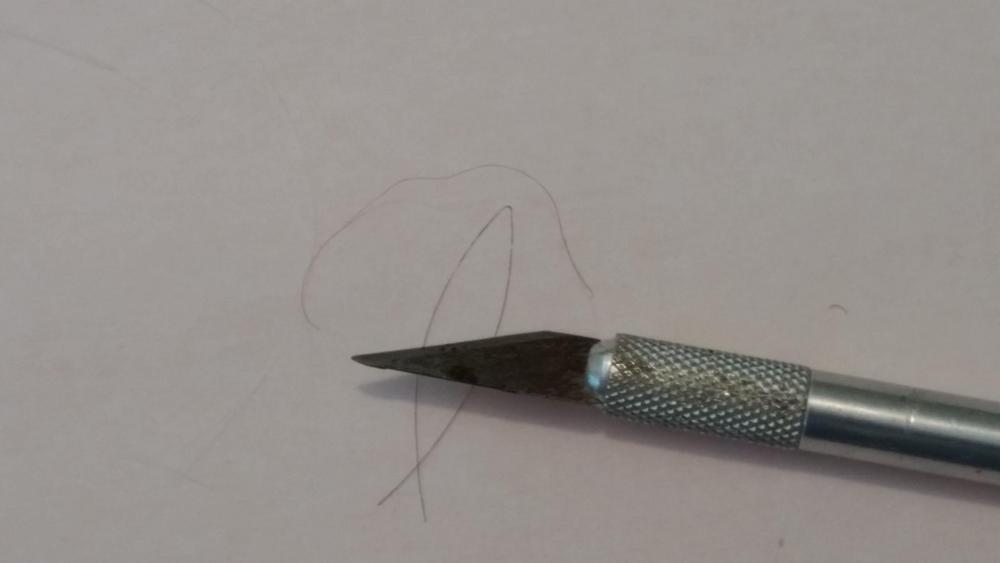
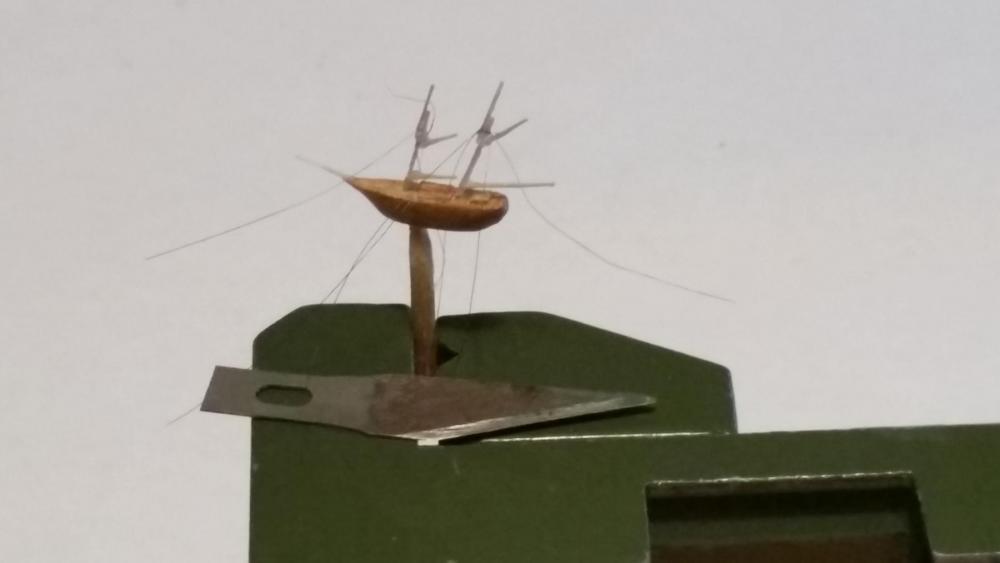
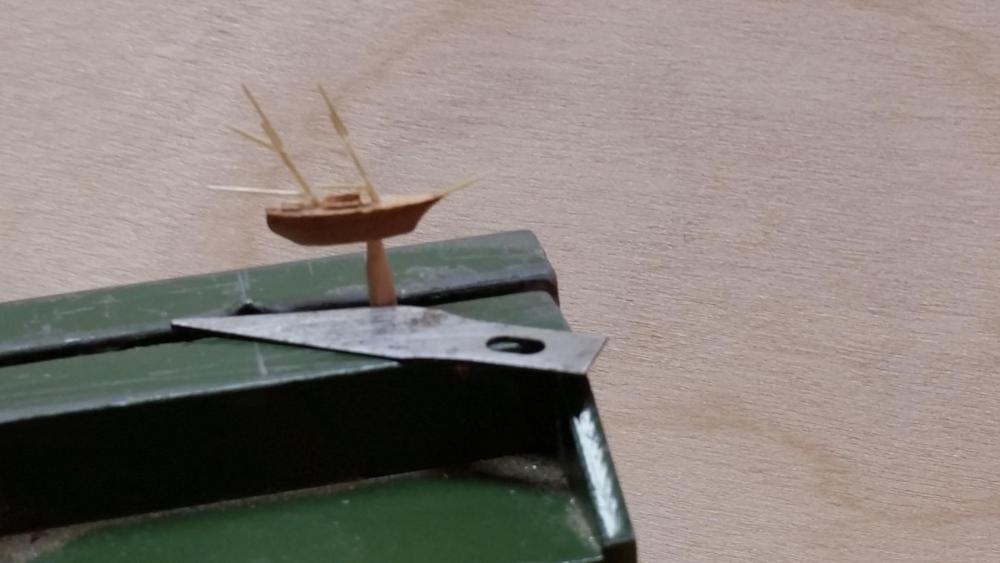
Hello everyone and thanks for your comments and all the likes, it's much appreciated. No ratlines on this ship Jan. She'll have only two shroud lines per side per mast and made from steel. Here's where I had re-engage the silk thread I had bought initially. First I thought using my own hair or that of Gwen but she wouldn't part with hers and mine was too fine. I did try using the mono filament for the stays but they were even too thick for scale. I cut a piece of the silk threat and unraveled it so I had the individual threads as they came out of the silk worm's spinnerets. They were the most unwieldy threads to work with, it was like working with smoke. What I did was take three of the strands and with a drop of nail polish that I squeezed into the threads between index finger and thumb, pulling it down several times till the nail polish set up. It stiffened up quite nicely and produced a more realistic thickness for the shrouds and the rest of the standing rigging. It even took most of the twist out of it. The lines between the boom ends and the gaff ends are two of the silk threads. Attaching the shrouds was simply looping them around the lower masts, secured with a tiny dab of nail polish. After all of them were secured to the masts I pulled two of the shrouds down to the hull, securing one at a time with nail polish. I had to be careful not to pull too hard because they did pull the masts out of plumb. next was making the chain plates. They were just four slivers of bamboo. I left them long in order to have something to hold on to and with a tiny dab of CA ,that I mostly wiped away, I attached them over the shroud ends against the top of the hull. After they were secured I cut them off with my trusty #11 blade. In one of the pics below you may be able to see them. Next came the topsail yards. Here too I tied a piece of mono filament to them and then around the mast with a tint dab of CA. After all that nerve wracking work I added the rest of the standing rigging and the topsail yard lifts. I do have to redo one of the shrouds because they seem to have loosed up on one side and the aft mast is not quite horizontal anymore. Holding the ship at normal looking distance she looks quite presentable, better then in the pics. Okay, my next project was cutting the 75 Watt lamp to function as the globe over the diorama. This shows the difference between the mono filament (bottom) and my hair. It just worked out so that three of the single silk threads was slightly thicker then my hair, just right for my purpose. I did not measure the thickness but take my word for for it, they were thin. This shows all the shrouds attached to the masts, This shows the top sail yards also secured and rigged. As you can see the rear mast shrouds are a little loose but will be replaced at some future date. Cheers,

- 159 replies
-
- 15
-
-
Yeah Denis, do try making it interesting - - - - - so far it's been very dull - NOT! Just kidding of course. It's been a very interesting project and fun to see it come together. Cheers,
-
What imagination, what vision he has. Just outstanding. Cheers,
- 4,152 replies
-
- 6
-
-
- cutty sark
- tehnodidakta
- (and 1 more)
-
Really enjoy your and Hothead's extra curricular activity but it's too large to fit on the CS Very impressive design and hope your son gets a good grade out of it, makes both of you proud. Cheers,
- 4,152 replies
-
- 6
-
-
- cutty sark
- tehnodidakta
- (and 1 more)
-
Very nice progress Denis, she's beginning to look really spiffy. Like what you did with the bow. Cheers,
-
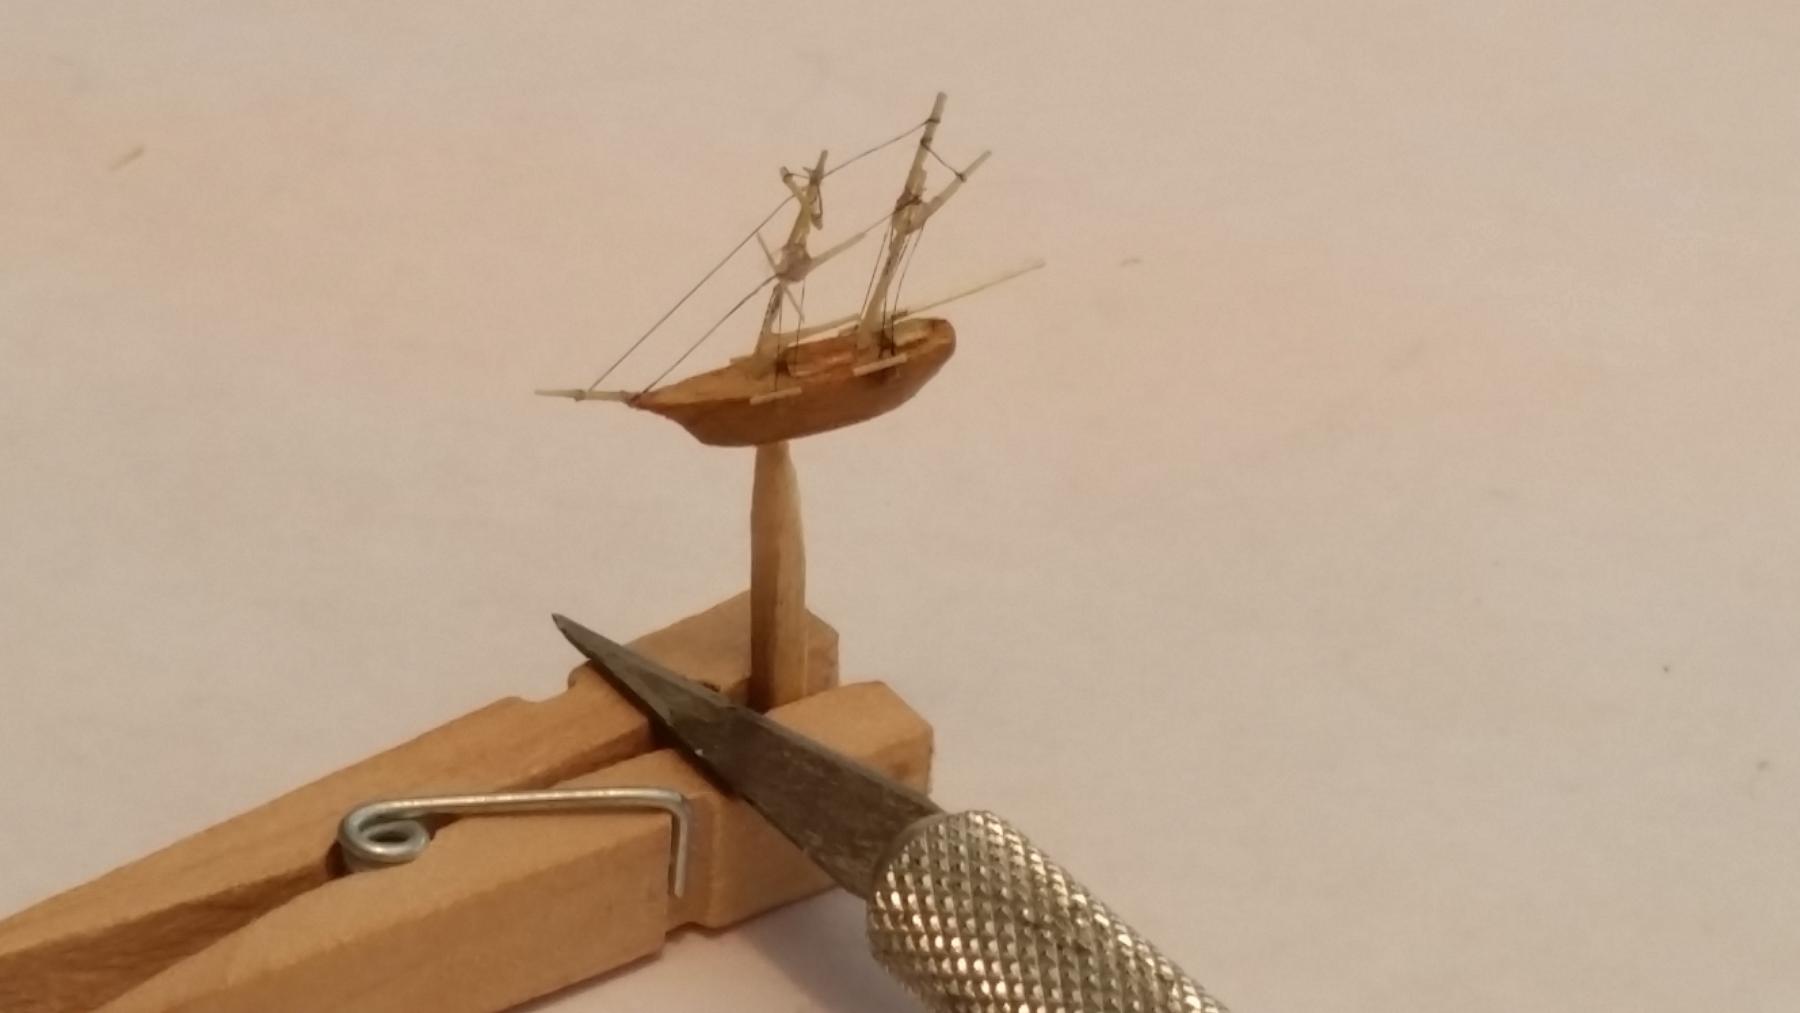
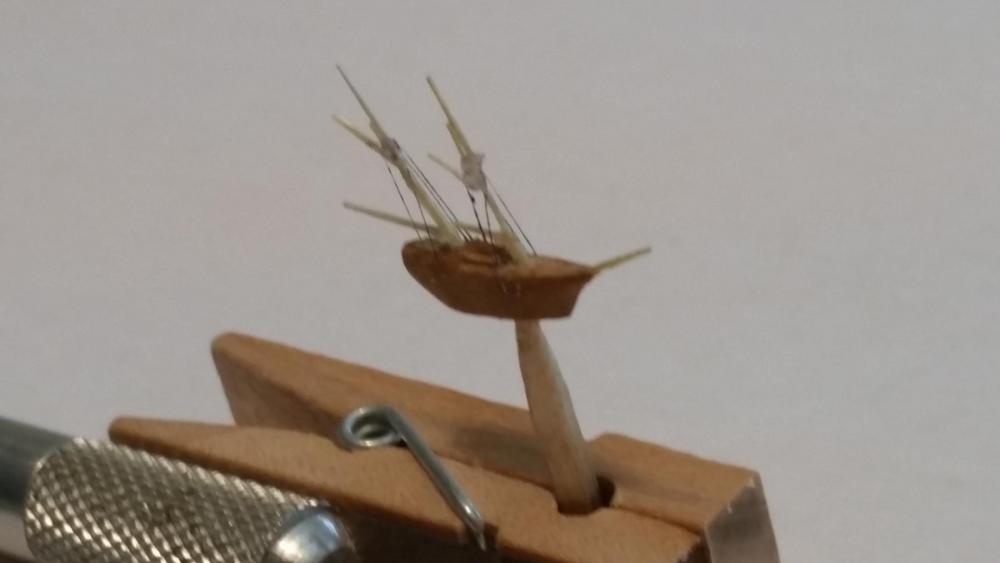
Thank you Pat and Mark for your kind words, it sure is challenging. Thanks also for all the likes, it's much appreciated. Let's see, where did we leave off. Oh yeah, the masts are done and now comes the difficult task to attach the cross trees, booms and gaffs. In my typical stubbornness I wanted to add the cheeks to the booms and gaffs to attach them to the masts. After I made them and tried to fit them to the masts so they can rotate on them It just looked much too clumky and out of scale. I had to be attached them permanently and forget making them movable, it's just too small a scale to fool with and besides, it'll be housed inside a dome anyway. Thinking how I could attach these pieces I figured using Remco's mono filament string. I took a piece and tied it with a single knot to the end, then a dab with CA that I immediately brushed off with my fingers and let it cure. By the time all four pieces of round work were done that way I then put the boom or gaff to the mast with the mono filament on each side of the mast. Then a dab of CA on each side that I also wiped off and let it cure. With the white mono filament on each side of the mast it looks like the cheeks, bingo! Next was cutting off the extra string, I didn't even have to tie a knot in it. I did the same thing with the cross trees, making sure I wiped the excess CA off after each cementing session, that way I didn't have the ugly clumping of dried up CA. At this scale even the smallest drop or residue of CA shows up like a big whitish blob. All this was a little nerve wracking but my hands held steady and the optivisor helped. The booms and gaffs as well as the cross trees are from bamboo and about 0.4 mm thick. I was afraid making them thinner because the rigging lines may bend them. I don't think they are too objectionable. I hope the pics show enough of what I tried to explain. This shows my second attempt with making the boom and gaff cheeks. After trying it again and failed - - again - - I had to give up striving too hard for reality. New booms and gaffs were made. This shows the method I used with the mono filament. Holding both string ends with my left had and keeping the boom or gaff against the mast I just dabbed a spot of CA on the joint, wiping the excess immediately off. It just took about 10 seconds for the joint to hold. The mono filament is about 0.08 mm, just twice the thickness of my hair. This shows the end result for the aft mast boom. Cleaning up everything required a very sharp #11 blade, carefully holding the ends of the booms and gaffs. I also worked from the mast side, holding the joints with my left hand index finger and thumb. I lucked out doing this on all the round work. This shows the the completed work on both masts. I don't know if you can see the cross trees, it's rather fuzzy at that spot on the fore mast. Cheers,


- 159 replies
-
- 13
-
-
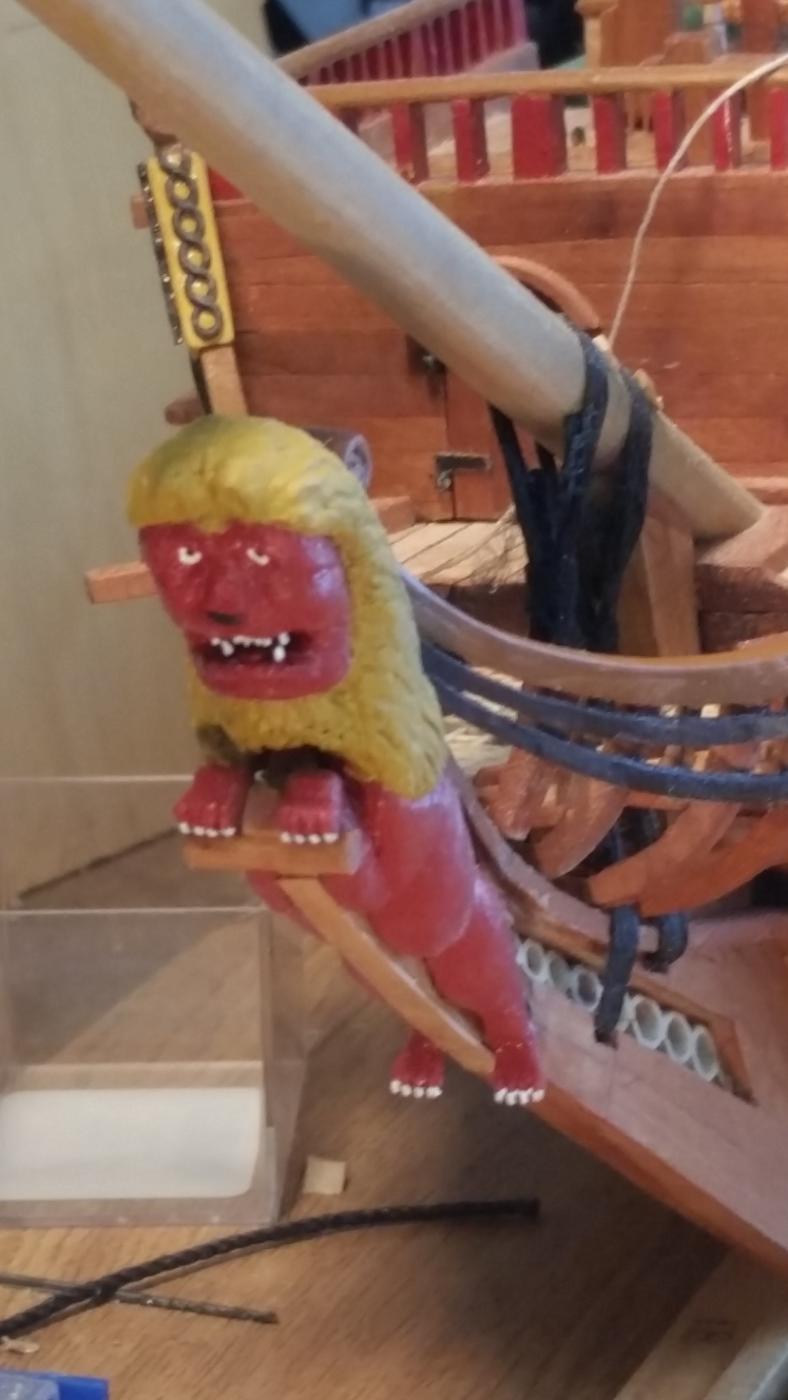
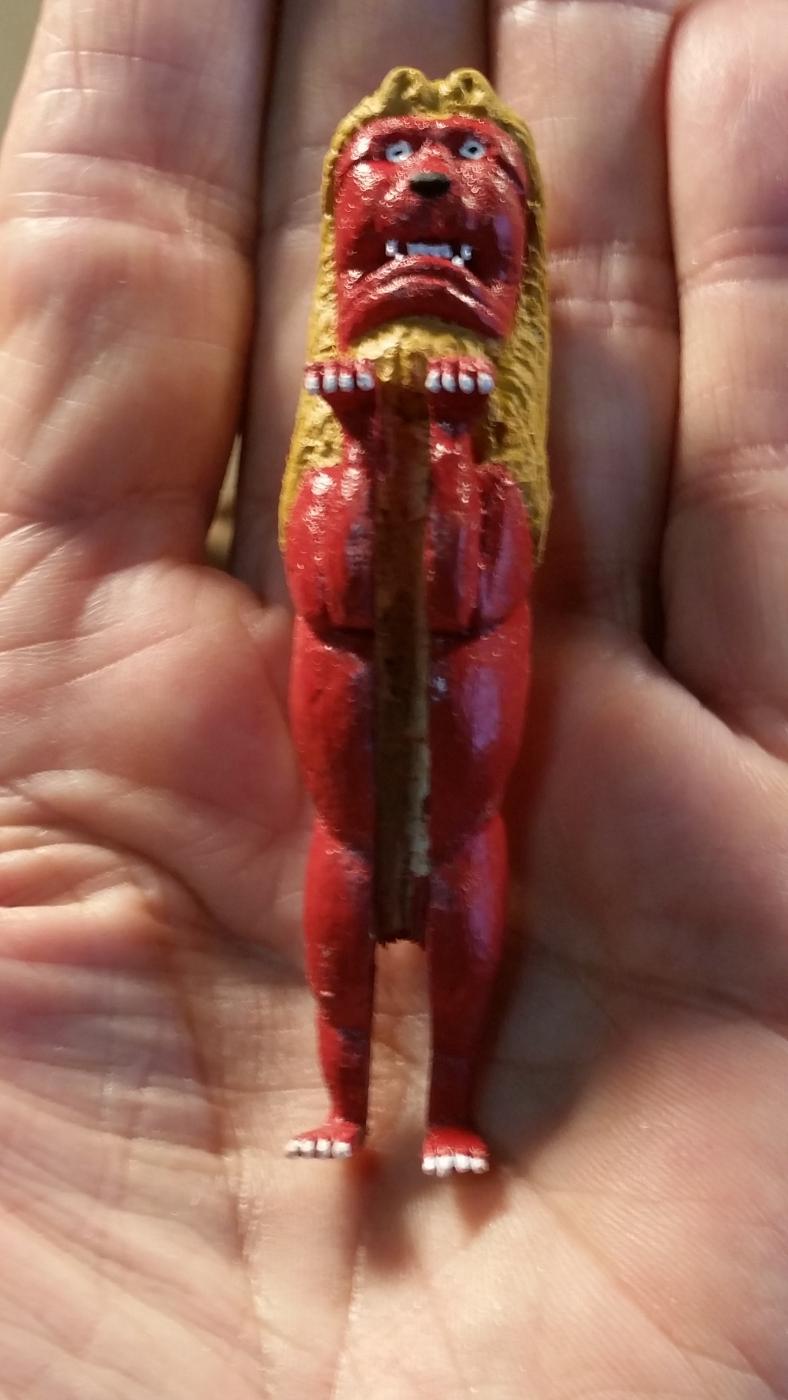
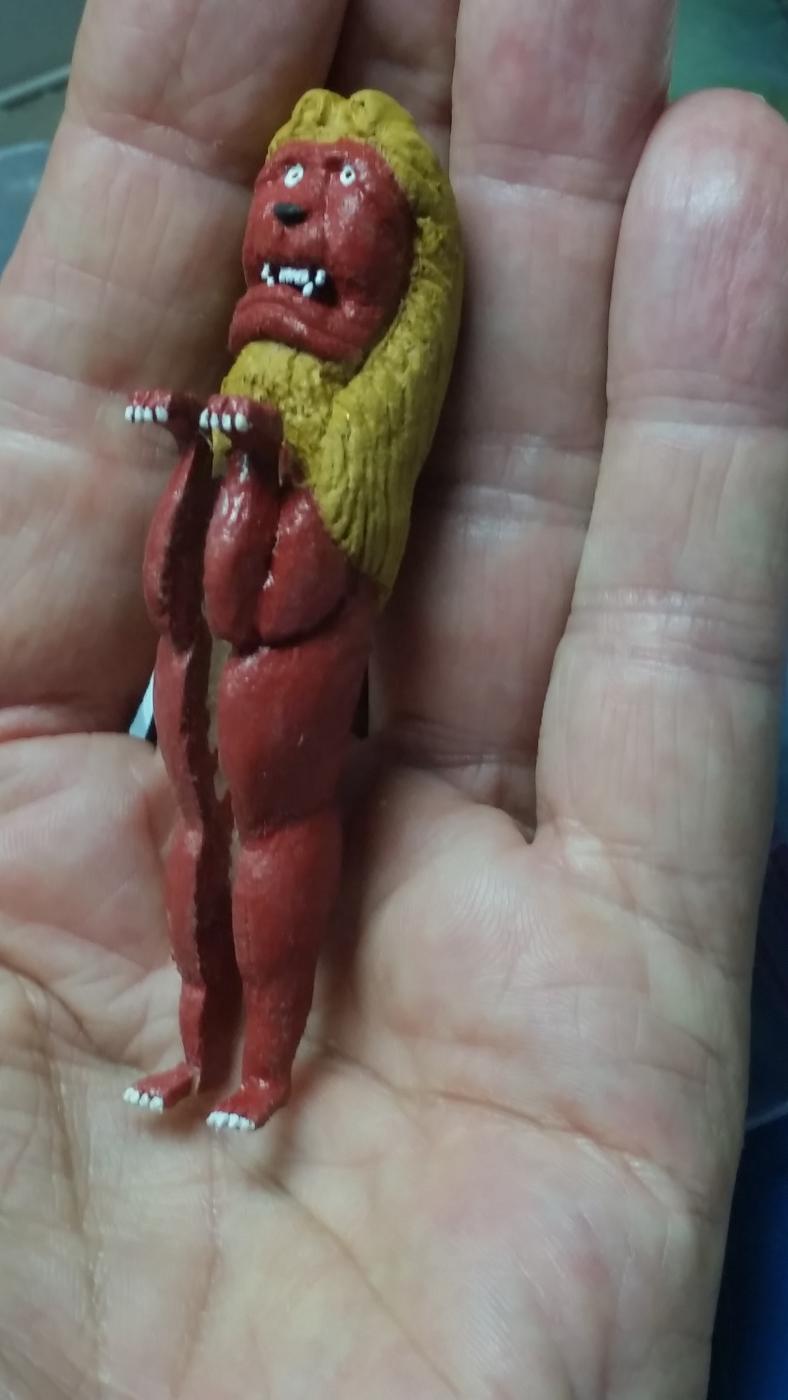
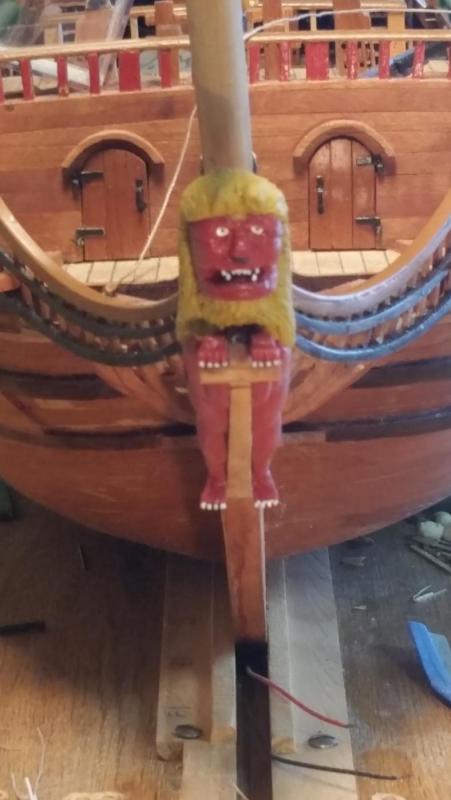
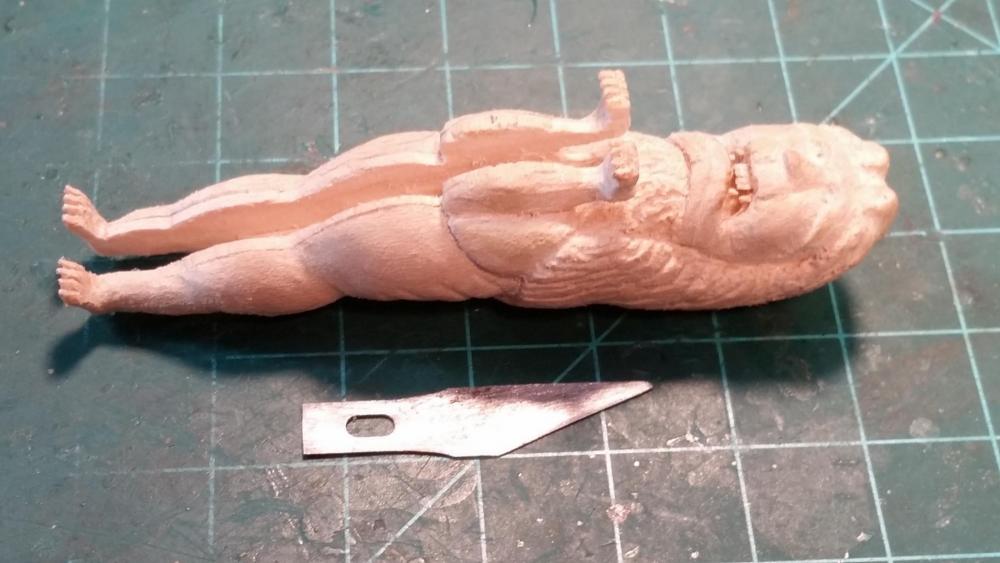
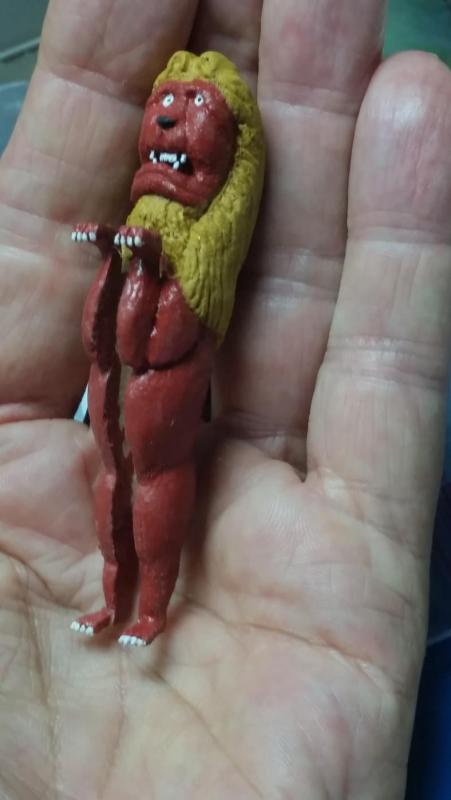
Thank you Mark and Carl for your encouragement and thanks to all who visited and clicked the like button. As far as getting the hang of it Mark, not quite, but getting there and the lion has teeth now Carl and is finally completed. Not quite what I had in mind but for a practice piece it's acceptable, As I mentioned before that basswood is a real bummer to work with. In any case, he's done now and I am planning to keep it removable from a reworked cut-water. I need to work on something else for diversion and think of another pose for the lion. There are a few I like and may just tackle one one of them as the final lion on the bow. I did a final sanding and brushing yesterday before applying paint. I used my front door red for the body and yellow ocher for the manes. Testor white for the teeth, claw nails and eye balls. I am thinking on starting with the ship's boats, which is also a real challenge for me and will try the plug method, whish me luck. This shows the bow lion in the completed but still rough condition. I first used some 360 grit sand paper to knock off most of the fuzz and followed up with a stiff wire brush in my Proxxon hand tool. At this stage it was ready enough for paint. A head-on shot of the painted bow lion. I put also a tongue in his mouth before I put in the teeth. The teeth are bamboo and the tongue is from copy paper that I first dipped in a wood hardener. The claws are from boxwood so I can shape them properly. The white eye balls I painted with the toothpick method as are the black pupils. Another view of the lion for a better perspective. Gwen said that I was nuts not using this one as the final bow figure and have to start over making another one. Well, perhaps she's right but if I am not happy than it'll eat at me for a long time, so I'll make another one, it's only time I spend. Cheers,

-
Van harte gefeliciteerd Sjors and many more to come in good health. Cheers,
-
Thanks for the nostalgic history Denis and great pics. Being an airplane guy I am totally befuddled by what you are doing, but it looks great. Cheers,
-
Nice and logical solution on the deck stanchions Nils. Yes, those scale figures are really helpful, aren't they? Great progress. Cheers,
- 2,625 replies
-
- 5
-
-
- kaiser wilhelm der grosse
- passenger steamer
- (and 1 more)
-
Nice going Nils and the improved stanchion does look much better. Cheers,
- 2,625 replies
-
- 5
-
-
- kaiser wilhelm der grosse
- passenger steamer
- (and 1 more)
-
Very nice progress on the hull Denis. Cheers,