MORE HANDBOOKS ARE ON THEIR WAY! We will let you know when they get here.
×


GuntherMT
-
Posts
2,213 -
Joined
-
Last visited
Content Type
Profiles
Forums
Gallery
Events
Everything posted by GuntherMT
-
Coverage question?
GuntherMT replied to vossy's topic in Painting, finishing and weathering products and techniques
I have no idea how much paint it will take to cover your specific application, but I would expect a single bottle to cover the painting of the red on even a 1:200 scale model. My general experience (keep in mind, that isn't a lot) is that you will get more coverage out of a given amount of paint using an airbrush than you will using a brush. This is of course if you don't waste a bunch by putting too much into the airbrush each time and don't recover it back to the bottle when done. Your mileage may vary of course, but my experience says you should have no problem. Easy approach would be to simply do your first coat and see how much paint you've used, and guestimate from there whether you have enough depending on how many coats you expect to do. -
No idea how 'authentic' they are, but the blocks on the HMS Surprise in San Diego are rope-stropped and the stropping is not served.
-
It is looking great Julie. CA can prevent stain from taking, so if this is a single planked hull, that might be an issue if you are planning to stain. If you are painting, then nevermind.
-
Allan, I have no idea when the entire strop should be served vs. not. Do a Google image search on "stropping a block" and you'll find a number of beautiful images of blocks, some have the strop served, some do not. Personally, not going to happen at the scale I am working at, but it's something that I might consider on larger blocks at say 1/24 scale. Even if I could manage it and it looked good at 1/48 or 1/64 scale, the resulting line would be very difficult to fit tightly against a 5/32" block which is what was mostly used in those photo's. Edit: You might find this link interesting - http://forum.woodenboat.com/showthread.php?126229-Wooden-rope-stropped-blocks
-
Mike - Do a Google image search for "stropping a block". You'll get a good idea from that, although most good images are more modern, but the technique itself is probably still pretty accurate.
-
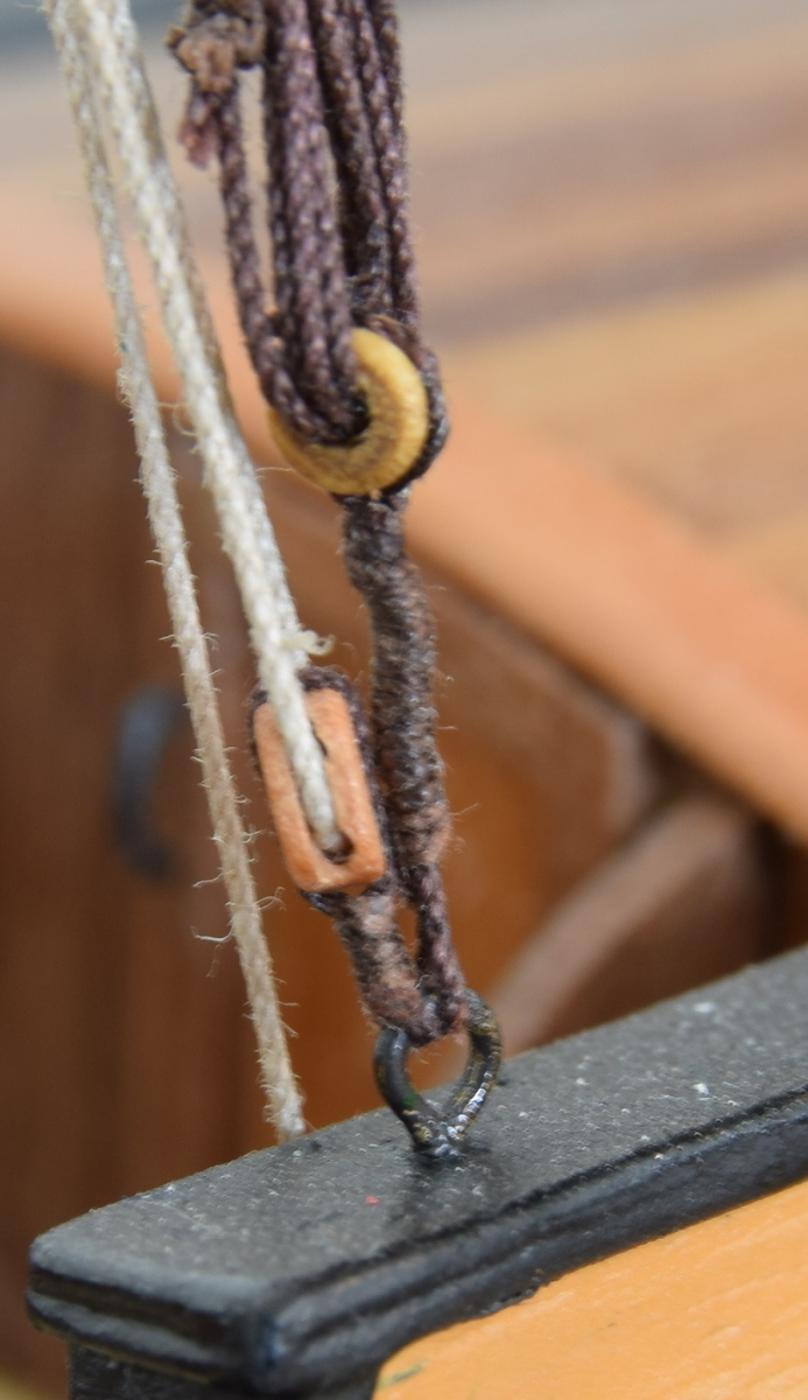
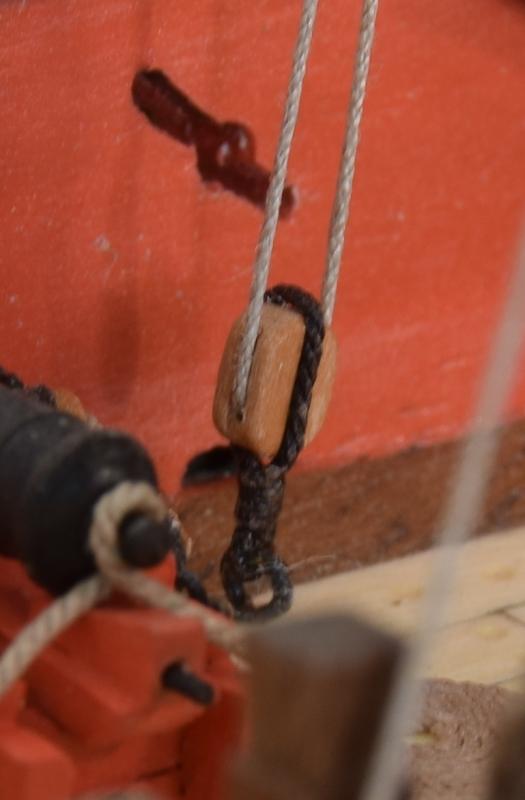
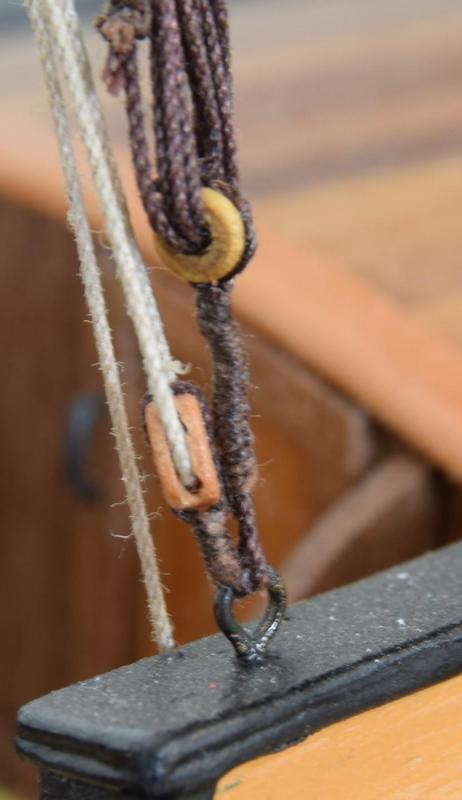
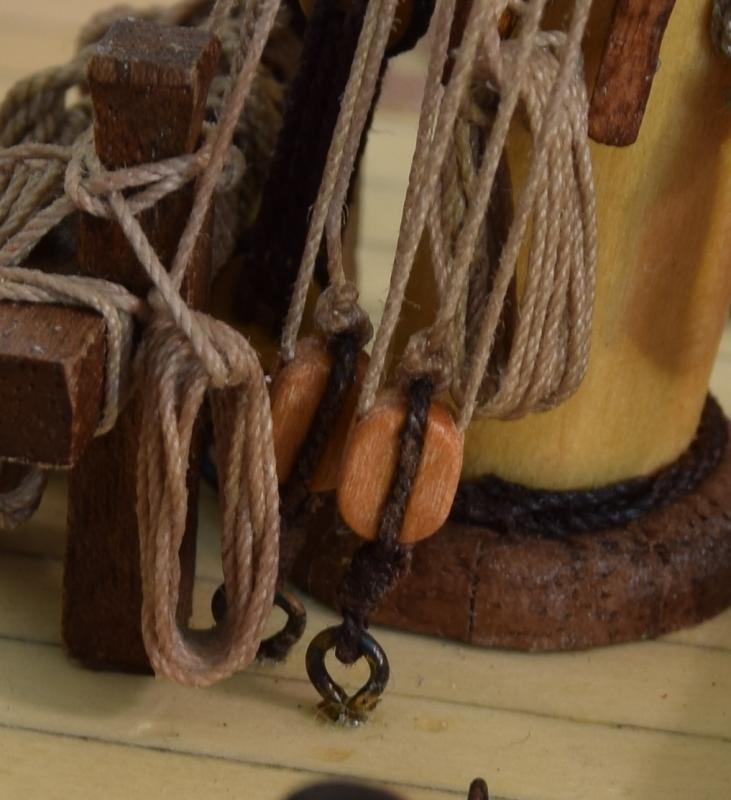
re: Strop - My understanding is that it's the bit that goes around the block only. Yes, that is just a single piece of rope. I wrapped the 'strop' around the block and captured the tan line that attaches to the top of the block, and then seized the rope together below the bottom of the block and only trimmed one piece off, then used the same rope to go down to the eyebolt where it was seized. This was all done off the ship, and then the eye-bolt was glued in place. My thought on making this with separate strop vs. the line going down to the eye-bolt was that it would be introducing more difficulty, and would likely look worse after it was completed when looking at it without super 'zoom' action from the camera. I think that the seizing looks good on the model, and adds something to the overall effect, but having the lower line 'captured' by the strop like the top line is would require making a proper strop with an eye on each end of the block which I did not think I was up to at this scale (since it would require a splice around the block, as there would be no 'end'), and on only my 2nd model. Not sure the end result would look any better either, but it might, who knows!
-
I use thread for seizing. Specifically a #50 thread I find to work very well, and I use a color appropriate for whatever rope I'm seizing based on the best guess I can make from reading all sorts of logs and books about it. As far as the blocks go, no idea if it's technically correct, but I did it like this if it helps you at all: The strop around the block is simply seized to the eye-bolt as a single piece. Probably not correct, but unless you are doing super macro shots like this, you can't tell by looking at the model that the strop is the same piece of rope as the one around the eye-bolt.
-
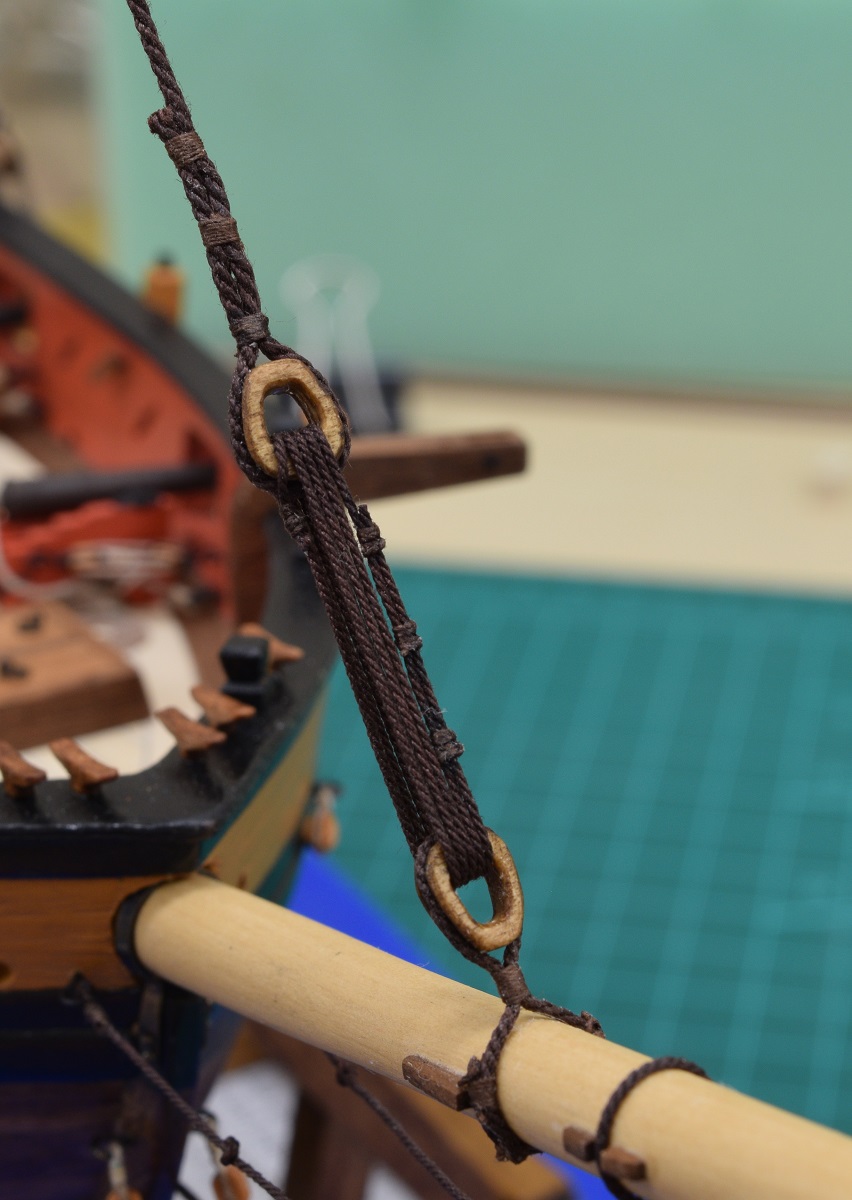
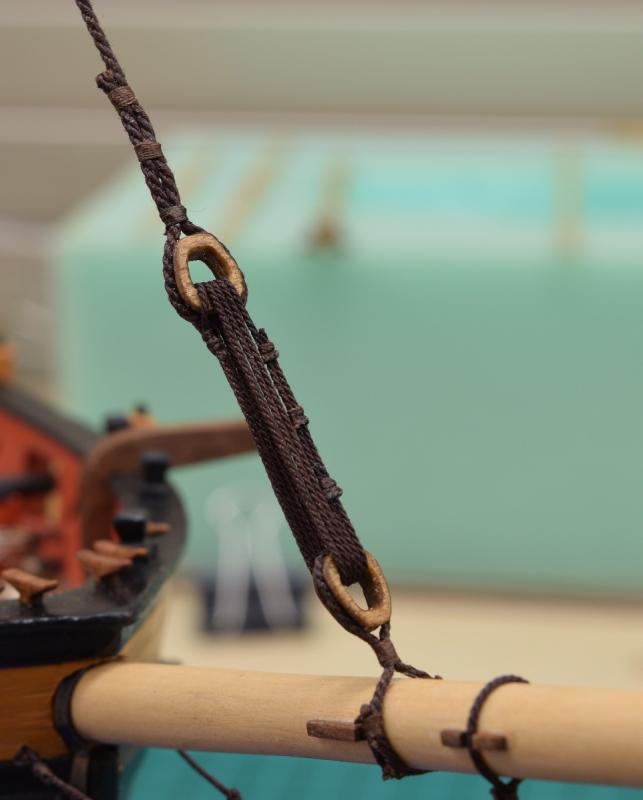
I did it as described by Allan. Eye-splice to the top heart, and then seized to itself coming up from the bottom heart.

-
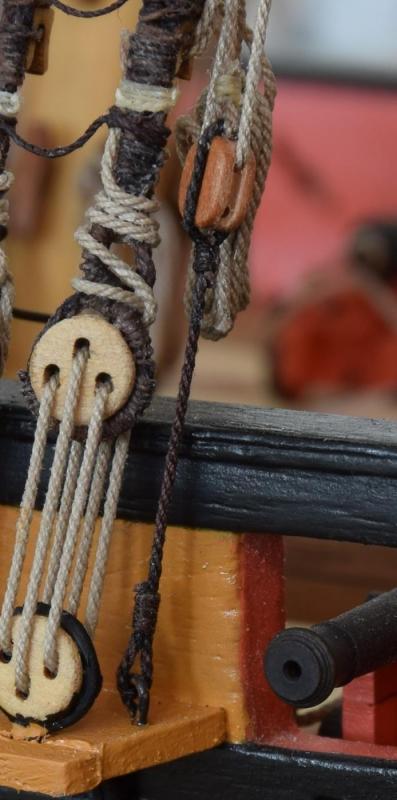
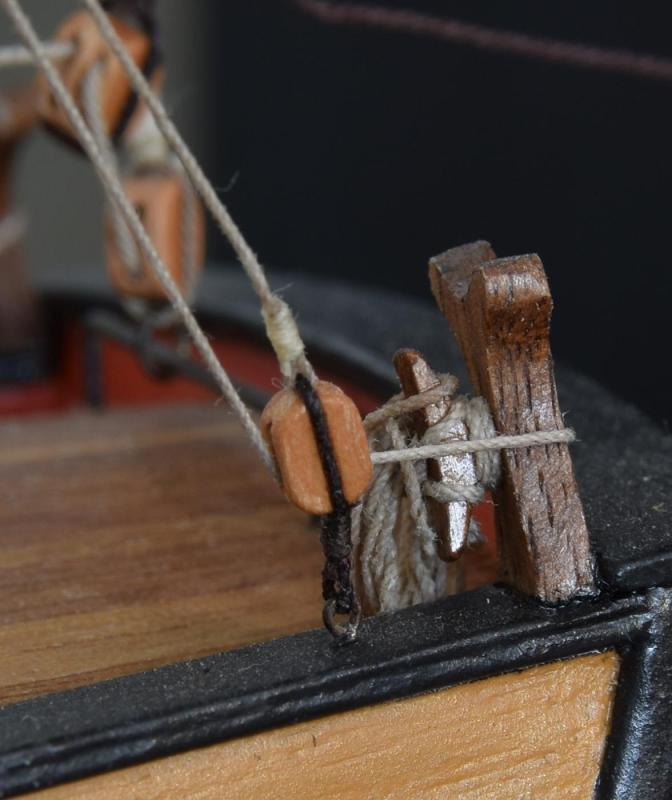
Mike, The ones you have circled look like the rope is seized directly to the eyebolt with the appropriate length to the block in the 2nd one, and the first one is just a line that goes through the block from the rigging and is then belayed somewhere else, likely a cleat on the bulkhead. I had a number of lines like this on the deck of the AVS where the line is simply attached to an eye-bolt and then run to a block. The other ones that you don't have circled appear to be blocks that are stropped to the eye-bolts. I can take some pictures of the ones on my deck if you think it would help you any, as it appears that I don't have any photo's from my log that actually focus on those particular items.
-
Looking good. Out of curiosity, did the workman or his employer offer any sort of compensation for the damage and your time needed to repair? Personally I value my time greatly, and if someone who was hired to work in my home damaged something completely unrelated to the work they were hired for, you can bet that I would bill them (well, their company) for however many hours were required for me to repair it.
-
It depends on the block. Terribly helpful, I know. If it's standing rigging, I doubt it would have a hook, and likely the block would be stropped to the eye-bolt. If it's something where it might have slack in the line, and then the hook could come loose causing chaos/bad things, again I would think that it wouldn't have a hook. For all the eye-bolts on my deck that had rigging attached, I stropped the block to the eye-bolt before placing it on the deck. In some cases I realized too late that a block was attached to an eye-bolt, and I used pliers and removed the eye-bolt, stropped the block to it, and then put it back. Pay attention to what else is in the area, and make sure to do this prior to having stuff in the way (example - blocks near the mast base, make sure to put these in with the attached blocks before placing the riding bitt in front of/around the mast).
-
There are far too many people who take offense when someone doesn't like what they are doing (when it comes to opinion stuff). I personally wish more people would give me critical views, it's the only way I learn! Glad you took my words in the way they were intended. While it's nice to get kudo's, likes, and 'that is awesome', none of those in my opinion, help me improve as a modeler, although they certainly do help provide encouragement!
- 843 replies
-
- 3
-

-
- niagara
- model shipways
- (and 2 more)
-
One of the cool things about this hobby is that each model is unique based on who builds it. Personally I'd never use frapping because I don't think it looks good, but 'looks' are such a subjective thing that there is no right or wrong when it comes to that sort of thing. In the end, as long as you think it looks good, then that is what matters since you are the one that will be looking at it! I would have never thought of doing the frapping in a serving machine, but now that you've mentioned it, it's such an obvious thing, and really no different than me doing various bits of rigging (other than the full shrouds) between eye-splices in the serving machine. Just a good idea that clearly works!
- 843 replies
-
- 3
-
-
- niagara
- model shipways
- (and 2 more)
-
Based on that last photo (and I could be wrong it could be lighting angle and shadows), it looks like you might be learning the lesson on how important proper fairing of the bulkheads is. In the photo it sort of looks like your planks aren't landing smoothly across the entire face of each bulkhead, and that is causing your planking to be less than perfect. Regardless, I think you are correct and since this is the first layer of a double planking, you should be able to fill & sand to give yourself a nice clean smooth hull to put the 2nd planking layer on. If you use scale length planks on the 2nd layer that might also help you to get each plank to fit better, since you aren't fighting the entire hull length on every plank. Overall the lines look pretty good, so as long as you take your time with the preparation after finishing this layer, I think you'll be good.
- 194 replies
-
- 3
-
-
- armed virginia sloop
- model shipways
- (and 1 more)
-
primer model expo
GuntherMT replied to michael101's topic in Painting, finishing and weathering products and techniques
I *think* that all of Model Expo's paints are acrylics, so you should be able to remove it with water and/or alcohol. I personally found that ME's paints are really quite terrible, and will never use them again. I have switched to mostly Vallejo acrylics.- 1 reply
-
- 1
-
-
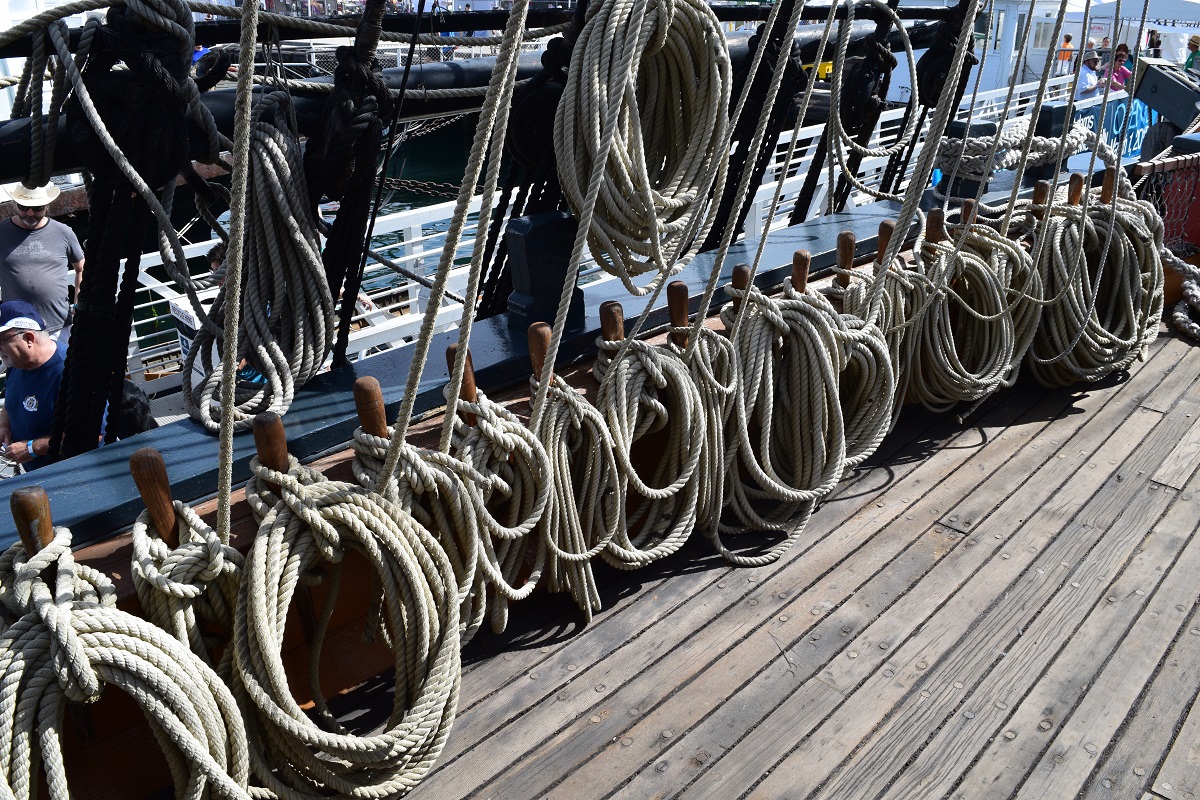
I used two things on my AVS, both seemed to work fine. Dilute (50/50) Weld Bond (white PVA) worked fine, takes a while to dry. I used this for all of my rope coils. Matte Varnish or Medium (I use Vallejo, and can't really tell the difference between the varnish or medium). Dries completely invisible on everything I've ever used it on. I find it great for things like securing a rope to a spar because it dries invisibly on both the rope (whether tan or black) and the wood. It's also great for repairing lines the come loose from spars (like lifts) as you just put the line back into place and then apply the varnish with a paint brush. So far (knock on wood) none of the lines secured this way have come loose when transporting the model hundreds of miles in the car.
-
Card models intrigue me and I follow your builds (and Doris O's creations are just amazing), but a couple of things are keeping me from starting one. 1) I have probably 8-10 years of kits on the shelf already (non-card). 2) Scale. I discovered doing my first 1:80 scale ship that I really don't like the smaller scales, and I don't plan to do anything smaller than 1/64 if I can help it, and the card models all seem to be 1/72 or 1/96. Mostly that first one though. Keep on showing us cool card stuff though, it's quite interesting to see.
-
Out of curiosity, why did you frap with larger line than the rigging through the blocks? Since the frapping is the loose end of the same line, it wouldn't be a different size. If you did it because you think it looks better, then cool, I'm just curious.
- 843 replies
-
- 3
-
-
- niagara
- model shipways
- (and 2 more)
-
Fantastic. I love watching the builds of this cross section, it's definitely on my 'to do' list, although I don't know when.
-
Kind of bummed, I was looking forward to meeting you Chuck. Hope you have a good time at the wedding.
- 269 replies
-
- 4
-
-
- Queen Anne Barge
- Syren Ship Model Company
- (and 1 more)
-
Looking good to me. As far as speed goes, you are making a lot more progress than I've been lately, so doing good!
-
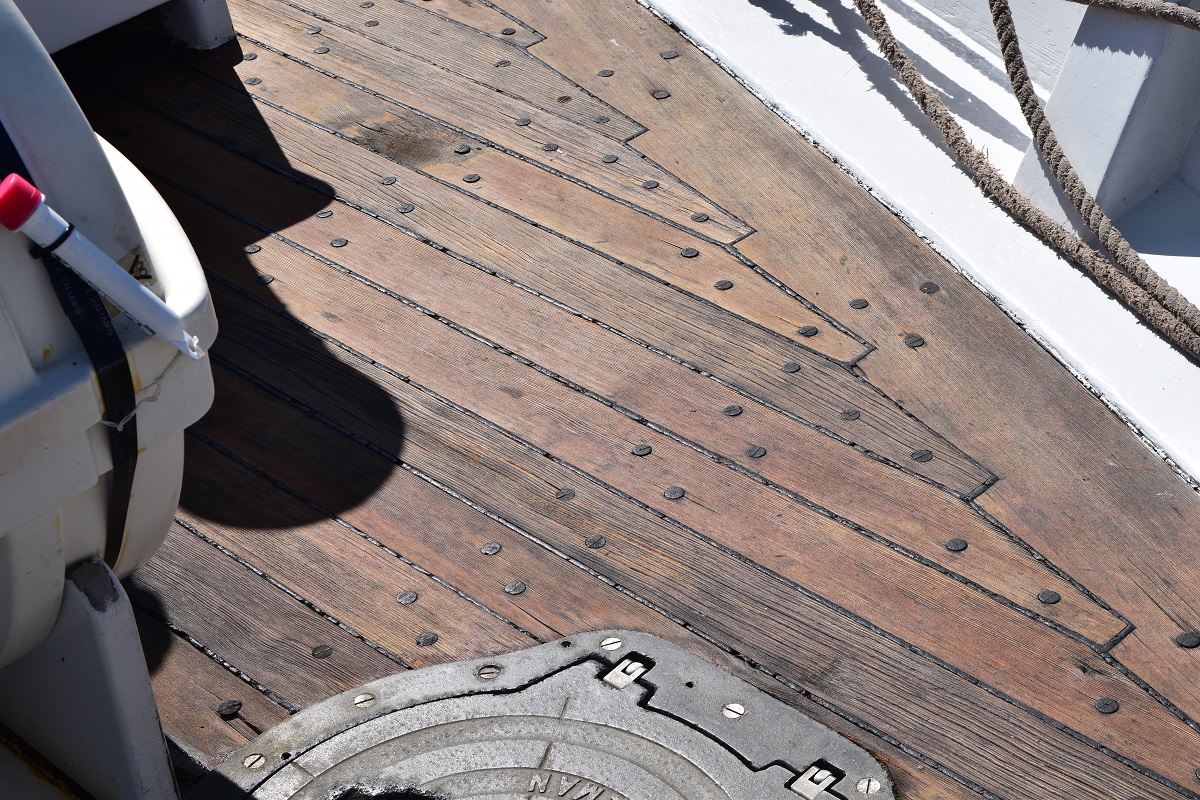
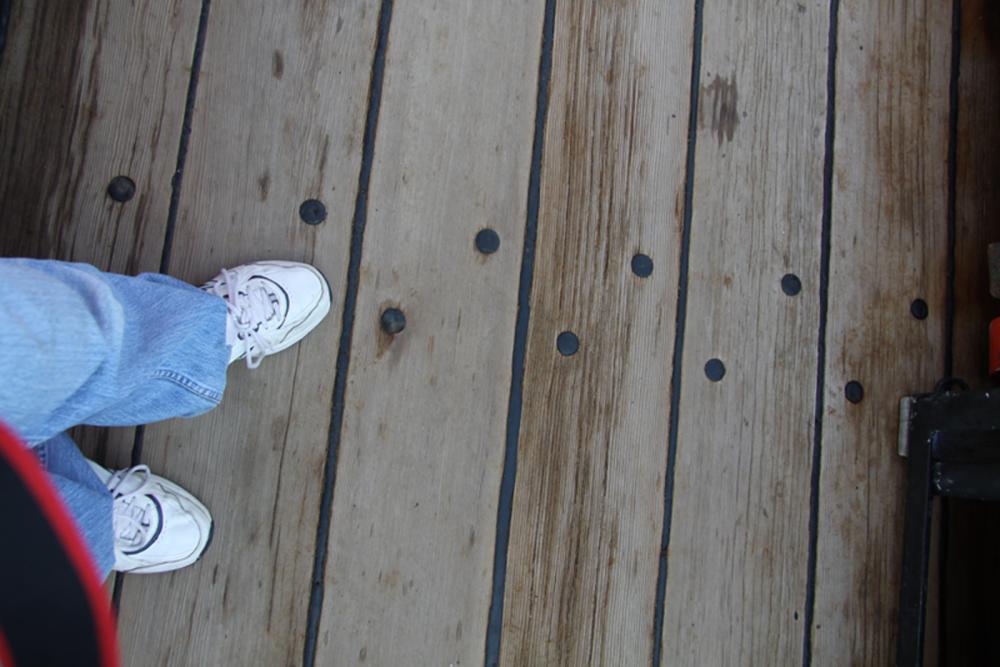
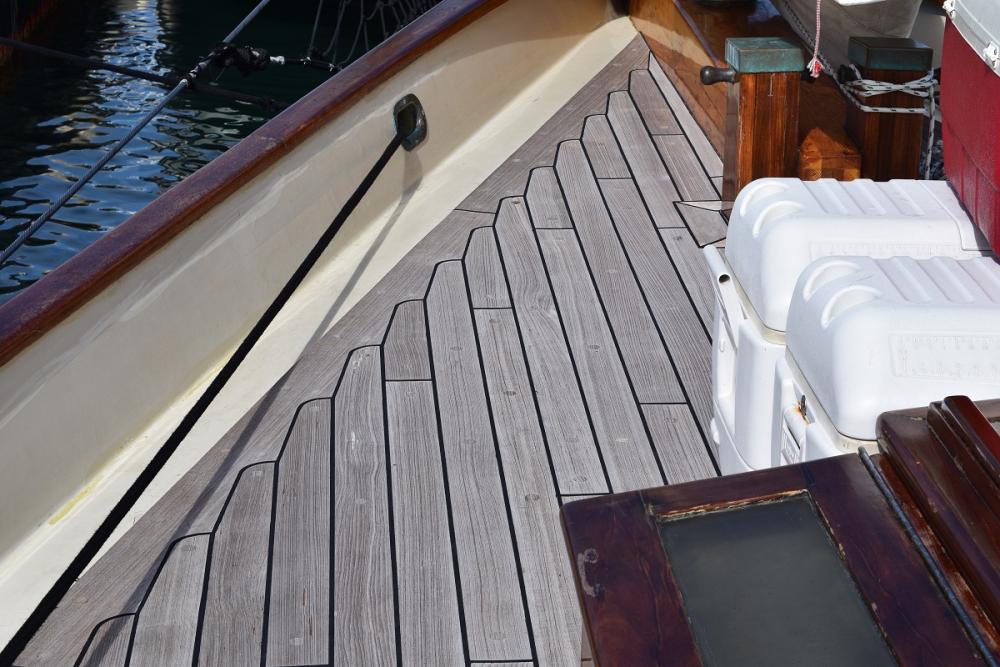
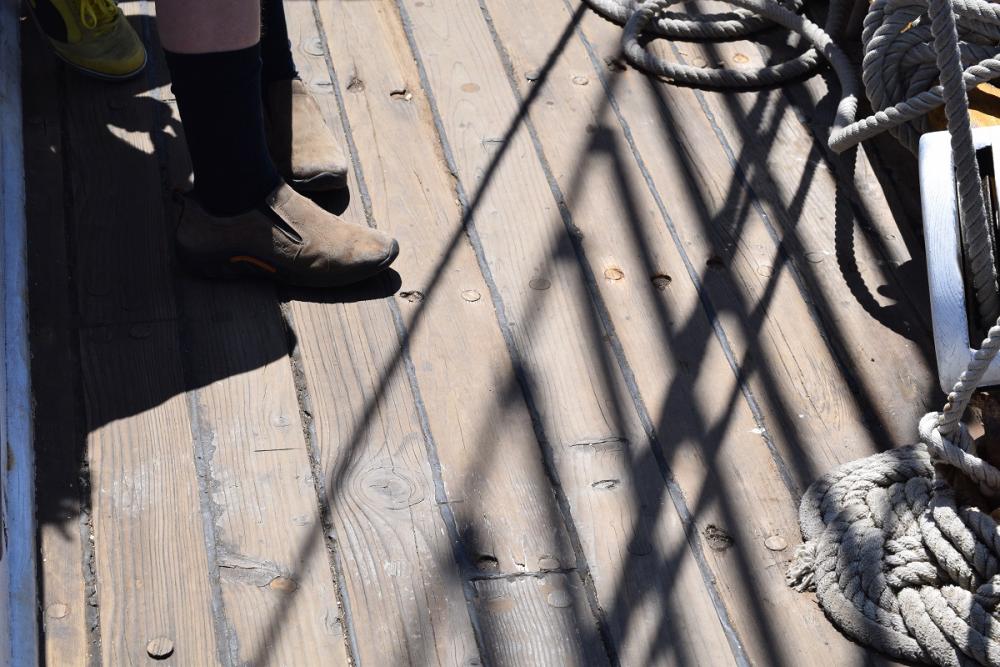
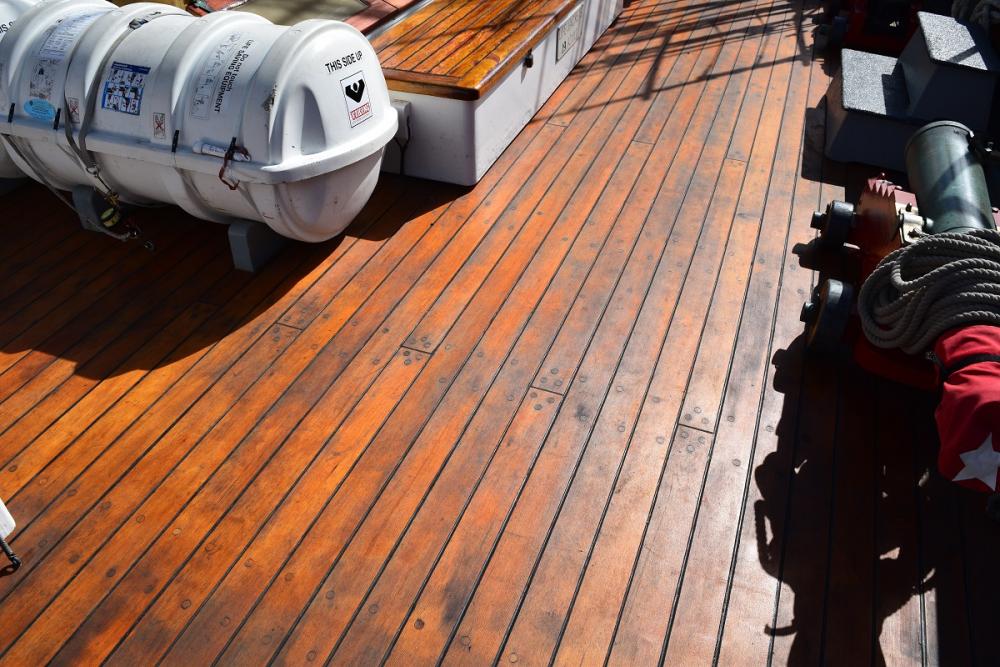
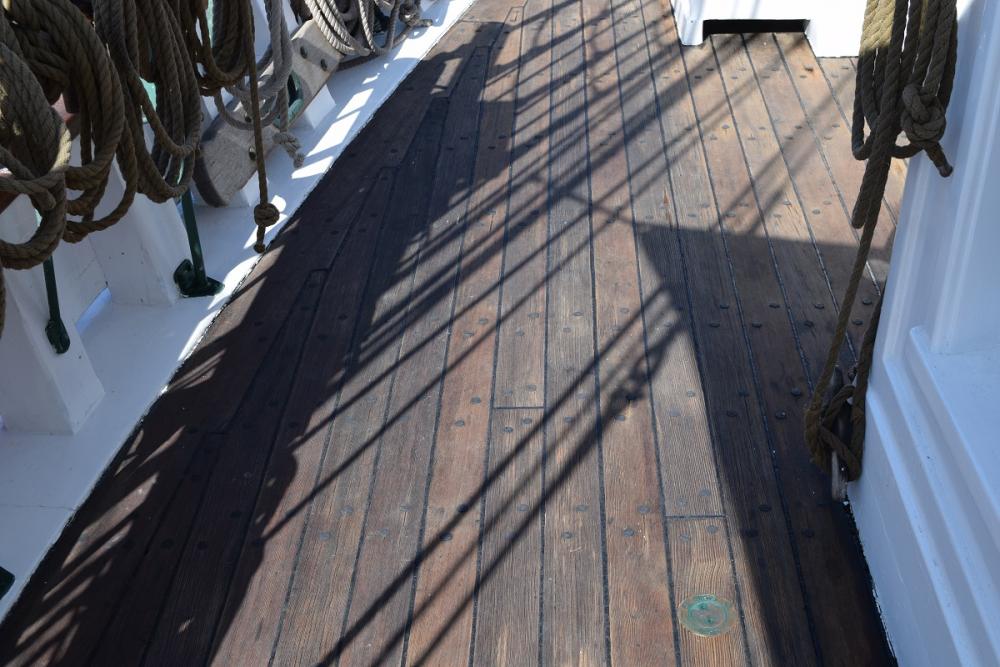
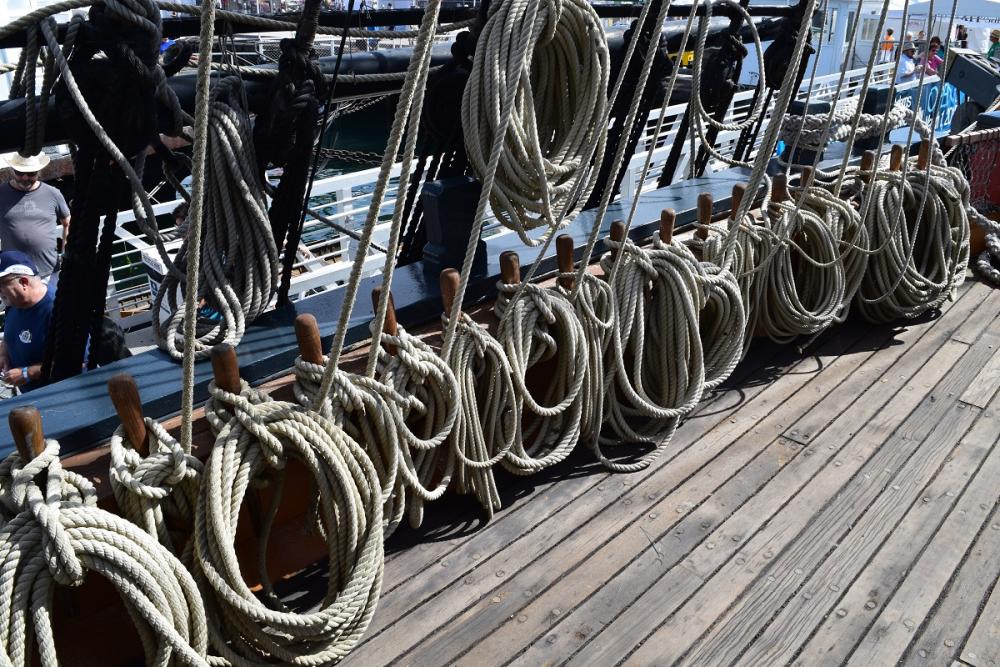
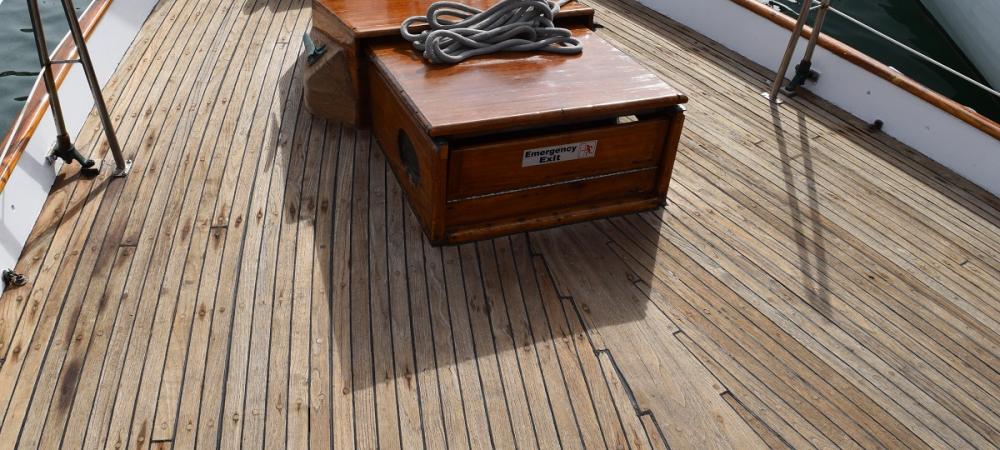
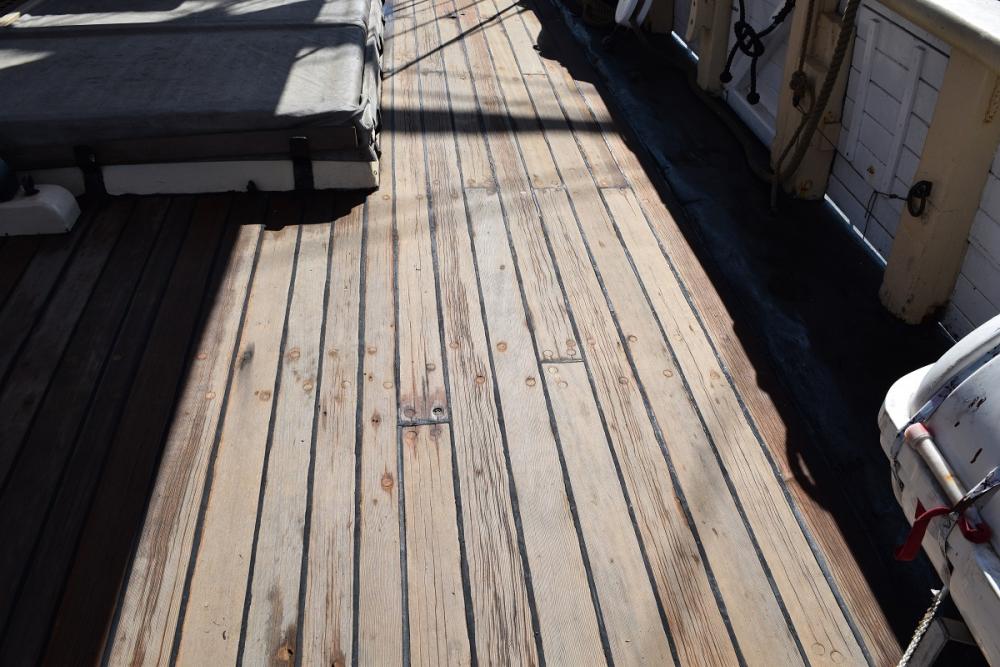
That is an overly general statement, as treenails (plugs) on decks vary wildly. While it might be true of the Victory, that is just a single point of reference... Here is the deck of the Endeavor: America - very subtle, but visible: Bill of Rights - Again, not high contrast, but certainly visible: Californian: Curlew Exy Johnson (or Irving Johnson) HMS Surprise Jada Pilgrim


-
I can't tell you if it's the "right" way or not, but I drilled the holes, filled them, scraped/sanded and then applied the finish (I used wipe on Poly). I also made a couple of test deck planking sections and experimented with different fillers and hole sizes and then applied the finish in order to determine what specific size and filler to use to get it to look like I wanted. I have an index on my first post of my AVS build log (link in signature) so you should be able to find the decking sections fairly easily if you haven't seen it. If you apply the finish first, you'll just end up having to apply another coat after doing the treenails, and then you have to deal with scraping/sanding a deck covered with whatever finish you are using, which will probably gum up your sandpaper pretty good and be removing the finish anyway.
-
The detailing you put into your ships, and the research that allows you to know *what* detailing to add is fantastic. I continue to be impressed by how well you manage such tiny parts and add things that are historically correct, but that nobody other than you would probably realize was missing if you didn't add it and tell them. Great work.
- 342 replies
-
- 9
-
-
- dreadnought
- zvezda
- (and 2 more)
-
I think edge-bent (or spiled) planks would look better, but as you've already discovered, walnut is a very splintery wood so you might run into trouble using it like that. On the other hand, I have no idea which method is 'correct' for this ship, and whether that was part of the design of the model.