HOLIDAY DONATION DRIVE - SUPPORT MSW - DO YOUR PART TO KEEP THIS GREAT FORUM GOING! (Only 44 donations so far out of 49,000 members - C'mon guys!)
×


BobG
-
Posts
3,109 -
Joined
-
Last visited
Content Type
Profiles
Forums
Gallery
Events
Everything posted by BobG
-
How to seal acrylic paint?
BobG replied to Bill97's topic in Painting, finishing and weathering products and techniques
Mike, I often find that rattle cans have a tendency to "spit" tiny blobs occasionally even when I'm consistently shaking the can and wiping the nozzle. Did you have any problems like that using the the product you referenced? I'm going to be using Vallejo Air Acrylic paints to paint the hull of the Pen Duick that I'm building currently. It looks like the hulls of these racing sailboats have very polished finish. I've been wondering what will be the best way to obtain that kind of finish on the hull so this product may be a possibility. I'm not sure whether semi-gloss or gloss would be the way to go either. -
Wonderful craftsmanship, Jean-Paul! Your build is on its way to becoming one of the finest Medway Longboats ever.
-
The same thing happens to me and, unfortunately, I glue my fingers to the planks occasionally as well. I often use the CA debonder when I have my fingers stuck to a plank and, after I'm finished planking for the day, I'll use the debonder to dissolve any residual glue on my fingertips and then wash my hands thoroughly. I use this same technique for filling minor gaps and cracks. However, when I do this to fill minor gaps in the planking, the "caulking" line between the planks gets filled in and the separation between the planks at that point is lost. I will sometimes lightly run a sharp #11 blade or a scalpel along the line before the PVA completely hardens to try and restore the simulated "caulking" line. It doesn't always match the rest of the line perfectly but I think looks better than no separation between the planks at all where the slurry has been used. I'm wondering how you manage this when applying the PVA and sawdust mixture?
- 195 replies
-
- 2
-

-
- lady eleanor
- vanguard models
- (and 1 more)
-
I'm really excited to watch you build this beautiful ship, Don. I find that fairing the hull can be an exercise in uncertainty for me. I never quite know if I've taken off enough or too much even though I'm using a batten to constantly check it. Hang in there! You'll may well be leading the way for me soon...
- 144 replies
-
- 1
-
-
- winchelsea
- Syren Ship Model Company
- (and 1 more)
-
They're in San Leandro in the East Bay, Justin. It would be a fairly easy 1 hour 40 minute drive from Sacramento depending upon the time of day. You would want to time your visit to avoid rush hour traffic. Rush hour anywhere in the Bay Area is a nightmare.
-
Thanks Mike. I've browsed eBay a few times and couldn't believe how high the prices are for Pocher kits. So many people have been at home due to the pandemic and they finally have much more time to pursue hobbies which may be driving up the prices. Prices for things like jigsaw puzzles, exercise equipment and even flour and yeast, since it was rarely available at the grocery, went through the roof! I have time to keep looking though since I need to cut my teeth on some much less expensive models before I plunk down a big chunk of cash for a Pocher kit.
-
WOW!! Like everyone else is saying, Grant: this is an astonishing beautiful build! Now you've made me think that I have to build at least one of these Pocher cars someday soon...the cost be damned! I think it would be worth it...
-
Wonderful planking job, BE, and an excellent build log as well! I have the Lady Isabella, which has a very similar hull shape, and will refer to your planking posts as a guide when I plank the hull. Do you use medium viscosity CA? I used it exclusively for planking the hull of the Pen Duick I'm currently building. I tend to use it quite a lot and prefer it for planking since I don't have to engage in all kinds of creative clamping and waiting for glue to dry. However, sometimes I have a problem with it not grabbing securely and I end up having to lift the plank a little and sand the area lightly before reapplying the CA. That usually happens when there is still too much tension in the plank. So I probably need to spend more time getting the plank to lay more quietly without any tension before gluing it. I like your idea of only using it when you need a quick grab at the ends of the planks and necessarily using it on the entire length of every plank. I'm really enjoying following your build.
- 195 replies
-
- 2
-
-
- lady eleanor
- vanguard models
- (and 1 more)
-
That's great news, Chris! I've always had good online shopping experiences with Ages of Sail. I do think they could make a few minor improvements to their website which would improve the viewing experience for their customers though. I hope to visit their store soon too since they are only 1 1/2 hours from my home.
-
Thanks, Don. I'll be following along with your Winnie build. I'm assuming that's what you are working on now...? Who knows, your build may give me the confidence and inspiration to tackle the Winnie sooner than later as well...
-
Thanks, Harry, I've never heard of automotive "Spray Putty" but I'm curious about it and will look into it. I have only used Elmer's Wood Filler sparingly before and it was ok but kind of messy. It's the kind that goes on purple and changes color to yellowish white when it's dry. I forgot to say in my post that I will add the bulwarks before continuing with filling and sanding the hull though. There isn't much surface area from the deck down 3 mm on each bulkhead for the bulwarks to adhere to so I think this step could be tricky. I will probably go ahead and sand the contour of the bulwarks from the stern to the bow also and perhaps shape the cutout area of the bulwarks at the bow before continuing with finishing the hull. I'll make my decisions as I go and hope I don't mess it up! Cheers!
-
I'll say it again...that deck is drop dead gorgeous!
-
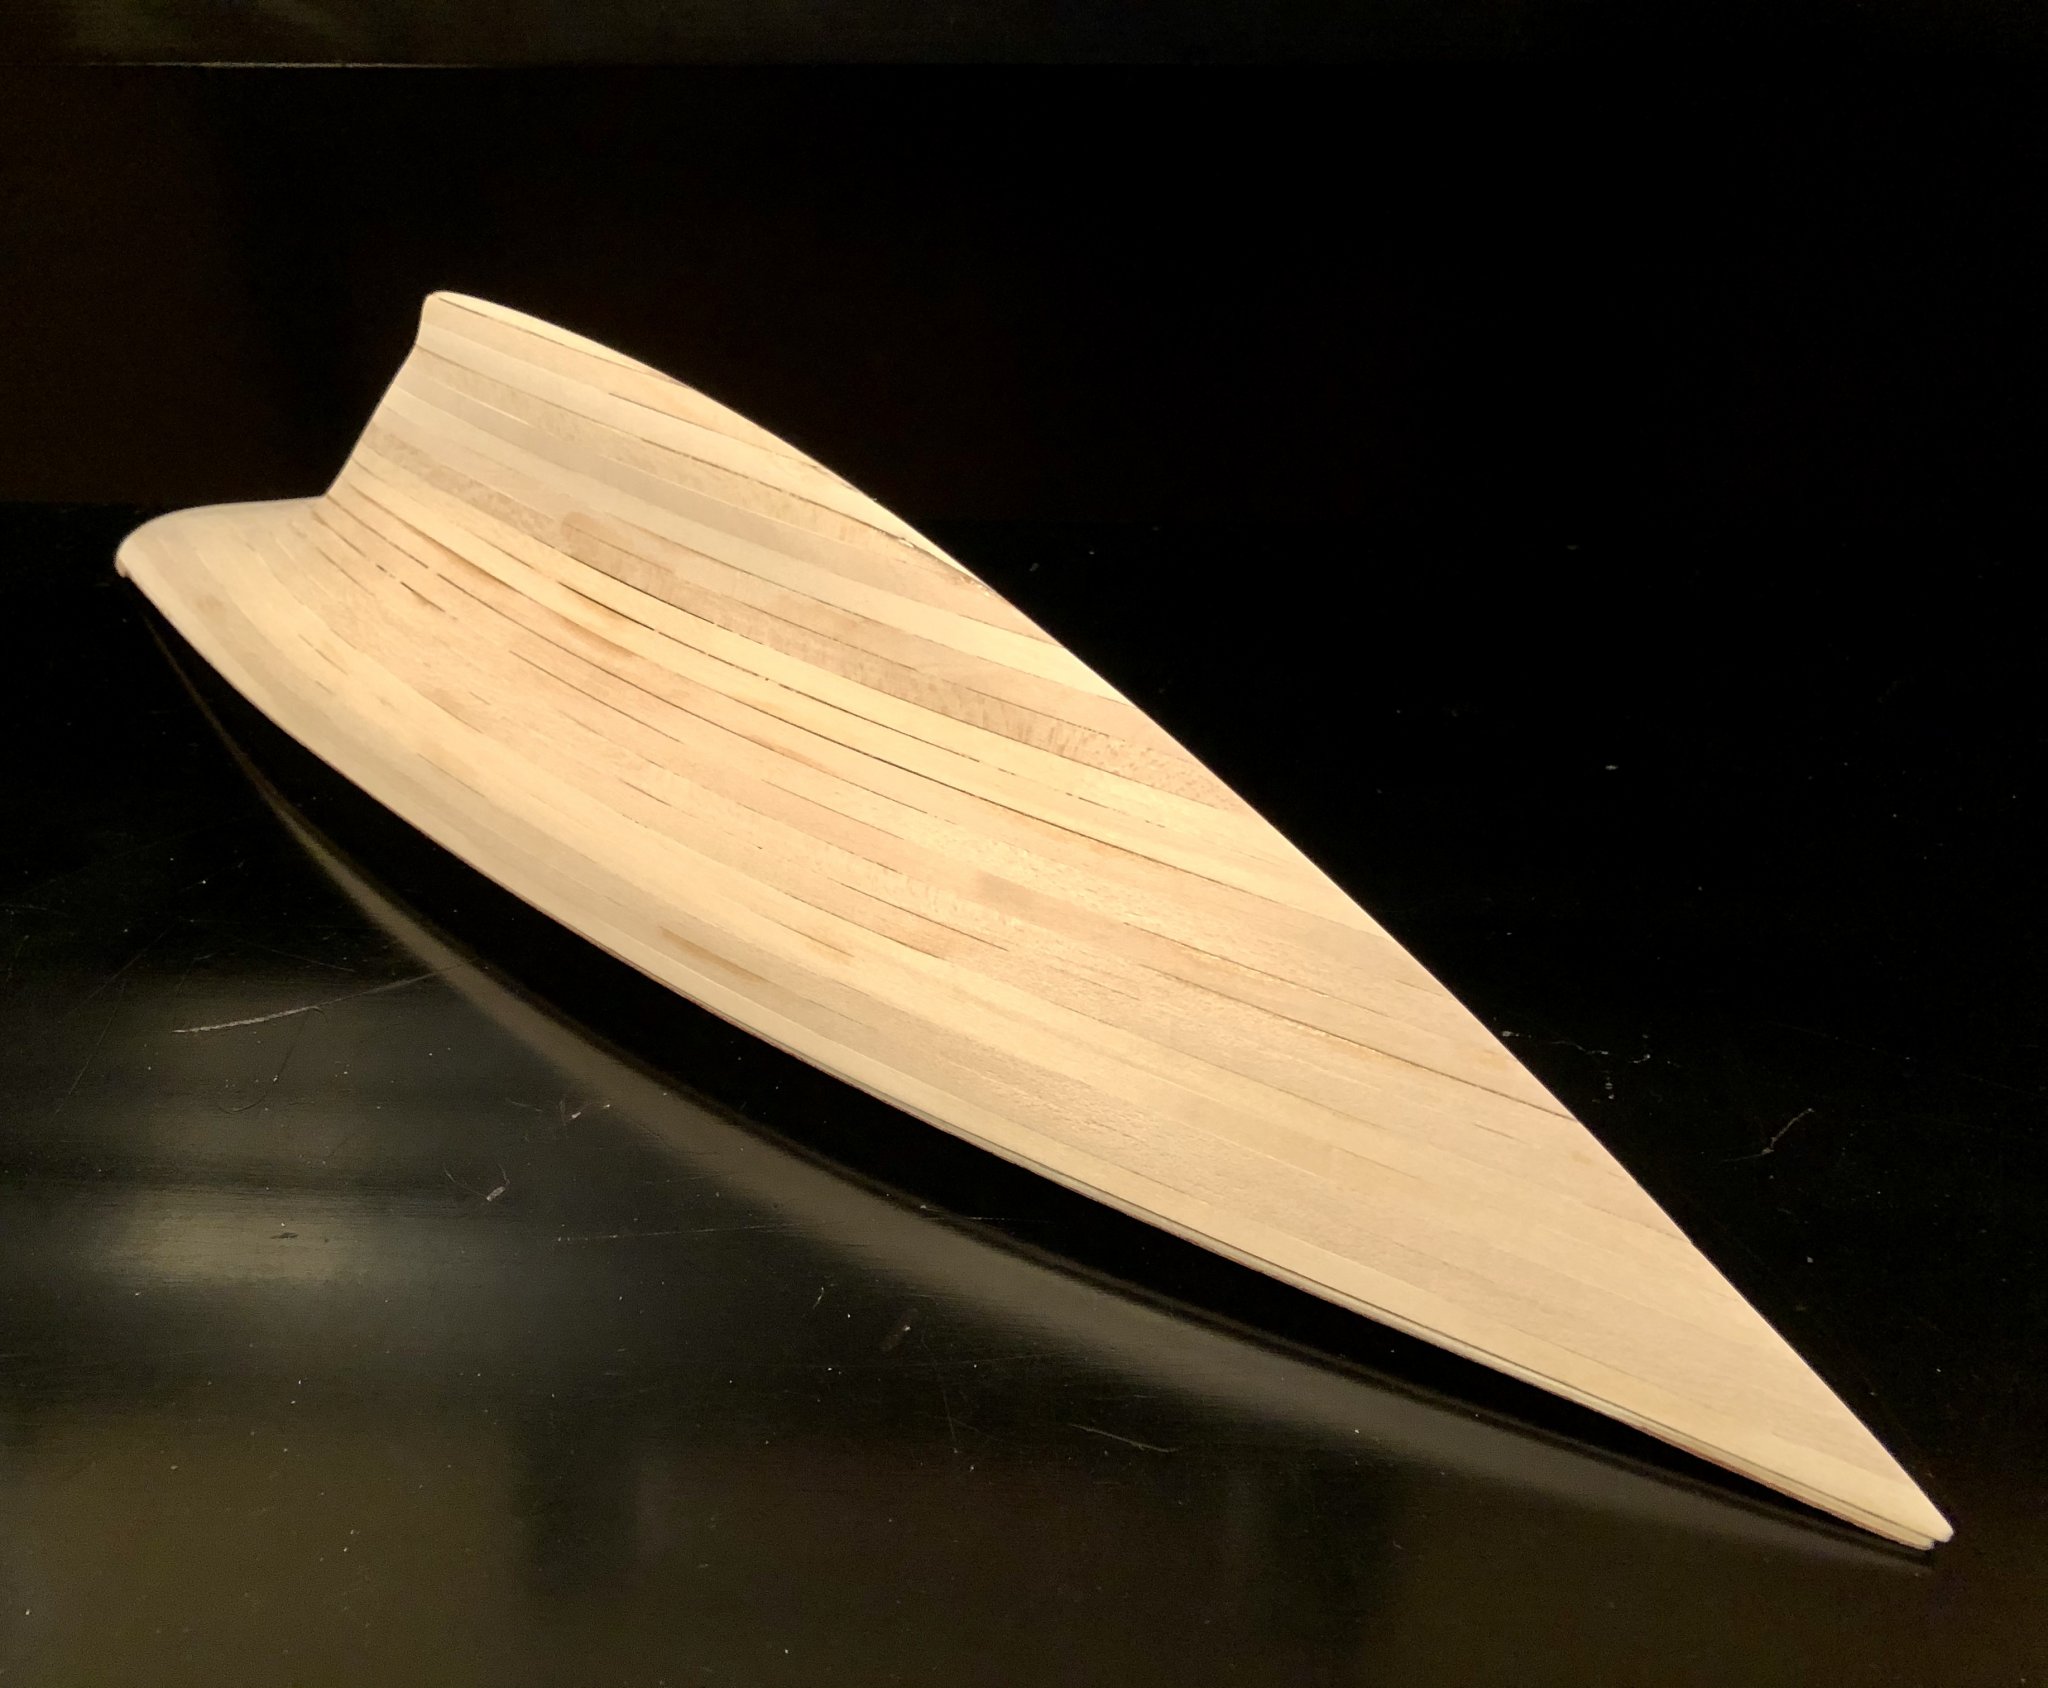
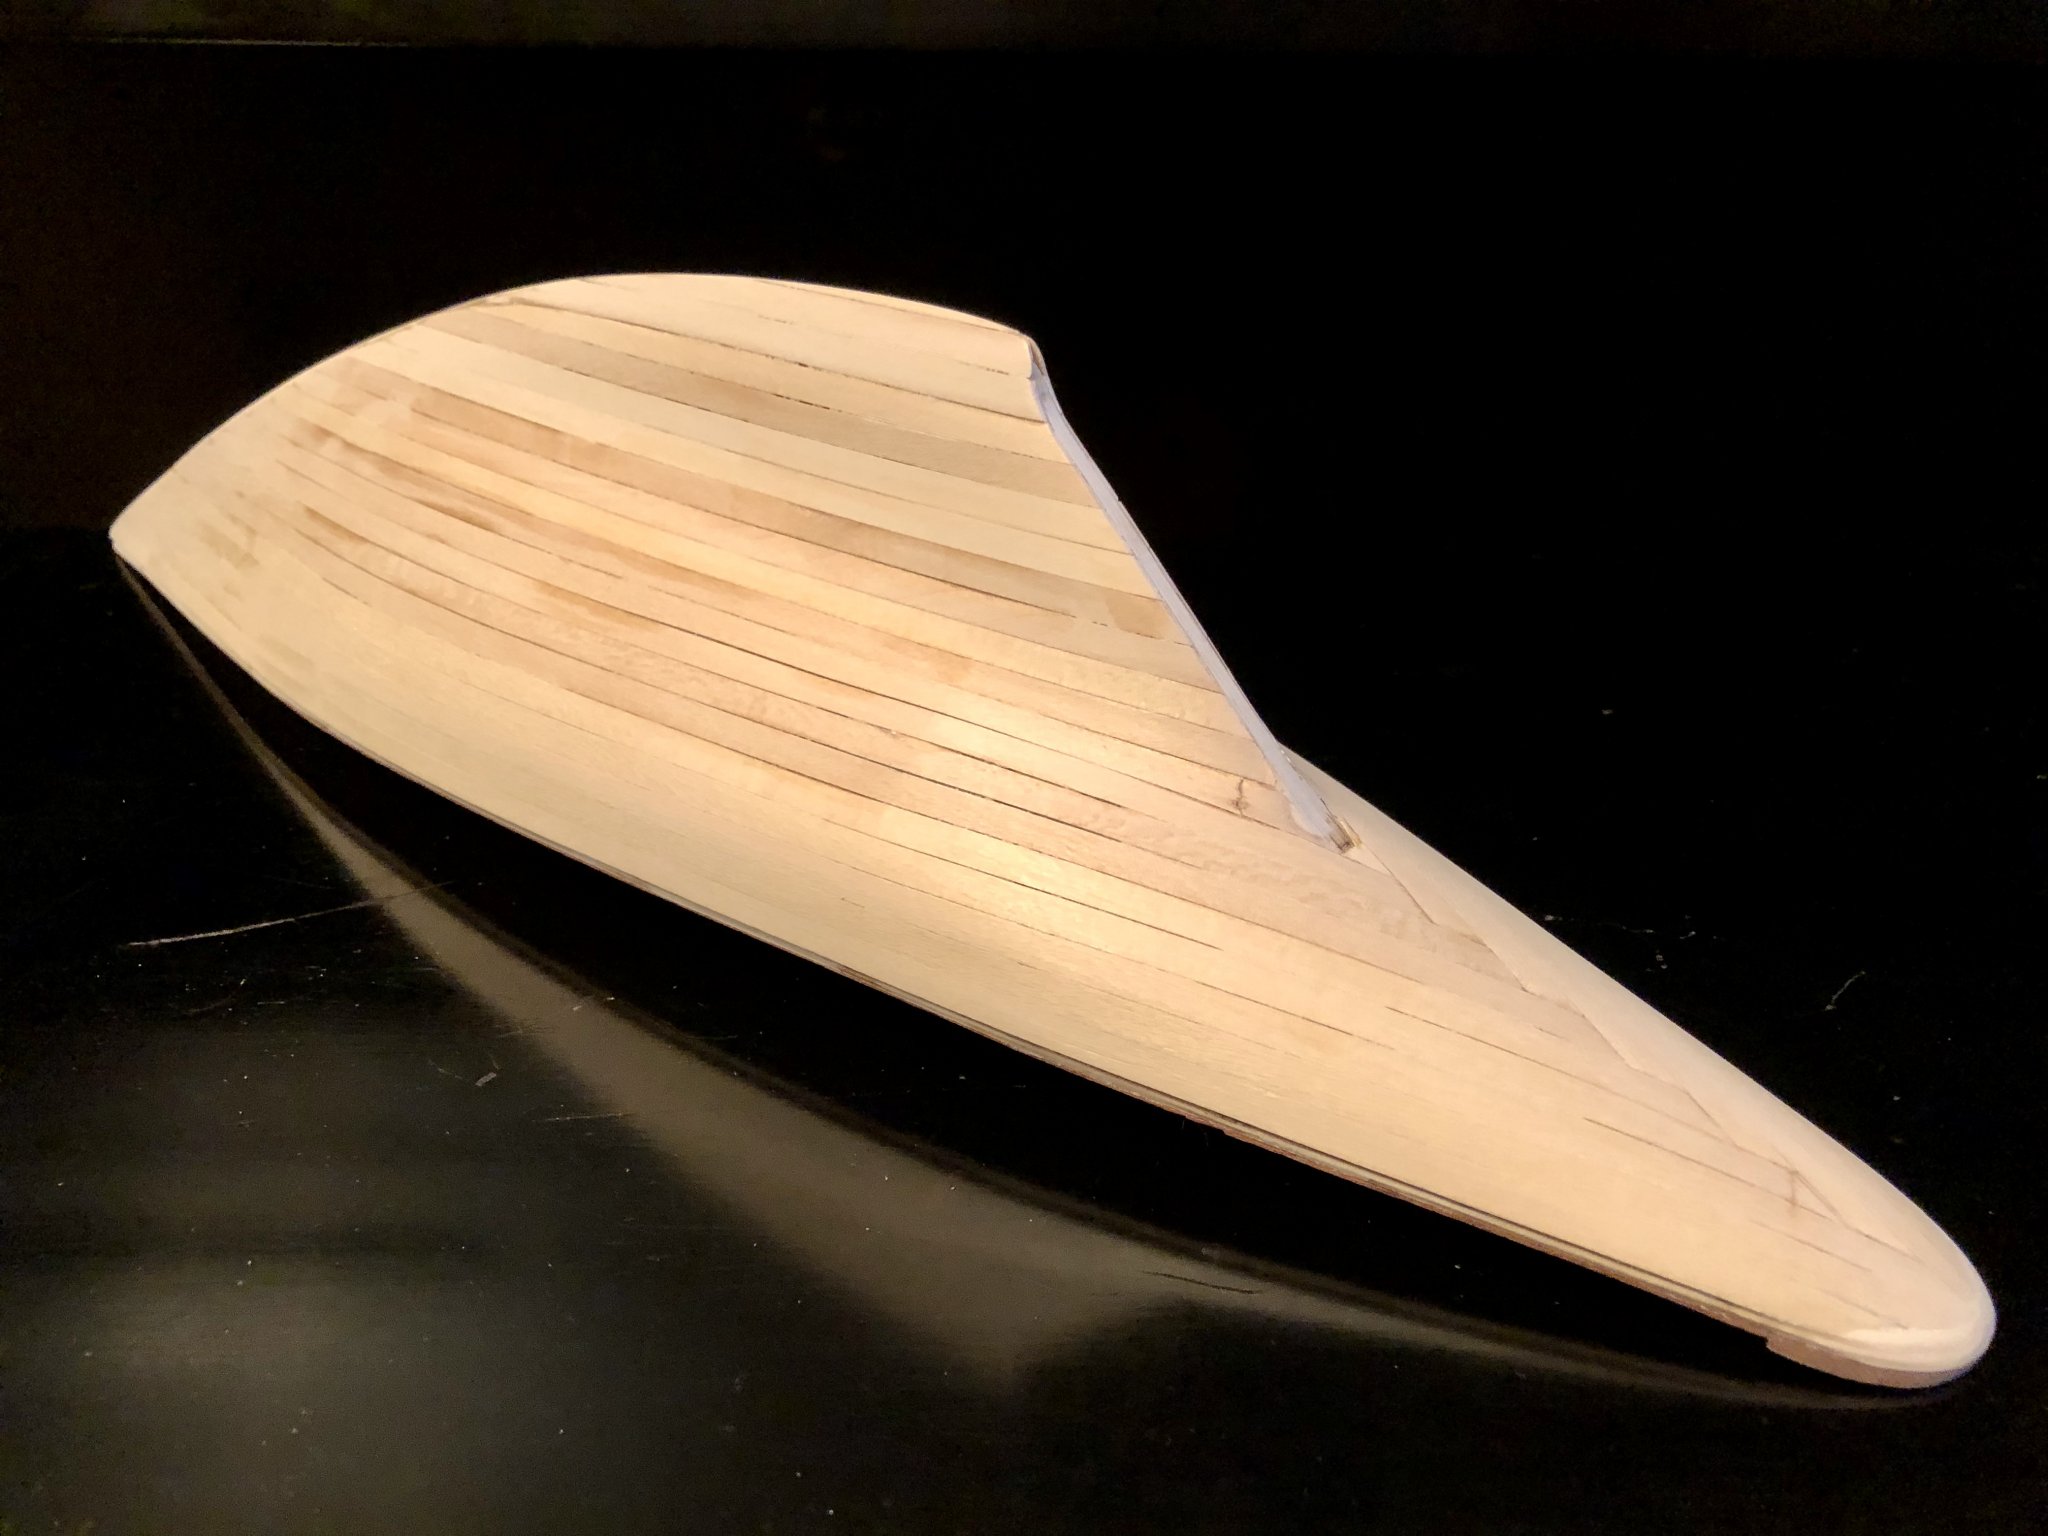
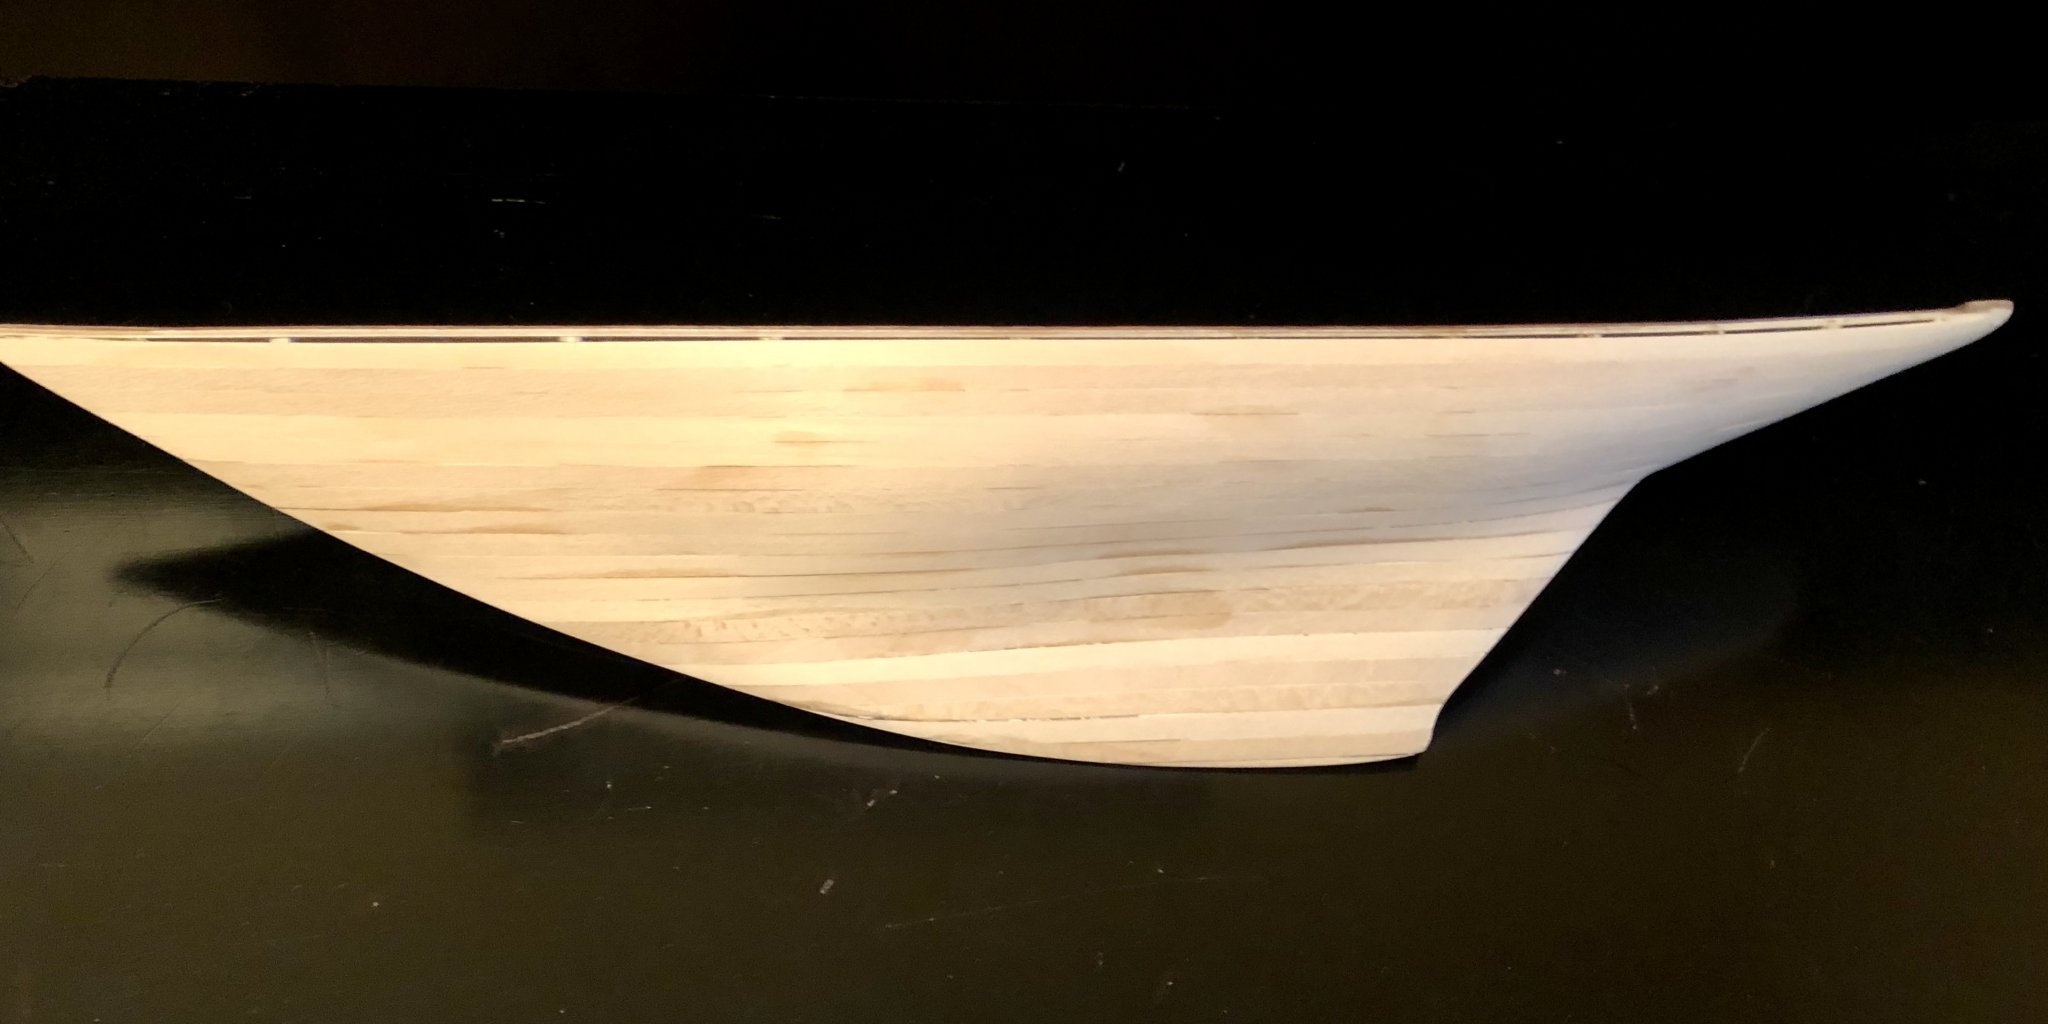
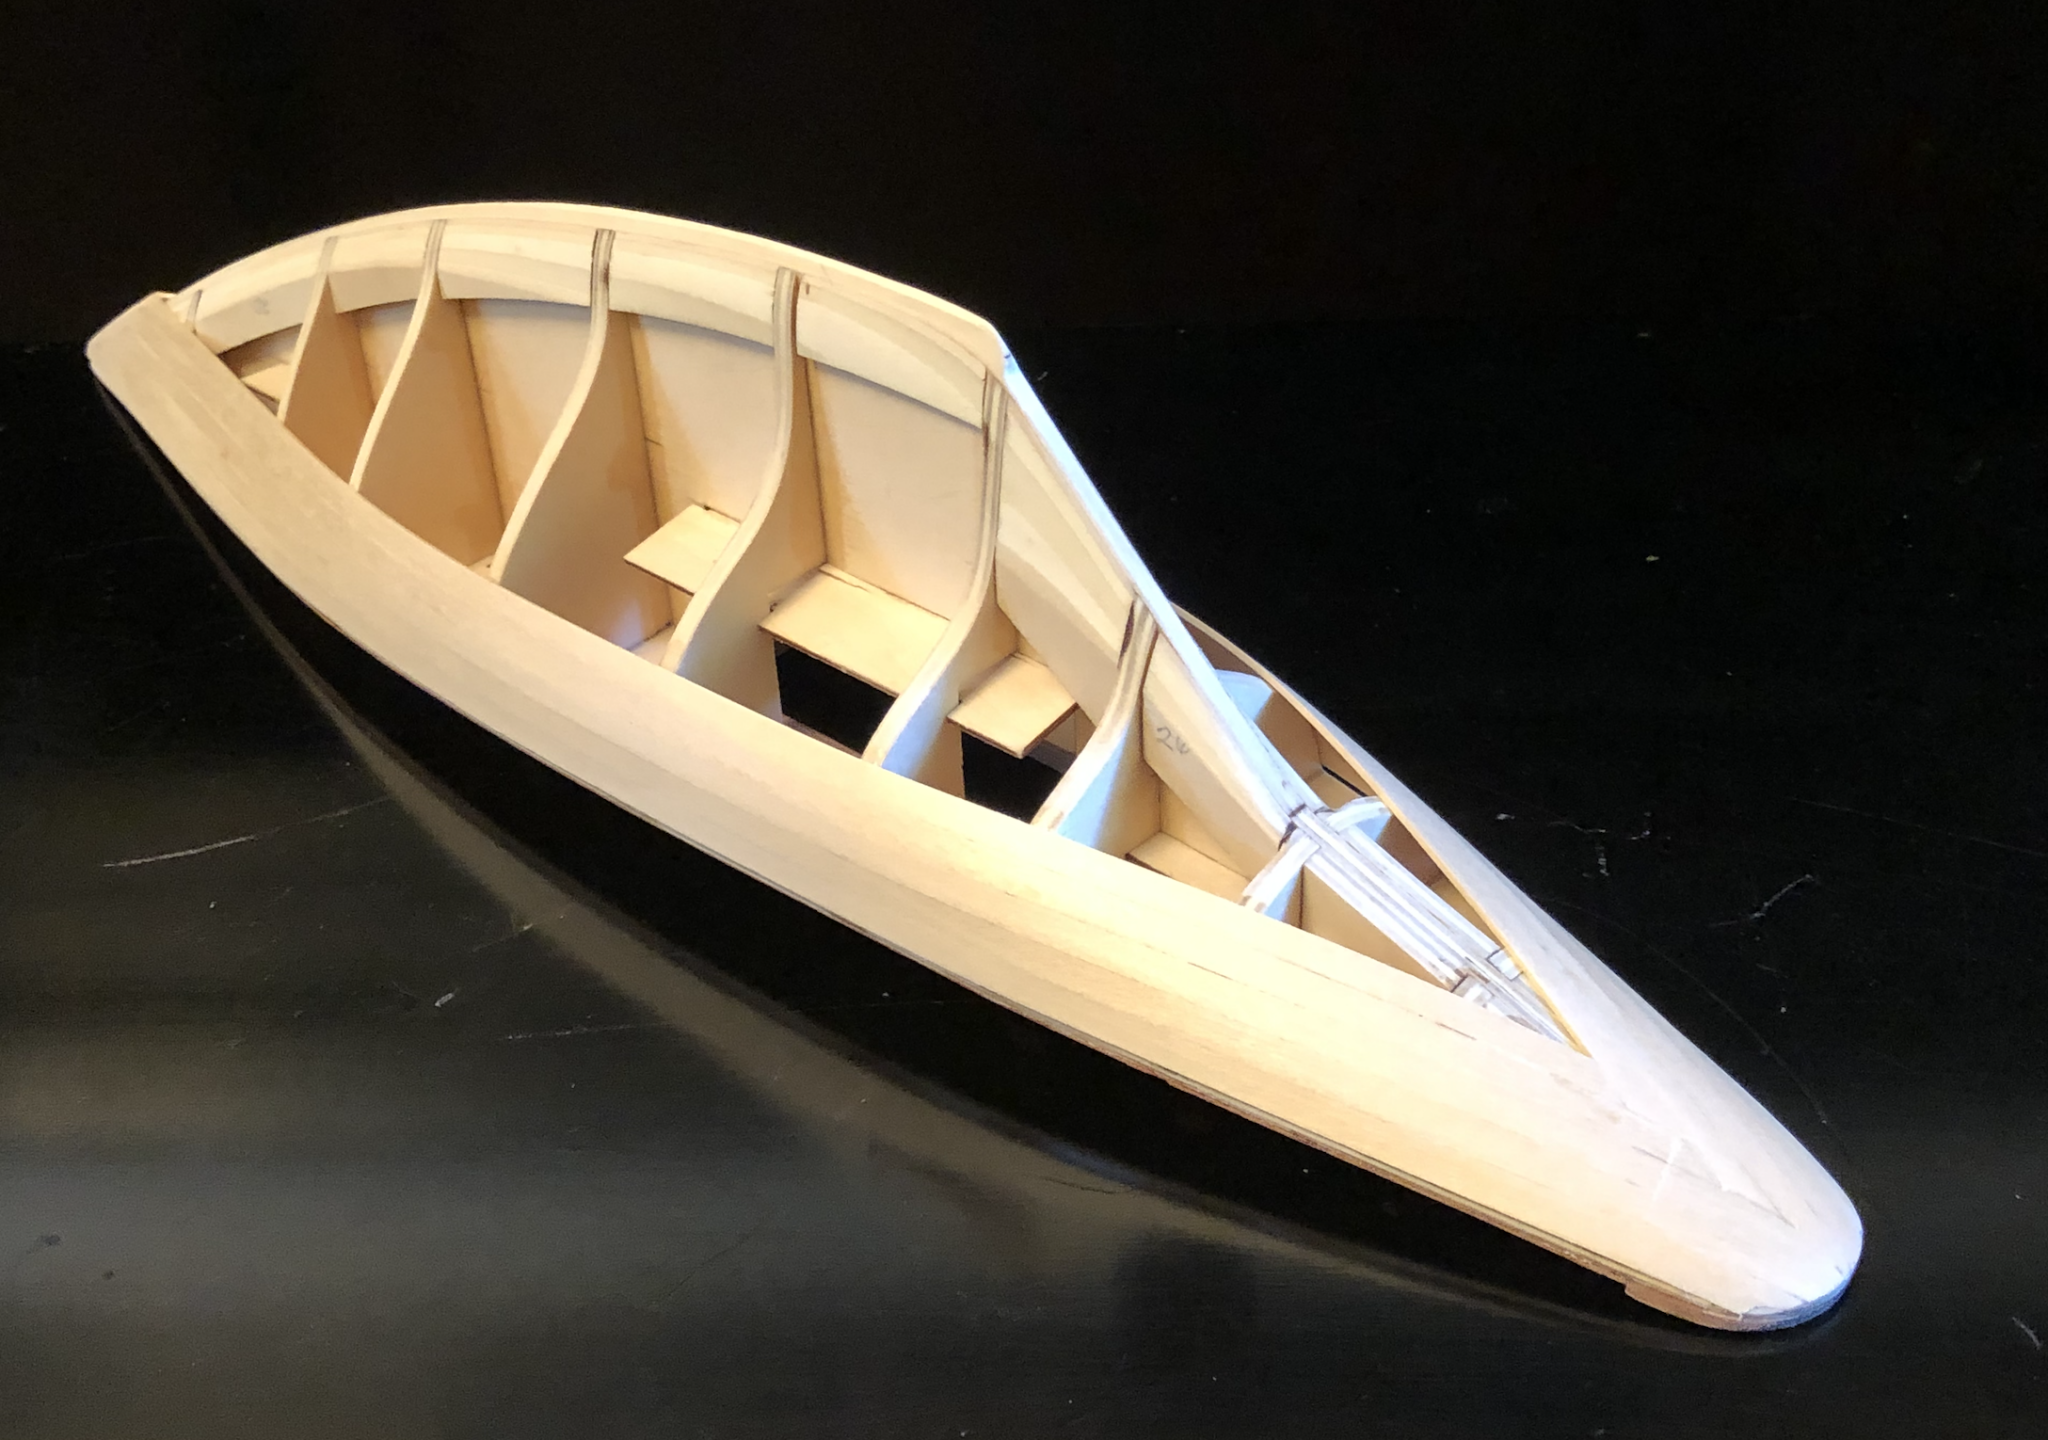
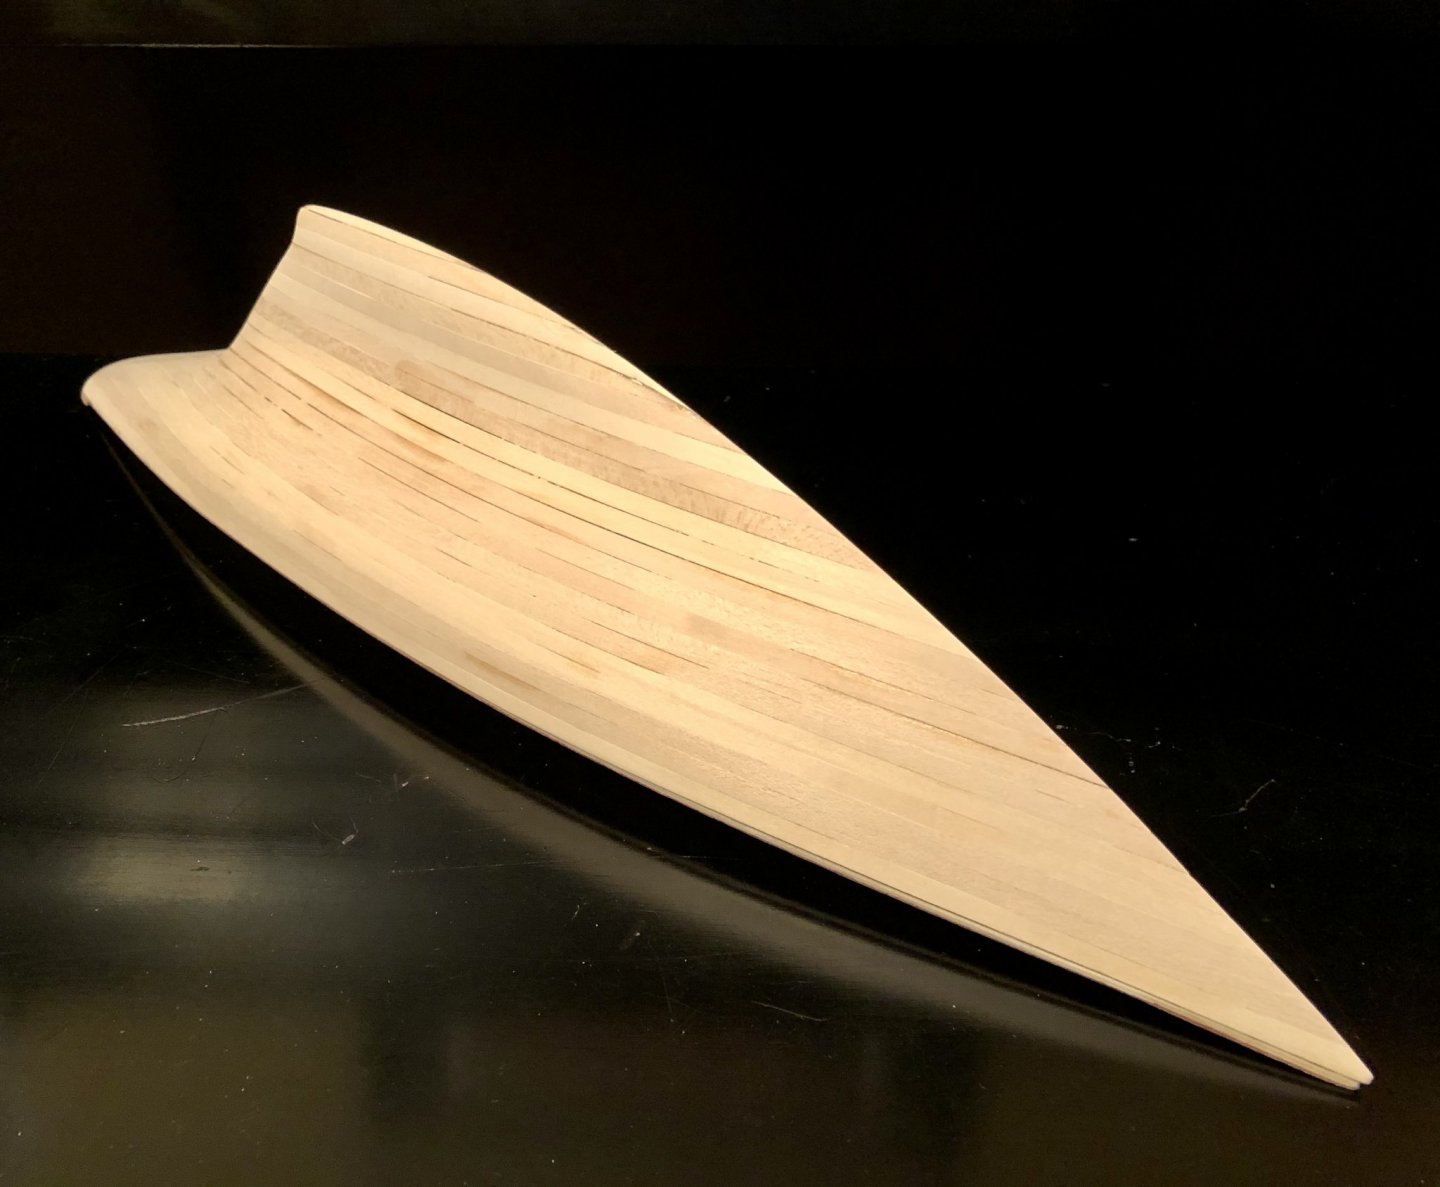
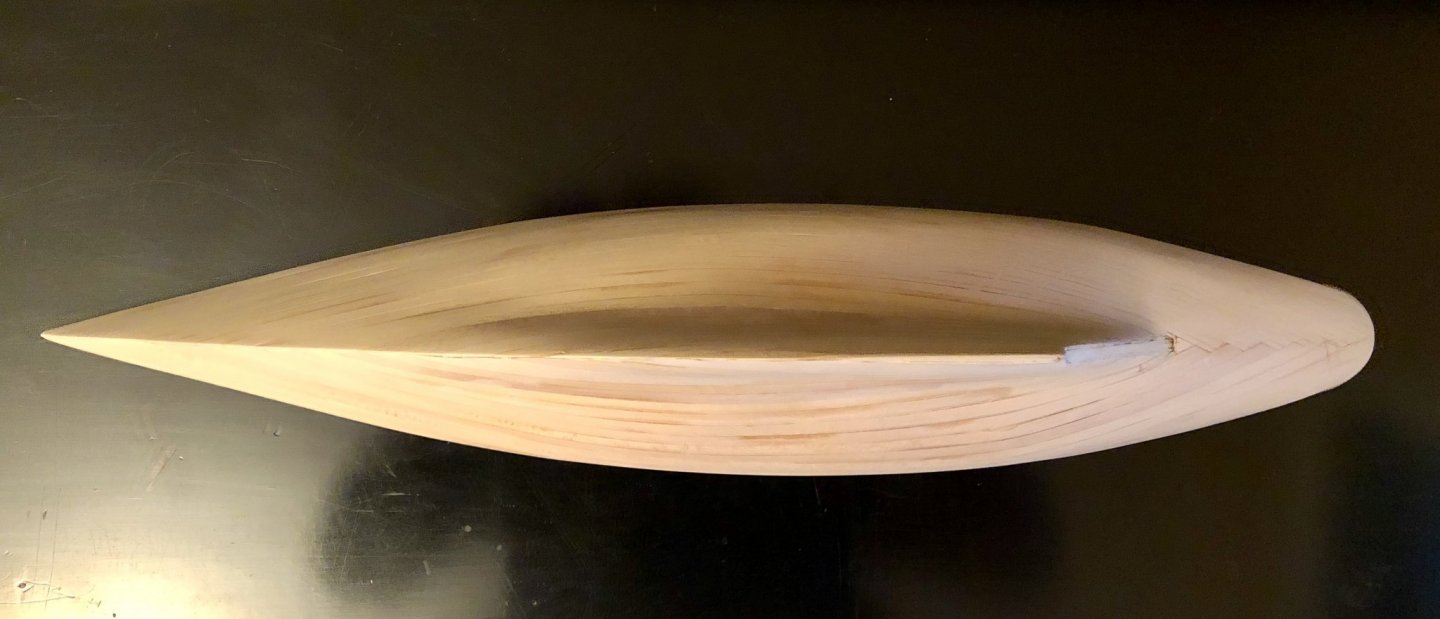
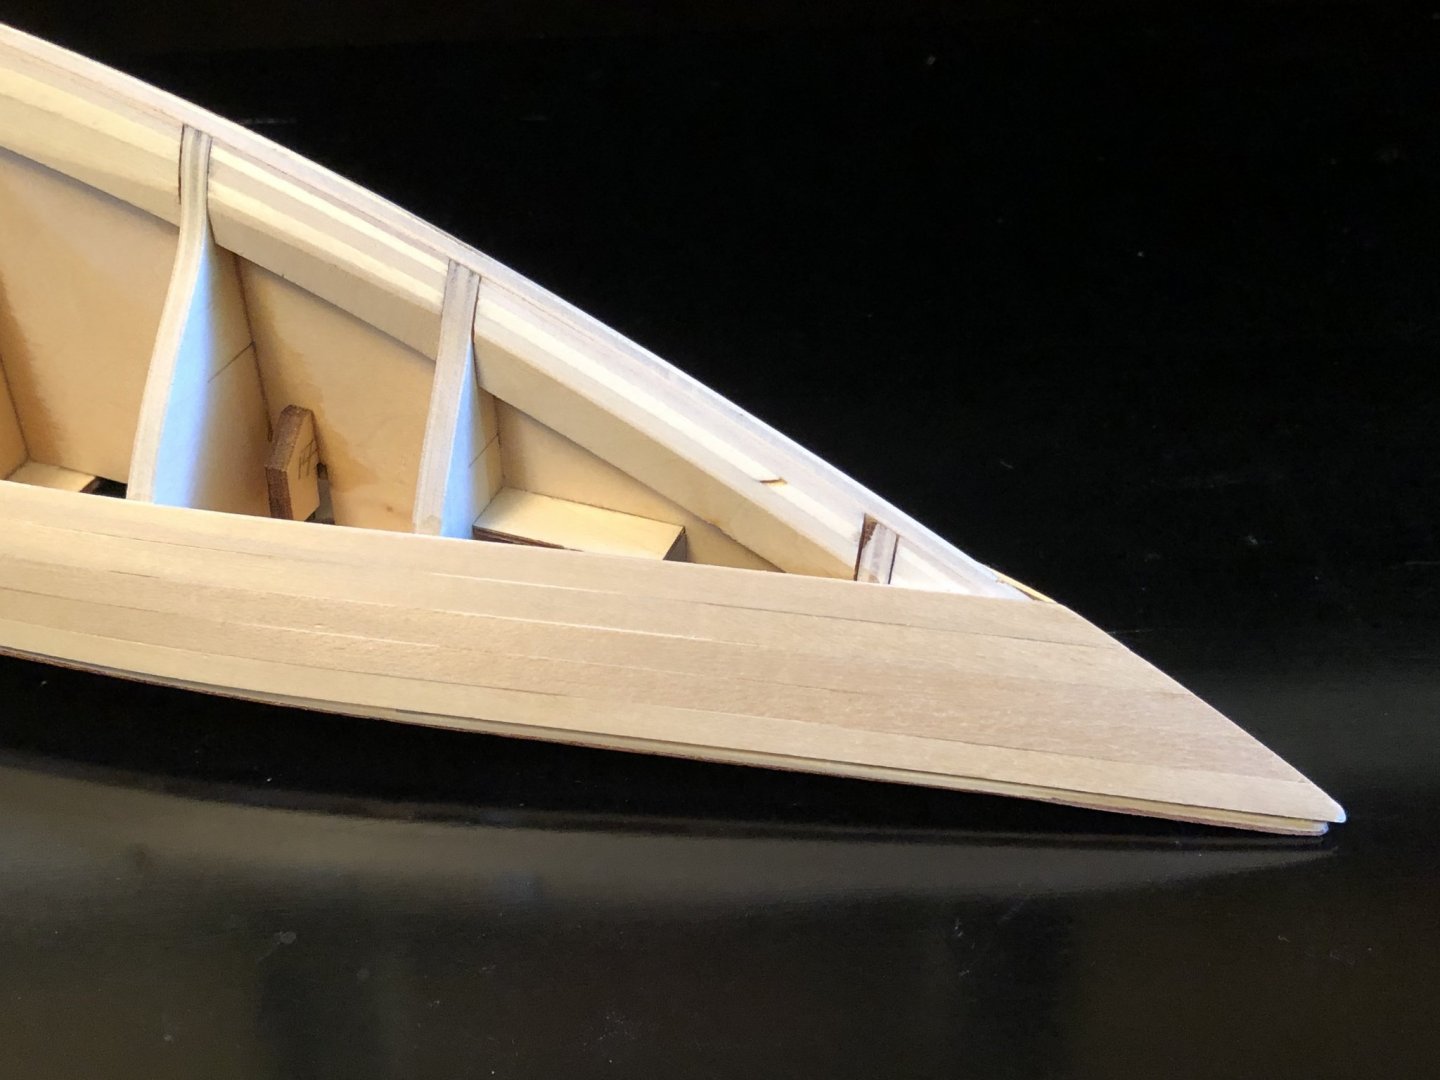
Thanks for the likes everyone. After 3 days I finished planking the hull and sanded it up to 320. I deviated from the AL instructions and simply planked the hull from the deck down to the bottom of the keel. I used 1 x 5 mm limewood instead of the 2 x 5 mm ramin wood that came with the kit. I'm really happy that I used thinner planking strips since it made the job much easier and fun to do. I wasn't trying to get every plank perfect since the hull will be painted but I did want the planks to run very smoothly since the lines of the hull are so beautiful. I used CA exclusively primarily on the bulkheads only but I did add some to the plank edges when necessary to get a tight fit. I was able to fit the first 5 or 6 planks by hand but, as the planks needed to twist and bend more, I used dry heat from a hair dryer and I also used my Amati plank bending tool for a few, short, sharp bends at the end of the planks where they meet the rudder area. I ran into a few of the typical problems along the way but I can't imagine planking a hull without any difficulties at all! I have a few thin gaps and I needed to patch a couple of areas along the razor edge of the keel. I ran thin CA between the edges of a few planks that weren't as tight as I wanted them. The thin CA wicks its way along between the planks and then I can then gently push the planks together and get a strong bong. I glued my fingers to the planks too many times and managed to snap one plank also but, altogether, it went well and I'm pleased with how it came out. The lines of the Pen Duick are gorgeous and I eyeballed the hull and ran my hands over it a lot while sanding it trying to get a smooth flow of the lines and symmetrical on each side. I also kept checking the razor edge of the keel making sure I was keeping dead straight. I'll put some filler on it tomorrow to fill the cracks and sand it until it's as smooth as a baby's bottom. After that, I'll prime and sand it and try to get it as nice and smooth as I can before painting it. I'll be using my new airbrush for the very first time to paint the hull but I'm going to practice with it before I commit to painting it. . Thanks for stopping by.


-
You'll love the Medway Longboat. It's a beautiful boat with great instructions and materials. Rustyj and JpR62 are two great build logs for reference in addition to Chuck's log. I look forward to watching you build her.
- 66 replies
-
- 1
-
-
- Finished
- Model Shipways
- (and 1 more)
-
Thanks Justin. I had a coat of Satin Wipe-on-Poly on the deck in the finished photos of it. I don't know a lot about various finishes. Chuck uses WOP a lot and I used it on my Medway Longboat so I've used it here also. I need to experiment with various finishes and learn more about them. I just use my iPhone and tweak them a little in the phone photo app. I'm too lazy to get out my DSLR and take photos for my build log.
-
Well that was a fast build and a beautiful job as usual. That's some serious photography too! I like your idea of using the sinker to try and get the gaff to stay where you want it. Mine still floats around on my Medway Longboat. What's up next, Justin? Are you going to add to your small boat collection?
-
Hello Cabbie, I really like the finish you have on your deck. Beautiful job! A few questions: What kind of wood is the deck? Is it limewood? Did you apply any sanding sealer or pre-stain to the deck before staining it? What type and color of stain did you use? I used some tung oil many years ago on some exotic wood didgeridoo stands I made. I seem to recall that it stayed tacky for quite some time and took a long time to dry but my memory is fuzzy about that? How long did your tung oil finish take to dry and did it dry to a hard finish? I like the satin sheen it has on your boat. Thanks very much. Cheers!
-
Thanks Harry. How's the move going?
-
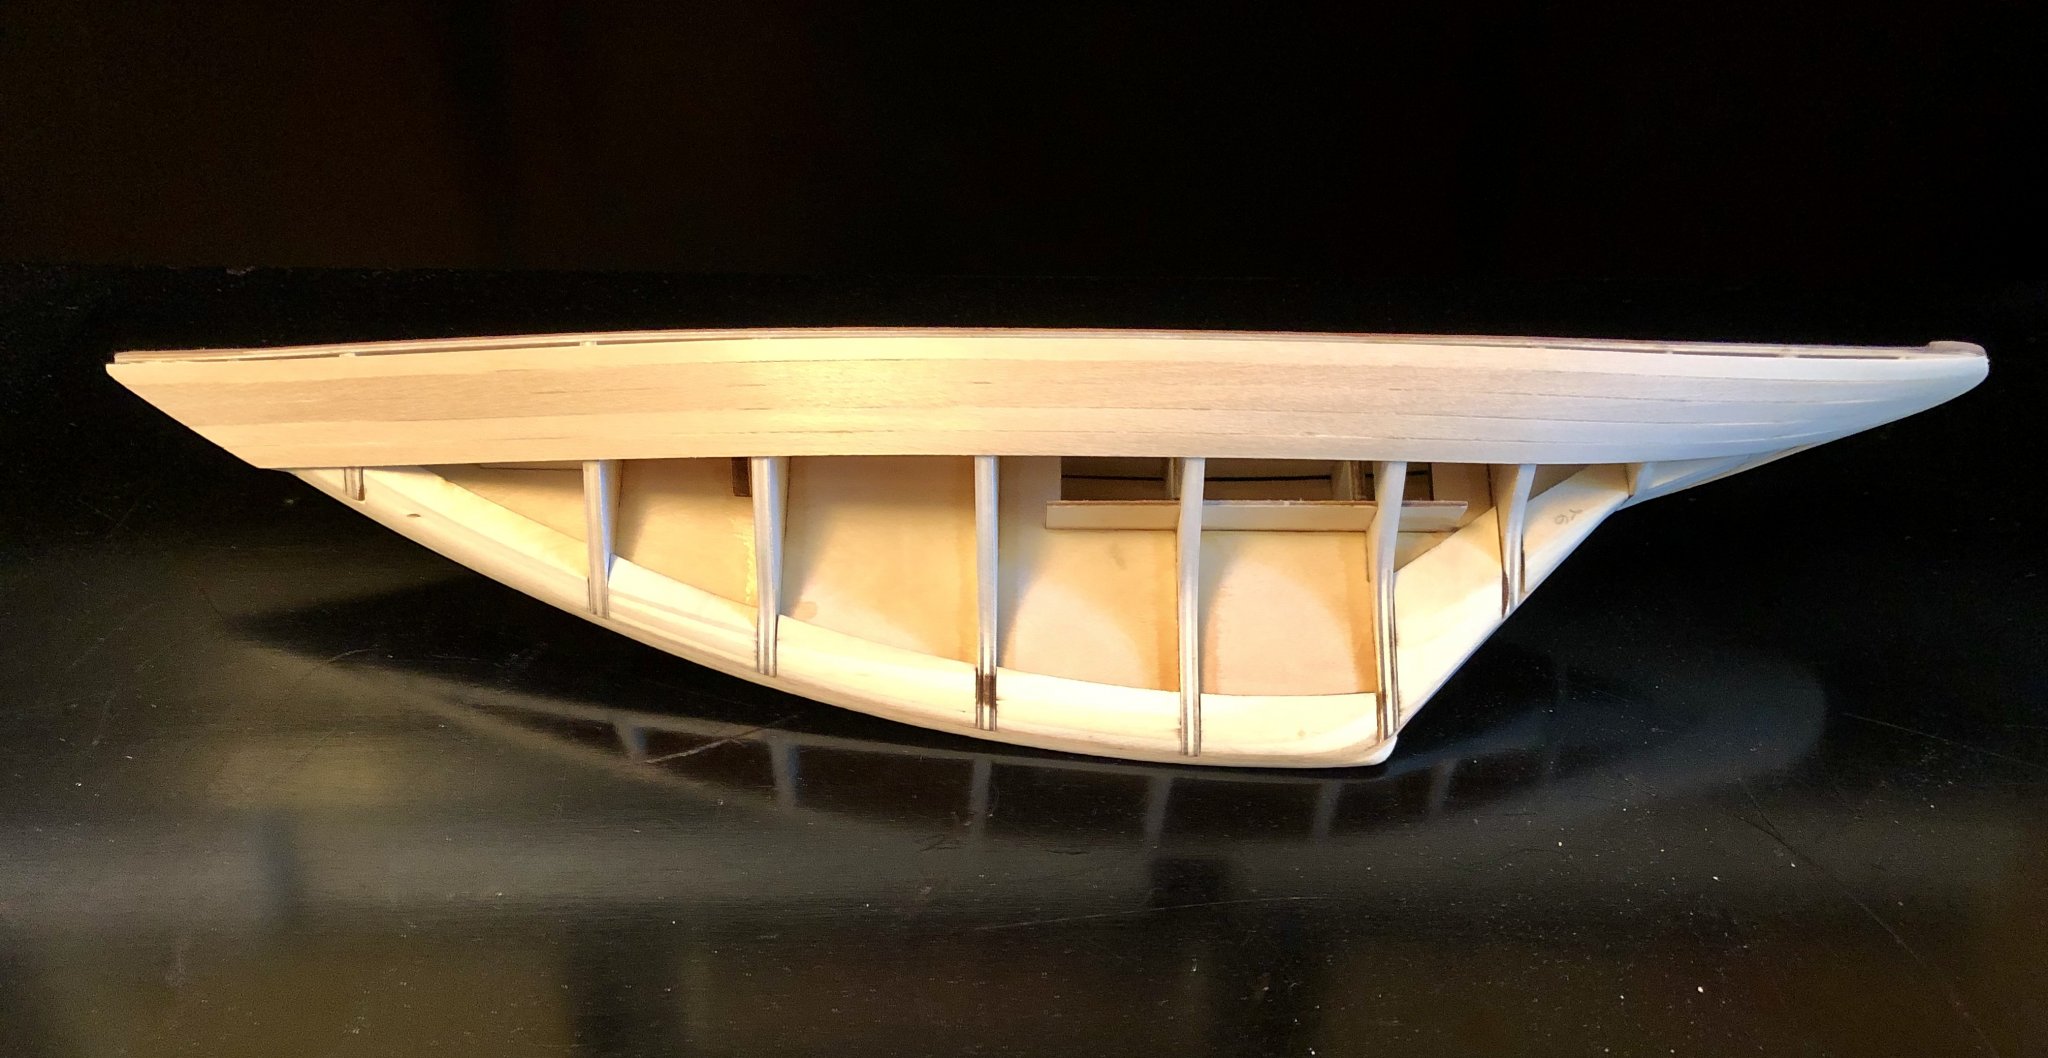
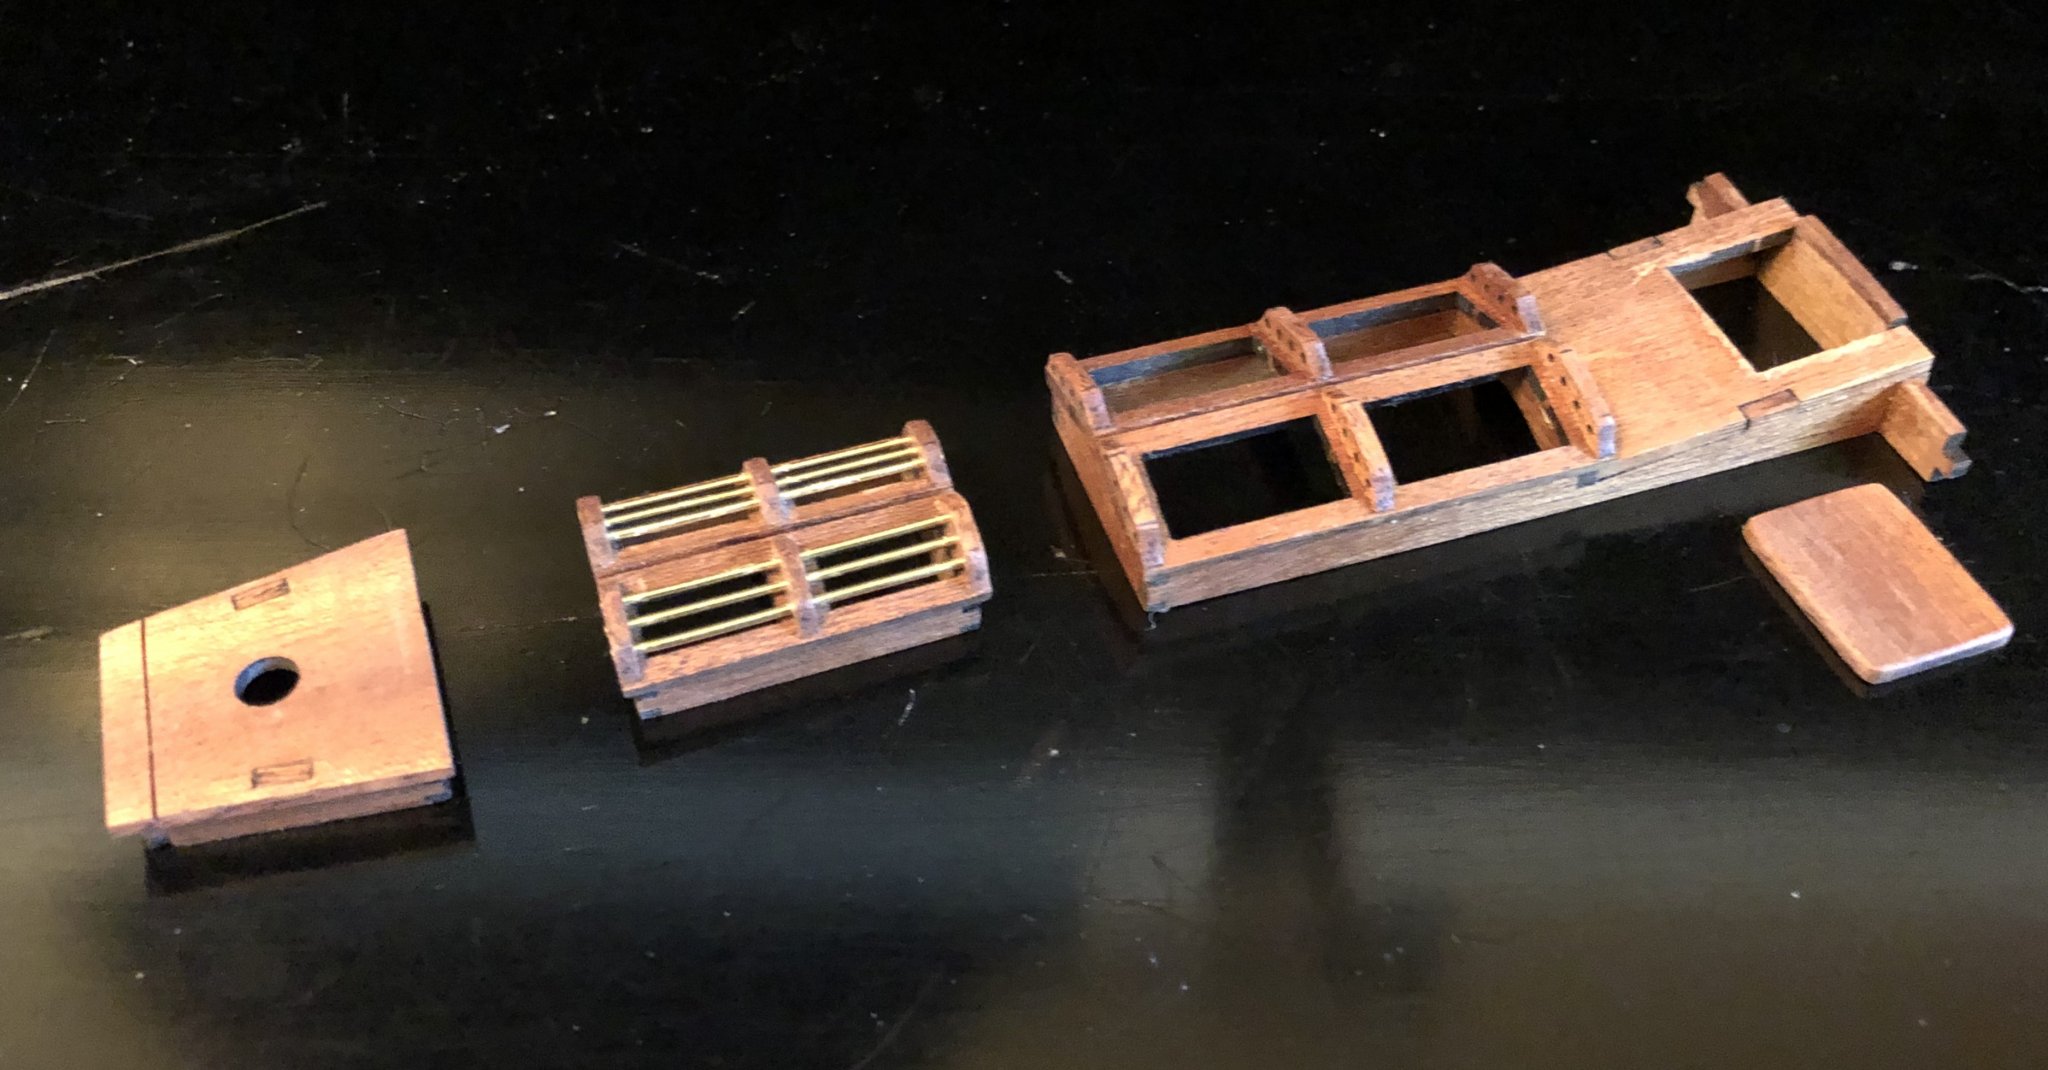
I've made a little bit of progress in the last couple of days. The kit comes with 2 mm thick ramin wood for hull planks and the bulwarks. In my opinion, that's much too thick to nicely work with. They were difficult to bend and twist so I ordered some 1 mm limewood strips from Ages of Sail to replace the kit strips. While I was waiting for my order to arrive, I did a little bit of work on the deck hatches. The hatches are made from dark walnut with very open grain and the laser cut parts have heavy char. I would have preferred something more fine grained but they look ok. I also began planking the hull. The instructions say to add the bulwarks first so that they rise 5 mm above the deck. I'm using the new 1 mm x 8 mm limewood for the bulwarks so 3 mm of the bulwark needs to extend down below the sheer of the deck. 3 mm of the bulkhead frames does not provide much surface area for the bulwarks to be glued to. So I decided to skip adding the bulwarks first and go ahead and plank the hull. This way, when I do add the bulwarks, I'll have the first plank for the bottom of the bulwark to rest on for aligning it 3 mm below the deck. It will also make gluing them on easier as well since I will be able to glue them to top of the first plank and the bulkhead frame as well. I lined off the bulkhead frames 3 mm below the deck to guide the placement of the first plank. Using the new 1 mm x 5 mm limewood strips for the planking is a great modification to this kit instead of using the 2 mm ramin strips. They bend and twist nicely and have a smooth finish. I have finished 5 planks on each side and I have been able to bend and twist them to lay flush against the bulkhead frames by hand so far. No soaking, no steam and no heat was needed and I used CA so no clamping was necessary. The planking is going well but I am also deviating from the instructions for how to do the planking. The AL instructions have you place 4 planks on each side of the hull and then, rather randomly, place a plank in the middle of the hull and continue planking from there to the keel. Then they have you come back and fill in the middle. Why? I don't know. At this point I'm just going to continue planking down towards the keel. So I'll continue in this manner unless I see any problems arising.


-
I drove my VW bug and my VW bus for many years and never really thought about how dangerous they would be in an accident. The 69 Bug was what I could afford back when my hair was nearly as long as the car. They were essentially death traps with no engine in front of the driver and front seat passenger. I survived a multi-car freeway crash with only bumps and bruises. The car was totaled so, what did I do, I went out and bought a VW bus. Nowadays, I look for every safety feature I can find in a car! I loved the bus the most. I put a bed in it and we traveled in it all over the west every chance we could get for 15 years. We took dozens of trips to Yosemite and the Sierras and to other great western national parks and all over the northern California coastline. My son traveled with us right into his toddler years and he cried right along with me when I finally sold it. I even used to put him in my lap and let him steer the bus up and down our driveway. Memories that last a lifetime....
-
I'm right there with you regarding the "what if I had kept that car I had way back then" like my mom's 55 Chevy Bel Air, my 64 Corvette, and my 69 VW bug and my VW bus. Then there's also the 66 Mustang that my then girlfriend, who is now my wife, had when we first met. All gone now but not forgotten...
-
Beautiful, Don! Congratulations, she's gorgeous. I agree with you about learning so much in building this boat and I appreciate the high quality of the Syren kit even more now that I grappling my way through the AL Pen Duick. Wow, you've completed two big builds with the Calypso and the Medway Longboat in the span of a couple of weeks. You're on a roll and it looks like you tipped your hand as to what you'll be building next. Man, the Winnie is BIG. I don't think I'm brave enough to attempt her yet with my mediocre skills. I look forward to seeing you build the Winnie if that is indeed your next project. Be sure to edit your build log title and put "FINISHED" on the end of it. There are a lot of Medway Longboat build logs but only a few that are finished and yours is one of them now. I hope we see more. Best regards,
- 46 replies
-
- 2
-
-
- medway longboat
- Syren Ship Model Company
- (and 1 more)
-
new modeler from Barcelona and some Albatros photos
BobG replied to Geowolf's topic in New member Introductions
Hello Geowolf, When we were in the Pyrenees we stayed in the villages of Broto and Erill La Vall. We hiked in the Ordesa and Aigüestortes National Parks. We loved it and want to go back. All the best, -
He Ciciak35, My wife and I love to travel and, when we travel, we usually go for a long time. Eastern Europe is on our list of destinations we want to visit and we would love to visit Slovakia when we take that trip. We are fortunate to live only 1 1/2 hours from the beautiful Sierra Nevada mountains and just 3 hours from Yosemite National Park. I have spent many years participating in mountains sports: lots of rock climbing, mountaineering, skiing, mountain biking, and backpacking. I don't do them as much any more now that I older but we still love to hike and camp. When we travel we always plan our trips to include hiking in beautiful, wild places. I'm an avid road cyclist and I like to follow the professional bike racers. Slovakia's own Peter Sagan is one of my favorite pro cyclist ever! It's such a shame that Covid19 has cancelled all the grand tours of cycling this year. All the best,
- 108 replies
-
- 1
-
-
- armed virginia sloop
- model shipways
- (and 1 more)
-
Poly after gluing to deck...
BobG replied to mpk73's topic in Painting, finishing and weathering products and techniques
The only thing that will get on your displayed model is dust. Poly provides some scratch protection but it is primarily used to enhance the finish of the wood and makes the surface silky smooth so that you can either lightly wipe or blow the dust off your model. The deck fitting really don't need any protection. Dust is the biggest problem for models that are displayed without a case.