DONATION DRIVE - SUPPORT MSW - DO YOUR PART TO KEEP THIS GREAT FORUM GOING!
×


ccoyle
-
Posts
10,520 -
Joined
-
Last visited
Content Type
Profiles
Forums
Gallery
Events
Everything posted by ccoyle
-
 Step 22 (done -- sort of) The bow is looking busier and busier with the forward gun tub completed and many white spots "killed" by the addition of bollards and fairleads. I say "done -- sort of" because I left off a few details that I think should be left until later, namely the mounting of the anchors and jackstaff. Step 23 will encompass the addition of many more details.
- 331 replies
-
- 21
-

-
The famous test pilot -- nice!
-
Congratulations! That is a sweet fleet!
-
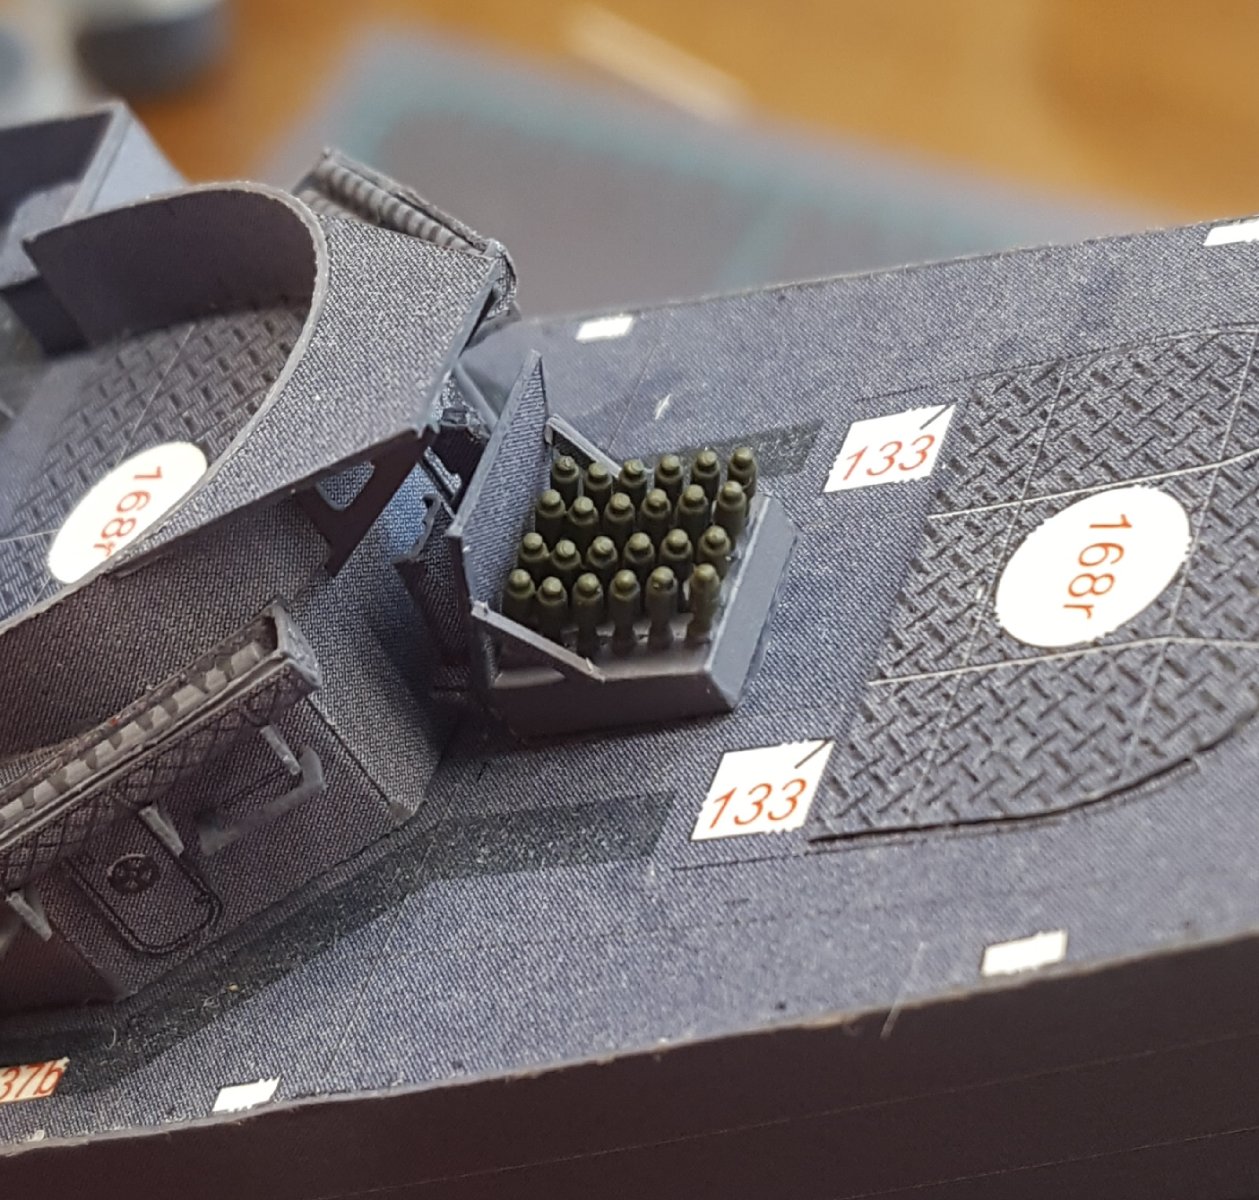
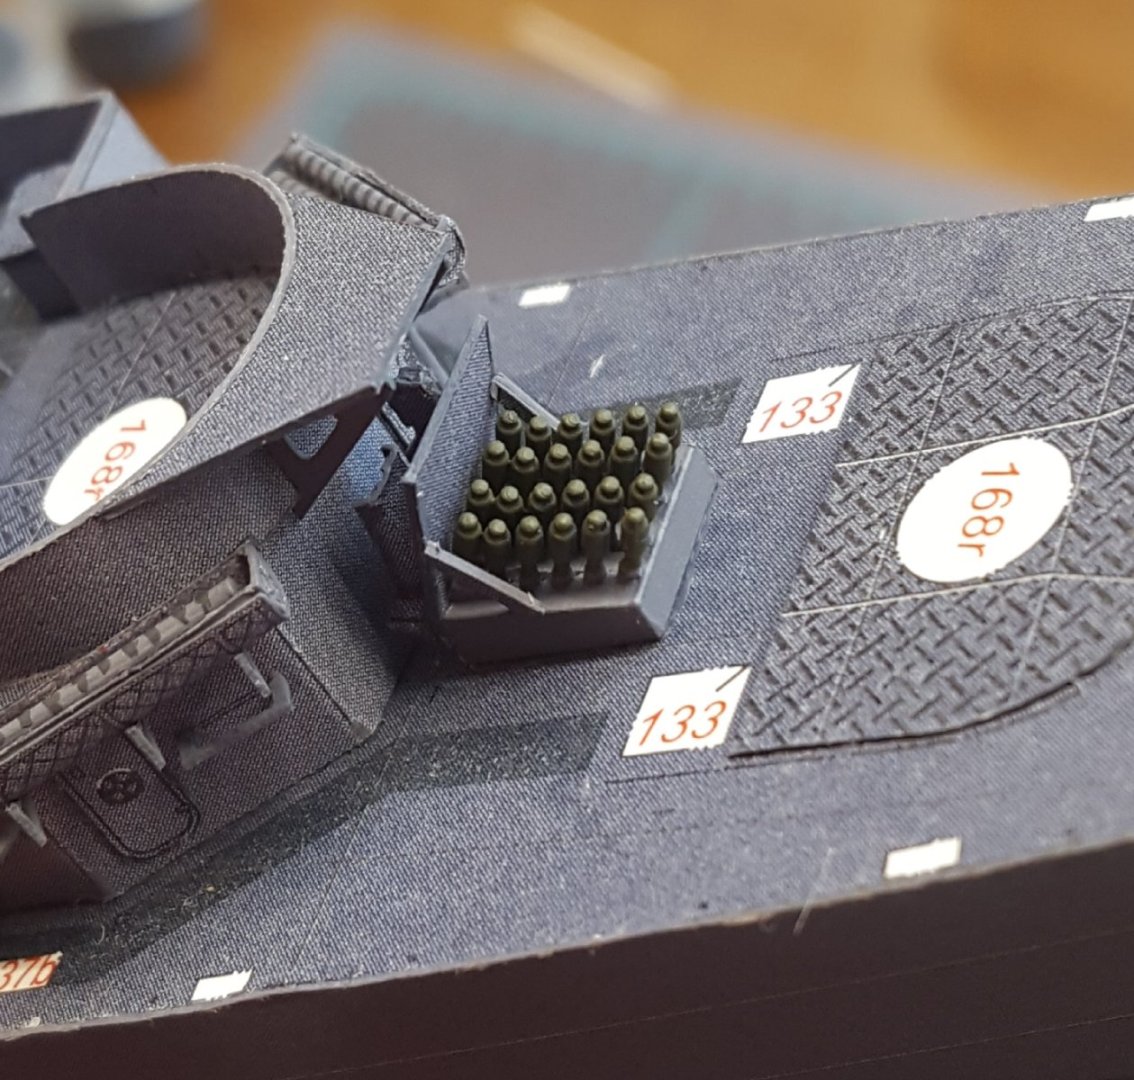
Step 22 (cont'd) Over the last few days, I have been replacing some of the already-installed paper parts with their 3D-printed counterparts. It hasn't been a cakewalk -- some of the parts are incredibly tiny. On two separate occasions, I thought I'd even lost a part, only to discover that it was stuck to the oil on a hand or finger, and too delicate to even notice! I also went back and painted over some of the red parts (valve handles, hoses, etc.) that folks in the know said should be gray. Once that was done, it was time to move on to new construction. Next up was the hedgehog mortar. Only the mortar bombs and base are resin, the rest is card. According to what I could find online, the bombs (technically missiles, according to the USN) were either gray or olive drab; I went for olive drab. With that installed, work can now commence on the forward gun tub.
- 331 replies
-
- 19
-
-
A masterpiece -- very well done, sir!
- 1,784 replies
-
- 7
-
-
- winchelsea
- Syren Ship Model Company
- (and 1 more)
-
Roter Löwe 1597 by Ondras71
ccoyle replied to Ondras71's topic in - Build logs for subjects built 1501 - 1750
Praying for a speedy recovery. Get plenty of rest! -
Henke, I hope your sessions will do you good and that you may soon rediscover your modeling mojo. Your model is lovely!
-
Congratulations, Edward -- well done!
-
New(ish) Ship Builder for a new(ish) challenge
ccoyle replied to Dowlking's topic in New member Introductions
Dia duit, Brian! I look forward to seeing your work. -
On Hold - Nakajima Type KO 3 by CDW - Answer - 1:33 Scale - CARD
ccoyle replied to CDW's topic in Non-ship/categorised builds
The key to buying direct from Poland is to find where the cutoff is for minimum shipping. I find that I can usually squeeze in 2-3 kits and their laser-cut frames before the shipping goes up to the next tier. You have to really WANT those 2-3 kits in order to justify the cost! 😬 Among Polish publishers, WAK generally has the lowest shipping costs. EDIT: Here's a screen capture of my WAK shopping cart (wish list only -- ain't pulling the trigger!). The cart contains three kits, four sets of laser-cut frames, and a canopy. Note the shipping.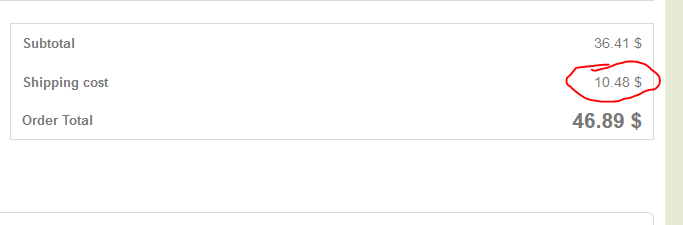
-
So, are lionfish good eating? I know they are considered invasive in the Western Atlantic/Caribbean.
-
On Hold - Nakajima Type KO 3 by CDW - Answer - 1:33 Scale - CARD
ccoyle replied to CDW's topic in Non-ship/categorised builds
I think the dashed line is just a border to separate the parts from the diagrams. -
On Hold - Nakajima Type KO 3 by CDW - Answer - 1:33 Scale - CARD
ccoyle replied to CDW's topic in Non-ship/categorised builds
You can always test a piece. It's also possible to laminate thicker card from regular card stock using spray adhesive. I find that card laminated in this manner is easier to cut than chipboard. Chipboard dulls #11 blades like nobody's business. -
On Hold - Nakajima Type KO 3 by CDW - Answer - 1:33 Scale - CARD
ccoyle replied to CDW's topic in Non-ship/categorised builds
Yes. This is the gentleman who designed Answer's Fiat CR.42 kit that I built about twelve years ago. -
I learned recently that Lech Kołodziejski has set up shop again under the CardPlane name. You can view his store here. Lech has no fewer than four free models available at his site (available as downloads upon request), including the PWS-10 in Spanish Nationalist markings. His PWS-50 and Bartel BM-6a are relatively simple models and well-suited for beginners. Check them out!
-
Already back at work on USS England (link in signature).
-
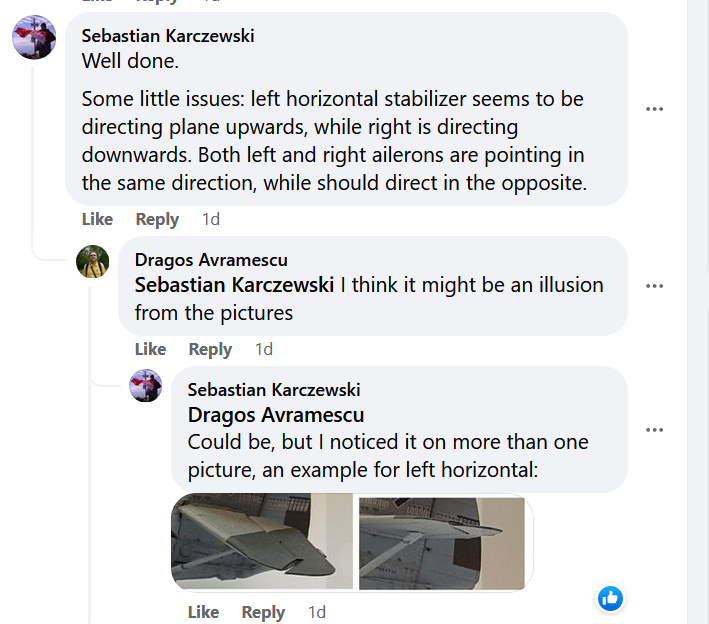
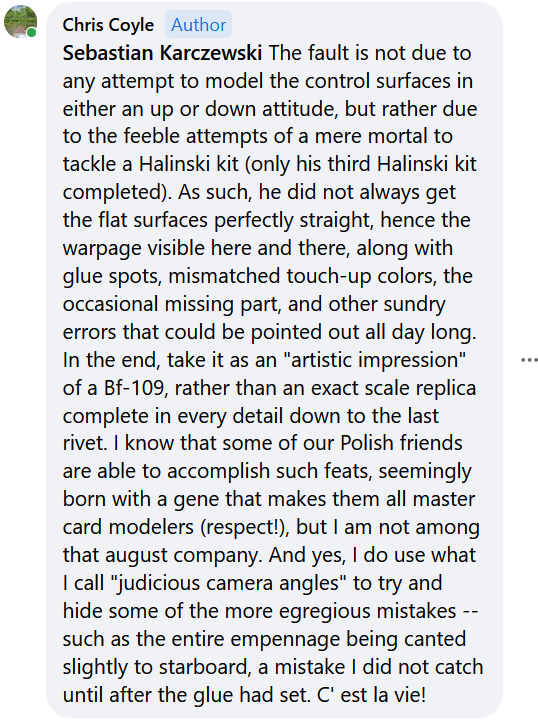
Thought you all might enjoy this little exchange that took place in a Facebook group after I shared some pictures there. Every group of modelers has "that guy" who is nit-picky to the nth degree: The best way to respond to such a character is to beat him to the punch. Here's my reply to him: In case anyone wonders, Mr. Karczewski's comments were the only negative ones posted, and no, I'm not bothered by them -- mainly just amused. 😉
- 165 replies
-
- 15
-

-
-
On Hold - Nakajima Type KO 3 by CDW - Answer - 1:33 Scale - CARD
ccoyle replied to CDW's topic in Non-ship/categorised builds
http://www.answer.pl/en/laser-cut-components-for-aircraft/1955-nakajima-type-ko-3-laser-cut-frames.html?search_query=ko-3&results=255 Most publishers use some variation of the following code for laminating parts: ** = 1.0 mm card * = 0.5 mm card + = plain card stock (i.e. the part gets doubled) You can verify the thickness of your laminated parts by using calipers and comparing that measurement to the width of any slots that the parts must fit into. -
These are quite beautiful, Michele!
-
On Hold - Nakajima Type KO 3 by CDW - Answer - 1:33 Scale - CARD
ccoyle replied to CDW's topic in Non-ship/categorised builds
Yep, matte clear. One or two light coats. -
Technically, the word "FINISHED" (all caps) should be added to the build log title right after the subject name and builder's username, set off by <space>hyphen<space>. Titles can only be edited from post #1 in the build log. Here's an example: HMS Pinafore 1878 by Gilbert O'Sullivan - FINISHED - Opera Comique Models - 1/571 scale The word "Finished" (capitalized) should also be added as a tag. You can do this yourself if you feel up to the challenge, or have me do it for you. Cheers!
-
On Hold - Nakajima Type KO 3 by CDW - Answer - 1:33 Scale - CARD
ccoyle replied to CDW's topic in Non-ship/categorised builds
Yeah, card model instructions tend not to be much more than "glue part a to part b, etc., etc." -
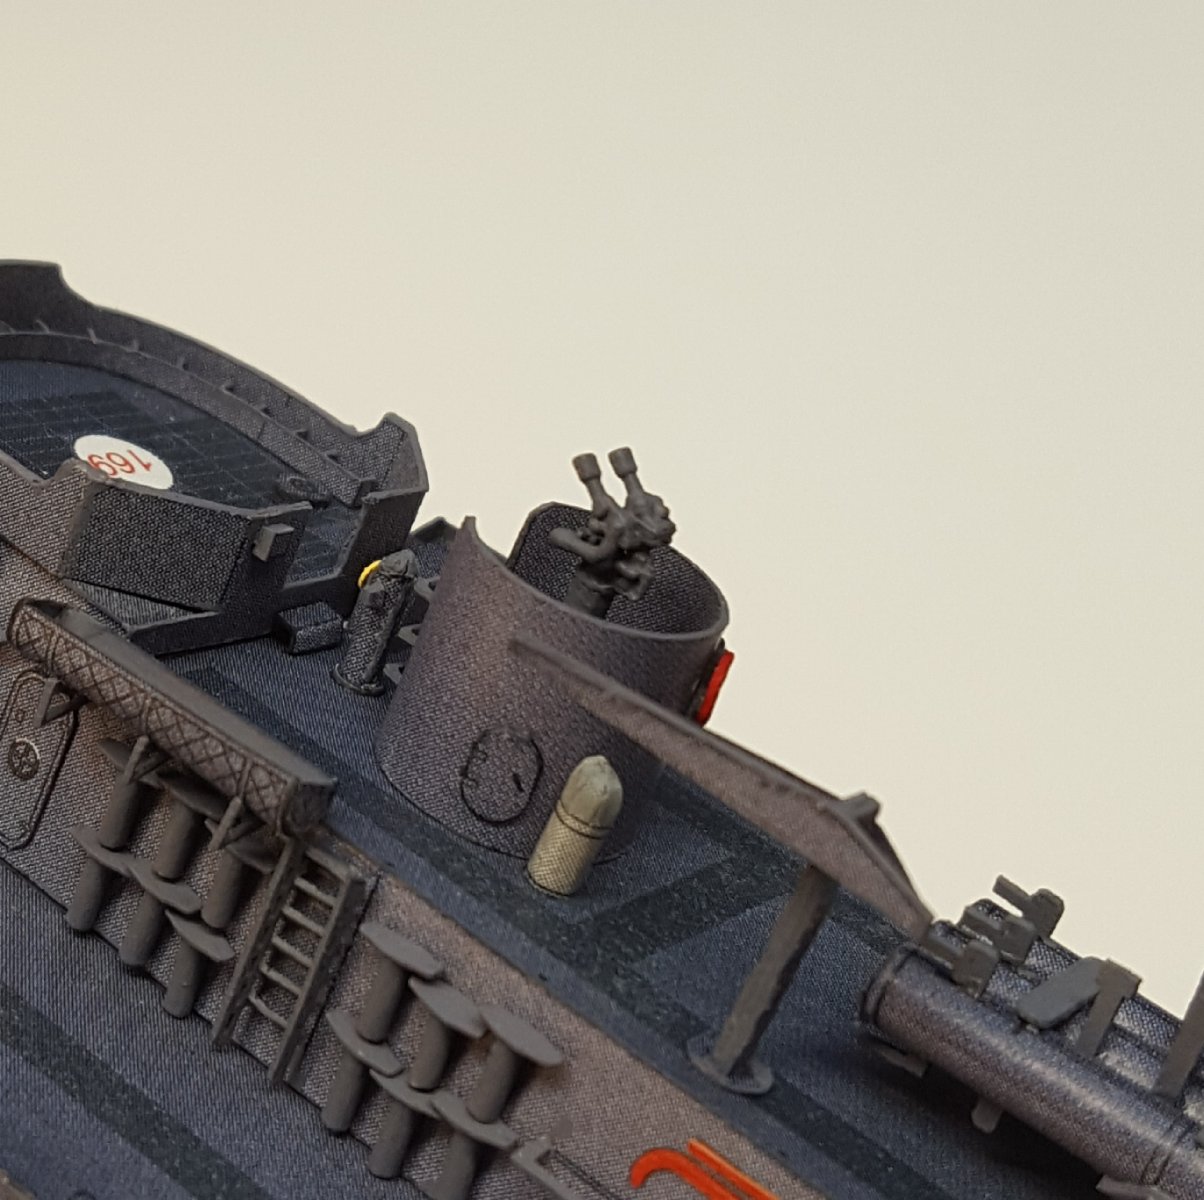
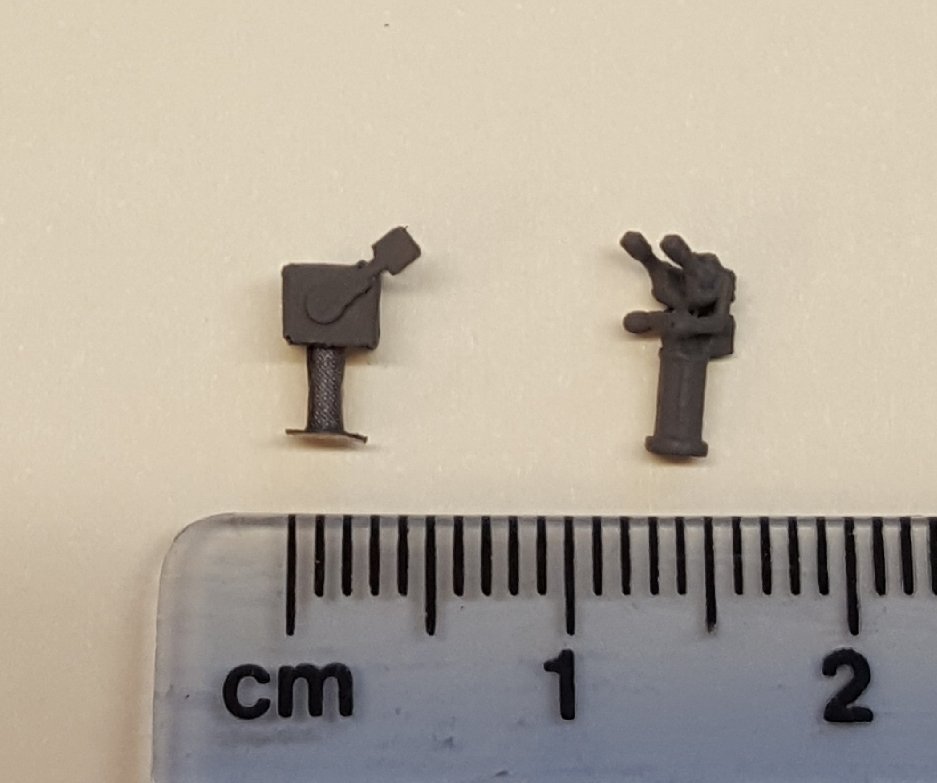
Okay, the Messerschmitt is done, so it's back to USS England. As you know, I bought some after-market resin parts from Darius Lipinski. Some of these are parts whose card counterparts are already on the model; some would probably be too difficult to remove from the model without damaging it and, in exchange, their resin replacements would probably not be a noticeable upgrade. Other parts are definitely worth an attempt at replacement. The gun directors are one such part. Here's the card director, after careful removal from the model, and its resin counterpart after painting: And the new part in place: More cosmetic surgery to follow . . .

- 331 replies
-
- 22
-
-
Now you're doomed -- you're just gonna have to get Oregon to go along with it.
- 166 replies
-
- 6
-
-
-
- Maine
- BlueJacket Shipcrafters
- (and 1 more)