ccoyle
-
Posts
10,546 -
Joined
-
Last visited
Content Type
Profiles
Forums
Gallery
Events
Everything posted by ccoyle
-
 Well done! Congratulations!
 -
Such a lovely model, Marek! I do hope we will see more of your work in the future. Cheers!
- 158 replies
-
- 1
-

-
- San Felipe
- Panart
- (and 1 more)
-
Welcome aboard!
-
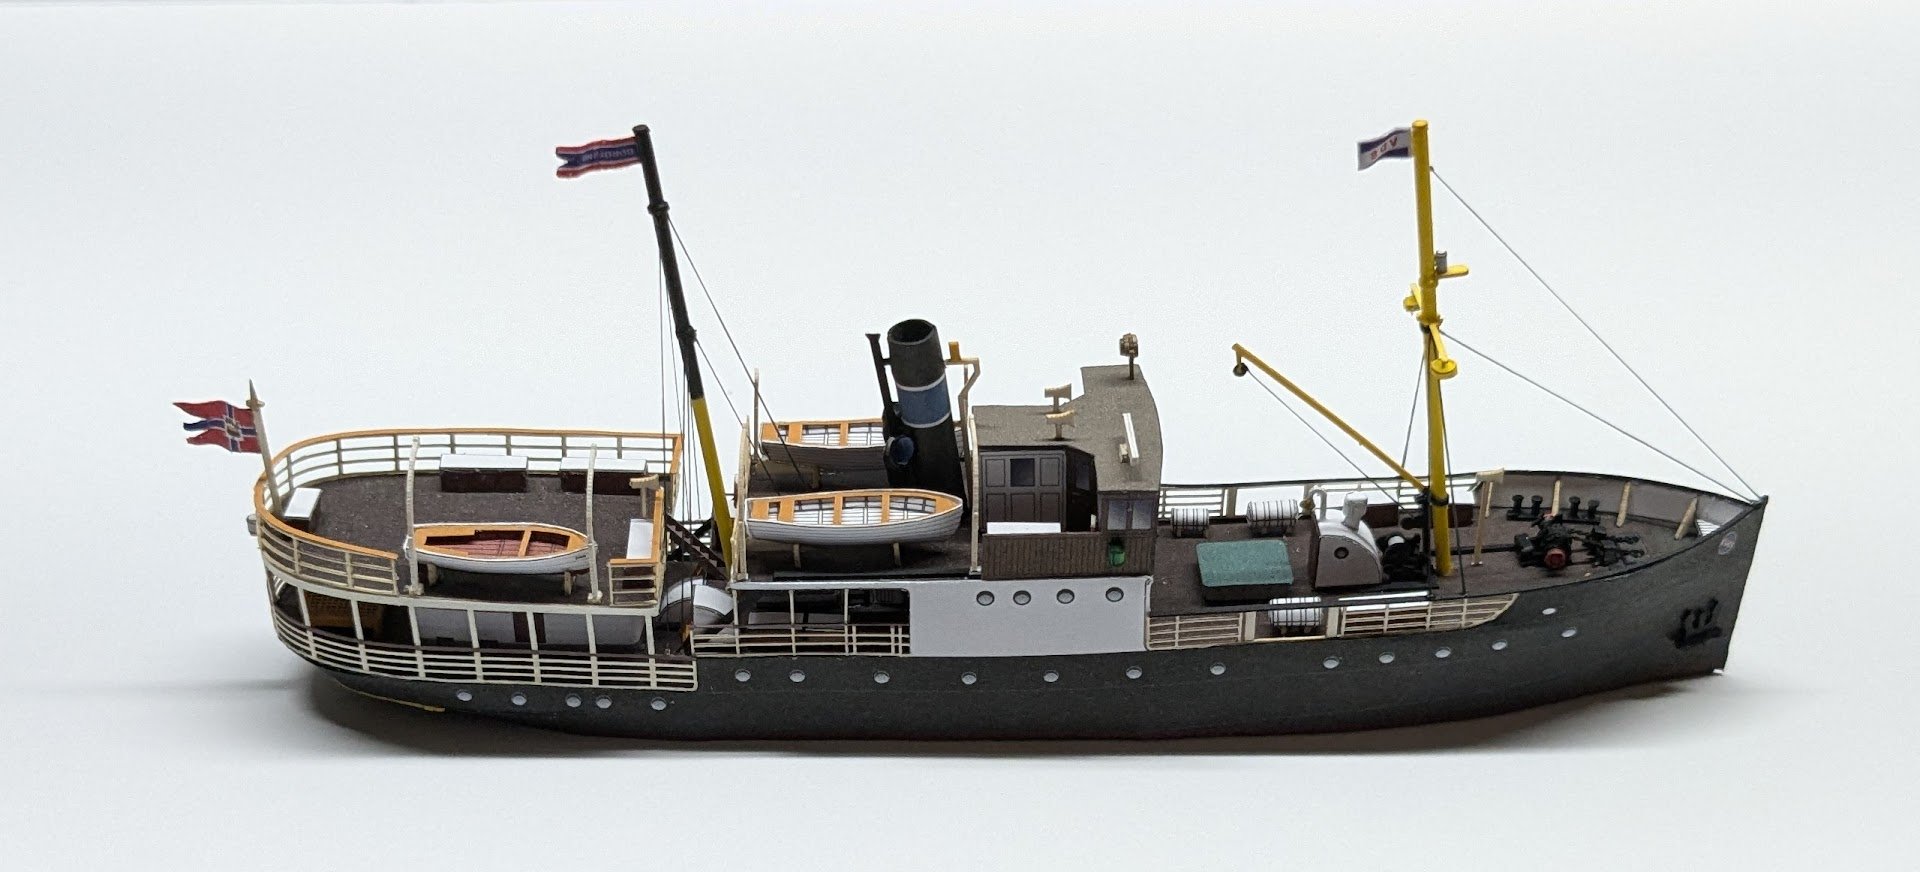
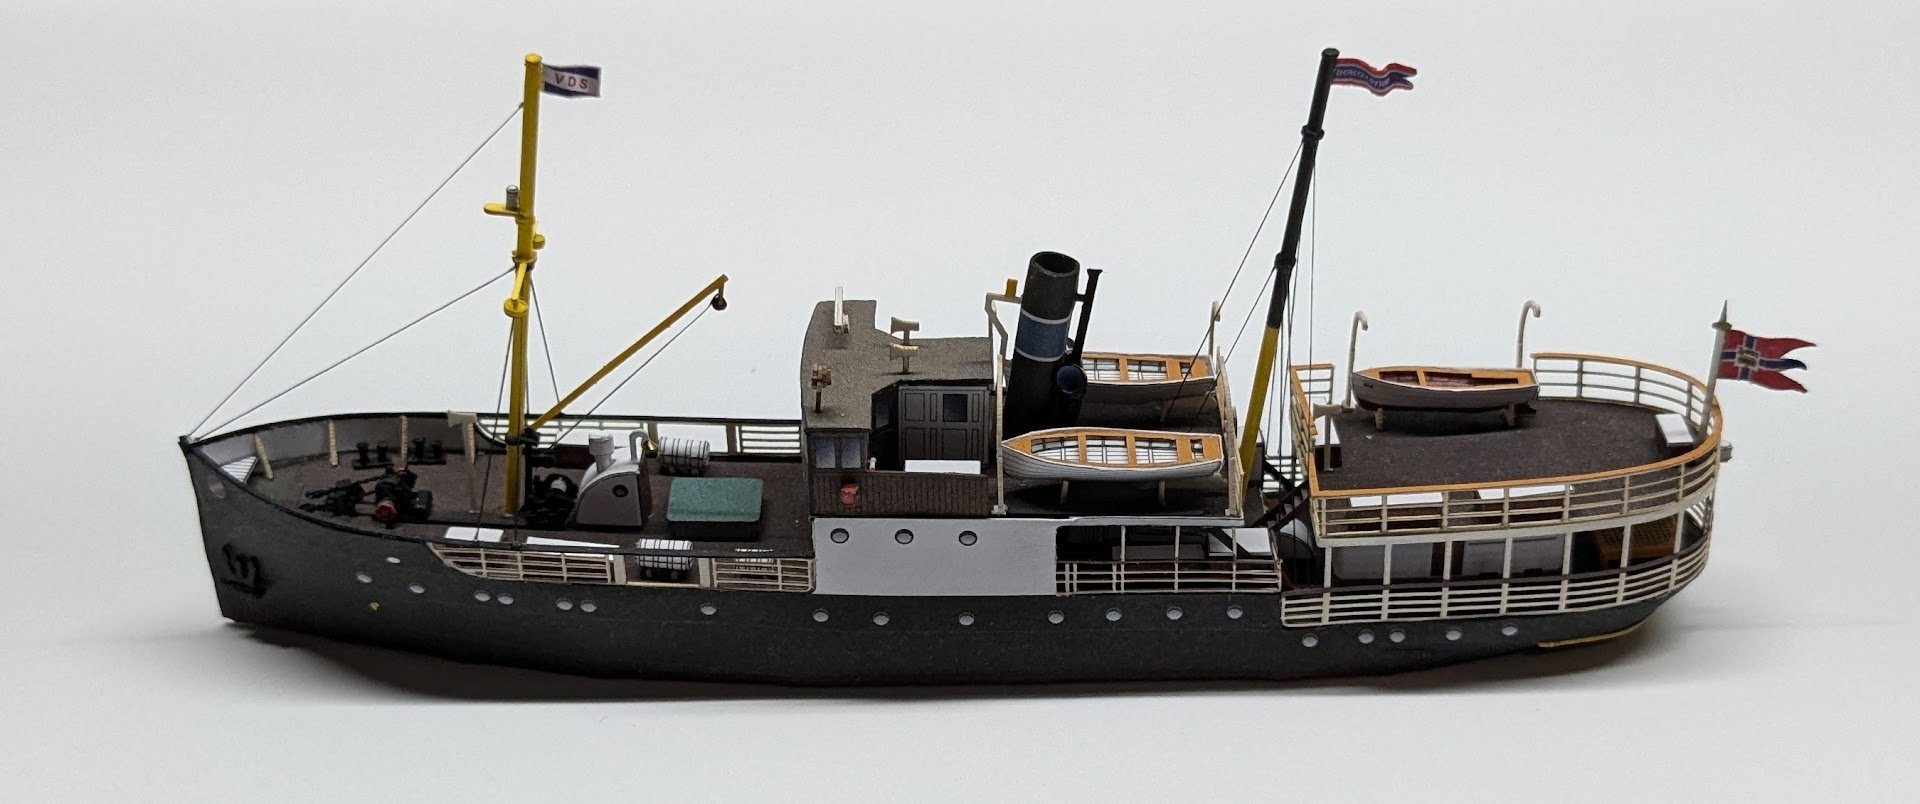
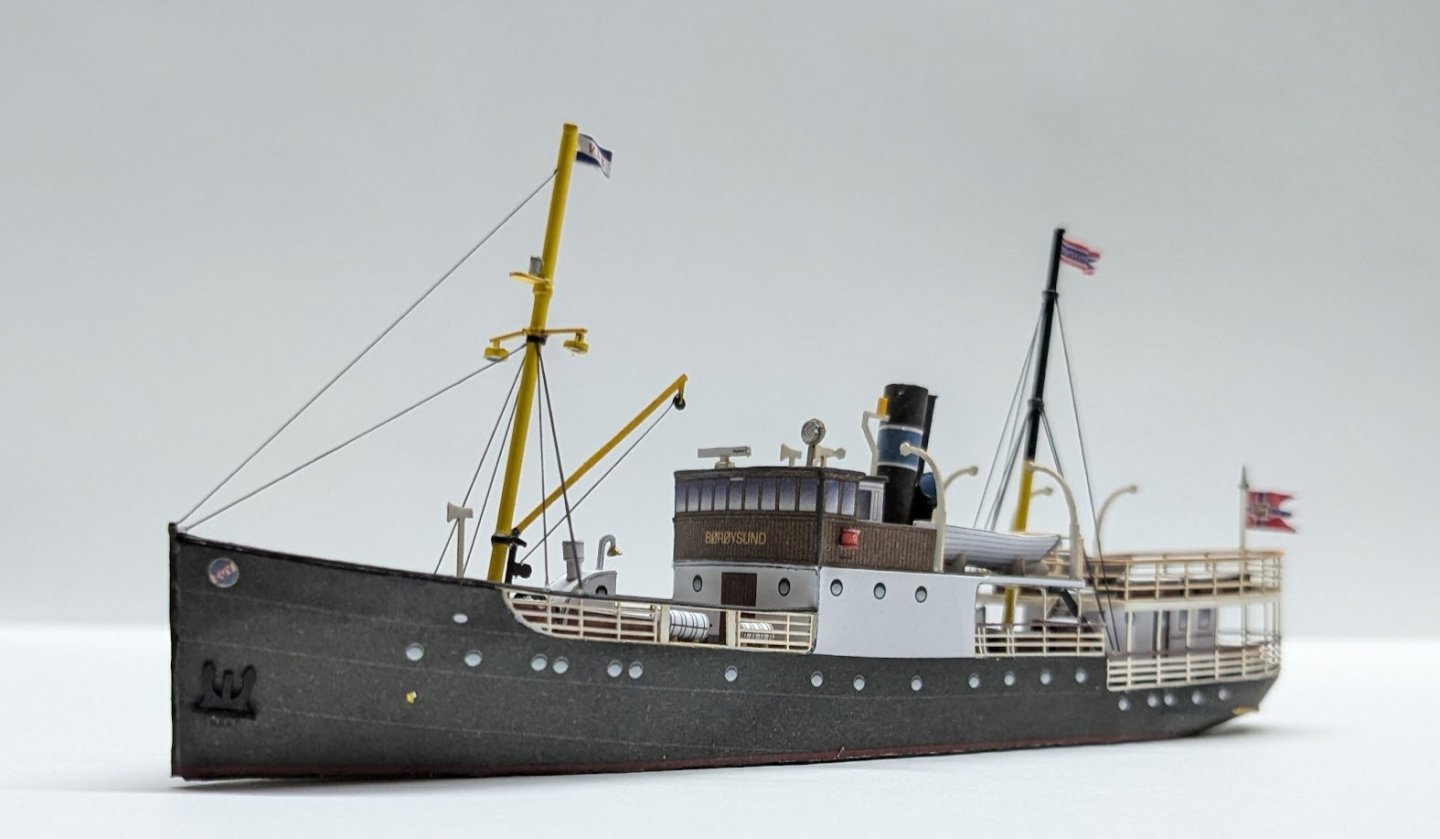
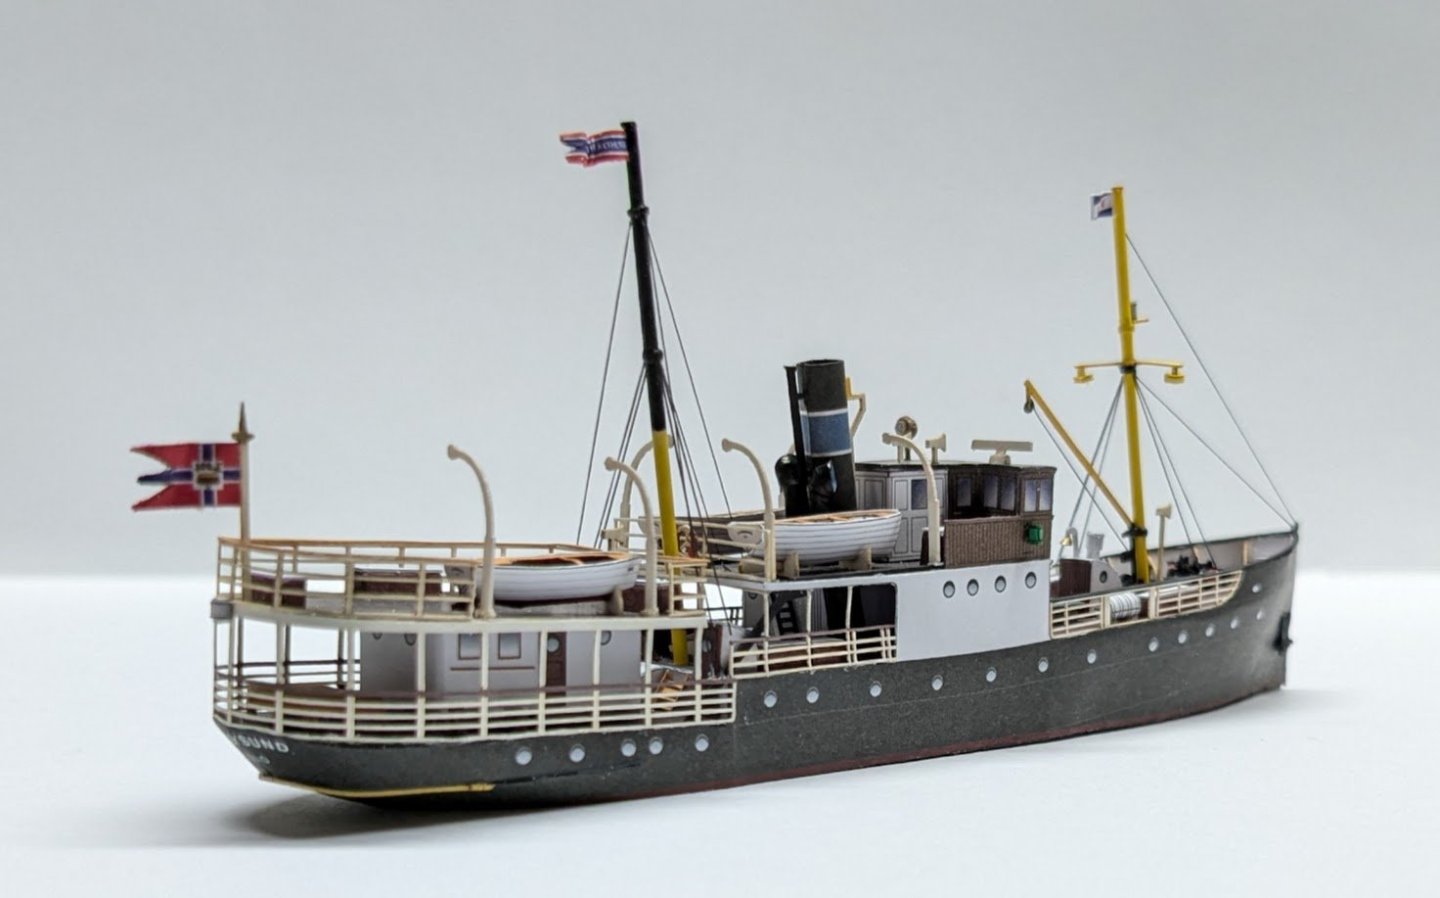
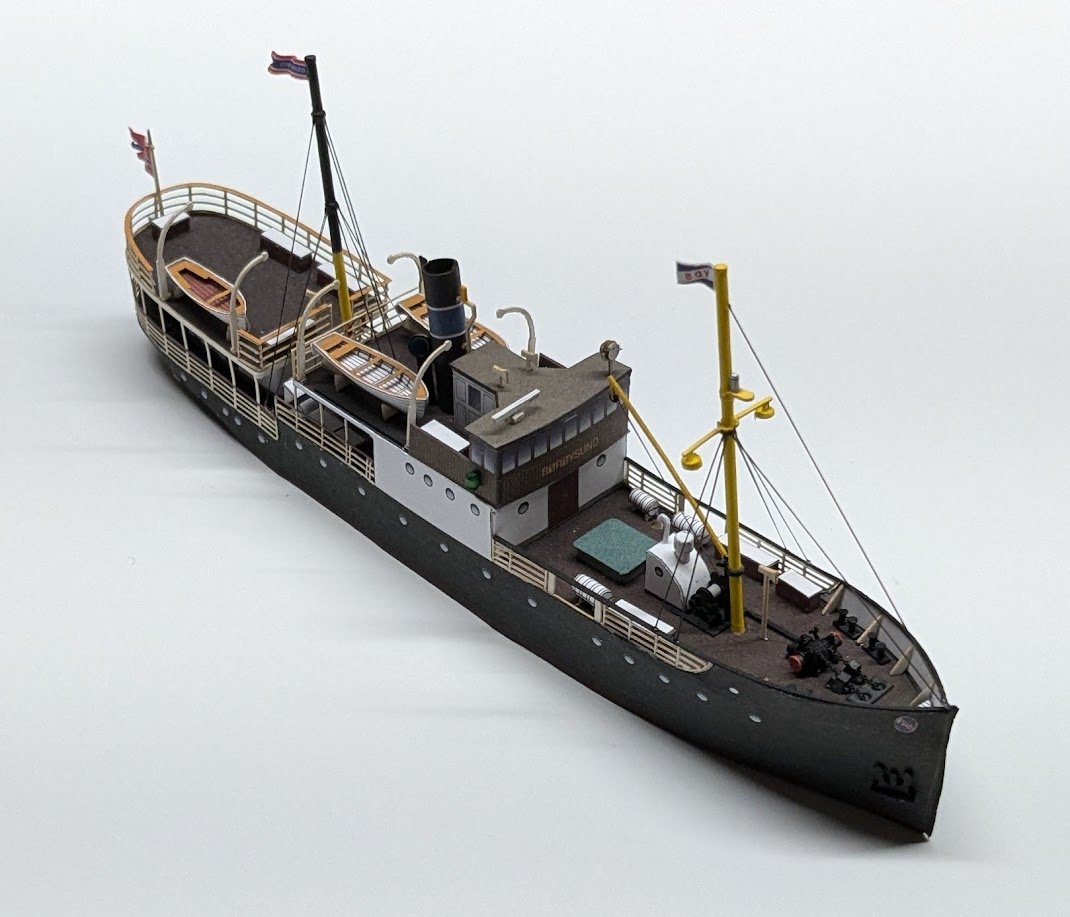
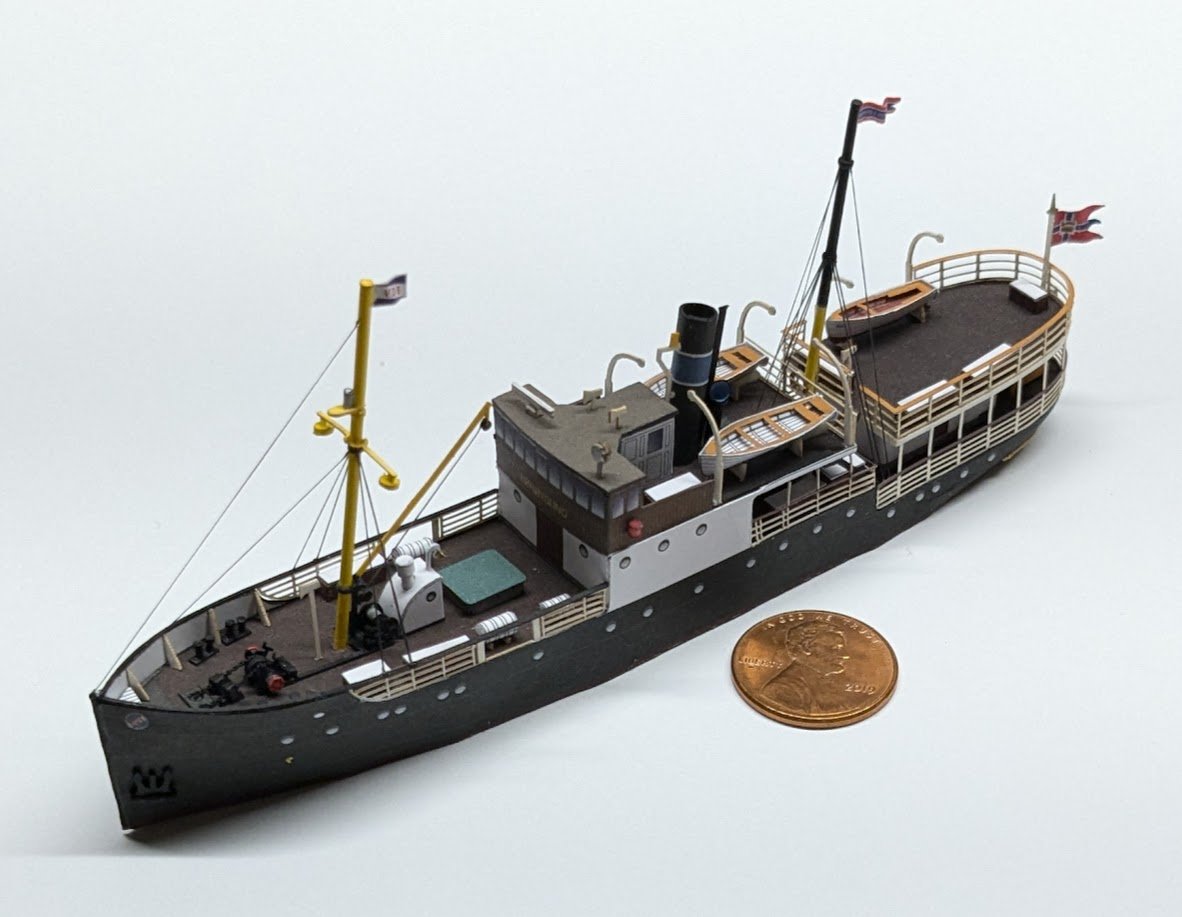
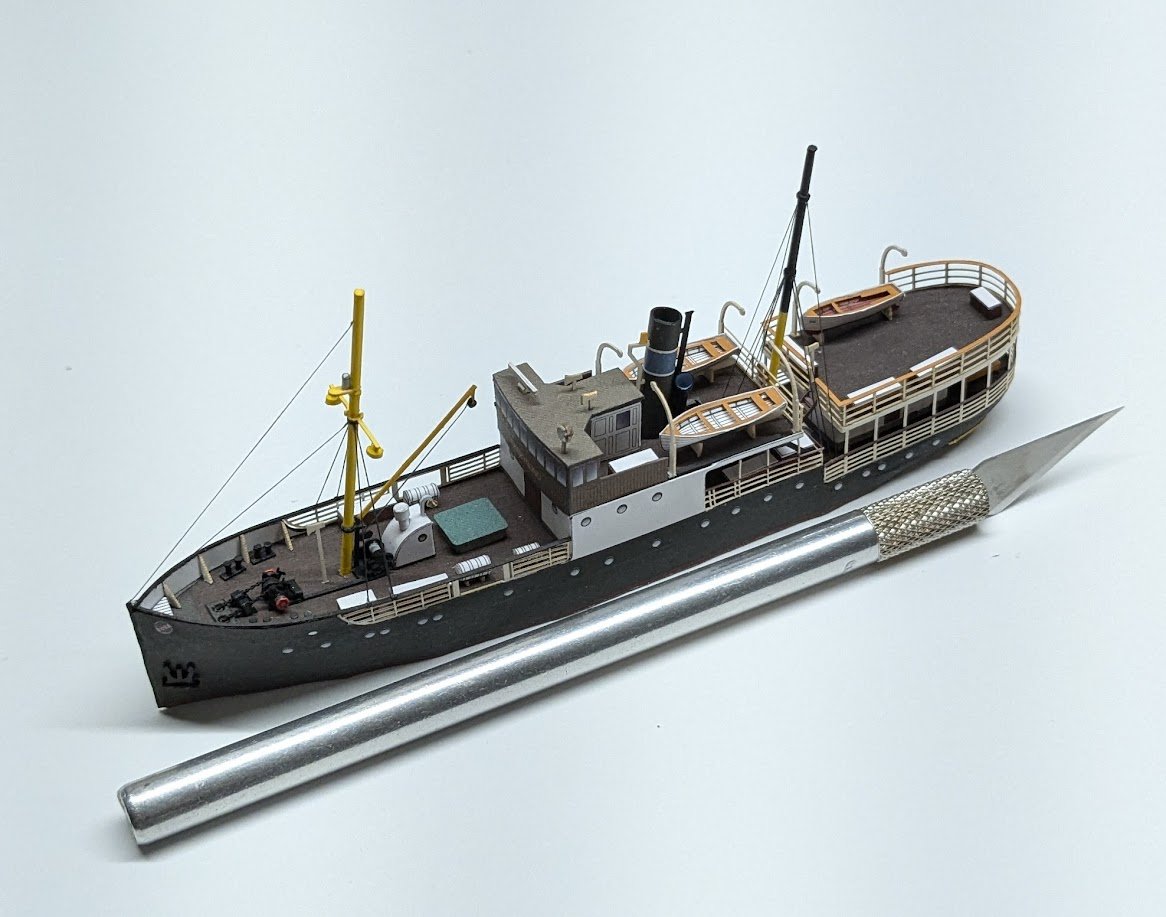
All done! One month from start to finish. Any faults in the finished product are entirely my own doing. The kit itself is a gem. I still need to work on my egg-crate hull skills -- once the hull popped off its glass plate, I tended to hold it in the same places, resulting in a little of the 'starving cow' look, but not too bad. Here's the final pics: I'm 95% certain that my next project is included in a package that's currently on its way here from Poland. Look for that one in the new year. Cheers!


- 31 replies
-
- 15
-

-
-
Nice work, Rob!
-
This is essentially what wood modelers have been asking for for years, i.e., a plan set and set of bulkheads to get a build started.
-
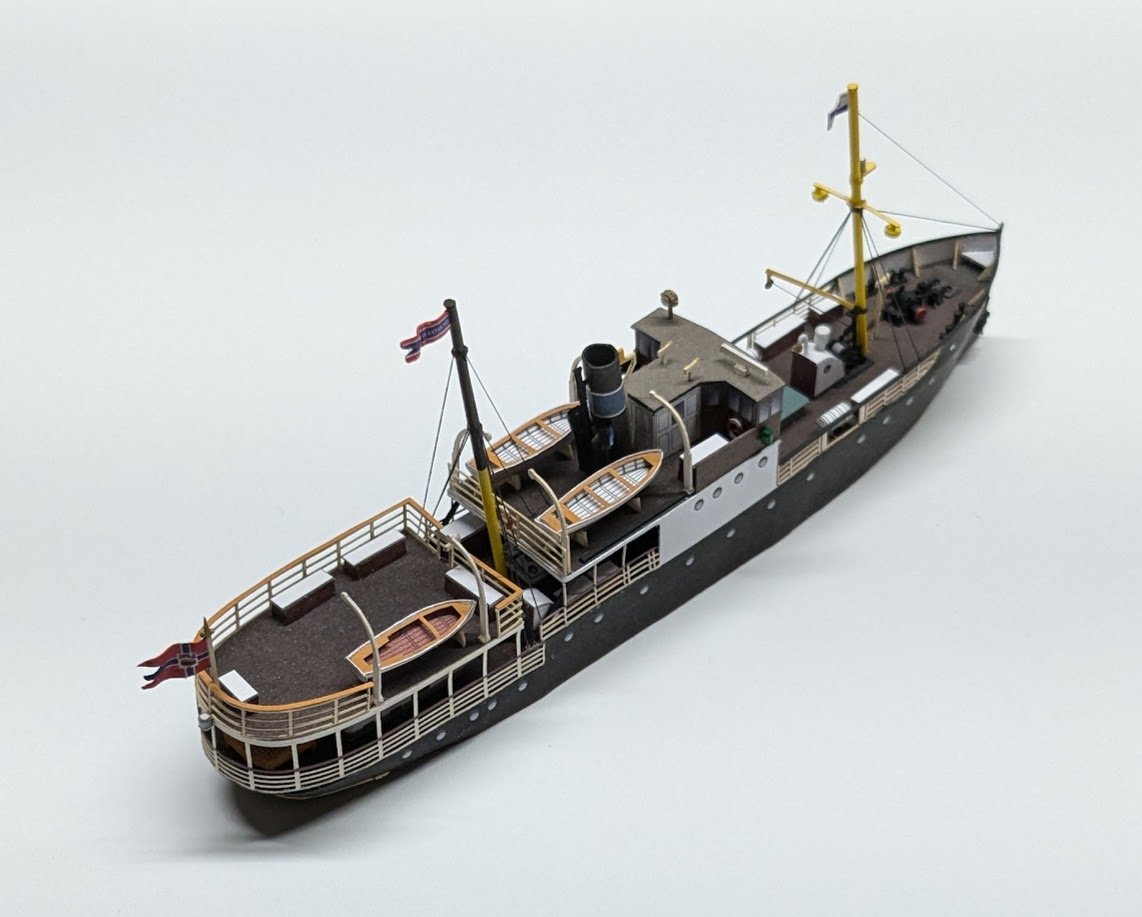
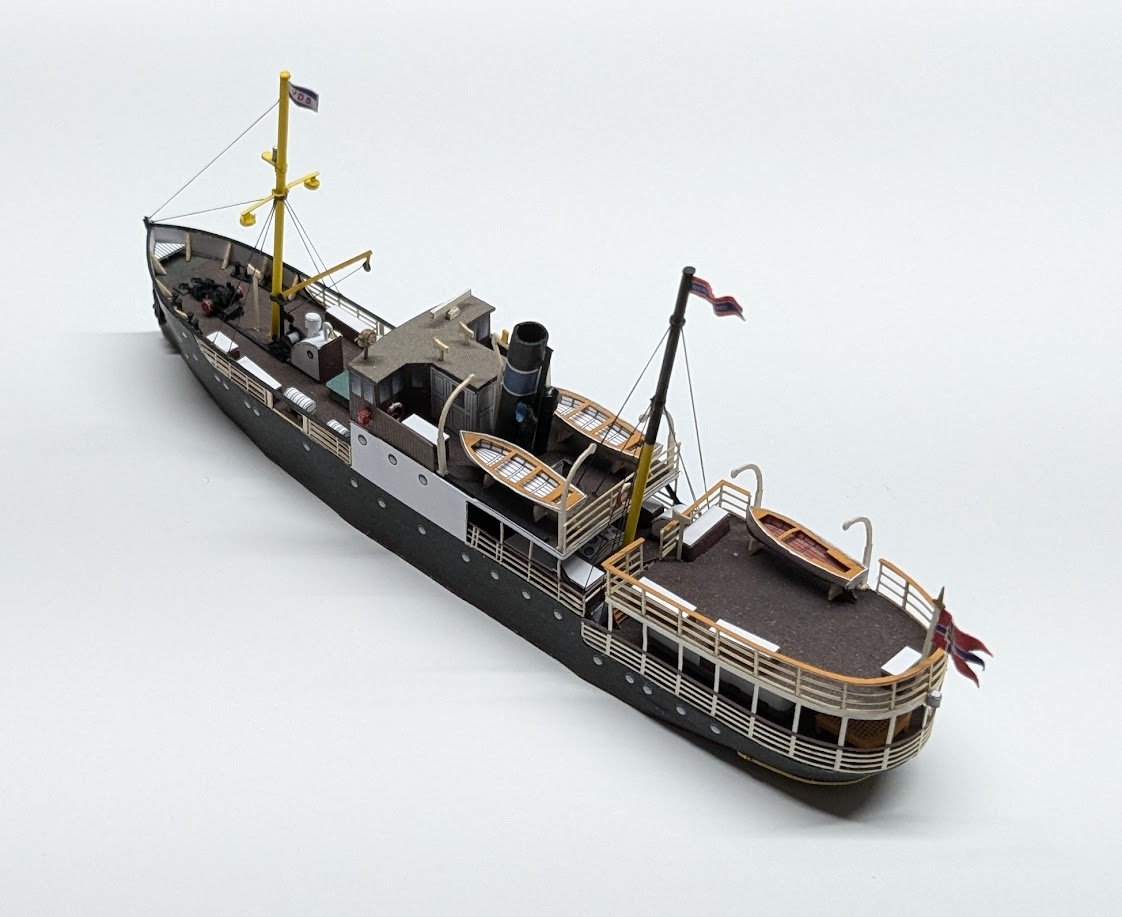
The foremast is now complete. What a chore! I dropped one of the tiny deck lamps during construction, and of course it disappeared into the jaws of the Carpet Monster, never to be seen again, so I had to scratch-build a replacement. Then I noticed that I had glued the lamps to the wrong part of the mast, requiring some delicate surgery to remove them and re-glue them in the right place. But that part is done now -- whew!! All that is left is three navigation lights and the flags.
-
It's not unheard of for modelers to do just that, but I don't know where the upper limit is on how much a kit can be enlarged and retain its sharp lines. Going from 1/250 to 1/48 would be quite a leap.
-
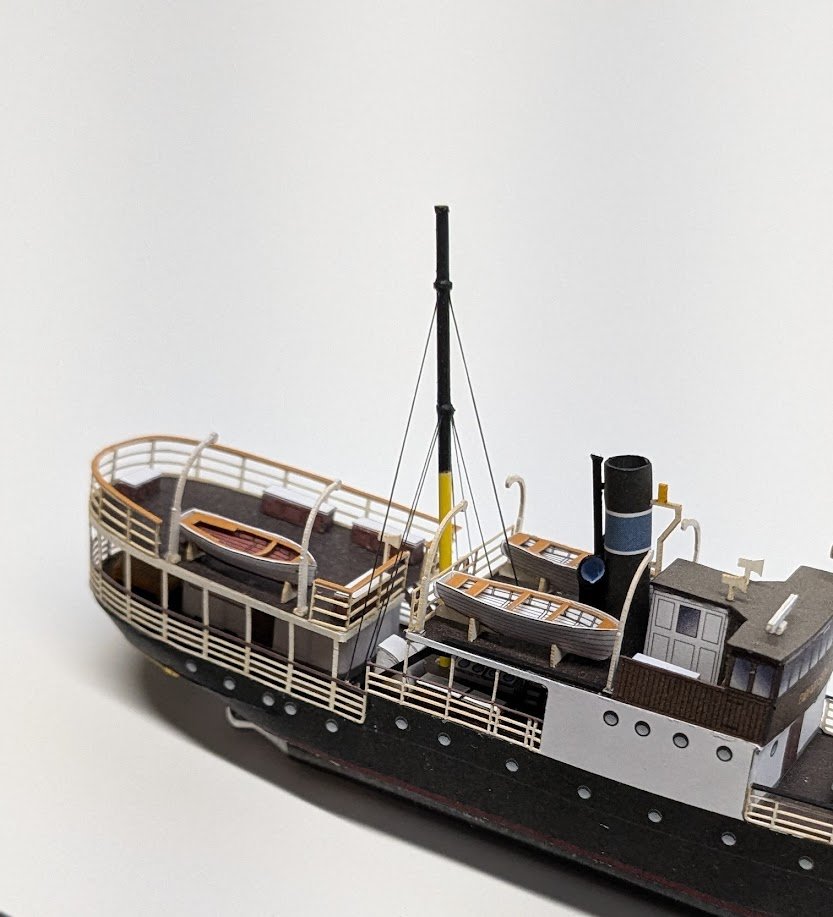
Finally got around to rigging the aft mast. Boy, was that an aggravating task!! Part of the reason for that is that the diagrams are fairly vague about where the various stays attach, and there are no insertion marks on the parts. I needed to consult some photos online. The other aggravation factor was simply the pain of having to work with very short pieces of EZ-Line in very tight spaces -- not very relaxing. BTW, I'm not doing all of the rigging. The rigging for the davits, for example, would be IMHO far too tedious and annoying than the results would be worth, and besides there is a lot of missing davit hardware, e.g., blocks, cleats. Also besides, I showed my wife the finished rigging, and her reaction was, "What rigging?", which solidifies the decision in my view.
- 31 replies
-
- 12
-
-
Vous démarrez très bien. Veuillez noter que les messages doivent être rédigés en anglais. Un traducteur Internet peut faire le travail à votre place, si nécessaire – c'est comme ça que je parle français ! You are off to a great start. Please be mindful that posts need to be made in English. An internet translator can do the work for you, if necessary -- that is how I speak French!
-
Wow! This model is incredible in every way. The painting is exceptional. A very good result indeed!
- 106 replies
-
- 3
-
-
- Soleil Royal
- Ship-of-the-line
- (and 2 more)
-
Moin, Karl! Since this is a separate model, I have created a new topic thread for it. Cheers!
-
The main thing in any first planking job is to simply finish. You'd be surprised at how many modelers never make it past this step. Some remain permanently intimidated by the job and never even start!
- 19 replies
-
- 1
-
-
- Bounty Boat
- OcCre
- (and 2 more)
-
Strange. It's working for me. Must just be another one of those software hiccups that my decidedly non-techie brain can't comprehend.
-
Fixed now, if you're still interested.
-
It is quite common for wooden ships to require the addition of what are called stealers at either or both the bow and stern. There are guidelines for doing this. Check out this planking tutorial by David Antscherl. Your model is coming along nicely to this point!
- 7 replies
-
- 1
-
-
- Henriette Marie
- Billing Boats
- (and 1 more)
-
Welcome aboard, Mike!
-
Some of us have dropped hints to Chris Watton over the years that some of his Vanguard kits need American bookends. Not much joy so far, except for Grecian.
-
Moin moin and welcome aboard!
-
Ship models in any medium are welcome, but pictures of finished models (i.e., not an actual build log) should be placed in gallery albums.
-
A lovely model, but since it is a completed model and not a build log, these photos should actually be placed in a gallery album.
-
Welcome aboard!
-
Just my two cents, but I think your sails look fine as-is.
- 32 replies
-
- 3
-
-

-
- Bounty
- Constructo
- (and 1 more)