ccoyle
-
Posts
10,526 -
Joined
-
Last visited
Content Type
Profiles
Forums
Gallery
Events
Everything posted by ccoyle
-
Welcome aboard, Dan!
-
 Just a quick update. Since the last post, there remained essentially just five assemblies to complete: propeller (since completed), aileron control horns, Lewis gun mount, and a couple of items that I assume are externally-mounted, wind-powered generators. ALL of these assemblies are either poorly documented in the diagrams or else not documented at all, so some educated guesswork and consultation of outside sources will be necessary. This is a pretty disappointing situation for any modeler, obviously, regardless of medium. I will definitely be avoiding kits designed by Mr. Lewan in the future.
 -
That's kind of you, Marcel. My latest order from Halinski, which includes six kits and their accessories, cost me about $42 for shipping -- $30 less than getting just two kits from Answer! I don't know how that is possible, since I assume they both ship via the Polish Post. Answer must simply add on a larger handling 'fee'.
- 107 replies
-
- 11
-

-
Moved to the build logs section. Took a best guess at the correct time period.
-
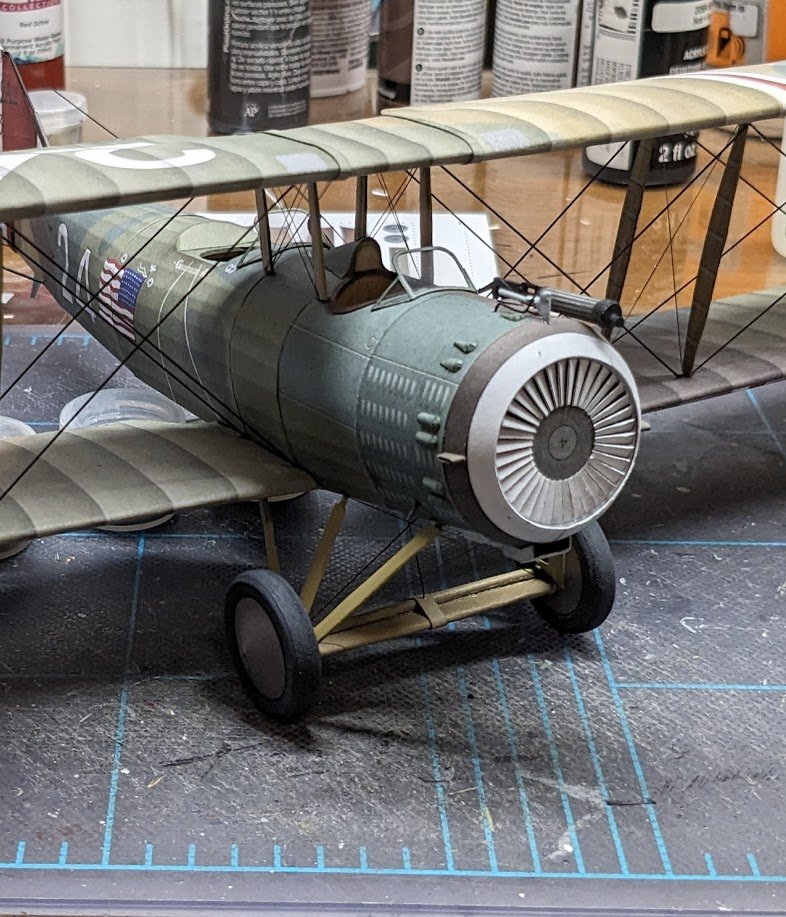
Landing gear on and rigged. Vickers gun assembled and mounted. I had a number of issues with the landing gear, starting with a cryptic assembly diagram that I only figured out after I completed the assembly. That led to a slight difference between the as-designed and finished gear that no one will likely notice. Second, the middle strut on each side is not long enough to reach the fuselage. Third, the finished fuselage/gear joints have some play in them, so the resting model can easily be rocked side-to-side (like a wing waggle); this results in the wings steadfastly refusing to sit level. None of these are issues that I feel like spending extra time trying to fix, so I will once again rely on "judicious camera angles" for the final photo shoot.
- 107 replies
-
- 20
-
-

-
One never knows, but I currently have no interest in resurrecting it.
-
Hi, Jacob. It looks like you have made a good start. A great skill for any ship modeler to master is the ability to come up with creative solutions on the fly, a skill you seem to be well on your way to acquiring. Here's a link to the resources page at the NRG website. If you scroll down the page, you'll find some articles on planking. https://thenrg.org/resource/articles And here's the link to the list of local ship modeling clubs. If you live near one, I'm sure they would have members willing to help you out with your project. https://thenrg.org/resource/clubs Good luck!
- 7 replies
-
- 4
-
-

-
- Swift
- Artesania Latina
- (and 1 more)
-
Welcome aboard!
-
This would be a very tempting kit for me if it were offered in 1/250. Sadly, as you no doubt know, JSC publish primarily in 1/400, and their few 1/250 kits are mostly either merchantmen or battleships.
- 22 replies
-
- 2
-
-
- Enchantress
- JSC
- (and 1 more)
-
Got the wing bracing done. It was not fun! The last couple of pieces decided to be quite a pain in the tuckus. Once you've bent a stretched piece of wire, you can't re-stretch it if it gets bent. I bent the first three attempts at the last wire. Fourth time was a charm. 😑 BTW, I may have placed a small order with Halinski. Now I have to wait for the mail, so I'll keep you waiting along with me. 😁
- 107 replies
-
- 14
-
-

-
Ha ha! You're doomed. 😮
-
https://thenrg.org/resource/usingmsw
-
This stuff is so confusing that I inadvertently switched the definitions of these two terms in my last post. And none of you caught it!! 😂 It's fixed now.
-
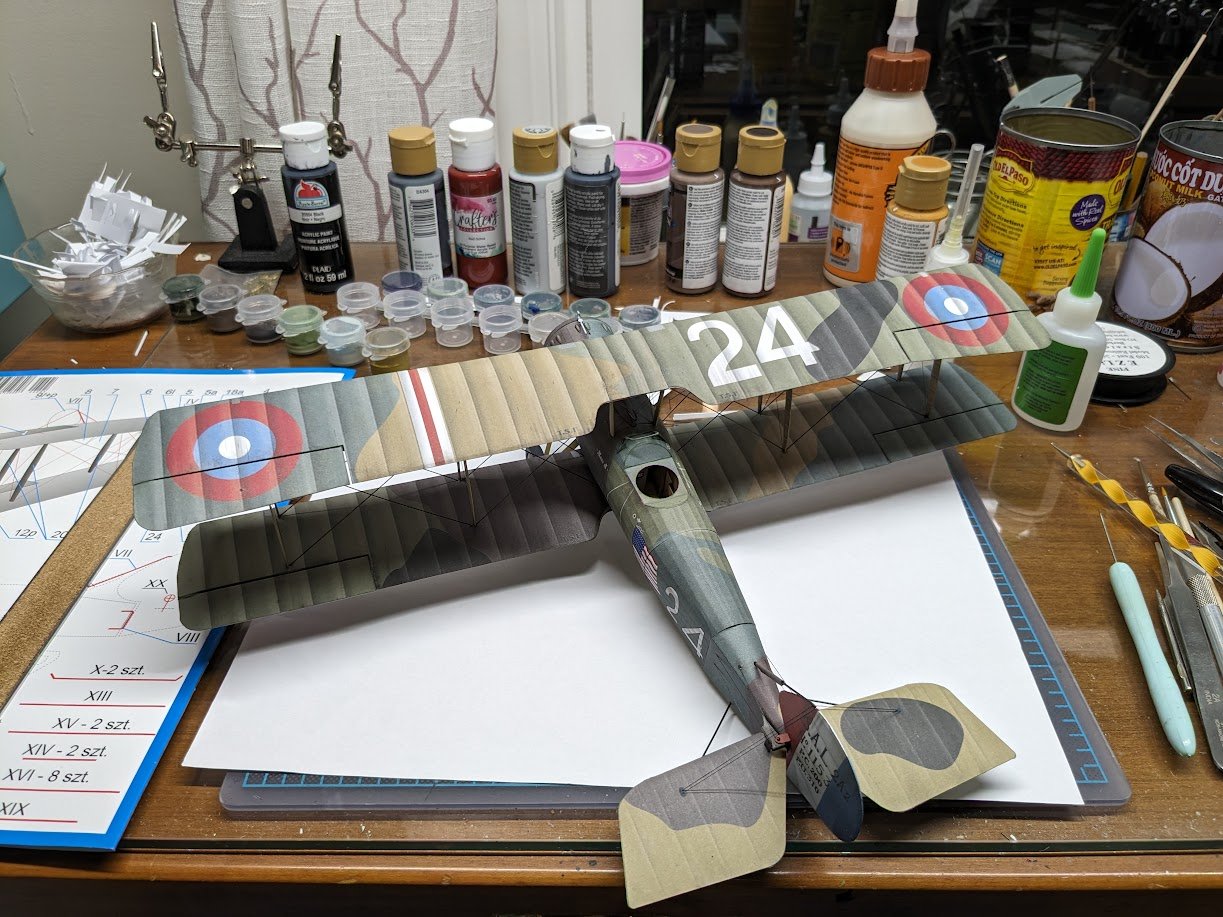
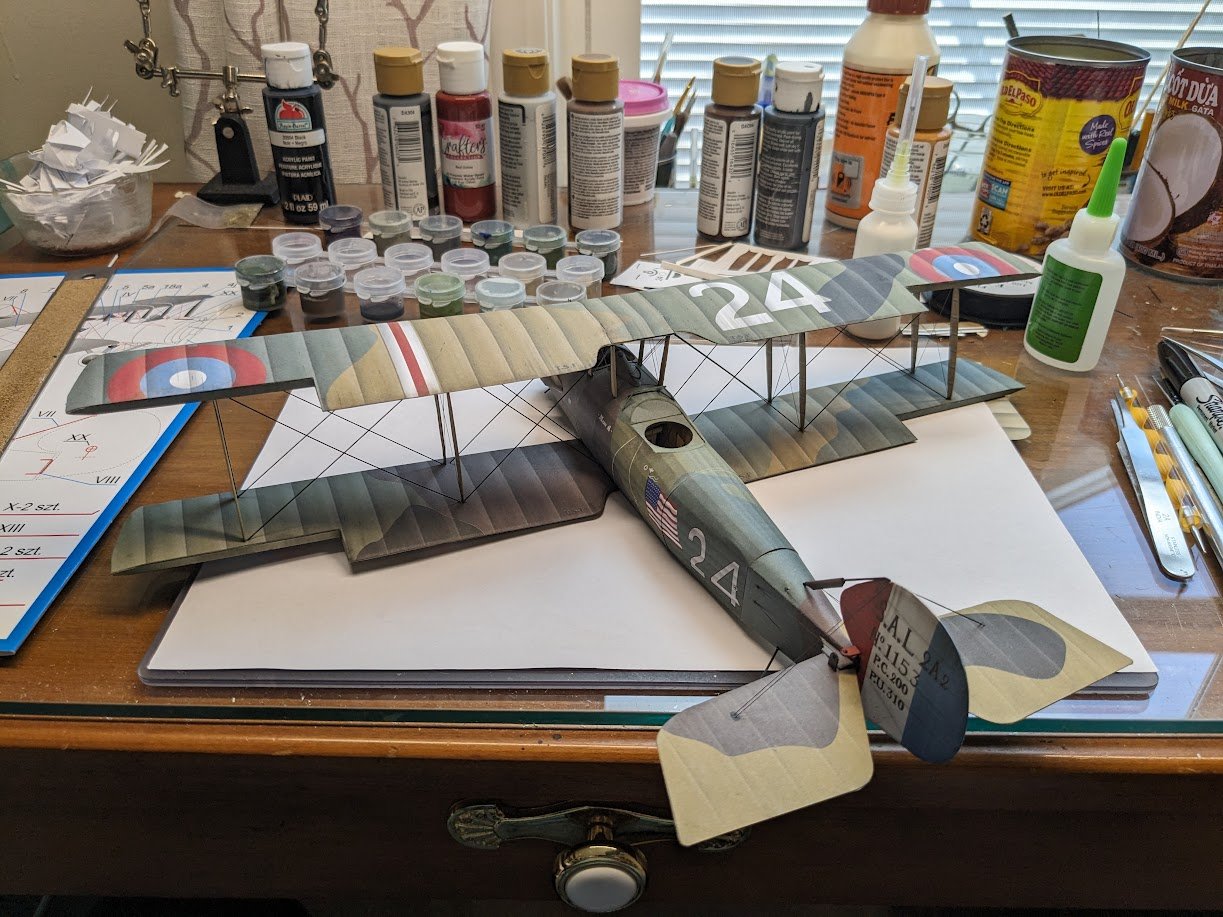
I had to take a refresher course on all the rigging/bracing terminology for biplanes. So for those who are interested, here's a quick lesson: cabane struts: the struts between the fuselage and upper wing interplane struts: the struts between the upper and lower wings bay: the rectangular space bounded by two sets of struts and the upper and lower wings torsion wires: the wires that brace the rectangles formed by the cabane struts, upper wing, and fuselage landing wires: the wires that run outward and down from the upper wing to the lower wing in between struts flying wires: the wires that run outward and up from the lower wing to the upper wing between struts; together, flying wires and landing wires brace a bay incidence wires: the wires that brace the rectangle formed by a pair of parallel struts and the upper and lower wings. The S2 is a double bay aircraft, having four pairs of interplane struts and four cabane struts. The model will have 12 torsion wires, 8 incidence wires, 8 flying wires, and 8 landing wires, for a grand total (so far) of 36 wires. That's 36 individual pieces of EZ-Line or wire to attach. I have 23 done so far. Stay tuned . . .
- 107 replies
-
- 13
-
-
-
M3 Halftrack by ERS Rich - Tamiya - PLASTIC
ccoyle replied to ERS Rich's topic in Non-ship/categorised builds
Ironically, a suggested video came up on my YouTube account about how half-tracks won the war. Of course, numerous weapons/systems have been put forth as having "won the war" -- truth is, they all made important contributions. -
Hull looks great!
-
Welcome aboard, Clive!
-
Should you ever find yourself in the 4th dimension, please have a look around for the various parts I have unwillingly contributed to the landscape over the years.
- 22 replies
-
- 2
-
-
-
- Enchantress
- JSC
- (and 1 more)