ccoyle
-
Posts
10,527 -
Joined
-
Last visited
Content Type
Profiles
Forums
Gallery
Events
Everything posted by ccoyle
-
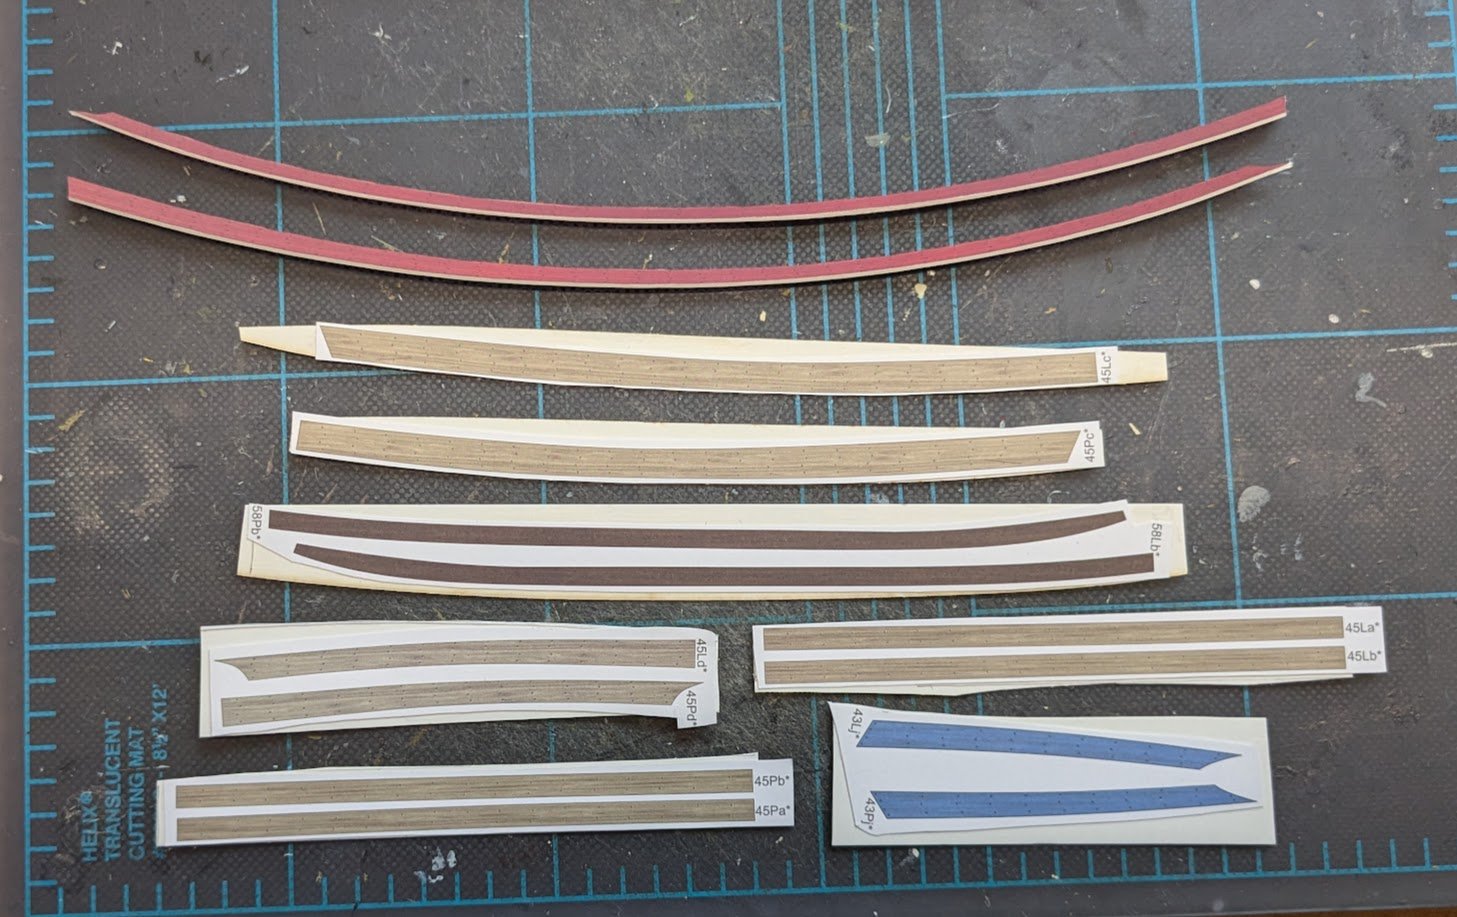
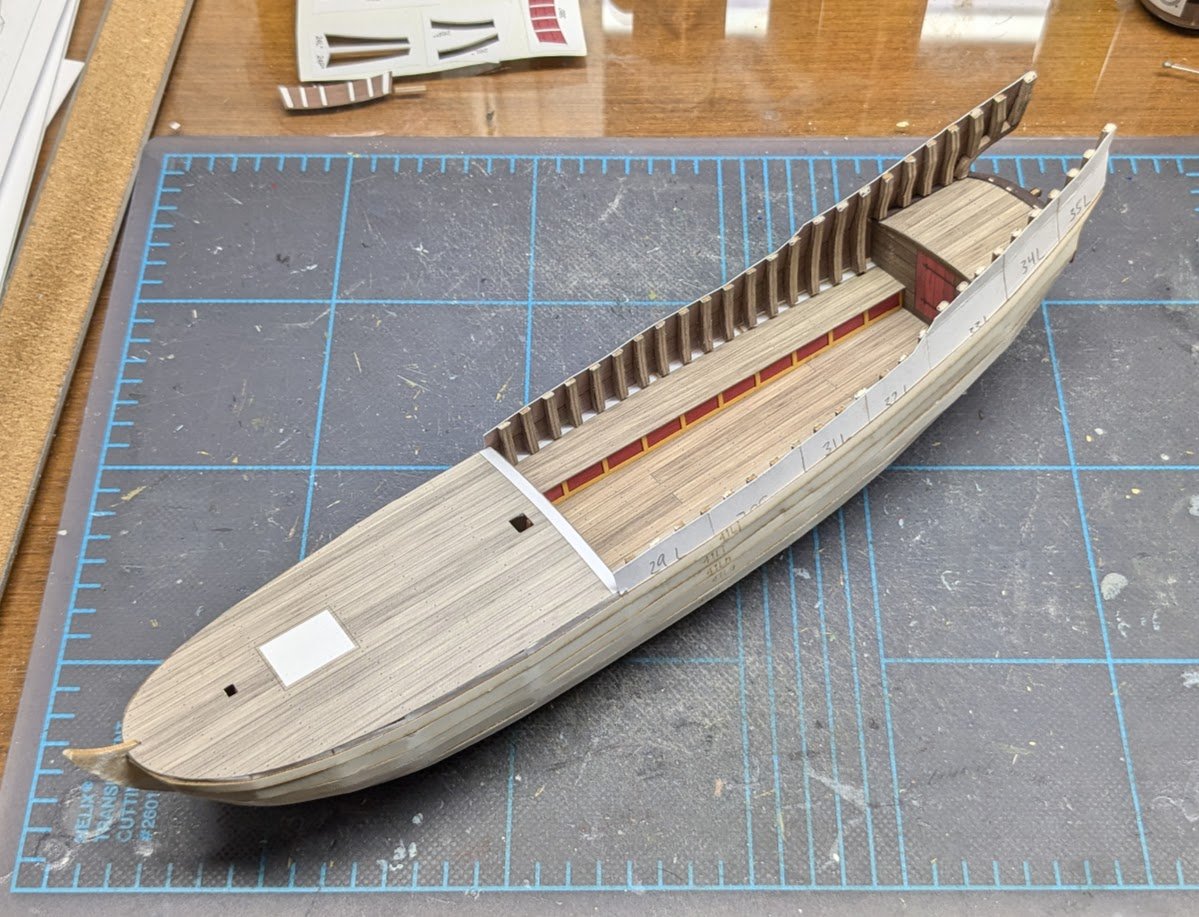
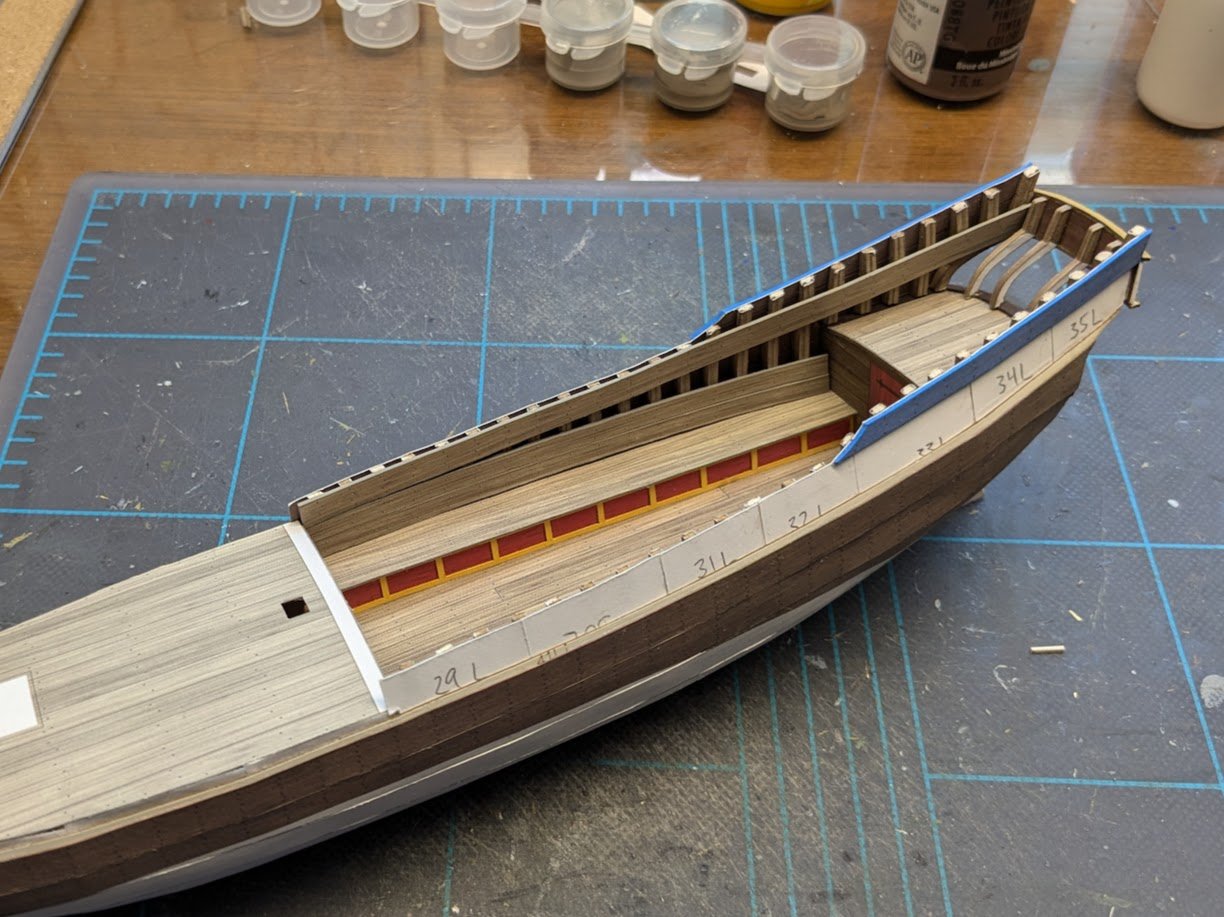
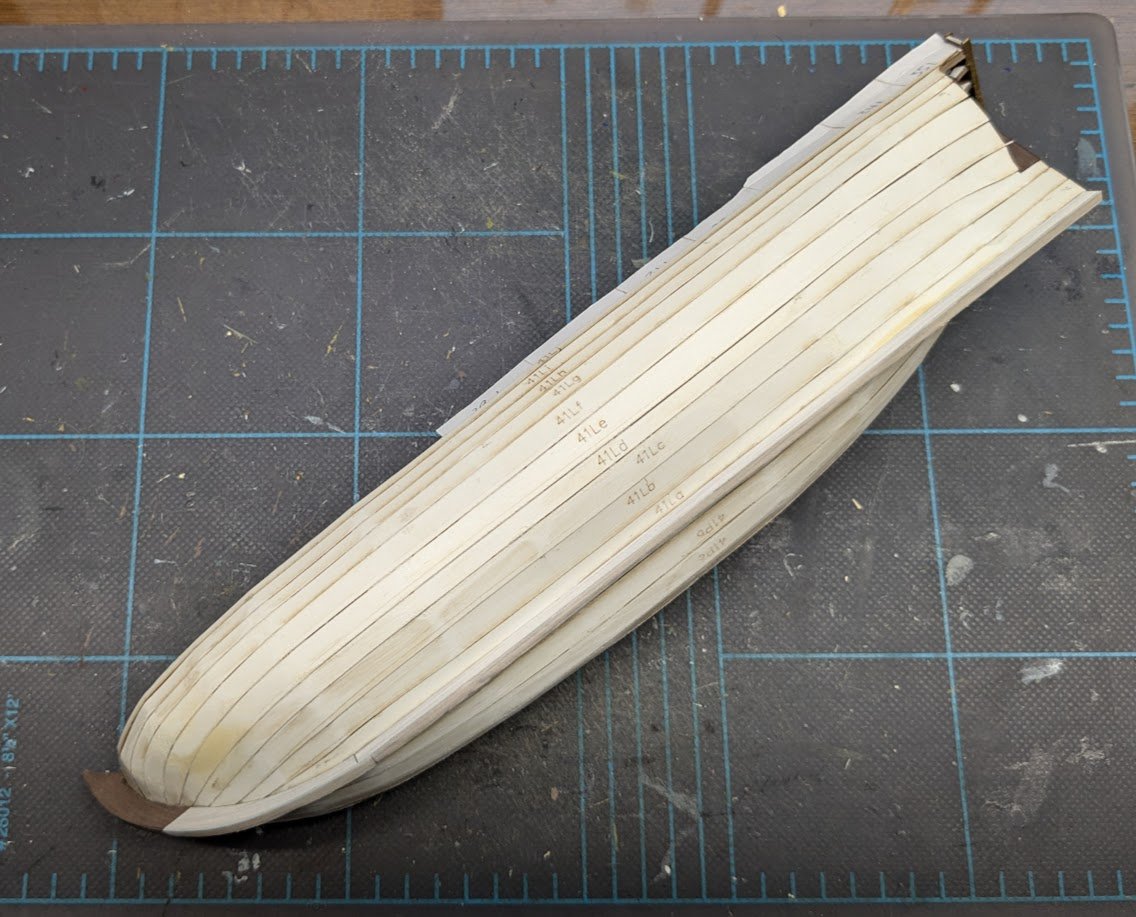
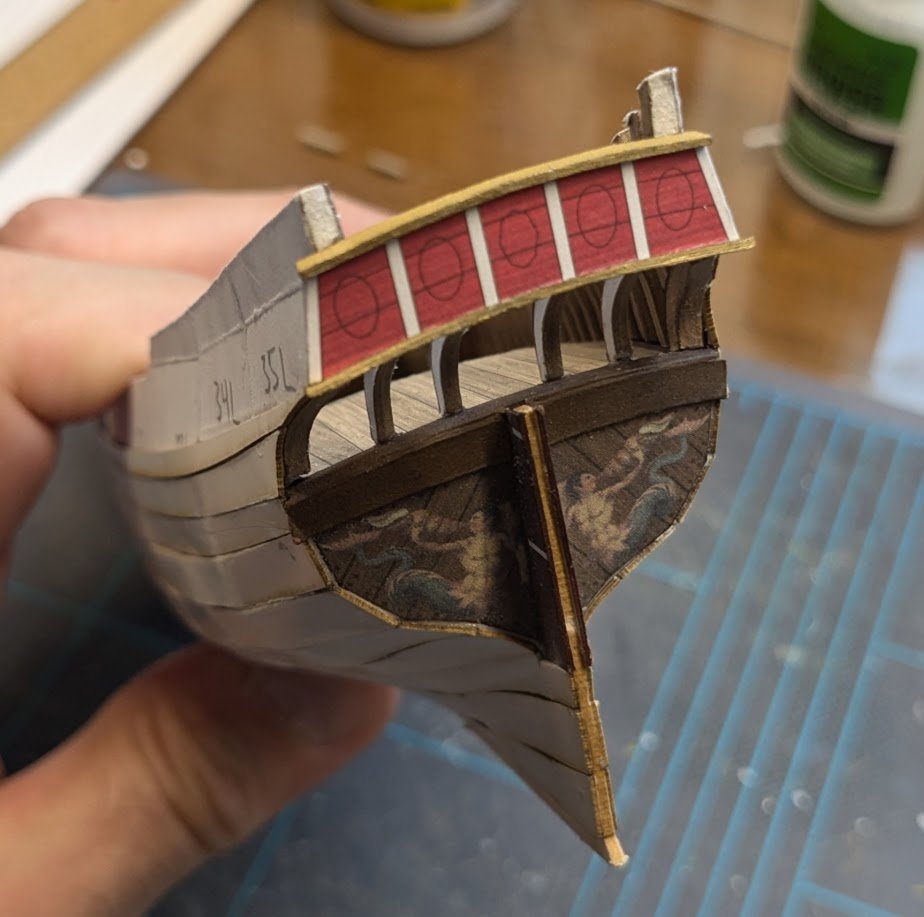
 Some more progress to report. I now have all of the finish planking below the wales completed. I'm not happy with how visible the seams are, and I will be doing some work to correct that to my liking. If anyone is planning to build this kit using the laser-cut frames, here's a word of warning: DON'T throw out any of the scrap 0.5 mm card! There are plenty of parts that need to be laminated onto 0.5 mm card stock, and with care you can fit most of them onto the scrap 0.5 mm sheet. Before doing the upper hull planking, I decided to work on the interior cockpit planking. This will provide some extra rigidity to the upper bulwarks. You'll notice that I also added the uppermost outer bulwark plank -- this is to help with the positioning of the rest of the bulwark planking yet to be added. Someone asked in another topic about the stiffness of card model hulls. I can verify that this particular hull is now pretty solid by this point in the construction -- no fears about it being too delicate. Cheers!
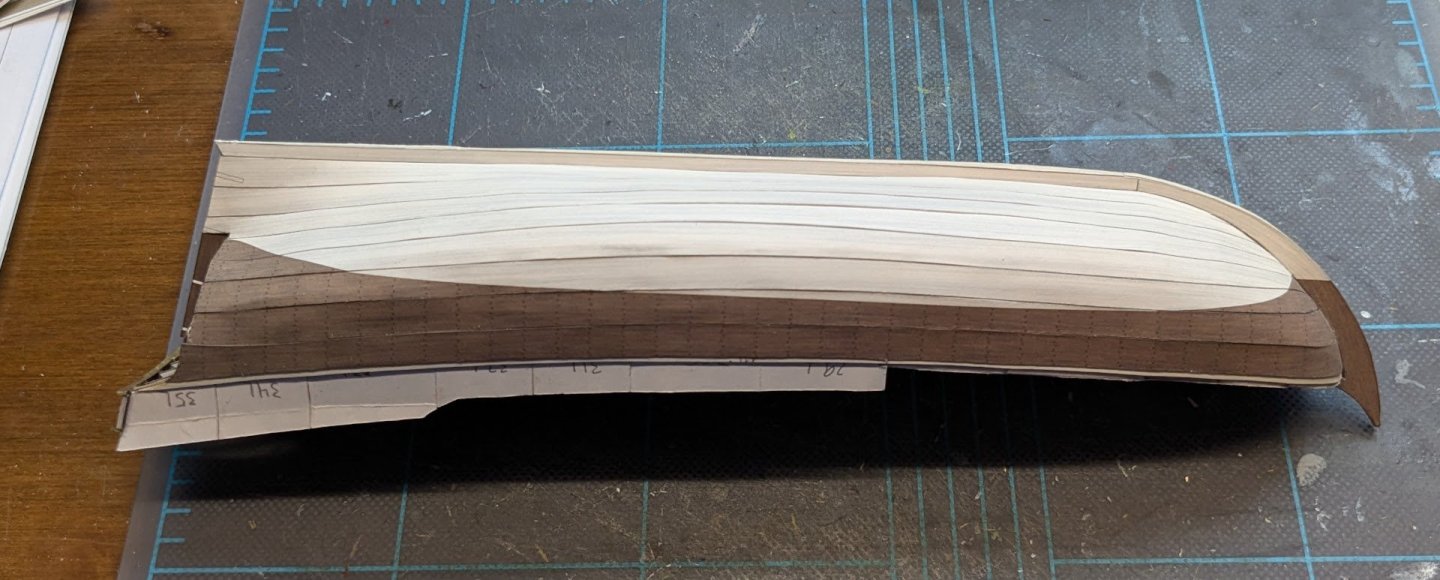
- 146 replies
-
- 18
-

-

-
- Speeljacht
- Seahorse
- (and 2 more)
-
Carl, an essential skill for card modeling is simply learning how to work with paper: scoring, cutting, folding, rolling, etc. It pays to tackle a few simple card models, regardless of subject, before trying a more advanced kit. We even have a tutorial hosted here based on a free kit of a WW1 torpedoboat. Warning: Once you try card models, you may never go back!
-
Yeah, they kinda are, sorta.
-
A canoe in 1/2 scale is large. 🤔
-
I was born in Tucson while my Dad was stationed at Davis-Monthan, so technically I'm a native Arizonan, though I was only two months old when we moved to California, and I've only been to Arizona one other time since then. But, hey, connections, dontcha know. 😉
-
A guide to using MSW
ccoyle replied to James H's topic in Using the MSW forum - **NO MODELING CONTENT IN THIS SUB-FORUM**
That's not an acceptable excuse. 🤨 -
Welcome aboard!
-
About wooden replica of Seahorse's Speeljacht
ccoyle replied to Olli Sukunimisson's topic in Card and Paper Models
Olli, try sending your question to Tomek via private message. His username is 0Seahorse. -
Welcome aboard!
-
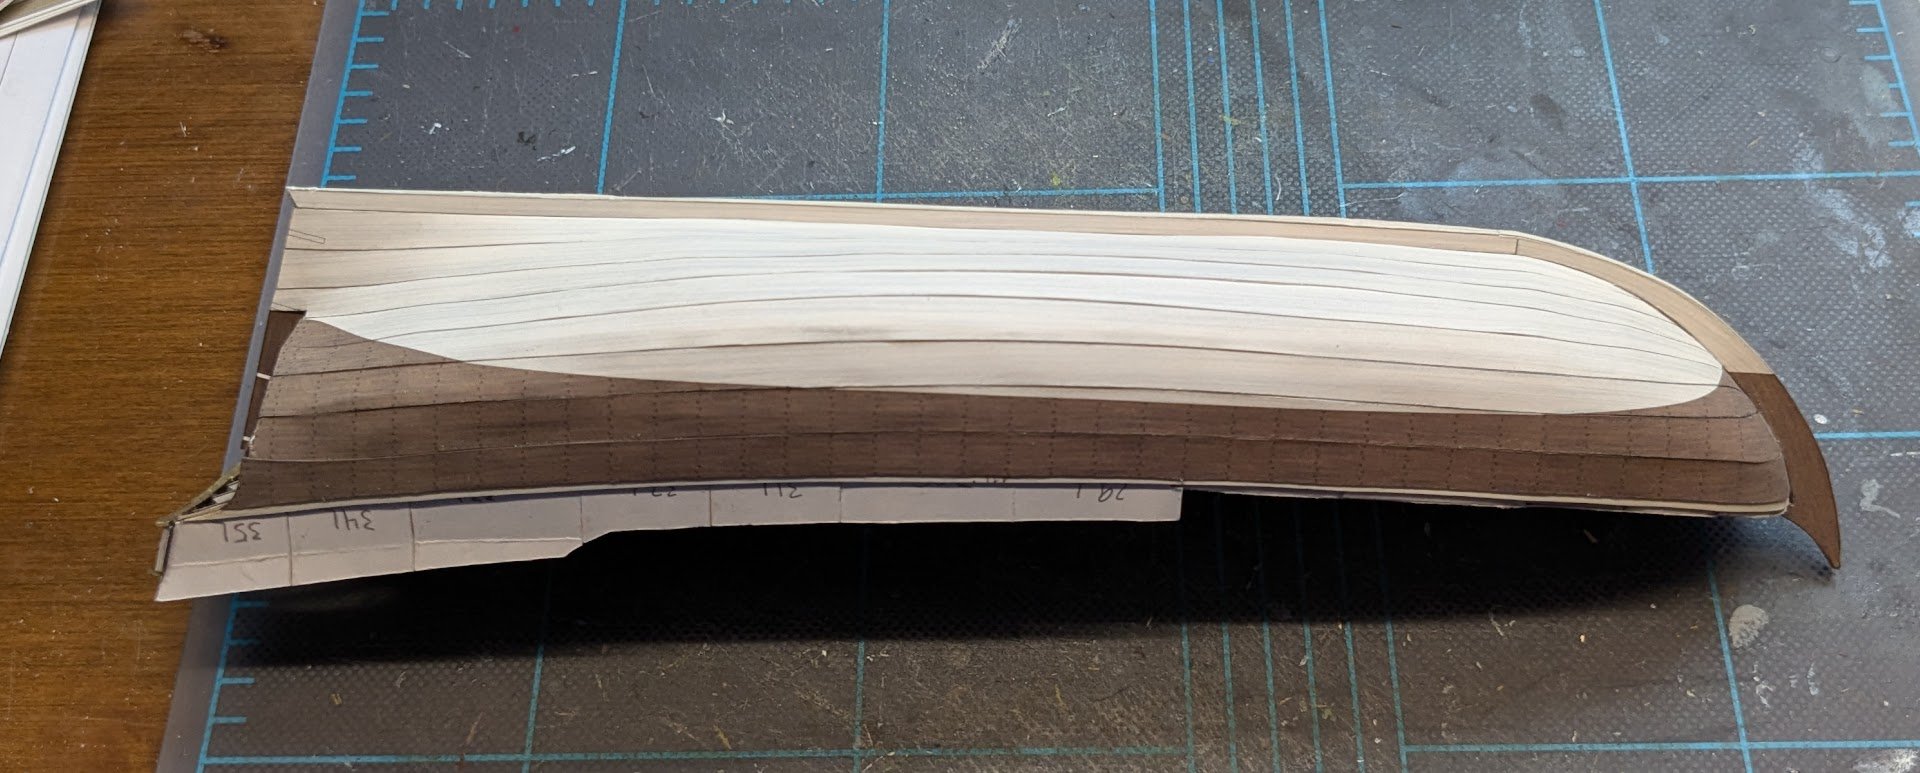
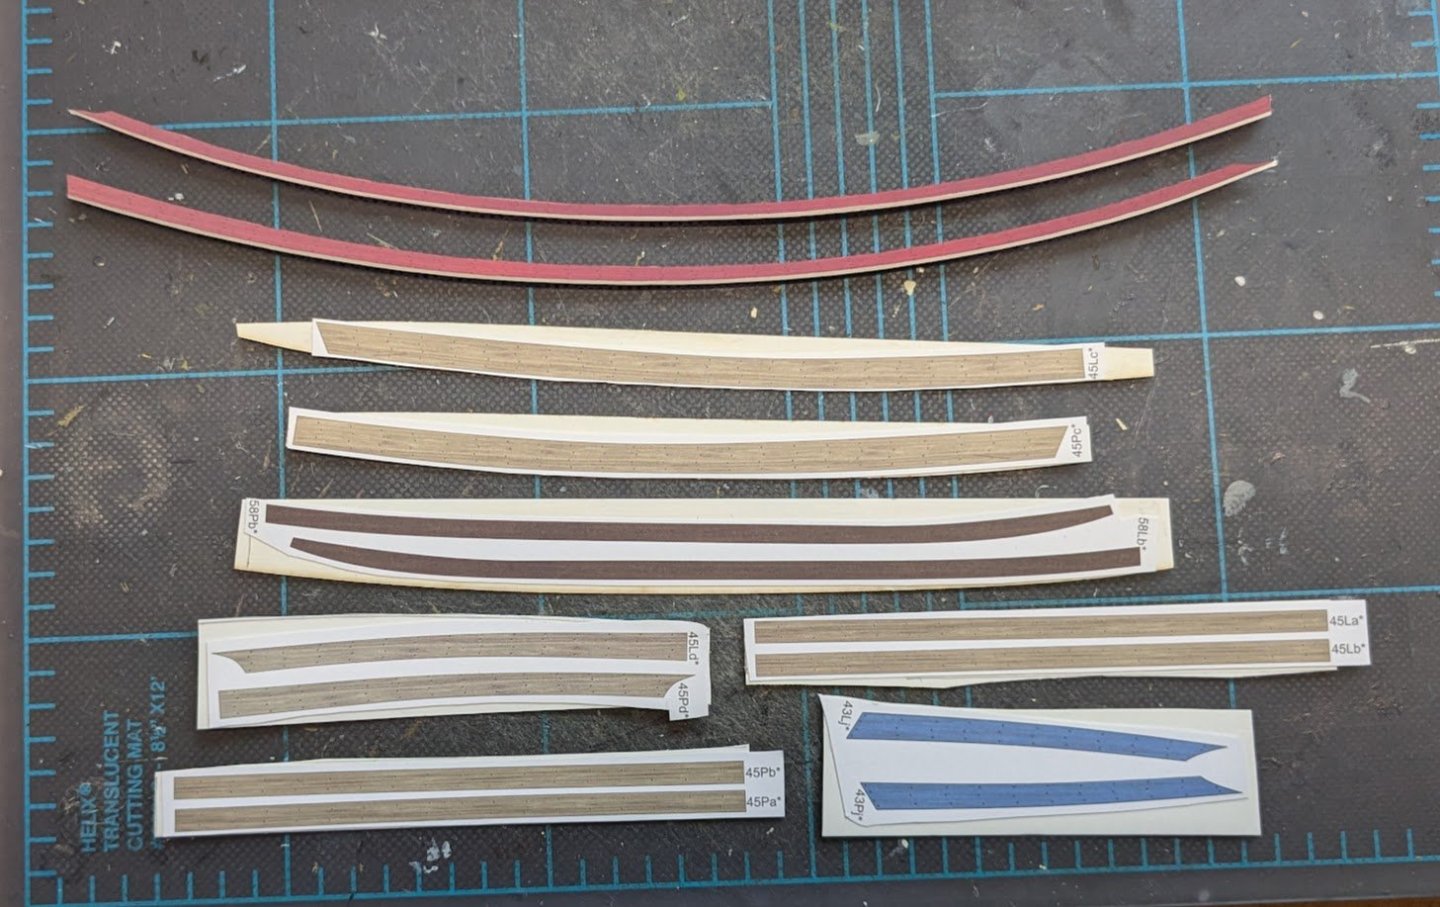
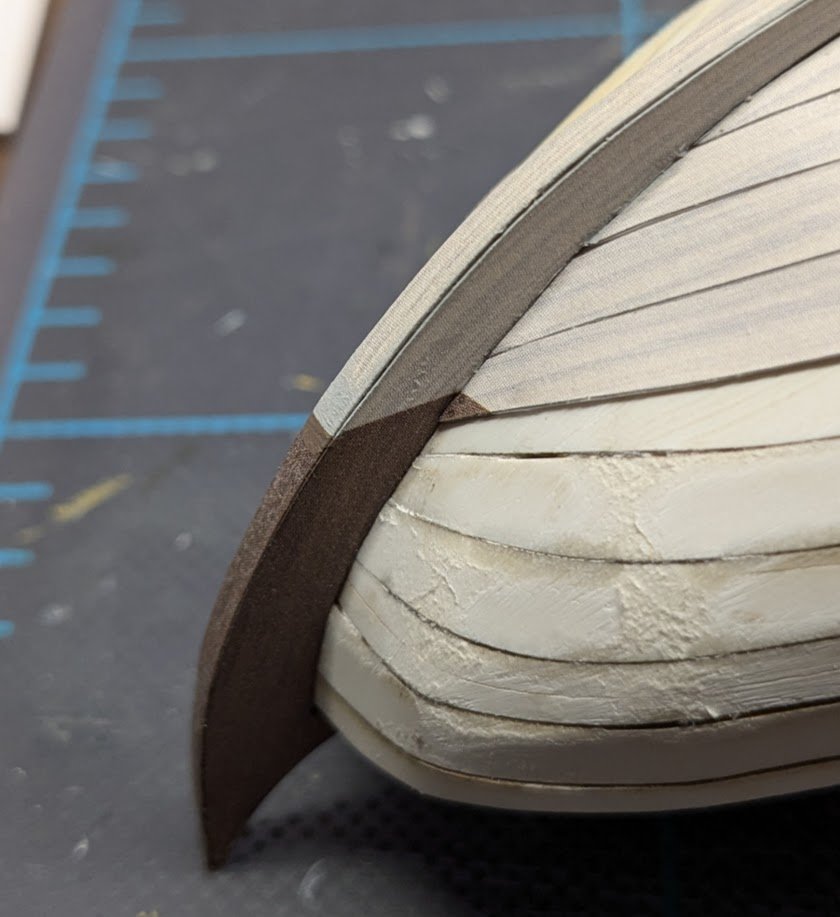
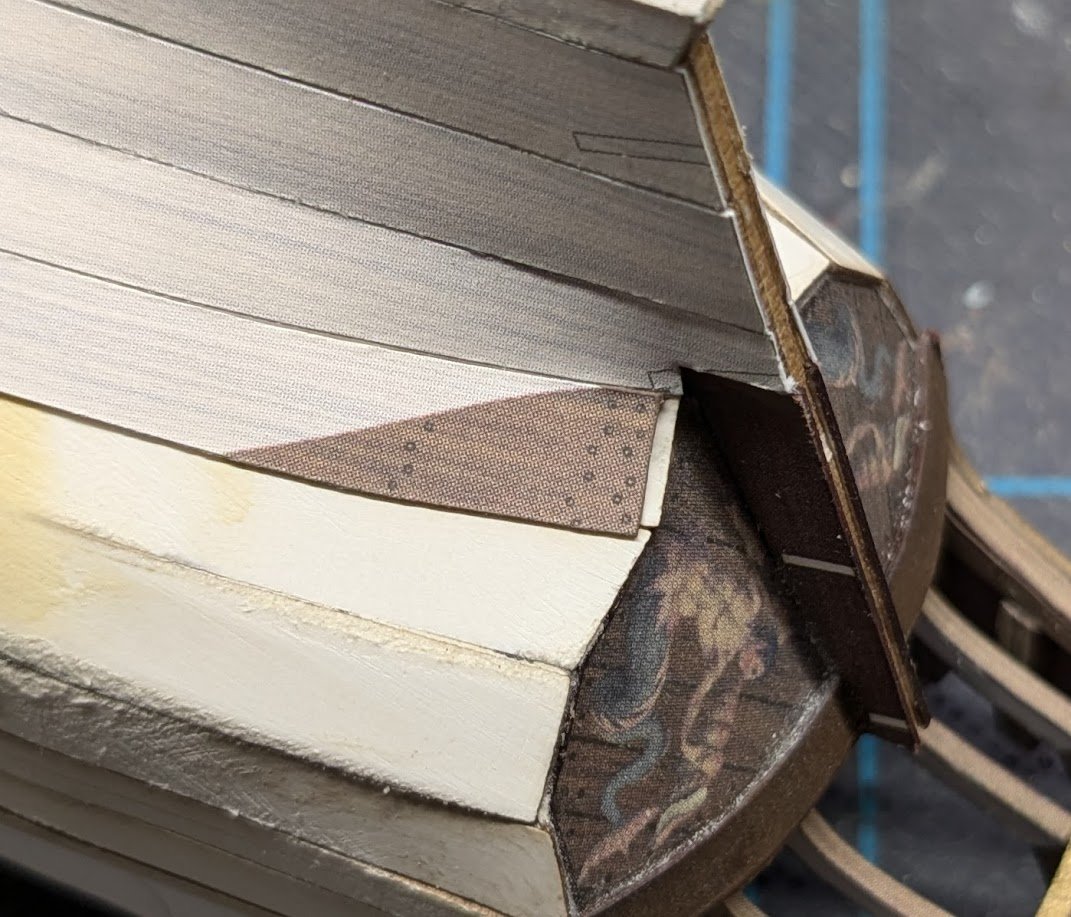
Moving along with the finish planking. The first seven strakes have been added. This goes faster than one might think. Once you've been cutting out card parts free-hand for awhile, it becomes rather second nature, so cutting out one of the long planks doesn't actually take all that much time. I'm pleased with the progress so far. I was happy to find that the first hint of brown on the hull planking aligned perfectly with the brown on the stempost. That same plank came up a bit short at the stern, but the kit supplies extra colored stock, so it will be a simple fix. That's it for now!
- 146 replies
-
- 18
-
-
- Speeljacht
- Seahorse
- (and 2 more)
-
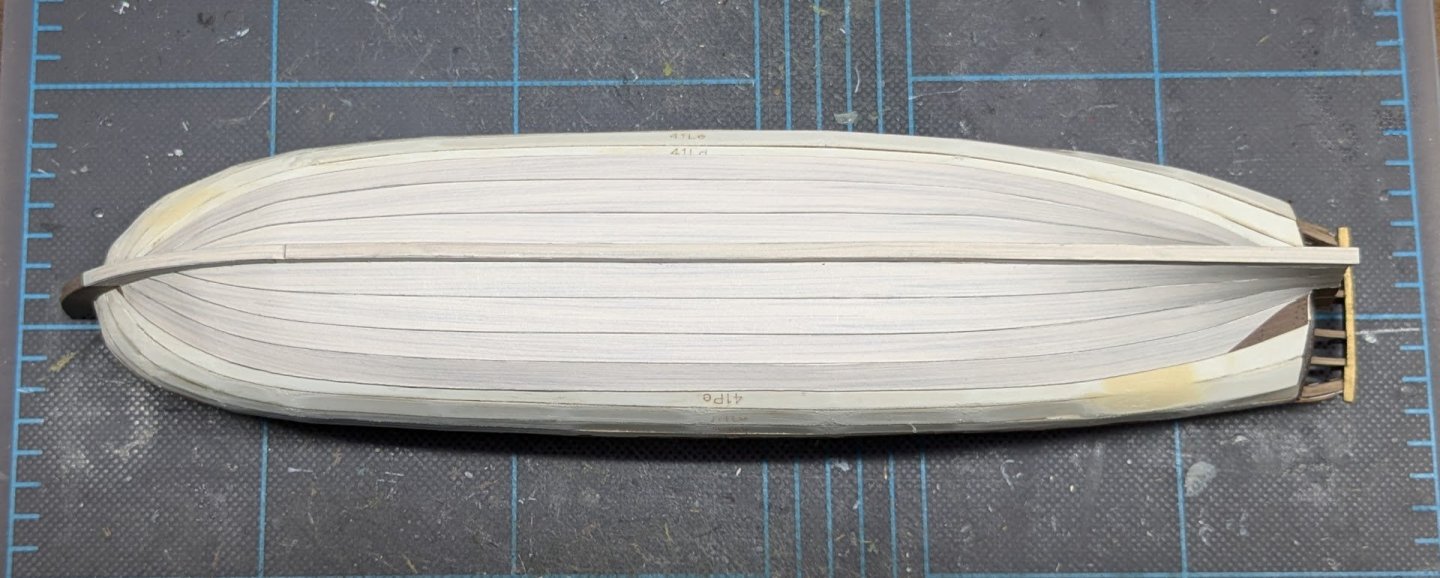
Doesn't look like much, but I got the second layer added to the keel, did some minor filling and sanding, and then added the finish layer to the keel. We're now ready to add the finish layer to the outer hull. 😬
- 146 replies
-
- 20
-
-
- Speeljacht
- Seahorse
- (and 2 more)
-
Got the taffrail and stern timbers done this afternoon. I will spare you the painful details of their construction (not any inherent kit flaw -- just some uncooperative glues 😒 ).
- 146 replies
-
- 23
-
-
-
- Speeljacht
- Seahorse
- (and 2 more)
-
I really like it when not only is a model's workmanship top-notch, but its color palette works together wonderfully as well, resulting in a superb aesthetic. Well done!
-
I swear my very first thought when I saw what the subject was and its scale was that this kit might take you ten minutes to build. I wasn't far off the mark!
- 12 replies
-
- 2
-
-
- Kriegsfischkutter
- ICM
- (and 2 more)
-
Well now, that is indeed quite the finished product! The workmanship and fidelity to subject are of the first order. I hope this isn't the last we can expect to see of your work?
- 68 replies
-
- 4
-
-
- Coates
- Rudderow-class
- (and 1 more)
-
Okay, I have to admit that I don't ever smear thick coats of CA around. I only ever wick thin CA into card or paper. If anything beads up, I quickly wipe it off with a paper towel.
- 146 replies
-
- 8
-
-
- Speeljacht
- Seahorse
- (and 2 more)
-
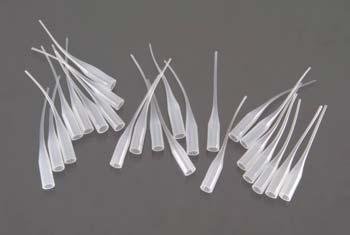
Using an extender tip like these: Easy to find online or in Hobby Shops -- probably got mine at Hobby Lobby.
- 146 replies
-
- 6
-
-
- Speeljacht
- Seahorse
- (and 2 more)
-
Whatever the stuff is that I have on hand. I'm chained to my desk at work at the moment, but I think it's DAP DryDex color-changing wall compound.
- 146 replies
-
- 6
-
-
- Speeljacht
- Seahorse
- (and 2 more)