


ccoyle
-
Posts
10,607 -
Joined
-
Last visited
Content Type
Profiles
Forums
Gallery
Events
Everything posted by ccoyle
-
 I have always used CA for attaching eyebolts. My oldest models are a quarter-century old now, and so far no eyebolts or any other parts have pulled loose.
 -
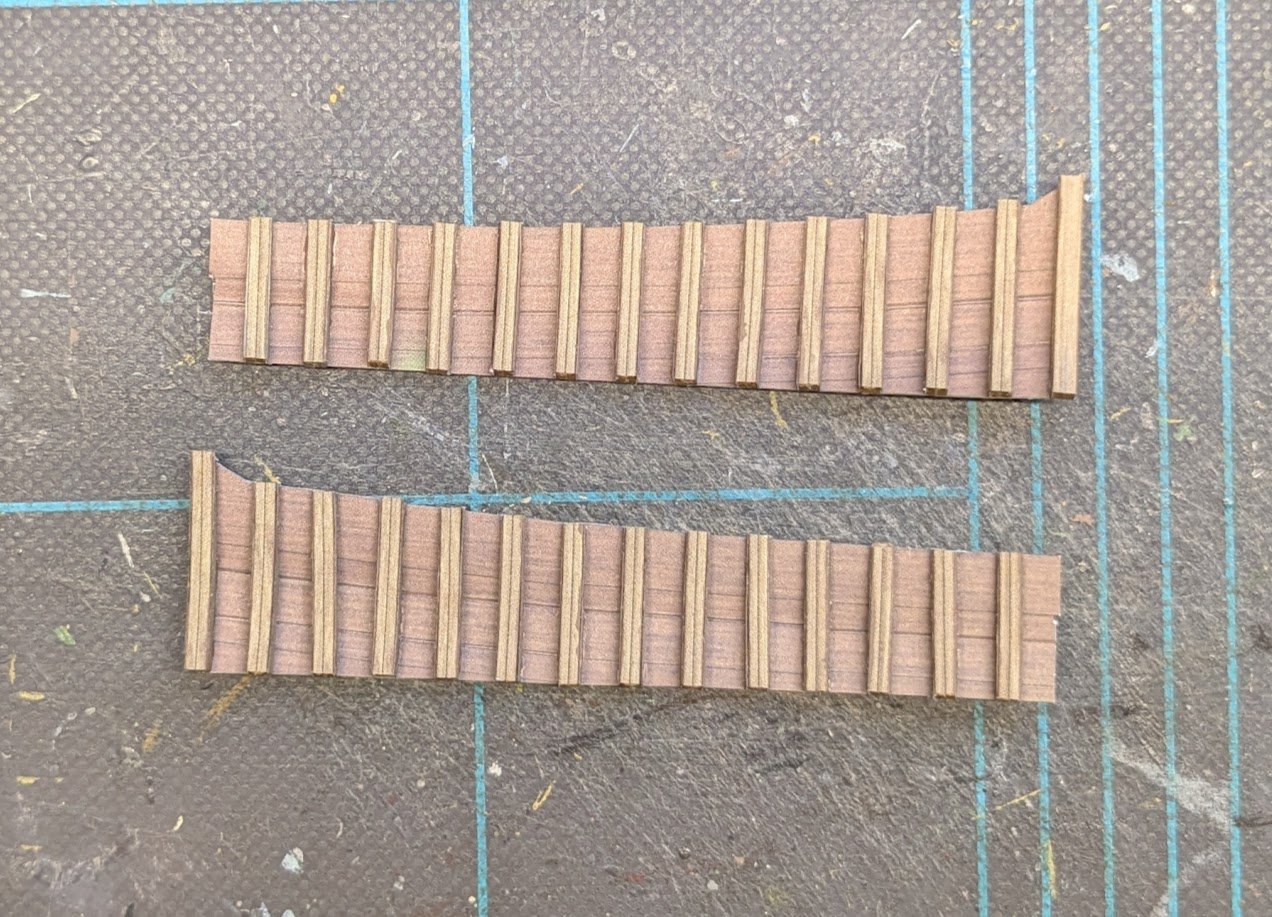
I have now completed 58% of the frame extensions. I can only do about eight of these in one session before my brain dies and I no longer remember who I am, where I am, or why I am. 😯😬😵💫😵
- 146 replies
-
- 17
-

-

-
- Speeljacht
- Seahorse
- (and 2 more)
-
Nope, it's right here: I'll lock this topic, and you can continue in the original. Cheers!
-
Questions about Artesania Latina HMS BOUNTY
ccoyle replied to felix nadeau's topic in Wood ship model kits
Welcome aboard, Felix! We are an English-language forum, so please post in English. An online translator will do the job nicely. -
Welcome aboard!
-
One of the things I really like about your model, and this is in no way meant as a critique of your painting skills, is that the paint job looks rather 'childish', which it should, considering that the original is supposed to have been made by a child. I think some modelers might have been tempted to do a very neat paint job, which would have ruined the illusion of childlikeness. Some modelers might even find it a challenge to do a childlike paint job! But you got it just right -- it looks very true to the original.
-
Great start!
-
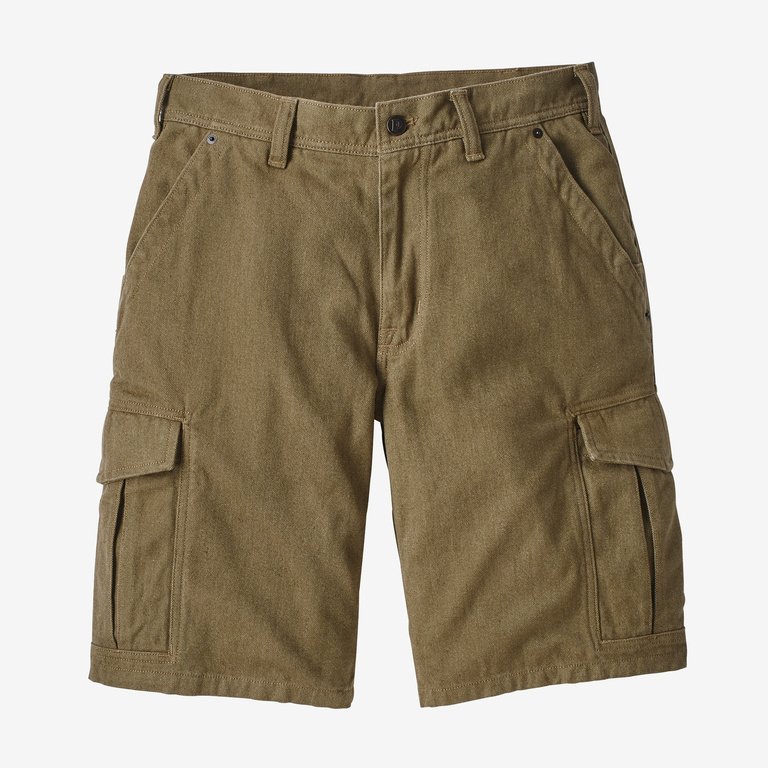
Air Cargo Shorts 360 are a Nike product that look good from every angle. I just made that up, but ya never know -- coulda been a thing. 😄
-
As an aircraft buff, I knew what you meant when you said "Air Cargo Shorts," but since cargo shorts are also a thing, I can see how some people might be confused. 😄
-
Ahoy, mates...from central California
ccoyle replied to Capt. Kenway's topic in New member Introductions
We were practically neighbors. I used to regularly drive over that way to fish Lewis Creek. -
I received one of those handy serving machines last Christmas and plan to use it for Phoenix's rigging, whenever I get around to that.
- 347 replies
-
- 3
-
-
- Sophie
- Vanguard Models
- (and 1 more)
-
Beautifully done! Congratulations!
-
Ahoy, mates...from central California
ccoyle replied to Capt. Kenway's topic in New member Introductions
Welcome aboard from a California ex-pat! Whereabouts in Central California are you? My most recent Cali address was in Mariposa. BTW, the smack was my very first wooden model, too. It's doable, but the thick side planks were a bit tricky around the bow filler blocks. Nothing to lose sleep over, though. Cheers! -
Next we come to the inner bulwarks and their associated frame extensions. Lessee now, there's 48 frame extensions, times 5 parts per extension, that makes 240 parts for the frame extensions alone. 😬😳😢 This might take awhile.
- 146 replies
-
- 20
-
-

-
- Speeljacht
- Seahorse
- (and 2 more)
-
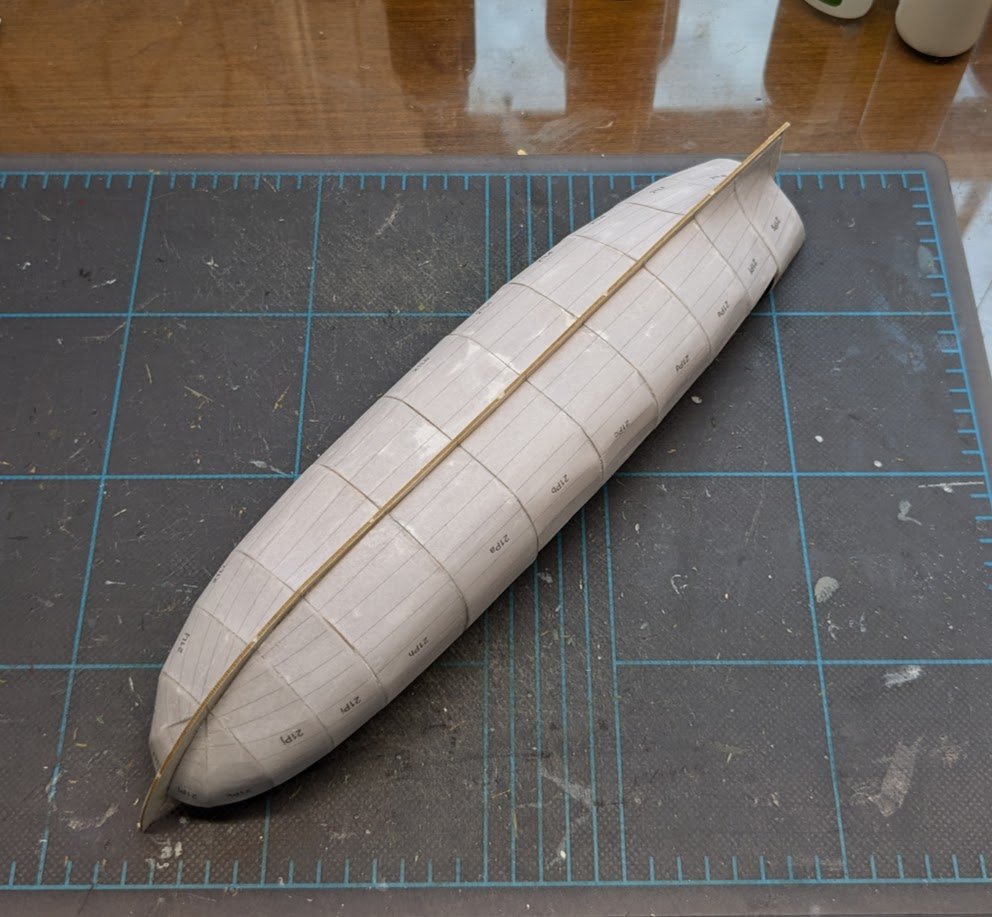
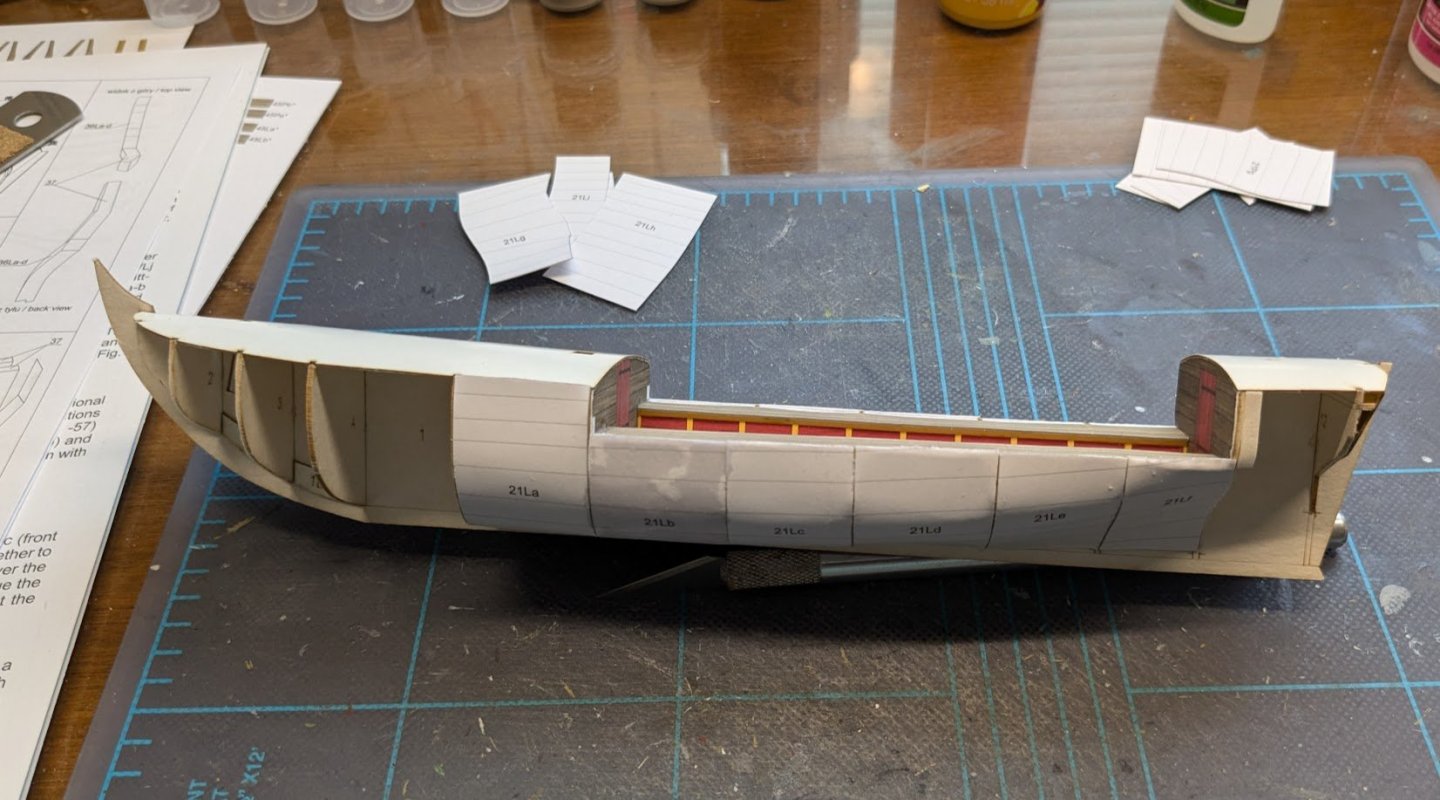
So, here's the finished first layer of plating. I decided to stiffen the whole thing with thin CA. Then I gave the whole thing a light sanding to take down some of the bumpier parts. Then on to some stern elements.
- 146 replies
-
- 17
-
-
- Speeljacht
- Seahorse
- (and 2 more)
-
Many traditional boat designs are still used today as pleasure craft, which means you can pretty much justifiably paint them any color you want.
- 65 replies
-
- 3
-
-
- Maine Peapod
- Midwest Products
- (and 1 more)
-
Well, that is a huge bummer. I don't know anything about RC, so I can't help, but I do know how frustrating it is when things don't work as expected. I'm sorry this has been such a trial for you!
-
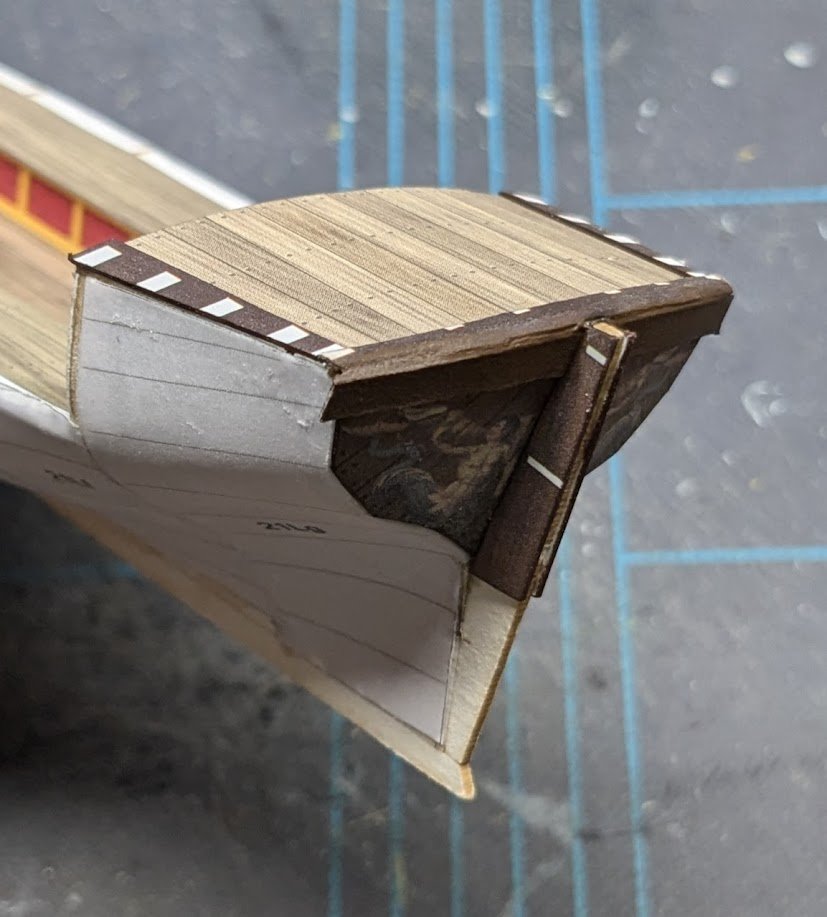
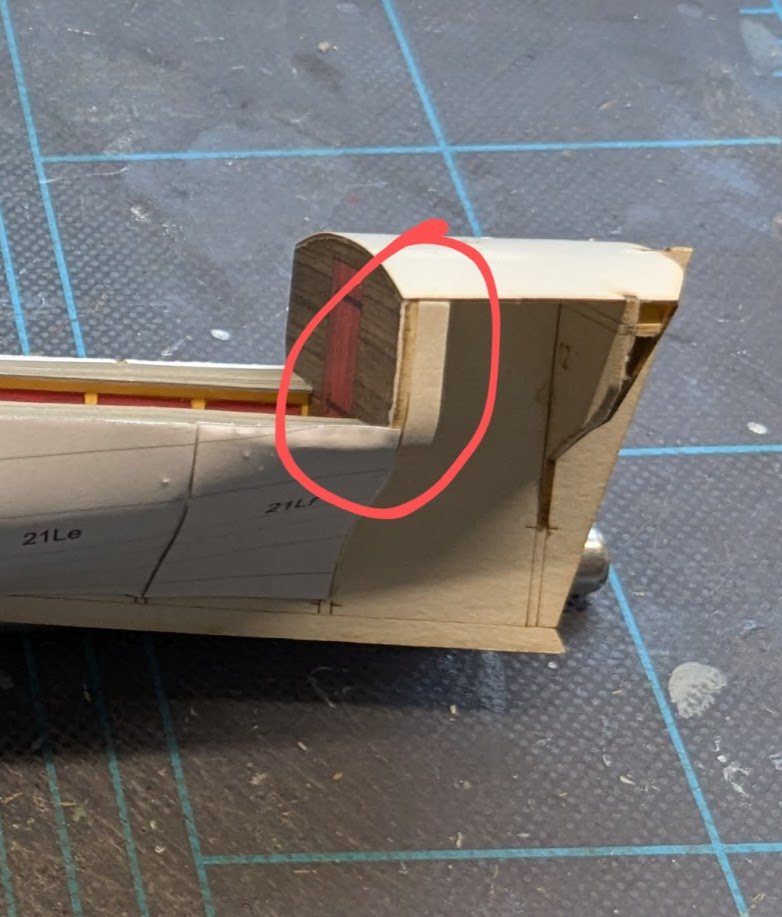
I'm working on the first layer of hull plating. This is why I normally build waterline models. 😂 The bulkheads are very thin, so there is very little room for error creep. Ask me how I know this. I'm not entirely happy with my work, but I'm not sure that I could have done any better. The grey, splotchy area is where I soaked in some thin CA as a test to see if that adds any significant strength to the structure -- it's actually fairly stiff without it. We'll see how it goes when I start sanding. No amount of fiddling could get the aft-most sheath to lay on its forward bulkhead, some some surgery was needed. I simply cut out a short length of scrap pulp board to widen the bulkhead a bit. This did the trick. The sheath is on now, though I don't have a pic of it in place. Moving along now to the forward sheathing.
- 146 replies
-
- 15
-
-
- Speeljacht
- Seahorse
- (and 2 more)
-
Model Shipways USS Niagara 1:64 scale shopping list?
ccoyle replied to cardensb's topic in Wood ship model kits
There are actually thirty-five build logs for this kit. 😉 -
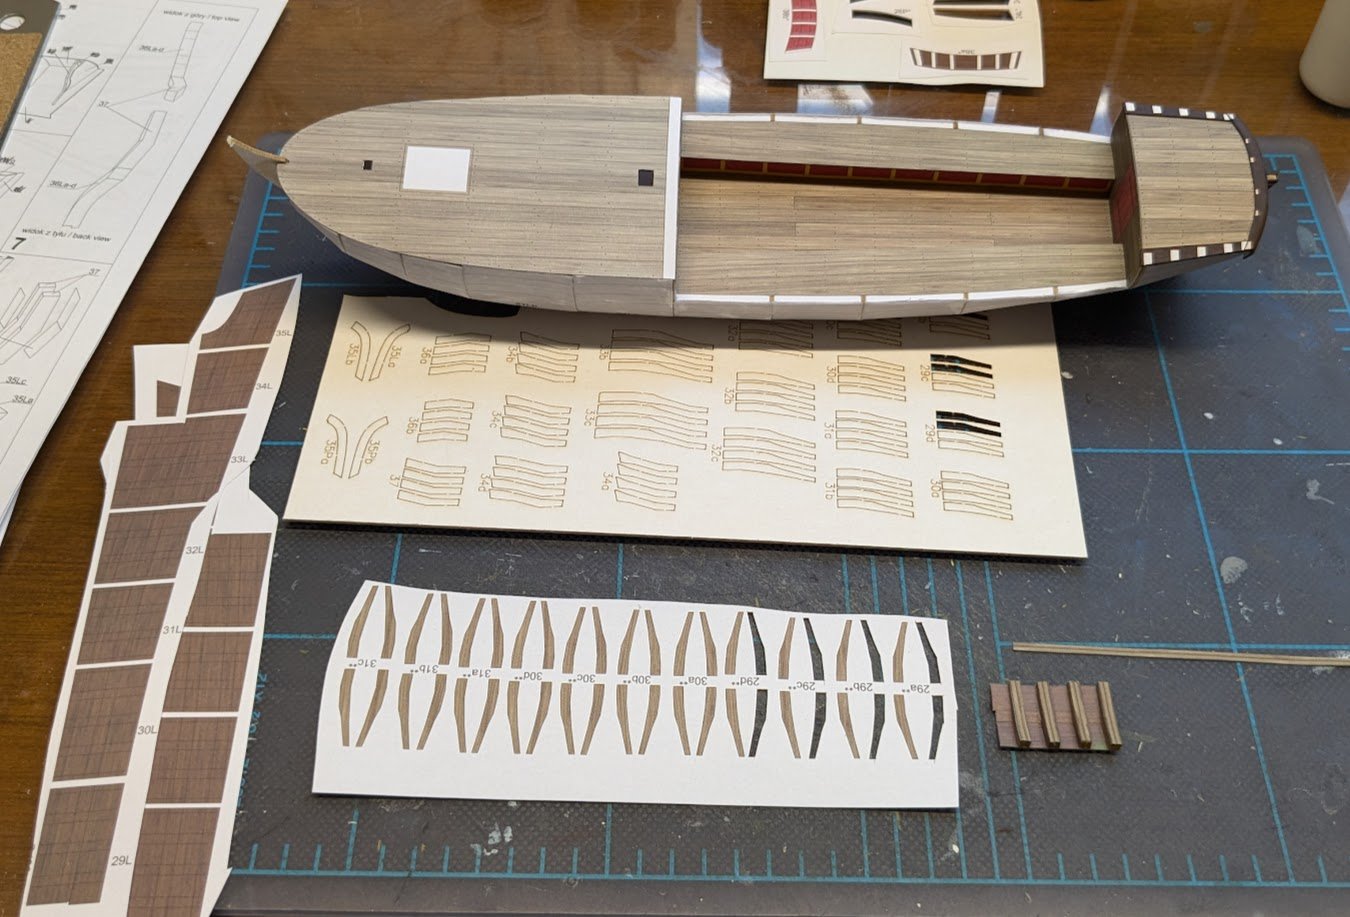
I give the parts sheets a once-over with matte acrylic spray. It stiffens the paper slightly and gives a measure of protection against small spills.
- 146 replies
-
- 6
-
-

-
- Speeljacht
- Seahorse
- (and 2 more)
