CDW
-
Posts
7,755 -
Joined
-
Last visited
Content Type
Profiles
Forums
Gallery
Events
Everything posted by CDW
-
 A wonderful model with such fine attention to detail. Very impressive.
 -
I like the cut out with a view of the torpedo bay detail. Far superior to the clear hull, by far. Very nice attention to details.
-
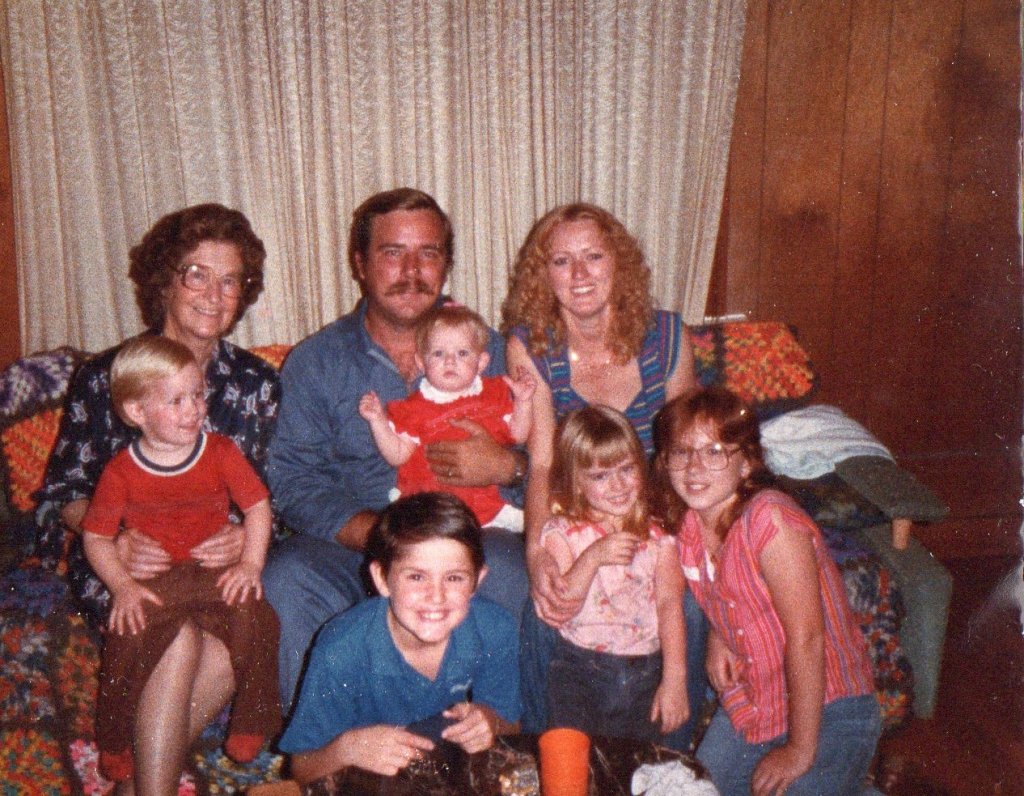
Early 1983, so that's been 36 years ago. The little boy my mother is holding sitting next to me has four boys of his own now. The baby girl in my lap turns 37 this month. When our (then) baby girl was 15, our new baby girl was born (1997). What a surprise that was. Didn't see that one coming. 🙂
-
What a beautiful ship. She should hold a place of honor in your home as I am certain your visitors are going to love it as much as I do seeing it here.
- 1,306 replies
-
- 7
-

-
- syren
- model shipways
- (and 1 more)
-
They have been my joy.
-
Those Kalmbach books peaked my interest so much back then, but I just didn't have the money at that time to finance the model rail road hobby. We had 5 little babies running around the house and climbing the curtains. It was all we could do to keep our household afloat. Extra space was a huge factor, too. There is a reason the model railroad hobby was always filled mostly with seniors, and money was probably the biggest reason why.
-
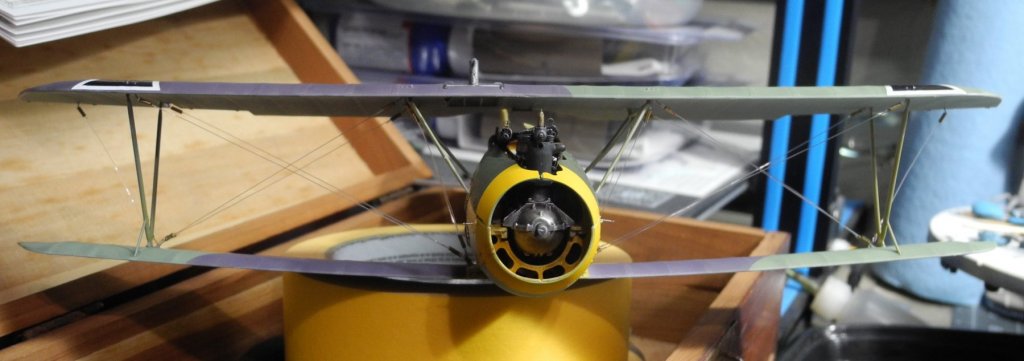
Came out great! It's Friday, and Friday night is race night. Ready to race?
-
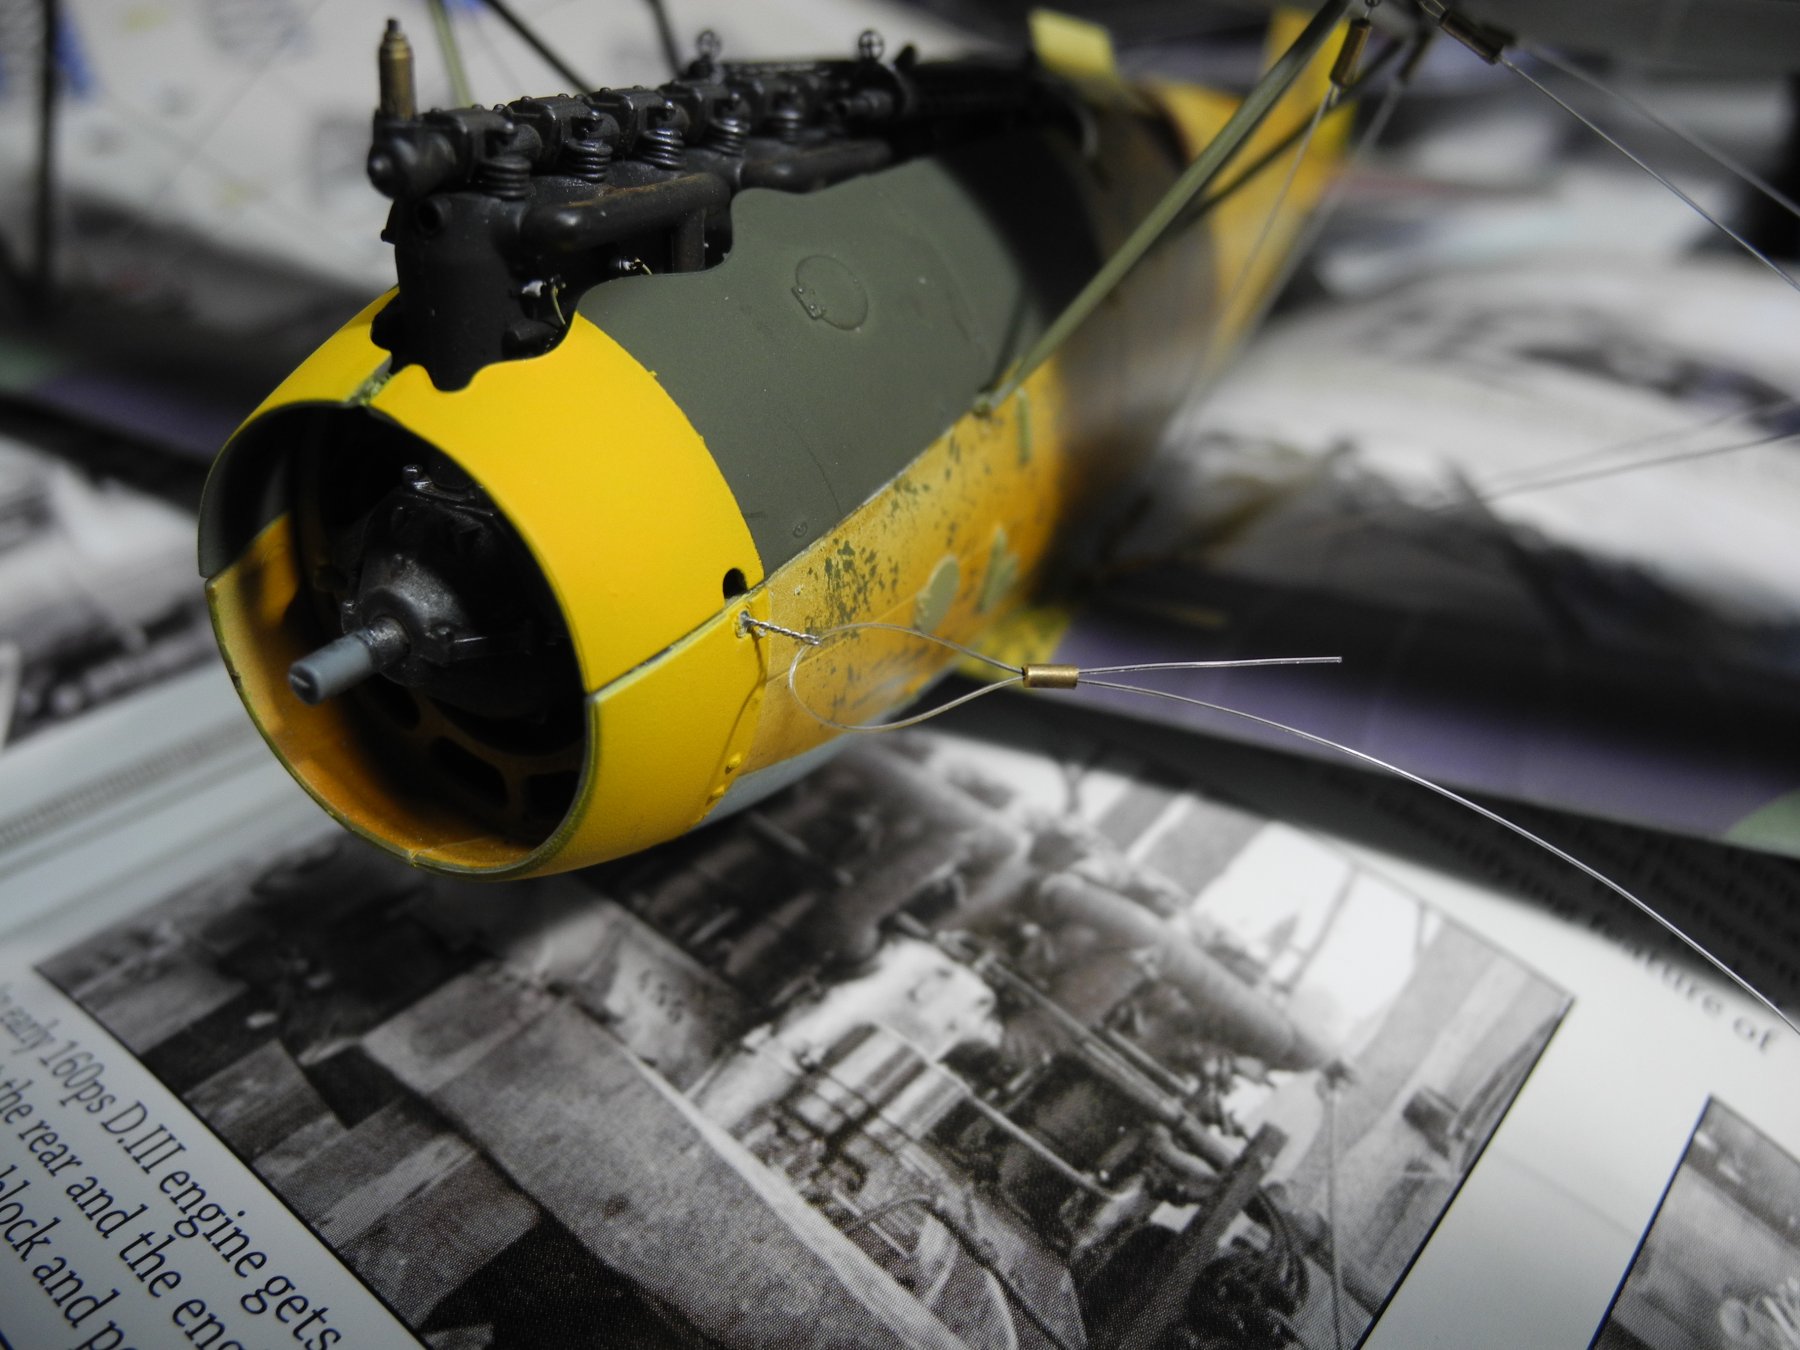
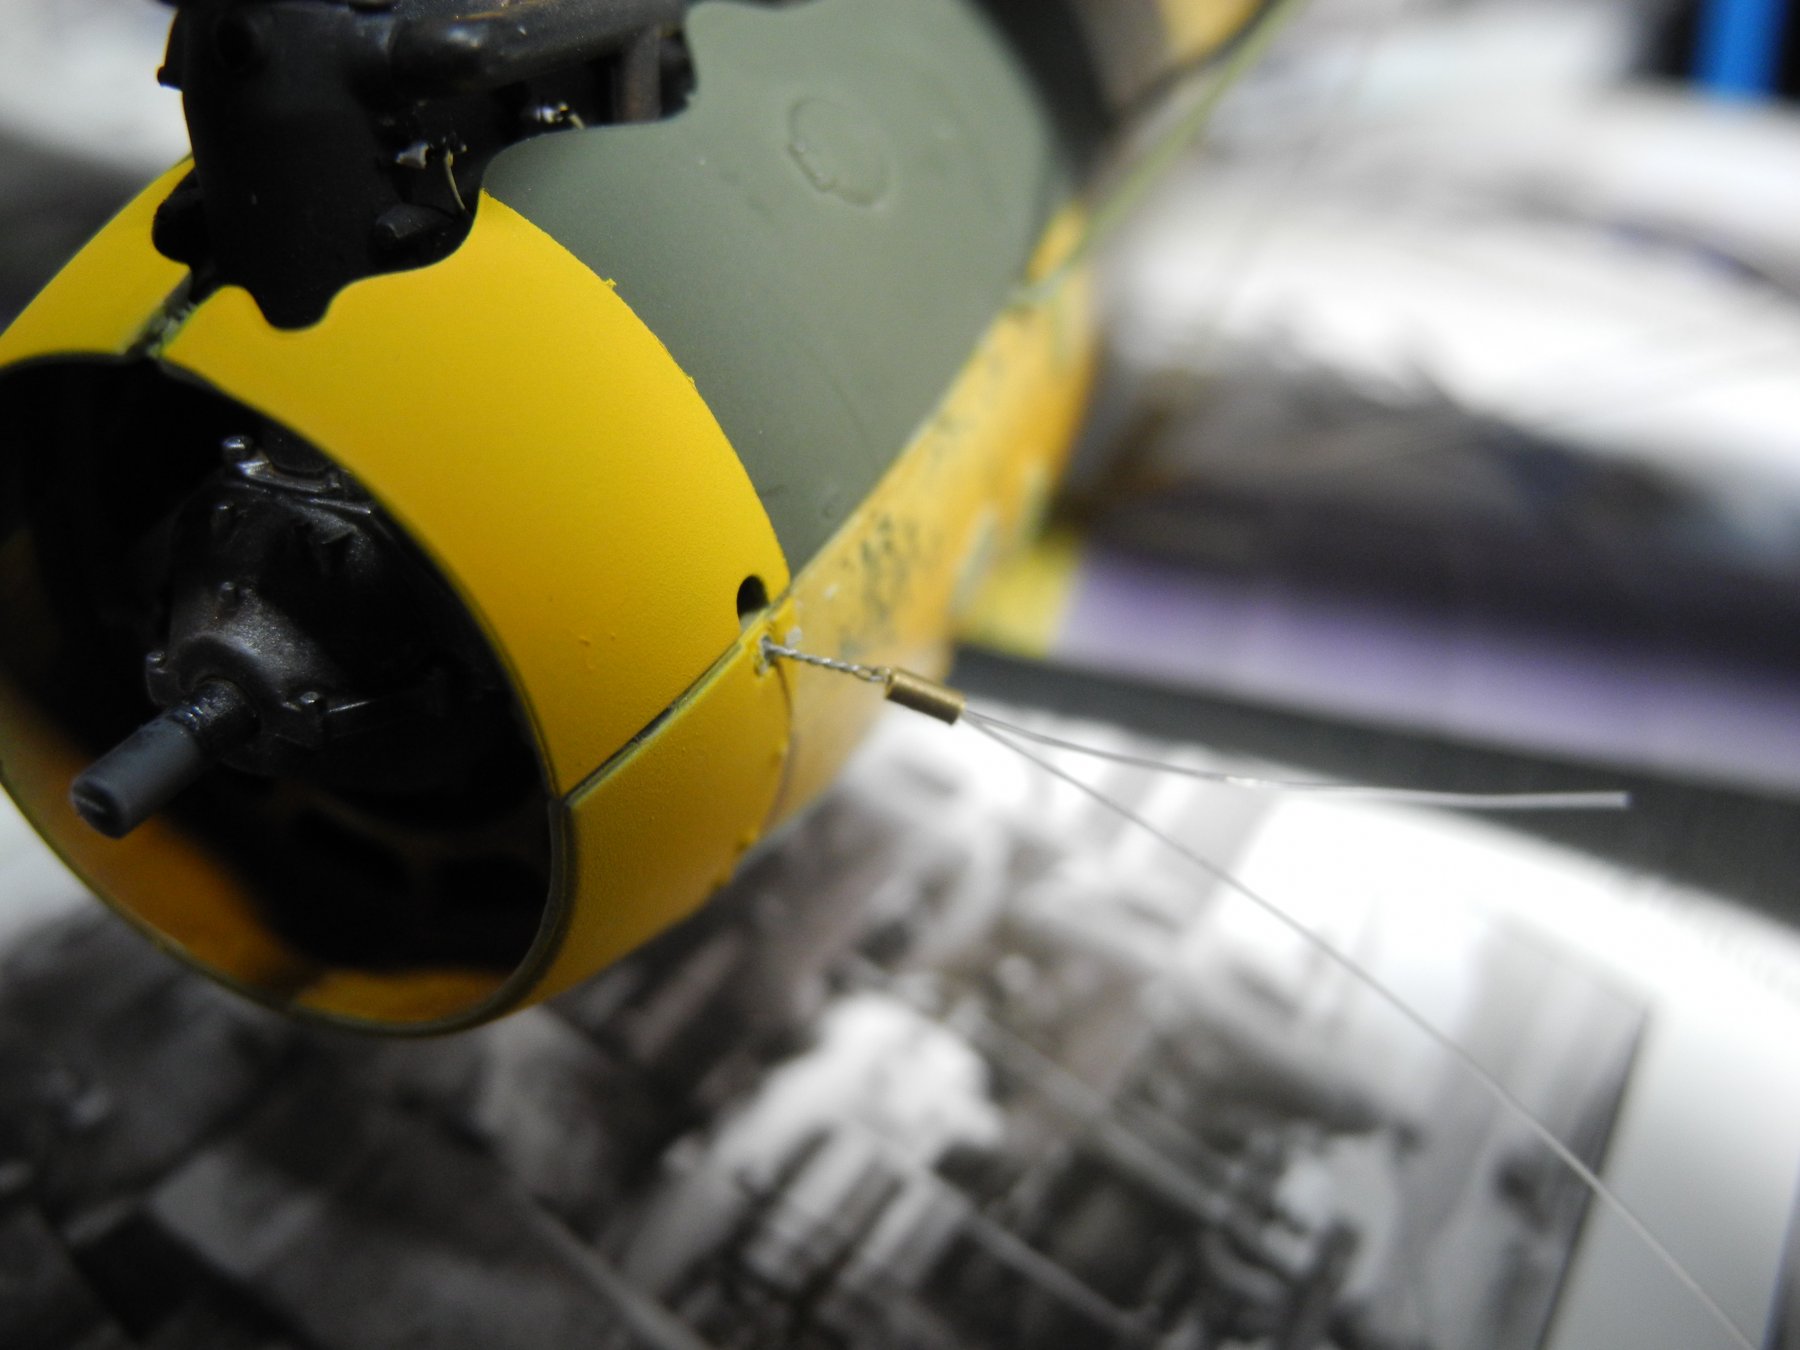
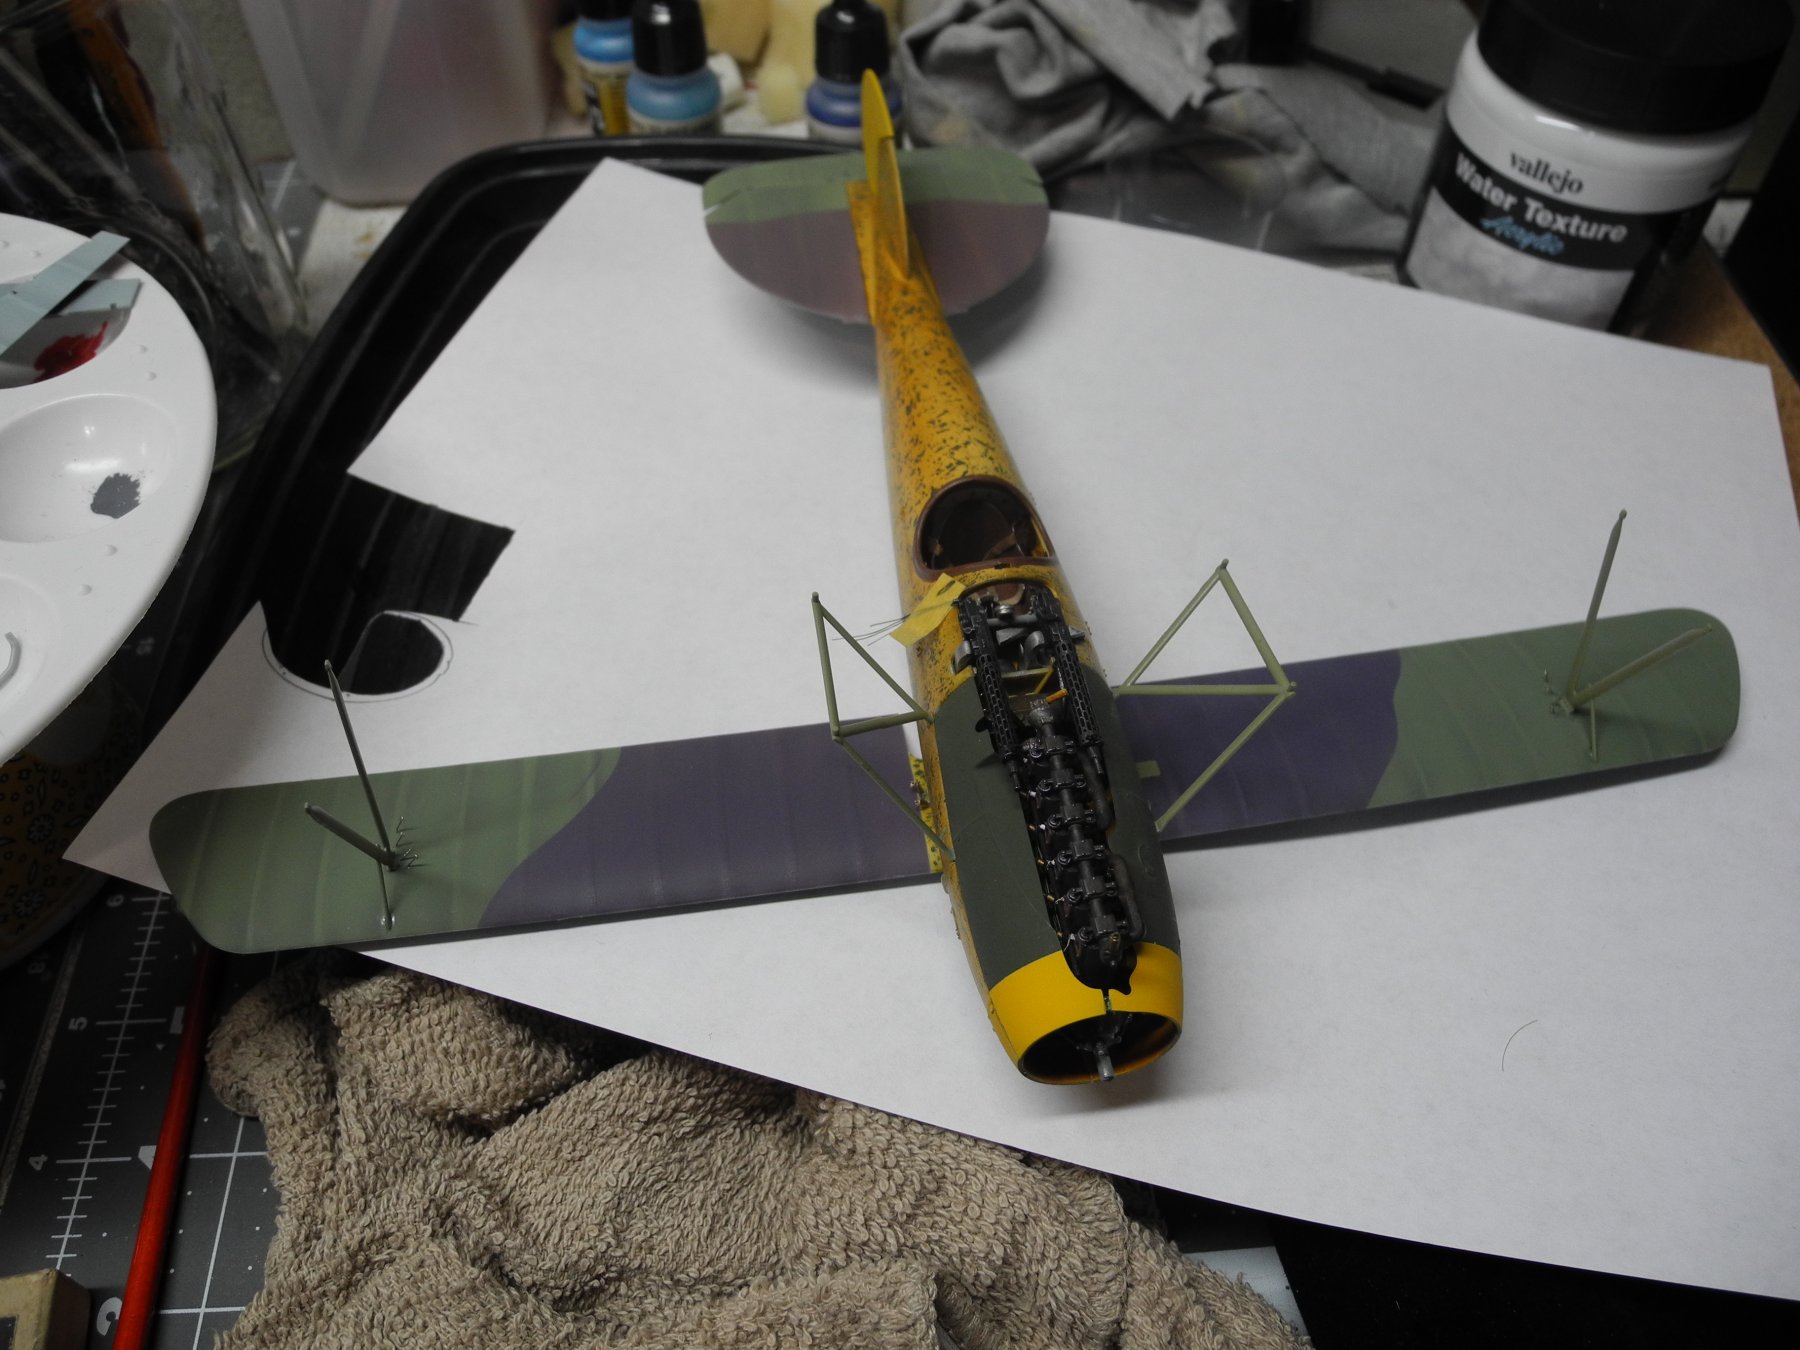
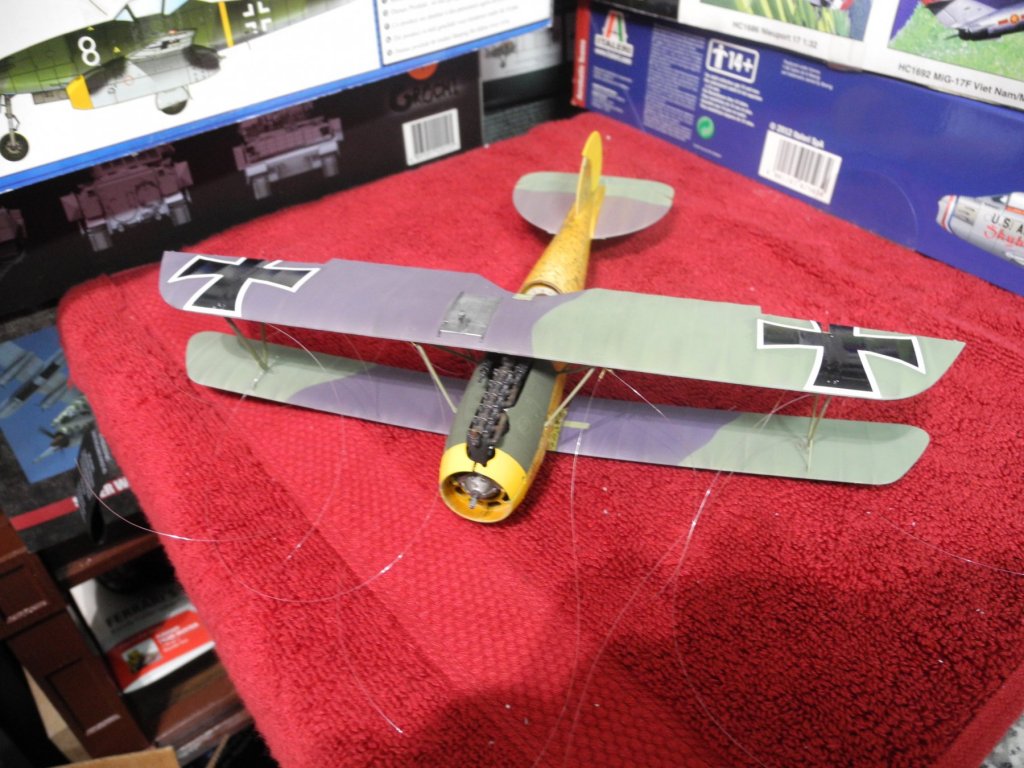
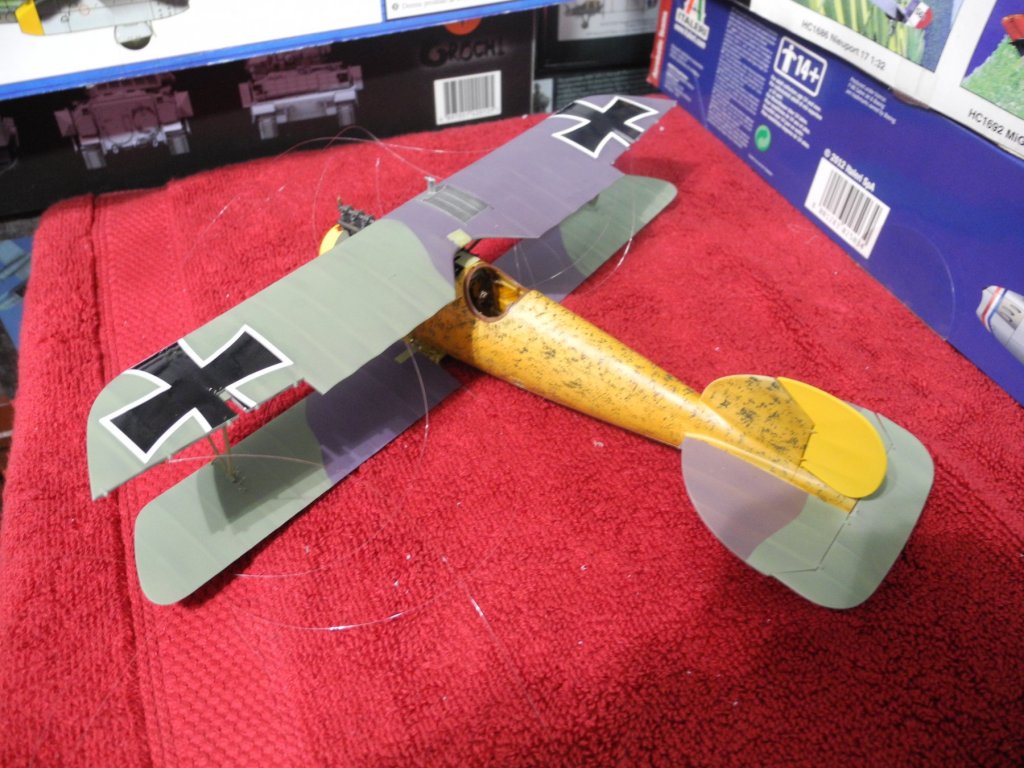
After seizing the rigging wires. Will paint the rigging wires in a steel color. Just the landing gear and a little more, then the decals will be ready to go on.


- 165 replies
-
- 12
-
-
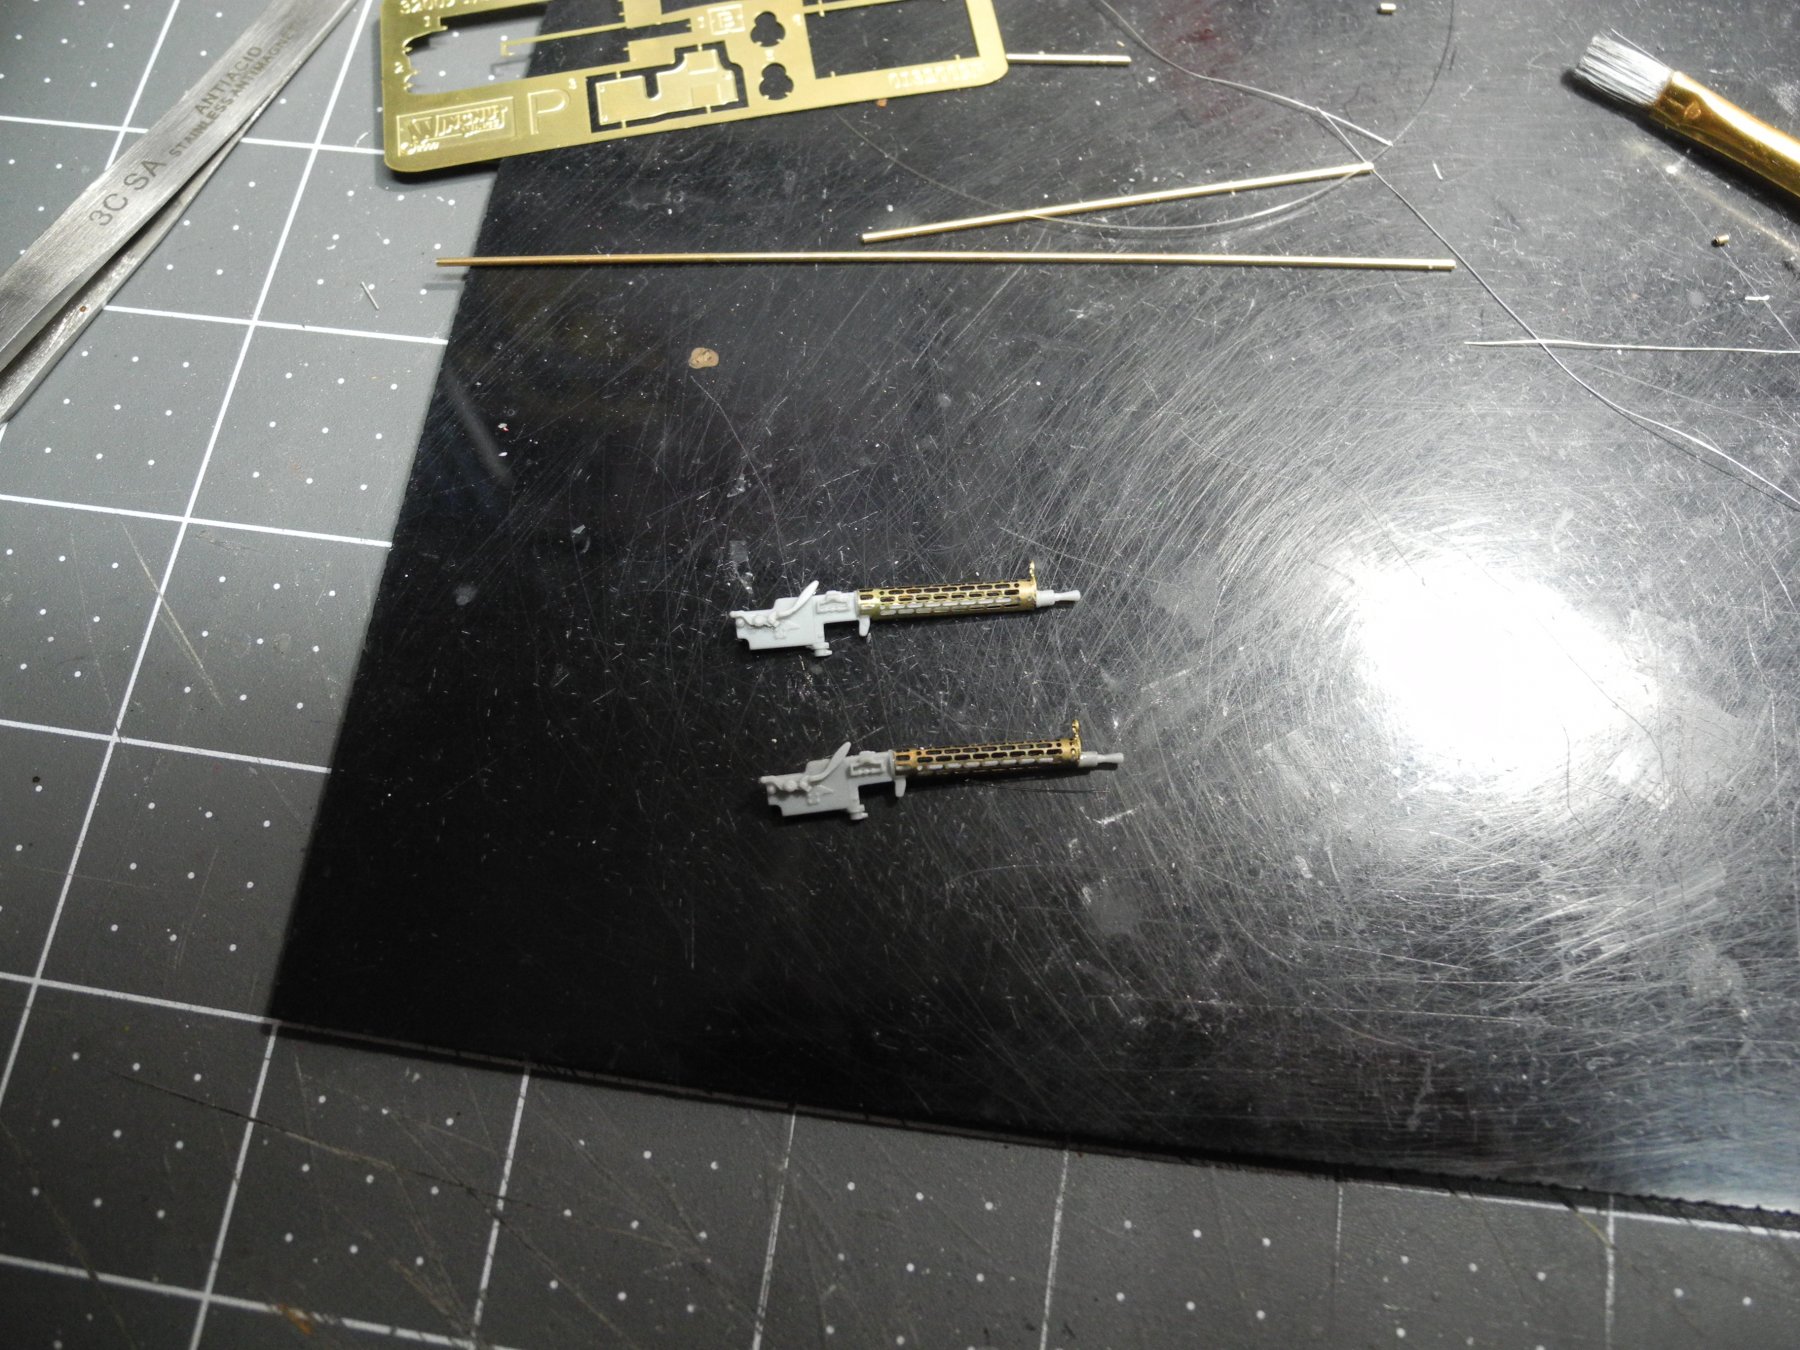
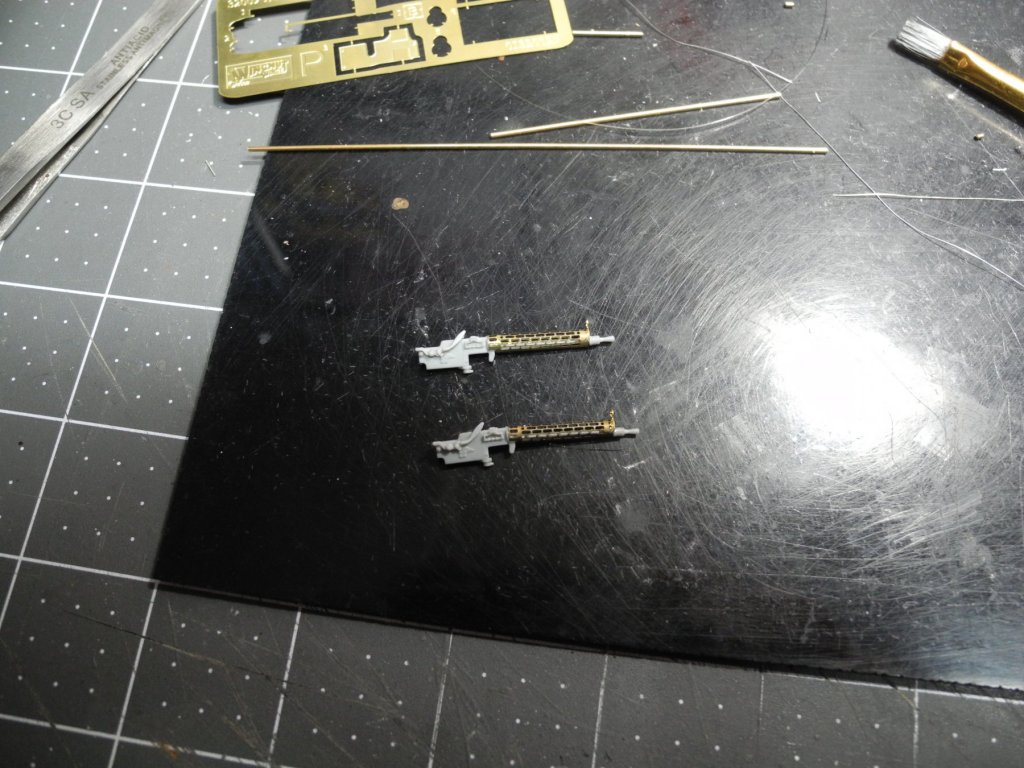
I just harvest my own by stripping the insulation off of salvaged wire from old appliances and computer components, speakers, and such. Most of what I'll find in the hardware stores locally is heavier gauge wire used for other purposes. I have spools of wire suitable for electric fences and for hanging pictures, but nothing smaller, like armature wire. It's just not a thing many people would use these days. Not many of us do-it-yourself handyman types around anymore.
-
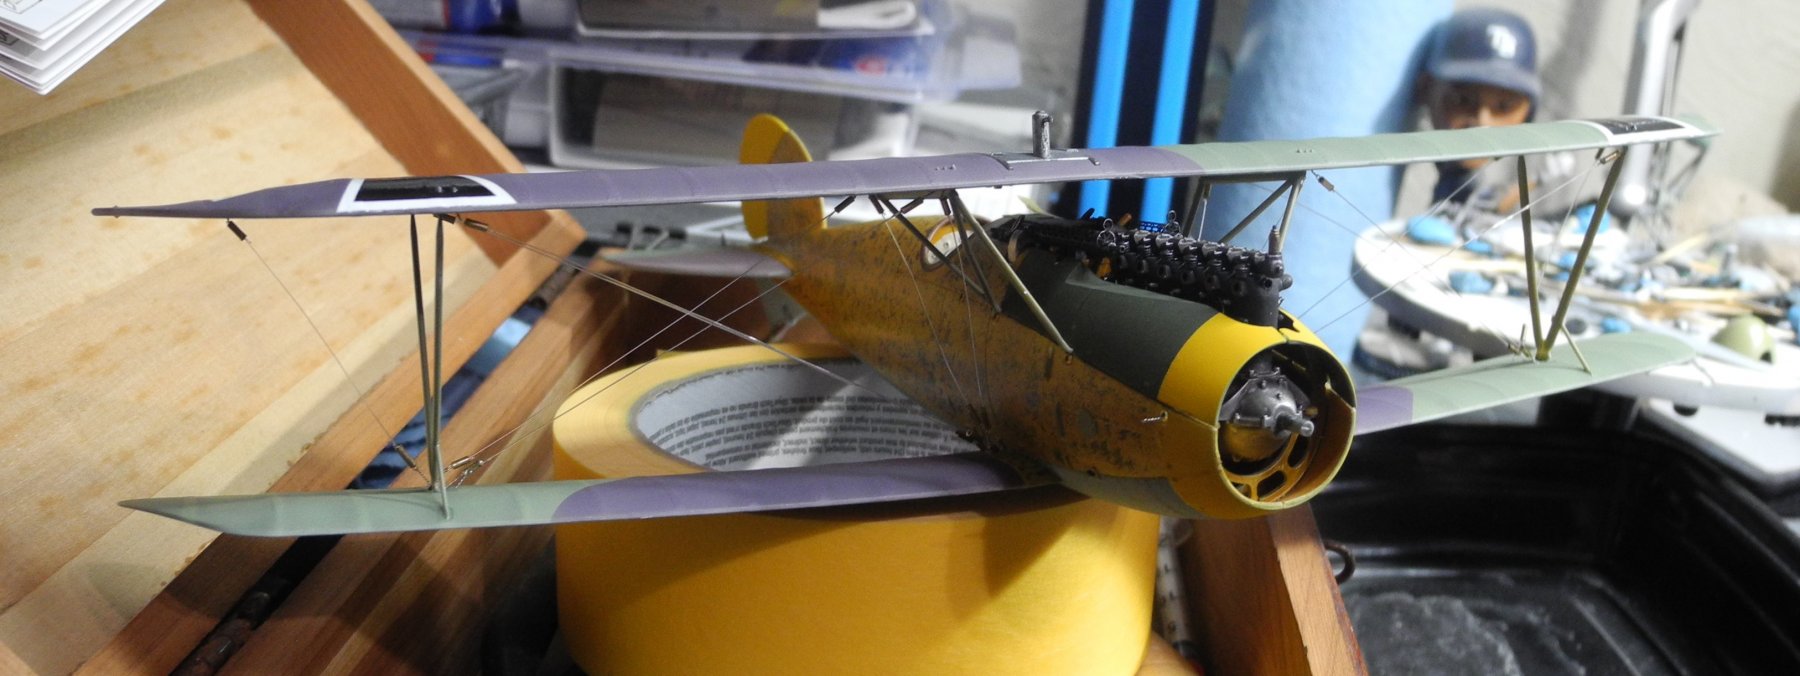
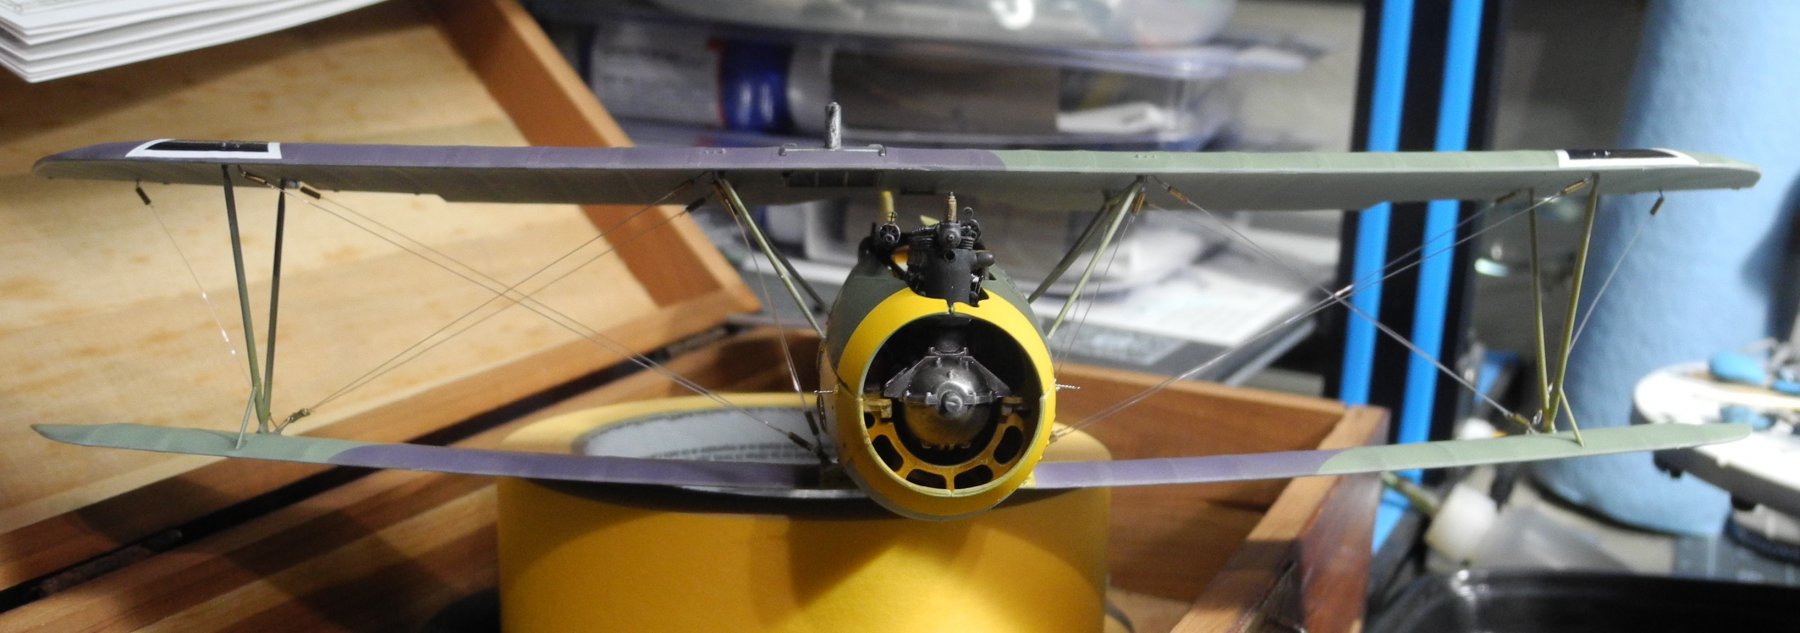
Looking somewhat like an unfinished bird's nest, the Albatros is ready for tying off the rigging on this old stringbag.

-
Is that in New Hampshire, too? Our oldest daughter and her husband from New Hampshire will be visiting us in another week.
-
When I was a young lad, my grandfather owned a cement warehouse. The warehouse sat next to a railroad spur track, where boxcar loads of bagged Florida Portland Cement would be rolled up along side the warehouse to be unloaded. Grandpa would pay me in the summer to help unload the bags of cement. During the rail trip, the pallets of cement (bags) would shift, and would have to be unloaded by hand. Those boxcars of cement were so hot inside, and so were the bags of cement. Each bag weighed 94 pounds, so handling the hot, heavy, bags of cement was no small task. Will never forget my grandpa's long-time foreman at the warehouse, named King Jenkins. The man was a mountain. He would tease me by saying, "When you's gets so tired you's can't pick up a bag, you's picks up two bags. When you's gets so tired you can't picks up two bags, you's picks up three bags"...all the while he was doing exactly what he said. He would pick up and carry three 94 pound bags at a time of hot Florida Portland Cement from the boxcar and walk it inside the warehouse carrying it like it was a sack of potatoes. 😵
-
Sometimes, when it rains, it pours...as the old saying goes. Hang in there Denis. You'll get it all worked out. I hate those check engine lights.
-
Oops...I just saw your post - you already wrote about the big prop. Sorry for the oversight.
-
"Whistling Death" Those gull wings were designed to give ground clearance for that massive prop. A very impressive machine with a sterling combat record. I assume this is the 1:48 scale version?
-
I have seen a LOT of phosphate cars here in my locality. Phosphate mines were everywhere, trains that were miles long were a daily challenge to and from work. Traffic would often sit long, extended periods of time waiting for the train to clear the crossing over the roadway while we watched what seemed like hundreds of phosphate cars pass by.
-
I need to try it again. Years ago I tried it and had trouble shooting it properly through my airbrush. I'll practice first on scrap. Best I recall, as soon as I saw it go gloss on my subject model, it ran like rain falling off a roof.
-
Looks beautiful, Slog. Paint work looks flawless.
-
The Mk1 set looks phenomenal. First look I've had of that set. I like the imaginary scenario.
- 345 replies
-
- 4
-
-
- graf zeppelin
- trumpeter
- (and 2 more)
-
It's been some time ago since I bought the set. Maybe it was Infini and not VeryFire? I'll have to locate my kit and see exactly what I've got. When I locate it, will take some photos and post.
-
About those ballasts...was the actual metal cast with that cratered finish as seen in the molded parts? That's an interesting feature I never noticed before seeing this model, but then again, I have never thoroughly researched U-Boats and their construction.
-
Do I win a prize for the correct guess? 😎 Looking forward to your interpretation of Graf Zeppelin. I bought the Very Fire update set for my Graf Zeppelin, but it's all packed away at the moment. A very interesting ship.
-
Exactly, Cog. Overall health is so closely tied to dental health, it's one and the same and not a separate issue.