


AntonyUK
-
Posts
1,190 -
Joined
-
Last visited
Content Type
Profiles
Forums
Gallery
Events
Posts posted by AntonyUK
-
-
Hi.
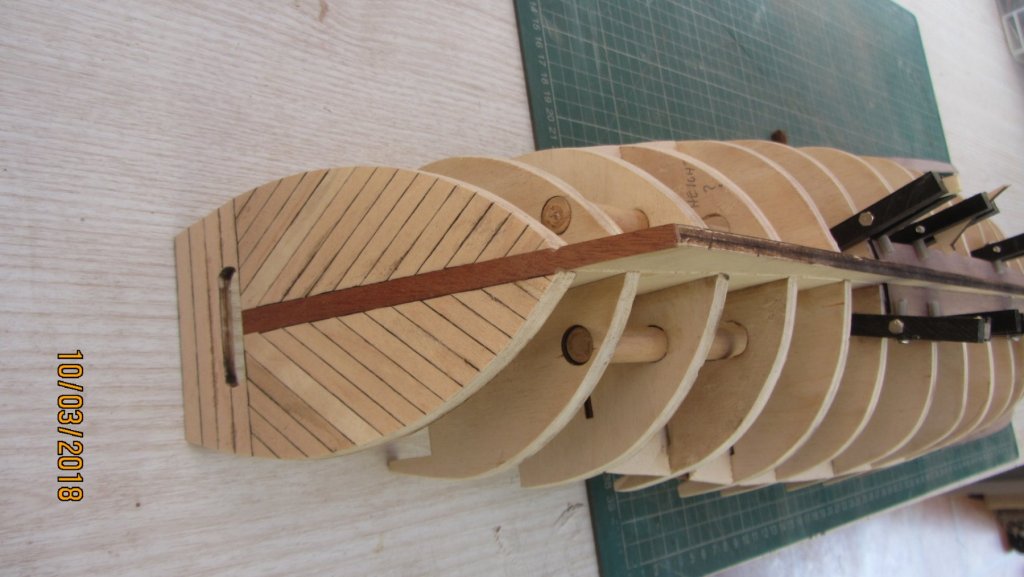
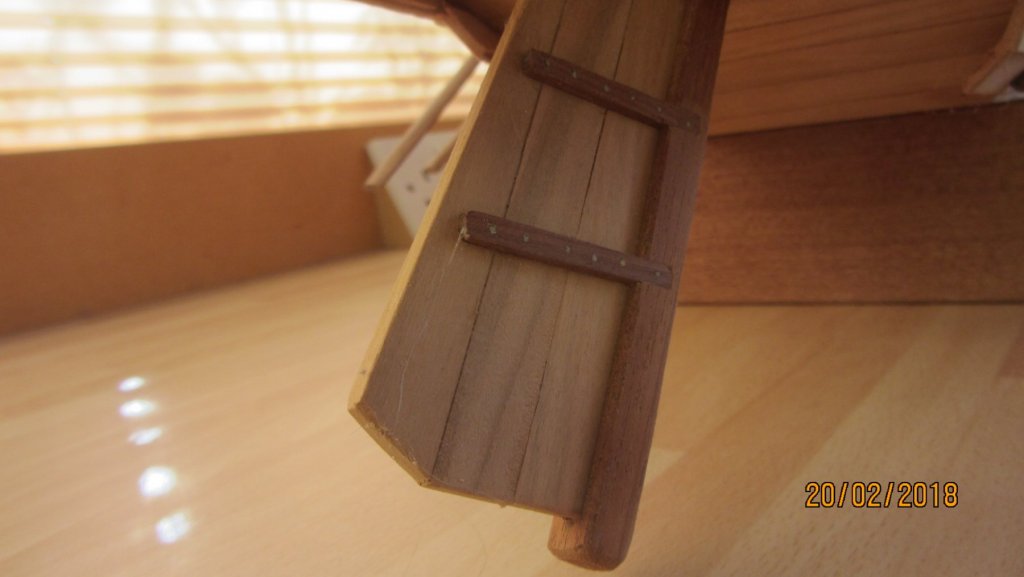
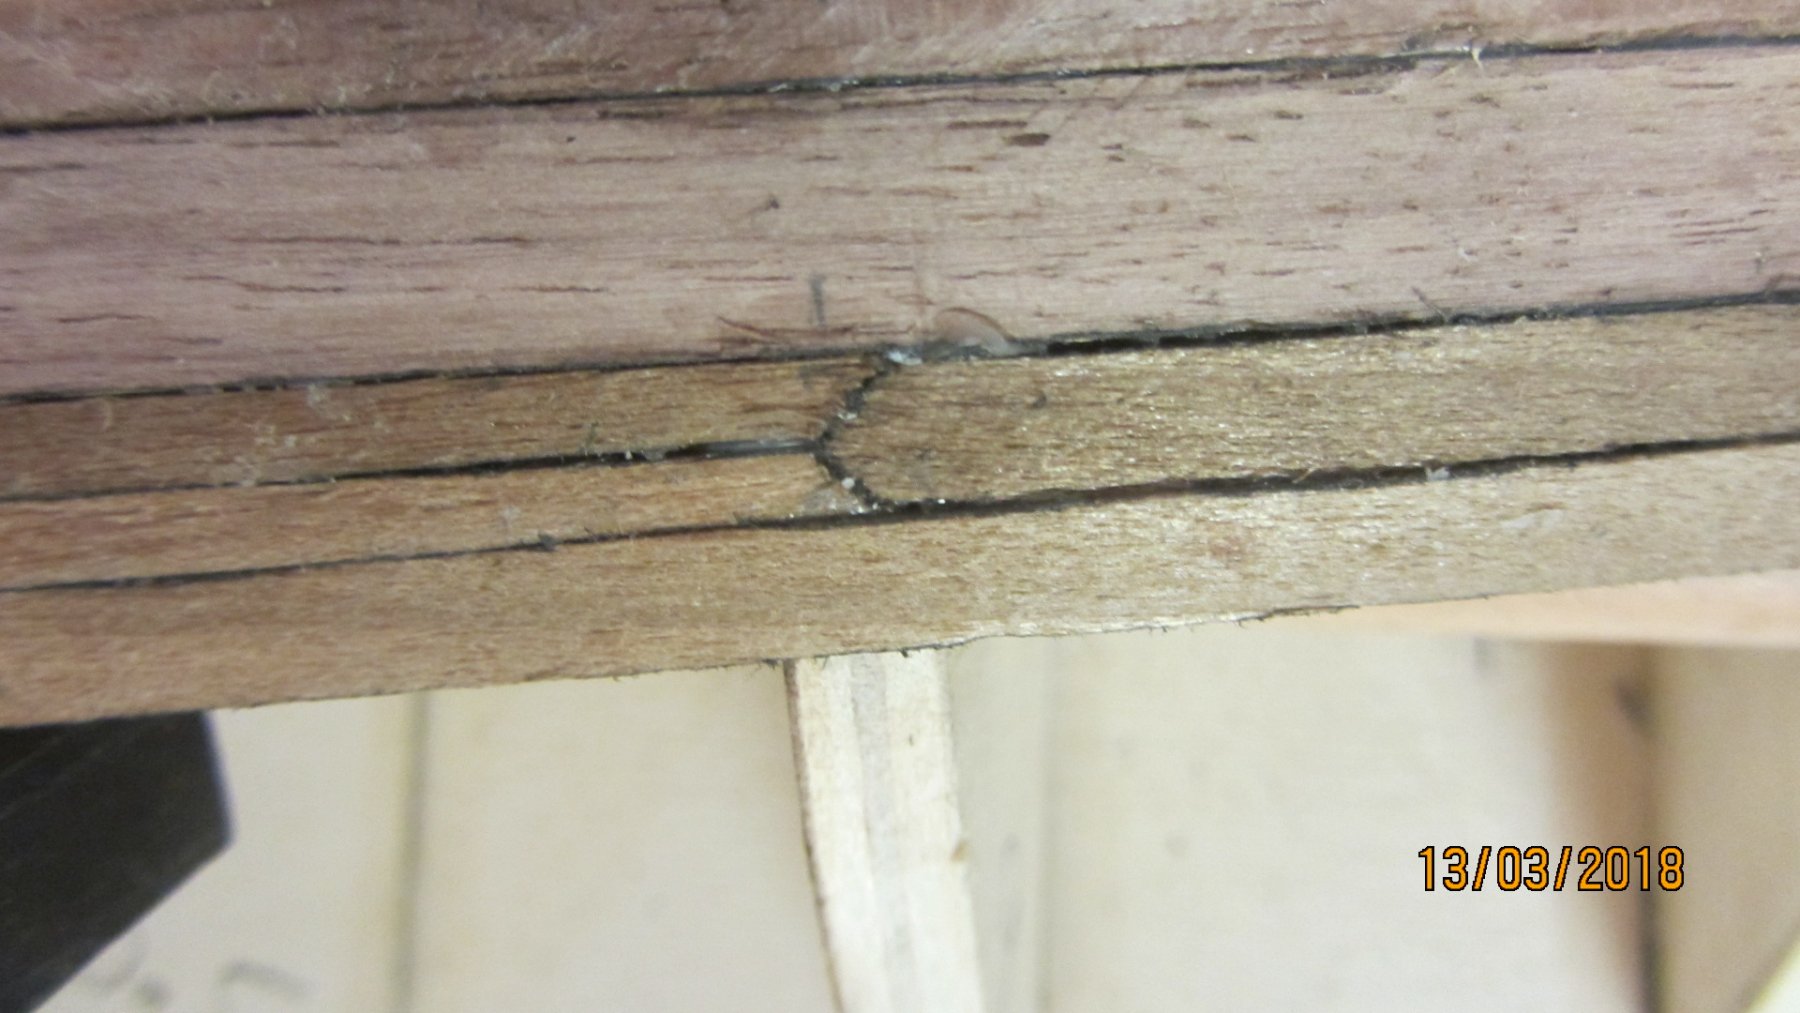
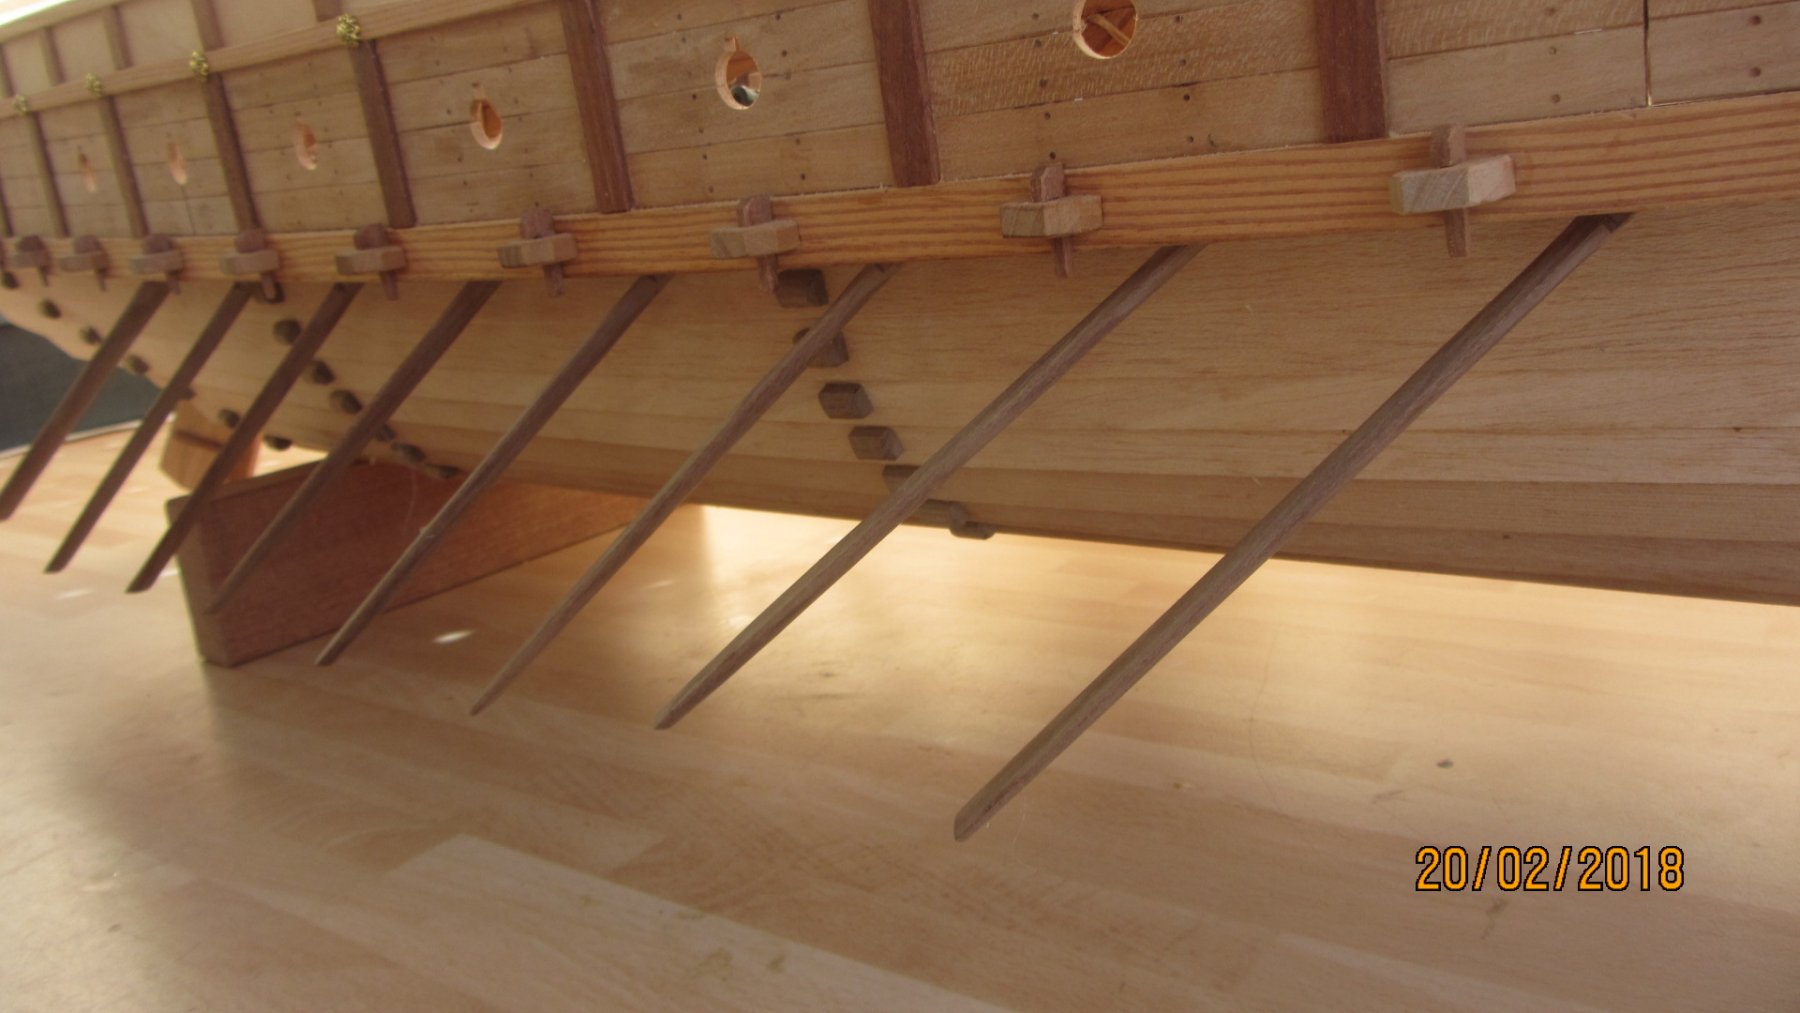
Just a couple more photos of the drop plank.
First the close up. Not yet sanded..

Showing port and Starboard sides. Keel in centre.

The planking so far.
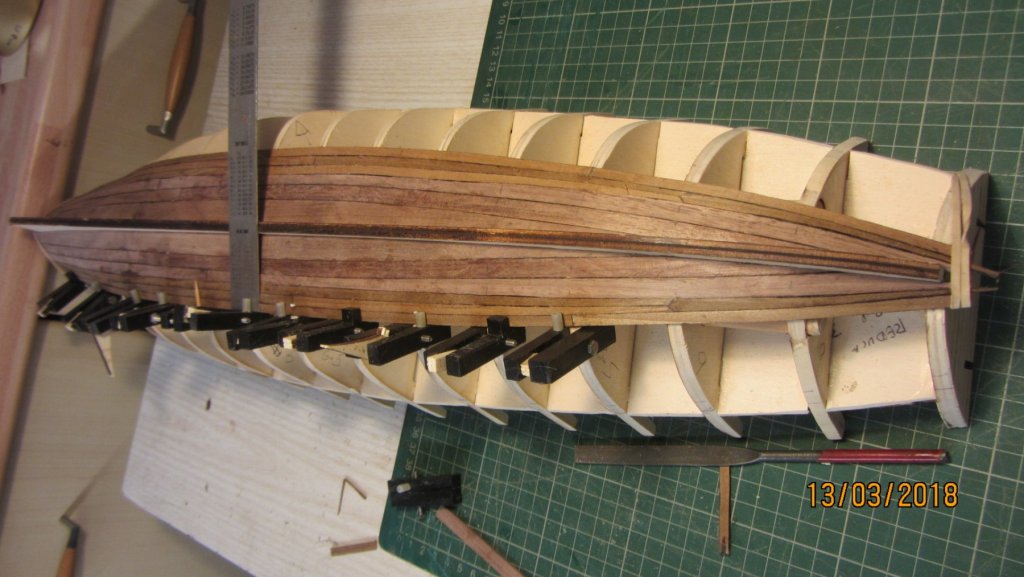
Planks are fitted/bevelling then a non bleed marker pen is used to get the joints looking like caulking.
Thanks for looking in.
Regards Antony.
- CiscoH, IgorSky, Mirabell61 and 1 other
-
 4
4
-
-
Hi Farbror.
That's a great idea. And it's ship modellng no matter how you look at it.
The children will get a lot out of this idea/build.
It's the sort of thing teachers should be doing with children at schools. Look at all the outcomes involved in this project😁
Nice One.
Regards Antony.
-
Hello Udo.
I am excited to get such a nice update on the Bounty build.
Nice clamps.
Regards Antony.
-
Hello Adrian.
A very interesting build method.
Your skills are first class +++
Regards Antony.
-
Hi Nils.
Looking real good and I like the idea of displaying the weaponry in different settings.
Those poor sailors/gun crew don't have a lot of space... a bit like your work bench.
Regards Antony.
- Omega1234, Piet, popeye the sailor and 2 others
-
5
-
Hi Hjx.
Thank you.
Have treenailed the Bow and Stern decks. Sorry no photos as rain most of day and poor light.
Cardboard planks in place and now planking the hull. Will be using 5 X 1.5mm walnut for the planking.
Will NOT be painting this as with most of my models. But will try to use various types of timber to show off it's natural beauty of the ship.
Most of the decks and hull will have a couple of coats of Danish oil.
That's it for now.
Regards Antony.
- mtaylor and Mirabell61
-
2
-
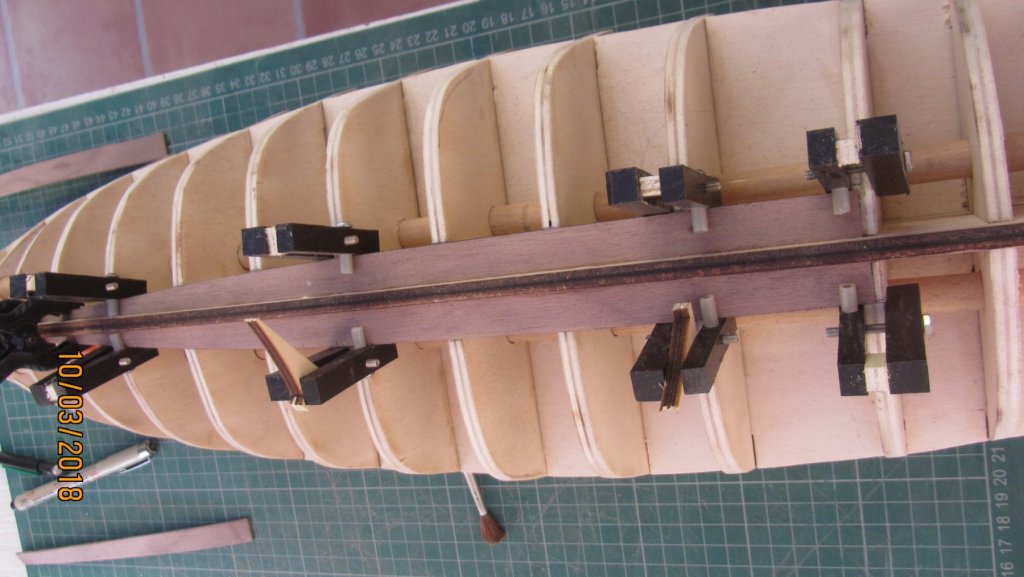
Hi Nils.
Thank you for your input.
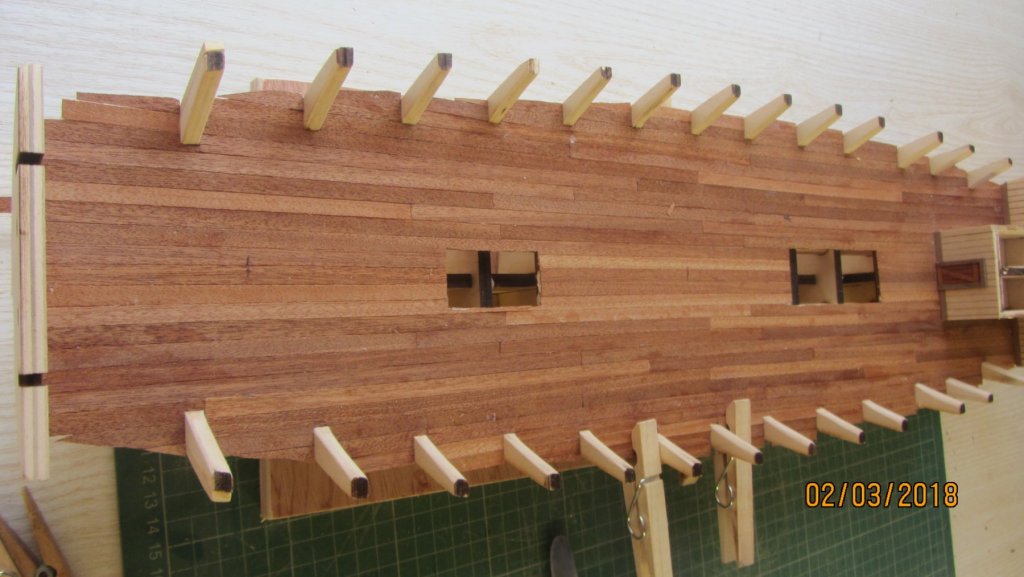
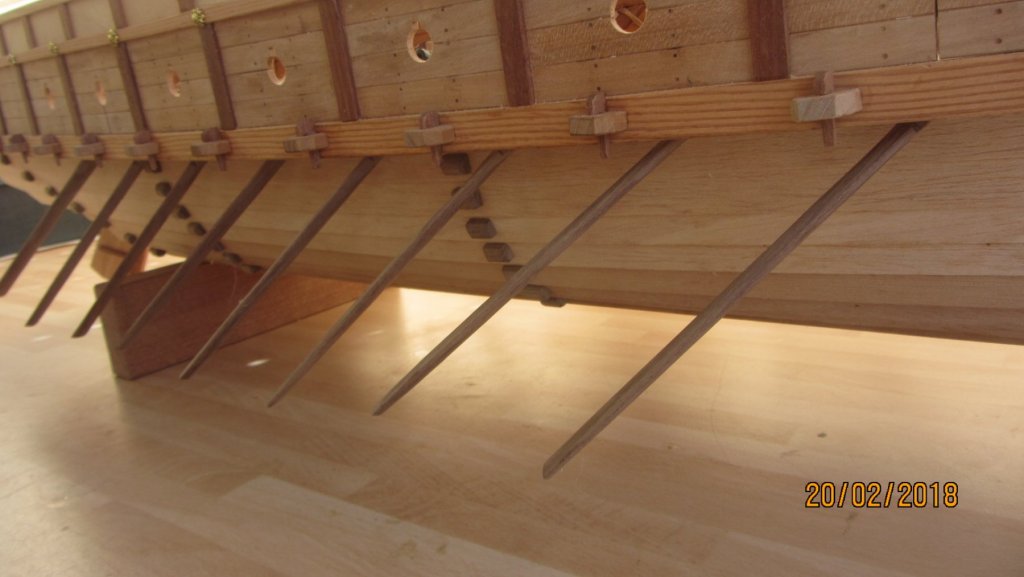
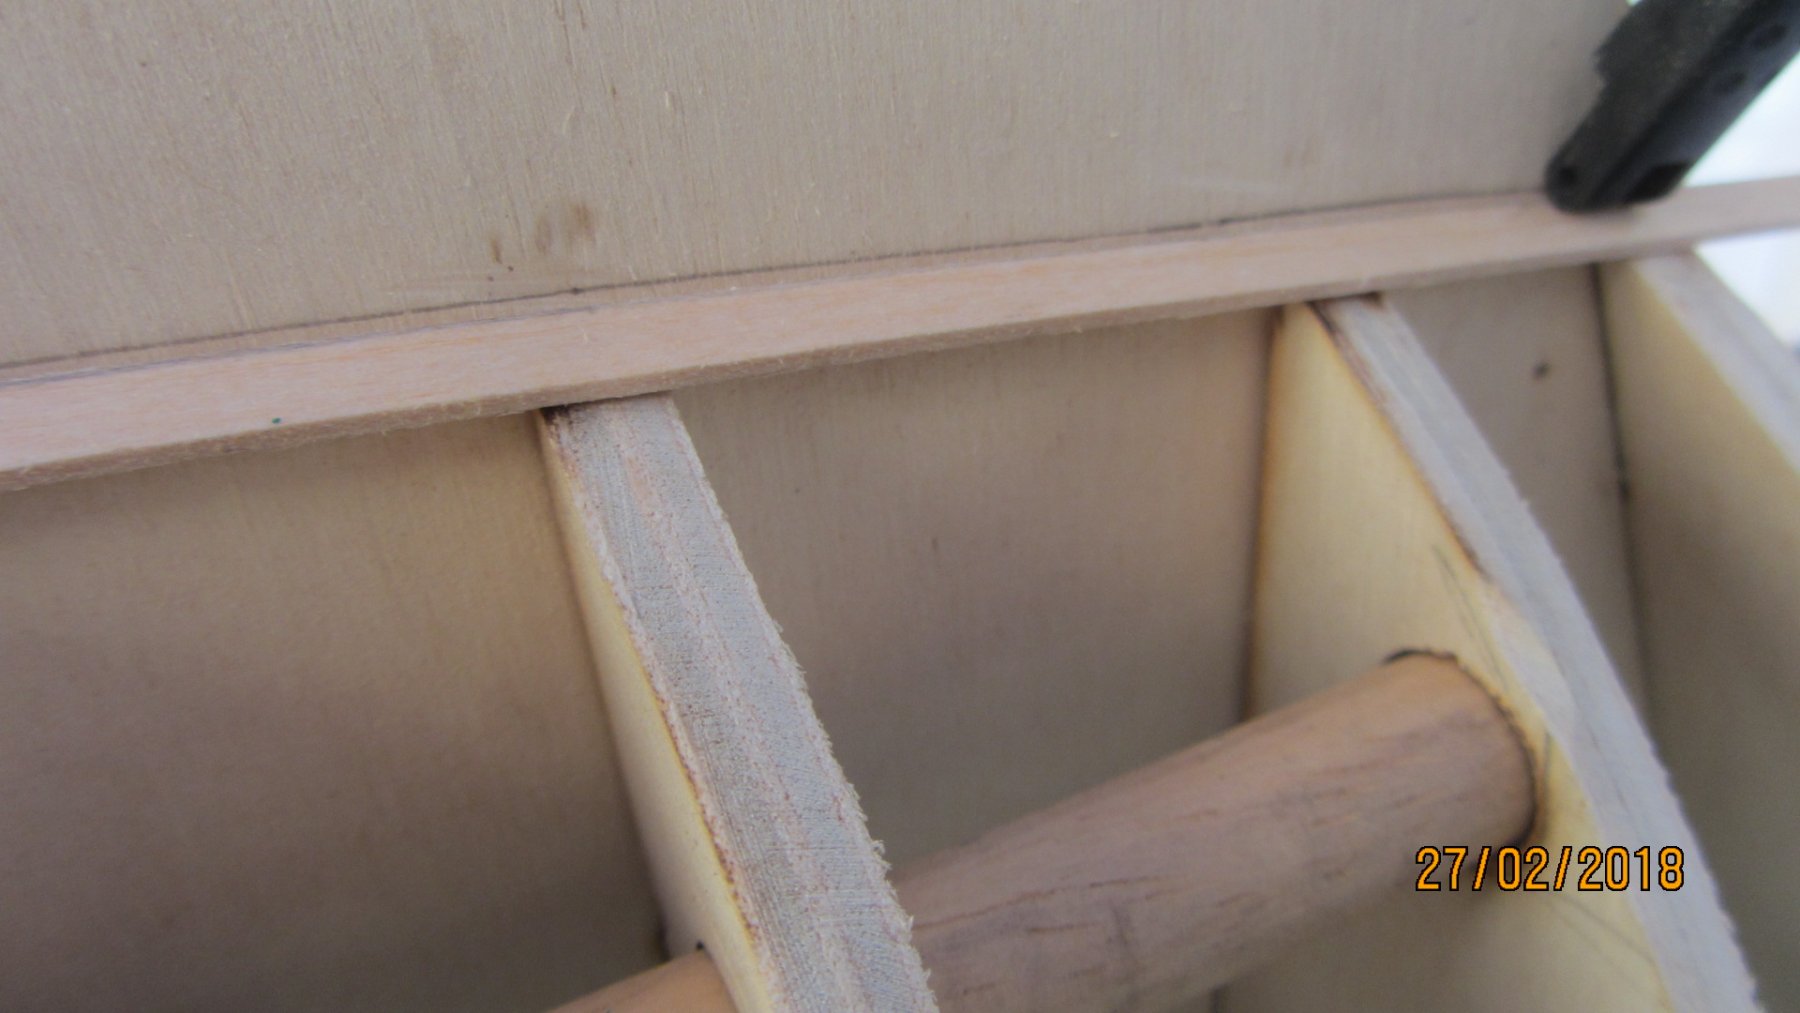
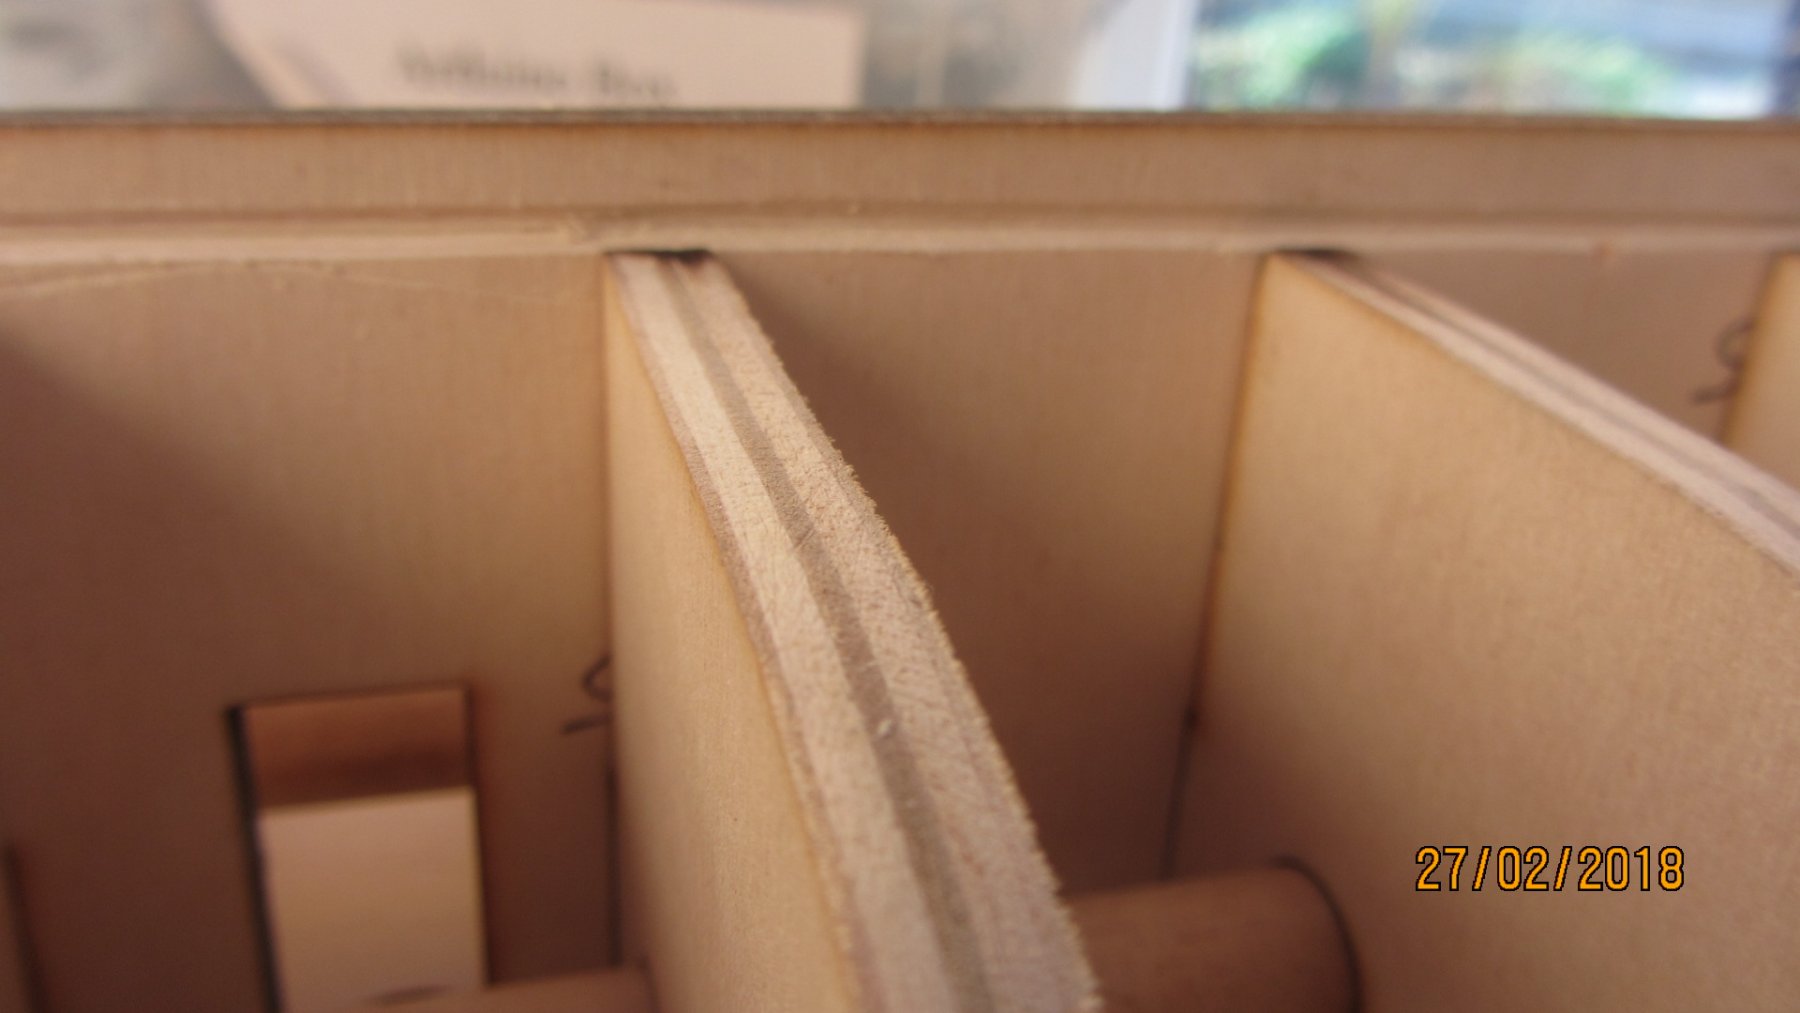
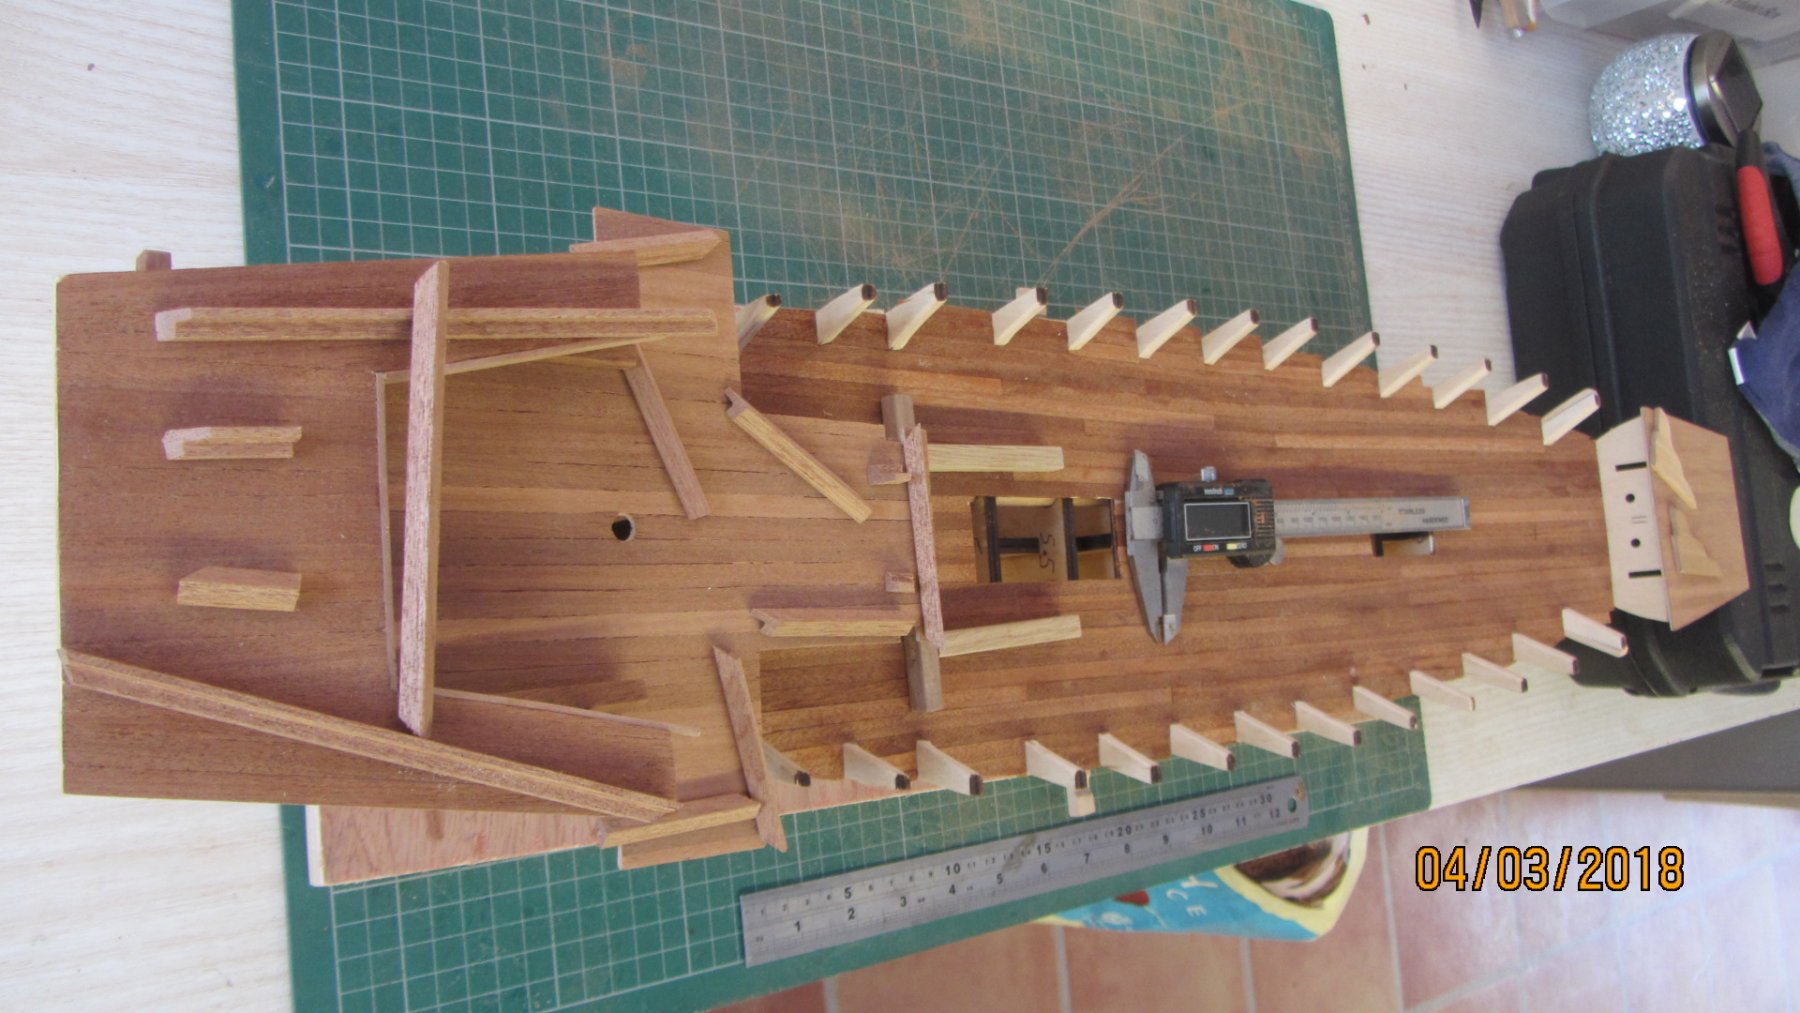
Some more photos of the basic build.
All the bulkheads have now been faired to the required angle.
Next come the cutting of the rebate in the keel.
Putting a plank next to the keel and marking with a pencil.

Parts dissembled and rebate cut into keel. Rebate cut with a knife and filed to shape and size.

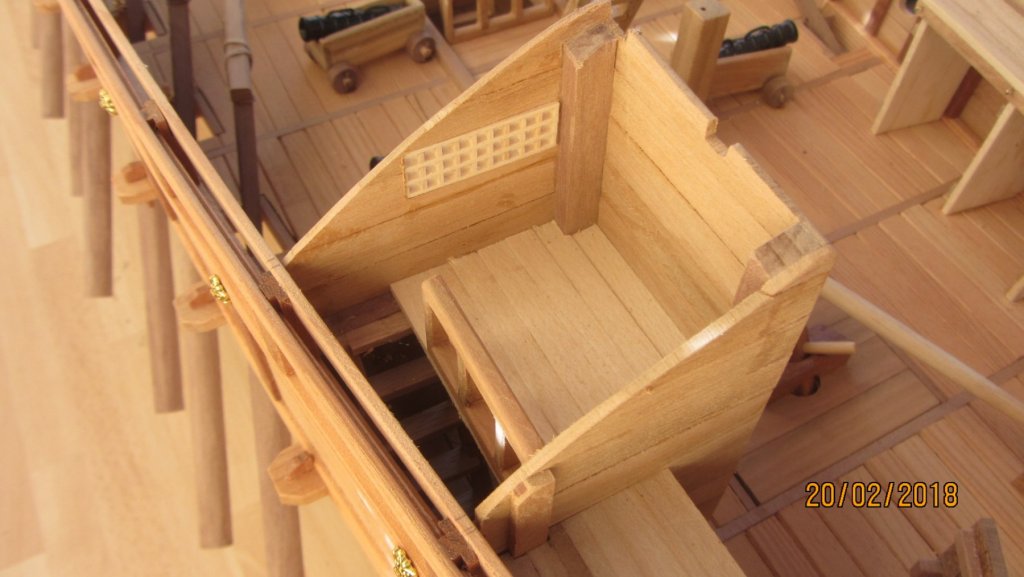
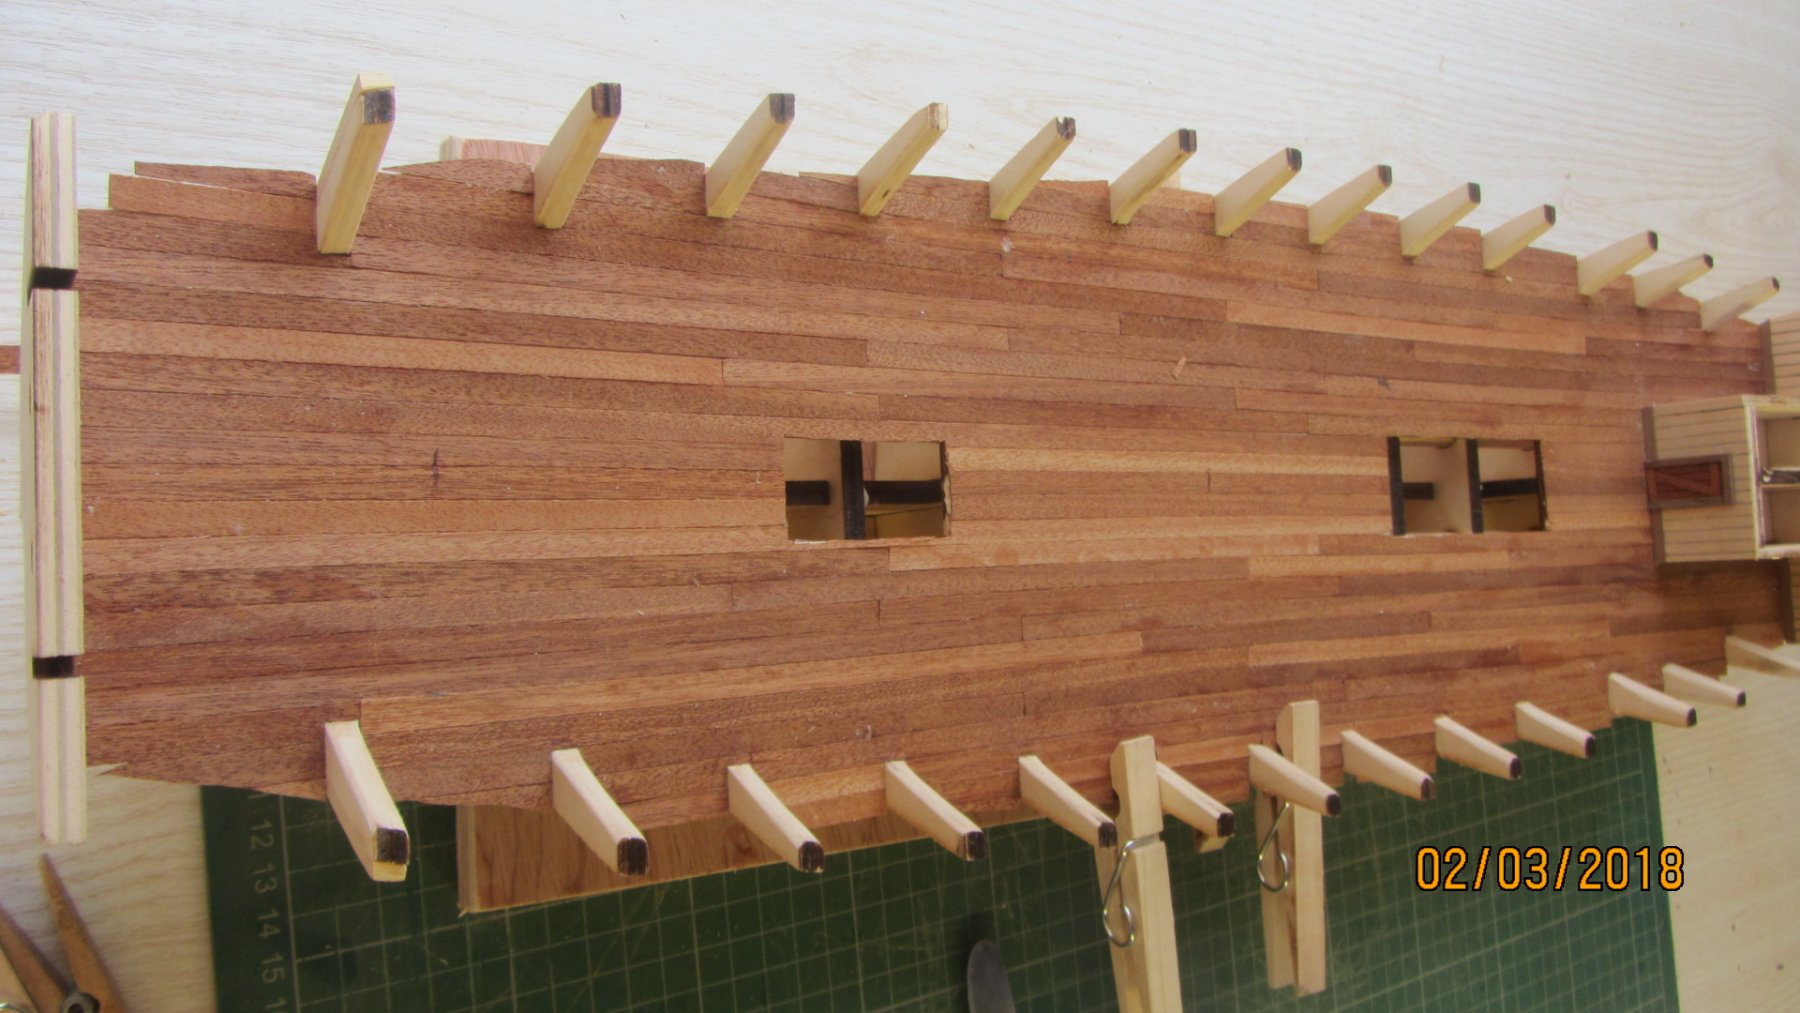
Planking done on the deck. Will put the treenails in later on after planking the hull.
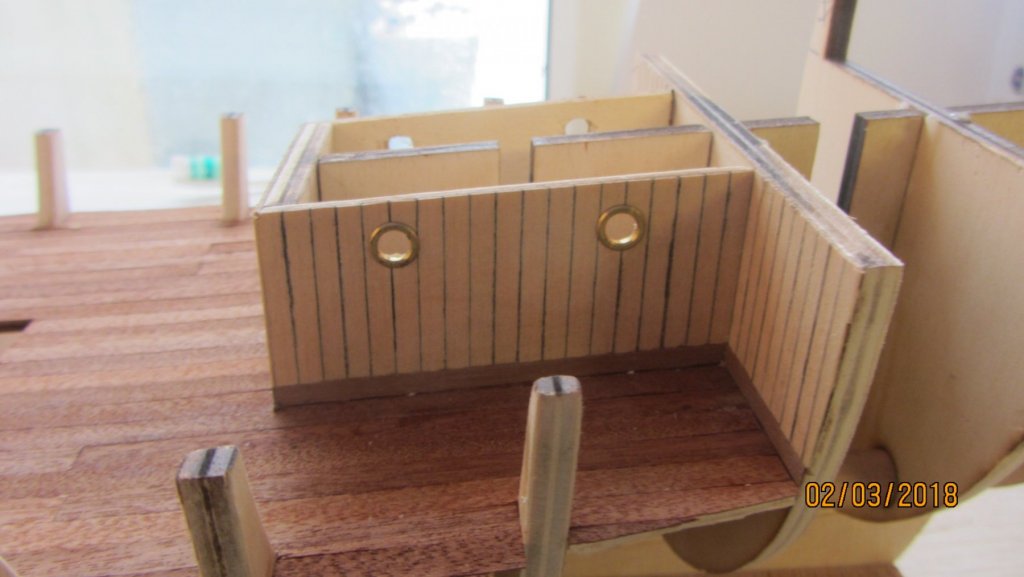
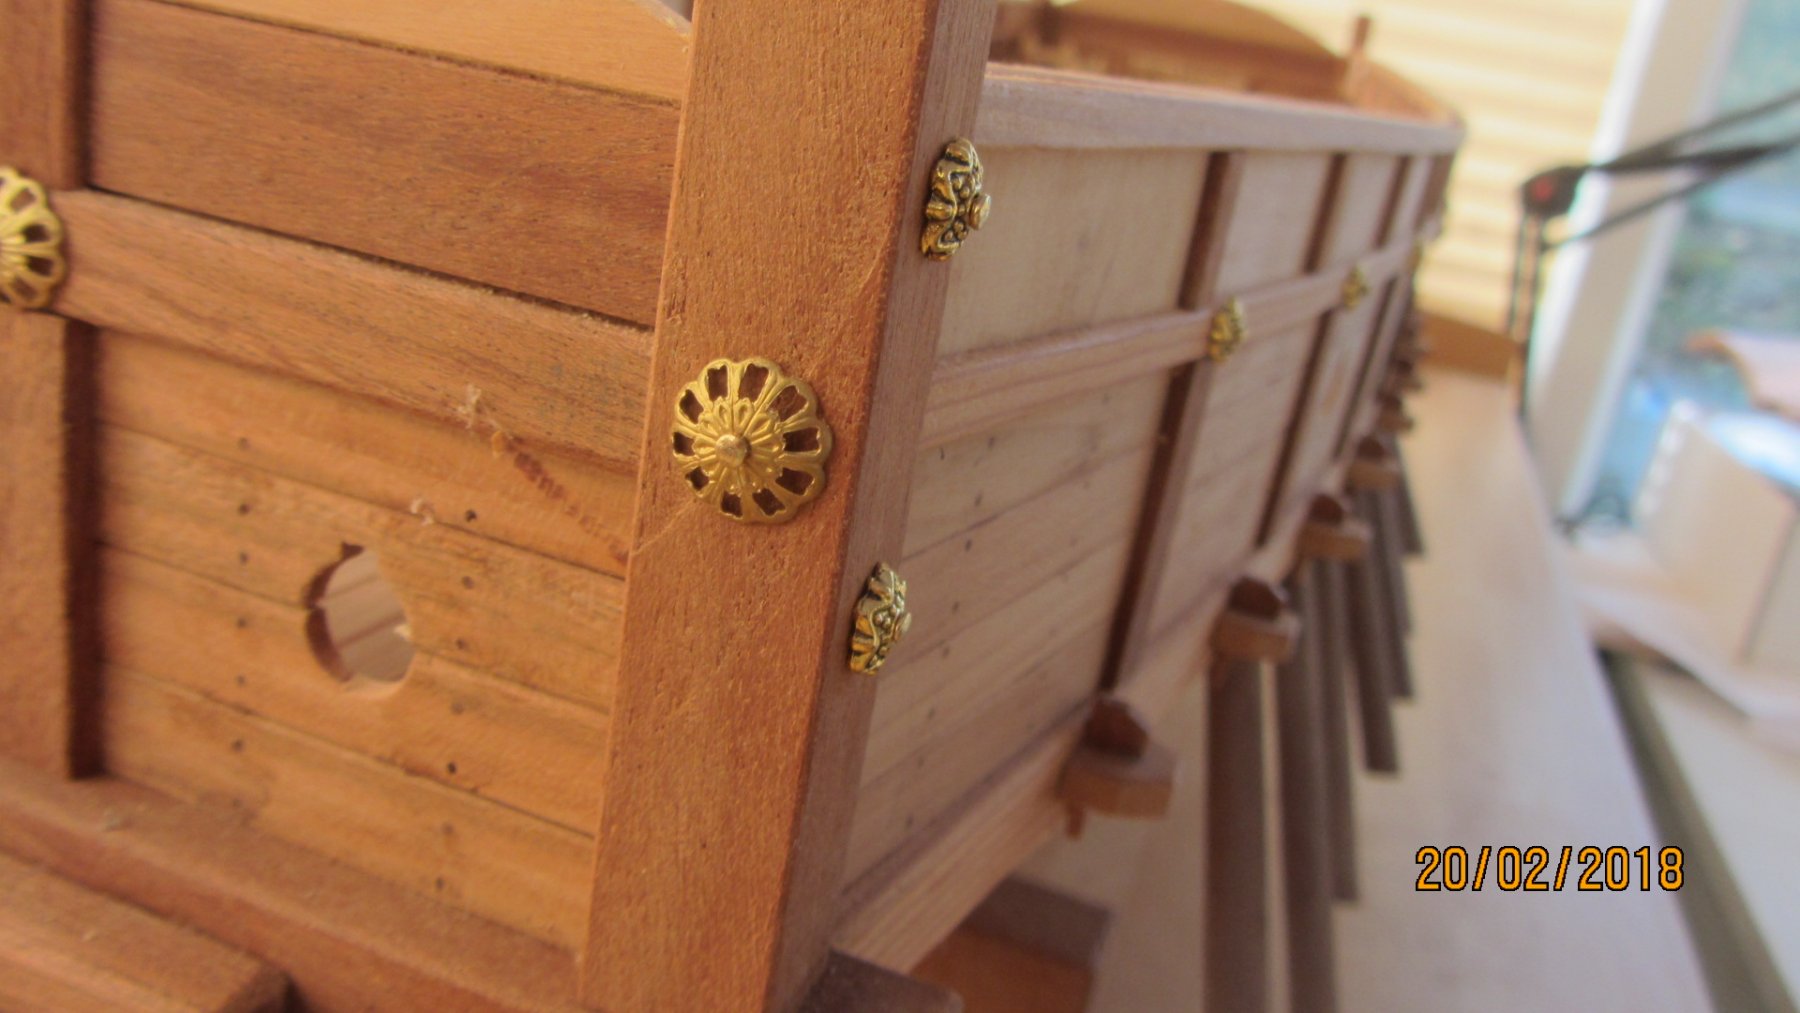
The cabins were planked after using the 3mm walls.
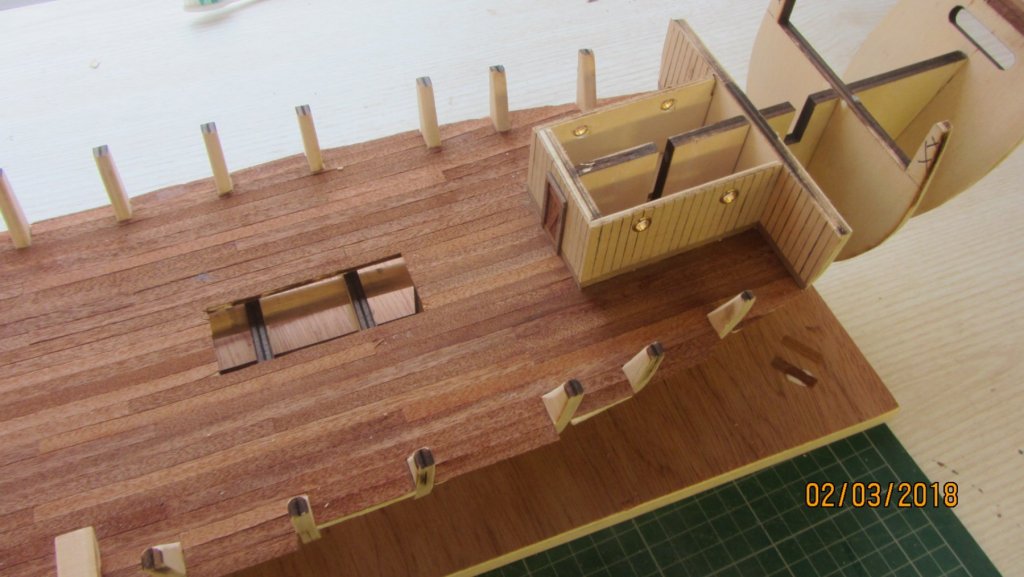
Portholes and door were added
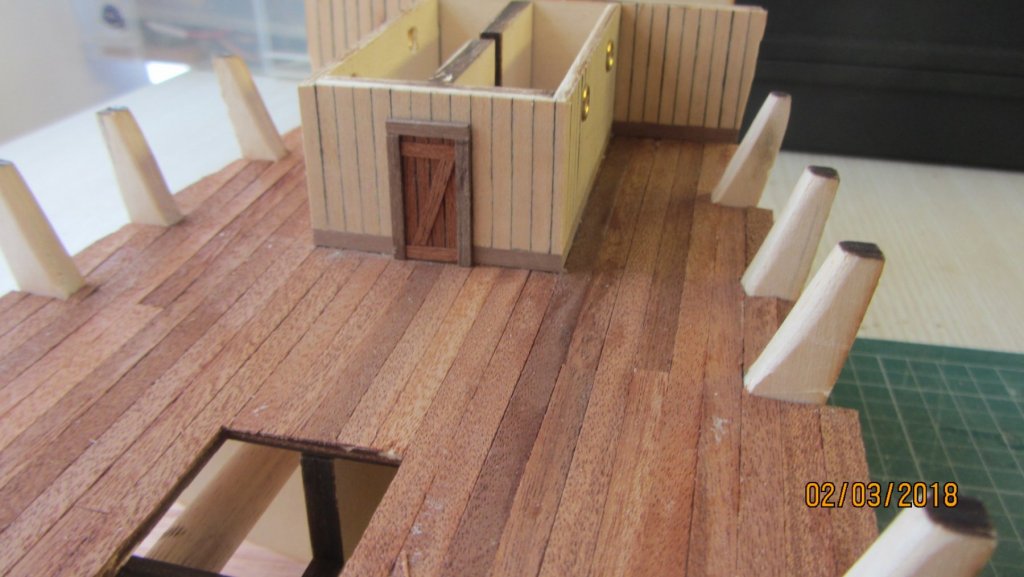
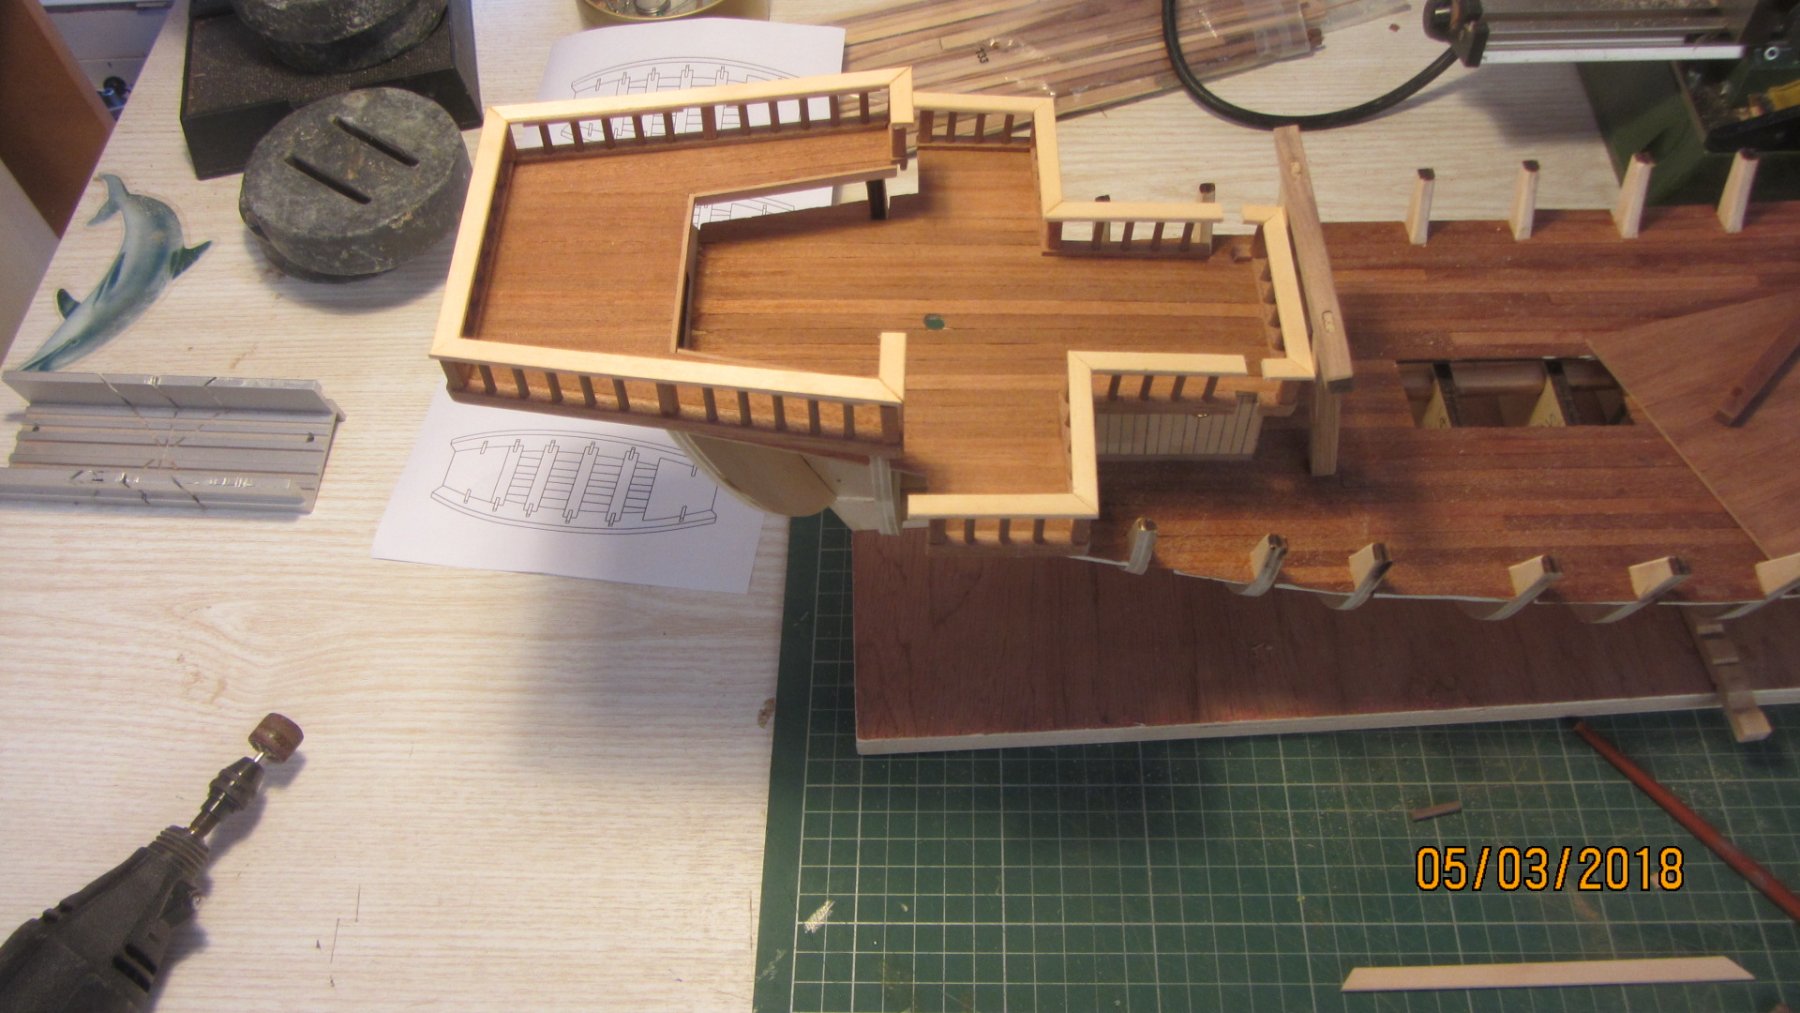
The stern and bow decks were planked on to the laser cut shapes.

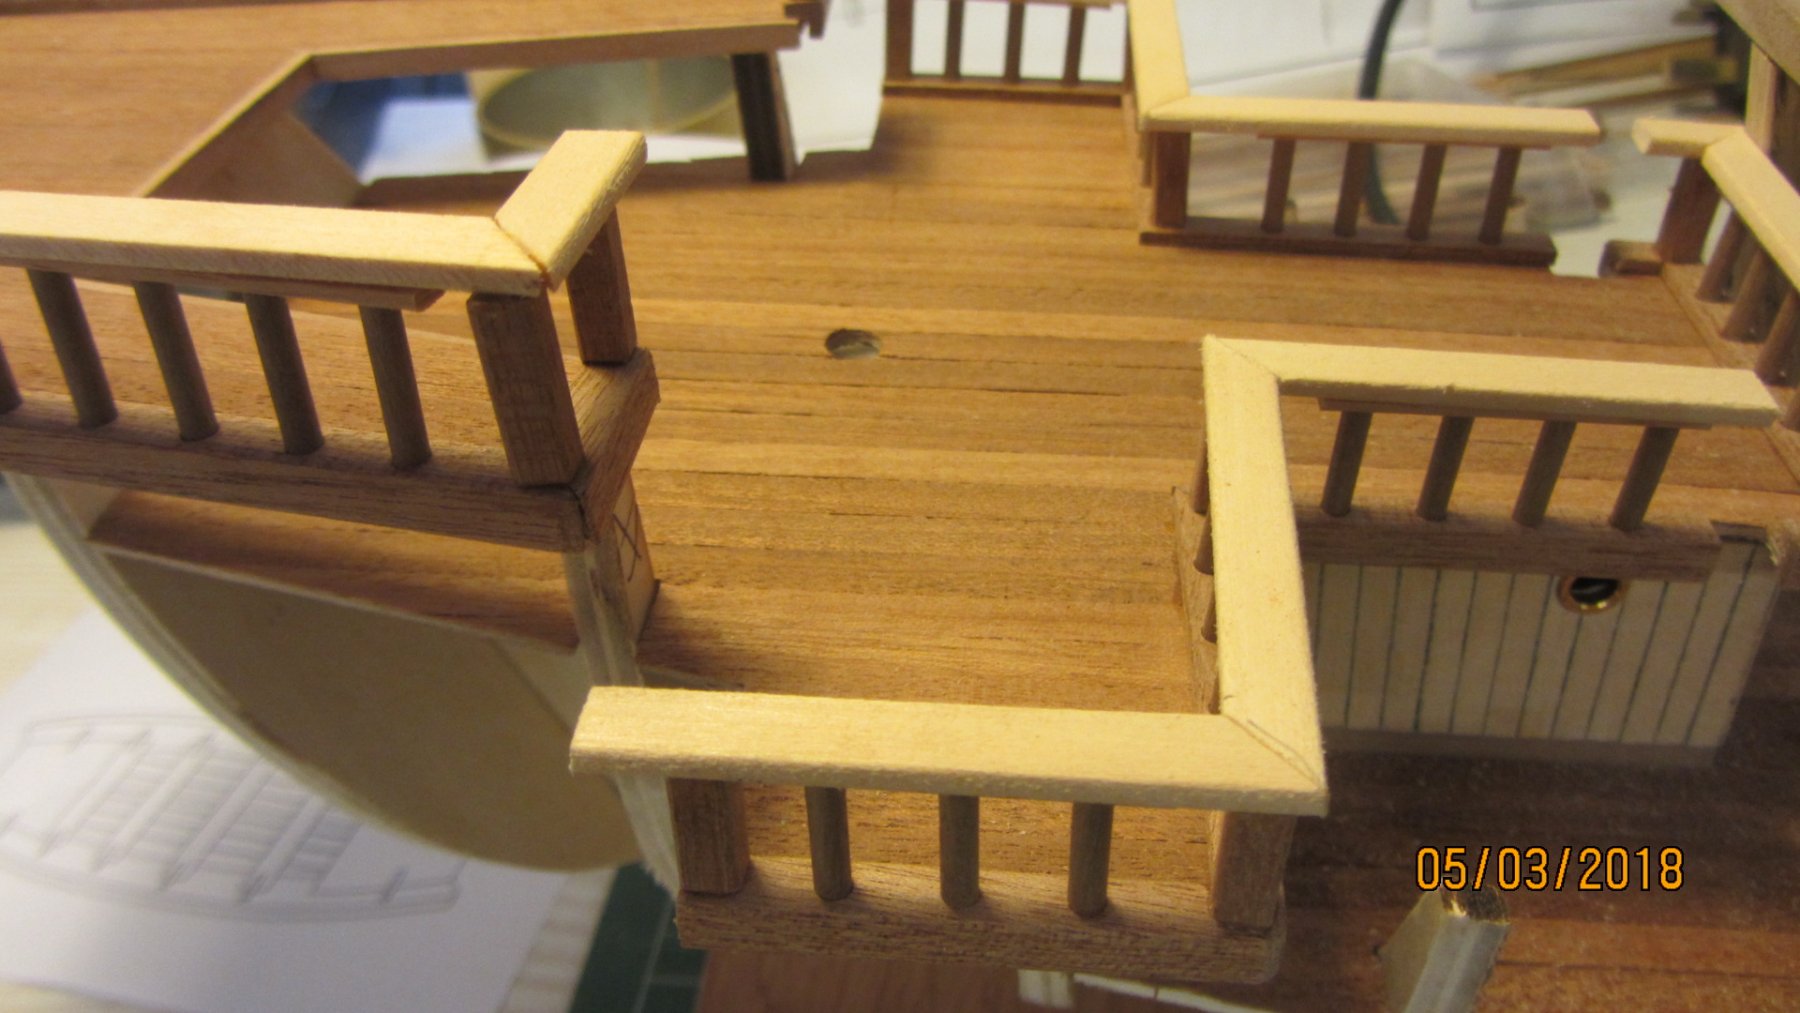
Edging being added to the rear decks.
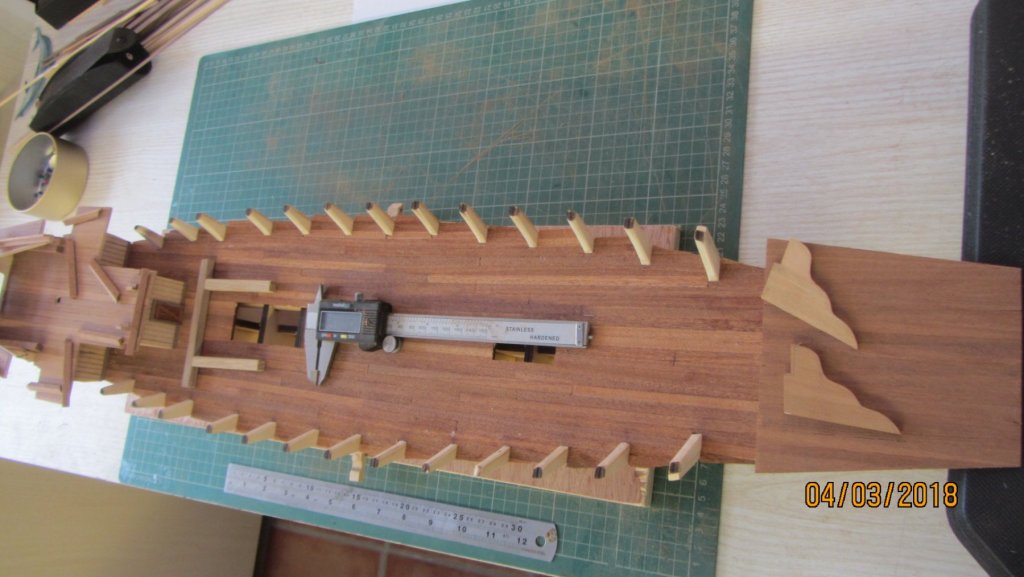

Hand rails added (Note that the rear deck edging and the hand rails were all bored at the same time with the Proxxon mill)

Hand rails not yet fixed

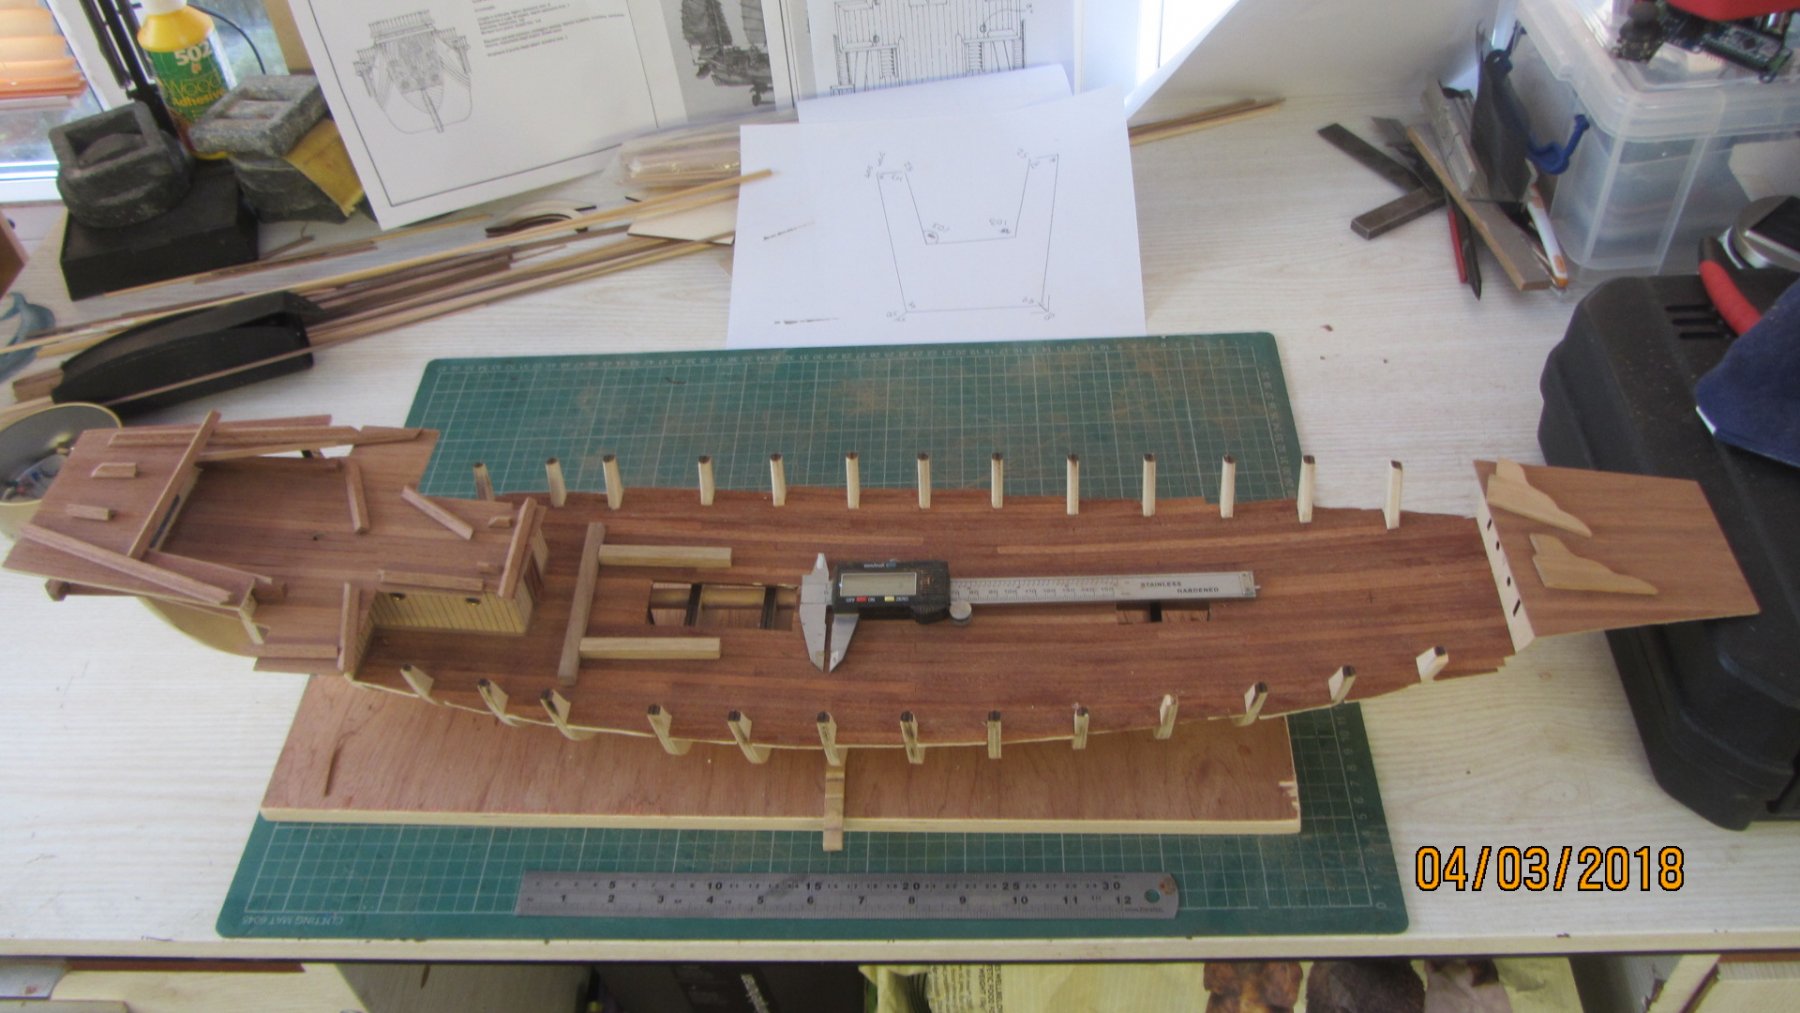
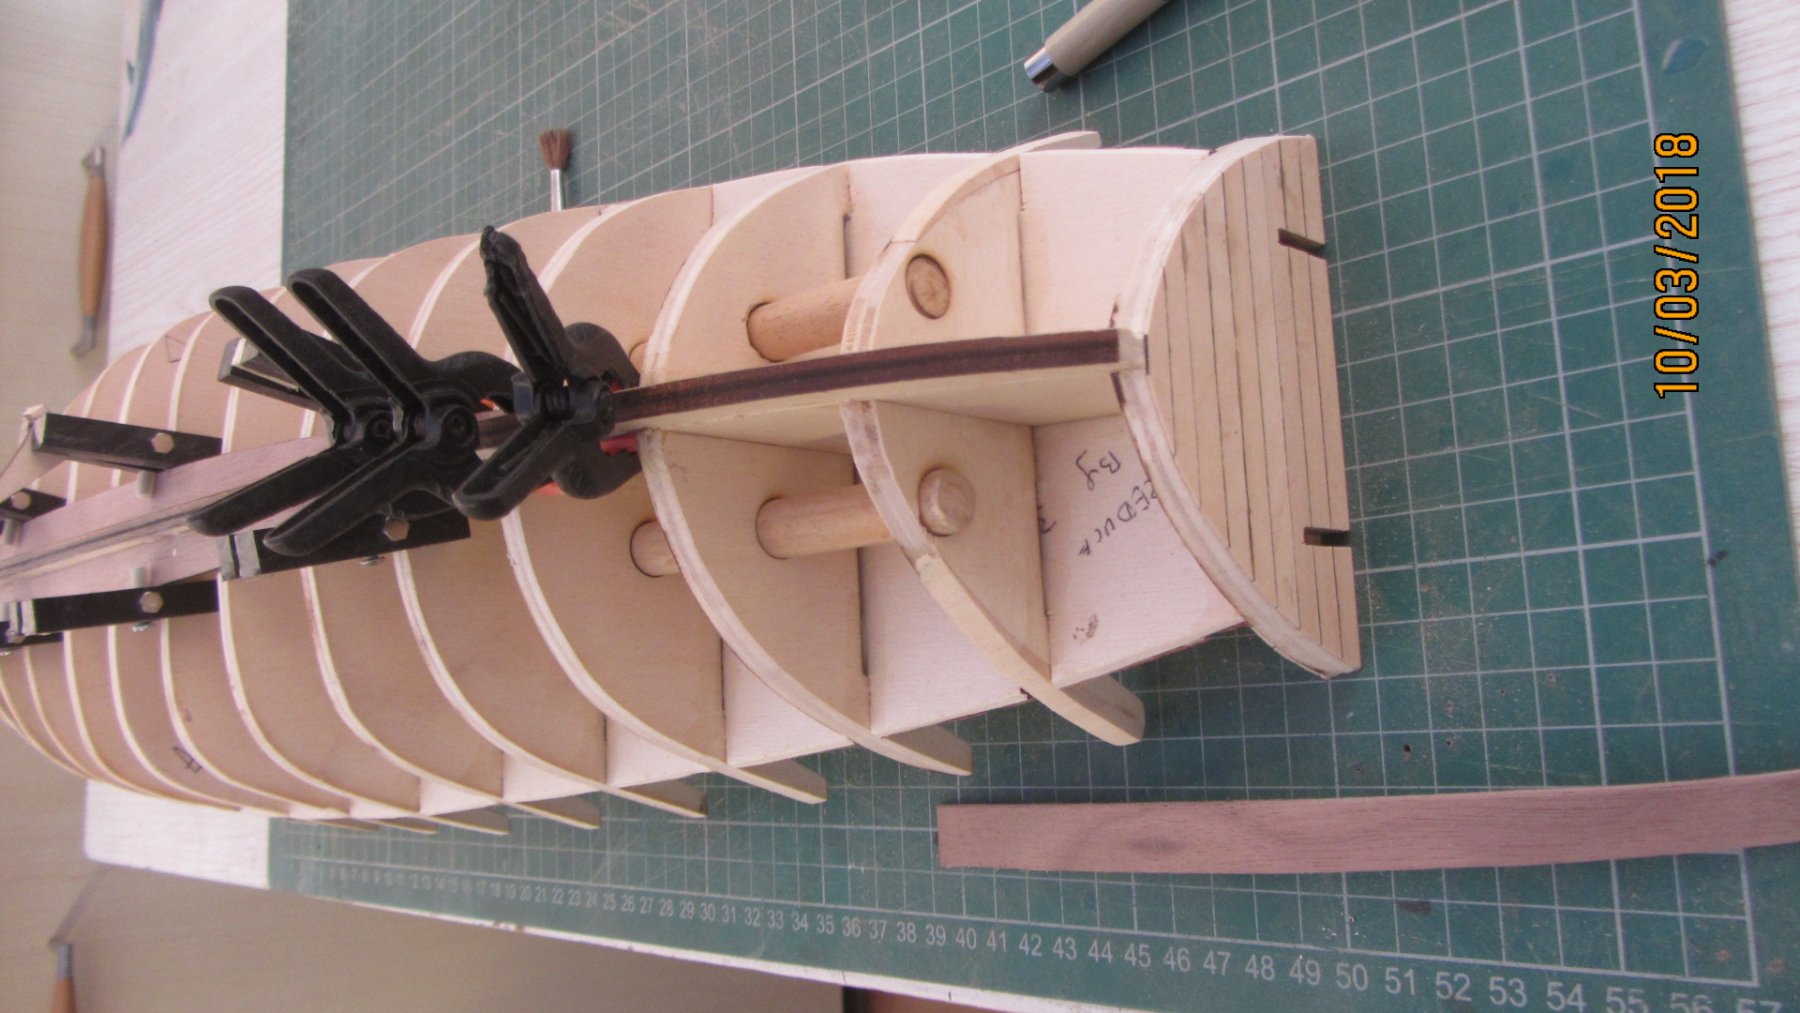
Stern and bow now planked. Garboard plank is being fitted.
Bow planked and Garboard plank part 1 is in place and glued.
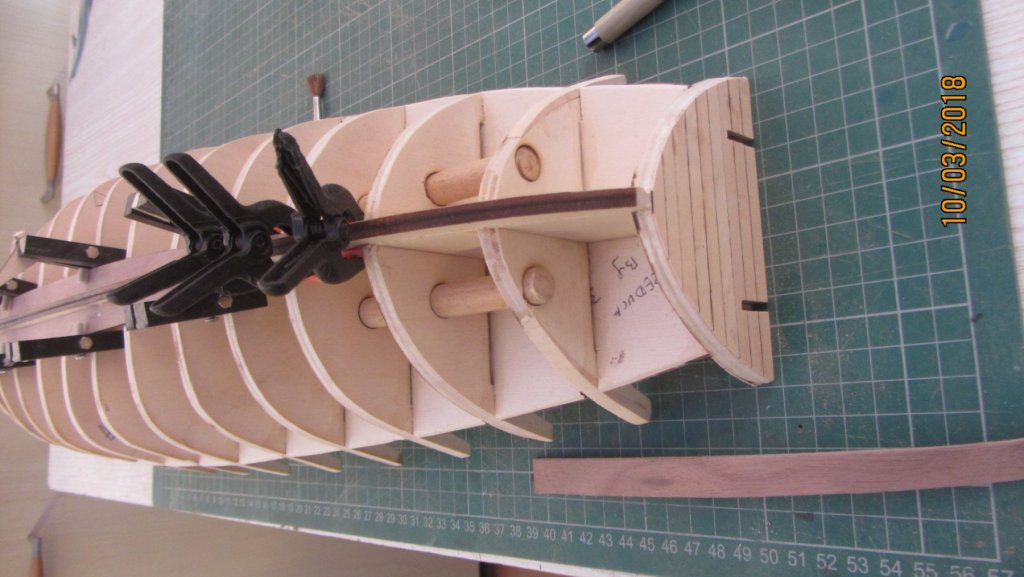
Part 2 of the garboard plank will be in place this afternoon.
That's about it for now.
More updates as the build continuous.
Regards Antony.
- Mirabell61, zappto, UdoK and 8 others
-
11
-
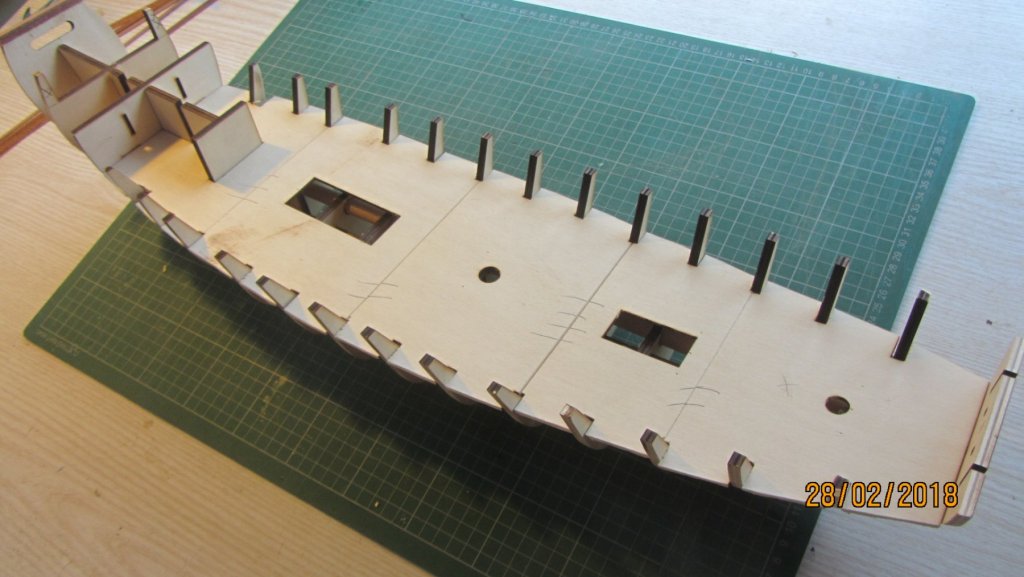
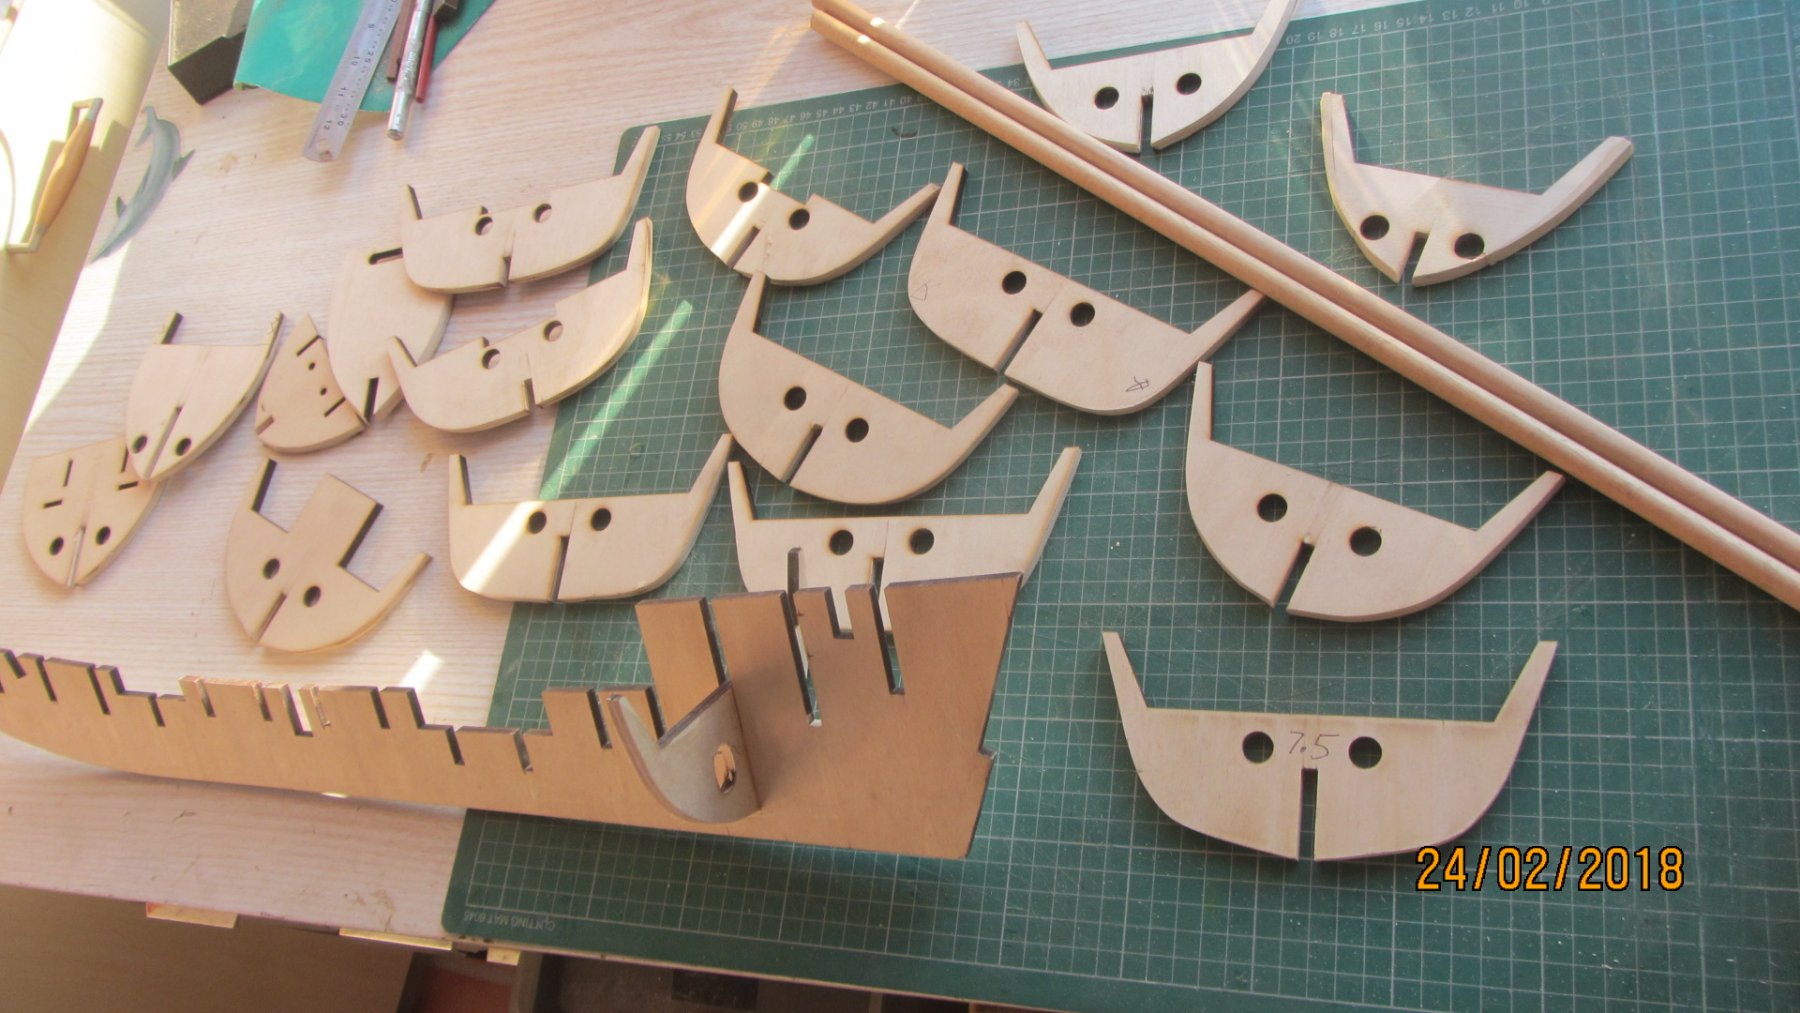
Hi.
Welcome to the Chinese Pirate Junk build.
This is based on the Amati model and lines were taken from there plans.(with lots of modifications.)
The plans were modified with Adobe Illustrator CS2 which is my chosen software.
Extra bulkheads were added and some bulkheads were changed to match the lines that I wanted.
Junk Antony.pdf My drawings converted into PDF.
The 6mm and 3mm plywood used to the decks and bulkheads were cut by Laser cutting service http://www.pbmodelmaking.co.uk/laser-cutting-service/4588356832
The cost off the Laser cutting plywood and postage UK. was £32.00 + £7.50 postage
Always wanted to make a Junk so here it is. It will be a build and modify as I go build as the drawings will need to be redone with each change of part size.
6mm plywood parts shown below. 3mm parts were of the same quality.
The laser cutting was excellent and can recommend the supplier.
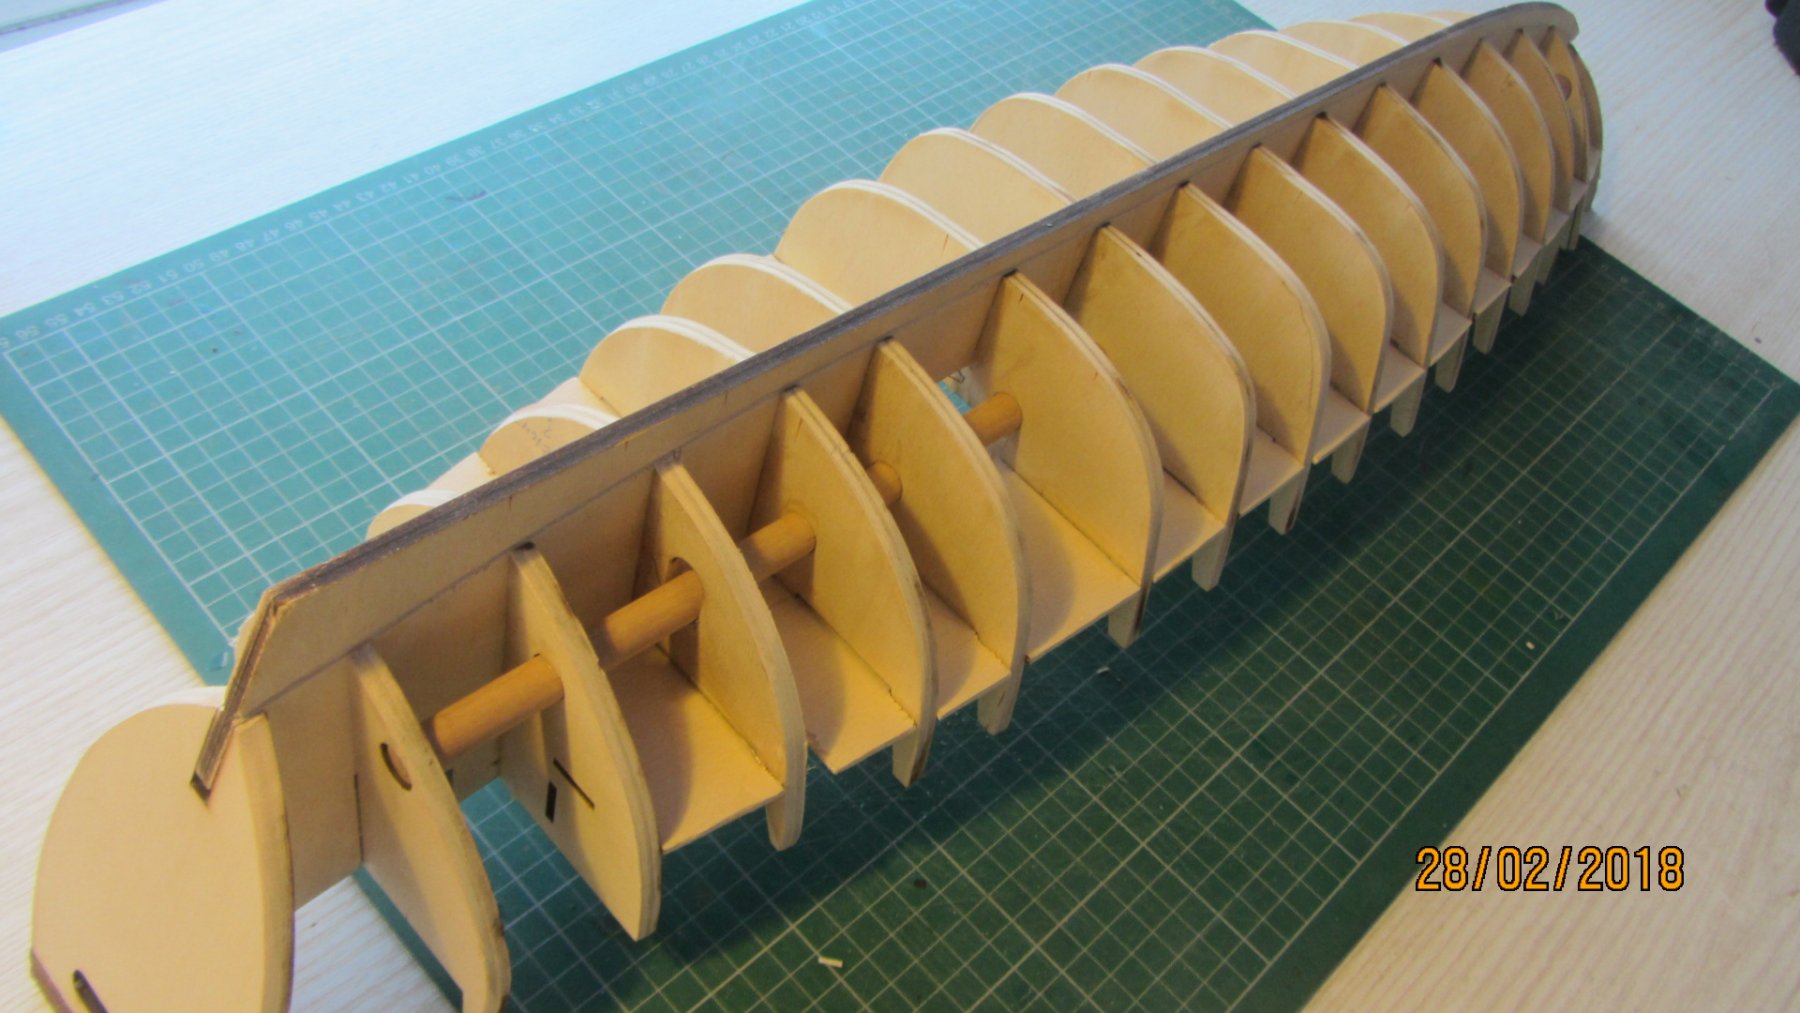
Fitting the bulkheads to the keel needed just a little sanding for a tight fit.
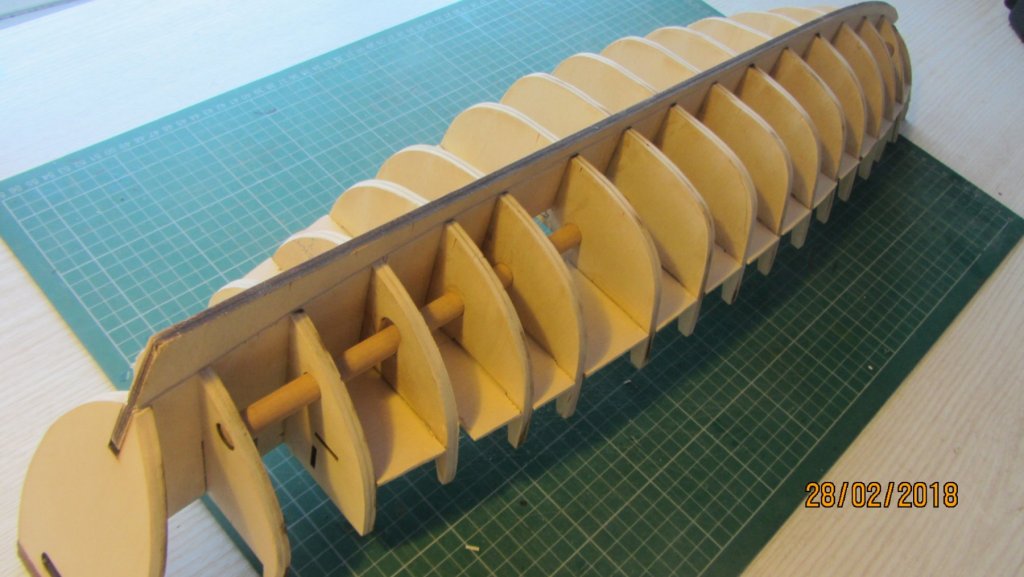
Parts assembled but Not glued yet as there are a lot of adjustments to be made.

The dowel is not necessary but I like to include in to the design to hold the boat straight.

The deck was made oversize for the laser cutting so it could be trimmed then the drawing updated.
Will post more later on this a afternoon.
Duty calls.
Regards Antony.
- UdoK, grsjax, paulsutcliffe and 6 others
-
9
-
Hi and welcome to MSW.
That's One big model. Looks like you will be expanding your work bench.
That's one nice list of COMPLEATED models. You should have no problems with this one.
What's that a extra bulkhead in the last photo ?.
Best of luck on your new ventures with the Amerigo.
Regards Antony.
-
Hi Rusty.
Will follow along with this one Rusty if you don't mind.
Got my front row seat and the pop corn.
Regards Antony.
- CaptainSteve, mtaylor, Canute and 1 other
-
4
-
-
Hi Cristikc.
Yes I have a build log... Look in my completed list below.
You are doing well and looking good.
Regards Antony.
-
-
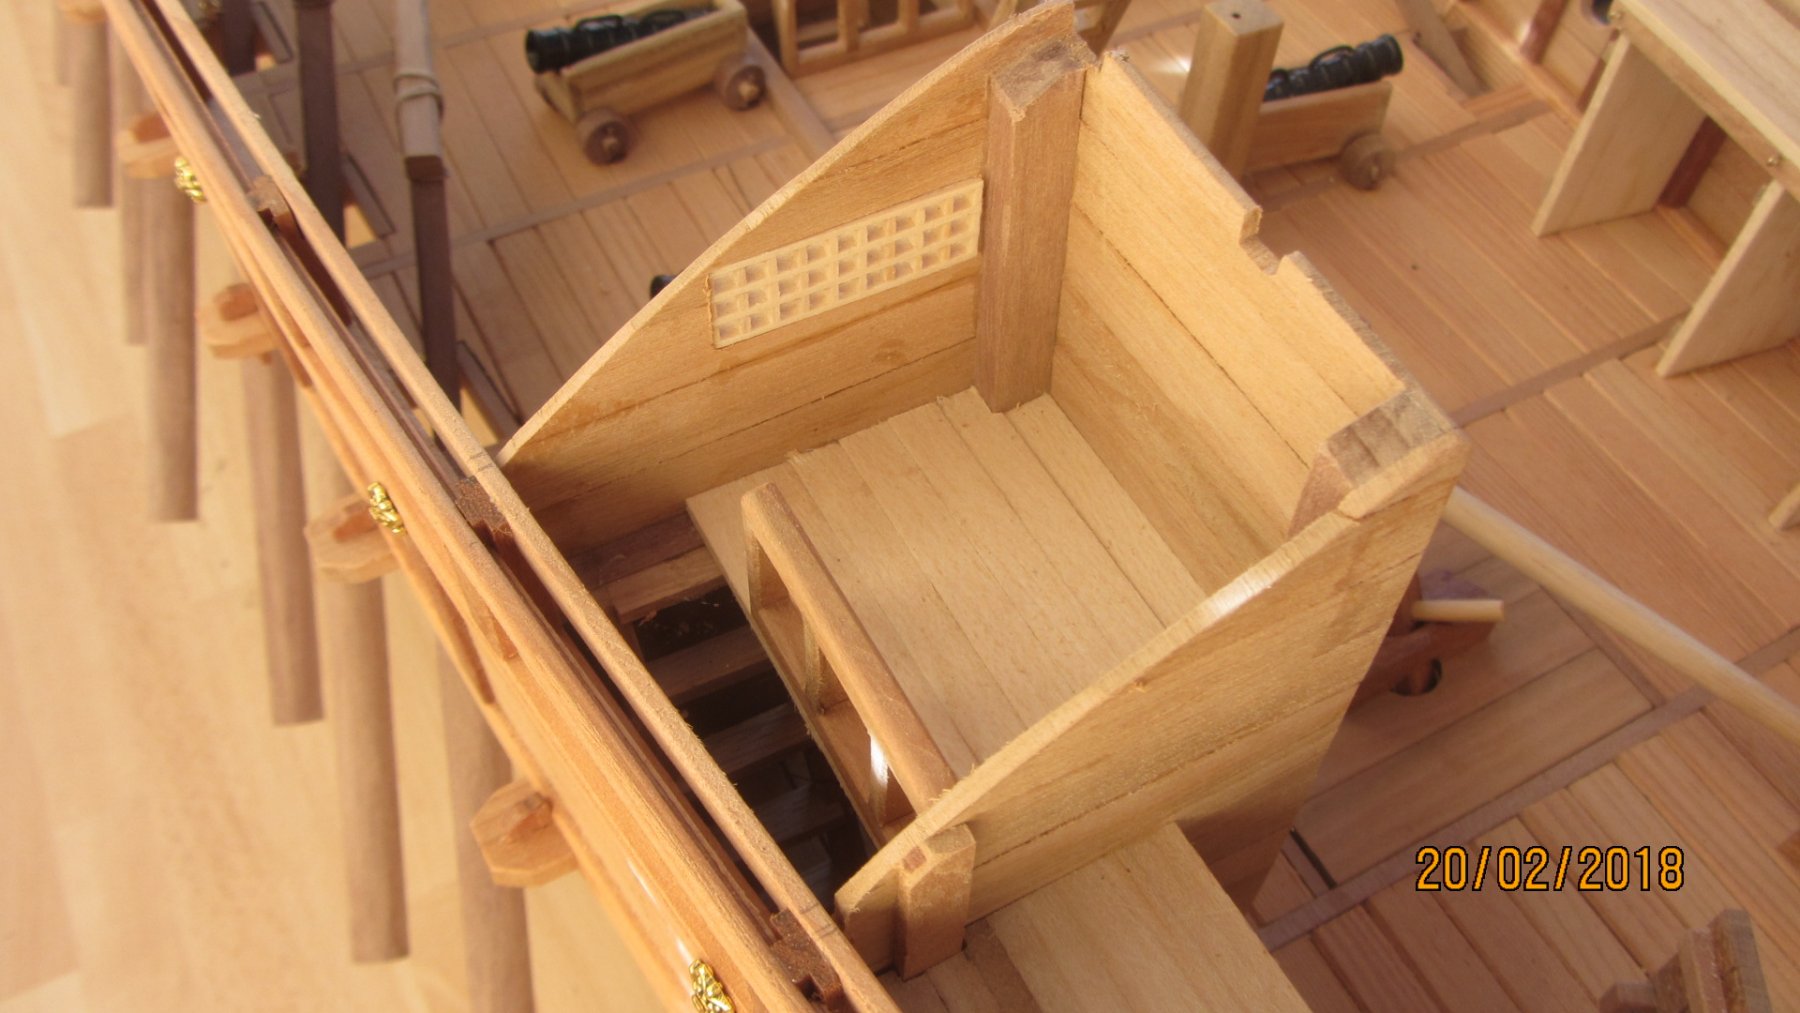
Hi.
Well i have finished the Turtle ship.
Thanks to all that contributed to the design and the build.
It was FUN and lots of learning.
Photos...
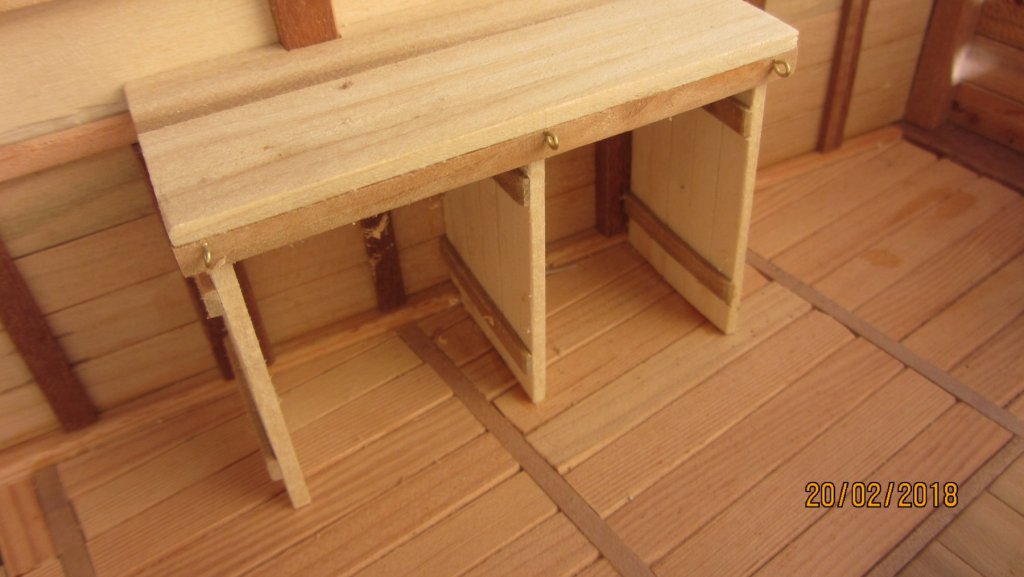
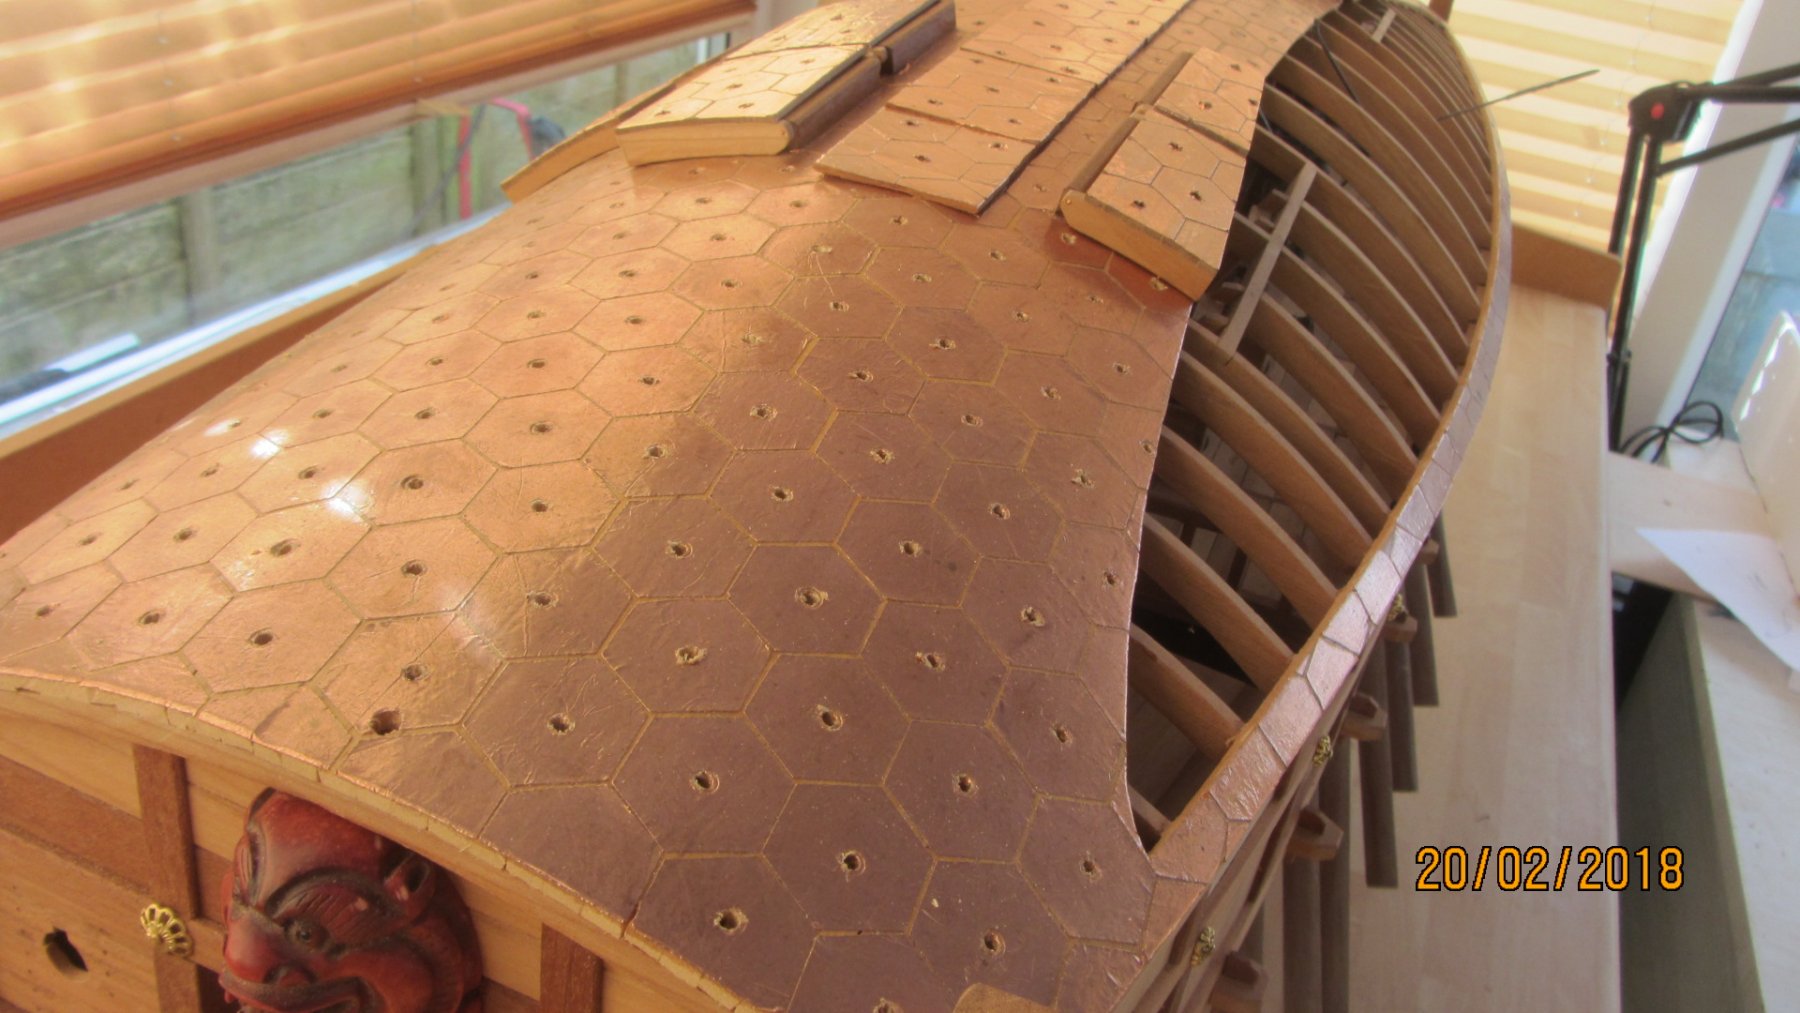
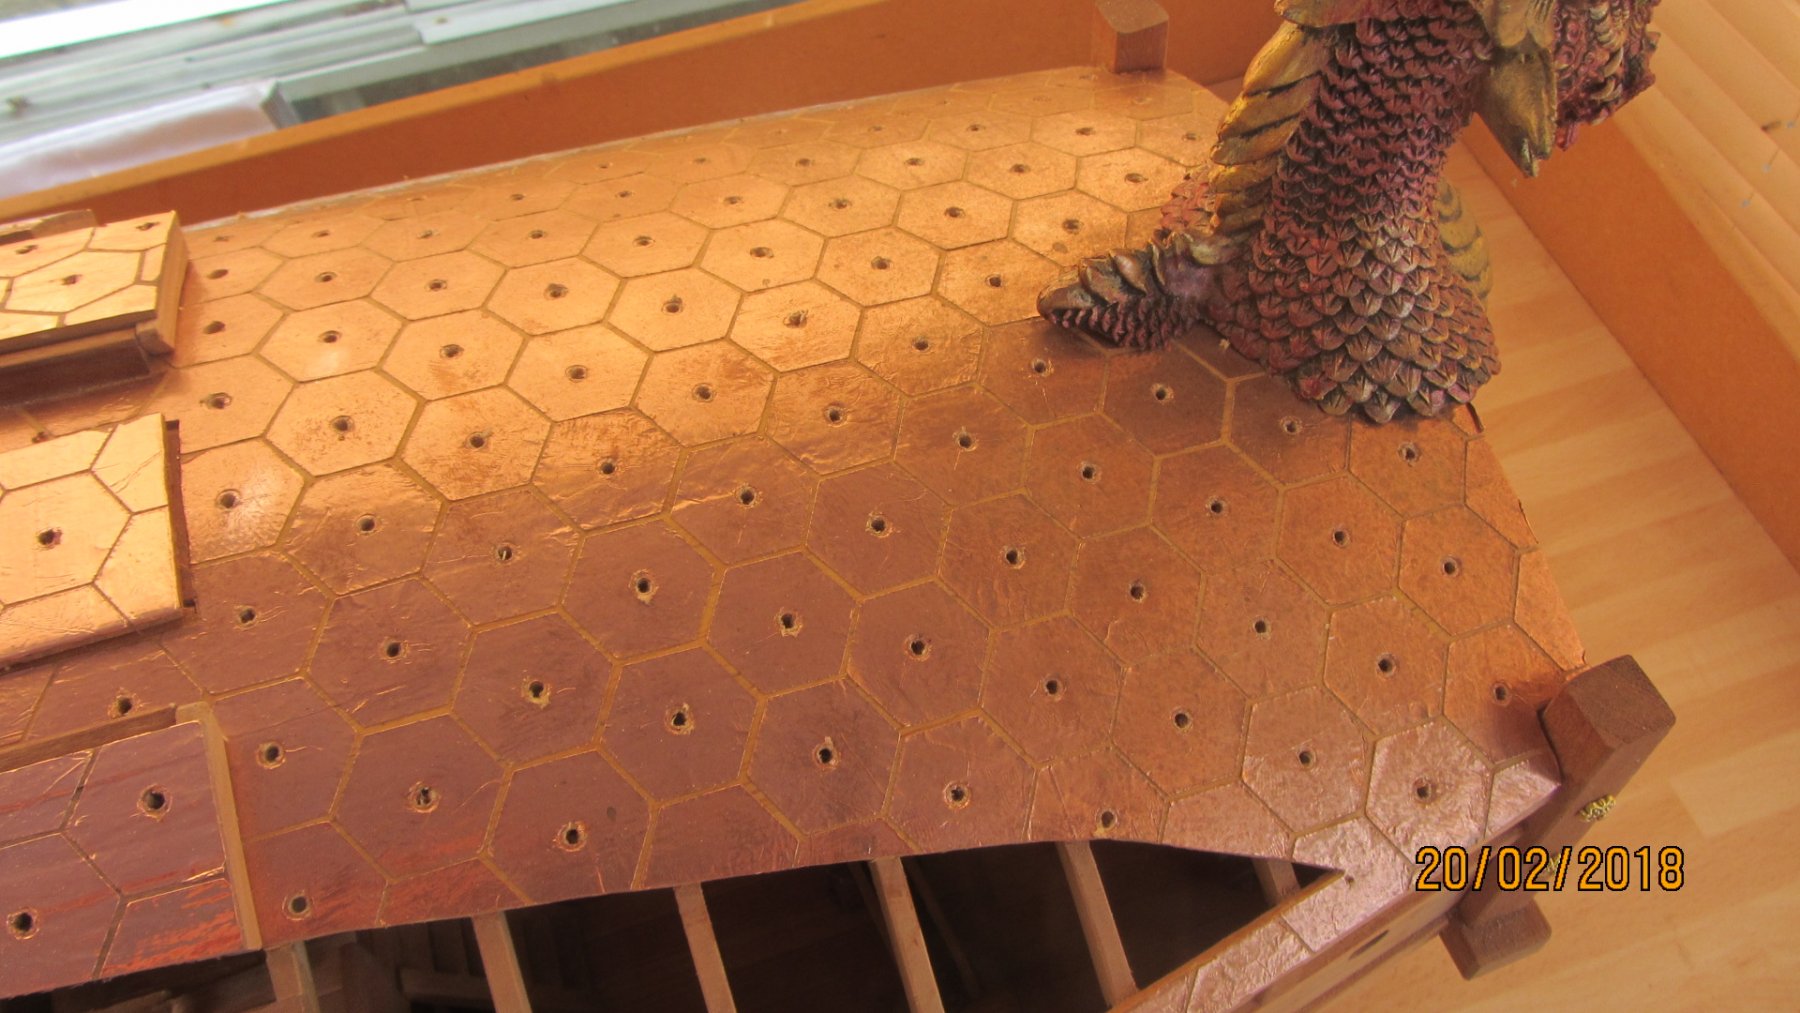
The crews Head.(Toilet)
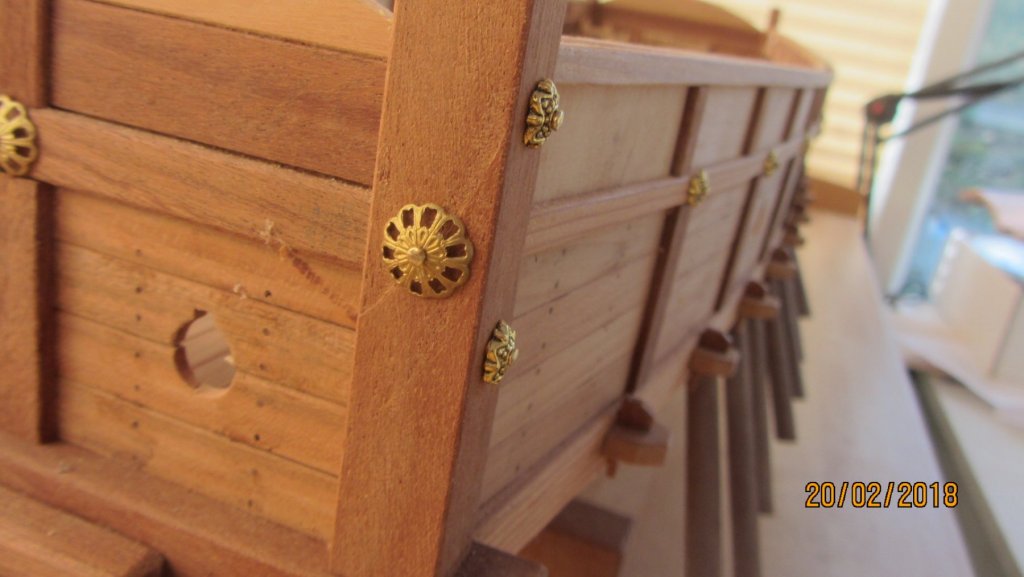
Decorations. around the ship..
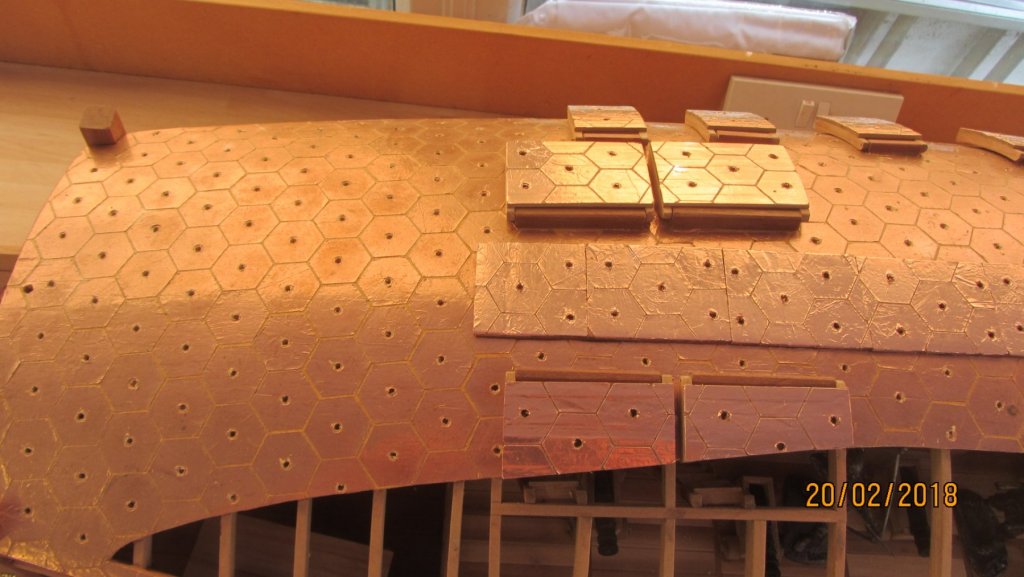
Holes in the roof for thrusting the lance up into anyone on the roof.

Another view of the roof.
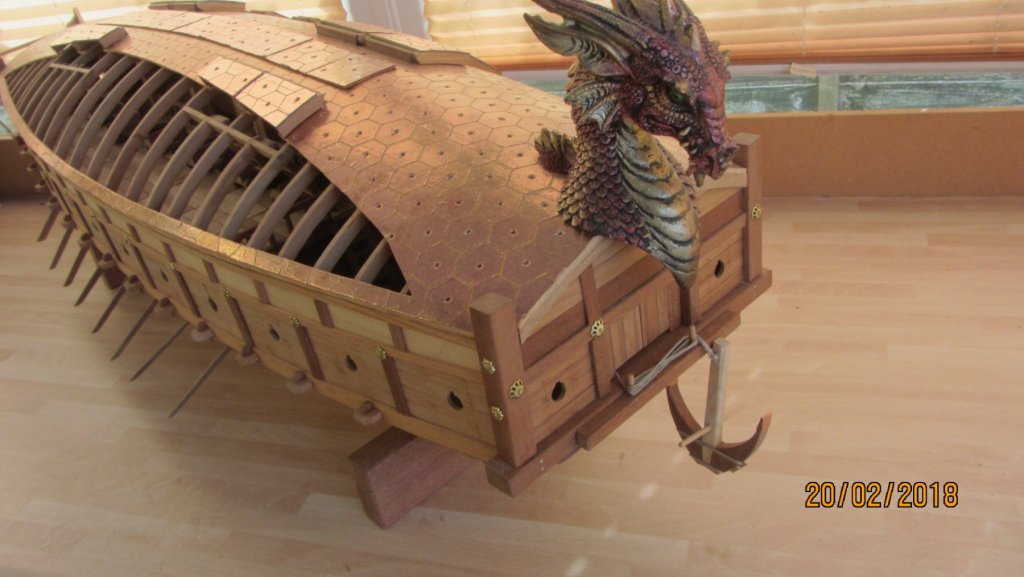
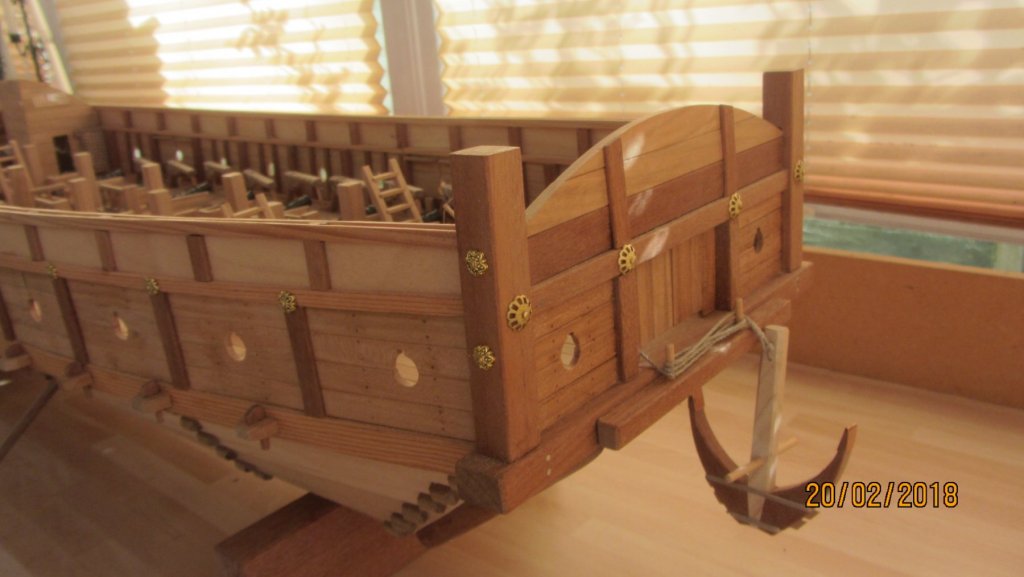
The Bow area.

View of Bow with anchor in place.
The Rudder (Note its not balanced ??)
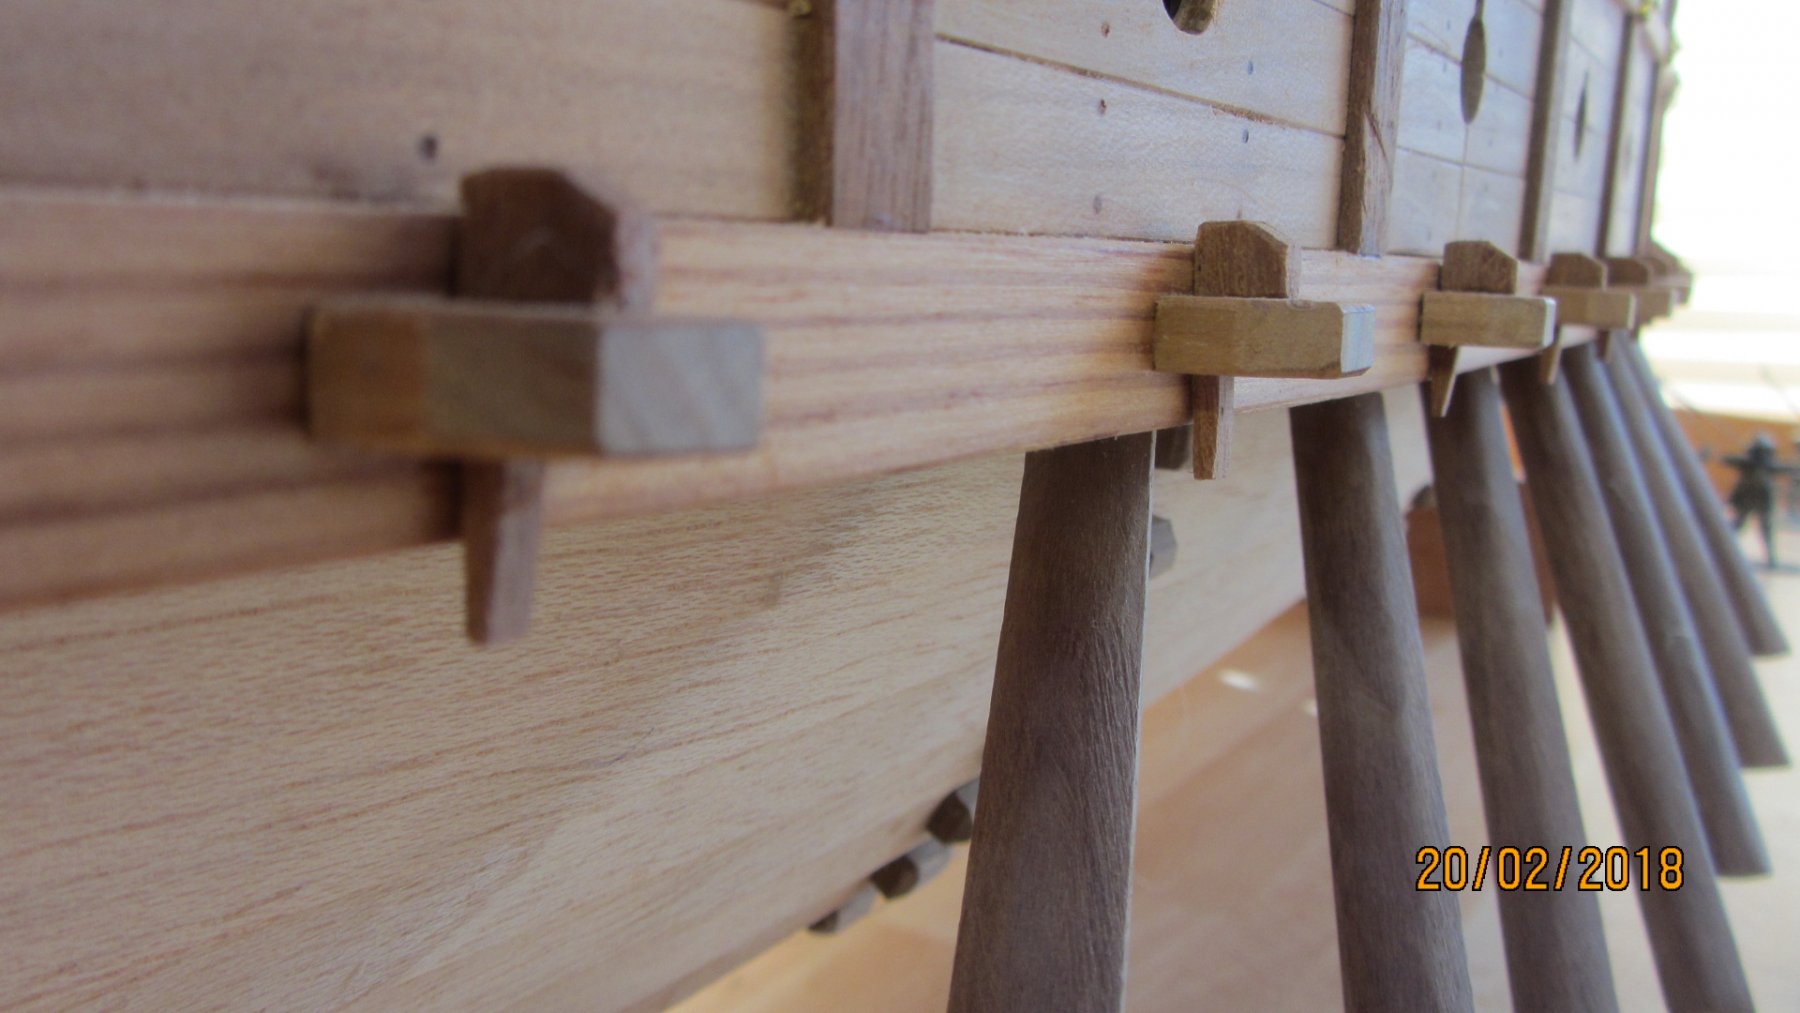
Pegs in main beams that support the deck.

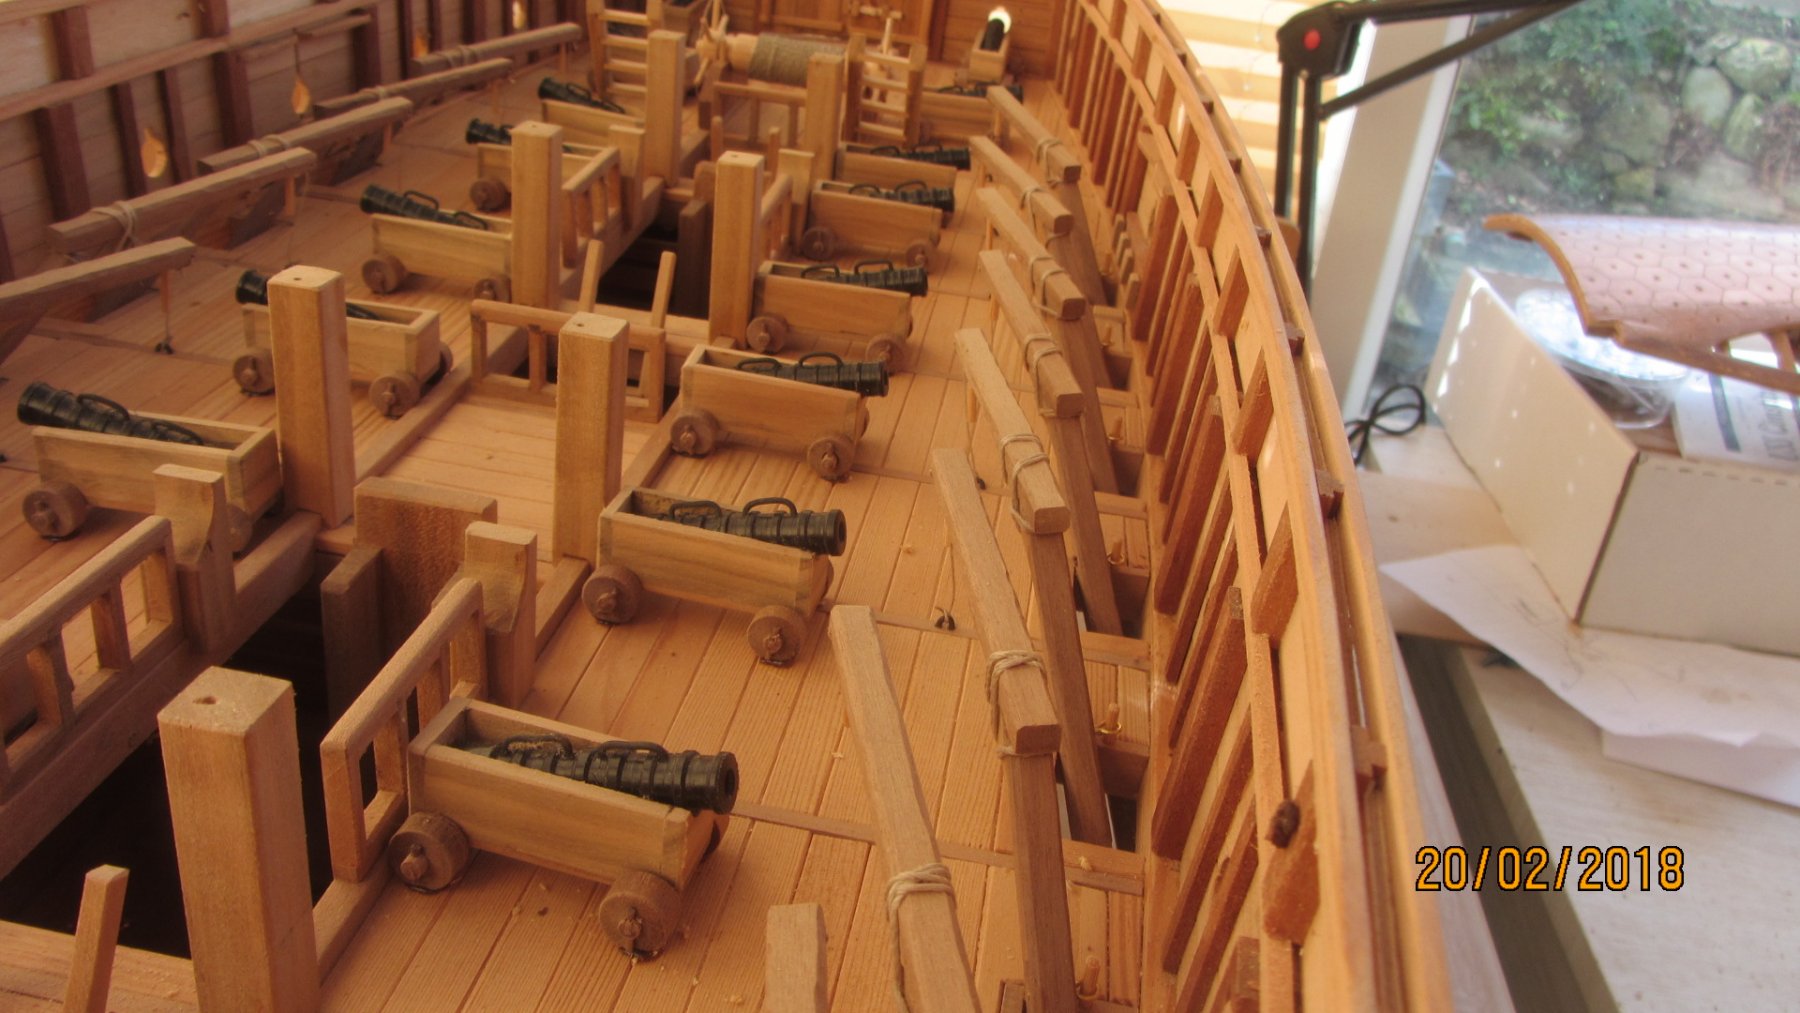
Stern area with top structure removed.

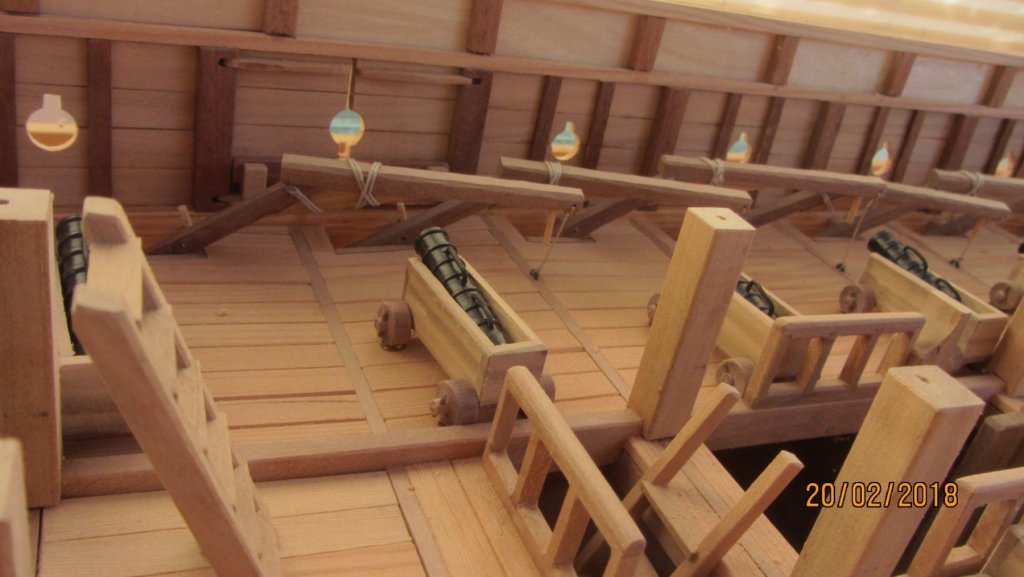
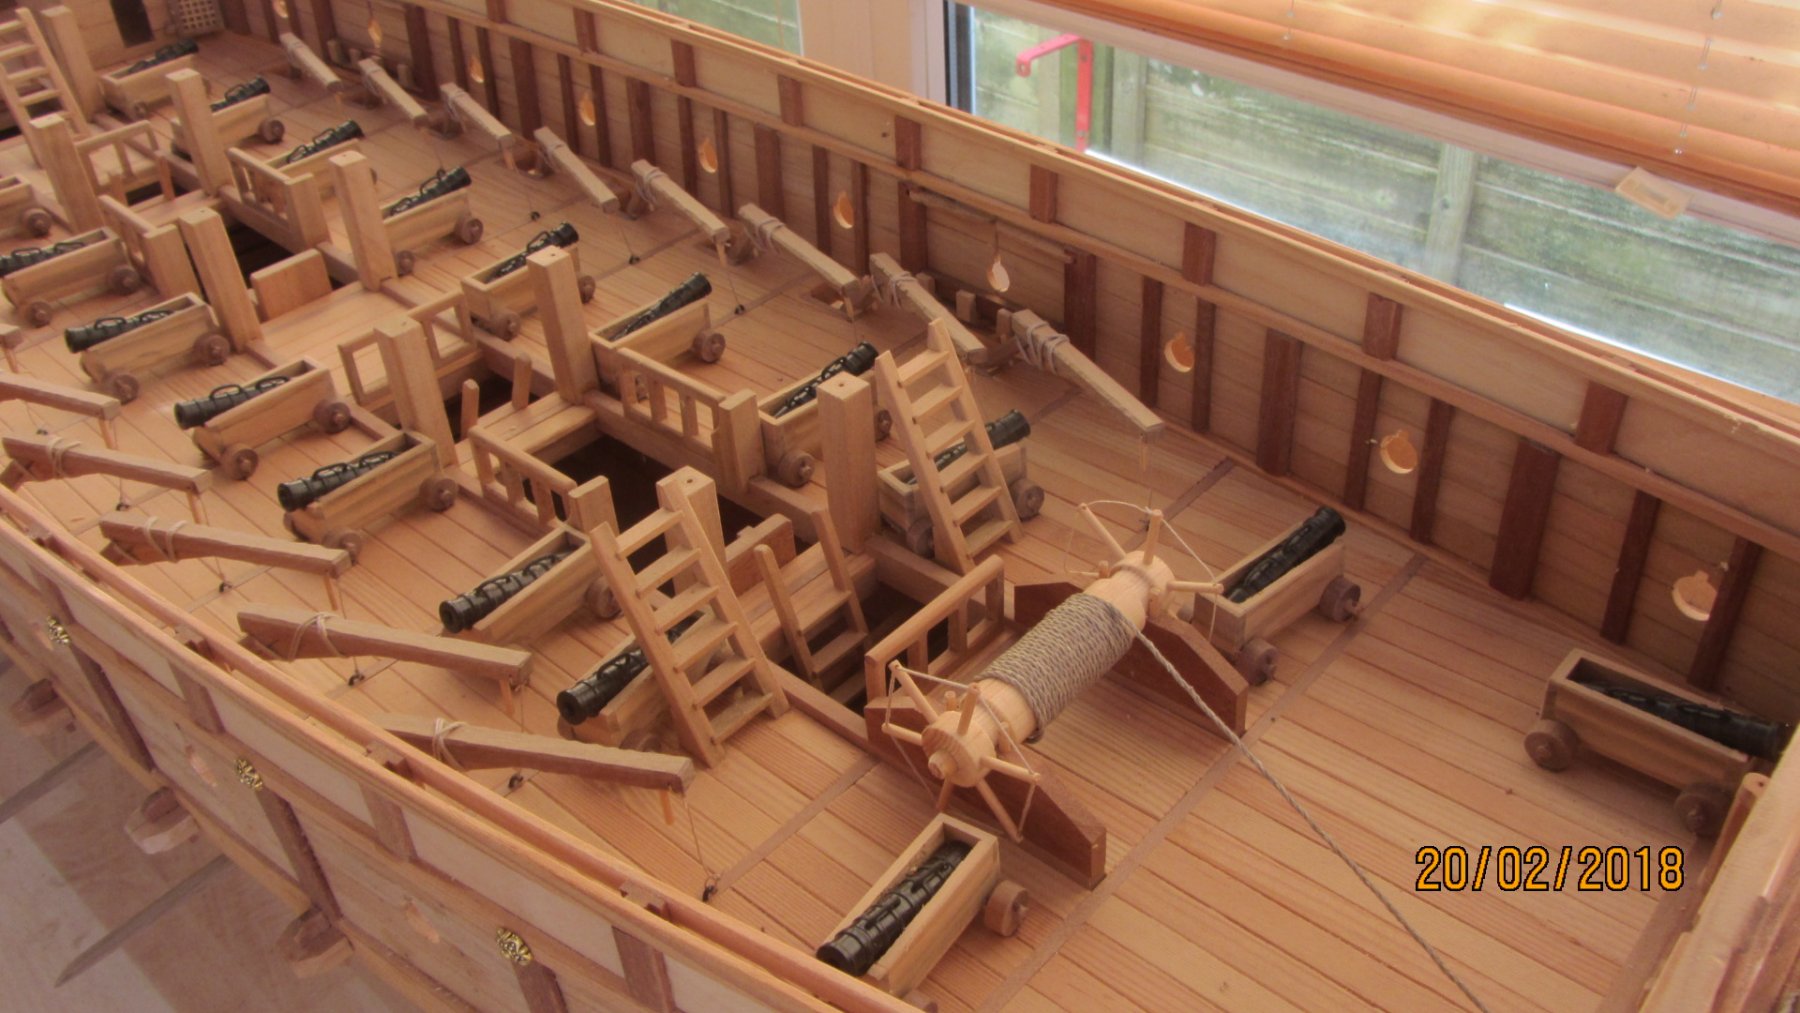
Mid section with top structure removed.
Close up of the oars for sculling.( interesting method they used. 3 or 4 oars men with one master oars man.)
Another internal view.

Stern view with top structure removed.
Bow anchor.
Anchor winch.

Captains cabin with private Head (toilet) to the side.
That about concludes the build for me...
Thanks for all the likes and wonderful comments.
Regards Antony.
OGH.. the extra photo.. Close up of the oars.
-
-
-
Hi Mike.
Nice work on the deck planking. I like the neatness of the scuppers.
Yea it's Worth checking everything before doing it.
Keep up the good work.
Regards Antony.
- zappto and MarisStella.hr
-
2
-
Hi Tim.
Yea nice bending jig.
And your base board is the right width allowing you to place the model on her side to do the planking. (Never thought about doing this before)
And a very good start on the planking. Because you graphite'ed the joints does this mean you are not painting the hull?.
Now you have the first 4 planks in place it's time to think about getting the planks to lay with out the lateral curve.
Some nice tutorials on MSW. Worth a look. The idea is to lay the planks without too much lateral bending.
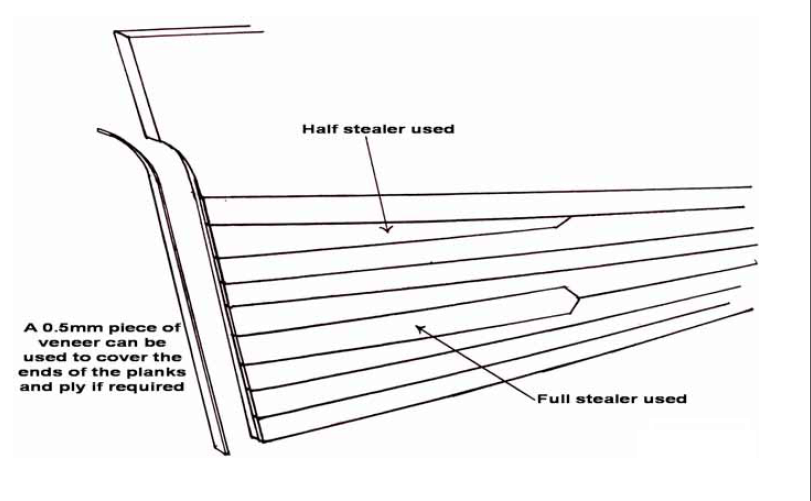
Image taken from http://modelshipworldforum.com/ship-model-framing-and-planking-articles.php
All the best with your build Tim.
Regards Antony.
-
Hi Tim.
Welcome to MSW.
First tip is to read through other build logs here on MSW. There are plenty of them and all the best tips and methods have been used.
I like your building frame.. Nice and sturdy.
Regards Antony.
-
-
Hi Nils.
Just catching up on your build.. wow thats amazing work with still more detail. I like the finished deck pumps and drains.
The swivel guns are also looking good..
Regards Antony.
- Piet, Mirabell61, zappto and 3 others
-
6
-
Hi Kevin.
On 23/01/2018 at 8:17 PM, Kevin said:lol i didnt think anyone read my post anymore, i feel a bit lost on here nowadays not playing with wood,
Off course we do. Wood plastic metal it's all modellng no matter how you look at it.
8 hours ago, Kevin said:Seaslug launcher
Wow that's kinda delicate just to look at but very nice.
Make a detailed drawing of the framework just in case someone gets clumsy. Then you can easy make a new framework out of brass tube.
Regards Antony.
-


HMS Victory Bow Section by Tidbinbilla - Panart
in - Kit build logs for subjects built from 1751 - 1800
Posted
Hi.
Wishing you well with the second layer.
Waiting for the photos.
Regards Antony.