HOLIDAY DONATION DRIVE - SUPPORT MSW - DO YOUR PART TO KEEP THIS GREAT FORUM GOING! (89 donations so far out of 49,000 members - C'mon guys!)
×


Trussben
-
Posts
2,005 -
Joined
-
Last visited
Content Type
Profiles
Forums
Gallery
Events
Everything posted by Trussben
-
 That setup looks somewhat familiar to me for some reason 😎🤓🤣 Nice going JJ.
 -
I narrowed the width of mine a bit to better match the widths of the other 5 planks in that belt, it helped with the flow of the planking up the bow.
-
Thanks all, JJ - it’s a fine line with how much planking to add as I still have not decided if I’m going to rig the ship and how many cannons I want if any to display. Will need to make my mind up pretty soon after I finish the Bulwark though.
-
Nice Bob.
-
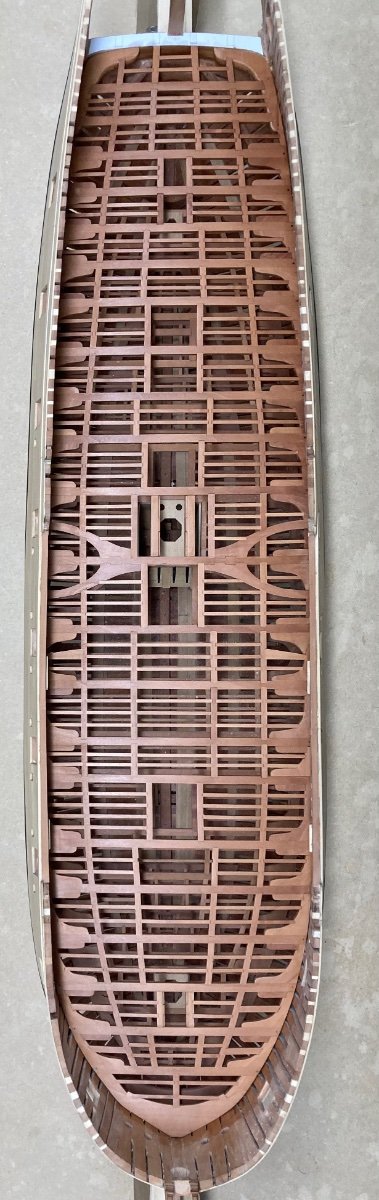
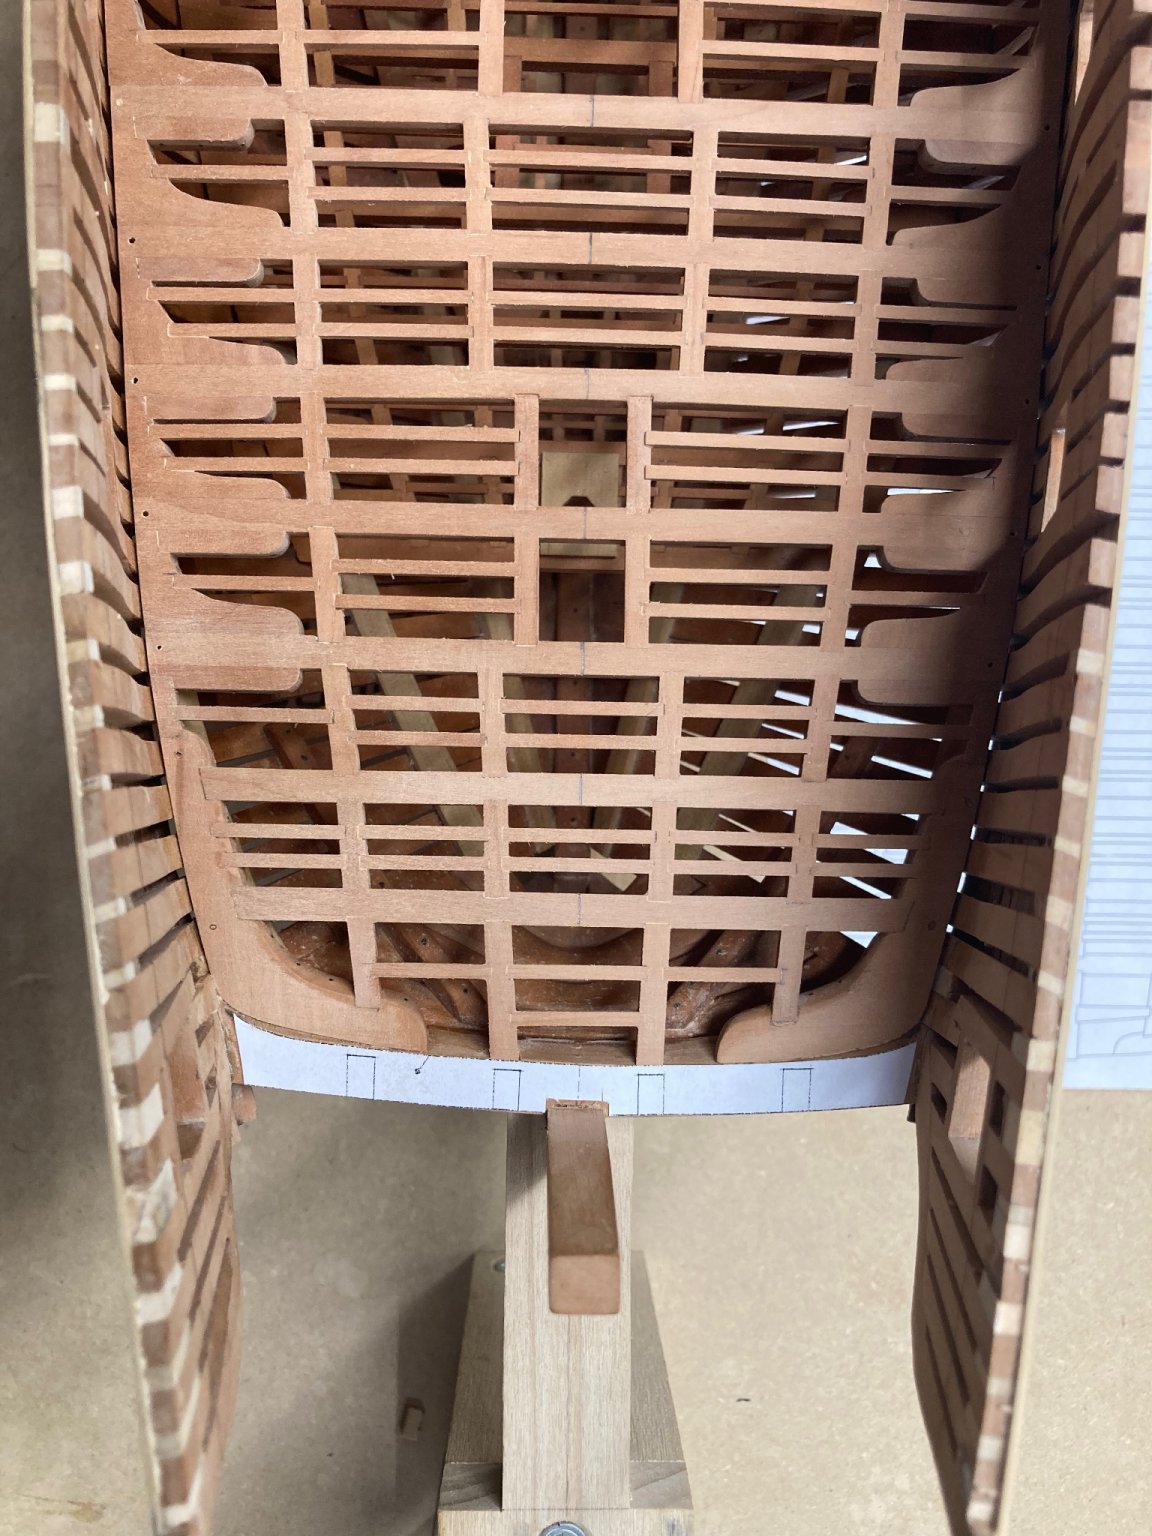
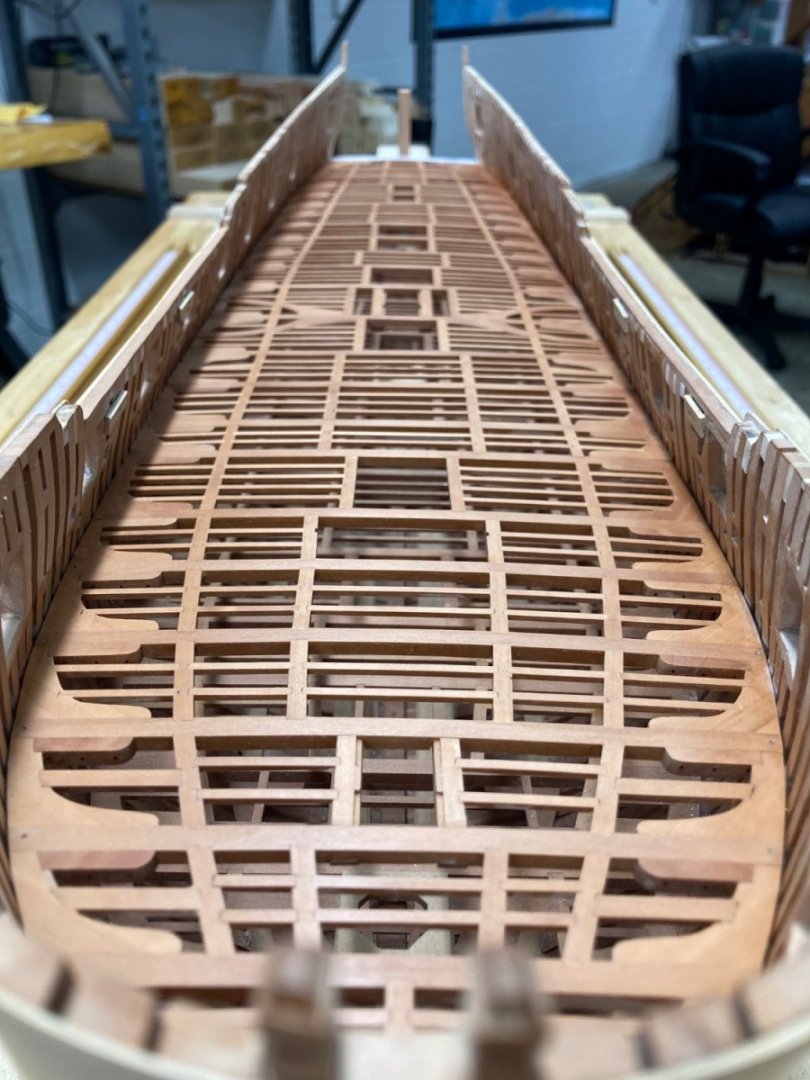
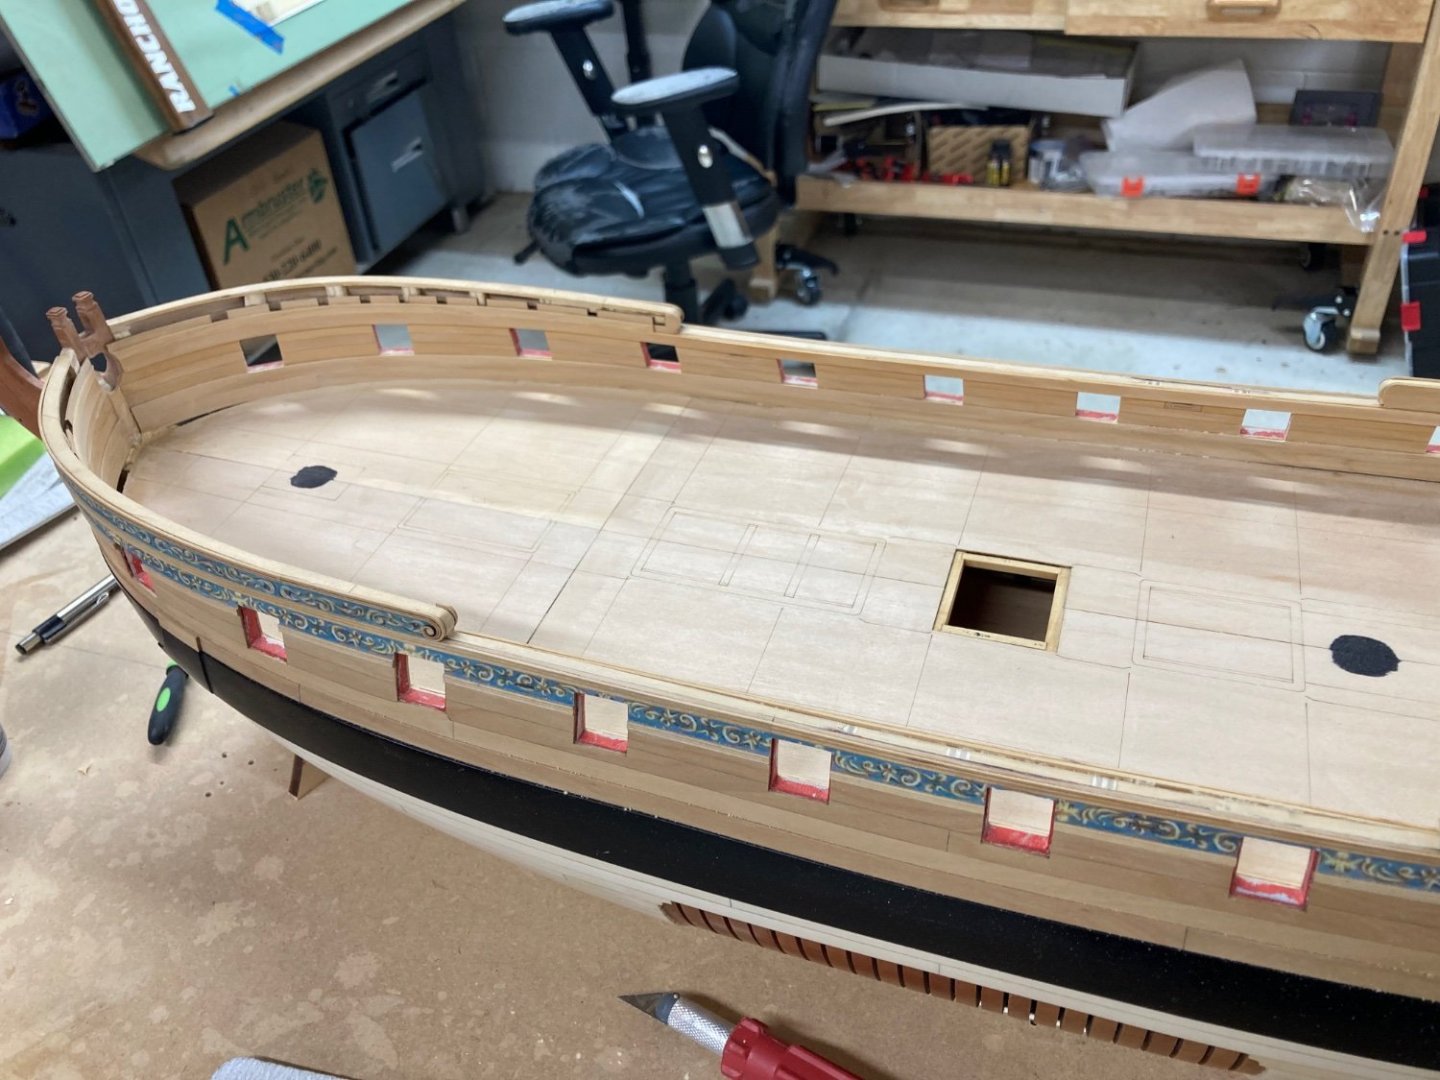
Thanks for the likes and nice comments. Upper deck framing is now completed. Next steps will be the waterways, port stops, bulwark planking up to the next deck clamps and then the stern framing. I also have to start thinking/designing how much of the upper deck will be planked and how much I will leave open so the framing and lower deck can be seen. ben

- 889 replies
-
- 29
-

-

-
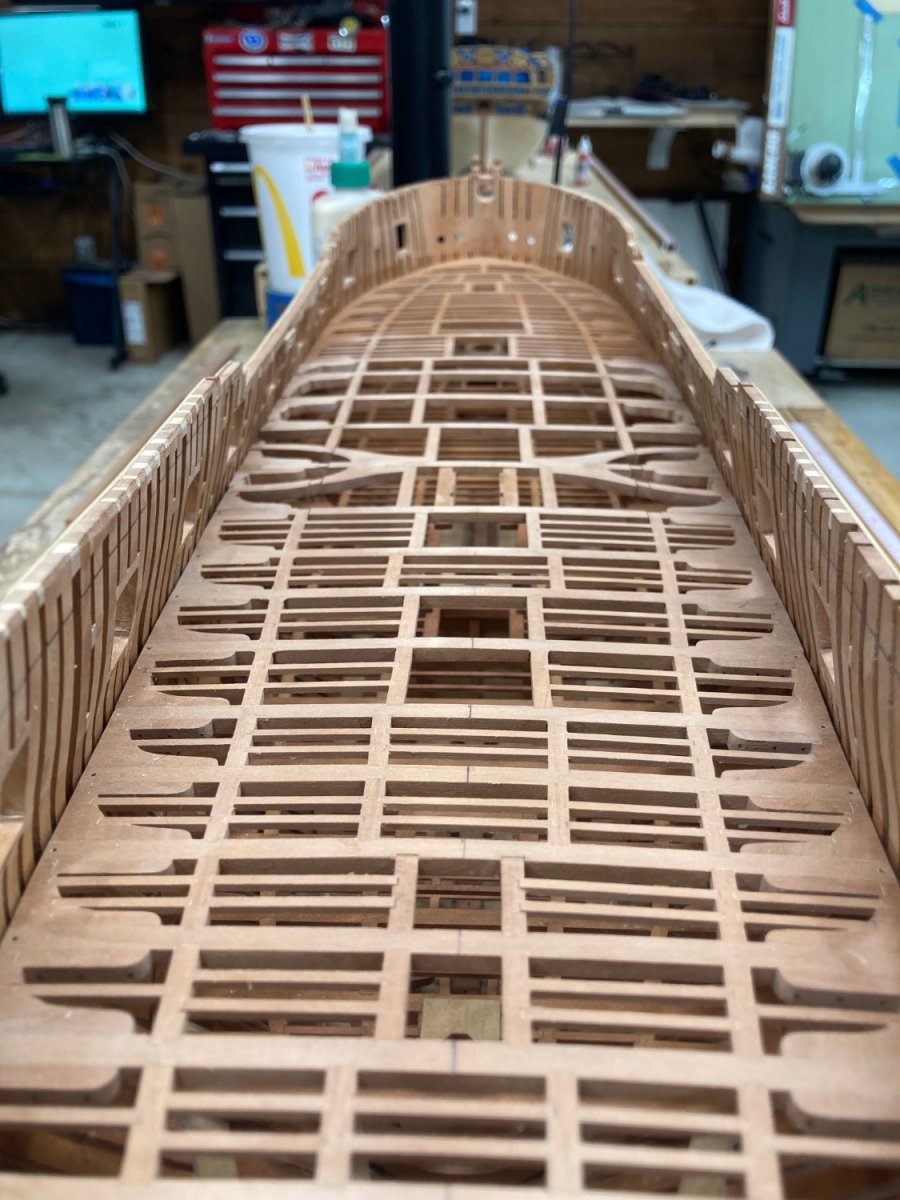
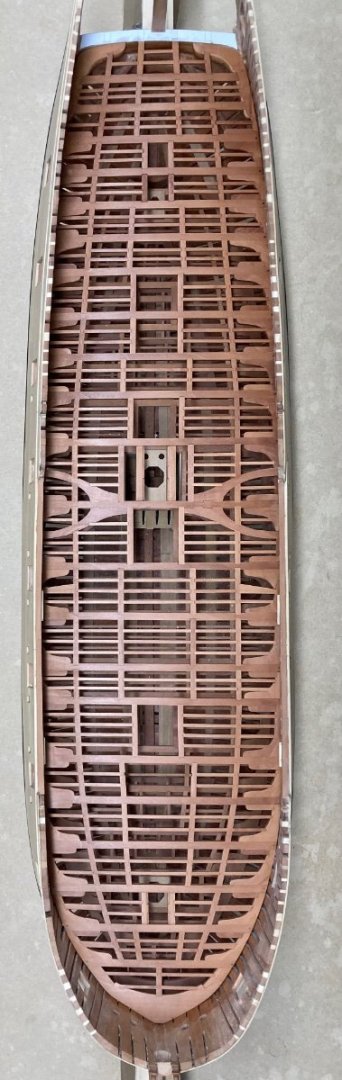
Work on the bulwark planking underway - then I have to decide if I’m going to paint it and add the fancy laser cut panels for the main cabins or not. I’m not a great painter but I’m leaning towards it for this model and trying to improve that skill set too. ben
- 399 replies
-
- 18
-
-
- winchelsea
- Syren Ship Model Company
- (and 1 more)
-
Typical spacing is 1/3 the width or height of the timber, so on a 9" timber you would place the treenails 3" from either edge, same deal with the chock - if its a 12" chock then they should be 4" from the ends. See TFFM Vol1 page 88 as it describes this perfectly.
-
Looking great, just DONT forget that you need to sand the outside of the outermost frames thinner, back to the dotted line on the plan/template after you add the QG support framing.
- 840 replies
-
- 7
-
-
- winchelsea
- Syren Ship Model Company
- (and 1 more)
-
NAIAD 1797 by Bitao - 1:60
Trussben replied to Bitao's topic in - Build logs for subjects built 1751 - 1800
Superb! -
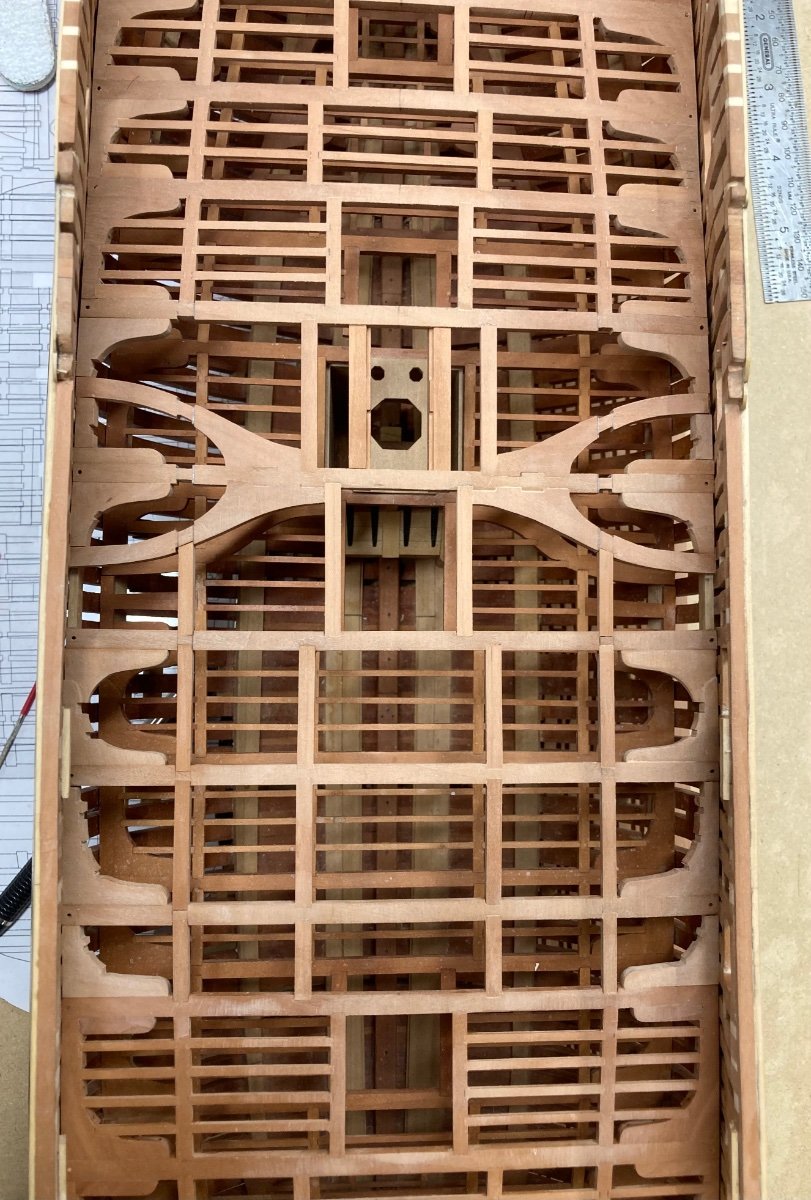
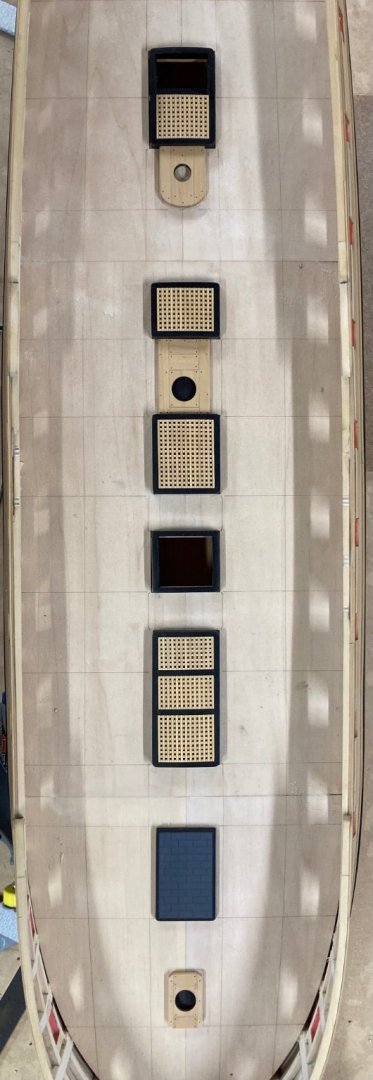
Comings, hatchways, mast partners and capstan step almost completed.
- 399 replies
-
- 16
-
-
-
- winchelsea
- Syren Ship Model Company
- (and 1 more)
-
I use a Worksharp 3000 system for my full size chisels and stones for my really small ones.
-
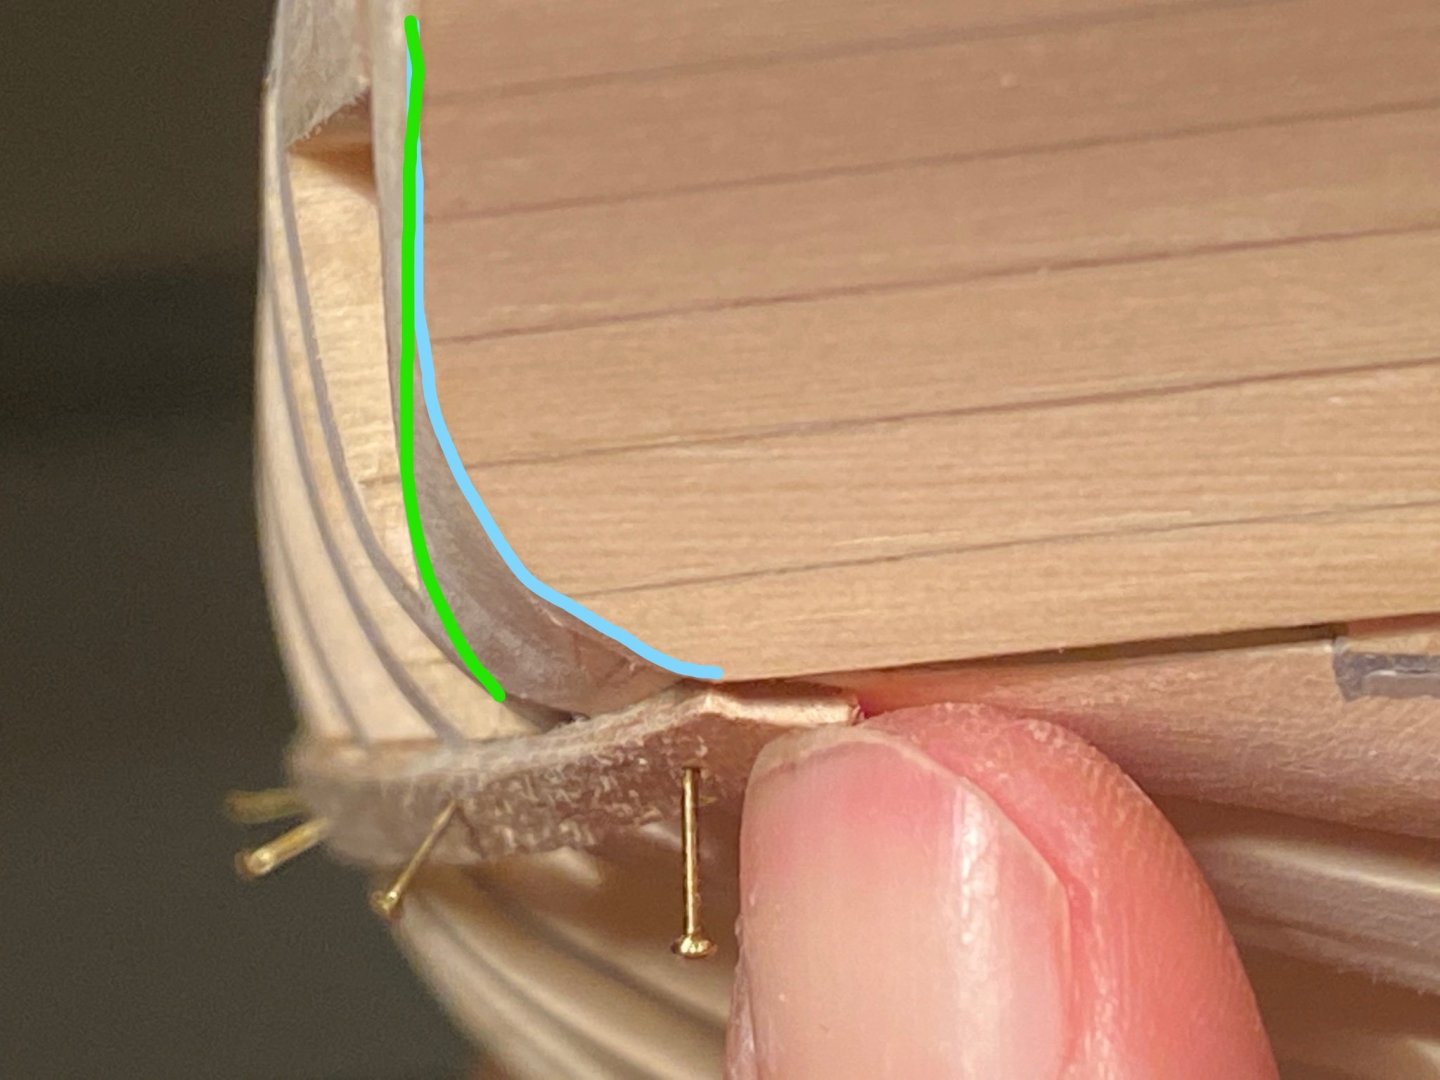
What I meant was the shape of your counter was too much, see your blue vs green line, use the shape of the frieze to improve that - I had the same issue and had to fix it some just like JJ - its easy to over sand that area when fairing the hull. My frieze didnt fit perfectly either,
-
It appears to me that you have sanded the bottom of the lower counter too much, it’s easy to check - look at the plans at the stern section or print out the frieze for that area and hold it to the counter to see if you need to make adjustments, better now than when you come to plank and find it’s wrong.
-
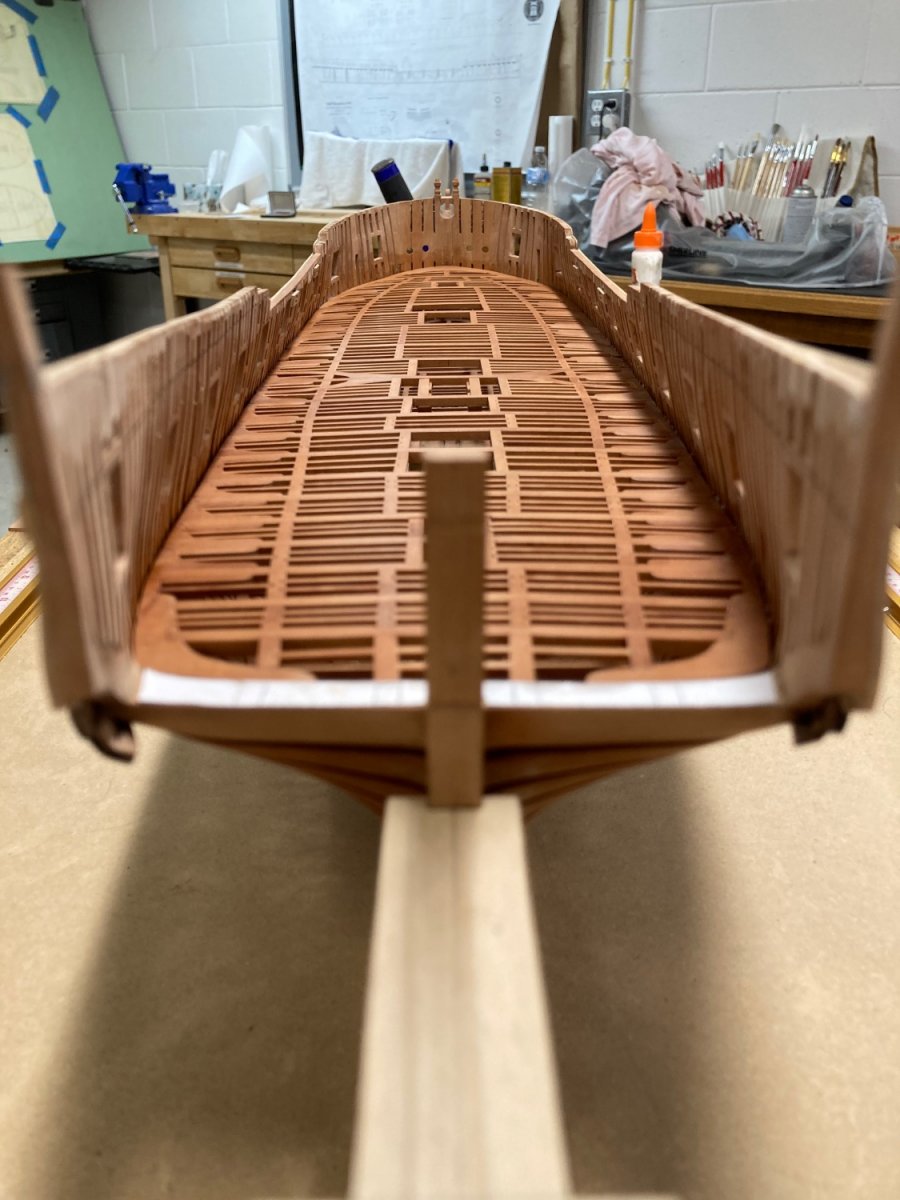
Work on Pegasus starts again. First on the list was to tie the upper deck into the wing transom.
- 889 replies
-
- 28
-
-
-
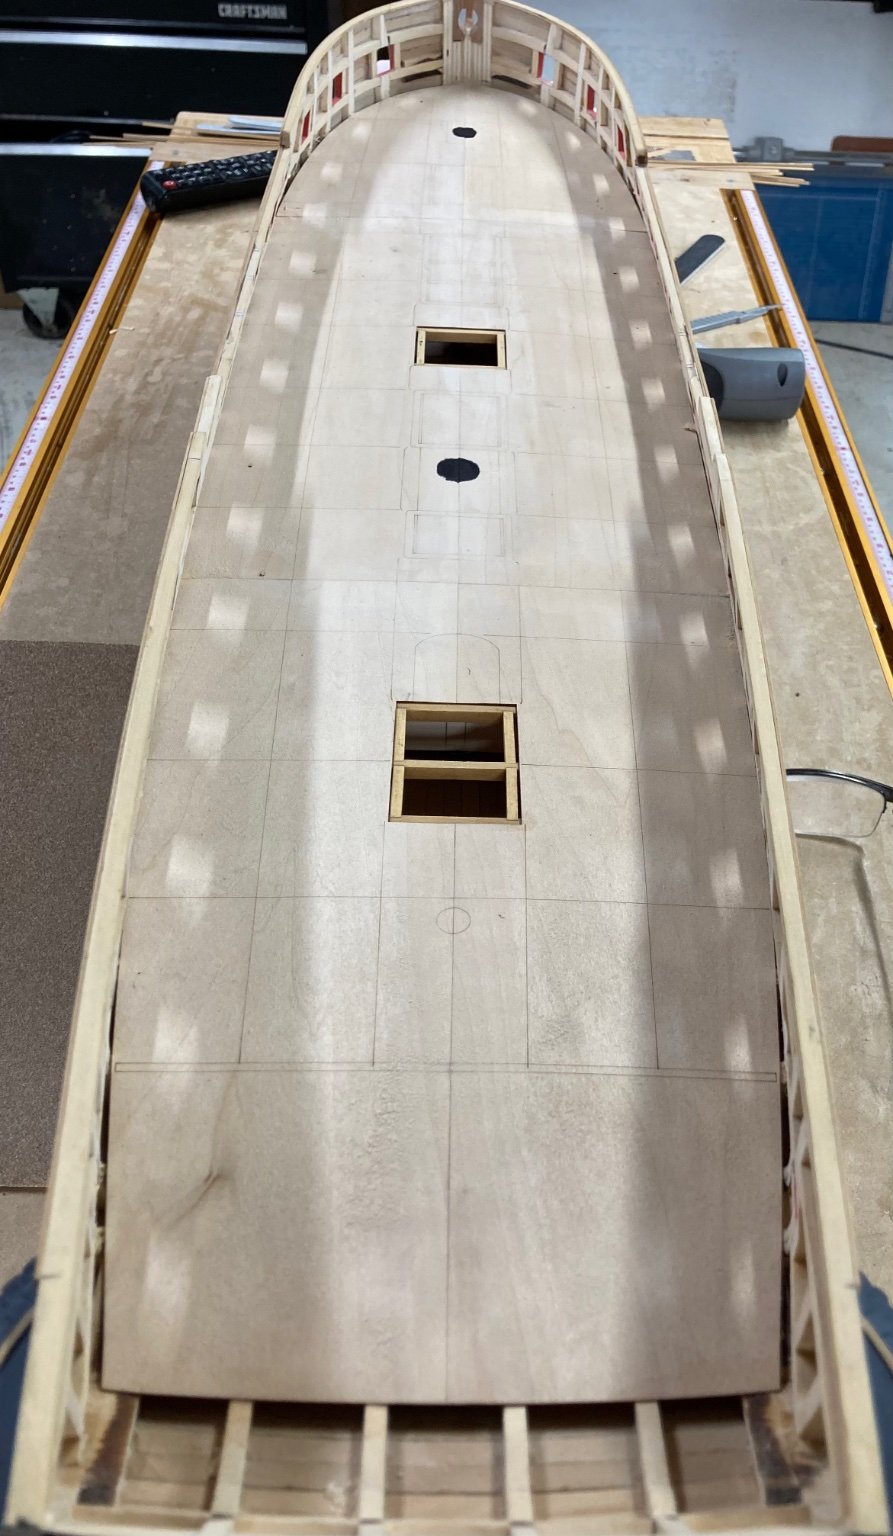
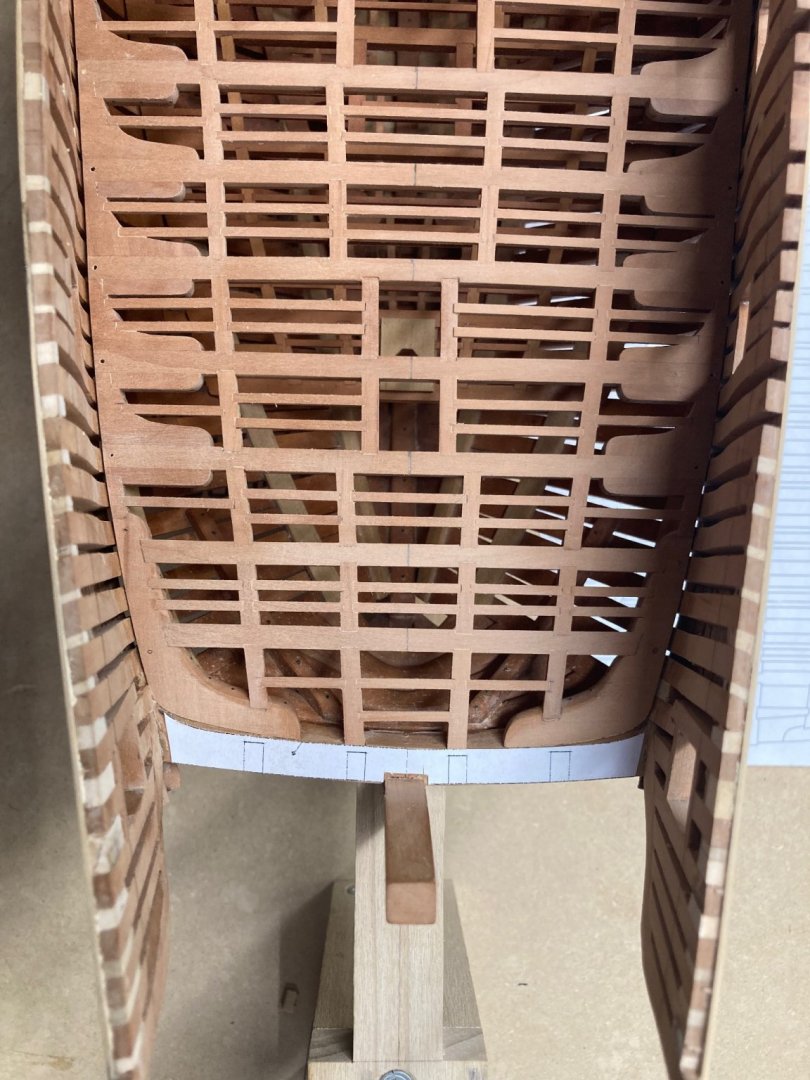
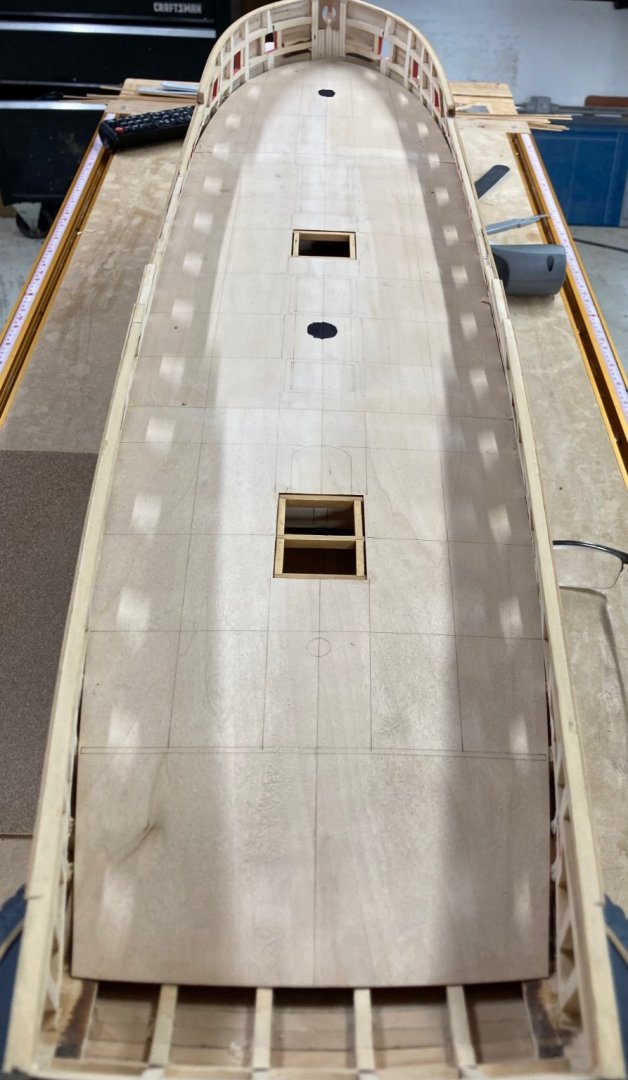
Chapter 4 work has begun. The 6 false deck parts have been installed, then the filler pieces for the hawse holes were put in.
- 399 replies
-
- 18
-
-
- winchelsea
- Syren Ship Model Company
- (and 1 more)
-
Nice to see you back with a build log Andy.