


mbp521
-
Posts
940 -
Joined
-
Last visited
Content Type
Profiles
Forums
Gallery
Events
Posts posted by mbp521
-
-
Truly amazing work Greg. So lifelike!
-Brian
- mtaylor, Old Collingwood and Canute
-
 3
3
-
What a fascinating subject. I am all about the more obscure boats out there, and this one fits right in to that category. I am jumping with excitement to see this project progress. Glad to see you back on another scratch build Eric. I’ve got my chair pulled up in the front row!
-Brian
- Canute, mtaylor, Keith Black and 2 others
-
5
-
-
4 hours ago, Keith Black said:
Love the ceiling tiles. That's gonna be one spiffy workshop, it'll be neat to see the future projects that emerge.
Thank you Keith. I am definitely anxious to get back to building boats, they don’t wear me out near as much as building this room. 😁
-Brian
- Cathead, Old Collingwood, Canute and 4 others
-
7
-
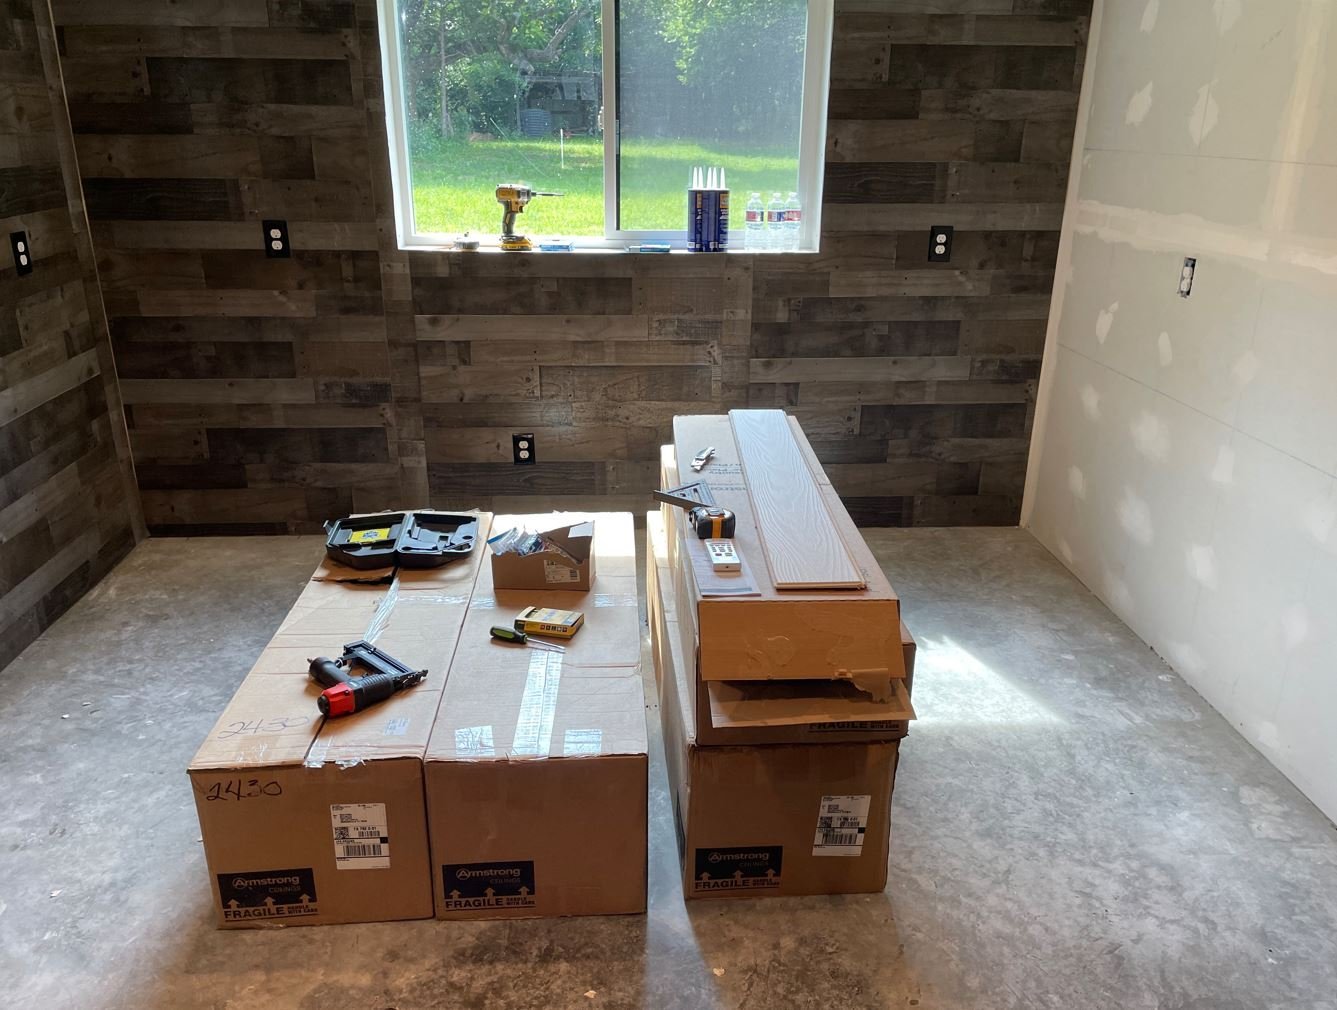
More progress on the shipyard.
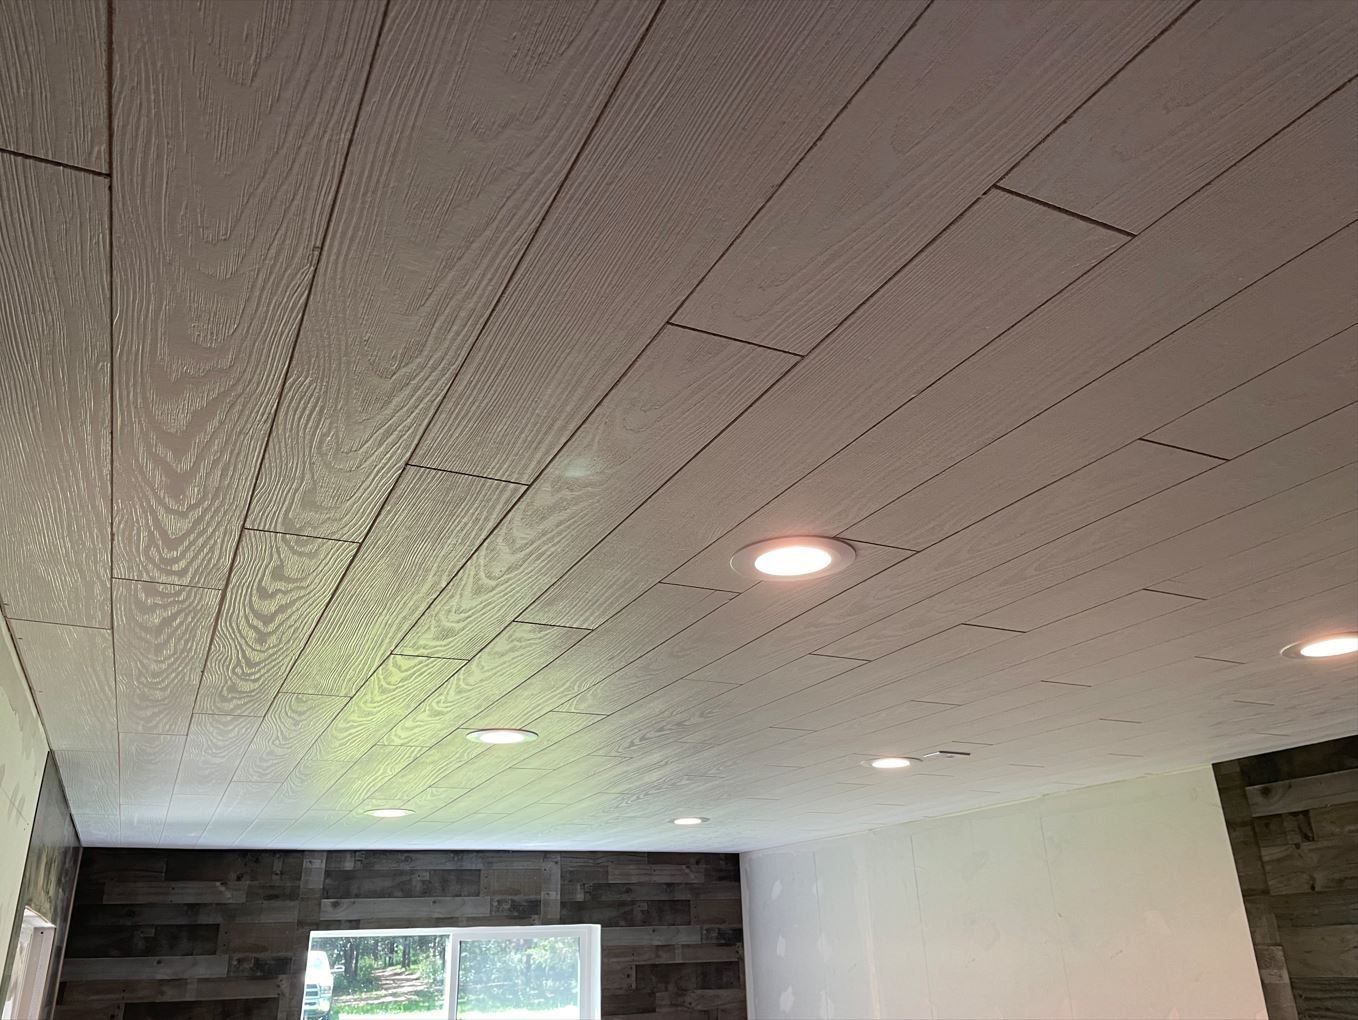
Day 17: The ceiling tiles arrived right on schedule, beginning the tedious process of getting them installed. Each tile is glued and stapled into place, just to make sure it doesn't come down on me. I decided to forgo the use of the track system to hang the tiles on since they take up an additional 1/2" and my walls are already short enough as it is.
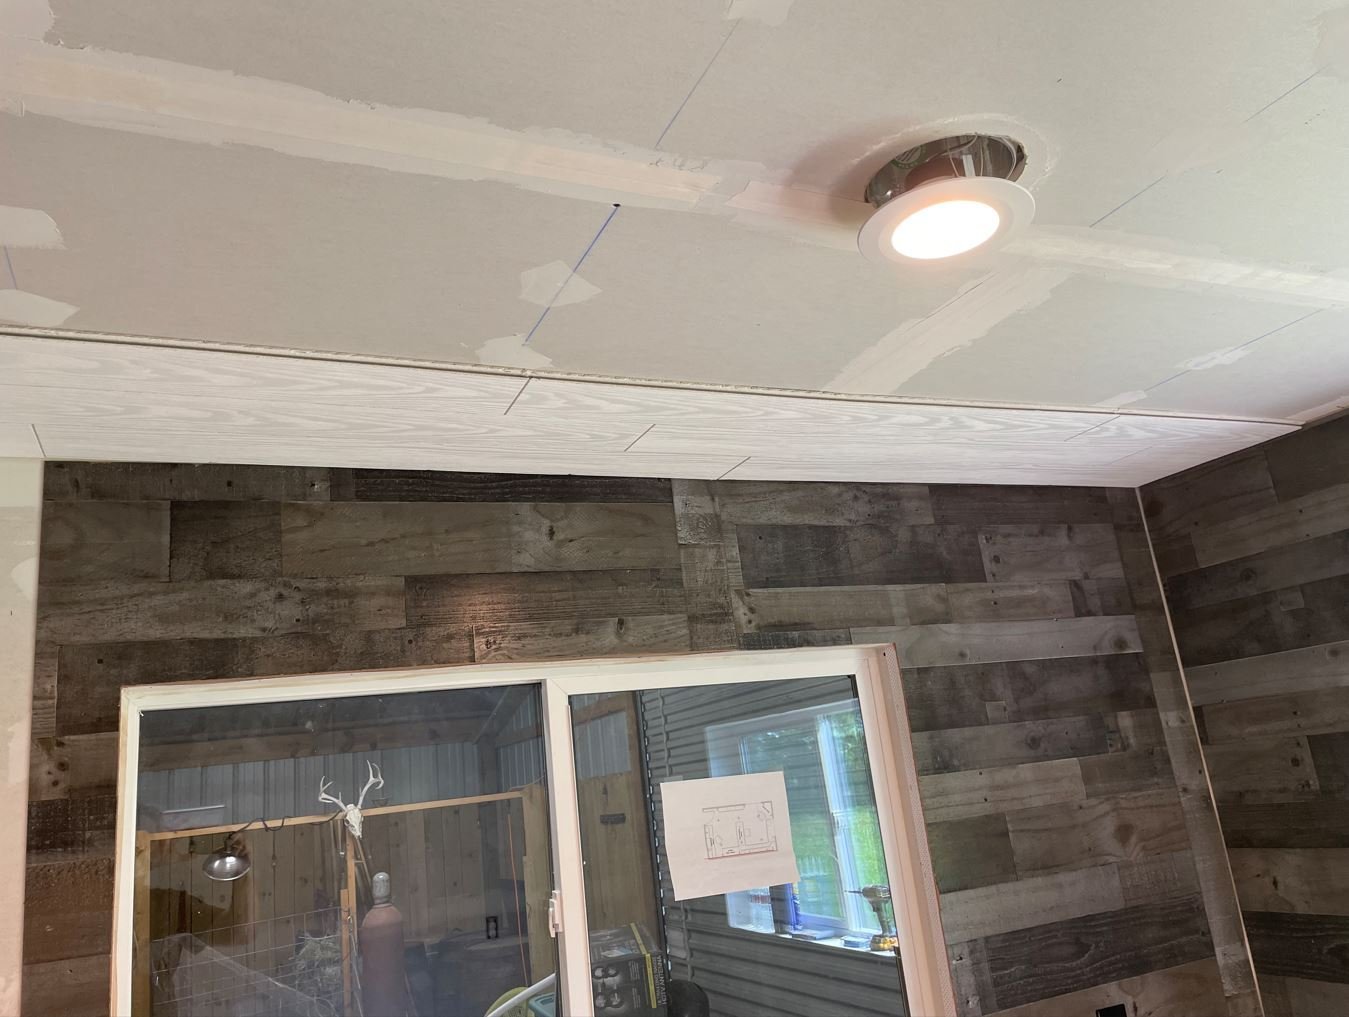
First few courses going in. Making sure that they maintain a straight line is the most difficult challenge, but so far so good.
End of a long day and I'm halfway there.
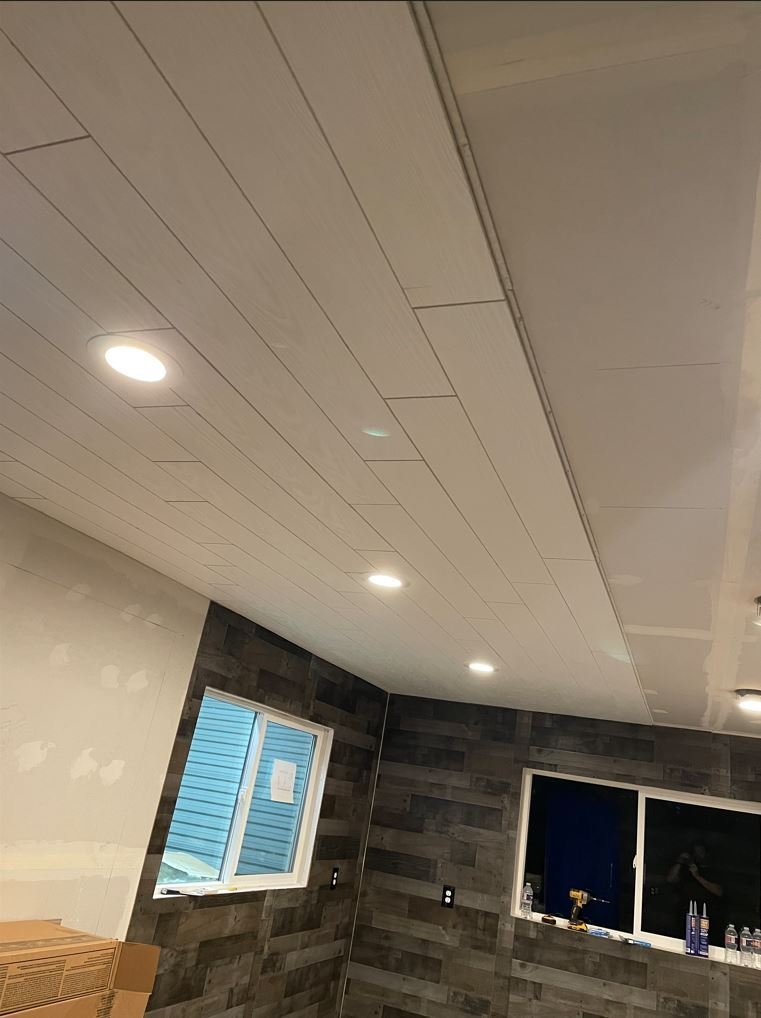
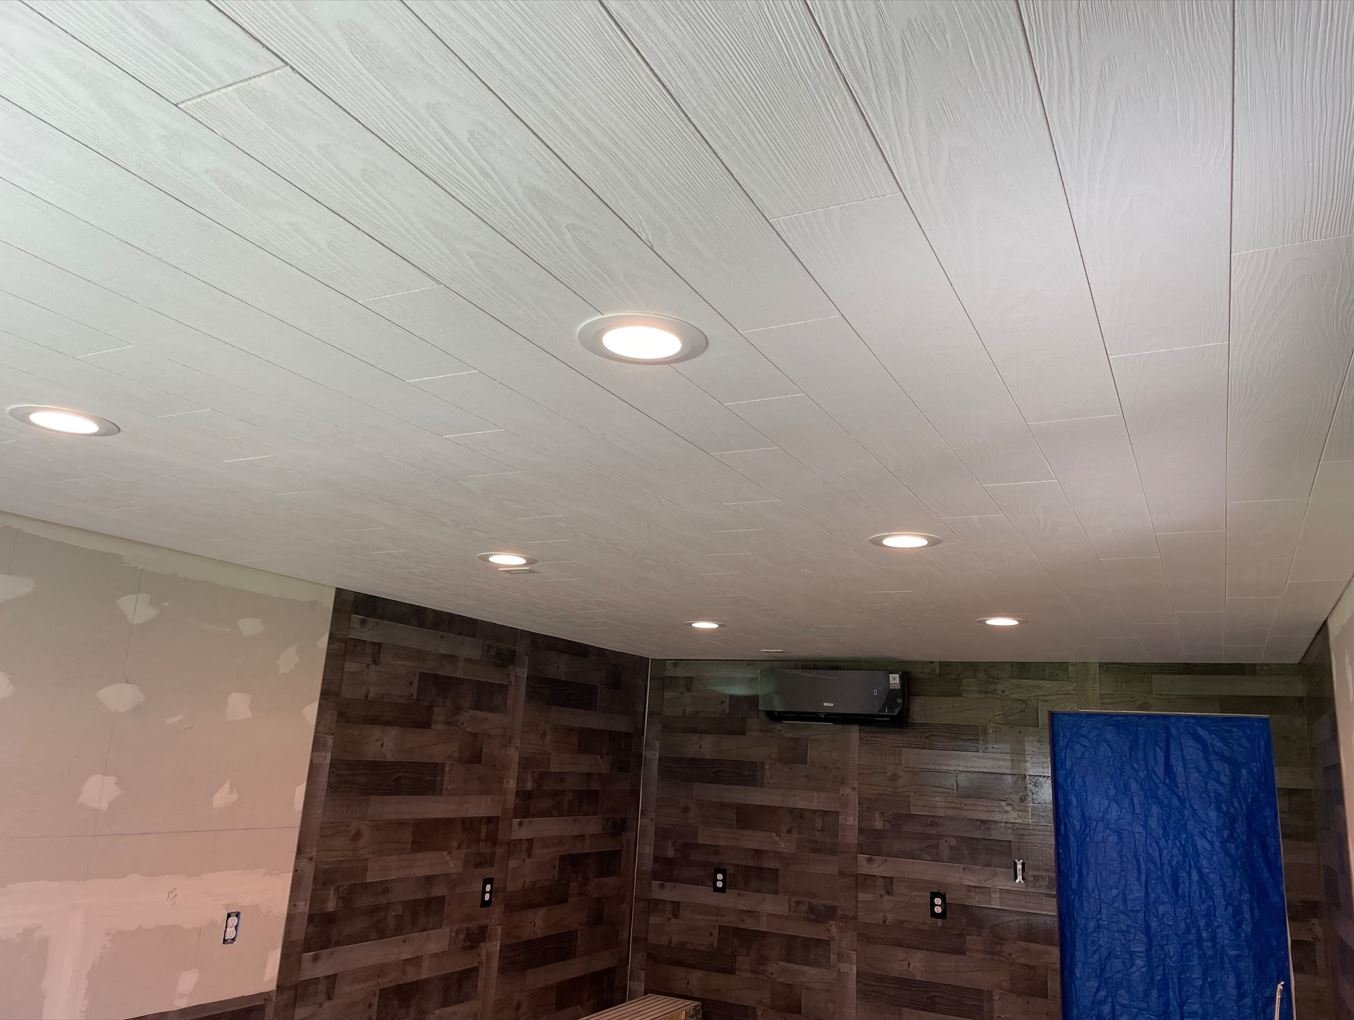
Day 18: Finally finished with the ceiling.
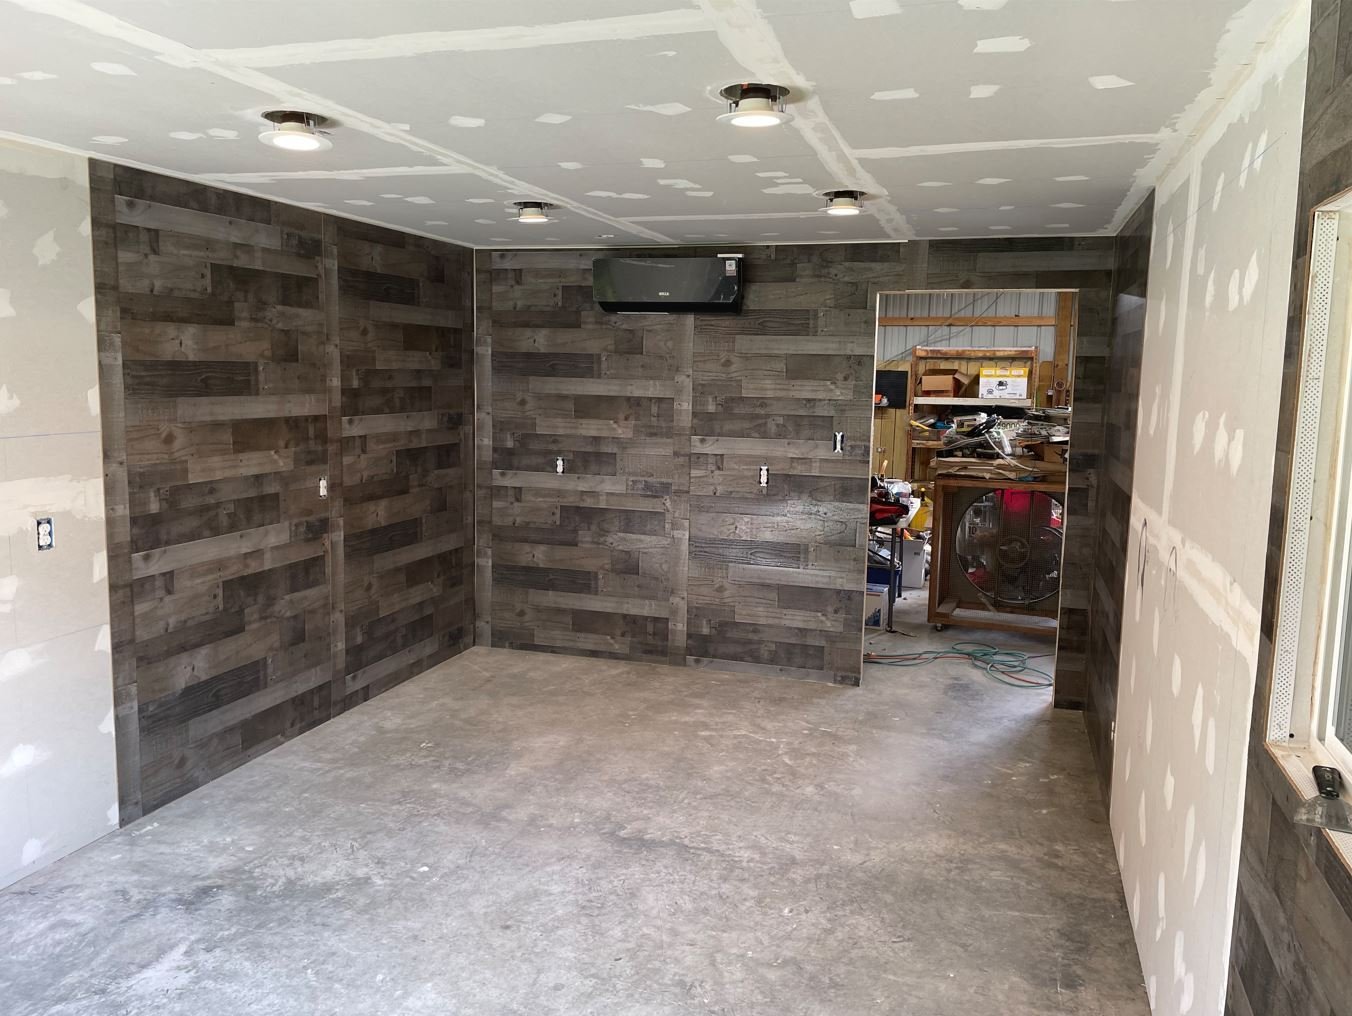
Day 19: Not much work here, but I did get the bead board installed where the bookcase is going. This will eventually be painted either black or a dark gray once the shelves are installed. I will also be using a couple of these shelves as a display case for my Chaperon & KotM kits.
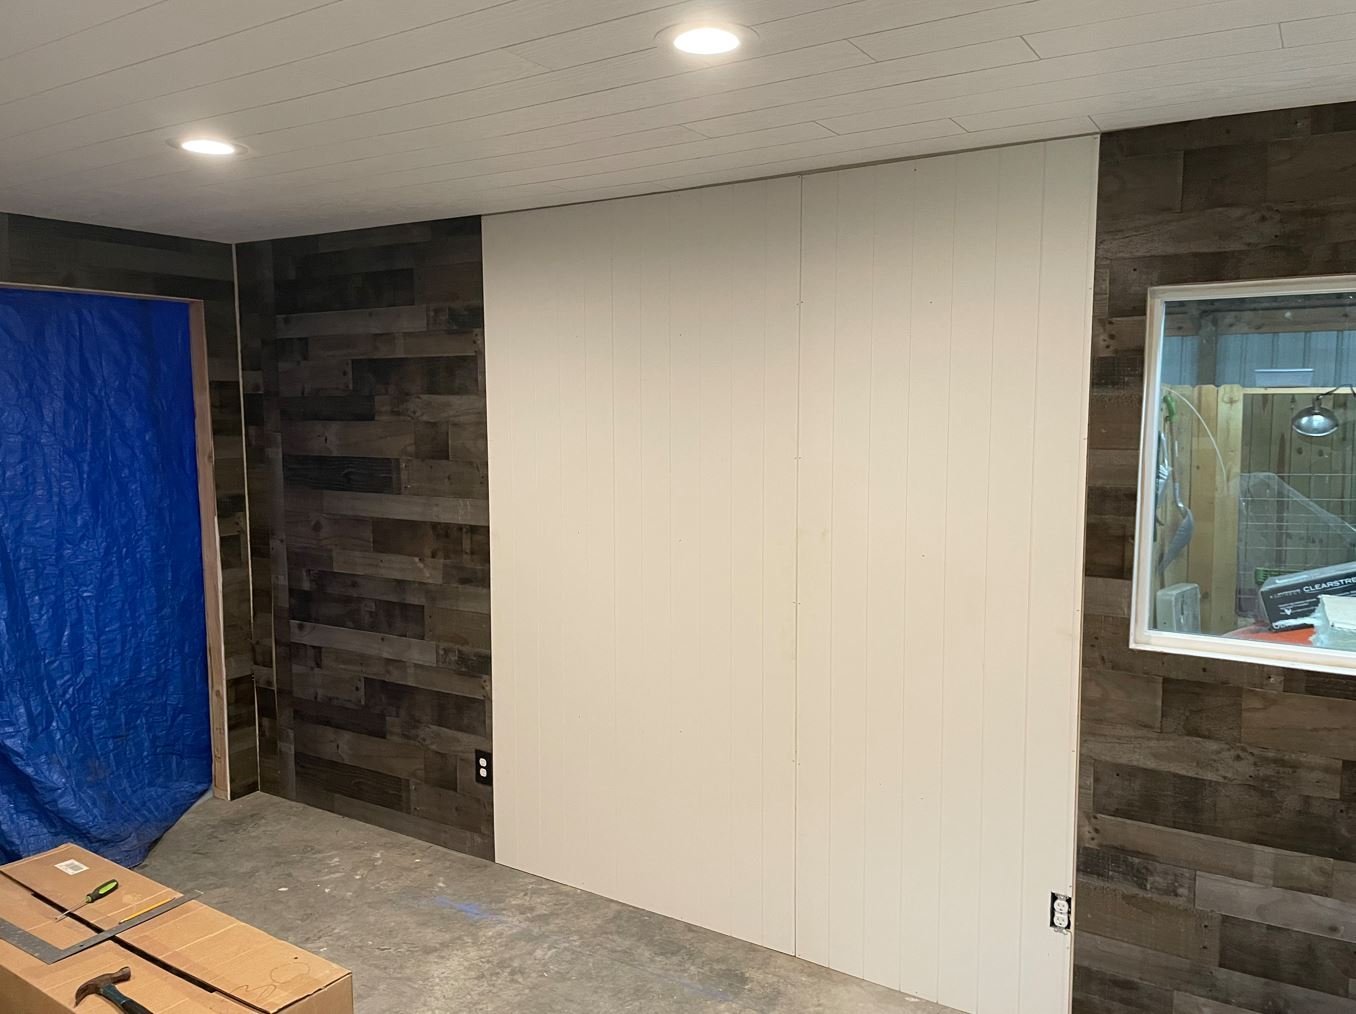
Day 20: The AC works great and keeps the room ice cold. It's almost hard to go outside with the comfortable working conditions in here. Unfortunately I am not getting the most efficiency out of the unit with the blue tarp strung up over the door opening, so I decided it was time to get working on the door.
I kind of wanted to go with rustic looking "ship-like" door so I figured I'd build it out of 2x6's.
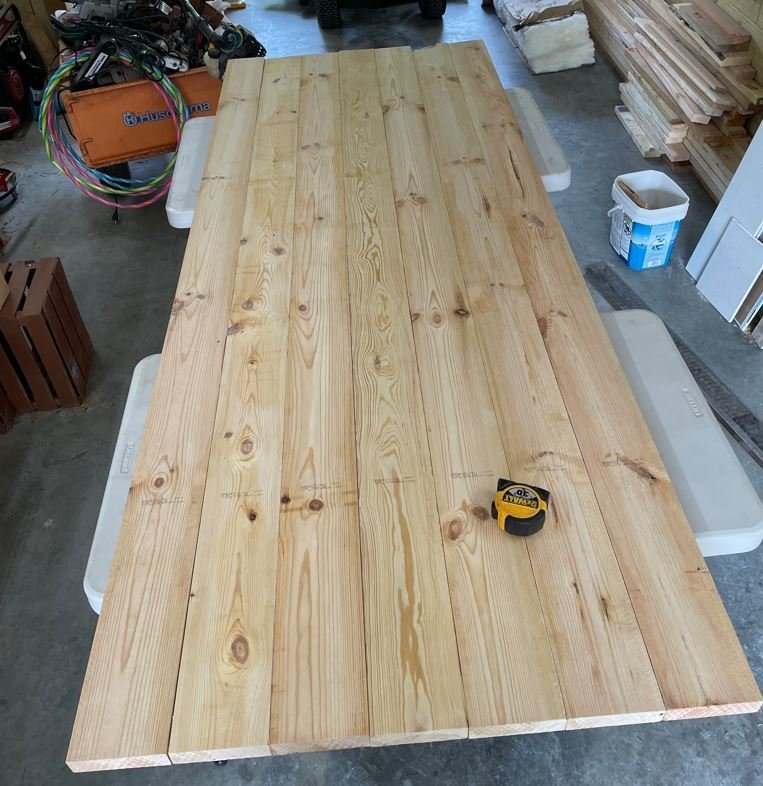
Each board will be glued together and held in place with biscuits.
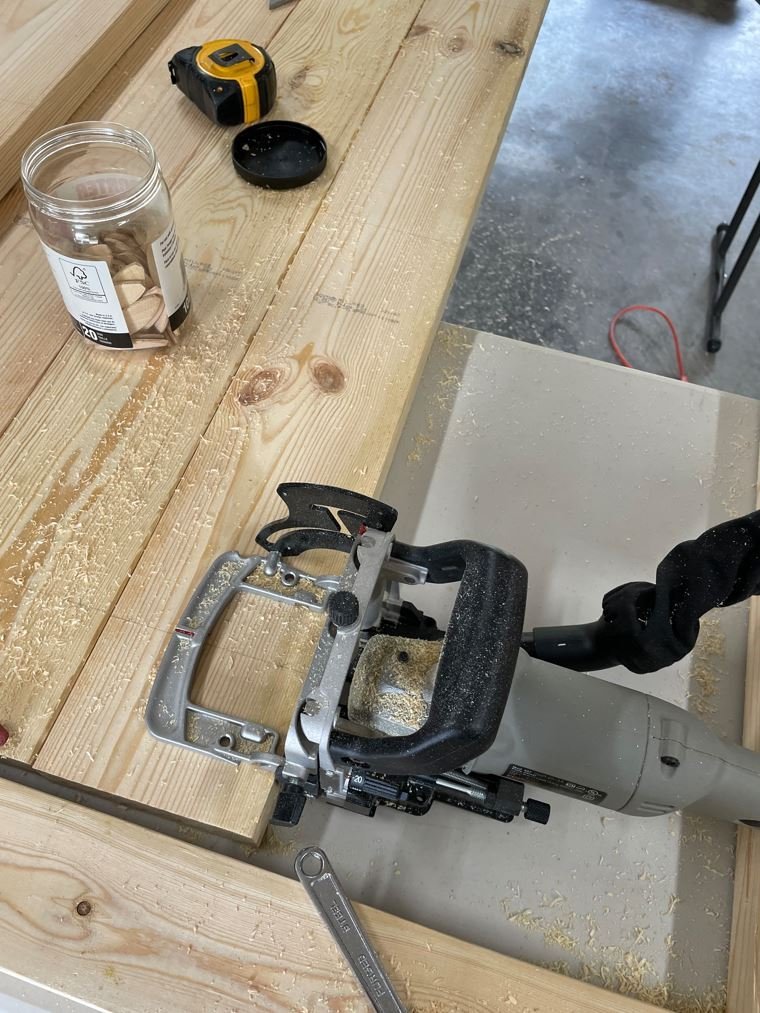
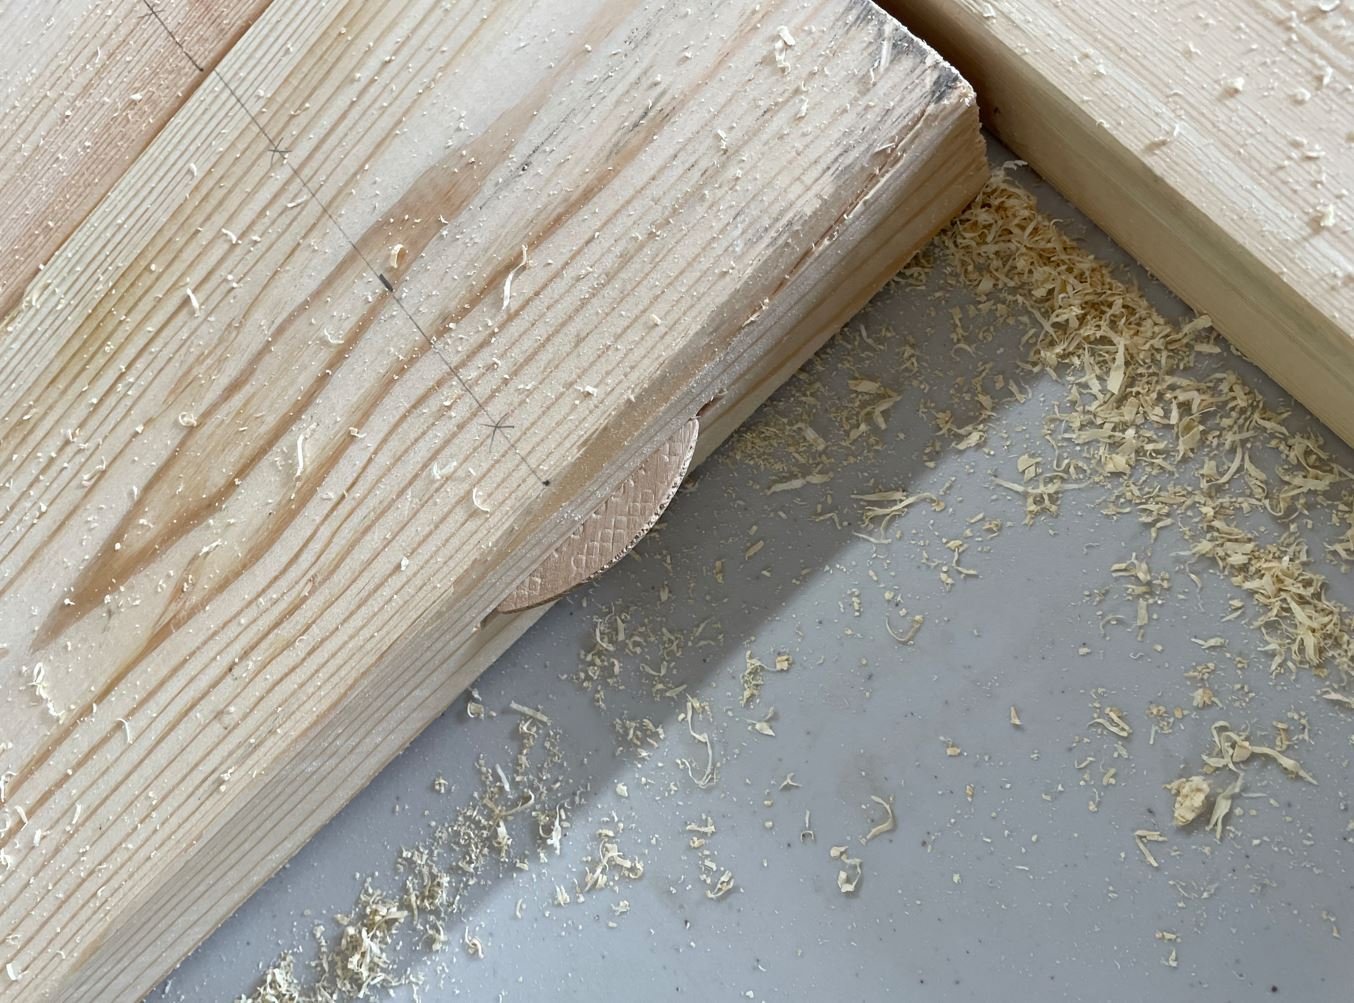
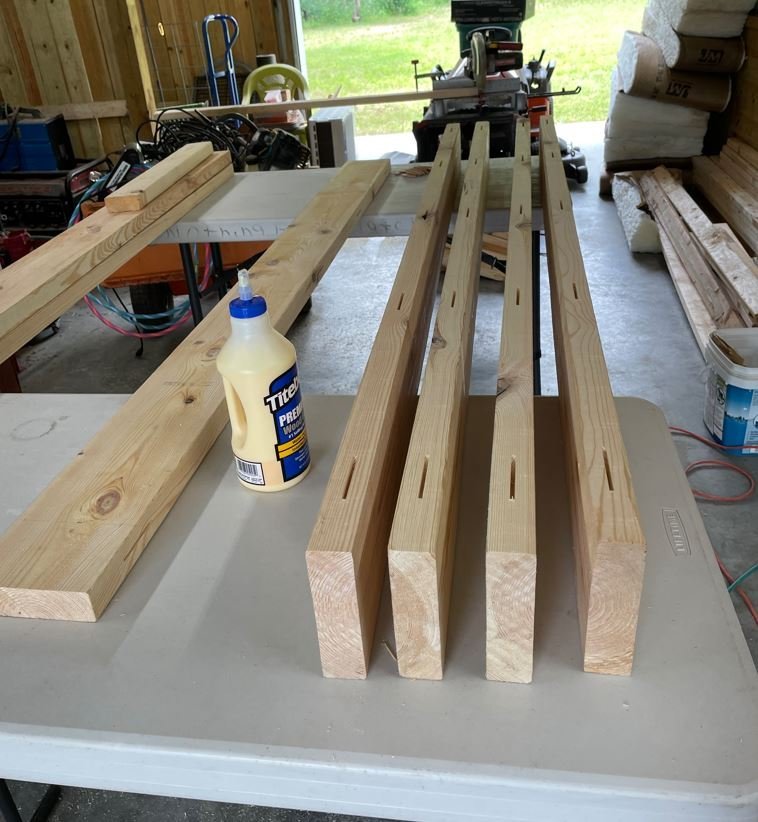
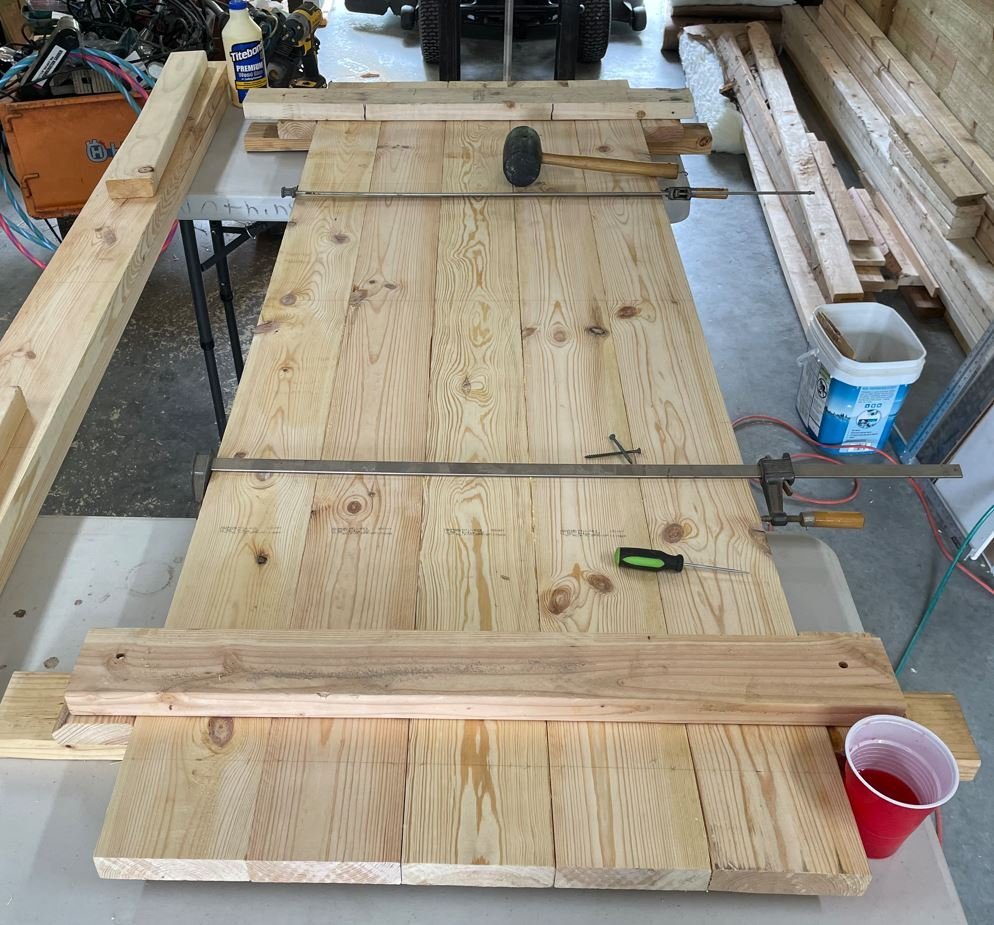
Most of the inner part of the door is glued together, I installed some clamps and braces to keep it flat. Now to let the glue dry and setup.
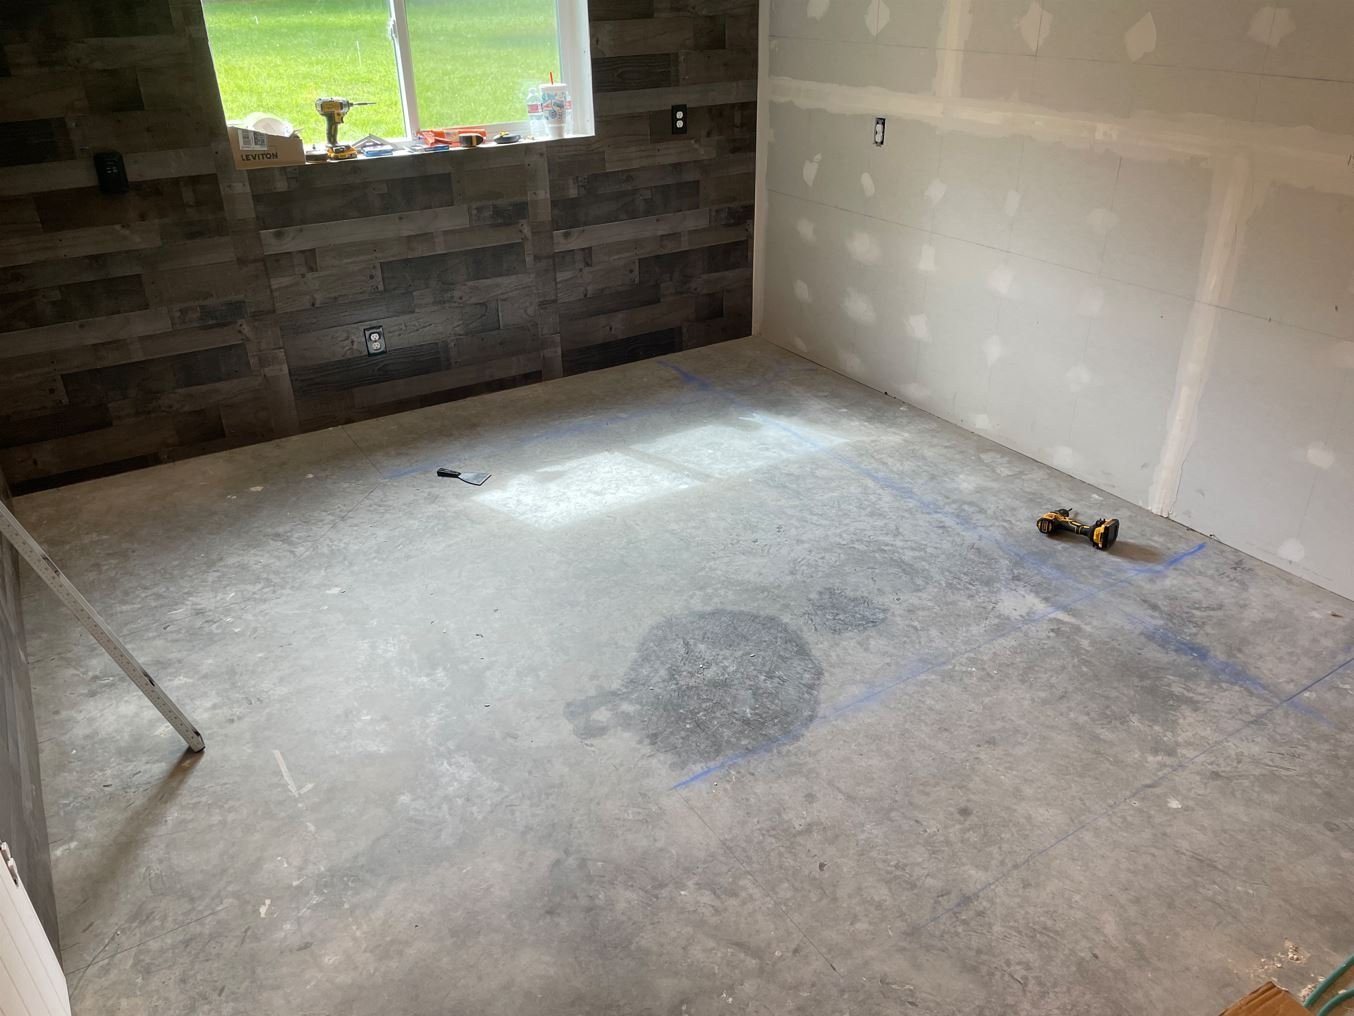
While the glue dries, I wanted to get a better idea of the bench layout so I drew everything up on the floor. Hard to see the chalk lines, but I think I'm going to have plenty of room to move around.
This is where I am at now. I still need to finish the outside panels of the door and work on the framing. One thing is for sure, this door is going to be heavy. Good thing I pre-planned and beefed up the frame opening. It will definitely be a true test of my engineering skills.
Thanks again for stopping by.
-Brian
-
-
Eberhard, my thesaurus of unused adjectives for words to describe your beautiful work is running low. I’ll just have to reuse Amazing. 😁
-Brian
- amateur, druxey, FriedClams and 2 others
-
5
-
4 hours ago, Keith Black said:
are you putting a recliner and a TV out there too?
TV yes, recliner unfortunately no. 😁 I will have a min fridge though. The Admiral told me all I needed was a toilet and I wouldn’t have to come in the house anymore. Thinking, thinking….
-Brian
-
21 hours ago, Keith Black said:
I'm not a big fan of paneling but the paneling you're using is interesting. If paneling was my only option I would certainly consider using it. If it was a bit lighter I'd be all over it.
Thanks Keith. Paneling definitely wasn’t what I planned to use initially, but since it saved me about $400 in building materials, it was my best option. I wanted to go with more of a brown color for the walls, but when I found this, I couldn’t pass it up. Once all the cabinets, work benches and shelves are in, a lot of it won’t be seen. The Admiral and a few others have already told me that darker colors tend to make a room feel smaller, but I’ve always liked that look. Guess that’s why the Admiral won’t let me decorate the house. 😁 To me the darker colors seem to make it feel more cozy.
-Brian
- Keith Black, Jack12477, Cathead and 5 others
-
8
-
14 hours ago, Cathead said:
Looks beautiful!
Thank you Eric.
14 hours ago, Cathead said:Are you planning to leave it on all the time to maintain some consistent temperature and humidity, or only turn it on when you plan to be in there and leave the room to the elements otherwise?
For now the plan is to just turn the unit off when I’m not in there, but that plan may change. I’ve got the room well insulated so I’m hoping that it will retain some of the heat/cooling, but that remains to be seen, so I’ll play it by ear. It helps that the unit can be controlled via wi-fi so I can monitor things remotely and adjust them as needed when I’m not there.
As for the temp settings, I know the AC will go down to 60, not sure of the heat. Since it is a heat pump, I would assume the inside temp would be relative to the outside temp, but all I really need is for it to stay a comfortable 72 in the winter and I’ll be fine. And just like any typical guy, I haven’t read the instructions (and possibly threw them away during my cleaning spree) so can’t say for sure what the temperature range is.
-Brian
- Old Collingwood, Egilman, Keith Black and 4 others
-
5
-
 2
2
-
Welcome welcome!
-Brian
- Keith Black and mtaylor
-
2
-
Moving right along,
Day 14:
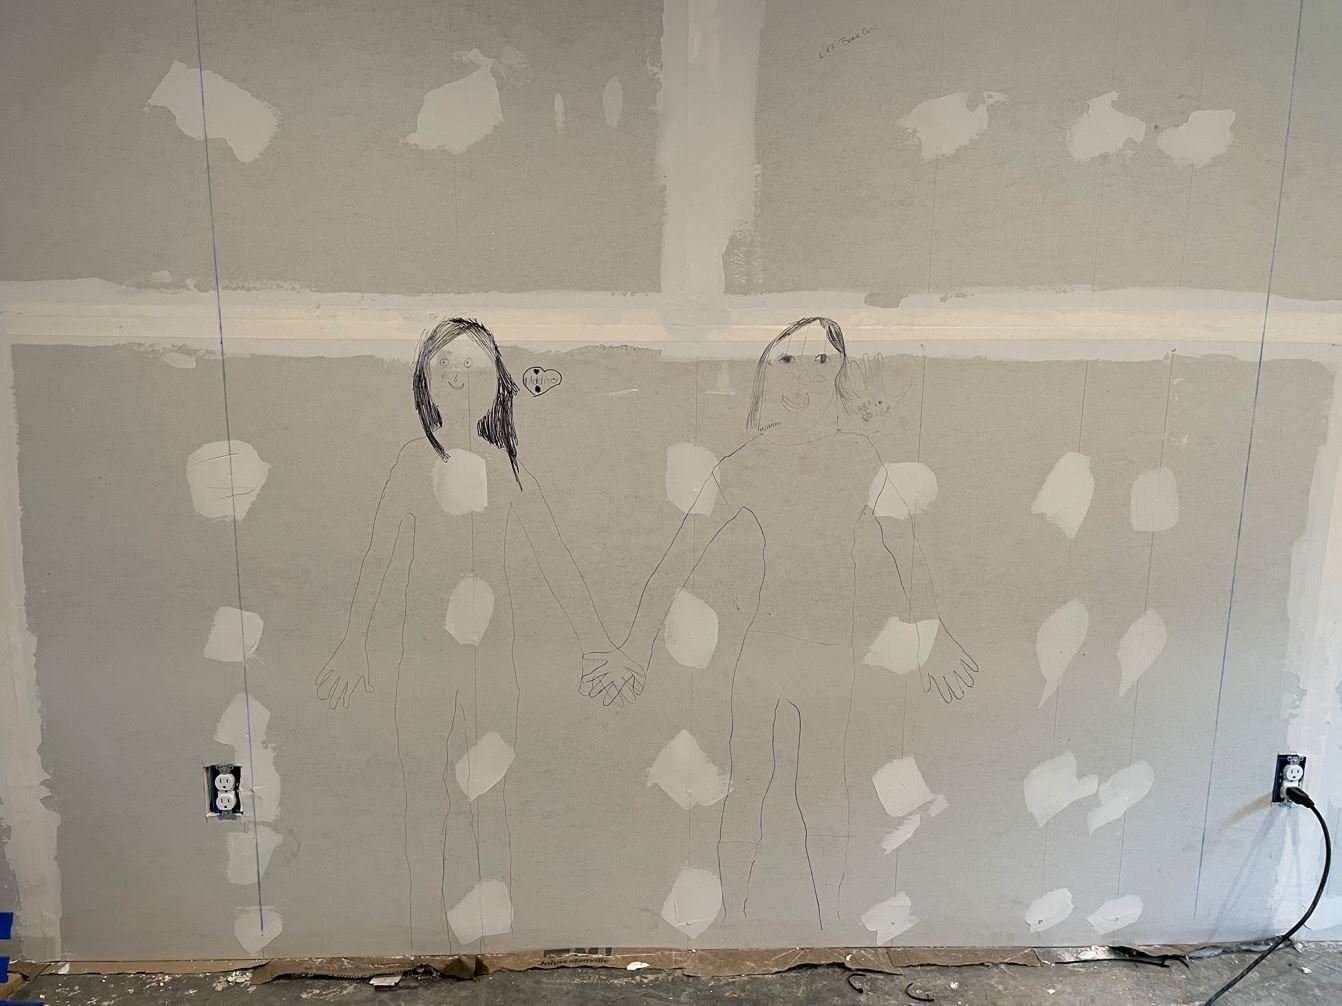
The kids and grandkids came over and my son's once again graciously volunteered to help install the mini-split (it's amazing how easily they can be bribed with food). As our kids were growing up, we did what a lot of parents did and kept track of their growth by measuring them on the wall and marking it down. I do the same with the grands, they each have a column in the barn that we keep record of them on. Well just before we started working we decided to update each kids height since they were all there. It was while we were doing this that my kiddos reminded me of something that we did when they were young. I was remodeling our house years ago and we traced each of our kids outlines on one of the walls of the house. The wall was eventually paneled over, but if anyone were to remove the paneling, they would see our kiddos silhouettes behind it. I though why not continue the tradition and trace the grands. So we did. I think my kids had just as much fun reminiscing of their time doing this as I had watching them trace their kids.
The granddaughters:
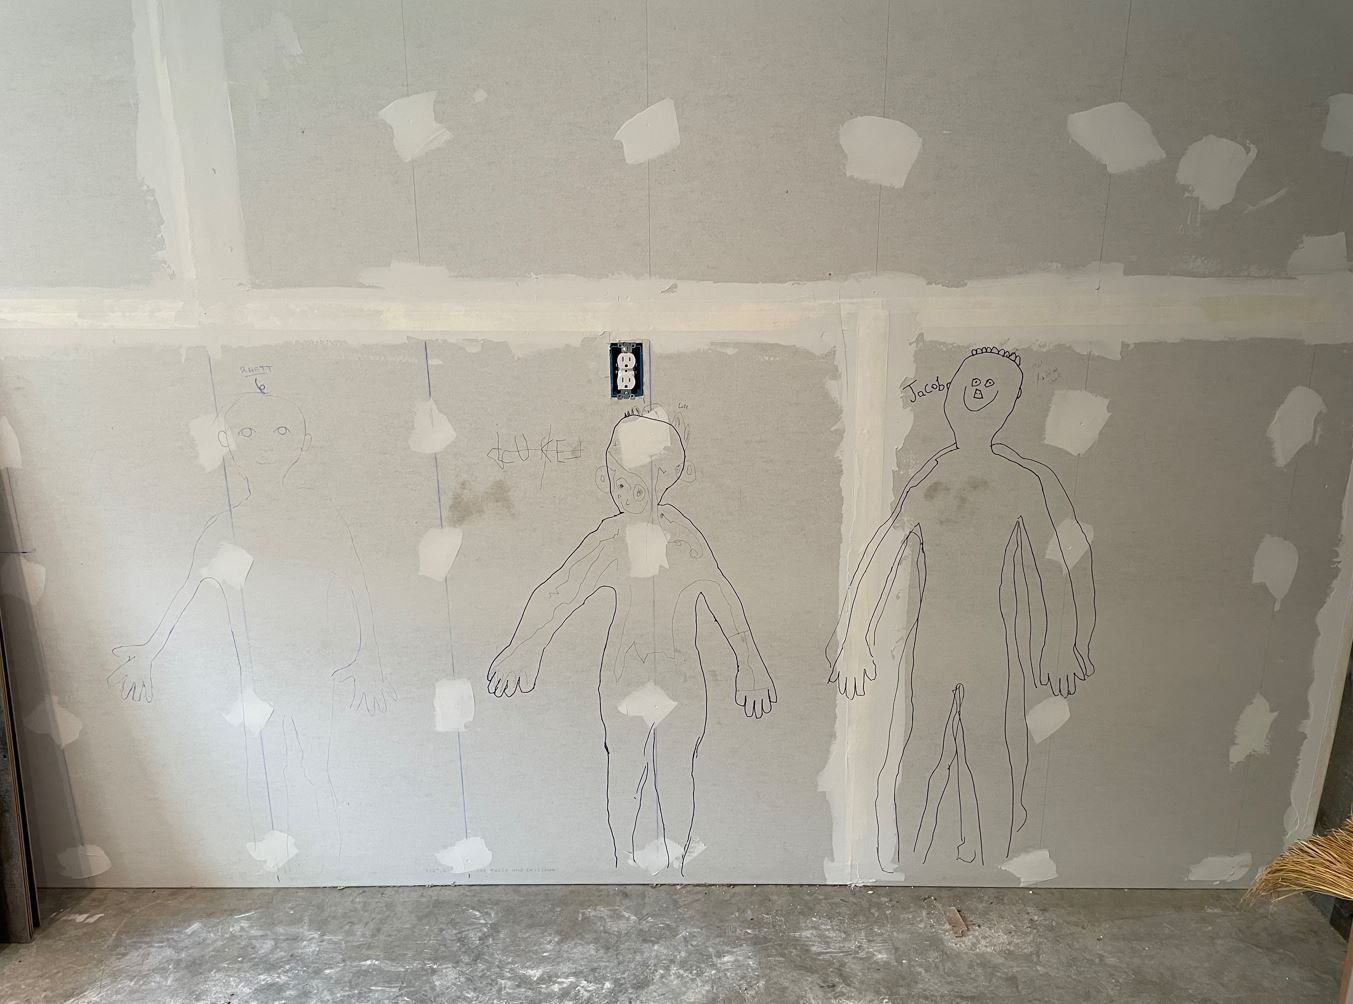
The grandsons:
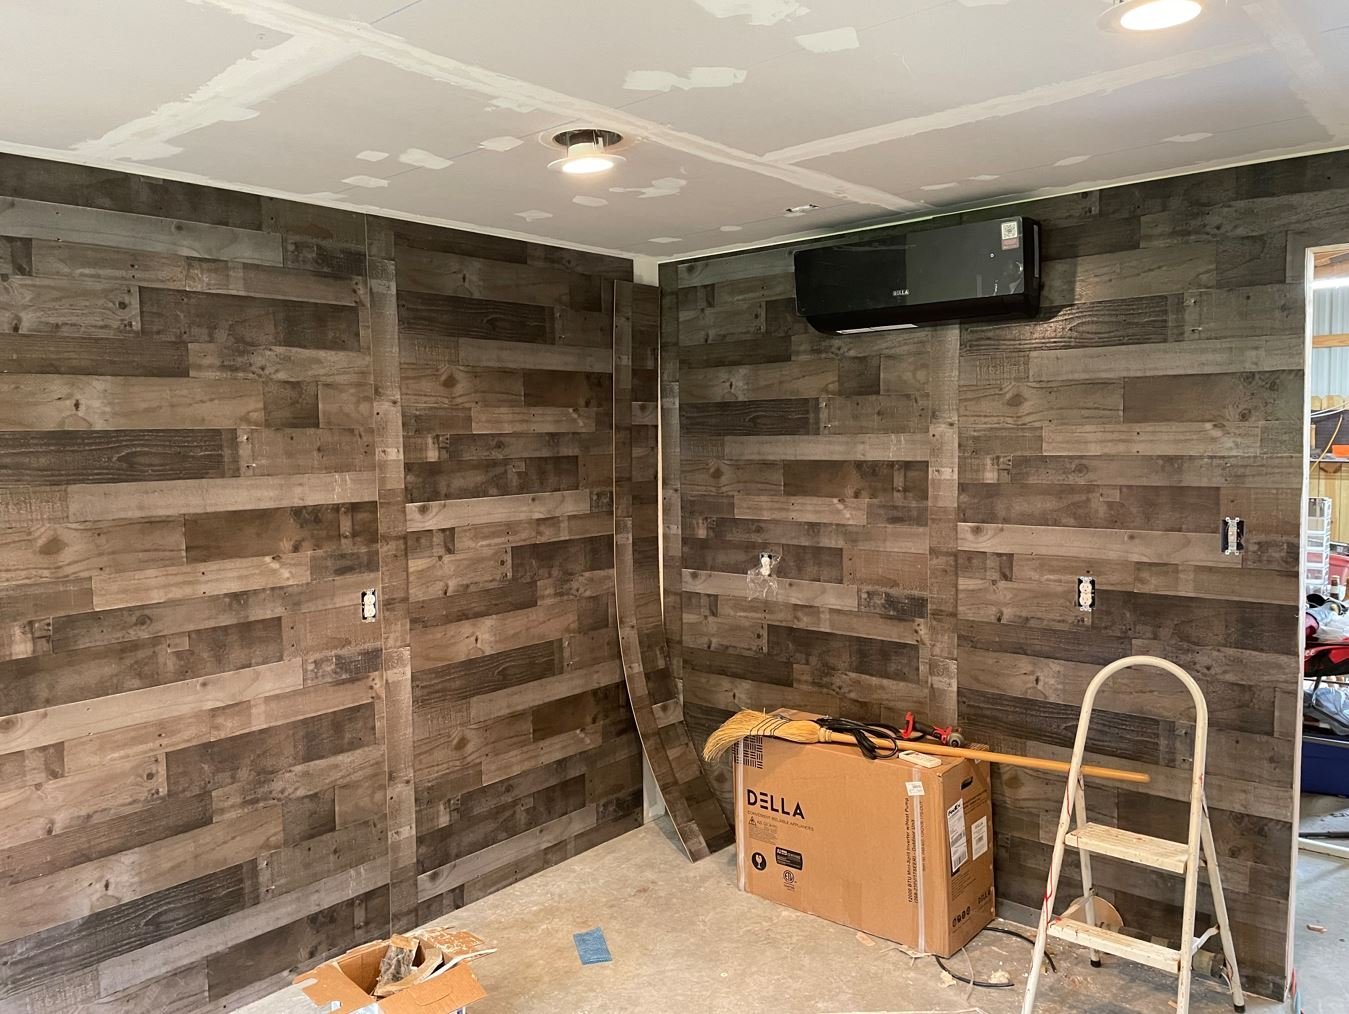
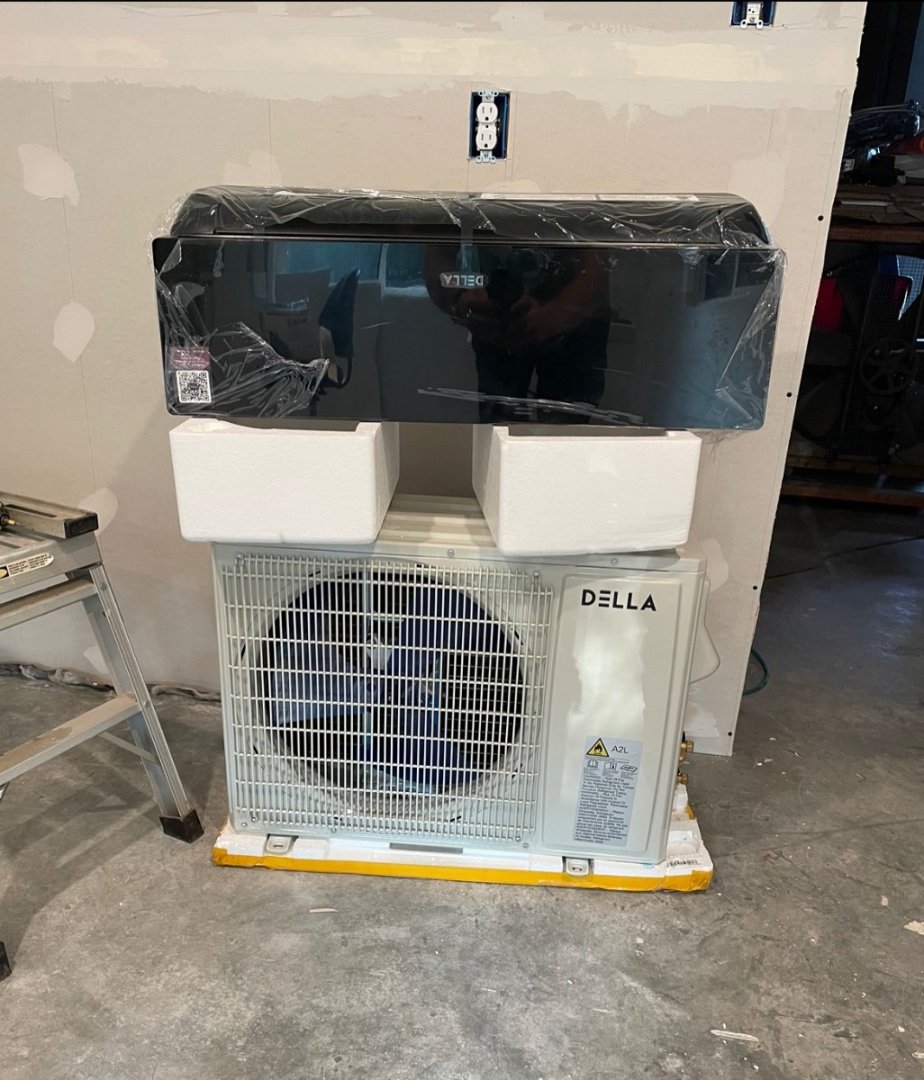
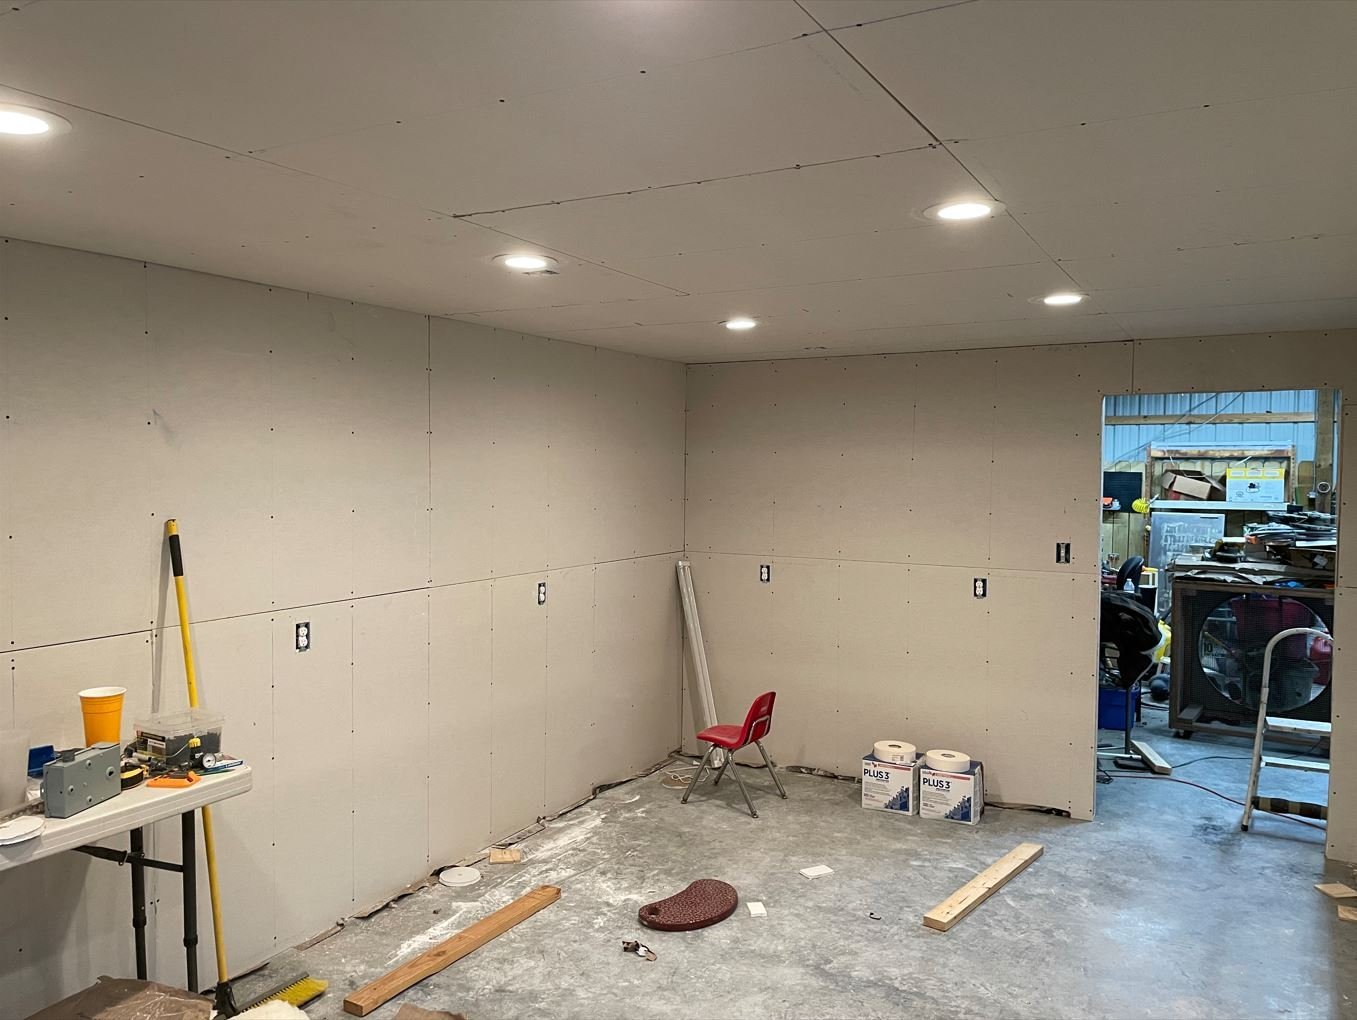
After that it was time to move on with the mini-split installation. Initially I was going to use wood flooring for the walls, until I found that the only color that I really liked was way too thick and even more expensive. So I did some searching on the internet and found wood paneling that was close enough to the scheme that I was looking for and a lot cheaper. So I went with the paneling instead. The first wall up was the one with the indoor half of the mini-split. I didn't want to cut in the paneling around it so I threw it up first and we installed the indoor unit.
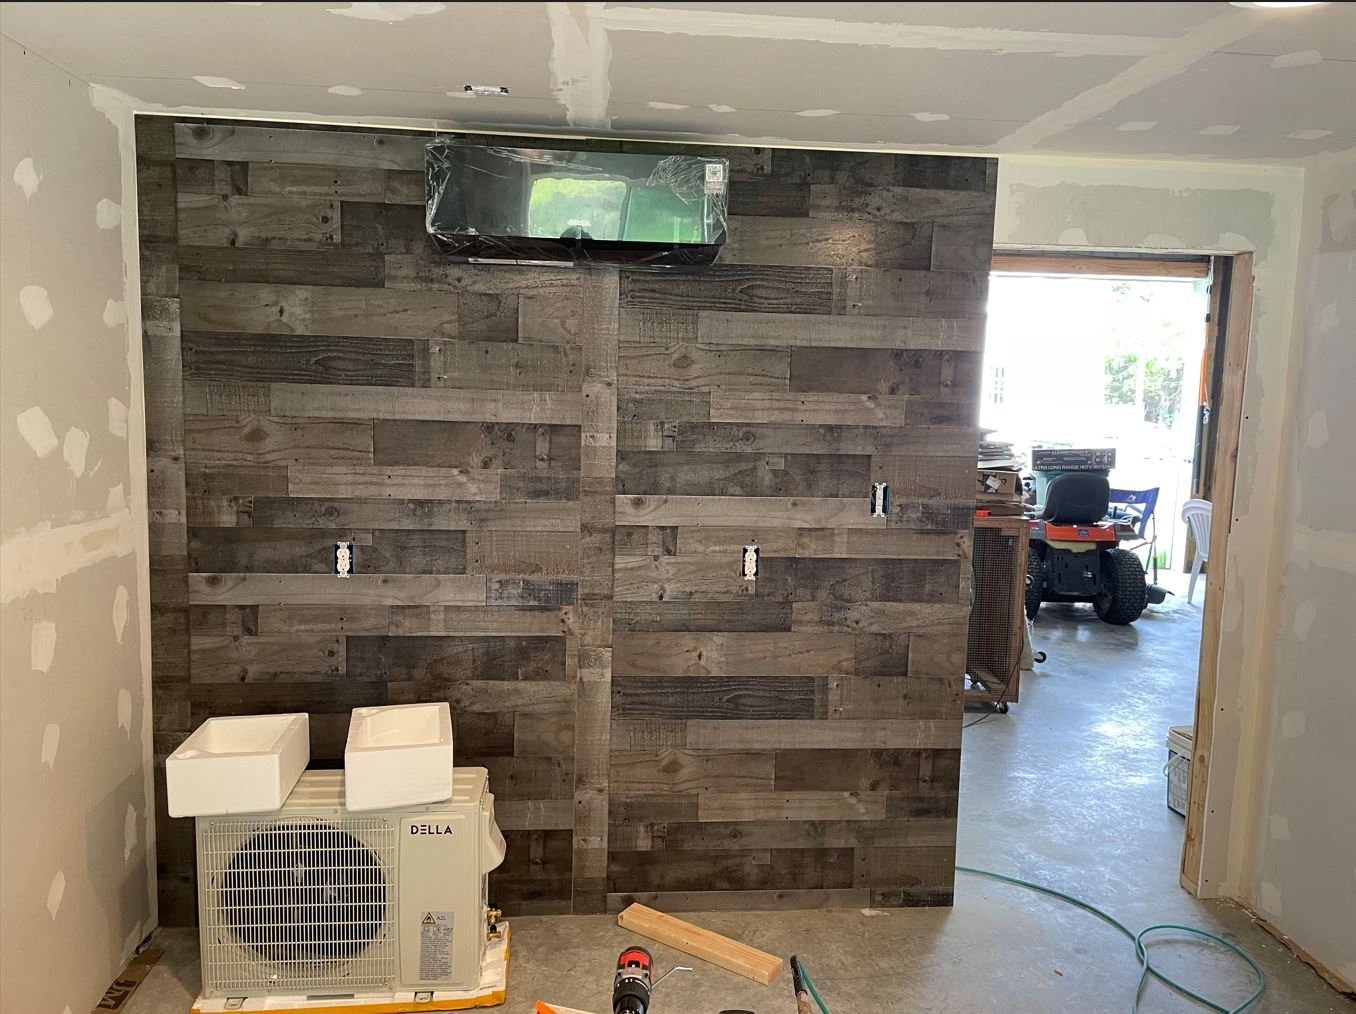
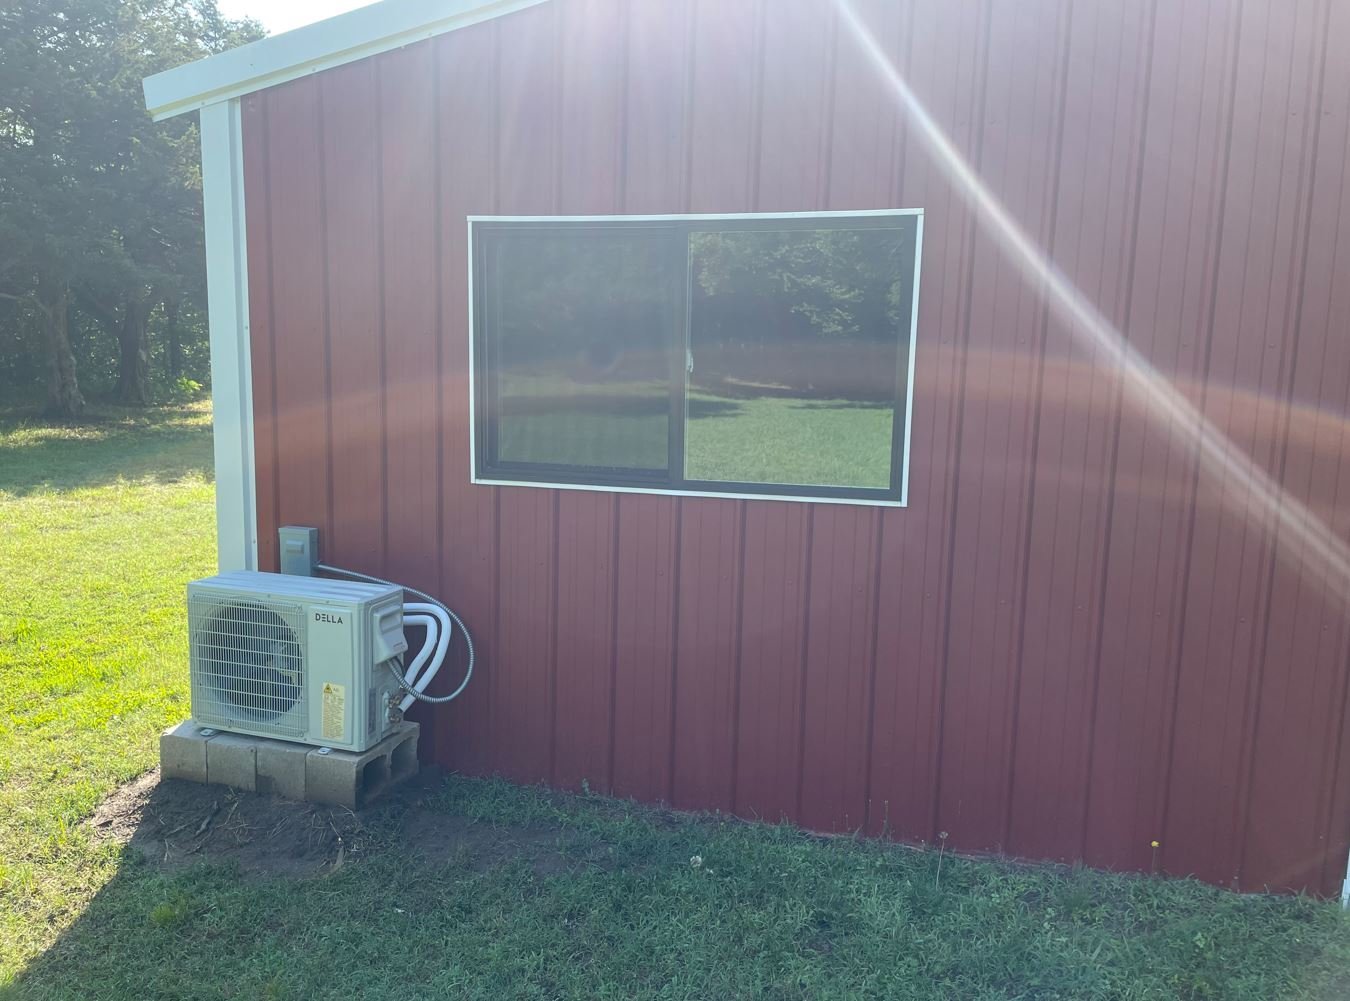
Now the outdoor unit installed.
Day 15:
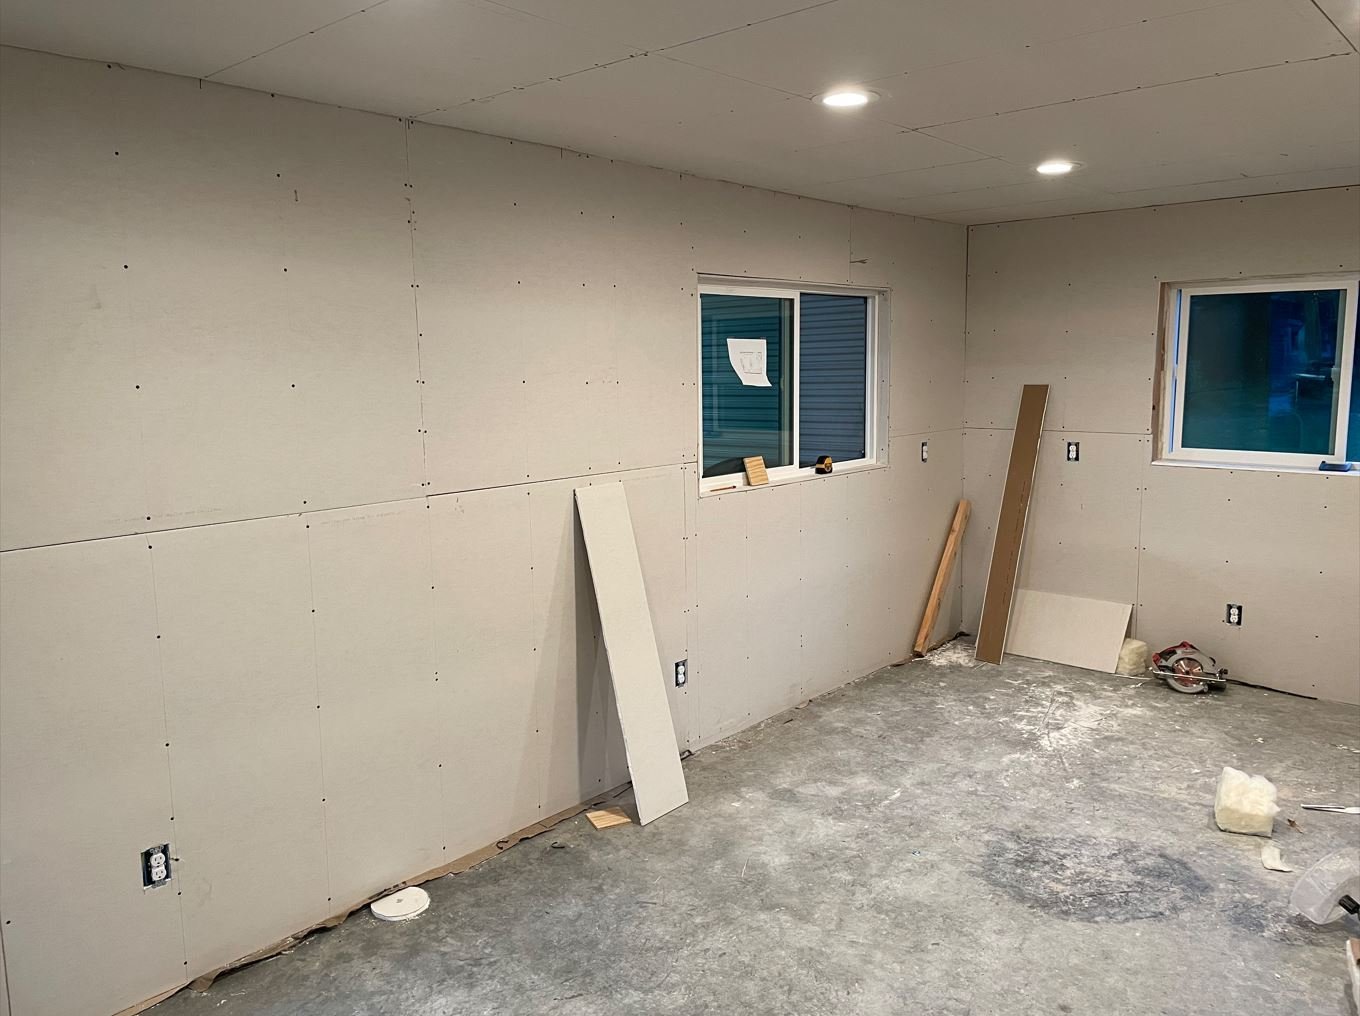
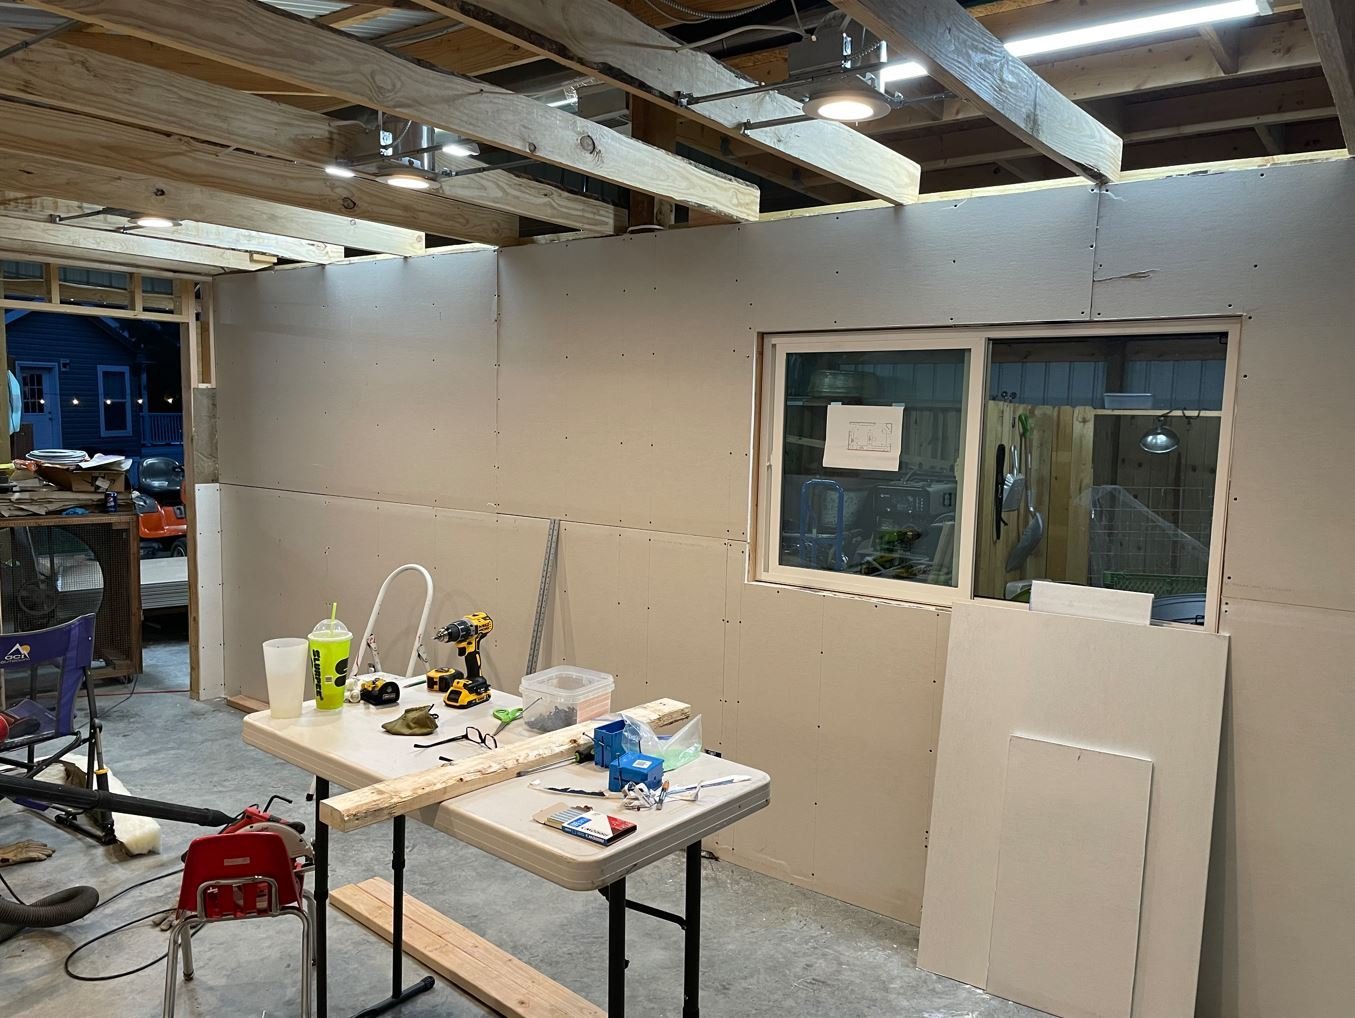
With day 14 spent installing the mini-split and again my hired help gone, it was back to working on my own. The taping and mudding was completed (we had to leave part of the wall and ceiling open to run the copper and control wires for the mini-split) and I was able to get all of the paneling up. Once again I miscalculated. One sheet short. Oh well, there are plenty of other things that can be done in the meantime until I can get back into town to pick up an additional sheet.
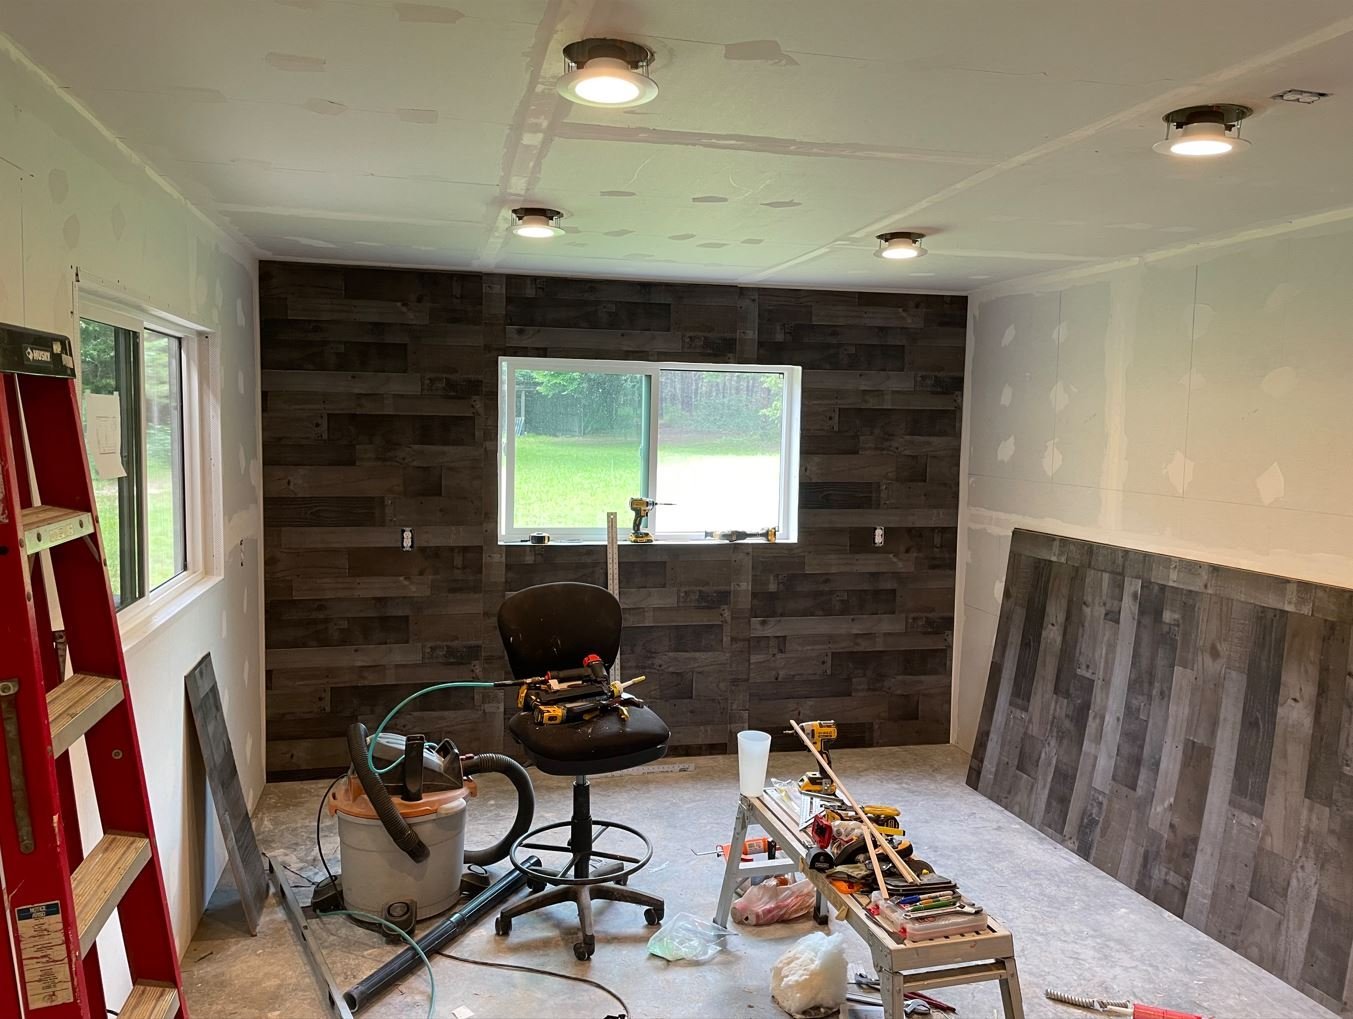
Day 16:
With all the paneling in place, It was time to clean up this mess. I was tired of tripping over boxes, ladders and other assorted items that were in the way. So the floors were swept and vacuumed and the walls were wiped down. Looks like the floors are going to need to be cleaned up a bit more before the flooring goes in though. I may have to invest in a cheap mop, not sure it will be of much use once I get done with it.

My plan is to put up beadboard behind the built ins, that is the reason for the gaps in the paneling. The remaining paneling will be installed between the workbench and the upper cabinets. Some time today, my ceiling tiles should be delivered, and I will work on getting those installed. I also need to start working on the door so I can close this room off and make good use of the AC, the days are starting to get a tad bit warm.
For now, this is as much progress as I have been able to make. Thanks again for stopping by.
-Brian
- Roger Pellett, mtaylor, gjdale and 10 others
-
13
-
3 minutes ago, Roger Pellett said:
Probably my ignorance of building codes but if you’re going to put up wood sheathing, why do have to mud and tape it?
Roger, since we live in the country and this room is out in our barn, I wanted to make sure that I could keep out as much of the creepy-crawly critters as I could. The wood sheathing has some gaps in it, so they can get in through there, but the taping and mudding should help seal some of it off. I also spray foamed some of the bigger gaps and caulked under the toe boards as an extra precaution to help protect the exterior walls. It may be a little extreme, but I wanted to do it right.
-Brian
-
23 hours ago, leclaire said:
what is a mini-split unit?
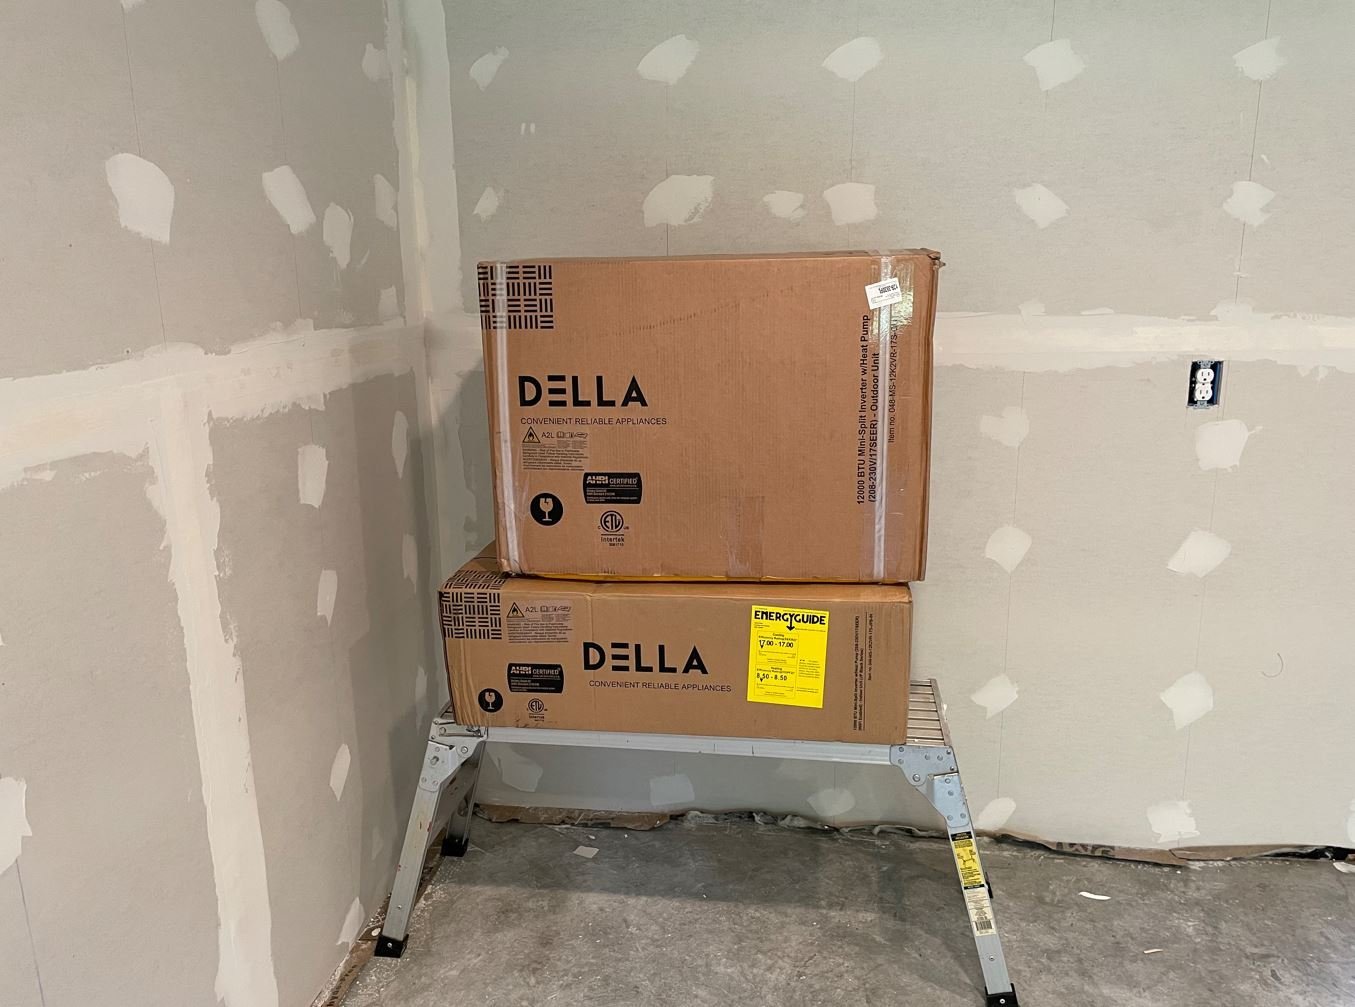
Hey Bob, a mini-split is basically a scaled down version of a home heat pump unit. There is an outdoor condenser with the cooling/heating unit inside the room. The two units are connected by copper tubing and control wires. This particular unit is a 1 ton designed to climate control about 550sq ft. More than enough to keep my little 240sq ft comfortable. It is also a lot more energy efficient than a standard window unit. Nice part about it is it has a feature where I can control it from my cell phone so I can warm it up or cool it down before leaving the house. 😁 Gotta love that modern technology.
-Brian
-
Time for another update.
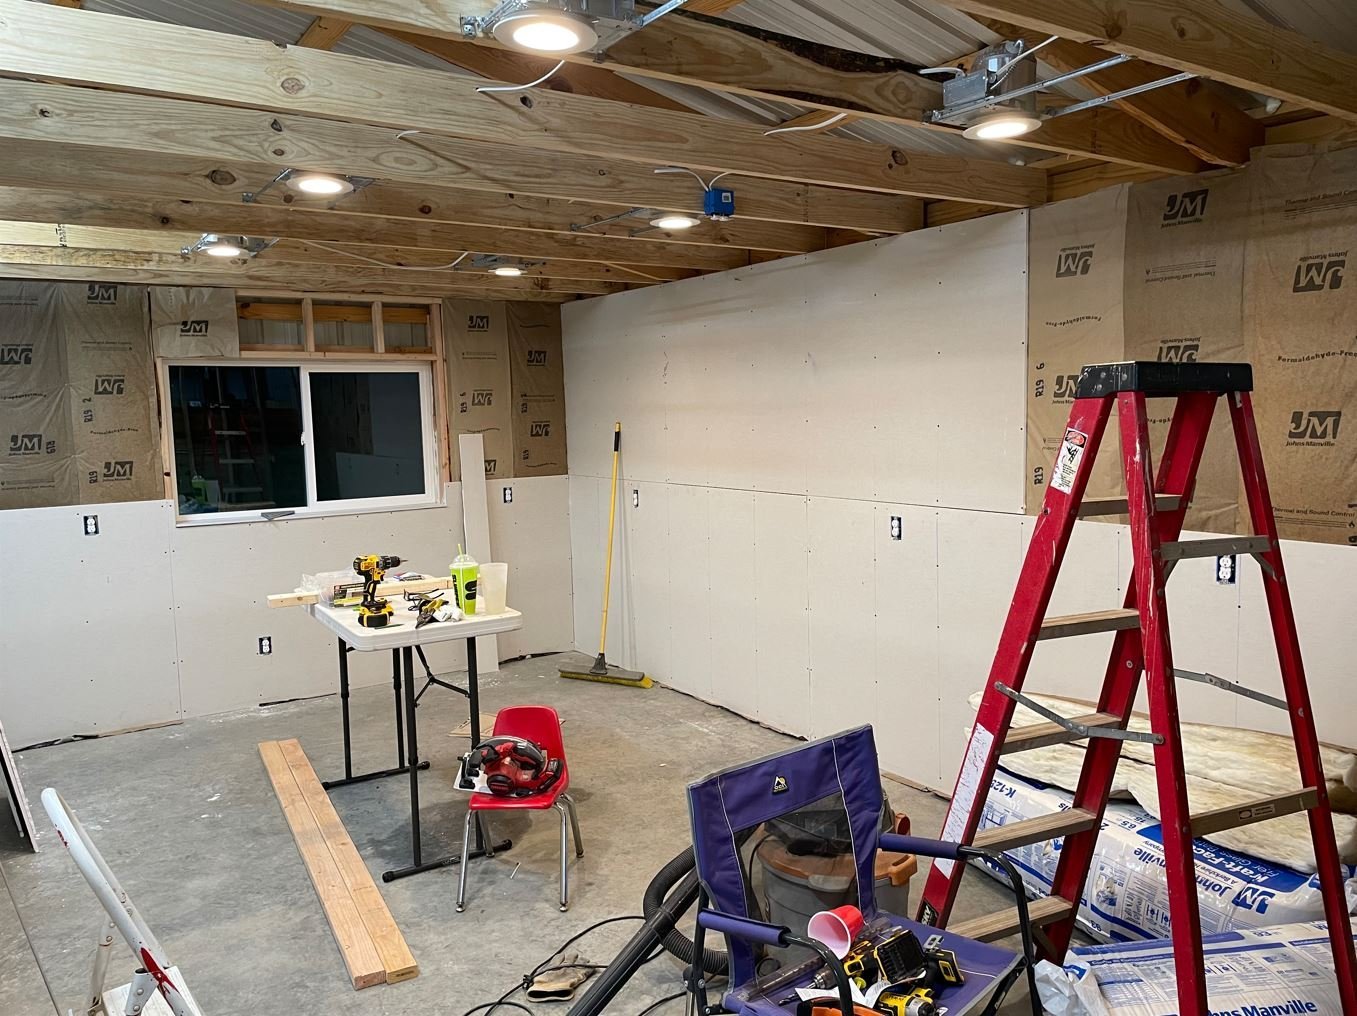
Day 11:
With the extremely appreciative help from my boys we were able to get all of the ceiling drywall put up. It took the better part of the day, but it is done. I was even able to talk them into putting up the ceiling insulation as well. I guess I raised them right.
Day 12:
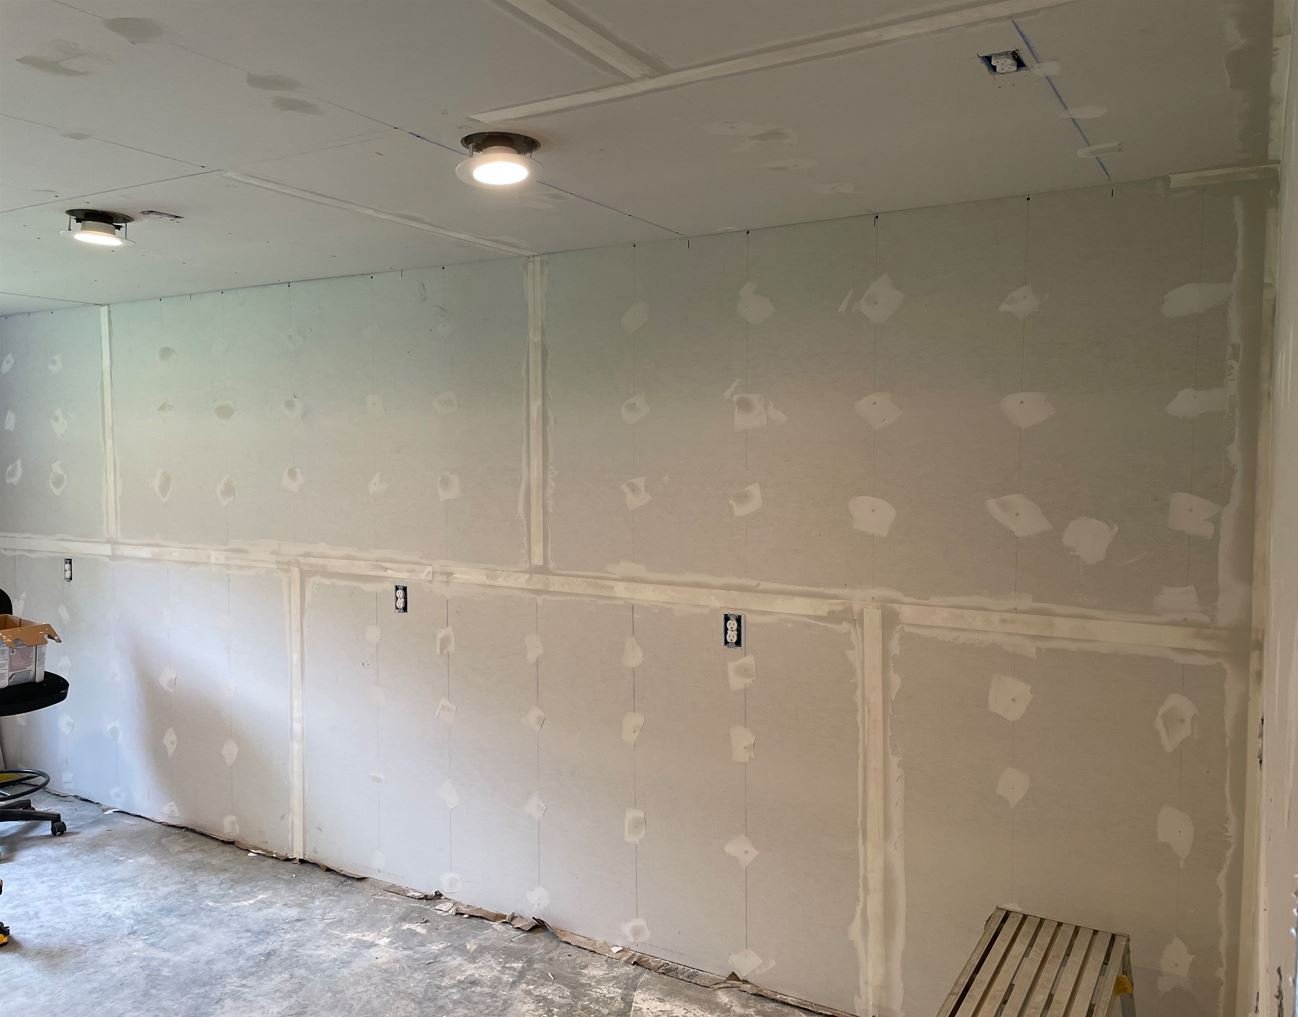
Back to working solo. Today was taping and bedding. Another slow process. I tried as best as possible to minimize the amount of seams in the drywall, but there was still al lot to contend with. I have a few more seams on the ceiling to finish up with, the overhead work sure takes it's toll on the shoulders and neck.
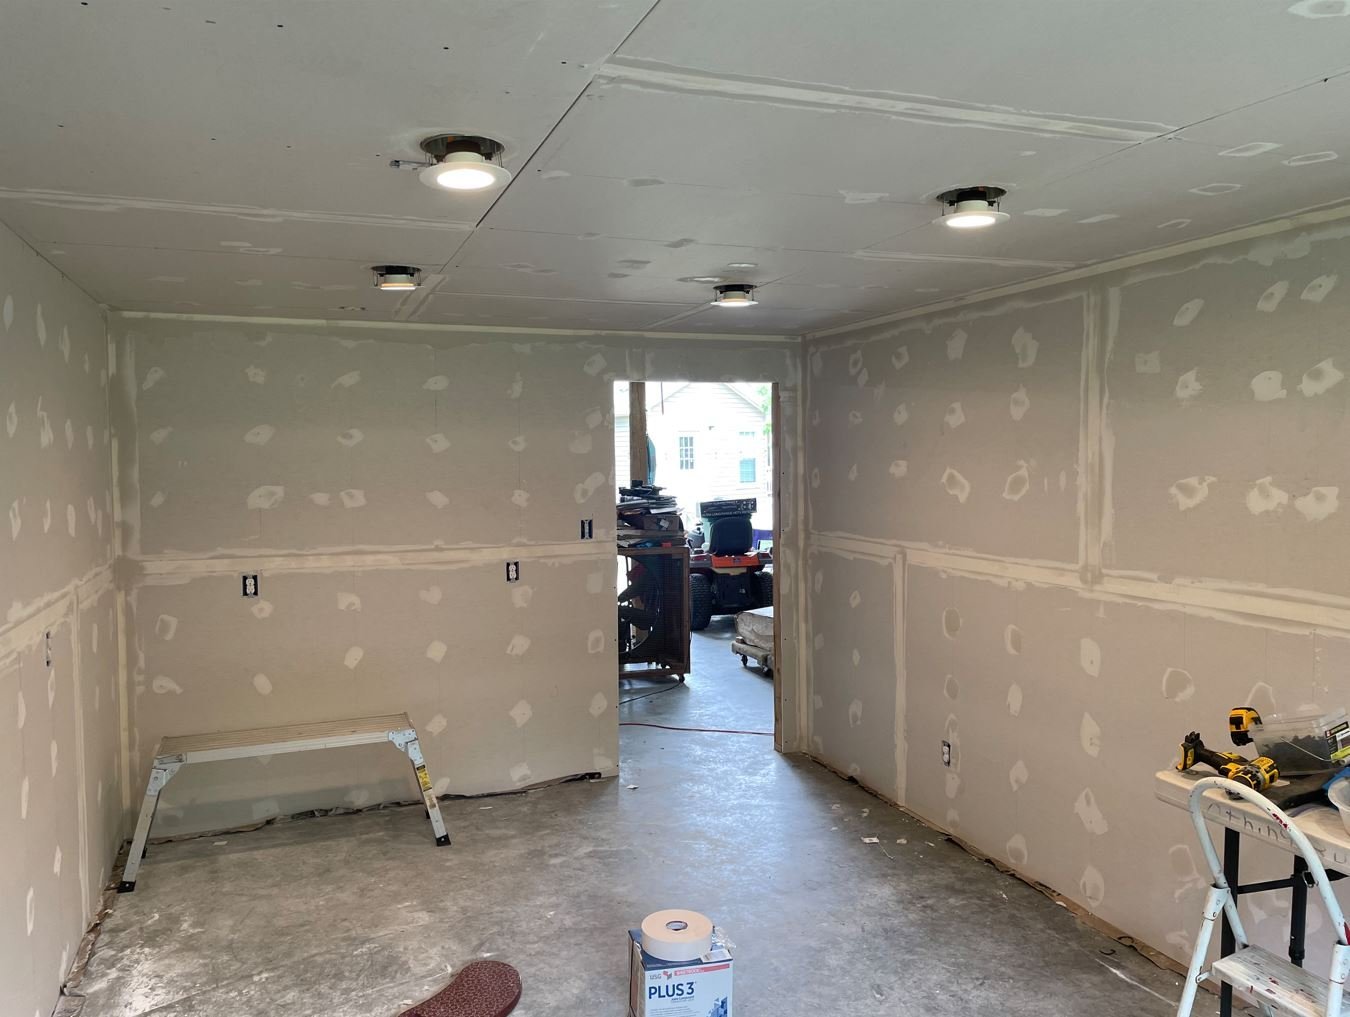
Day 13:
As I was typing this, the delivery truck showed up with my mini-split unit. Just in time, the days are really starting to warm up.
Looking forward to this nice long weekend coming up to finish the taping and getting the AC installed. I might even be able to start detailing the walls. Thanks for stopping by.
-Brian
- VitusBering, Keith Black, Egilman and 12 others
-
15
-
Very nice work John! I wish that I had done my hatches this way instead of planking then cutting them out. I ran into several issues where there was no support under them when they were cut out and had to "beef up" the openings from underneath to get the hatches to sit right.
-Brian
- Keith Black, Cathead, mtaylor and 1 other
-
4
-
1 hour ago, NavyShooter said:
Very nice design. I wish to see more details of your reloading bench though...I have a modular design for mine, with a metal bench, and a wooden work surface (no sparky!) and I have my presses setup on 3/4" ply bases that have a standard bolt pattern so I can swap my Dillon 550 and my RCBS out whenever I need to go from speed of production to precision of production.
🙂
I know you've mentioned HVAC, but I'll highly suggest adding a spot for a dehumidifier as well. Humidity is a killer - both for wooden models (if that's your preference) but also for powders.
When building your powder storage box, I recommend a fully wood construction, with brass fittings (again, no sparky!)
Thank you Brad for the useful information. I definitely try to avoid the sparky as much as possible! At the moment I don't have any good pictures of my reloading setup, and to be honest, with all the construction I have going on I am ashamed as to how much disarray everything is in. So much so that I really don't know if I could take a decent picture of it right now. However, it can be seen in my first post of this log in the fifth picture. It is the brown bench that has the blue tarp on the front of it.
The bench is currently mobile and is where I do most of my reloading, but it will become a permanent fixture once the shipyard is complete. Basically meaning that I will be taking the wheels off of it
") . I also plan to remove the tarp and build doors on it (because why not, it's not like it's already heavy enough). The bench itself is 7.5' long 36" high and 24" deep, made from 2x4's & 3/4"plwood, with a Formica top and it is a beast. I bought it from a guy here locally off Marketplace for $50. It took three of us to load it in my truck, but I just couldn't pass it up. I currently use a Hornady AP setup, that I absolutely love, for my everyday plinking rounds (.45 acp, 9mm, .556, 300 AAC). Before I was using a Dillon 650 setup, but I was constantly having issues with it (I bough it used) so I swapped to the Hornady a few years ago and I have been going with it ever since. For my precision rounds (6.5 CM, 7mm mag & .308) I use an old Lyman Turret press that I have setup to function as a single stage and just rotate the head to whatever caliber I am reloading at the time. All of my precision rounds are primed and loaded by hand and the powder measured with an RCBS Charge Master dispenser.
. I also plan to remove the tarp and build doors on it (because why not, it's not like it's already heavy enough). The bench itself is 7.5' long 36" high and 24" deep, made from 2x4's & 3/4"plwood, with a Formica top and it is a beast. I bought it from a guy here locally off Marketplace for $50. It took three of us to load it in my truck, but I just couldn't pass it up. I currently use a Hornady AP setup, that I absolutely love, for my everyday plinking rounds (.45 acp, 9mm, .556, 300 AAC). Before I was using a Dillon 650 setup, but I was constantly having issues with it (I bough it used) so I swapped to the Hornady a few years ago and I have been going with it ever since. For my precision rounds (6.5 CM, 7mm mag & .308) I use an old Lyman Turret press that I have setup to function as a single stage and just rotate the head to whatever caliber I am reloading at the time. All of my precision rounds are primed and loaded by hand and the powder measured with an RCBS Charge Master dispenser.
I do have a plywood cabinet that I store all my powder and primers in. It may make it to the new room and it may not. I am still hashing out those details as I go. Since the humidity doesn't get that bad here in North Texas I do believe that my mini-split will do the job needed to keep everything in good shape, but I will keep a close eye on it just in case. Especially since I will also have several of my previous wooden builds in the room along with the reloading supplies.
Stay tuned, hopefully I can get some of my mess cleaned up enough to where I can take a picture of my setup and get it posted.
-Brian
- Egilman, NavyShooter, goatfarmer11 and 6 others
-
9
-
10 minutes ago, Keith Black said:
looking really swell. Are you going to do the taping and bedding yourself?
Thank you Keith. I do plan on taping and bedding myself, that's the easy part, it's the floating and feathering all the seams that is a pain. Fortunately I plan on covering the walls with wood planks so I won't have to deal with all the sanding and dust floating creates. No messy texturing either.
-Brian
- Canute, NavyShooter, mtaylor and 6 others
-
9
-
Back with more.
Day seven:
I finally finished up with the itchy stuff. At least for the walls. Long sleeves, long pants, goggles and a mask was still not able to keep those tiny fibers of glass from making me itch. Maybe it was just a mental thing, but I'm glad to be done with that part.
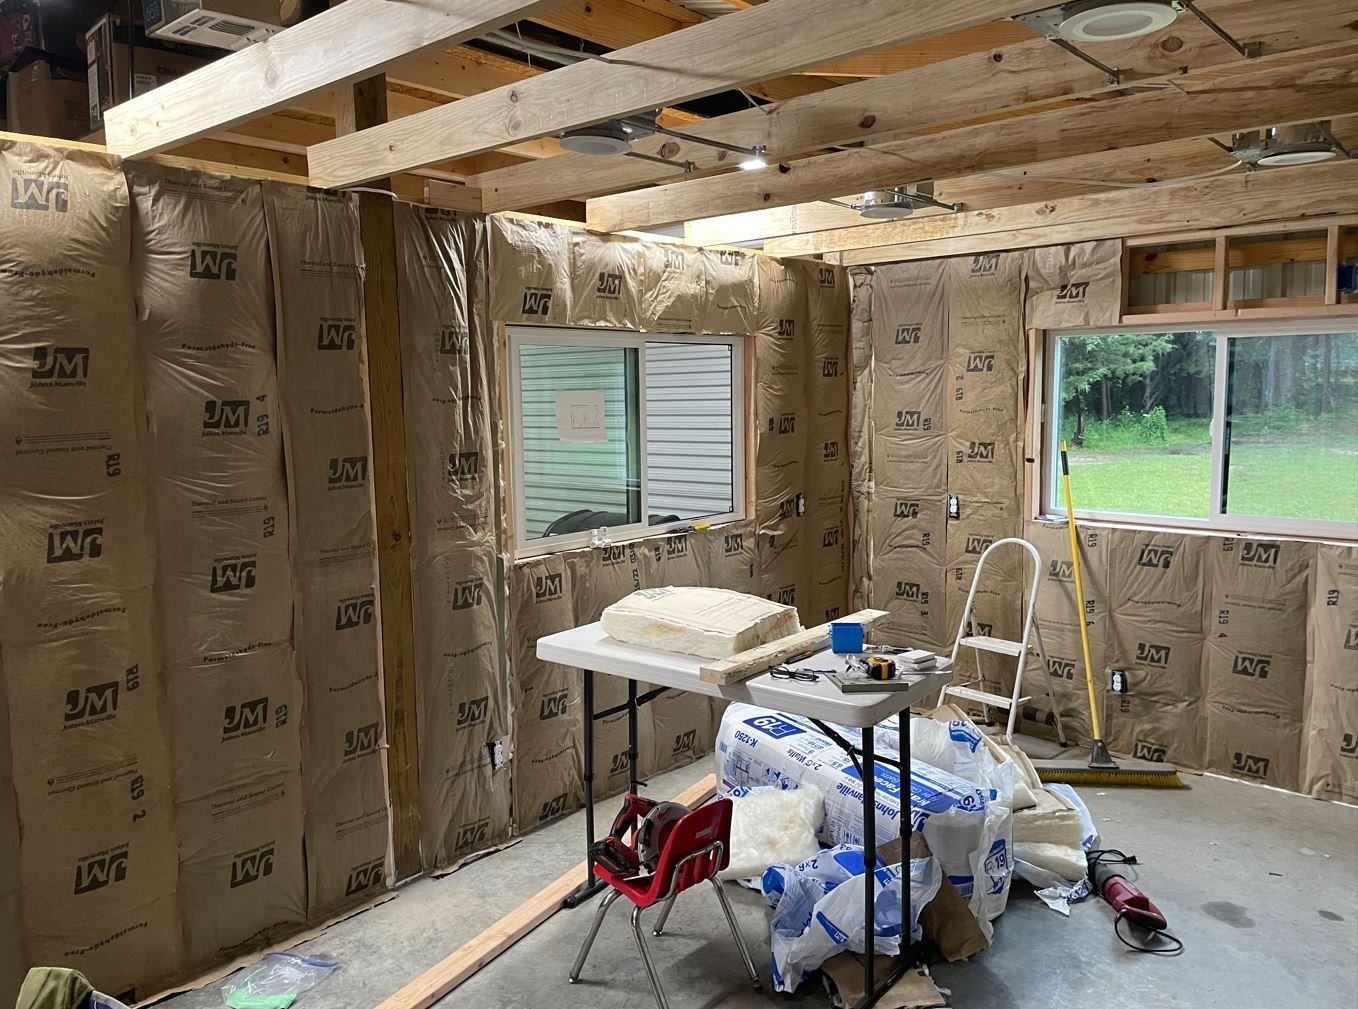
Day 8 -10:
Time for the drywall. This is a slow process when you are hanging each sheet by yourself. Took me a few days to get this done. Thankfully my sons are coming over this weekend to help with the ceiling drywall.

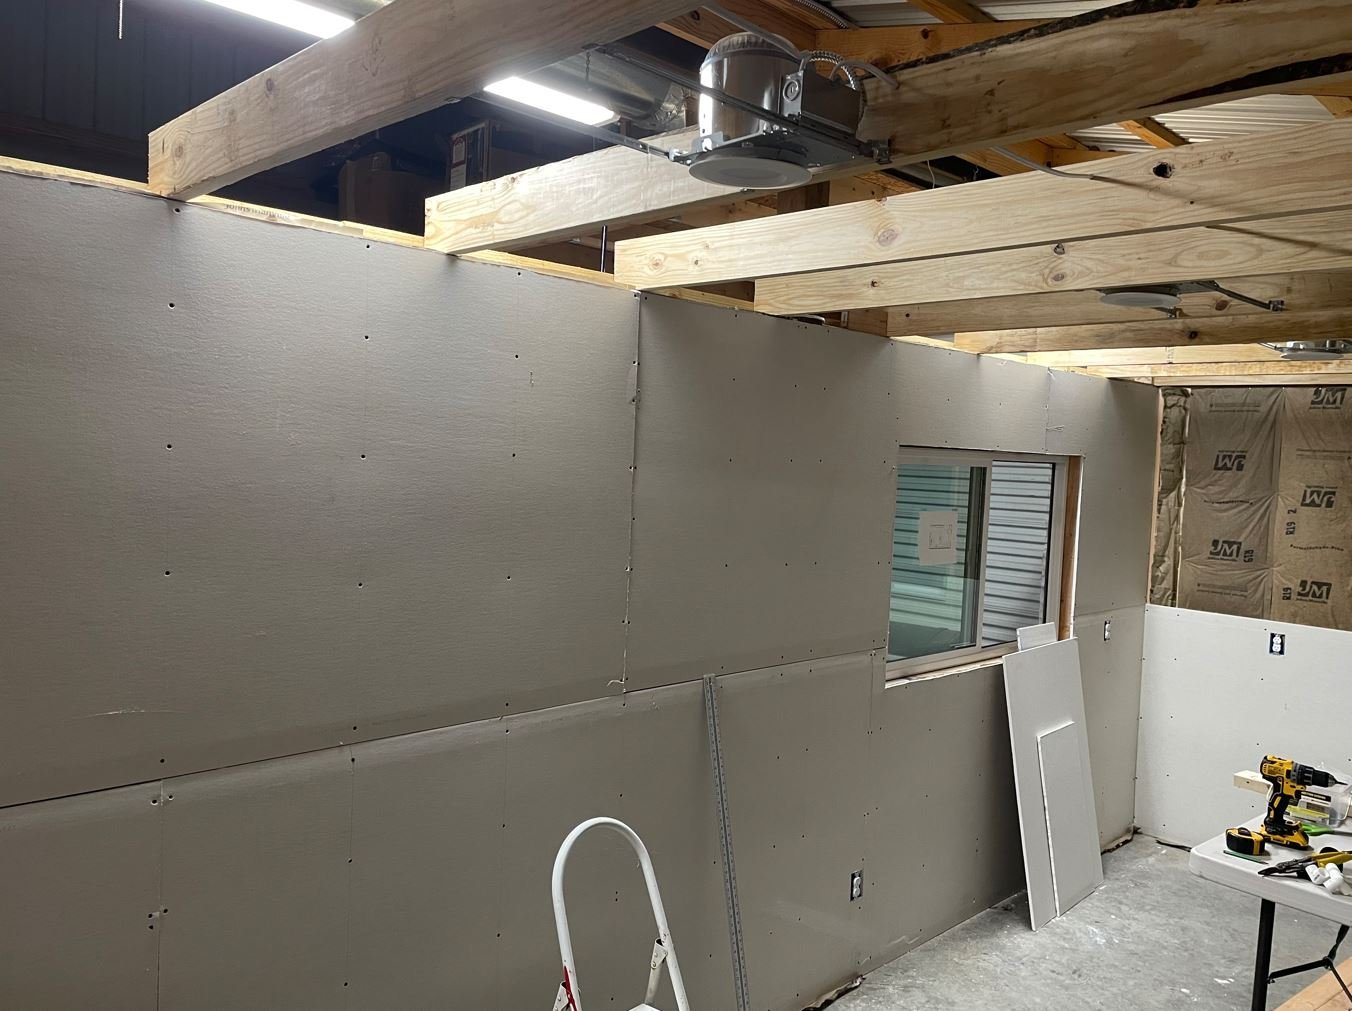
Once we get the ceiling completed, it will really start looking like a room. I am hoping that I can con, swindle, bribe, or guilt my boys into putting the insulation on top of the ceiling so I can avoid the itch monster again. Also, my mini-split unit should be arriving some time next week. Once I get that installed It should make for a more comfortable working environment.
Well that is all for now. I'll post more after this weekends progress. Time to go and get some of this mess cleaned up.
-Brian
-
On 5/13/2023 at 3:52 PM, KeithAug said:
Very elaborate shed Brian. I think however you have missed the most important feature from your plans - the lost bits black hole! Also you seem to omitted the "where did I put that "xxxxxx" craft knife" desk. I hope you haven't got so far that you can't change the design!
Thank you Keith for the reminder.
One thing I did incorporate into the design was wood floors. So much easier to find dropped parts. I have a feeling that once I move out of my current spot in the house, that the hundreds of tiny pieces that I offered up to the carpet Gods will miraculously turn up. As for the "where did I put that "xxxxxx" craft knife" desk, science has yet to develop a remedy for this, so even with the new room, I am doomed to forever be on the search for that elusive knife.
-Brian
-
You might have a bad day if you happen to pop your head out of that hatch when they were firing the Parrot. 😁
-Brian
- Knocklouder, Cathead, FriedClams and 4 others
-
5
-
2
-
Thank you Yves! I do have several kits stored away that I might be able to find room for. If I come up short on space, that’s always a good excuse to add on. 😁
-Brian
- thibaultron, Egilman, Keith Black and 8 others
-
3
-
8
-
3 hours ago, Keith Black said:
The Admiral will have that shipyard project redesignated come next spring.
That is a strong possibility. She has already been out there a few times measuring for curtains. Thank goodness I have another two stalls on the other side of the barn.😁
50 minutes ago, mtaylor said:Are you planning heat and A/C or did I miss that?
I did forget to mention that Mark. I have a 3/4 ton mini split on order for it with a 12000 btu heater. Should be more than enough to keep me (the Admiral) climate controlled.
8 minutes ago, Canute said:I imagine Northwest Texas gets a wee bit toasty come summer, like San Antone does.
It can get a tad bit warm in the summers and quite chilly in the winter. The mini split should take care of it and I am going all out on insulation too.
-Brian
- GrandpaPhil, Egilman, mtaylor and 5 others
-
8
-
30 minutes ago, Cathead said:
This looks really cool and you know I respect DIY projects.
One of the things my grandfather taught me was to never pay anyone for something you can do yourself. Words I have lived by all my life.
33 minutes ago, Cathead said:Will be fun to see it come together, and I love the exterior aesthetic already.
Wait until you see what I have planned for the door.
- Brian
- mtaylor, thibaultron, Keith Black and 5 others
-
8


Peerless 1893 by Cathead - 1:87 - sternwheel Missouri River steamboat
in - Build logs for subjects built 1851 - 1900
Posted
And away you go!
So happy to see that you were able to get your spare bedroom finally completed and the work bench setup. Beautiful job, by the way! I love the use of home harvested lumber on your workbench. One of these days I might try my hand at that, but I have way too many projects (and hobbies) to start that now. We, like you and Mrs. Cathead, have an overabundance of lumber on our property that we could start our own sawmill as well, just not the time to do it. While I am having fun building my shipyard, I am chomping at the bit to get back to my build, and now seeing that you have kicked your new build off makes me even more ready to get going. I should hopefully be ready to go in about a month though.
This project looks like it is going to be quite the undertaking, especially with the railroad dio included. Not sure of how far you are going to take it, but the RR bridge in the photos looks like it would make a great addition. Just saying")
-Brian