Ian_Grant
-
Posts
2,156 -
Joined
-
Last visited
Content Type
Profiles
Forums
Gallery
Events
Everything posted by Ian_Grant
-
 ....and holding glasses of wine, if memory serves.
 -
OK, I'm a little confused about this interference of foreyard halyard and mainstay. According to Heller the mainstay splits around the foremast which is in agreement with Anderson for the first half of the 17th century. He says the collar was long enough for the deadeye or block on the mainstay to lie abaft the foremast (pg 100). So we have a stay rope passing each side of the foremast. It seems to me that a central knighthead for the halyard makes sense since the tackle from the halyard block to knighthead is then in the "shadow" of the foremast. Doesn't moving the knighthead to one side mean that the stay on that side will then interfere with the tackle? Note I haven't built this thing yet so I may be talking out of my a*s here......
-
Epoxy resin is just the ticket!
-
Sorry to disappoint, but she will not be planked except maybe the deck. Hull just painted and epoxy resined inside for strength and waterproofness, if that's a word. As a planked deck would be a LOT of work I'm thinking of trying a painted plank deck using various tones of dry brushing. Not sure.
- 536 replies
-
- 5
-

-
- Quadrireme
- radio
- (and 1 more)
-
Glen, I'm excited to hear that! No doubt you will astonish us all again with another imaginative build.....👍
- 536 replies
-
- 2
-
-
- Quadrireme
- radio
- (and 1 more)
-
Don't worry, no rank amateur could produce the SR you 🫵 are bringing to life! 🤙
- 1,508 replies
-
- 2
-
-
- Le Soleil Royal
- Heller
- (and 1 more)
-
What an incredibly immaculate build! Flawless even in the merciless eye of the camera .....
-
Really Bill, at this point I would not risk it. As I recall the transom plastic is pretty thick and as you say you might damage your balconies, or the gallery floors you added. Stick to your "officers only" story. 👍
-
Well, I'm happy to hear that Bill!
-
Beautiful, just beautiful, Bill! Regarding your stern view though - does it make sense to have doors between the stern portion of the galleries and the side portions? I believe Berain's picture showed no grid here, implying just an opening. Sorry to bring it up at this late stage......feel free to tell me to SFU.....🫢
-
Thanks! Yeah, I bandsawed the little bracket shape across the end of a 1" wide piece of cherry, then had to slice it into 3/16" thick brackets which gave me four pieces. Repeat. I at least had the sense to glue the inch wide bits onto some scraps for handles before using the saw! Thinking more, I might just try it on water with one mechanism. That should be enough for a go/no-go on continuing the build. Fingers crossed.
- 536 replies
-
- 2
-
-
- Quadrireme
- radio
- (and 1 more)
-
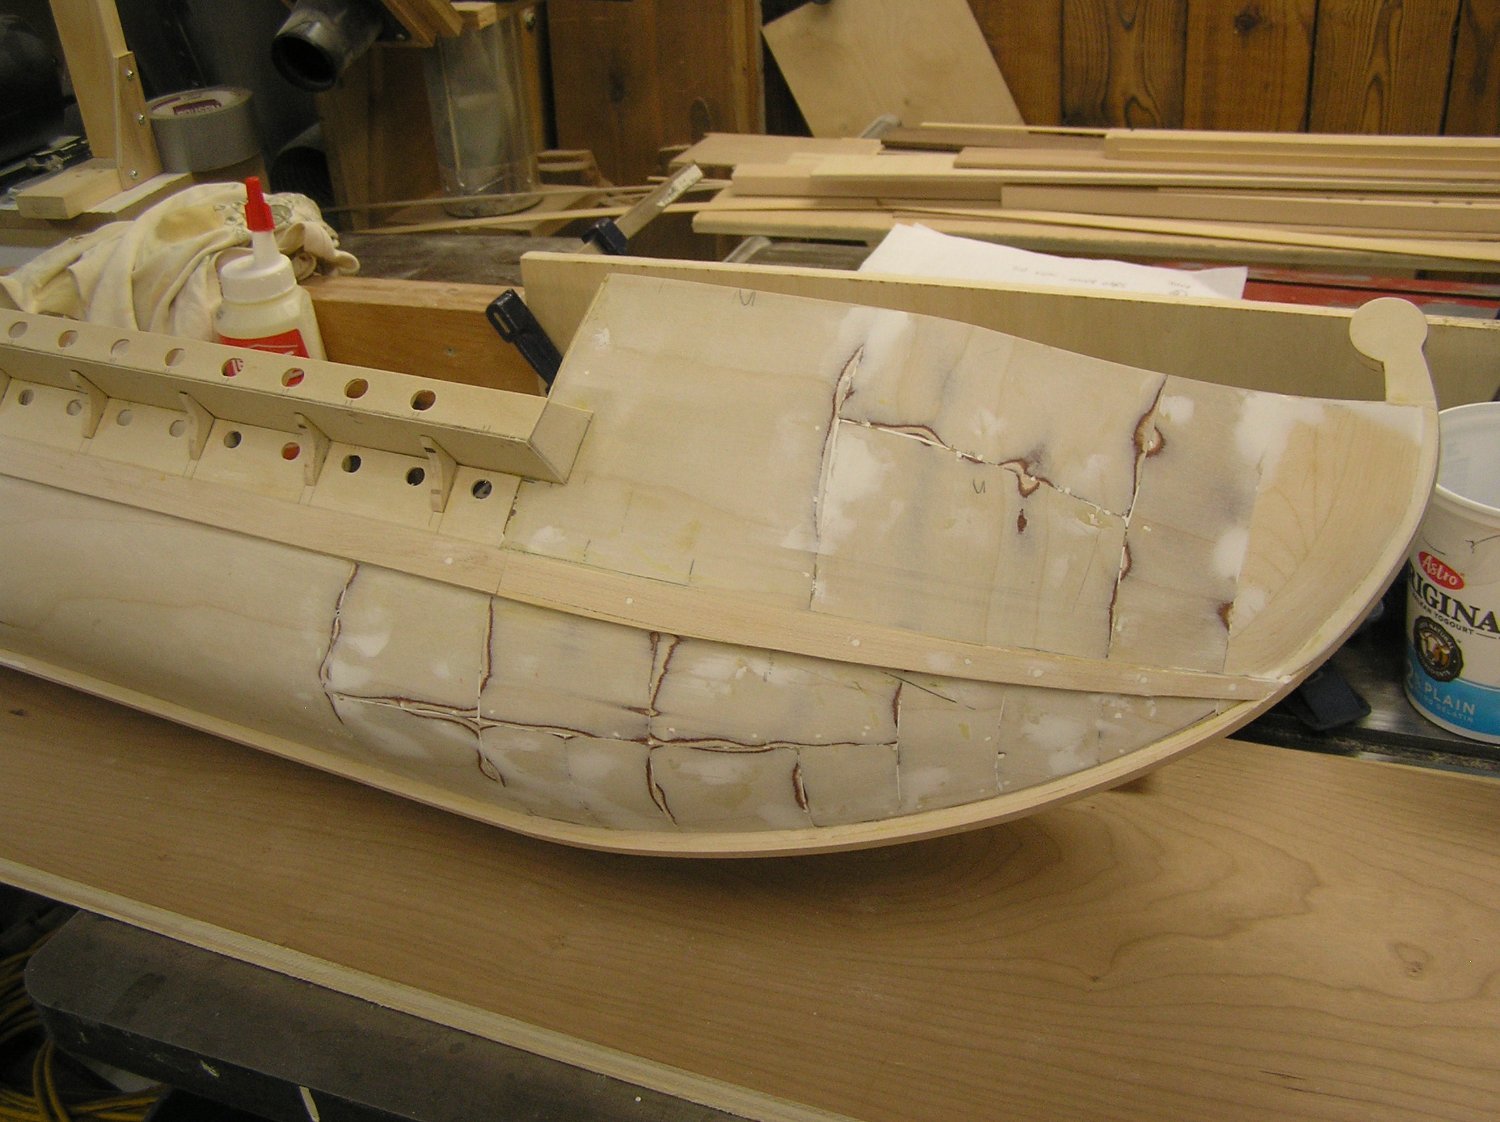
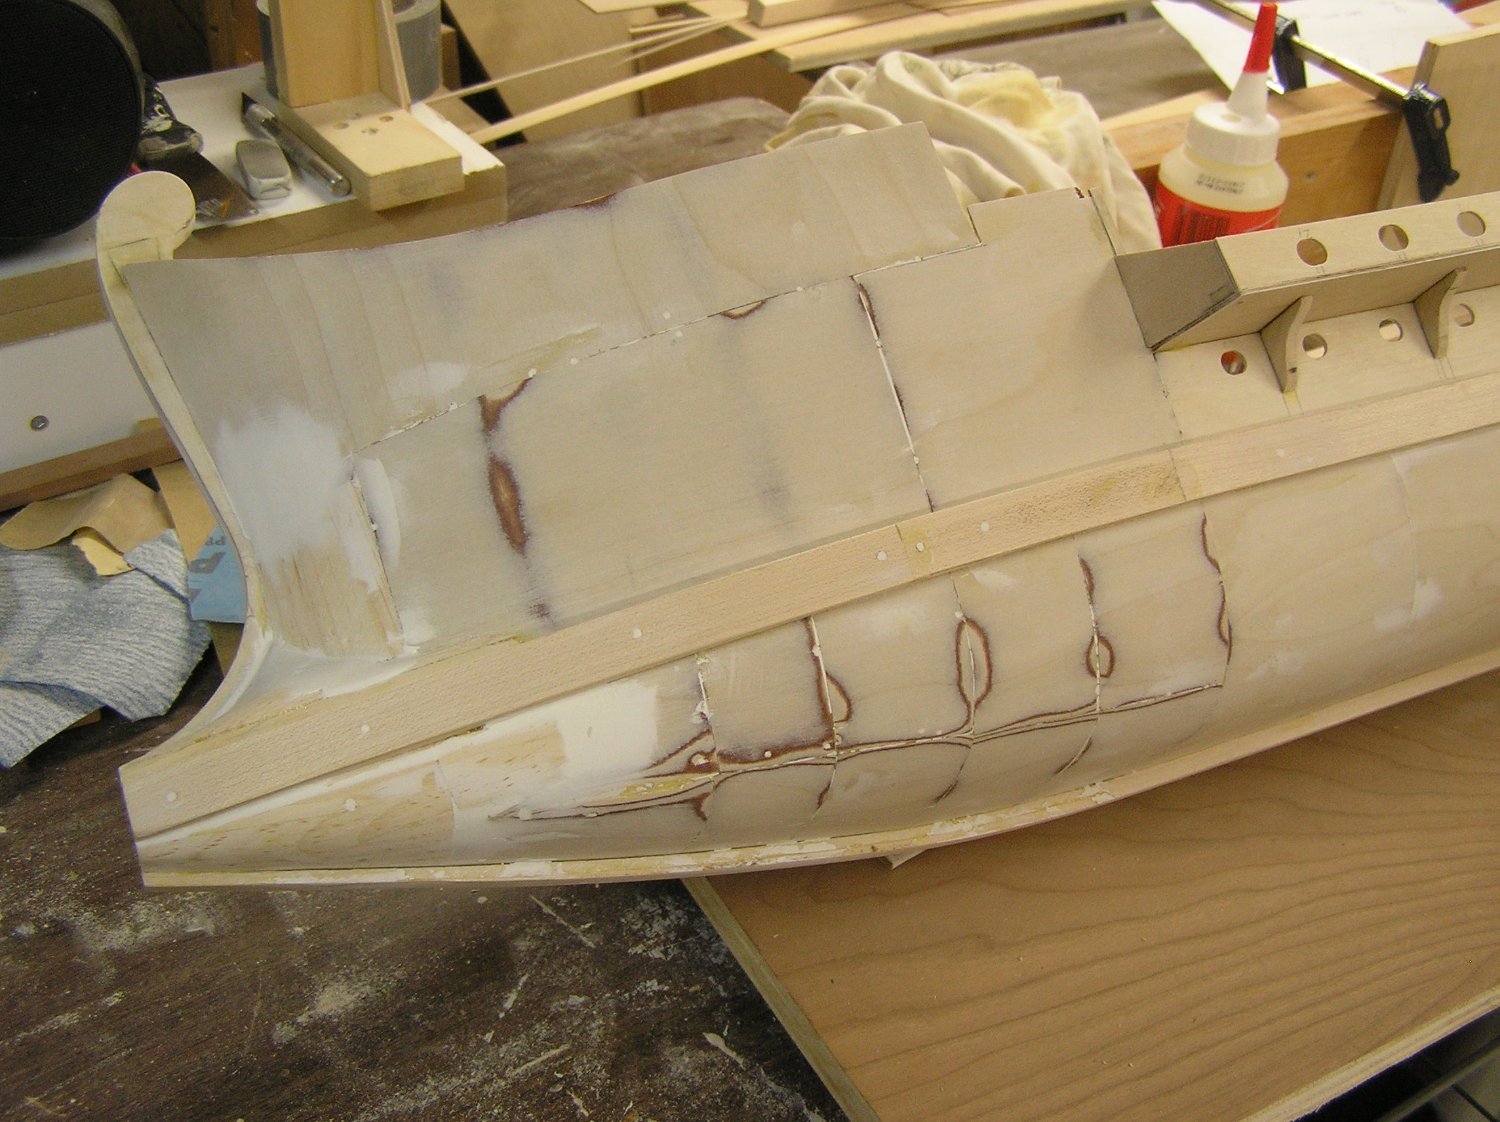
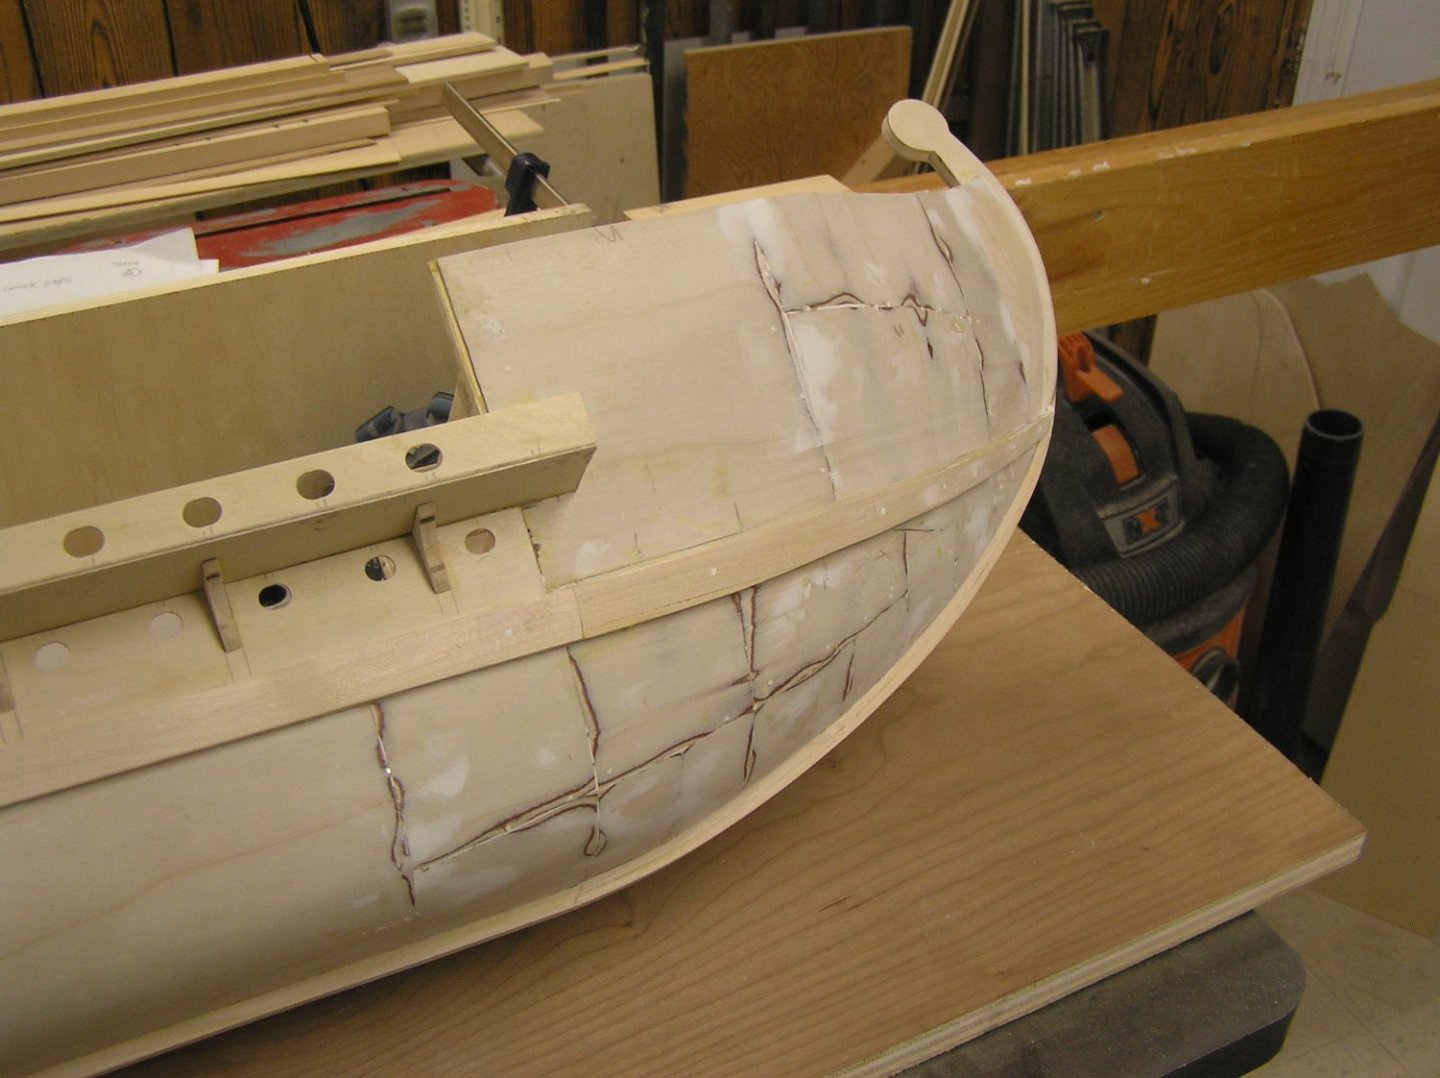
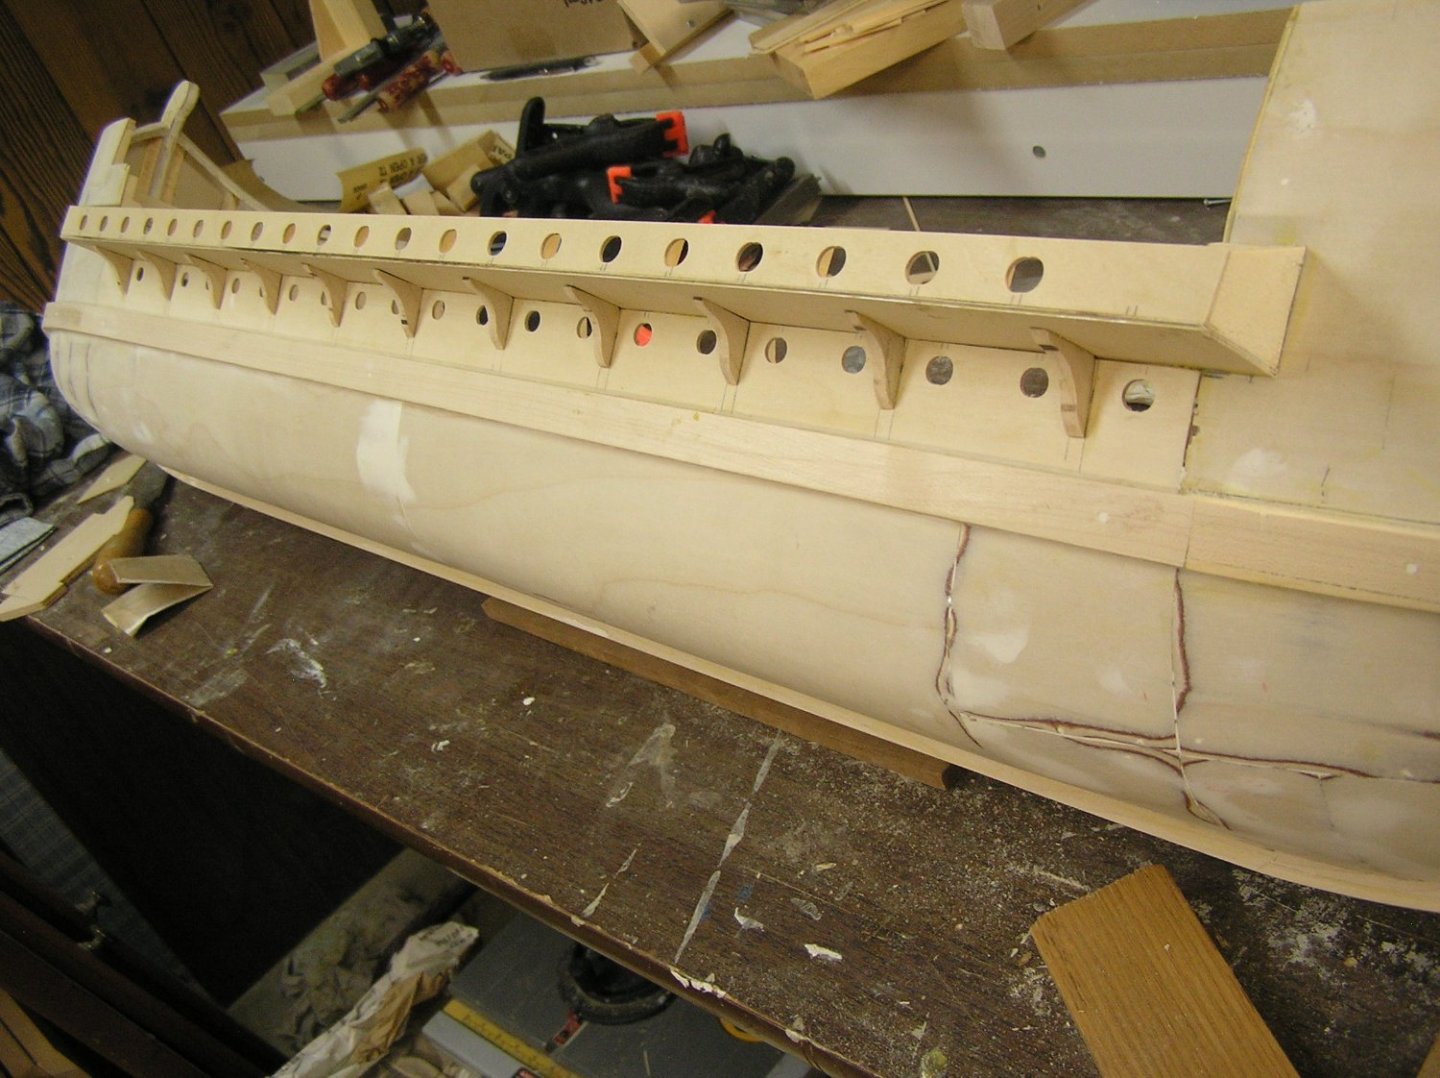
Took a while to recover from our trip but I finally started on the galley again. Added the external keel, faired into the stern post, and trimmed the stern post to suit the hull. Added the outriggers for the 2nd row of oars. Plan now is to fill/sand the hull some more, then get epoxy resin on the inside and some form of protection, probably spar varnish, on the outside lower hull as a base for painting. But before adding decorative trim or building the hull above the outriggers and the decks, I want to test it on water to verify it will work, even before bothering with steering platforms and twin rudders. Thus, I need to build the second mechanism then install both. If it actually does row along then I will proceed to the finish. Here are some pics of the current state. Those little brackets under the outriggers were a bit unnerving to slice off on a 3HP table saw even with a thin-kerf blade and a zero-clearance insert. I see now why wood model builders buy Byrnes saws ..... 😀 By the way, I got a new laptop with Windows 11 .... why do all the smiley face memes look so evil now? Or is it just a setting I need to change?


- 536 replies
-
- 12
-
-
- Quadrireme
- radio
- (and 1 more)
-
I don't know Bill; I have zero experience with gold leaf. I think your model will look wonderful. Thankfully SR has a lot less rigging than Victory in terms of numbers of backstays etc......
-
Bill, you're right port lids are a challenge on plastic Heller kits. The way they're hinged in reality, when open the outer edge of the top of the lid would just be kissing the outer edge of the top of the opening ie nothing overlaps. On my Victory I added small styrene strips along the top edge of the port lids and left them unpainted. When gluing these strips were aligned with the unpainted top surfaces of the openings, giving a solid glued joint with the lids in exactly the position they would be in when open and the unpainted strips hidden in the hull. Hard to describe in words but I hope you see.
-
I'll need a crew for my galley. I think I looked at Blender, or something, but it was geared to making wargaming figures with exaggerated bodily proportions. I'll look again; what is this other app you mentioned?
-
Hi Bill, on Victory those eyebolts are very near the hatches too. I don't think you have an issue. I've seen those in-hauls called "steady tackles" too, somewhere.
-
HMS Victory Renovation - Outer Planking Removed
Ian_Grant replied to Steve20's topic in Nautical/Naval History
My jaw dropped when I found this thread. They're removing outer planking? It seems a short while since they spent time and money repainting it in that new ochre tint! I know they are in the midst of a 20-year refit, and I was hoping to cross the pond and see her at the scheduled completion date by which time I'll be in my mid seventies, but this seems like they are going backwards. 🤨 I'll have to check for schedule updates. Will try to stay alive in the meantime. 😆 Hello again. I checked up. Seems they started a new 15-year refit in 2022, although already about 10 years in to a 20-year one. Now I'll be nearly 80 when they re-rig her. Sigh. -
Like lacing a bicycle wheel - get most of the way then realize you goofed and the two spokes either side of the valve hole are converging.....hindering pump access.......😒
-
Hi Michael; sad to say I haven't touched her for months. I've been working on my Roman galley for RC. Hoping to finish Preussen next winter.
-
Wow Kevin you have been busy! She looks amazing; incredible printed details! 😲 👀 You have become an expert 3D man. ps have you ever tried printing human figures? ... asking for a friend.....😏
- 444 replies
-
- 1
-
-
- Cutty Sark
- Revell
- (and 2 more)
-
Dick, thank you very much! I don't know how you and Steven find all these books and drawings........it will be a while before I have to implement something. Before I even try I want to get some protective coat on the lower hull and try it in a pool with oars installed; if it ain't going to work then it will have to be abandoned. 😔 I don't want to cheat by adding a little propeller. 🙄
- 536 replies
-
- 1
-
-
- Quadrireme
- radio
- (and 1 more)