Baker
-
Posts
4,286 -
Joined
-
Last visited
Content Type
Profiles
Forums
Gallery
Events
Everything posted by Baker
-

Hello from sunny Southern California
Baker replied to boatsNbeers's topic in New member Introductions
-
-
Coca by Foremast - Amati -1:60
Baker replied to Foremast's topic in - Kit subjects built Up to and including 1500 AD
Same problem for 16th century ships 😉 And, that's why my next model is probably a coca. A lot of free thinking and a lot of room for interpretation. I think there is a lot of difference between a cog and a coca -
Coca by Foremast - Amati -1:60
Baker replied to Foremast's topic in - Kit subjects built Up to and including 1500 AD
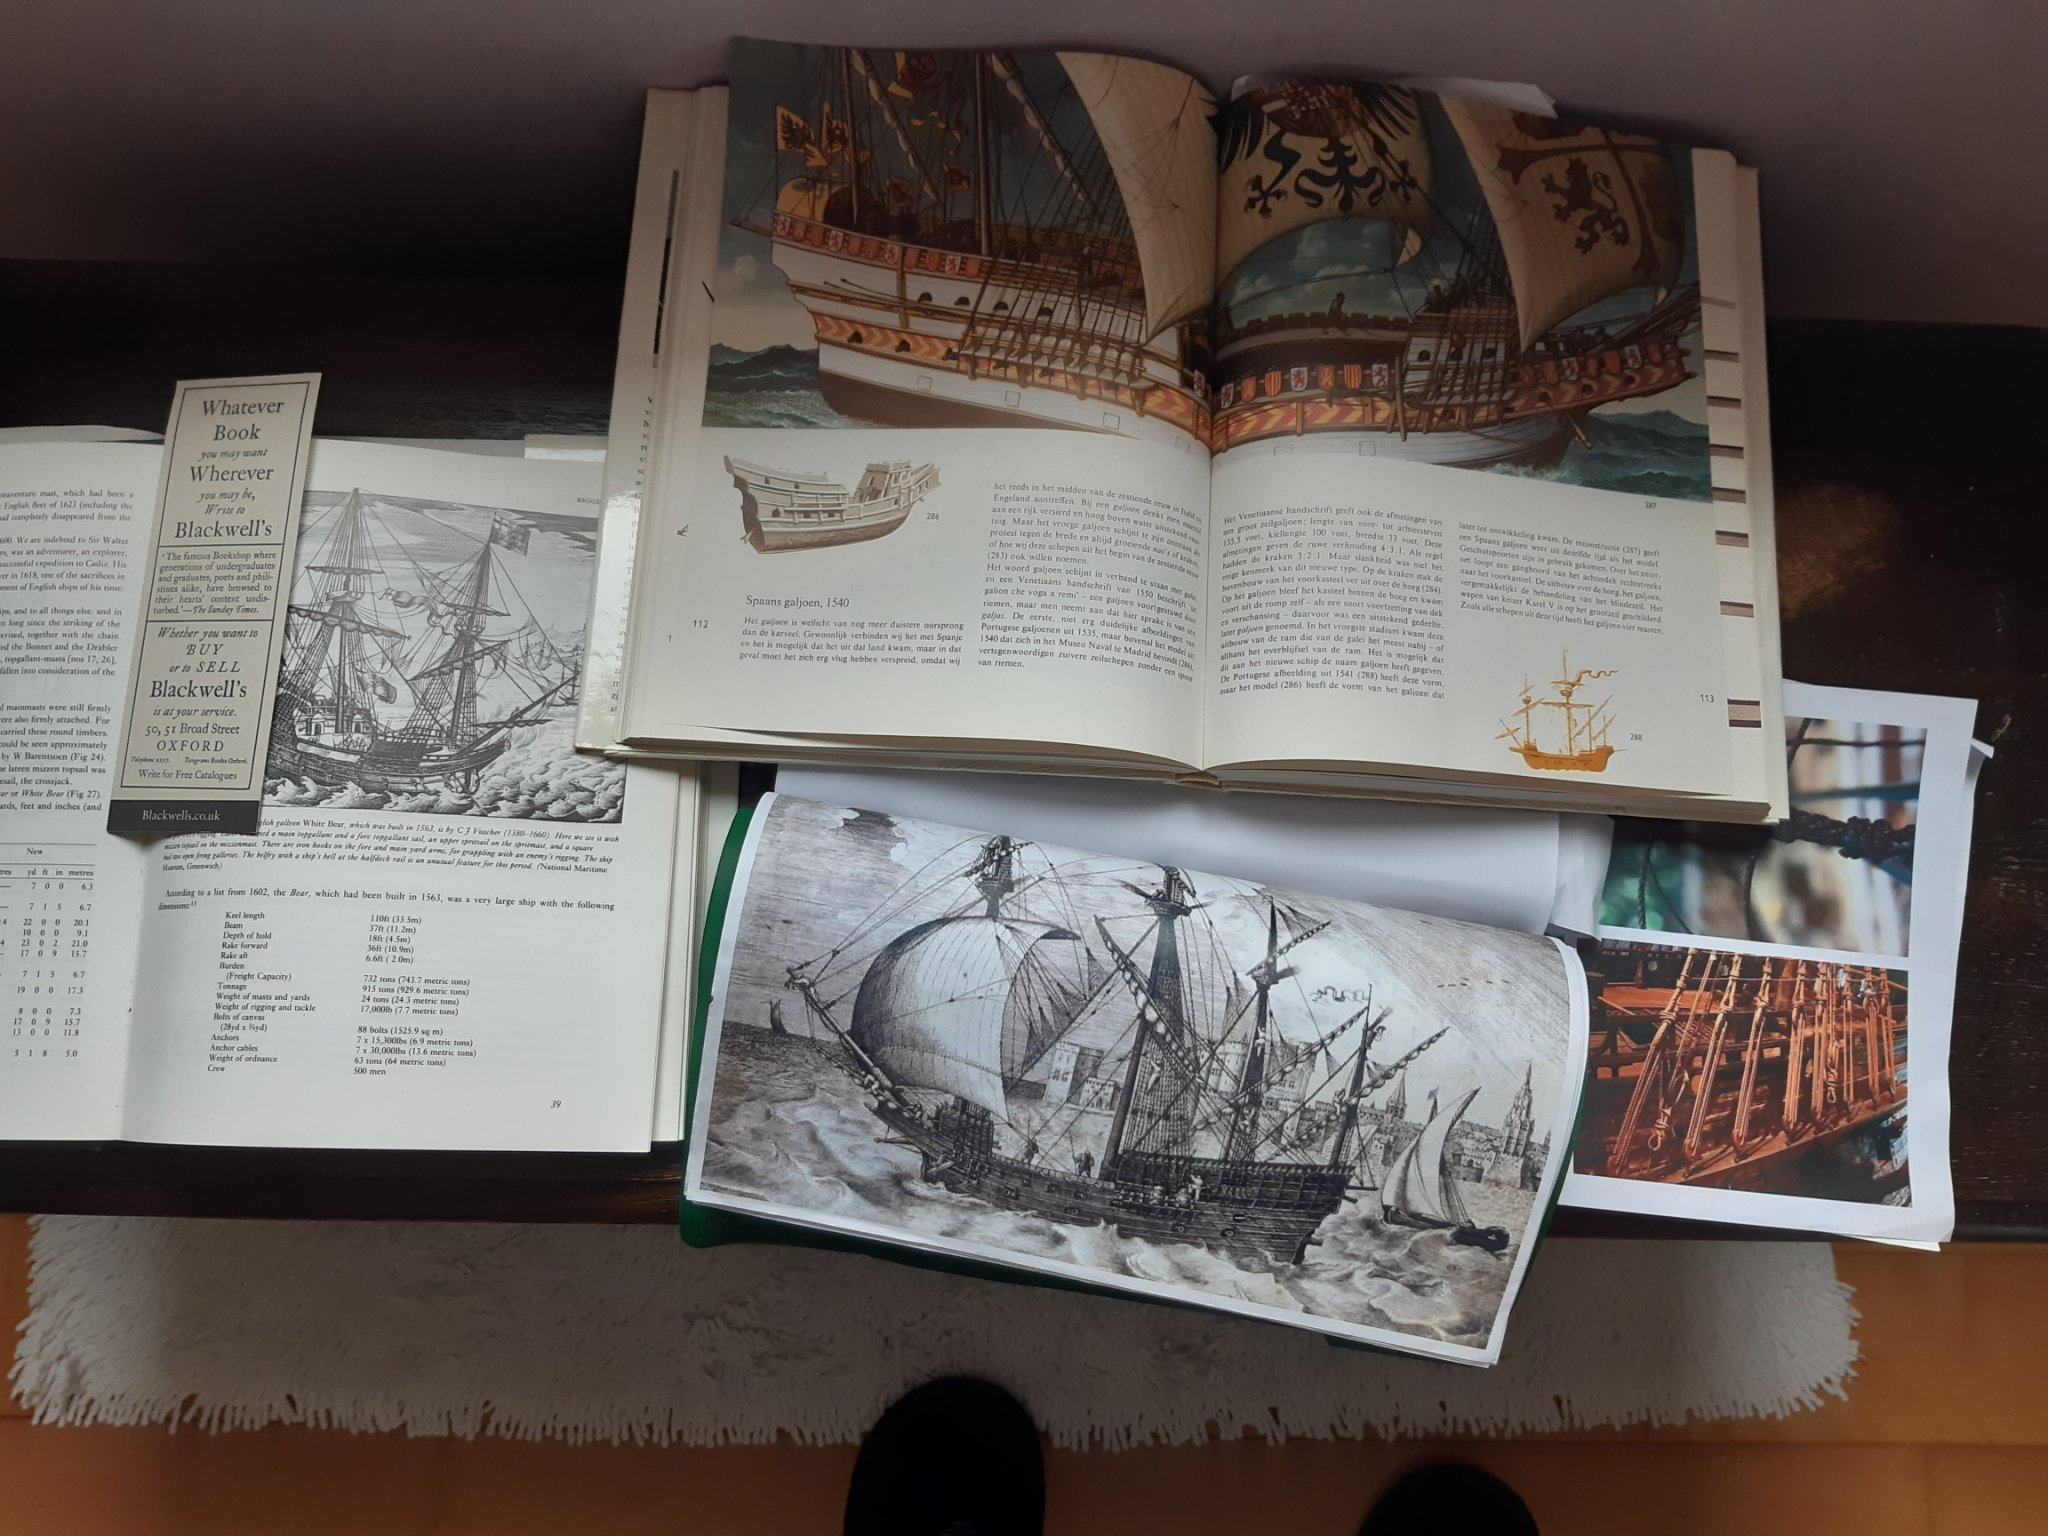
Rodolfo has already done a lot of research -
Coca by Foremast - Amati -1:60
Baker replied to Foremast's topic in - Kit subjects built Up to and including 1500 AD
The position of the pump is probably correct. A capstan cannot stand on this upper deck (then the rudder can no longer turn) Probably ther was only one windlass in the forecastle for lifting the anchor and the main yard.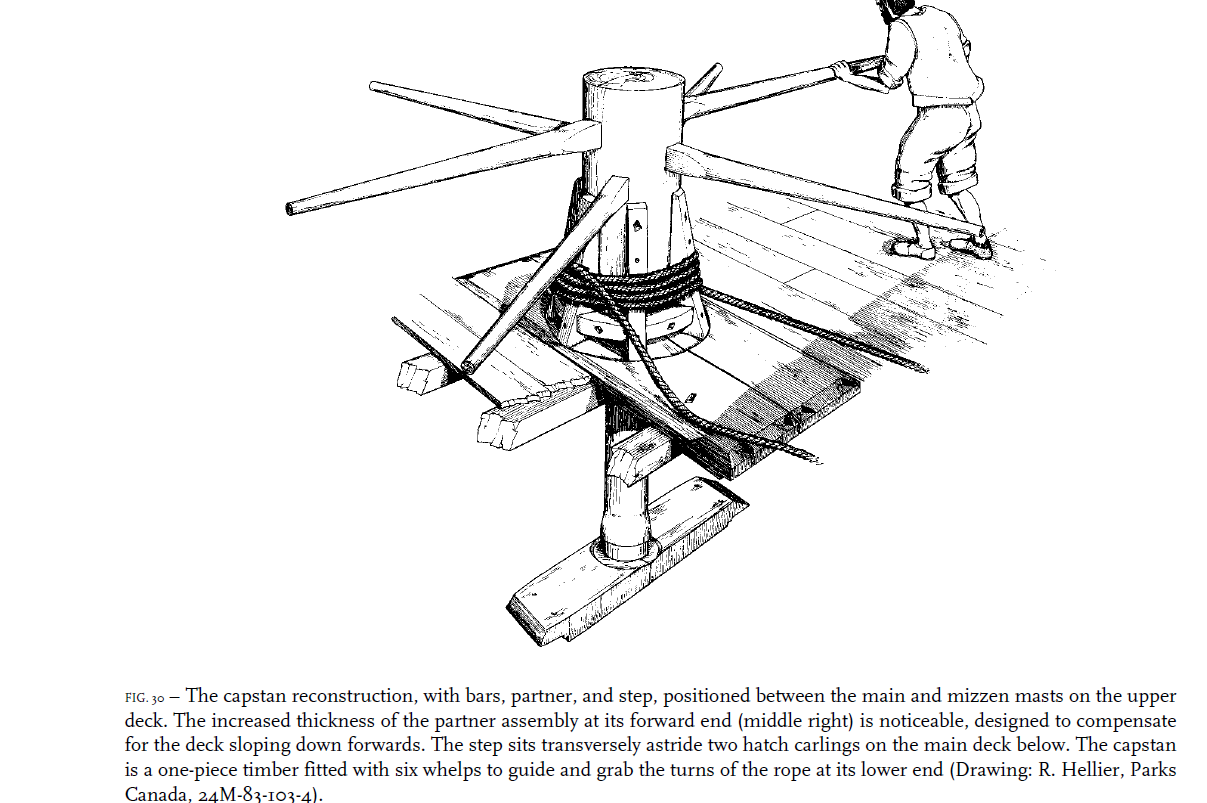
-
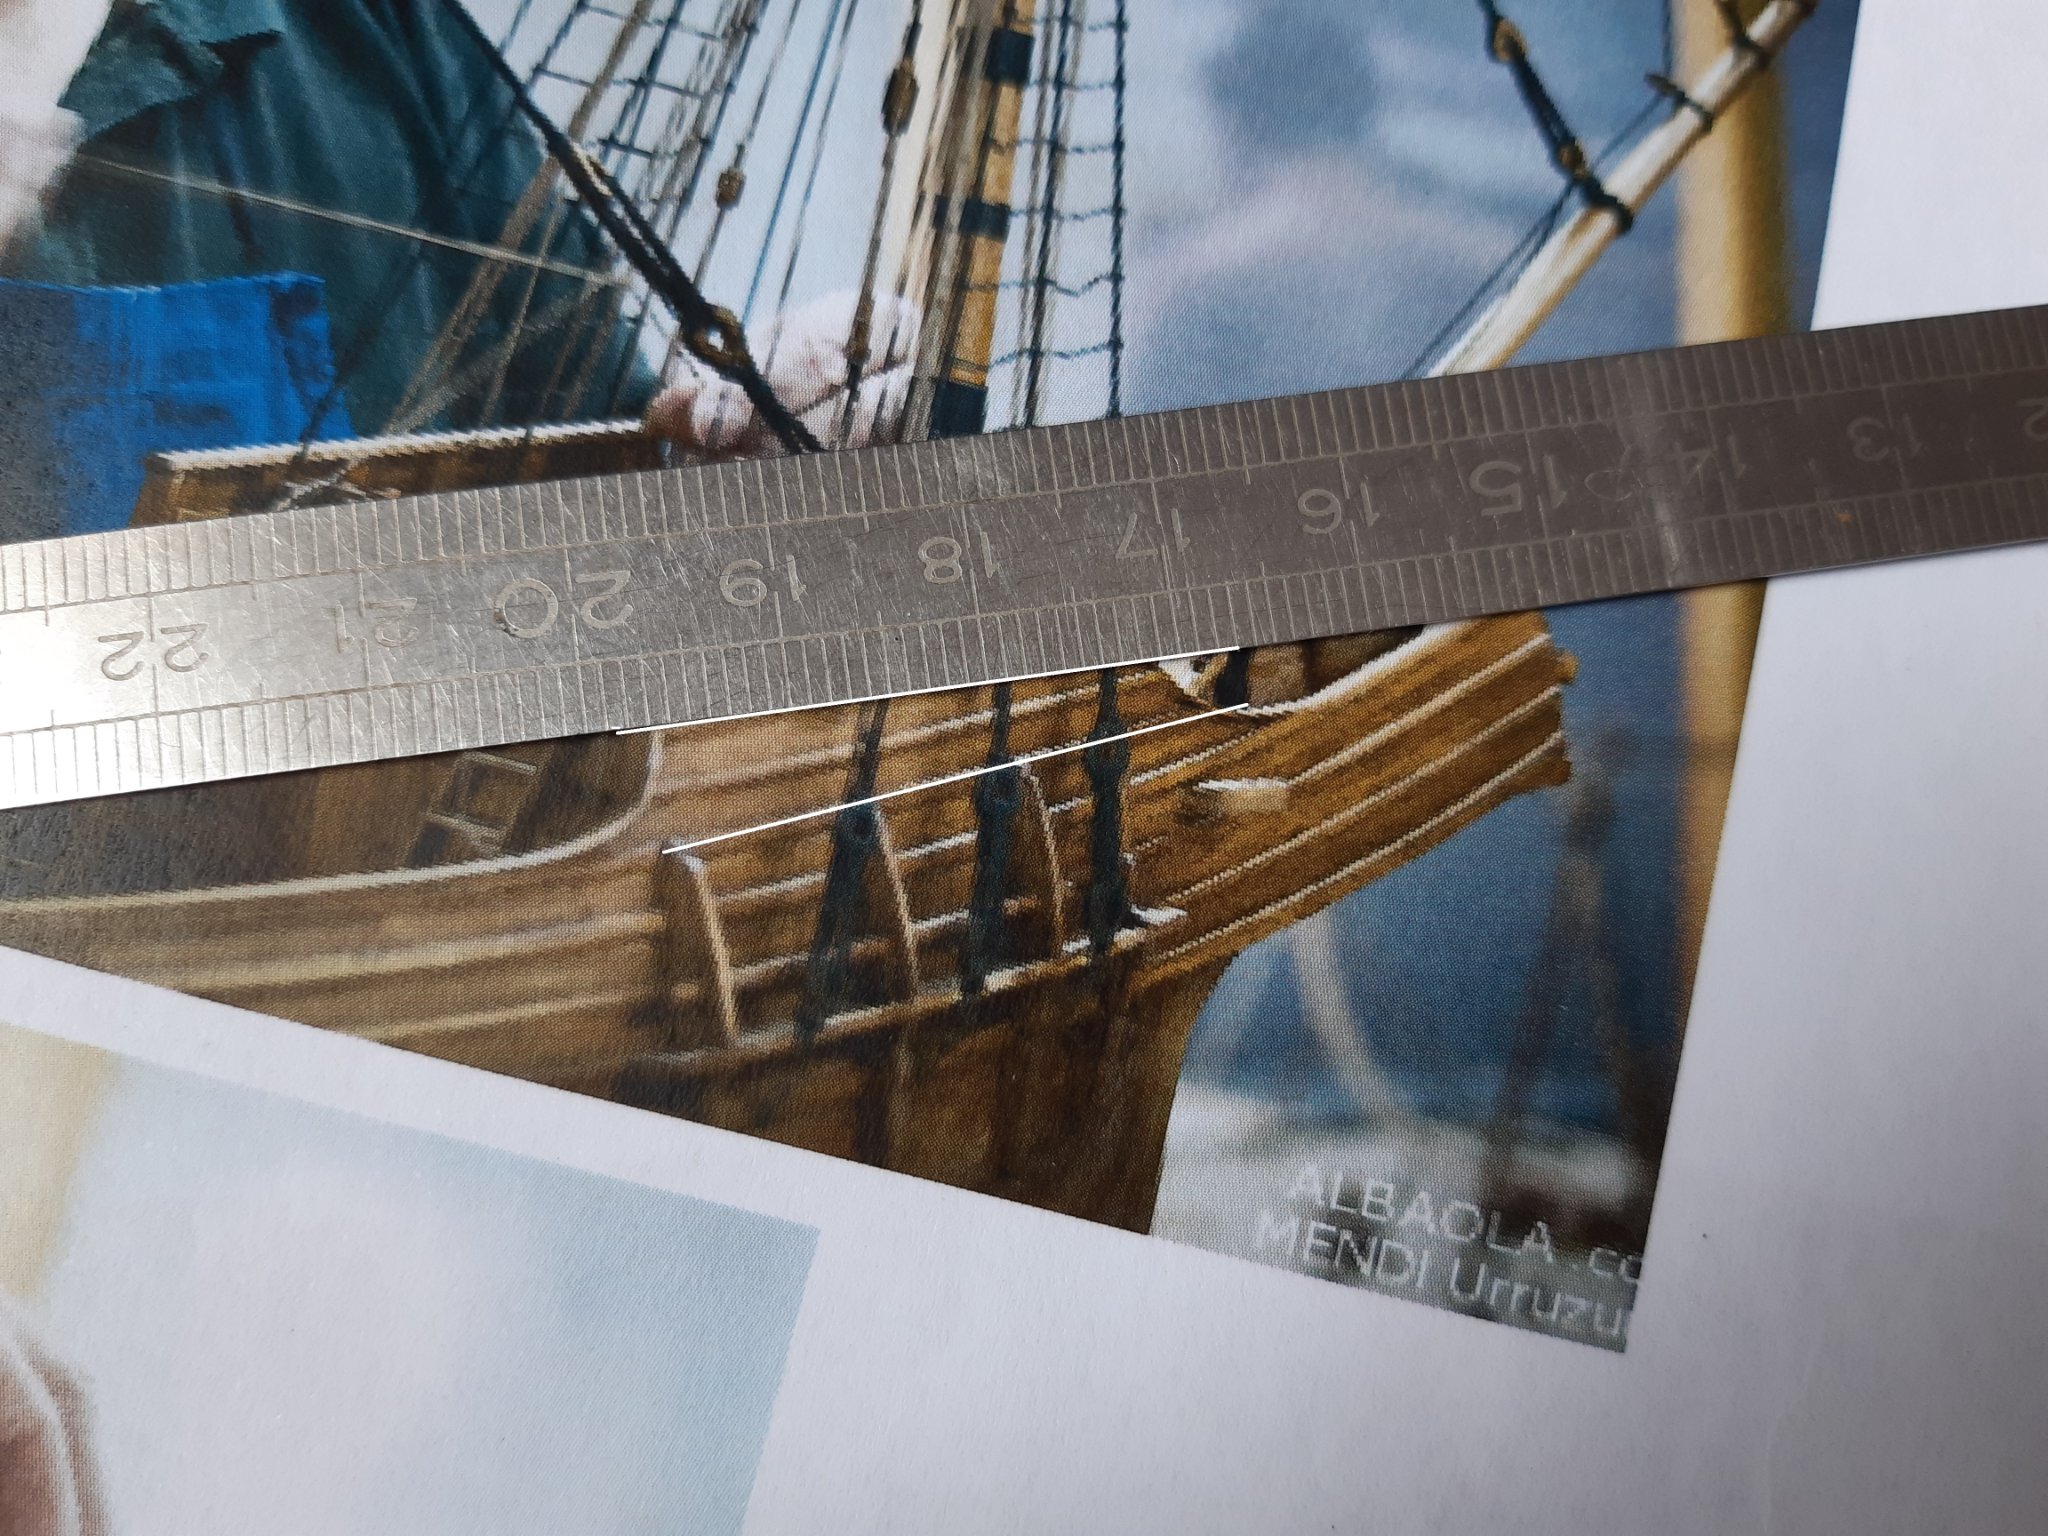
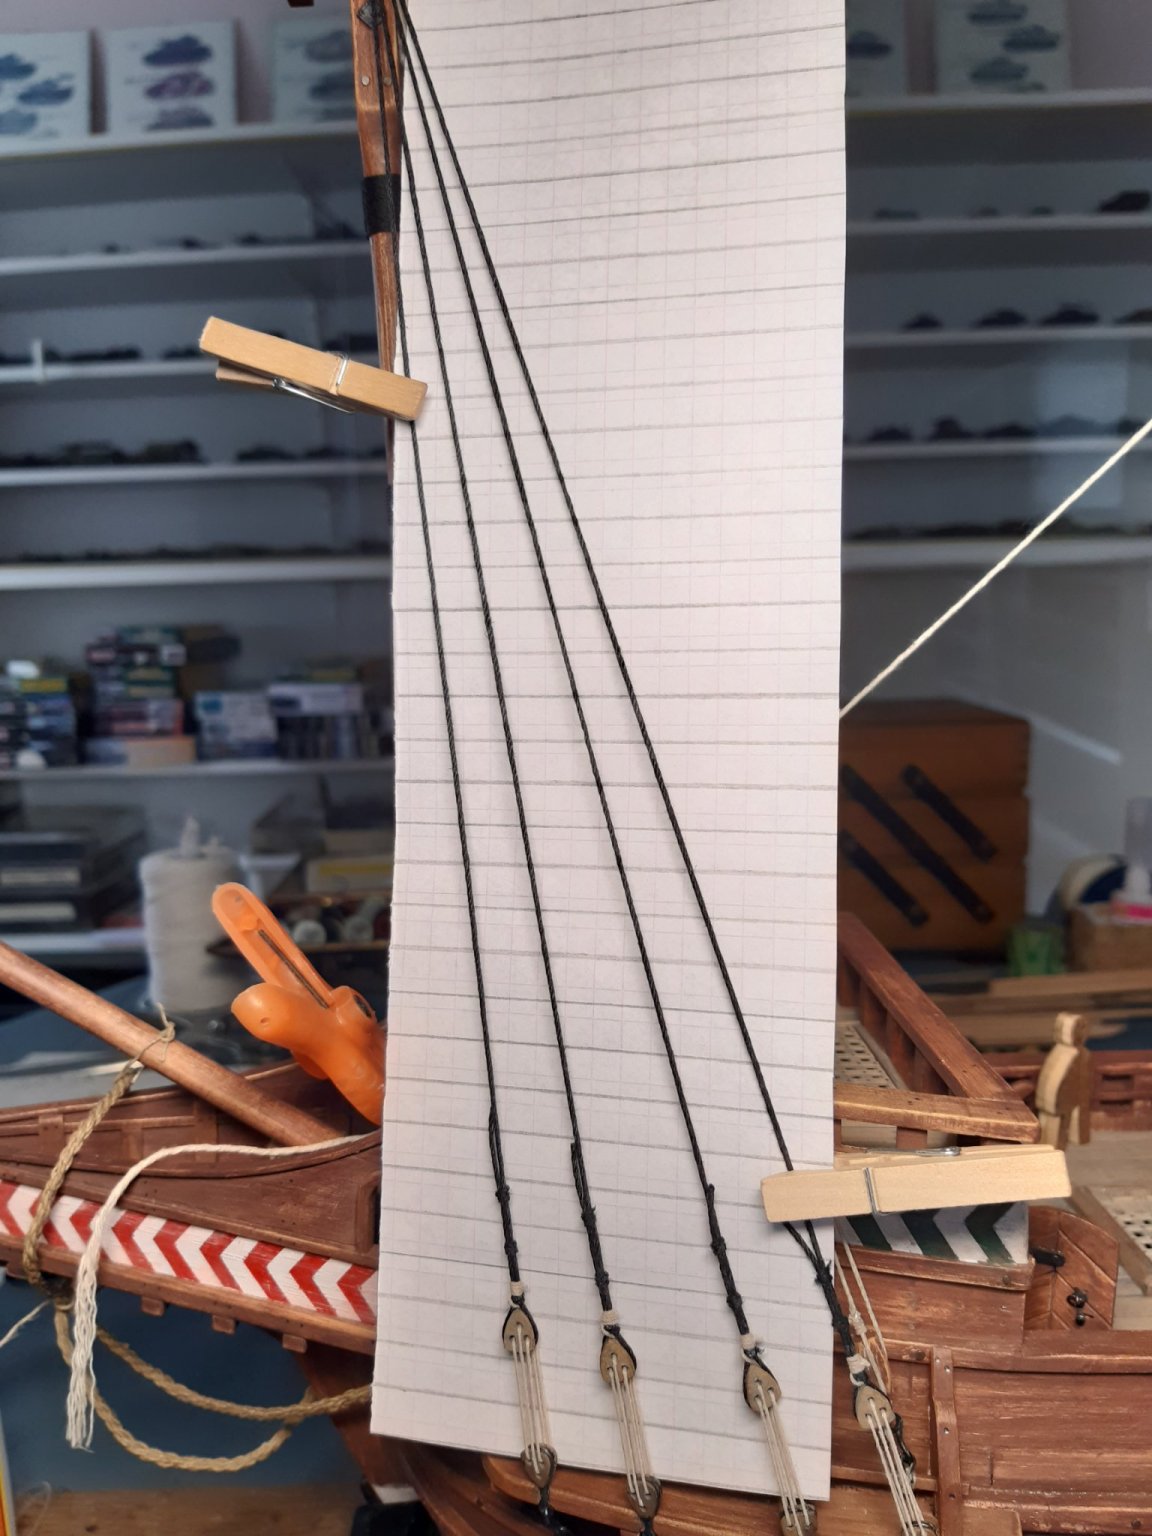
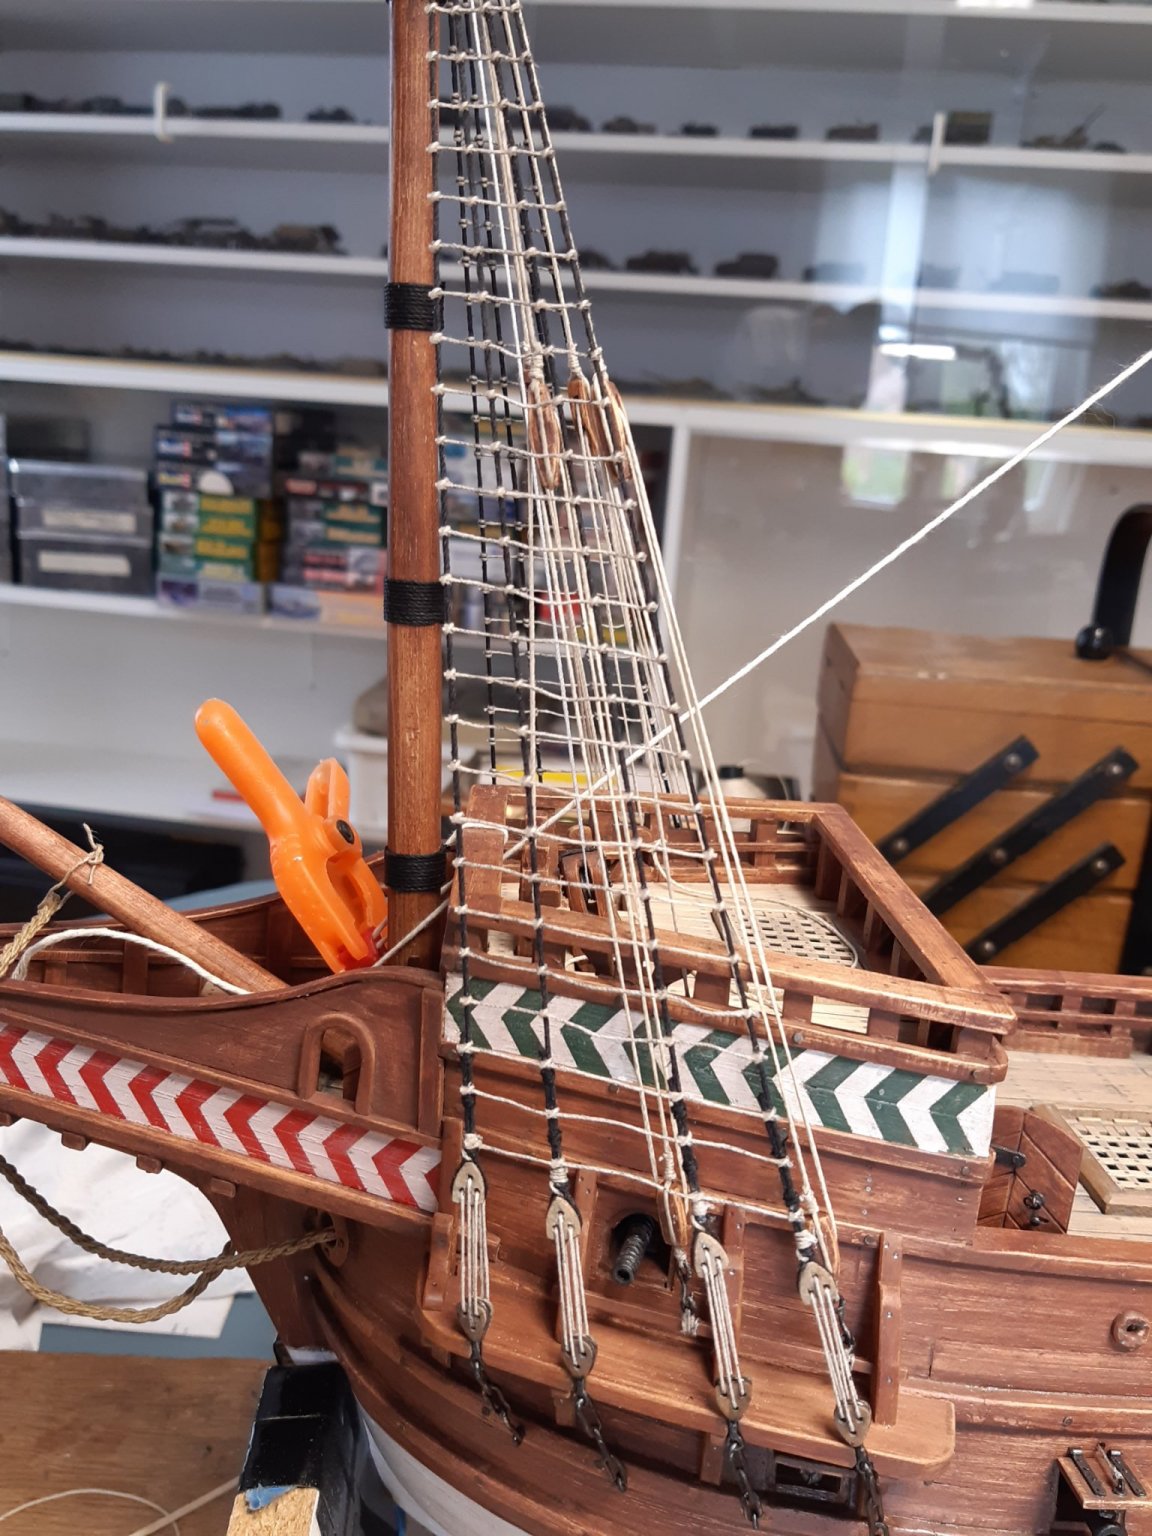
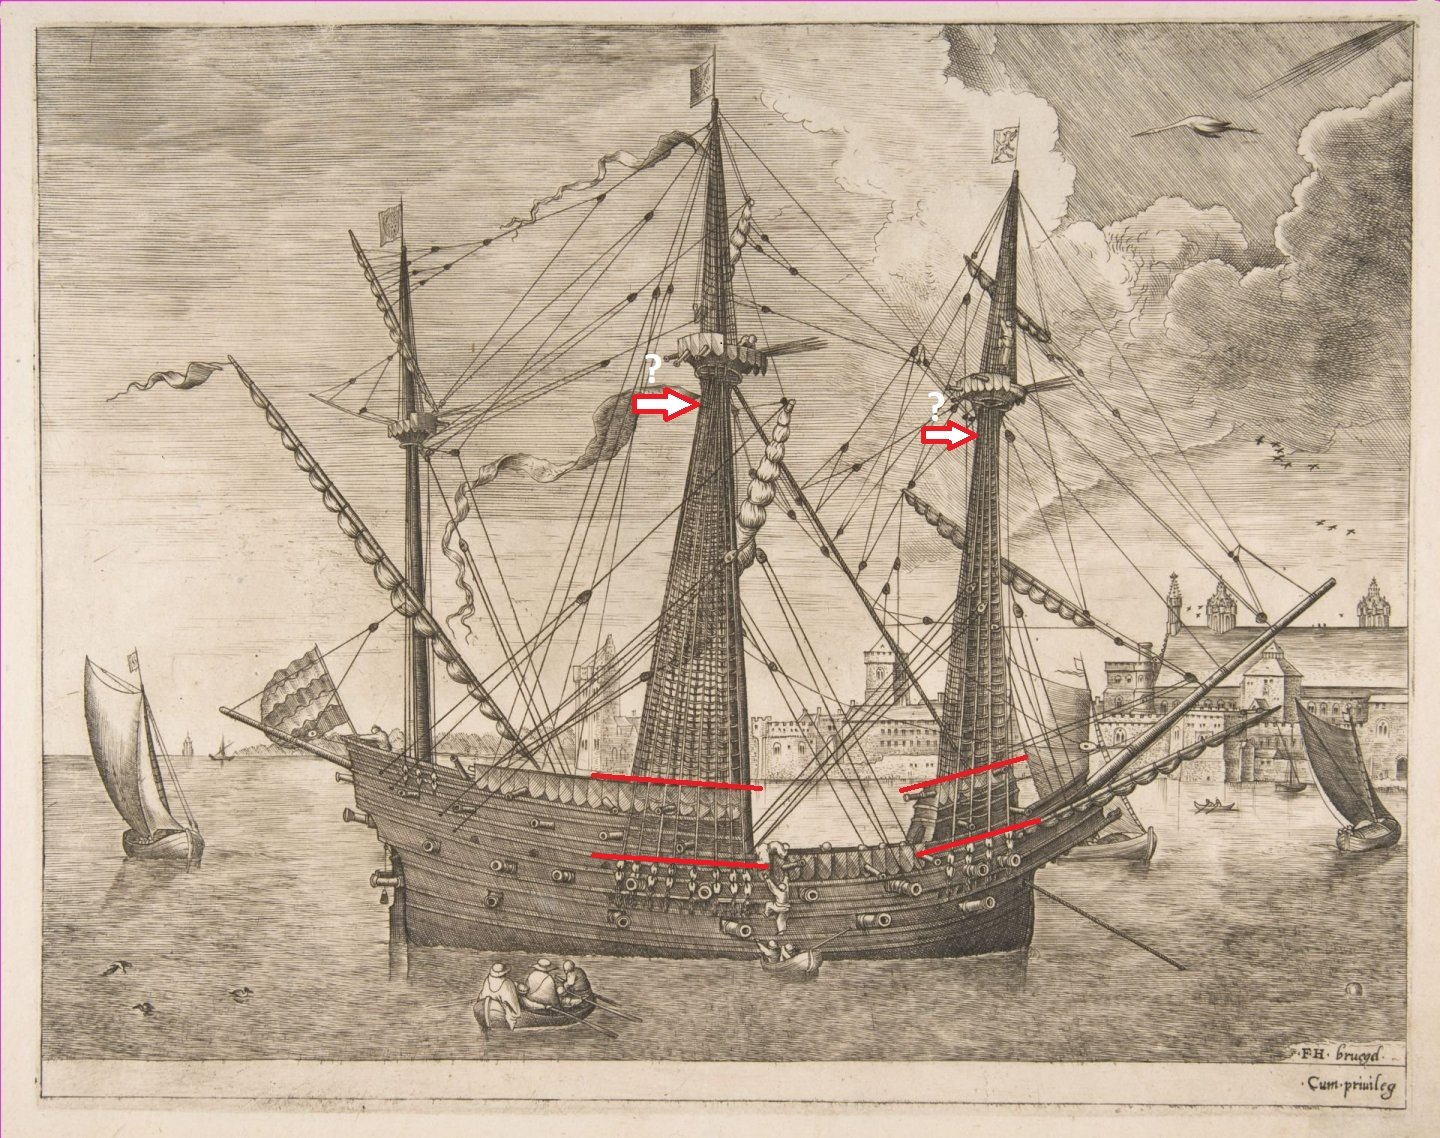
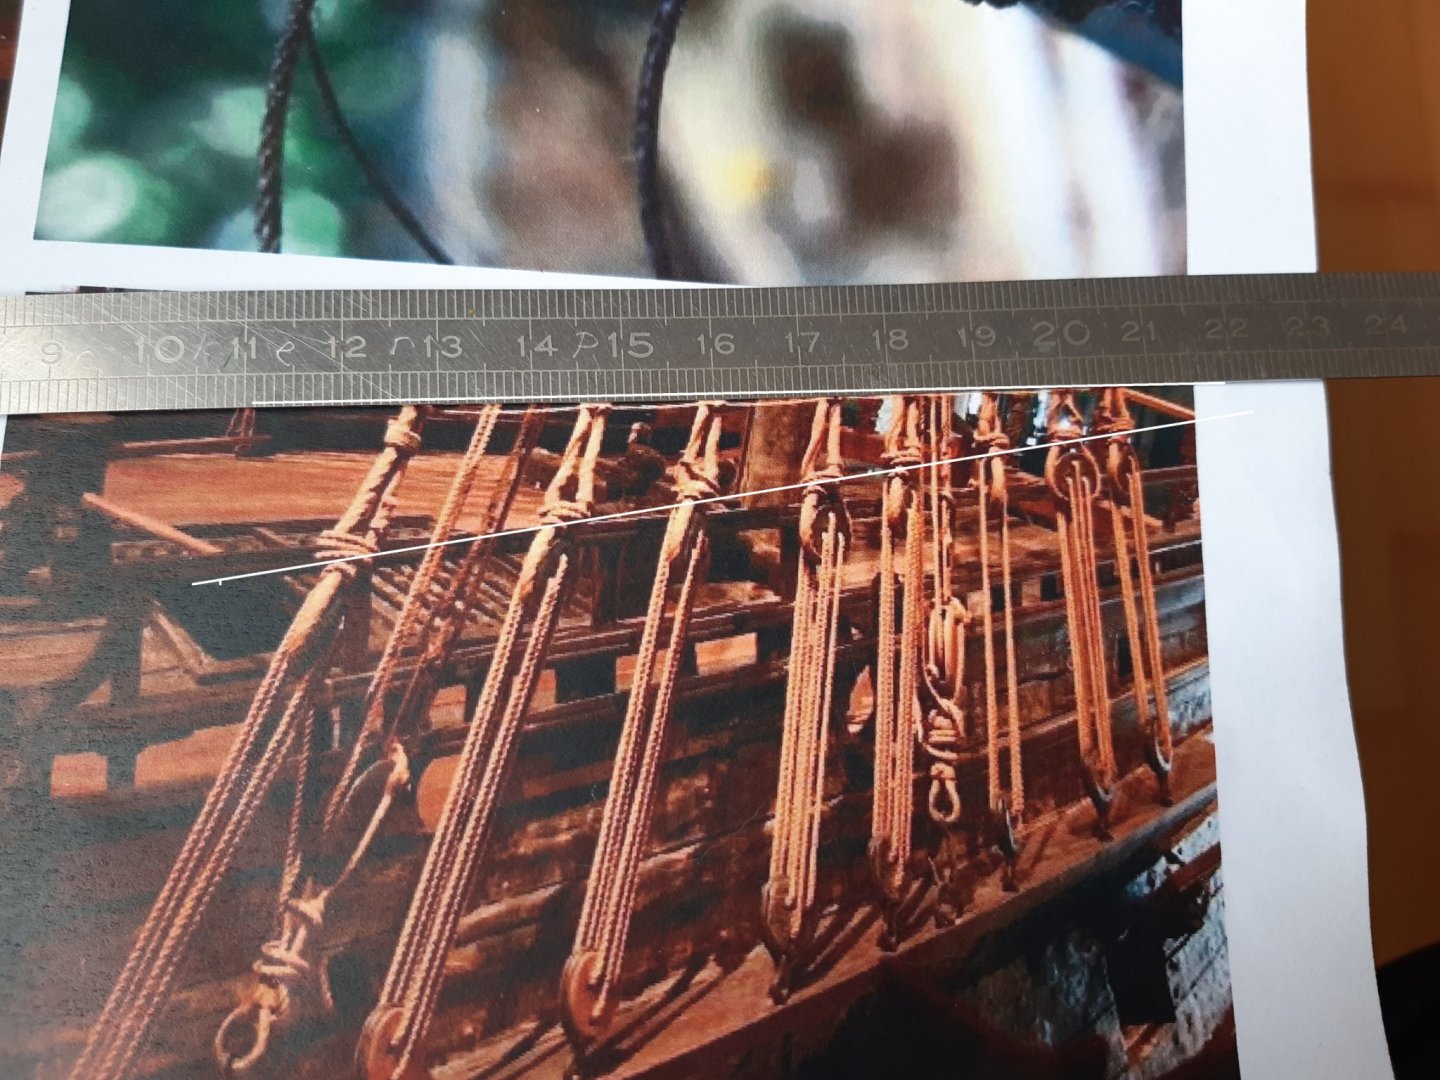
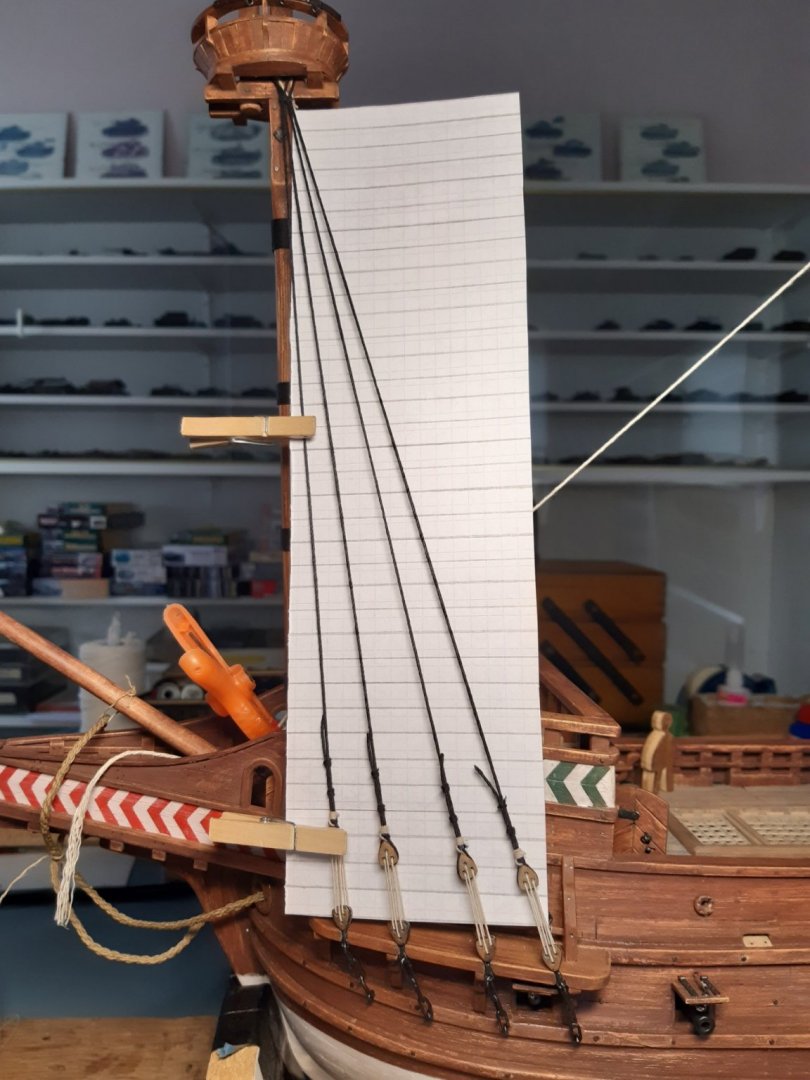
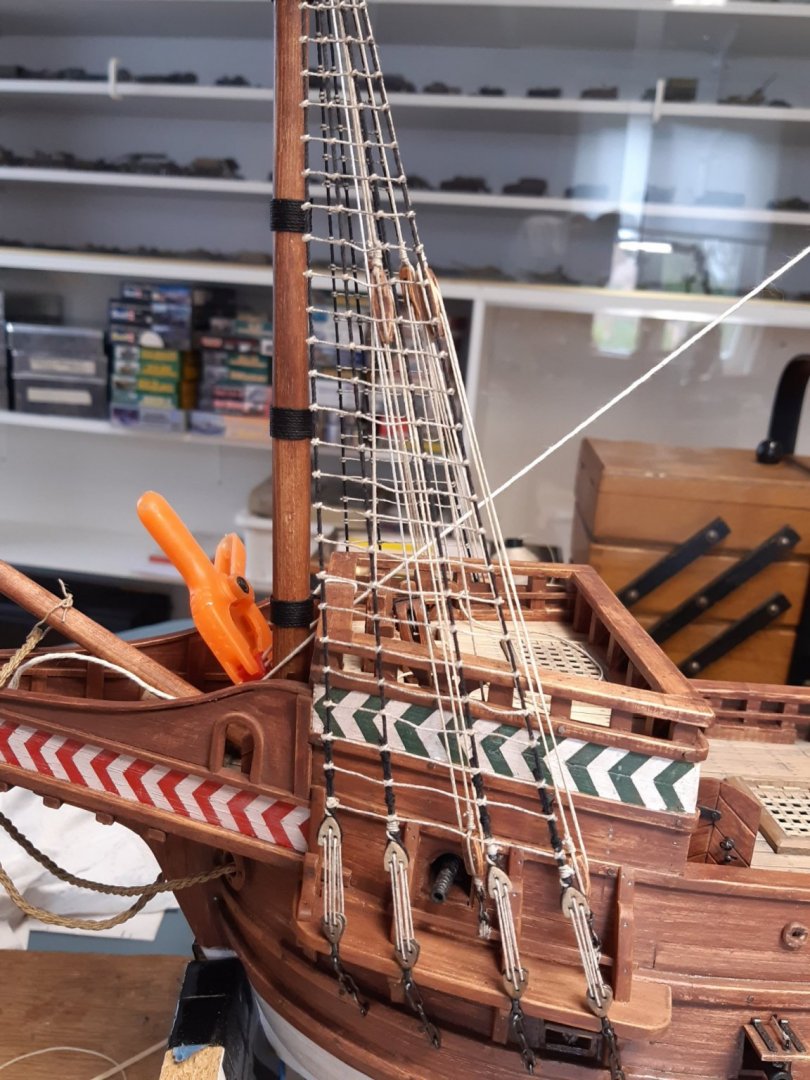
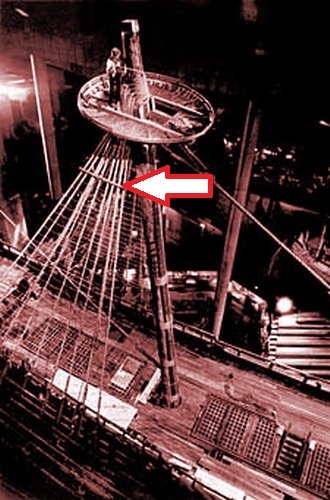
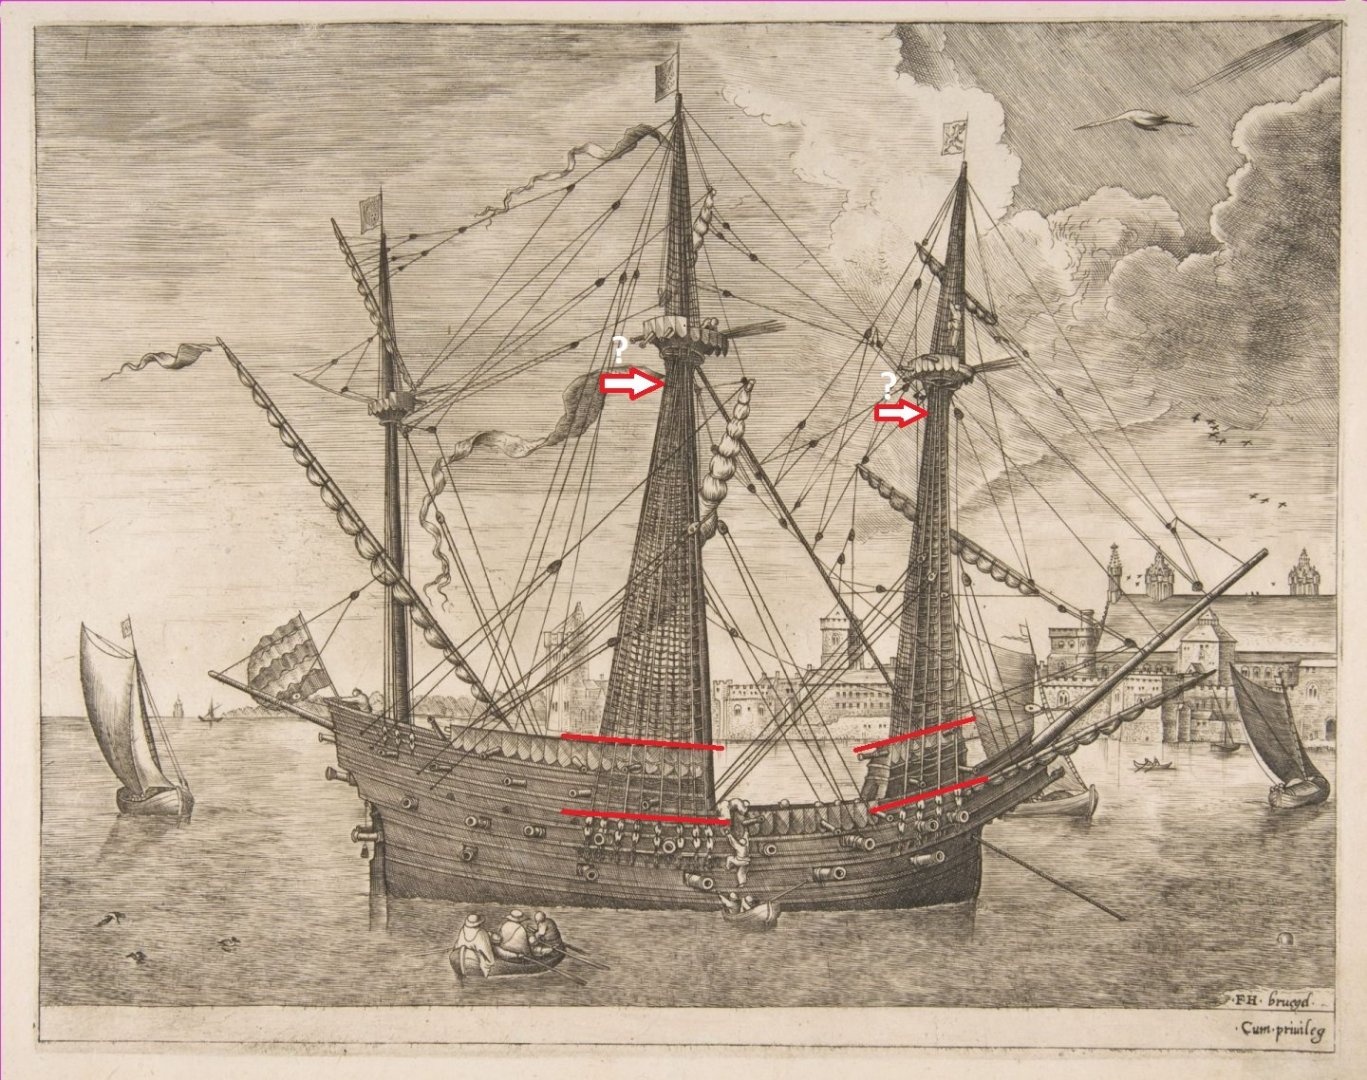
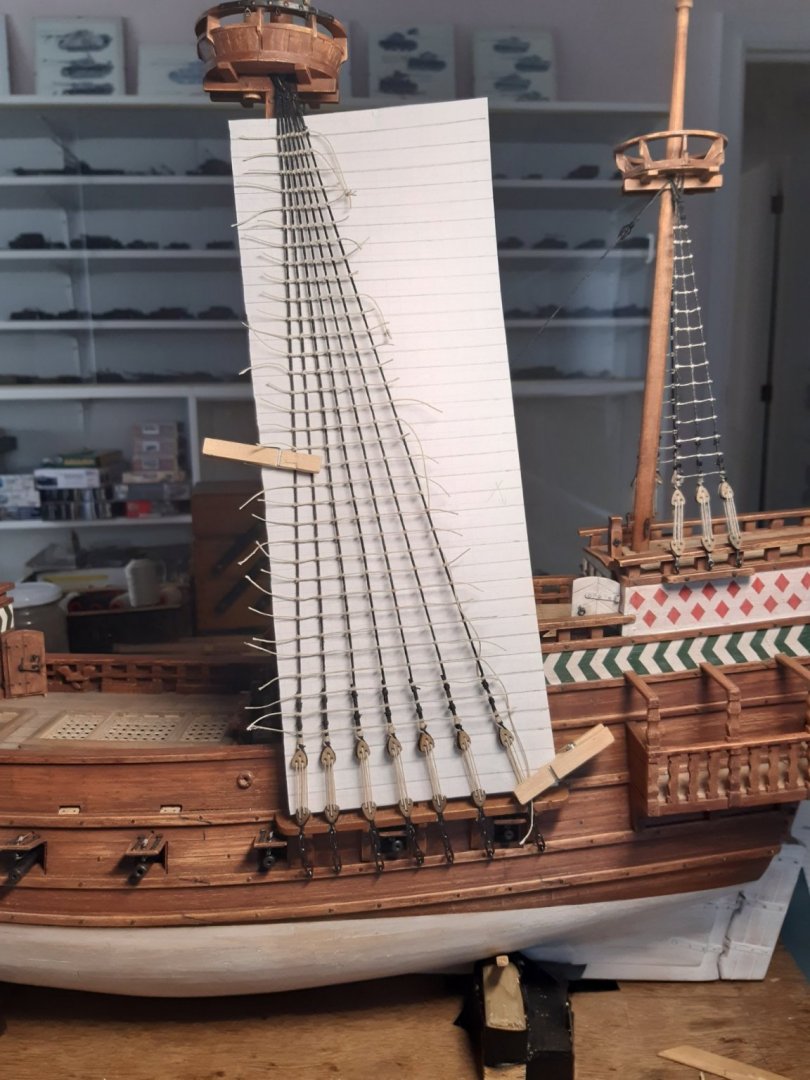
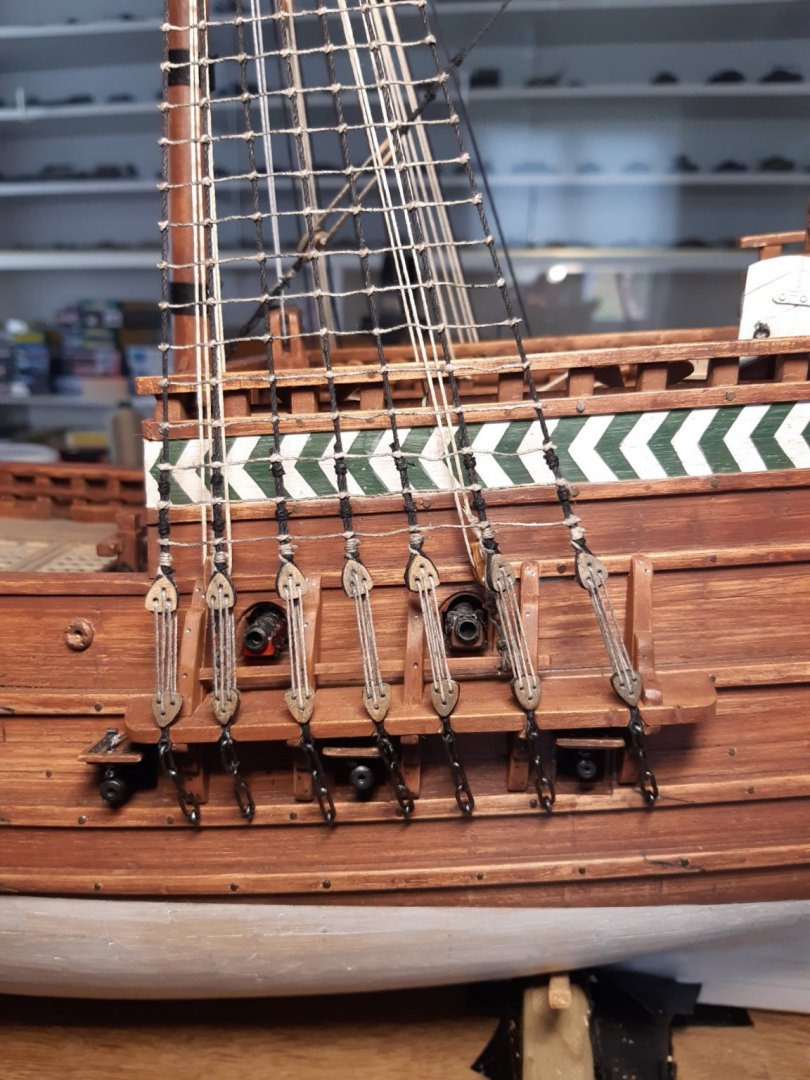
Further on the standing rigging. Foremast question : What is the angle at which the ratlines of the foremastge are placed? On 2 of my "live examples", they have problems keeping the same distance from the deadeyes Looking at drawings, the ratlines are in line with the railing and the deadeyes. So we go for the latter method. Oops forgot this one (but this is not on Breughel's drawing) Probably wrong Hopefully correct Ratlines done work in progress Blocks for the main mast forestay Rope serving exercise, looks good so far Thanks for following, comments and likes


- 756 replies
-
- 13
-

-
- galleon
- golden hind
- (and 2 more)
-
Coca by Foremast - Amati -1:60
Baker replied to Foremast's topic in - Kit subjects built Up to and including 1500 AD
Very nice work -
Beautiful models.
-
I think that your filler is not waterproof and becomes liquid again when it gets wet. Are your wales "wet" when you glue and pin them? Otherwise you have to bent them wet first, let them dry and then glue them on the hull. The good news Wales are usually painted black on the Revenge so you will not notice much of the filler that has come through the holes. I hope this helps
-
Nice model
-
If I understand correctly, I want to fill in the holes the pins have made. I use Google translate, so a picture of the problem might be easier to understand for me. Why not completely plank the hull first and then fill all the holes with filler. And, I think your first wale is not placed correctly Look at the build from Jonathan Ps, Nice ships, planes and little feet 😉
-
Nice models 👍
-
For me too. Belgian chocolate, preferably fondant (dark chocolate) And, very nice work on the model 👍
-
Jagdtiger by Jörgen - Tamiya - 1/35 - PLASTIC - Weathering
Baker replied to Jörgen's topic in Non-ship/categorised builds
very nice painting -
Roter Löwe 1597 by Ondras71
Baker replied to Ondras71's topic in - Build logs for subjects built 1501 - 1750
Me too 👍 -
Such poorly detailed casts in such an expensive kit. Why not include resin parts or short run plastic parts (but that's my humble opinion)
-
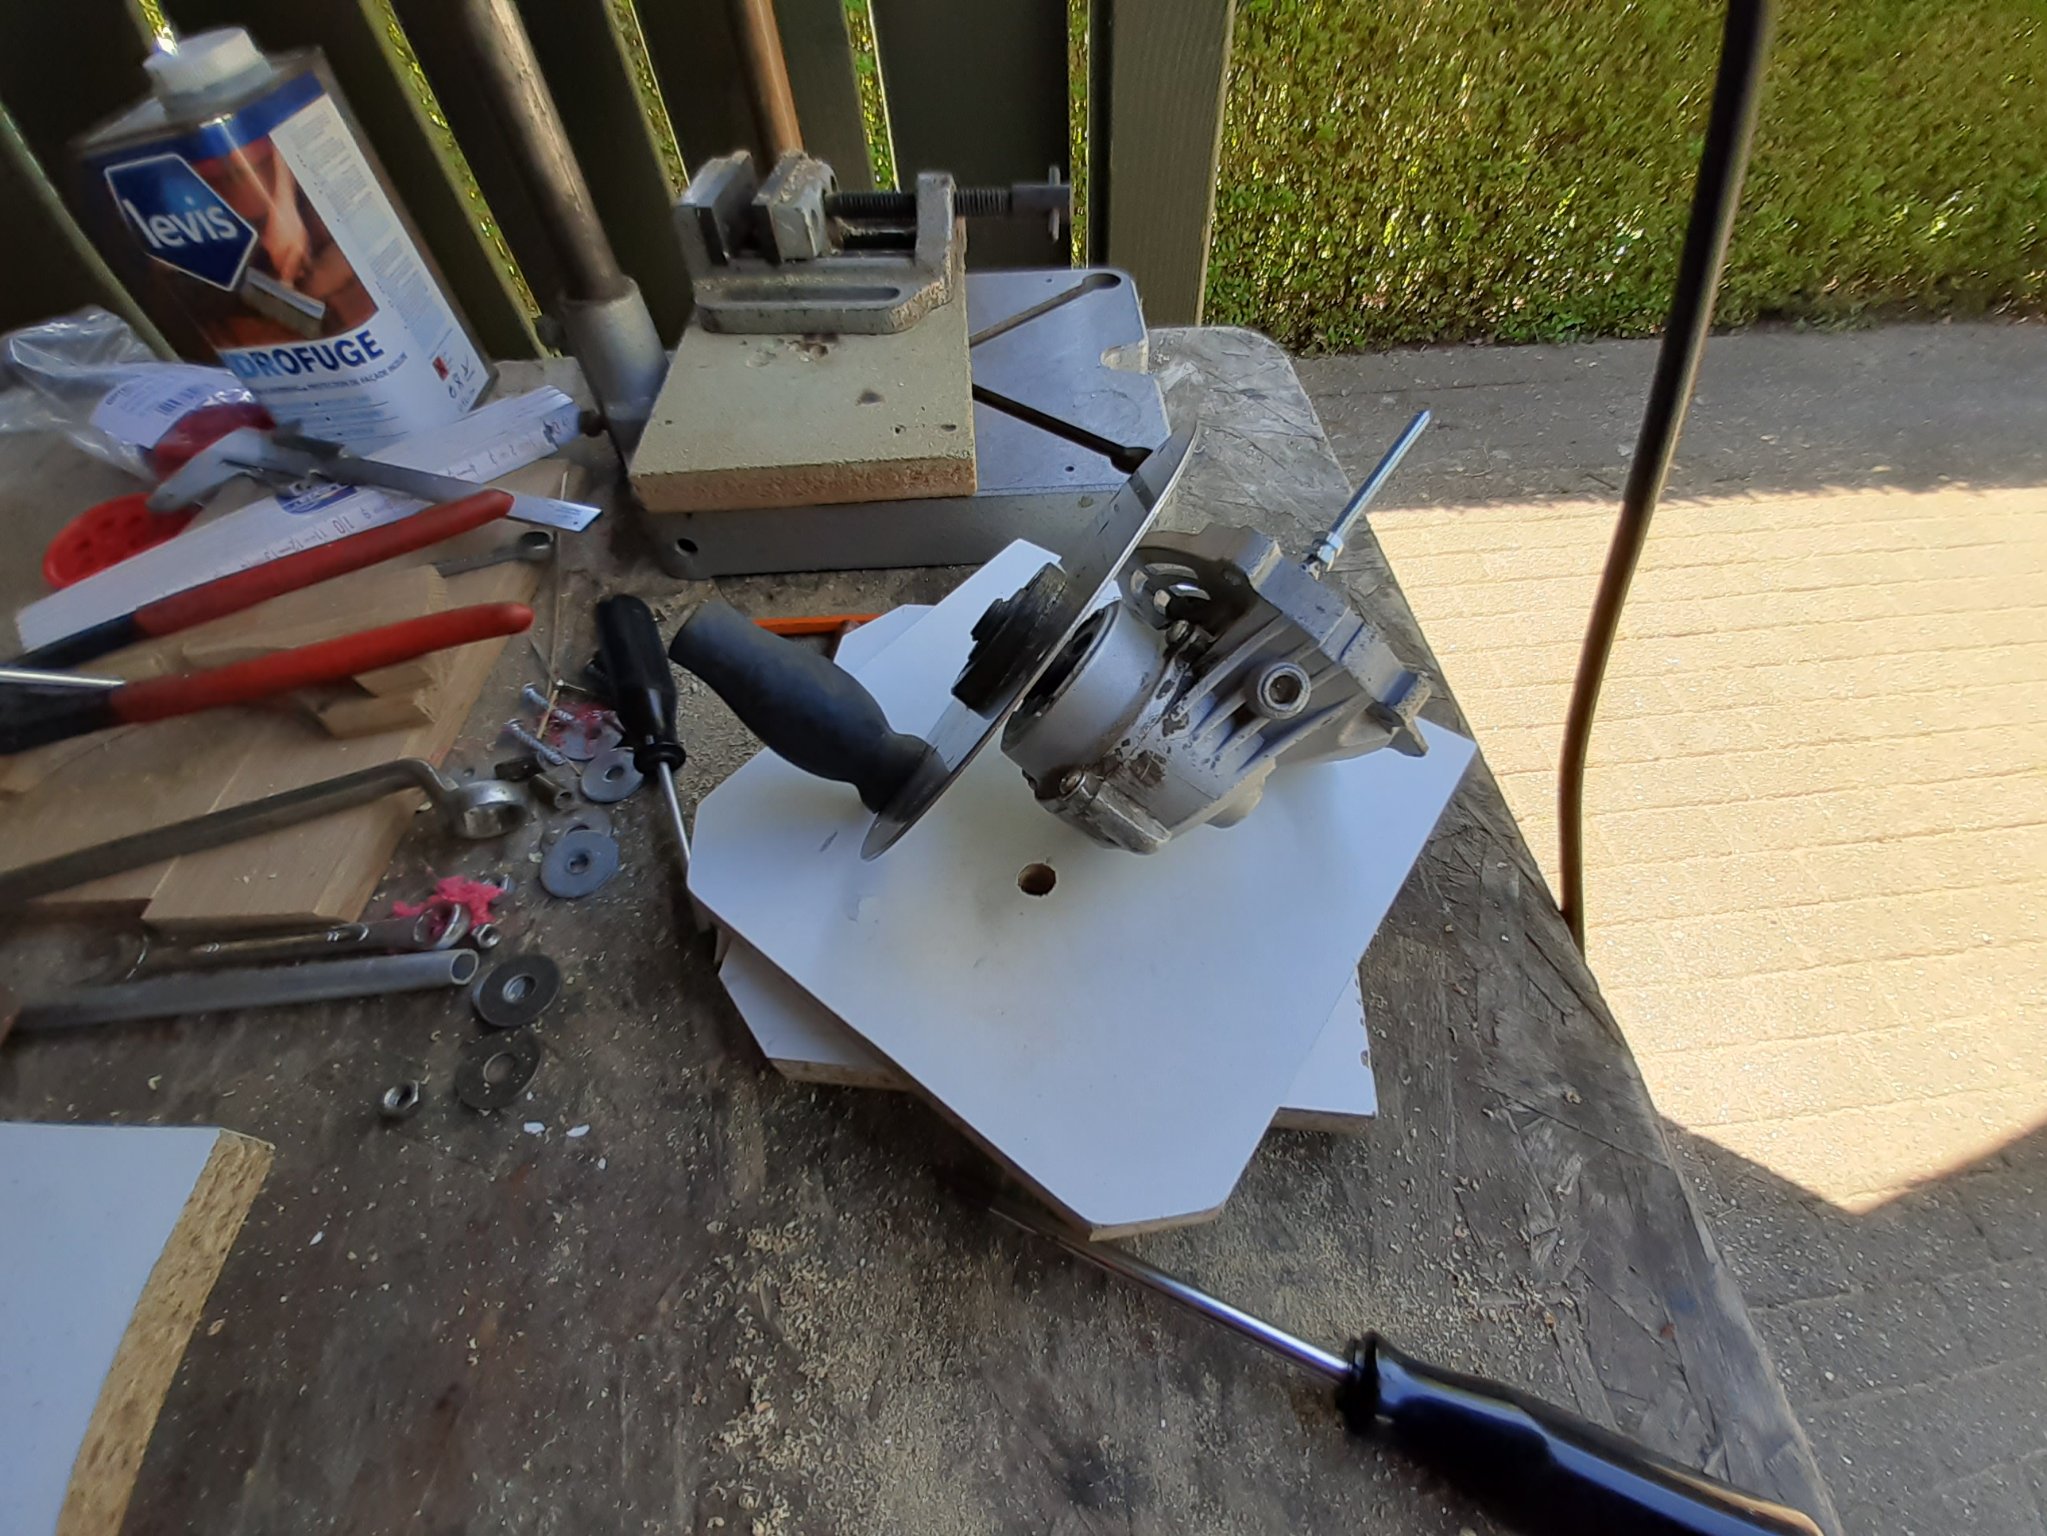
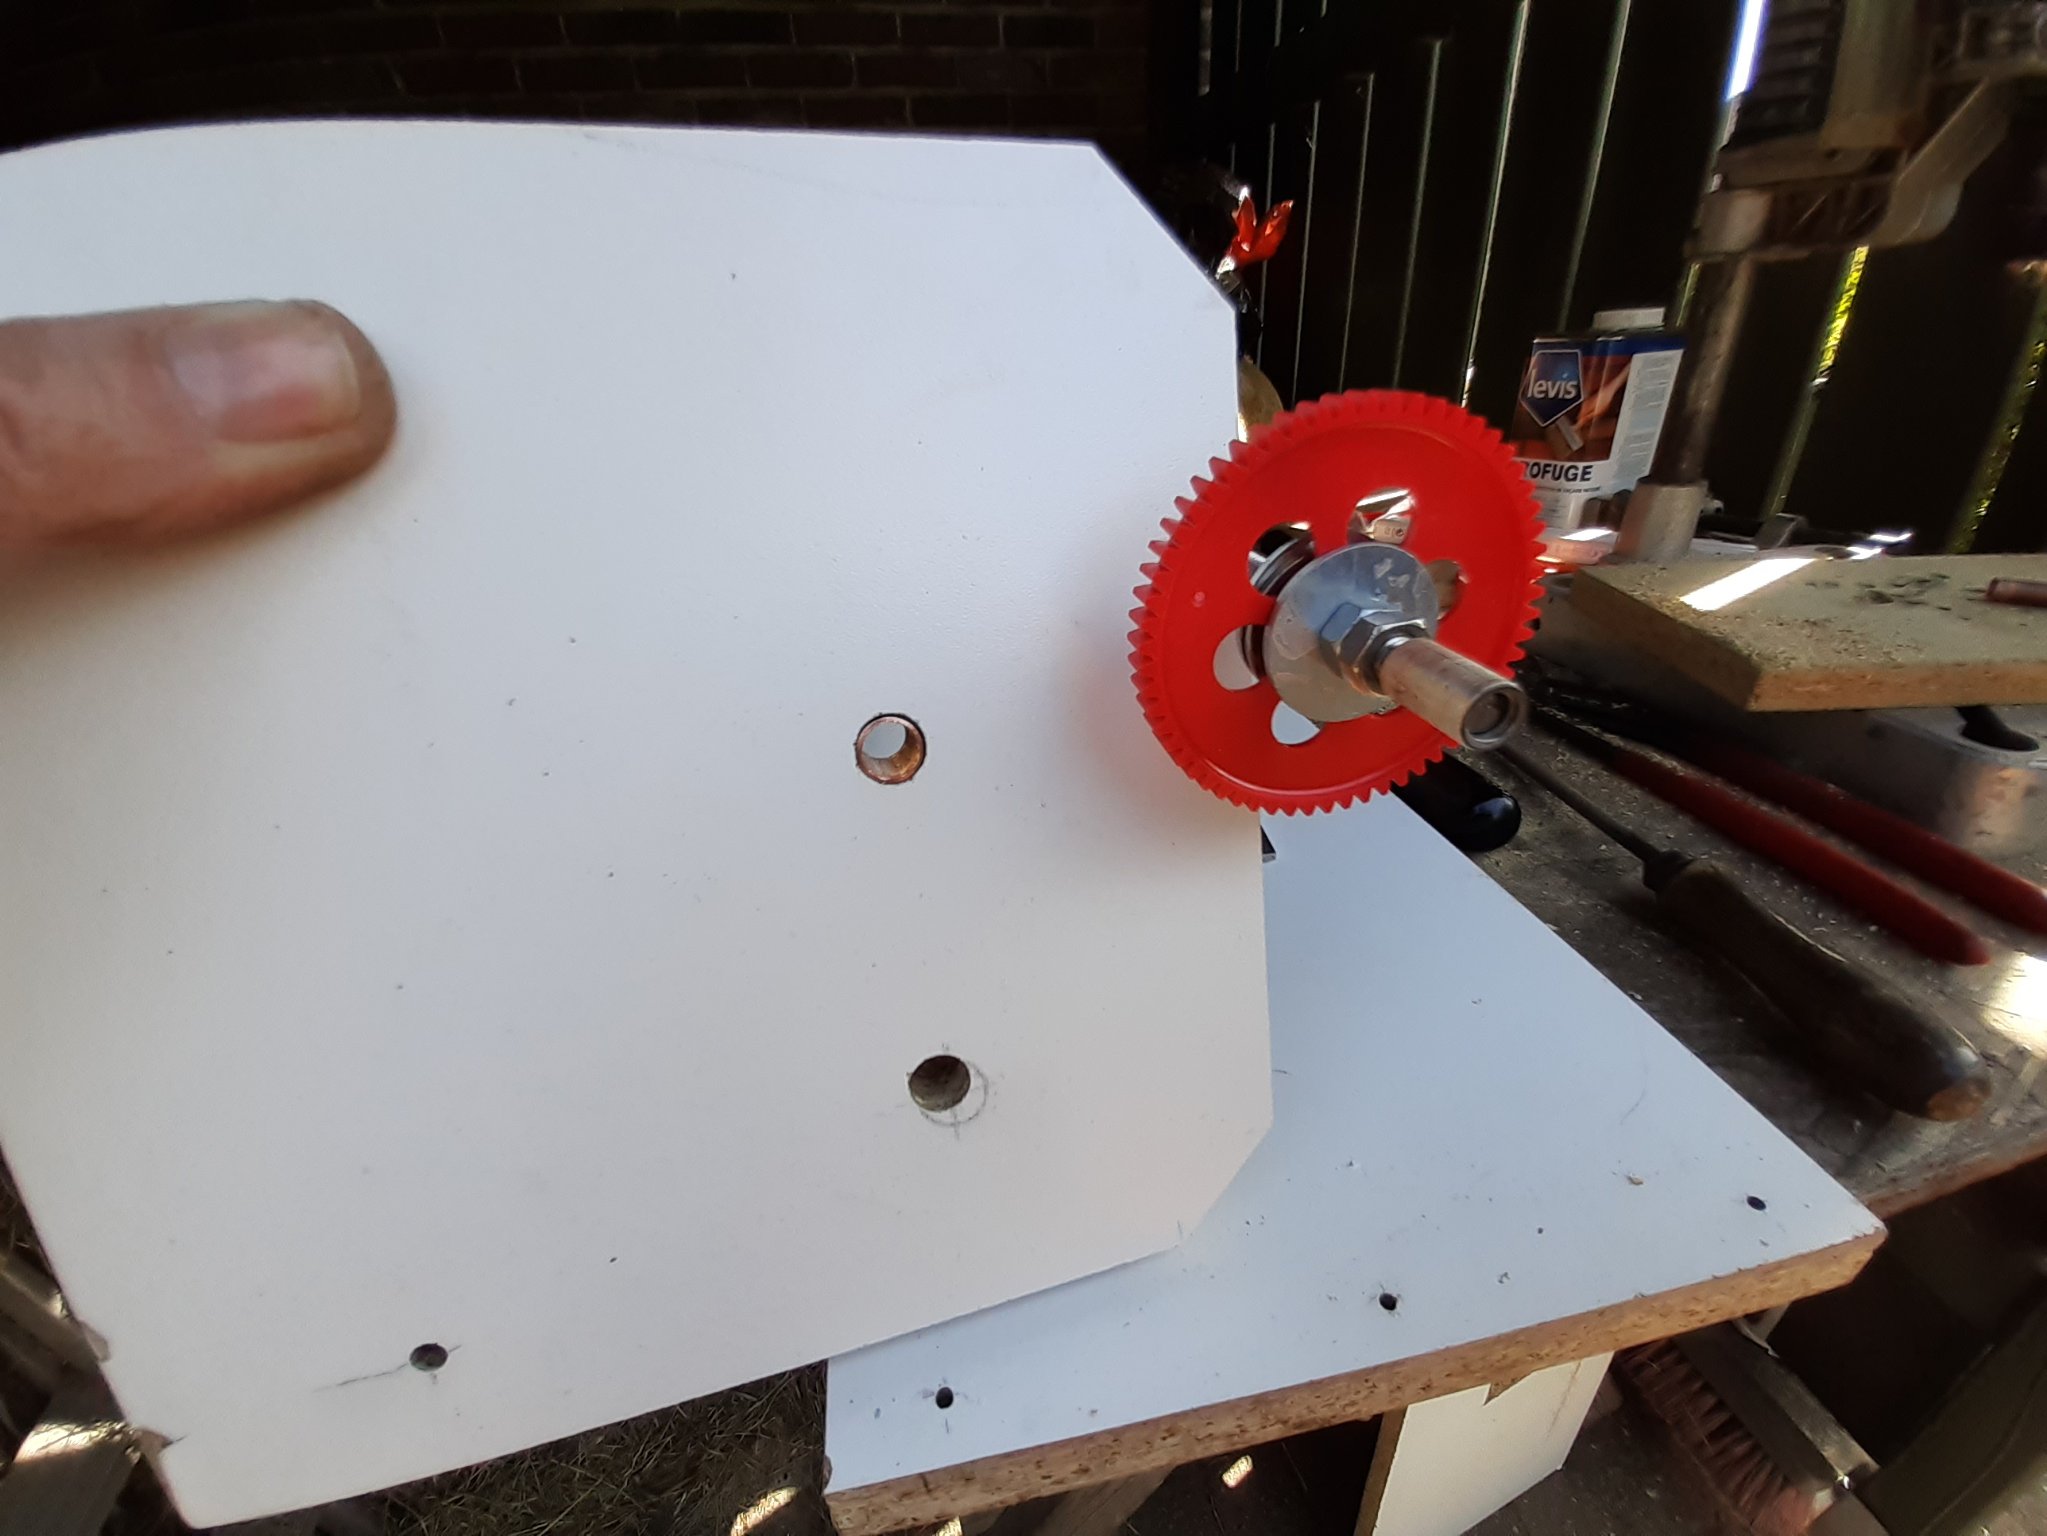
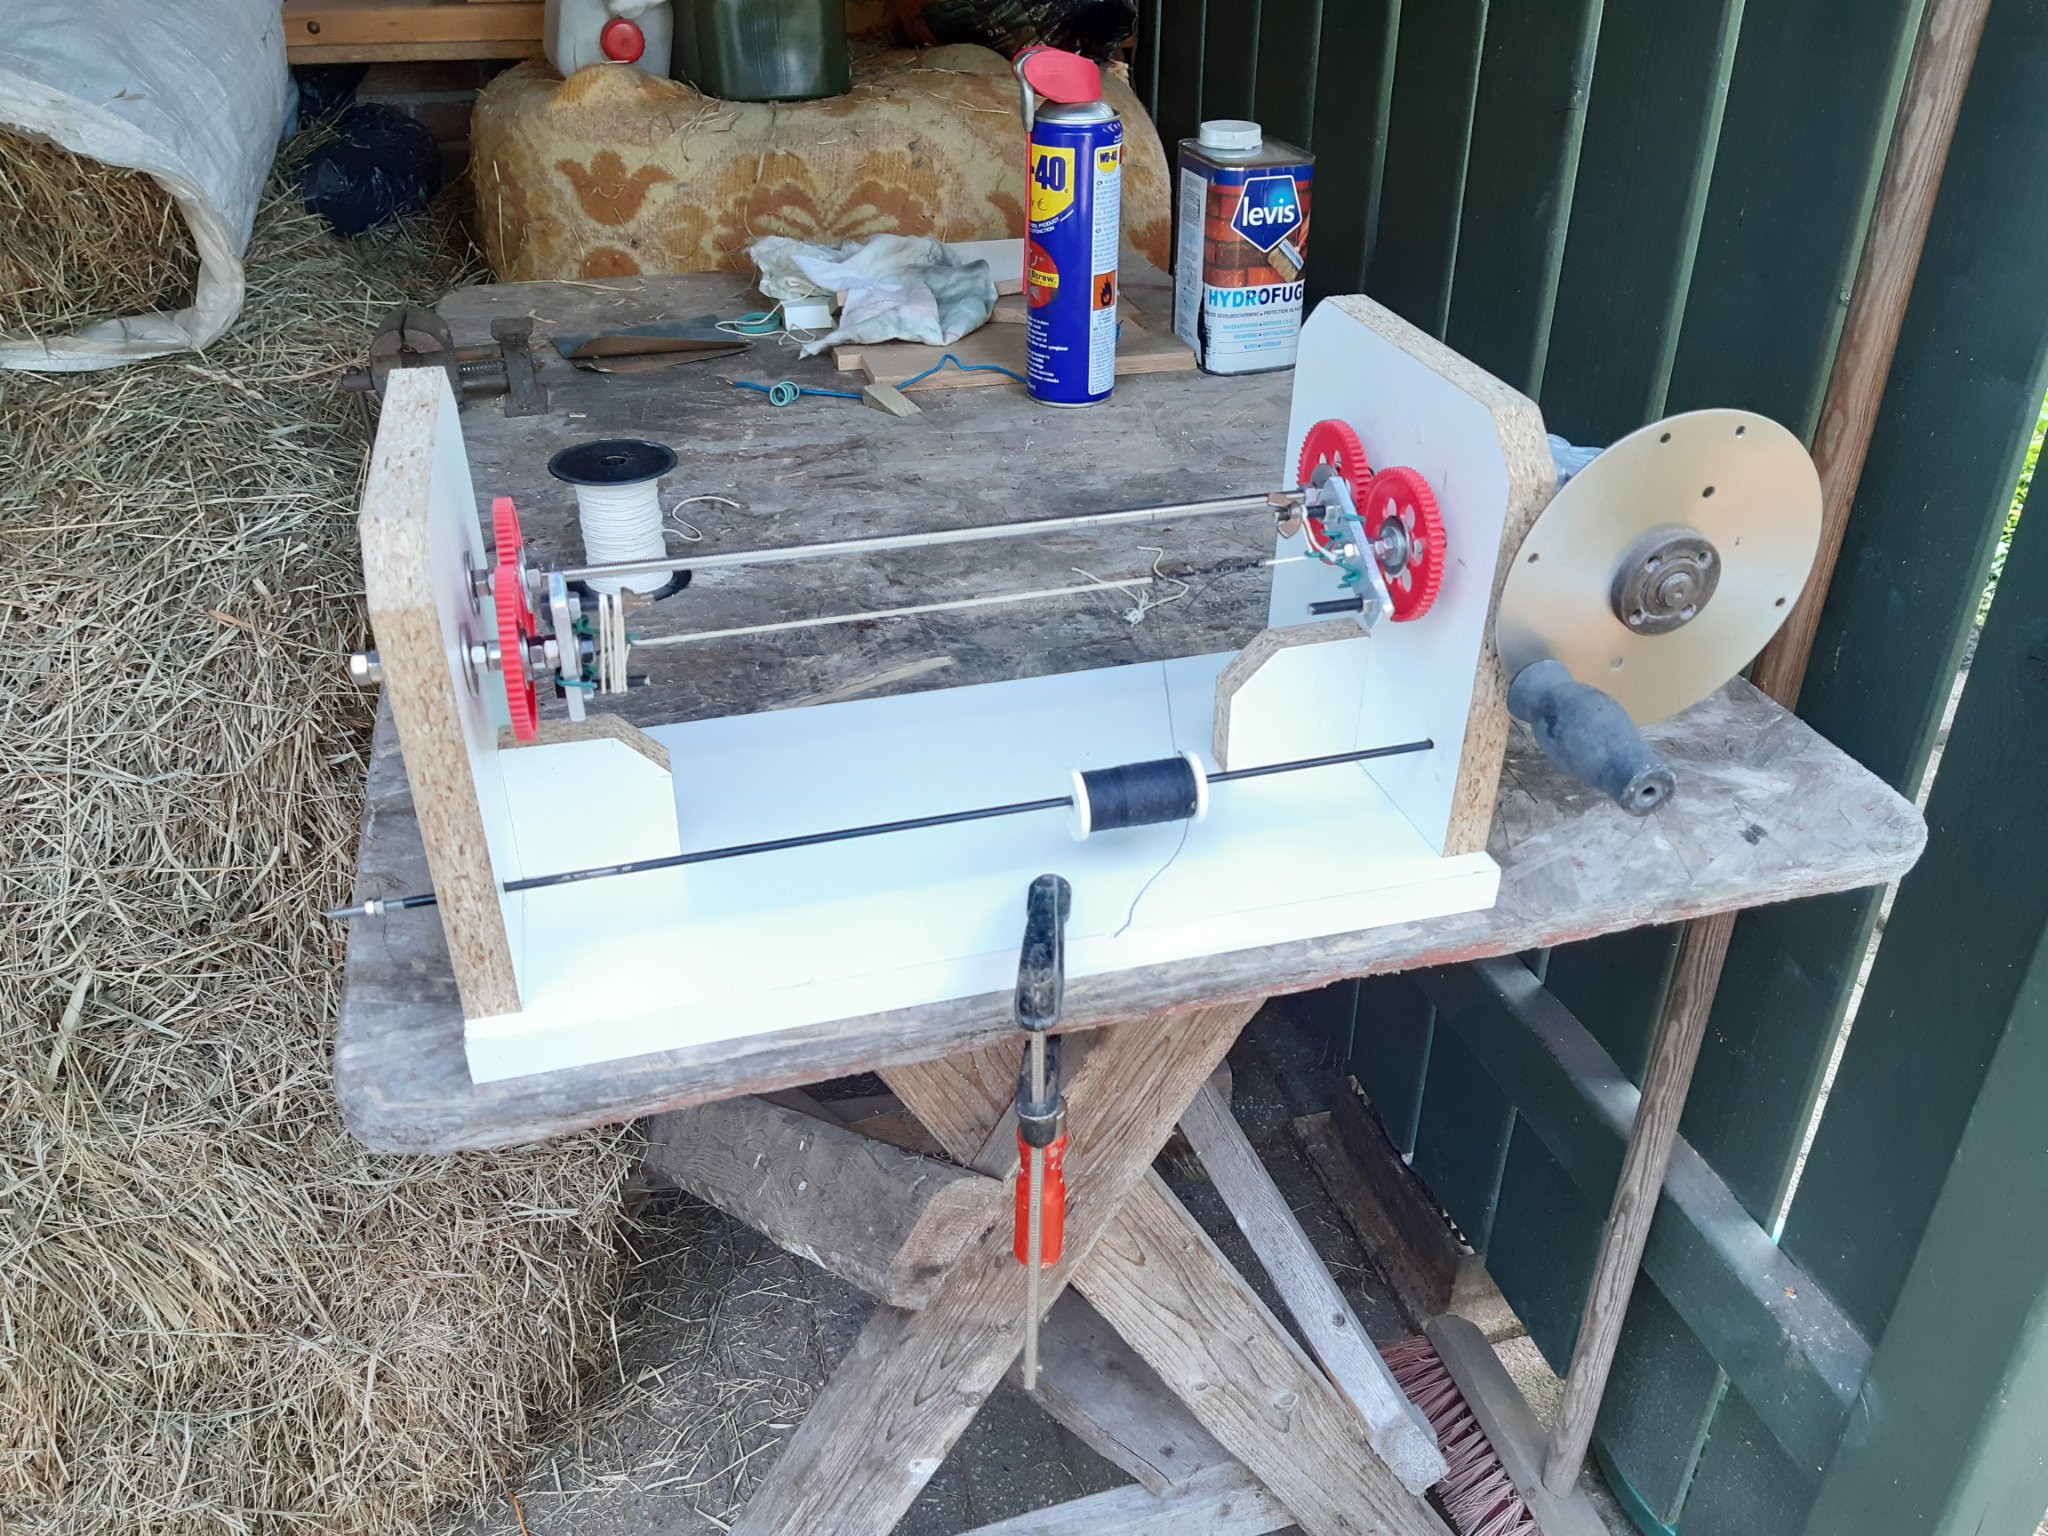
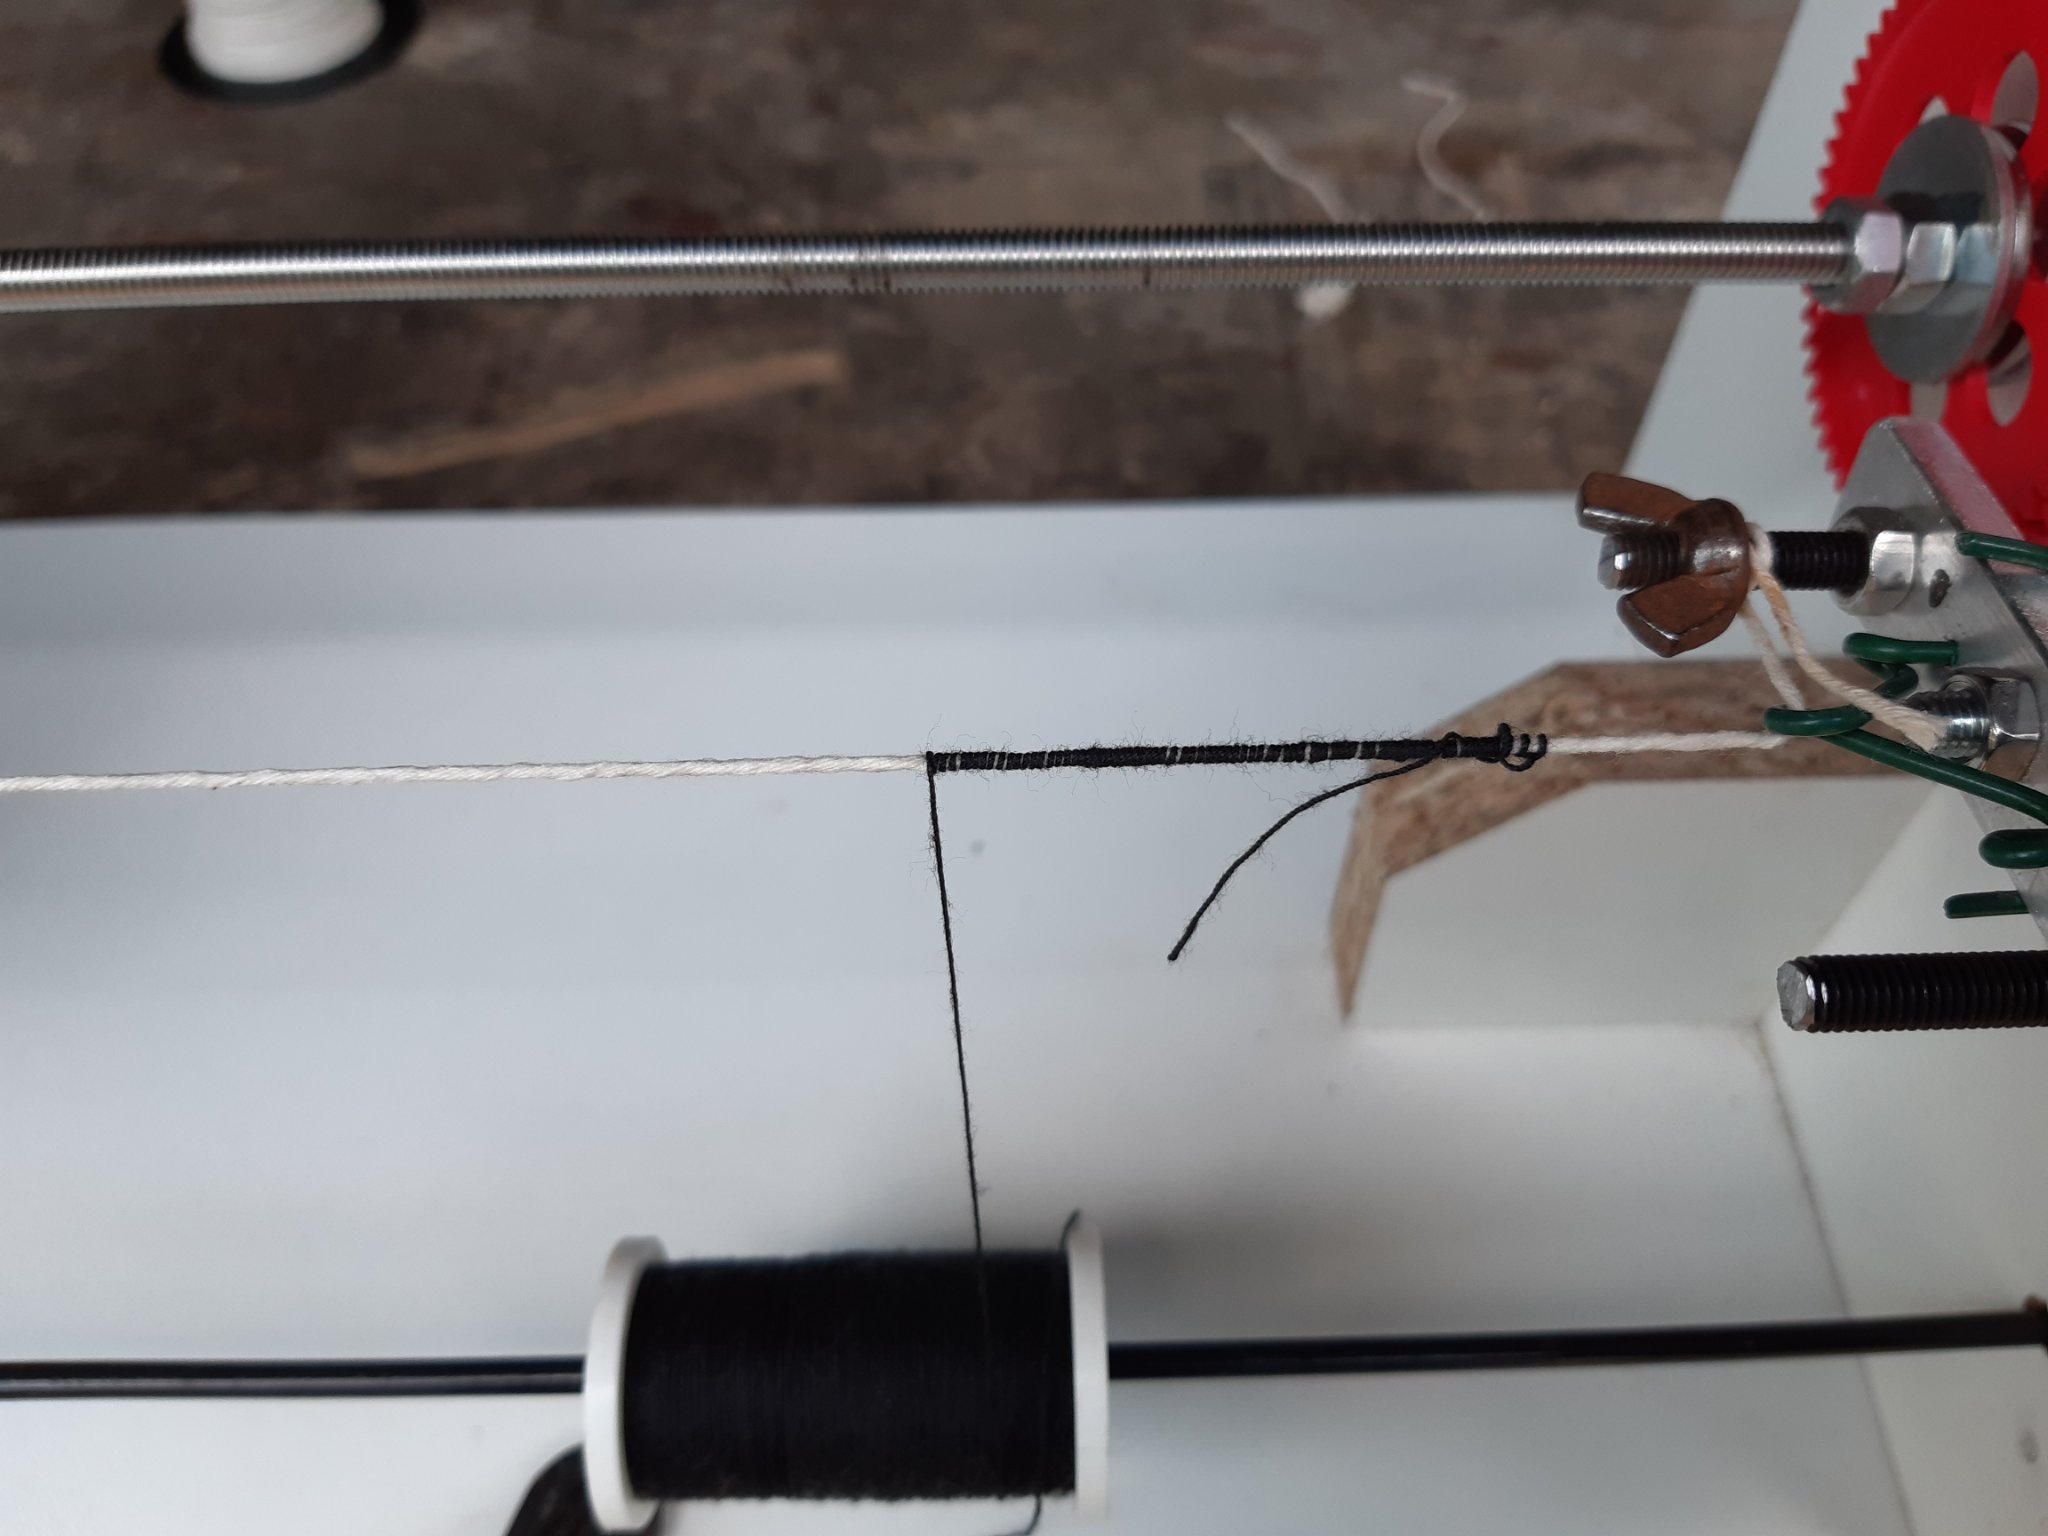
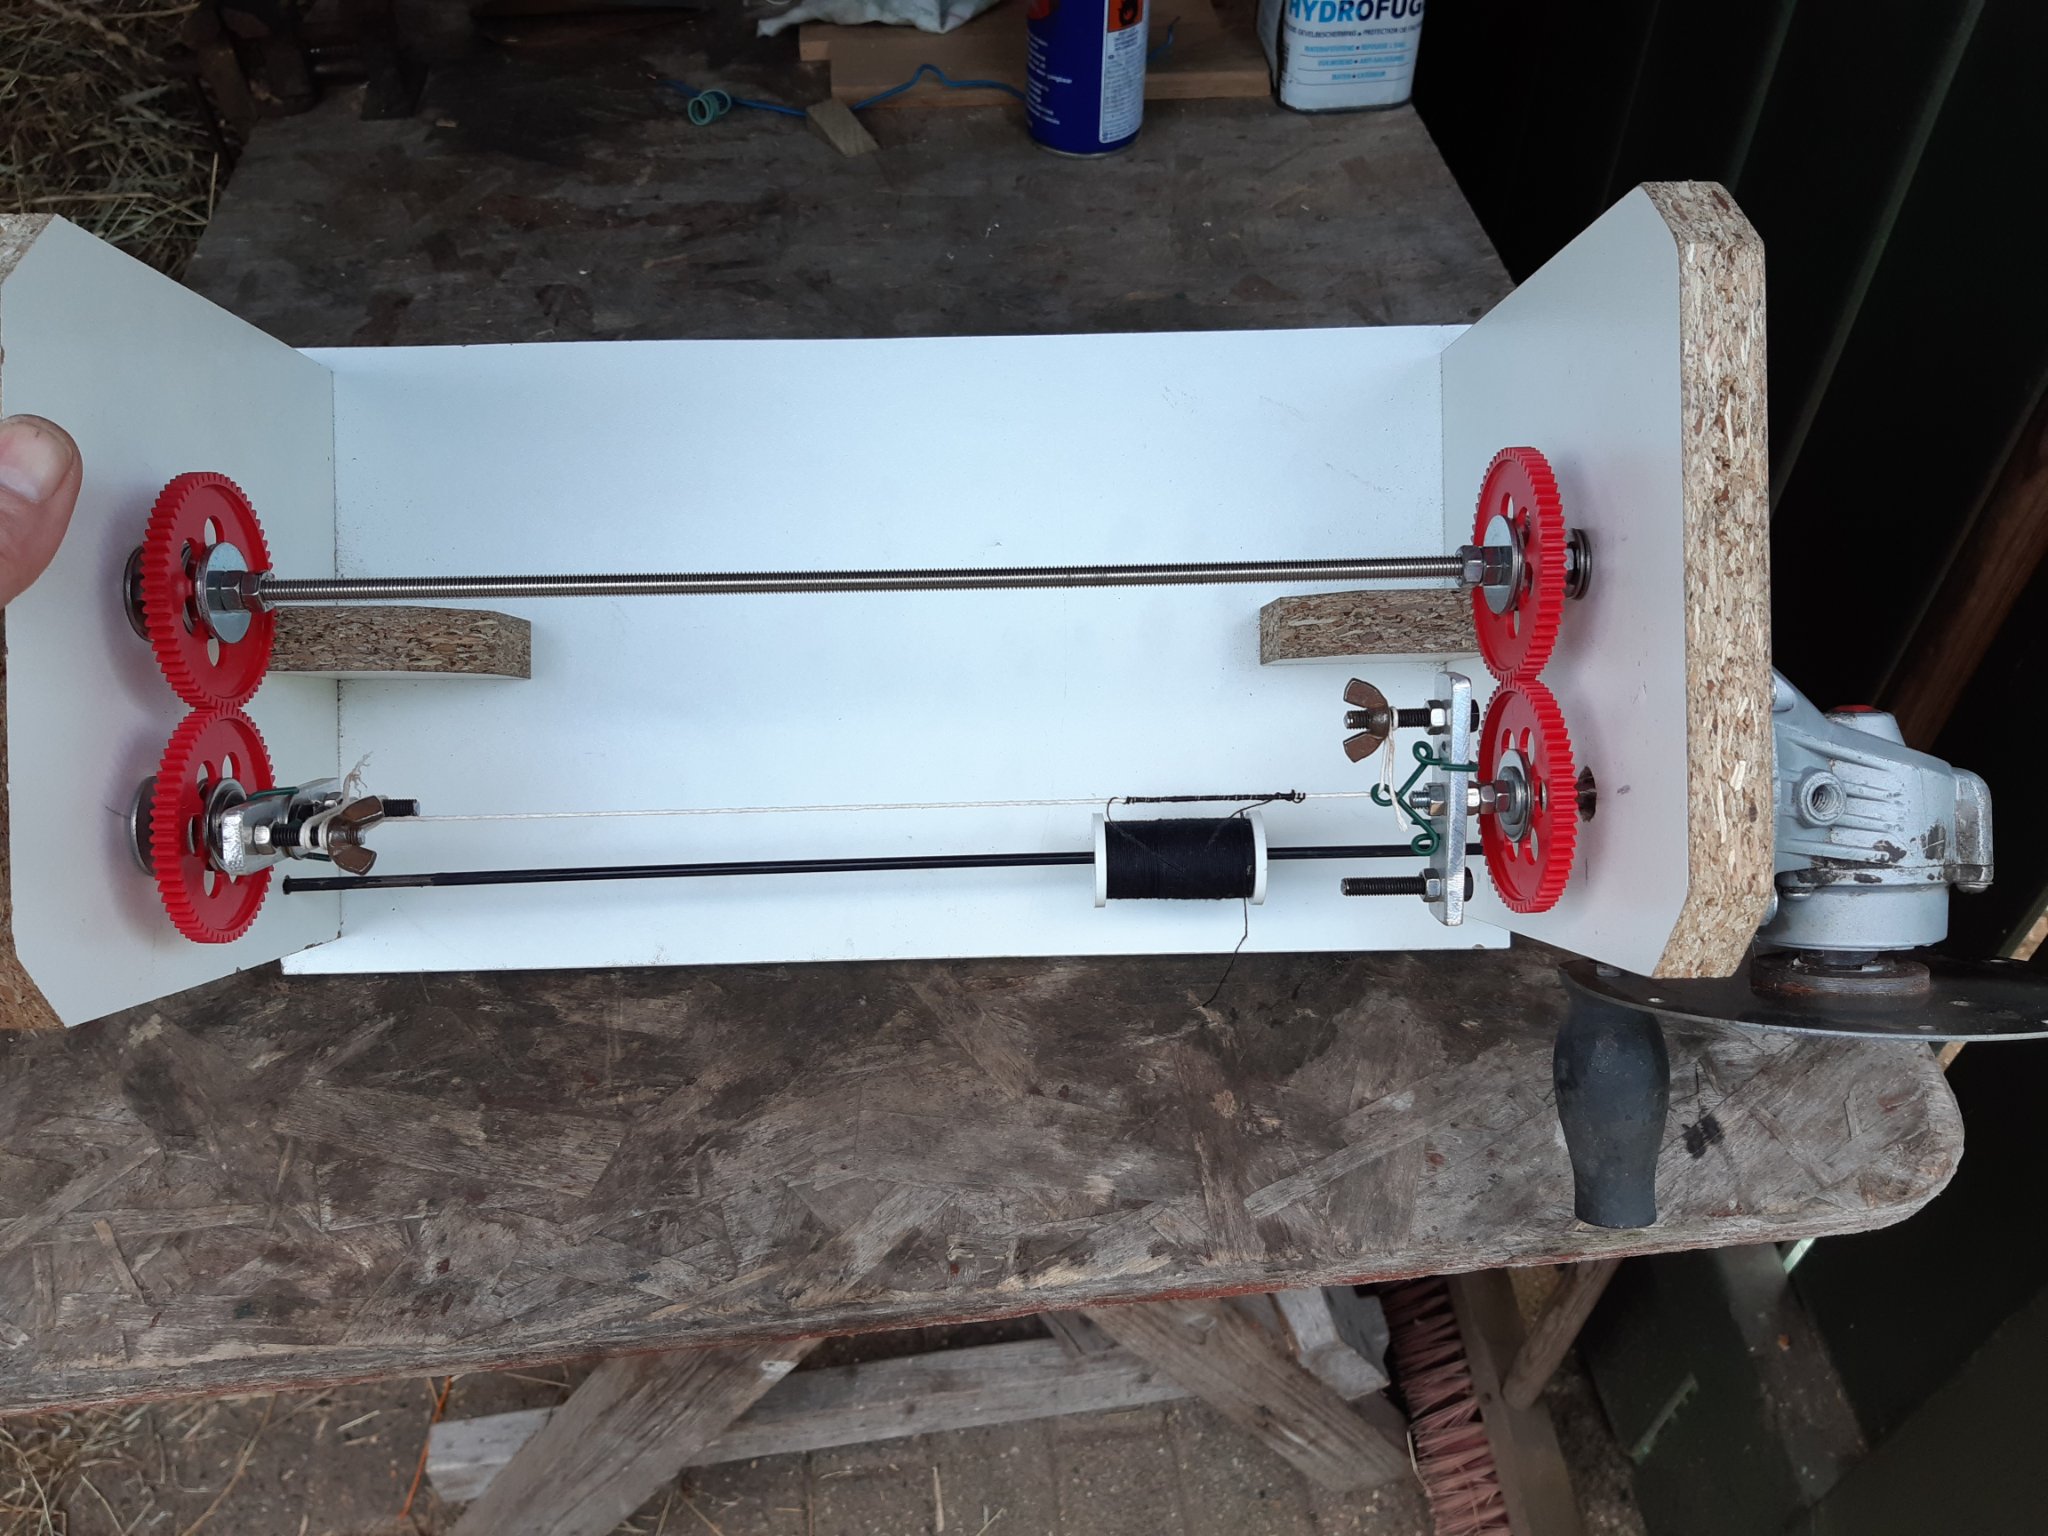
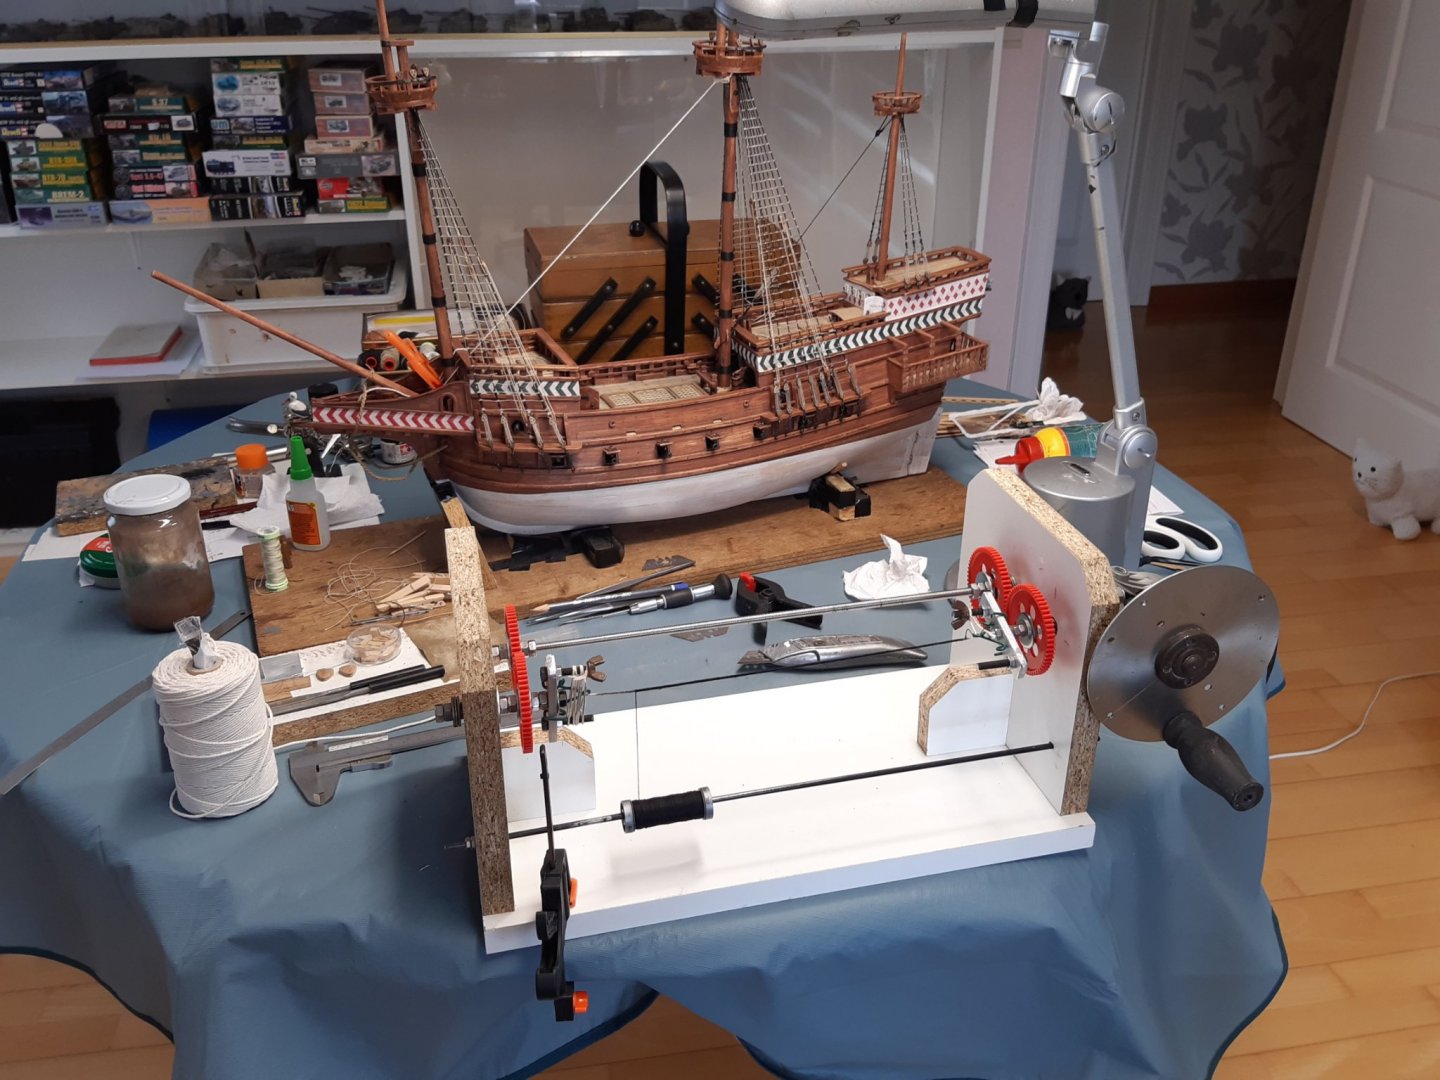
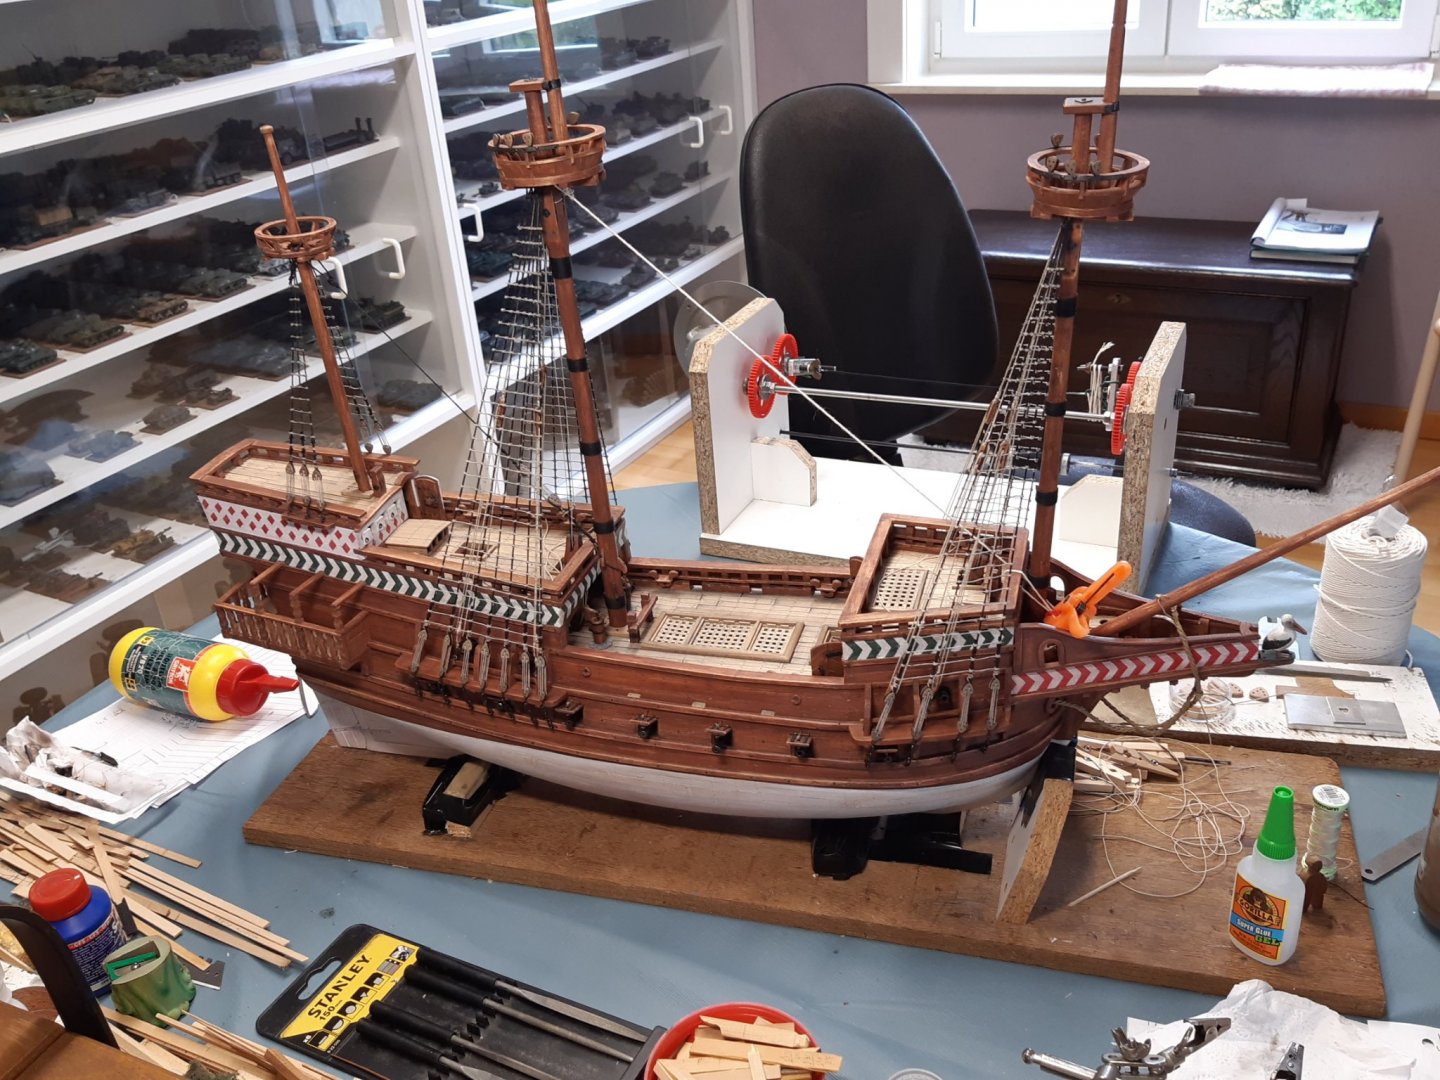
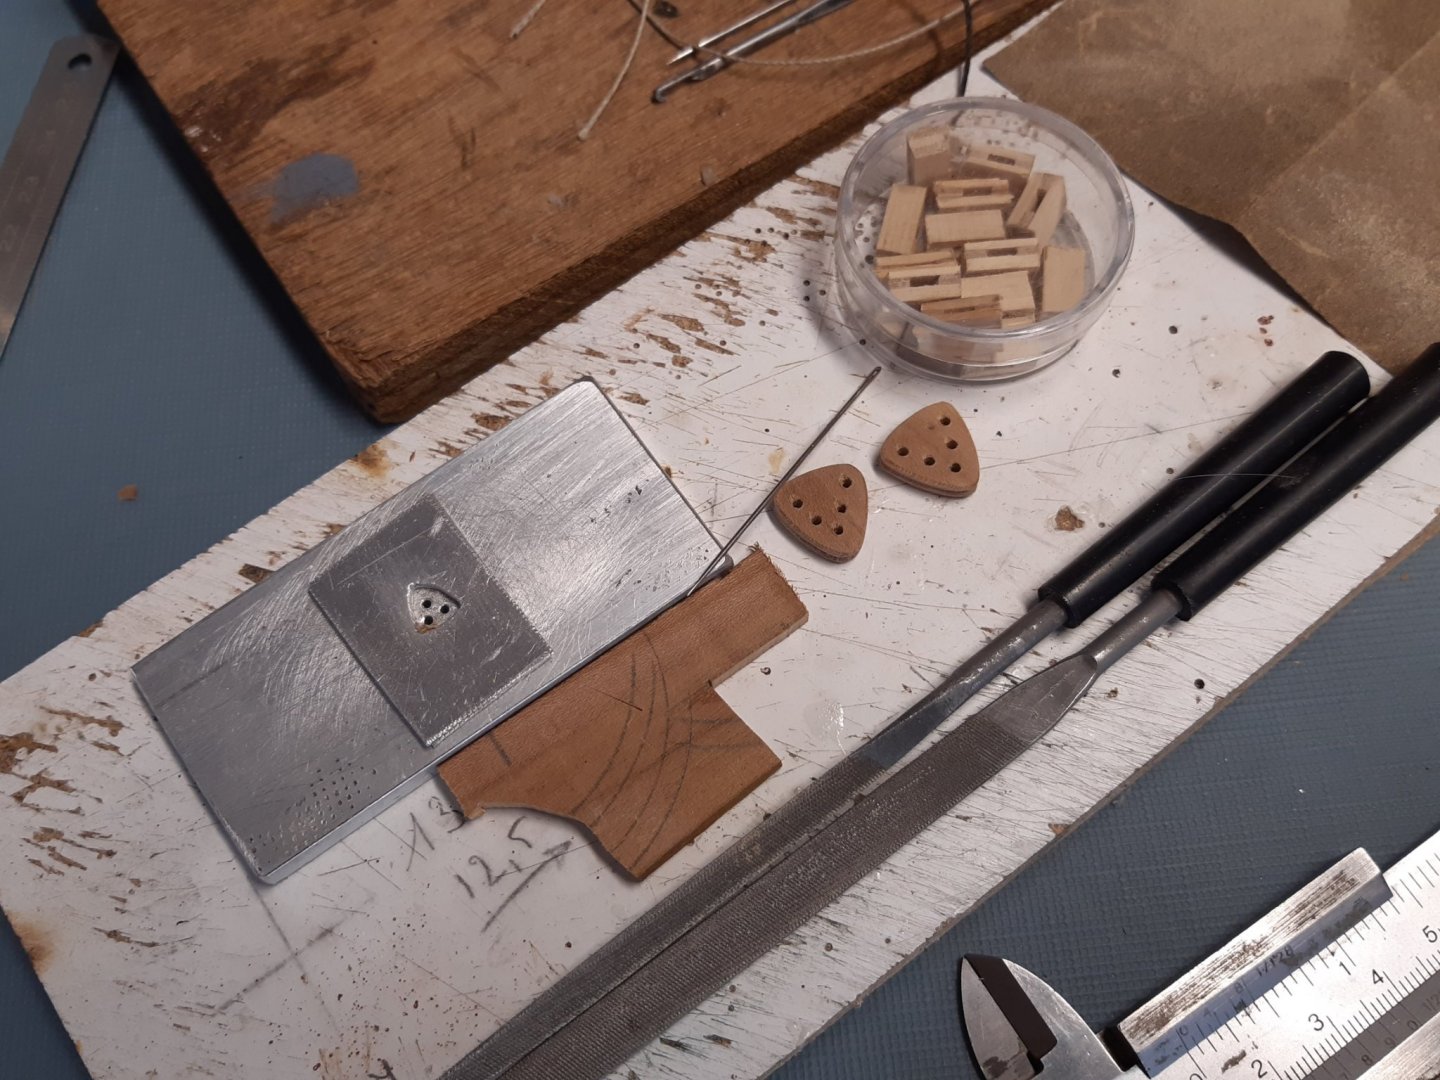
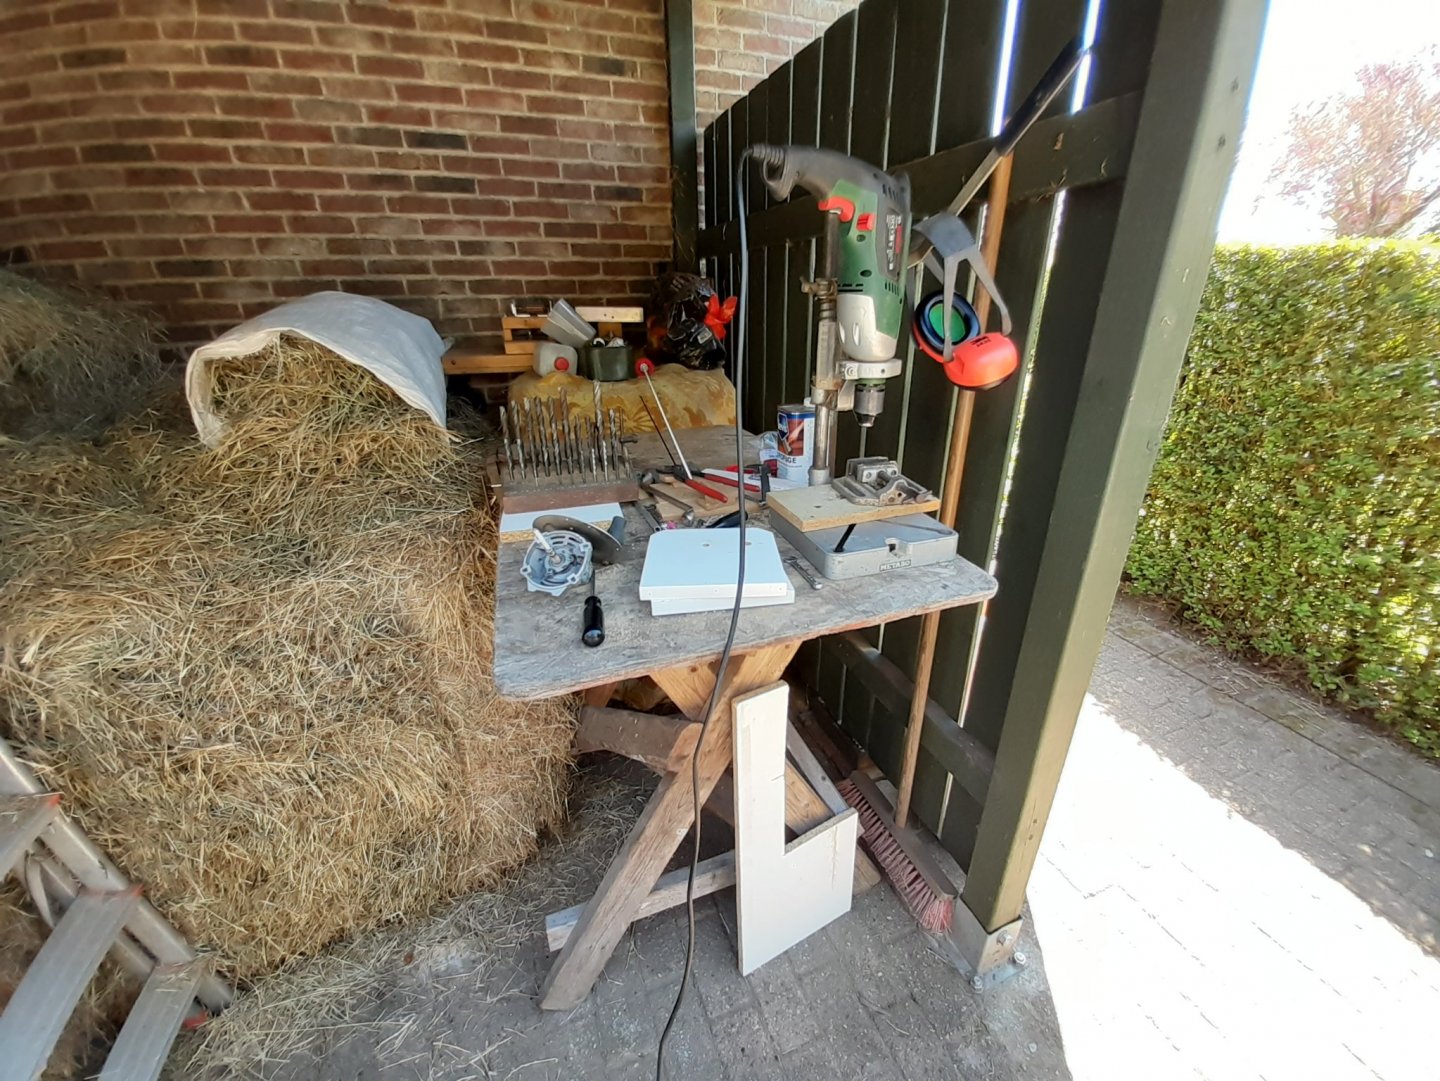
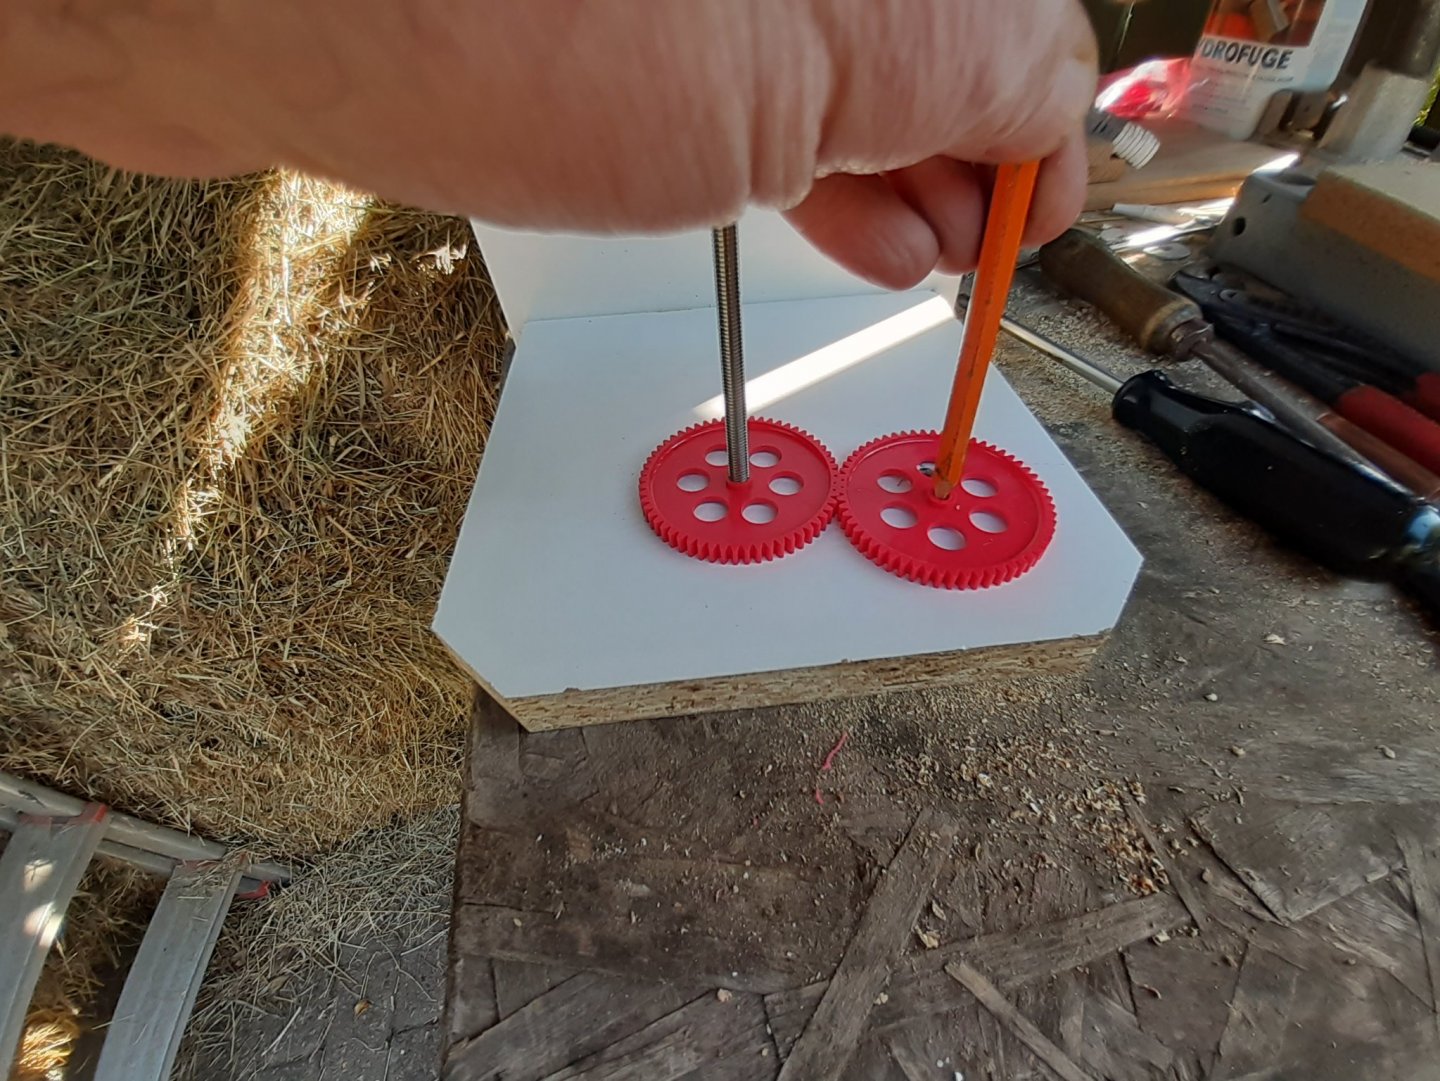
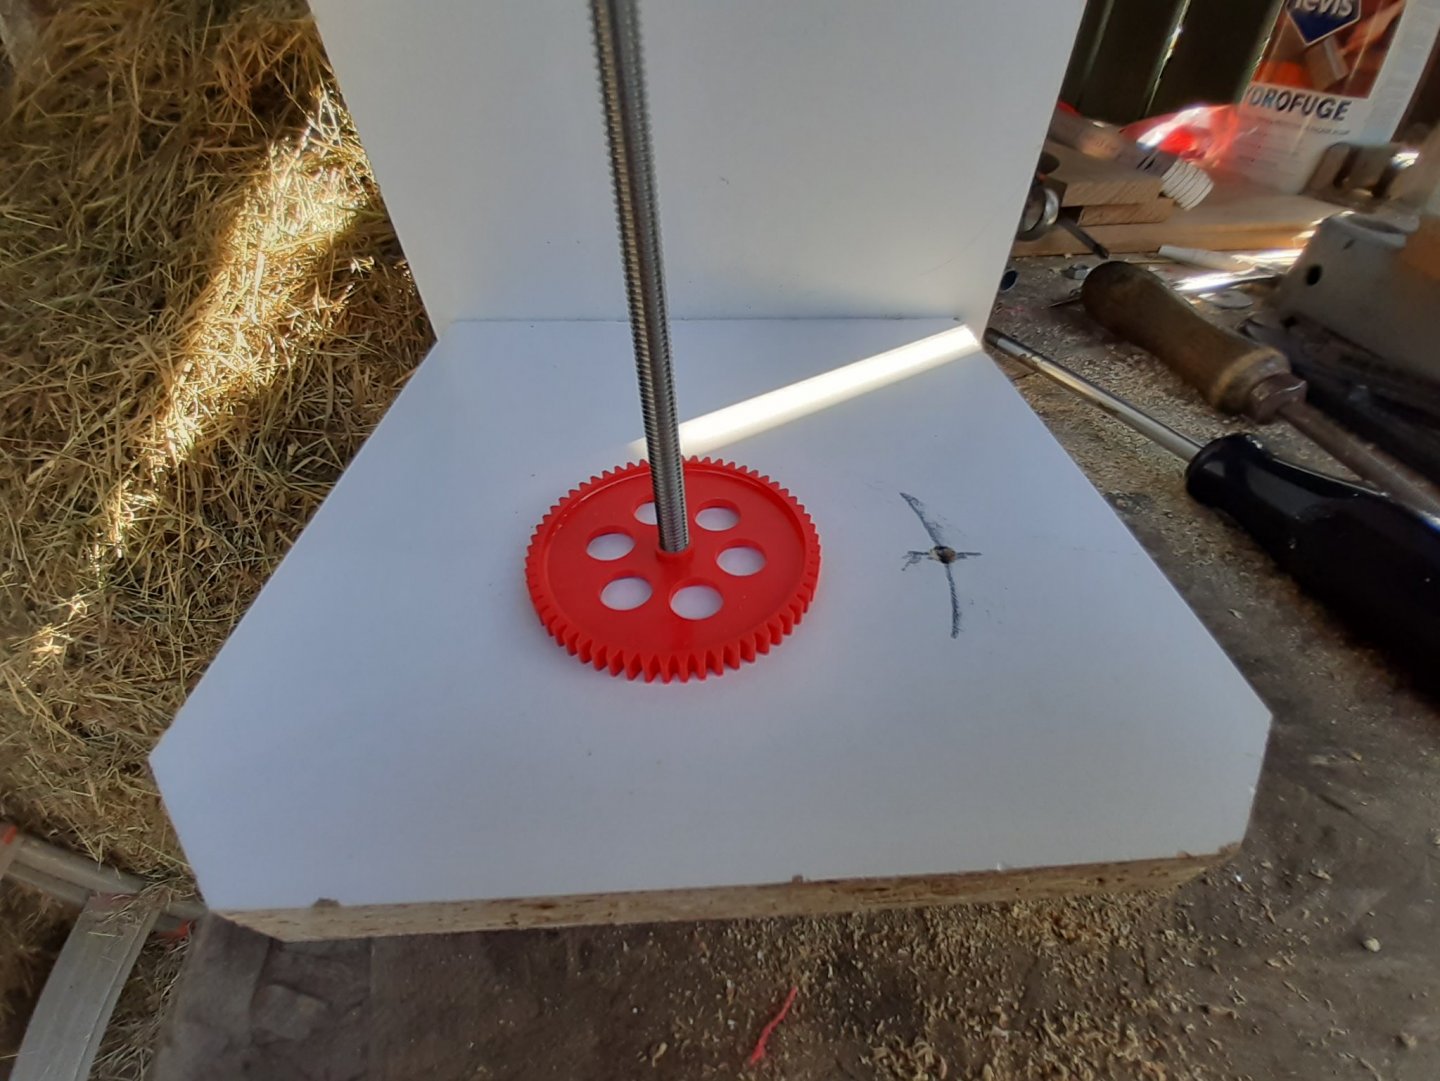
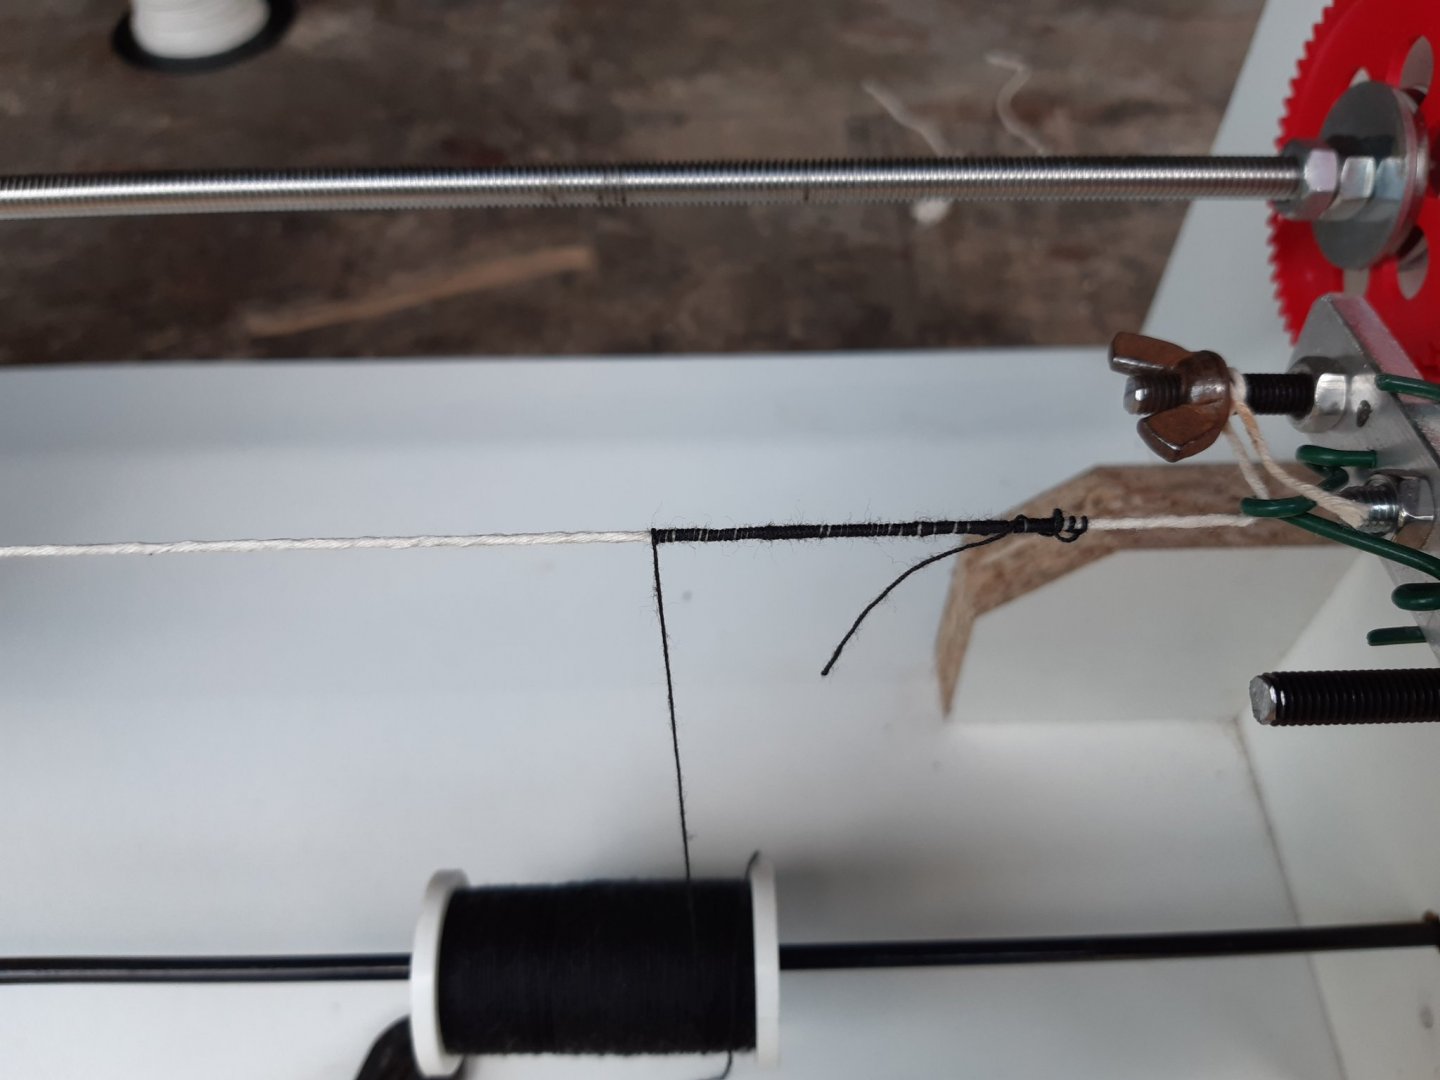
Indeed, the past weeks have been very productive. Weekly update. The ratlines are ready on one side of the main mast. Work in progress. "freshly tarred" and ready. This week most of the time went to the rope serving tool. The improvised workshop (The hay is for our goats, not for sleeping 🤣) A worn grinding disc is the basis for the drive Copper tube bearings Determine the center distance of the gears. A first test with white rope and black serving. The device works, but the operator still needs to gain more experience... My home made rope serving tool. So from now on no more excuses for not making a served rope... 😉 Thanks for following, comments and likes


- 756 replies
-
- 8
-
-
- galleon
- golden hind
- (and 2 more)
-
When the cannons get in the way of the cat heads then they use dummy guns at Sergal (the easiest way 😉). I am convinced that you will find a solution to this problem. On some models of the SoS there are no cat heads (on the drawing of McKay also not). But, this will probably cause problems later during rigging.
-
-
Congrats 3 nice models 👍👍👍