HOLIDAY DONATION DRIVE - SUPPORT MSW - DO YOUR PART TO KEEP THIS GREAT FORUM GOING! (89 donations so far out of 49,000 members - C'mon guys!)
×


Tigersteve
-
Posts
1,327 -
Joined
-
Last visited
Content Type
Profiles
Forums
Gallery
Events
Everything posted by Tigersteve
-
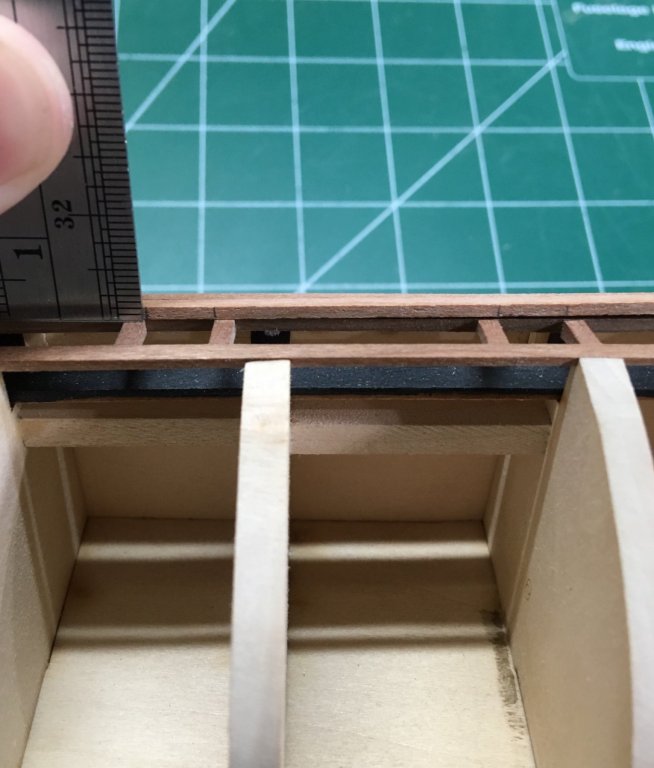
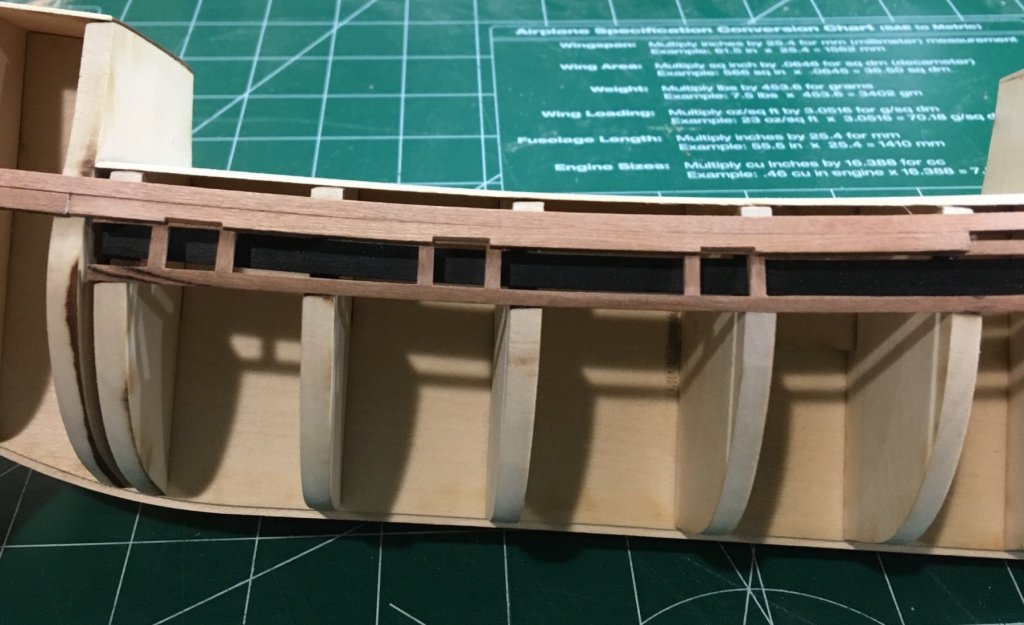
 Determining the planking belts. Tick strips were used to determine and mark the halfway point of the remaining area to be planked. This was done from bulkhead D through 4B. Adjustments were made based off these measurements. I could use our experts feedback on the lines of these belts especially at the bow. Steve

-
I would use a long free cloth wrapped around your finger and rub your finger between the ribs. Direction doesn’t matter too much on the inside of the hull. Floorboards will cover some of the finish anyway. What stain color did you decide? Steve
-
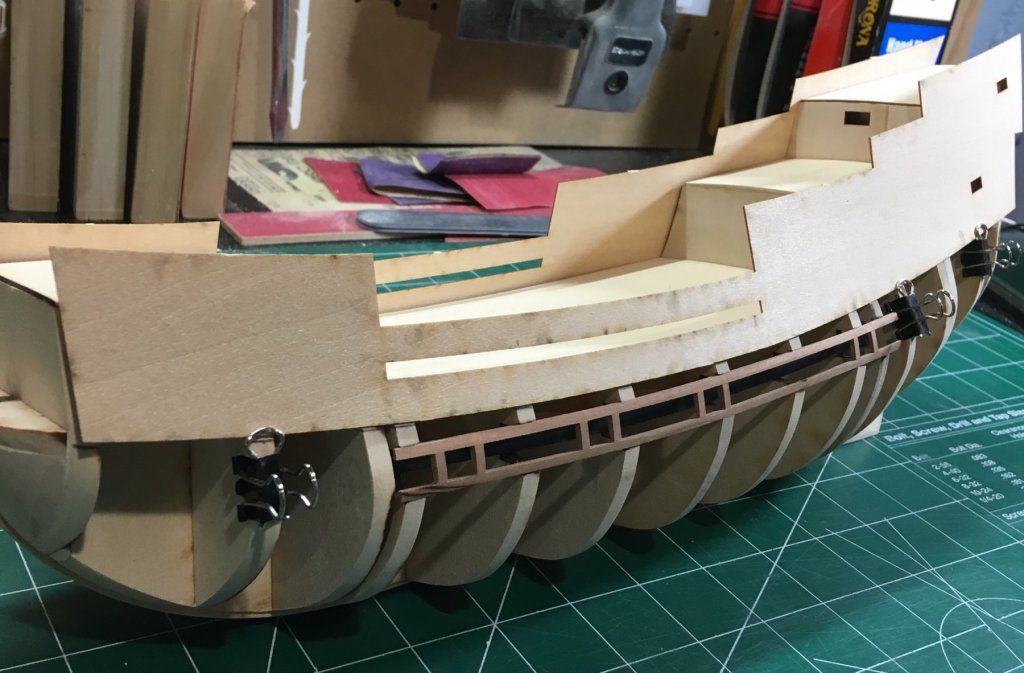
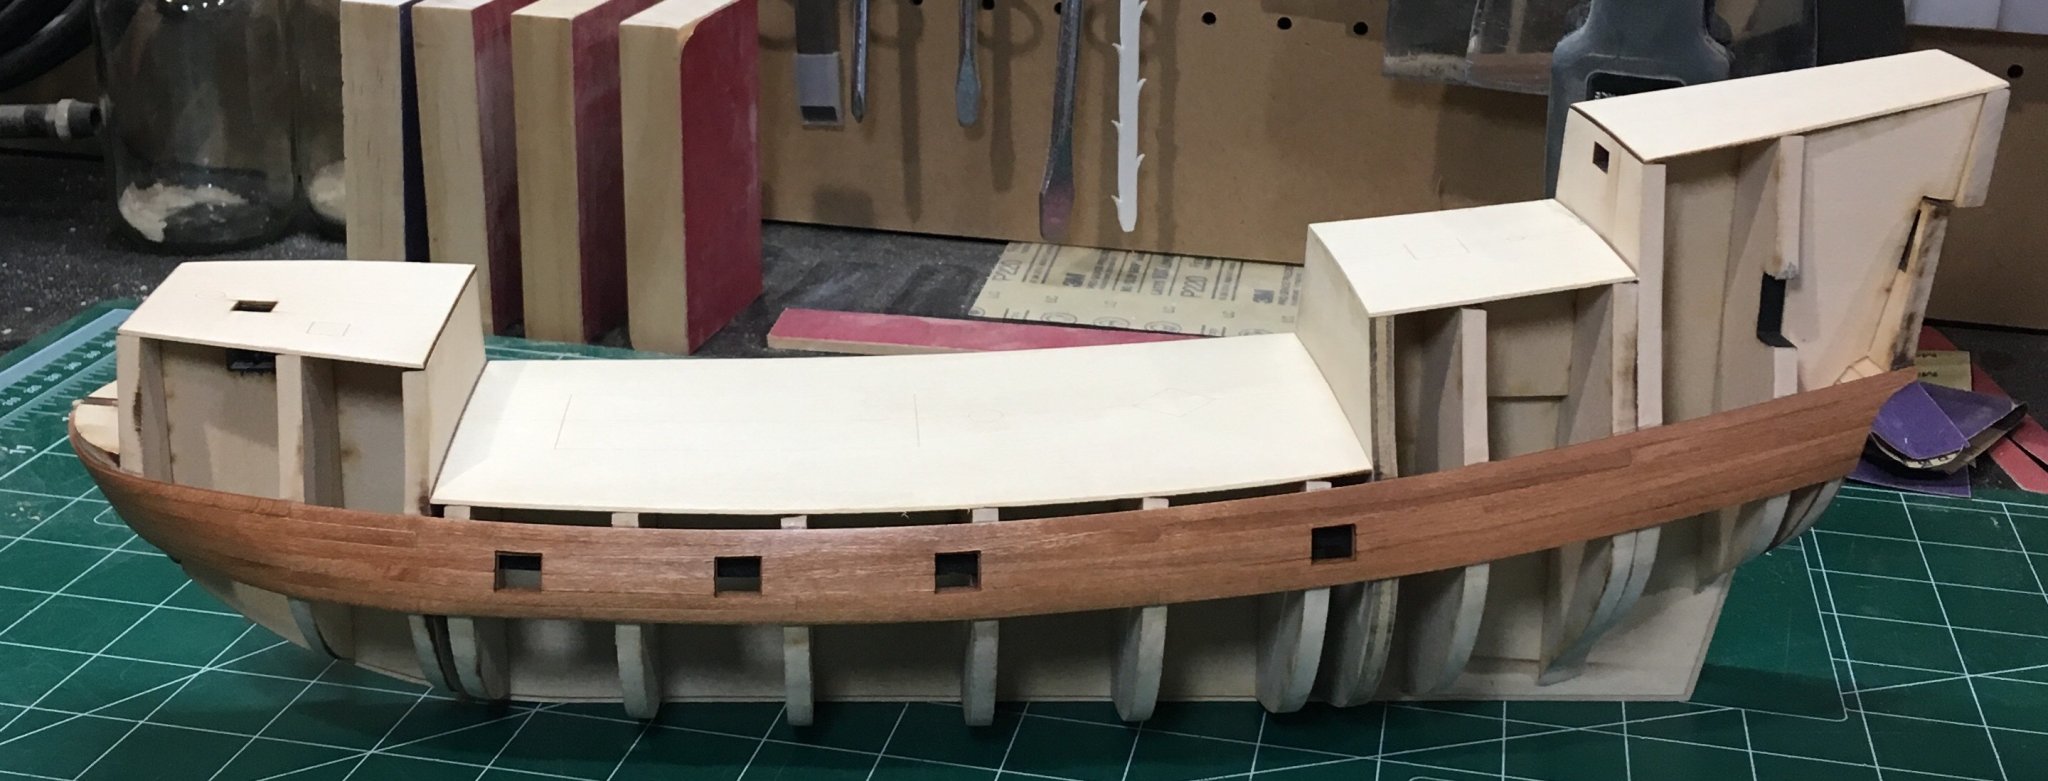
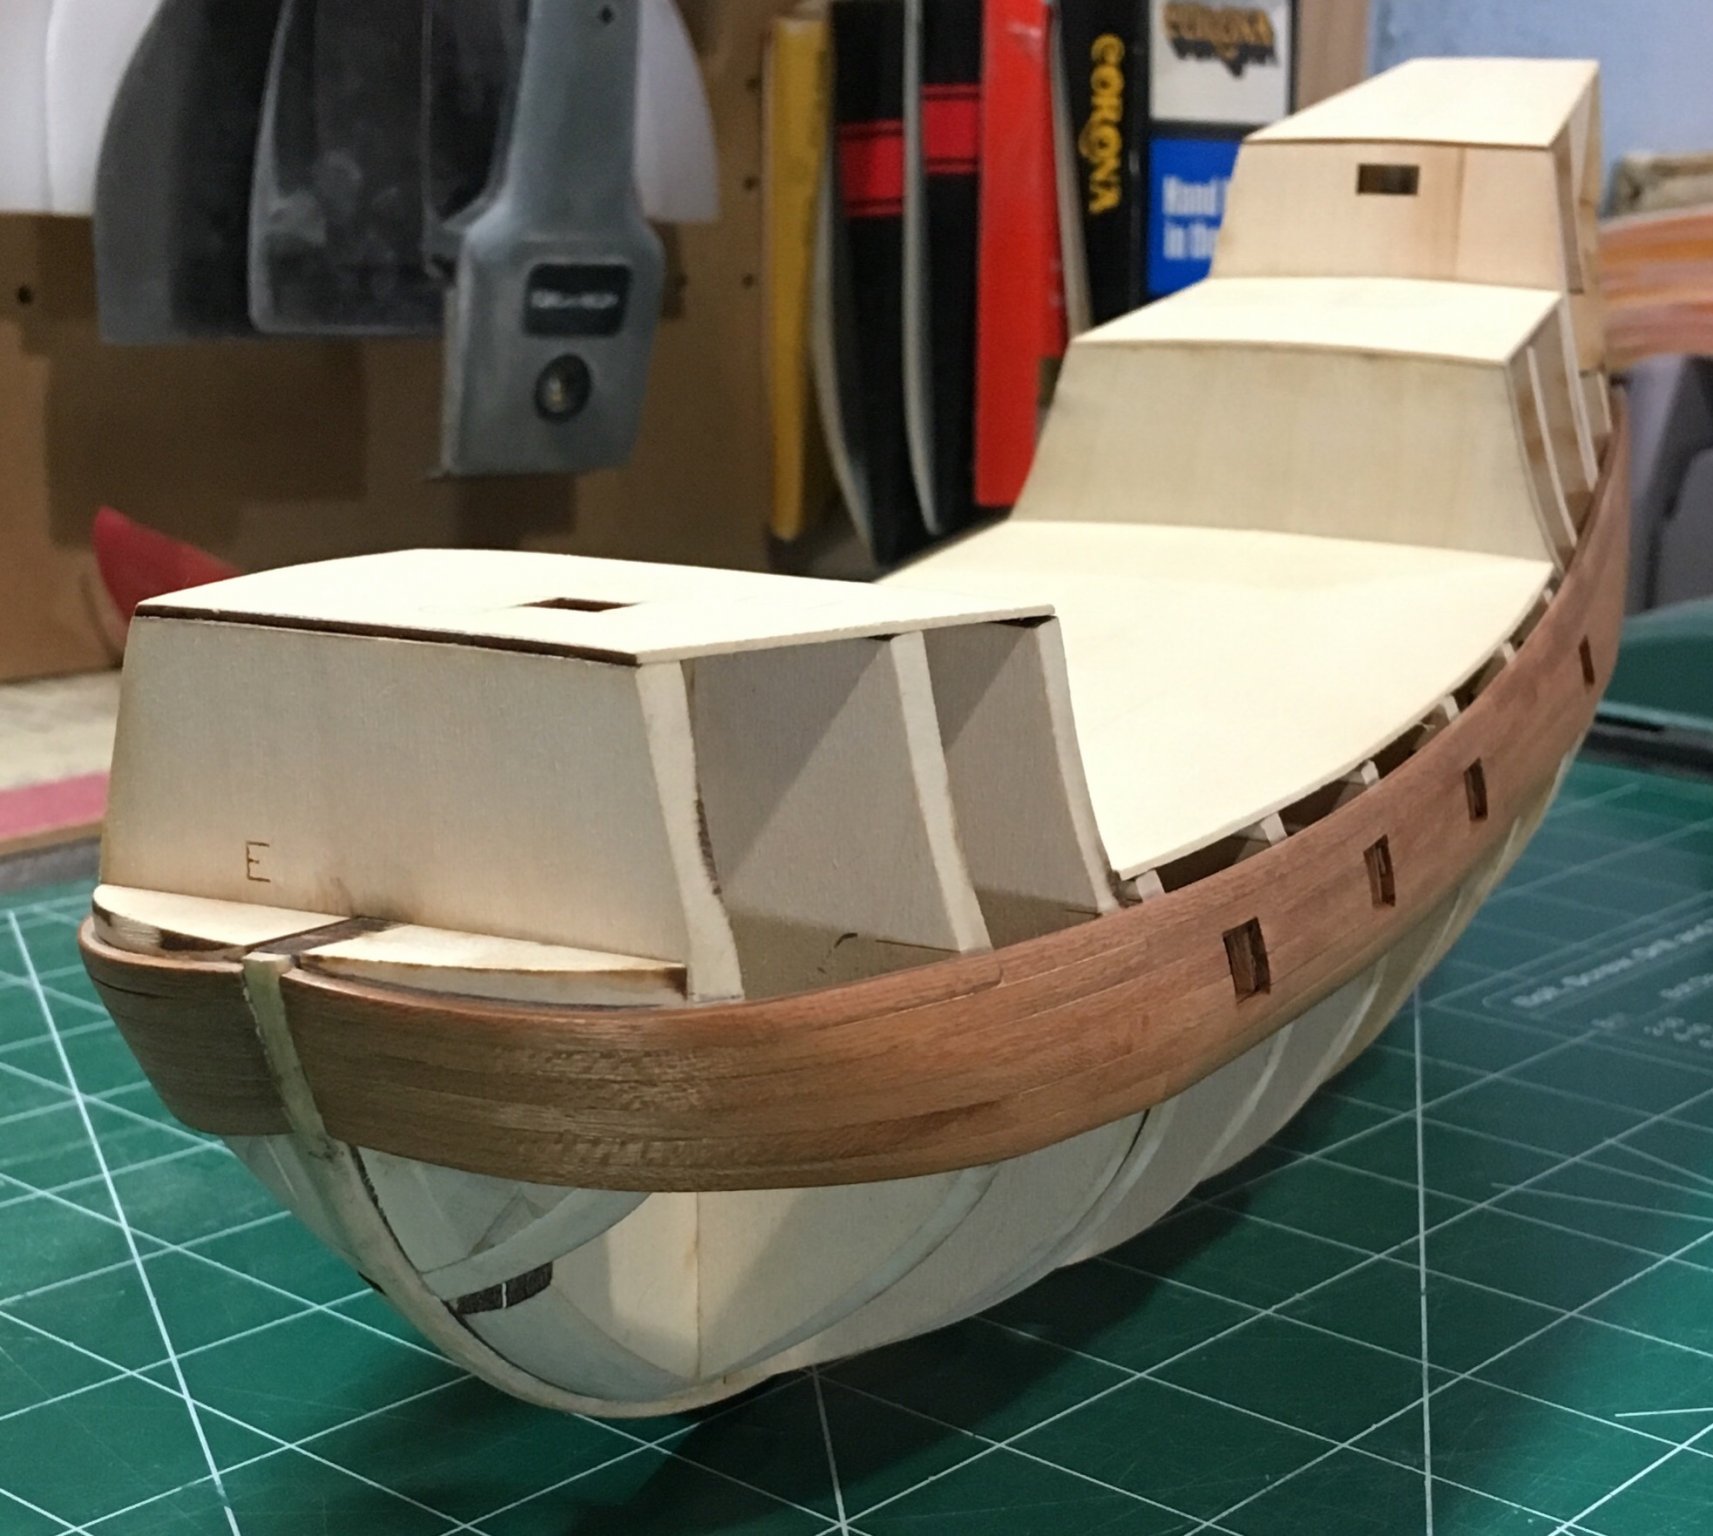
Closed up the starboard gun ports. Port side will be presented open. Steve
-
Port side planking is complete. Two coats of wipe-on-poly applied at this point. I hope the photos show how nice this batch of cherry wood is. Steve


-
@ASAT just trying to add some humor to this. Didn’t mean to offend.
- 1,784 replies
-
- 7
-

-
- winchelsea
- Syren Ship Model Company
- (and 1 more)
-
Chuck- Your tutorials are so clear. People are lucky you’ve provided templates for lining off the hull. Next, people will be asking you to mail them completed models. 😆 Steve
- 1,784 replies
-
- 7
-
-
- winchelsea
- Syren Ship Model Company
- (and 1 more)
-
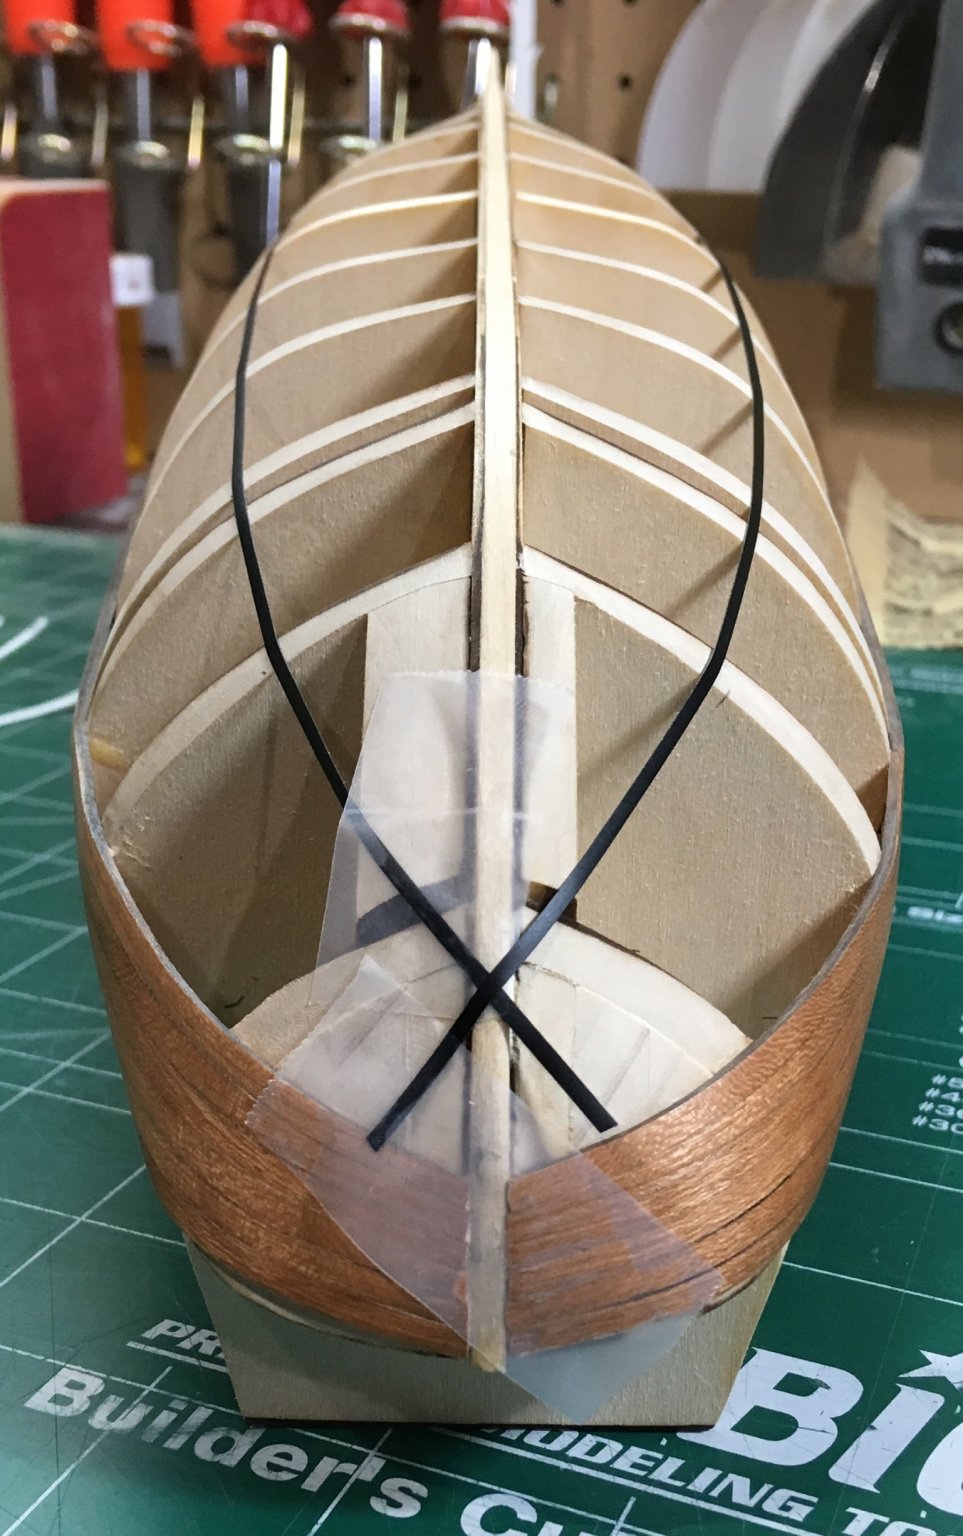
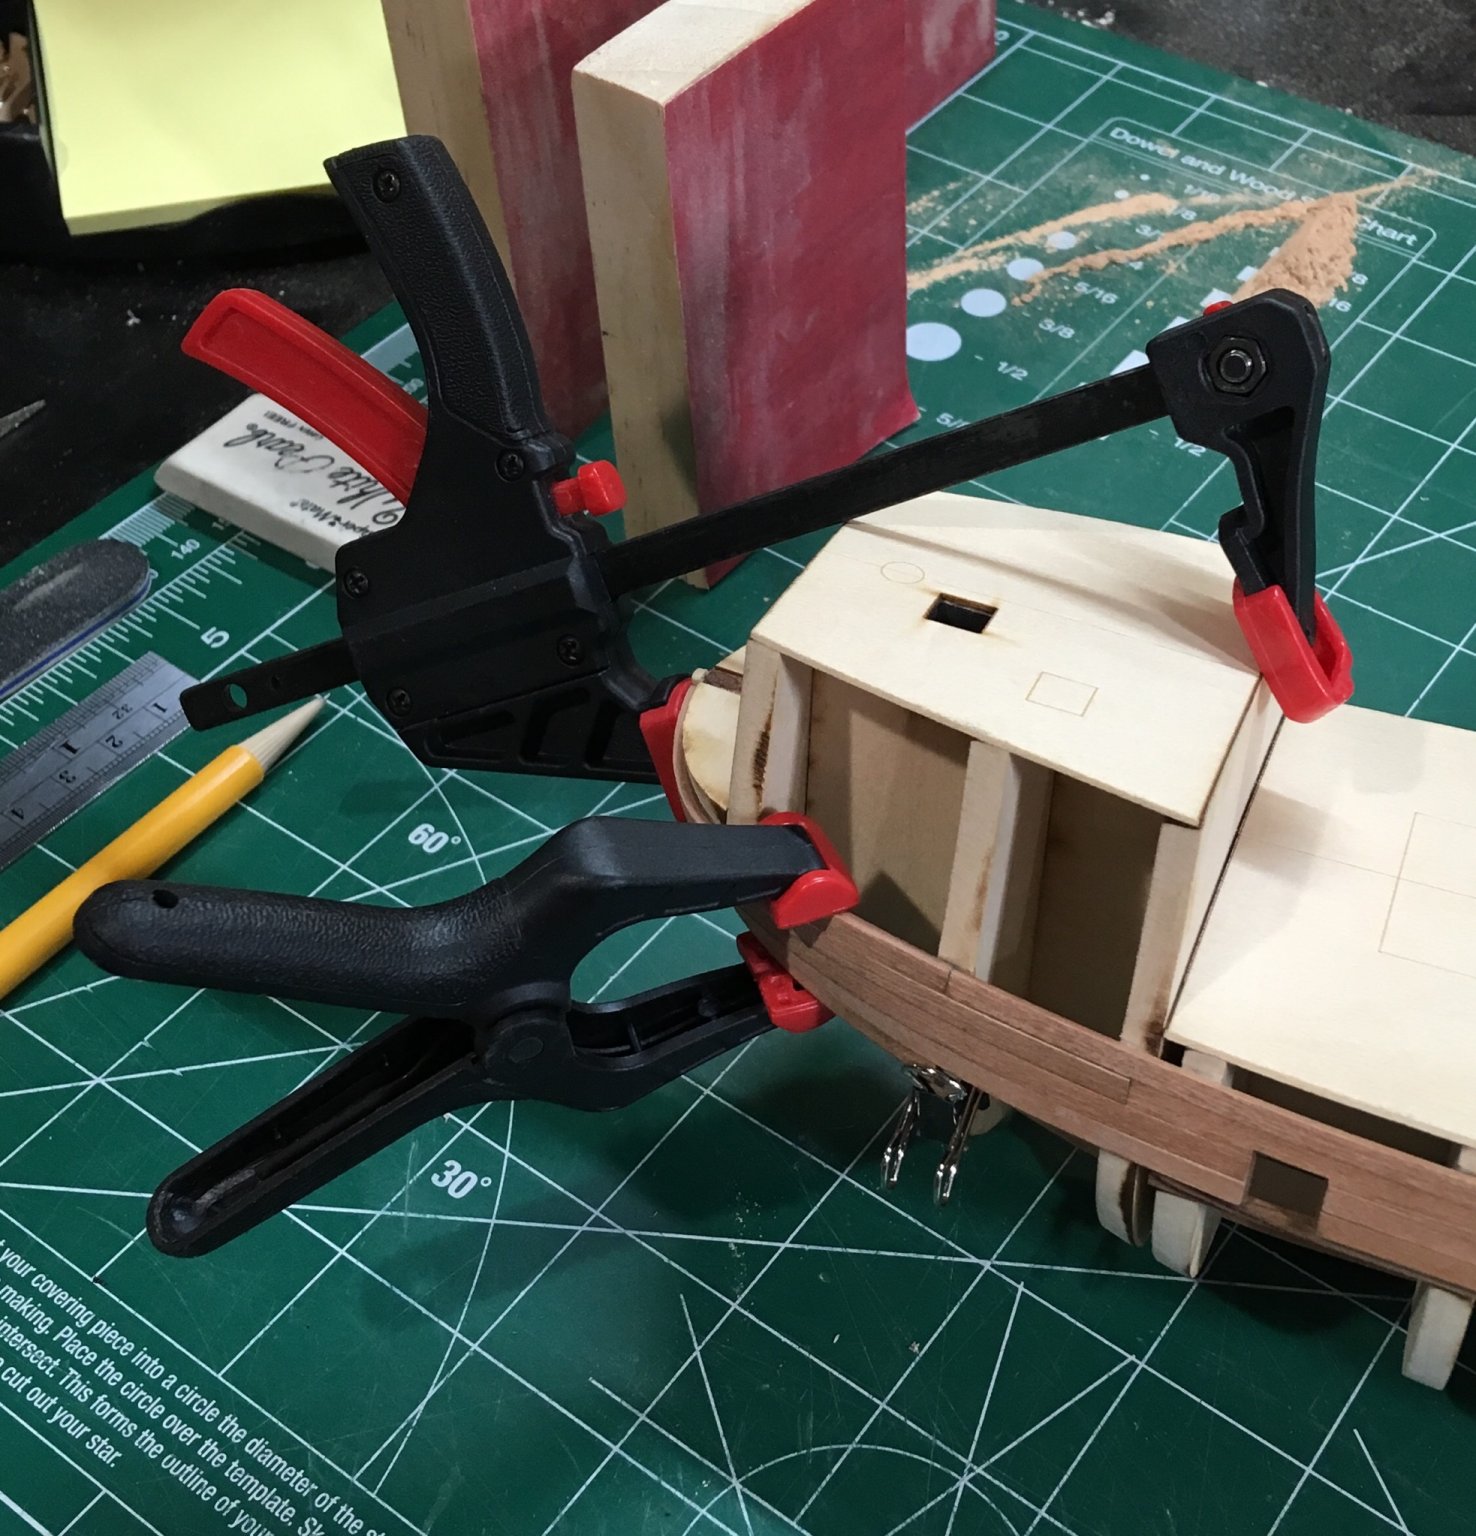
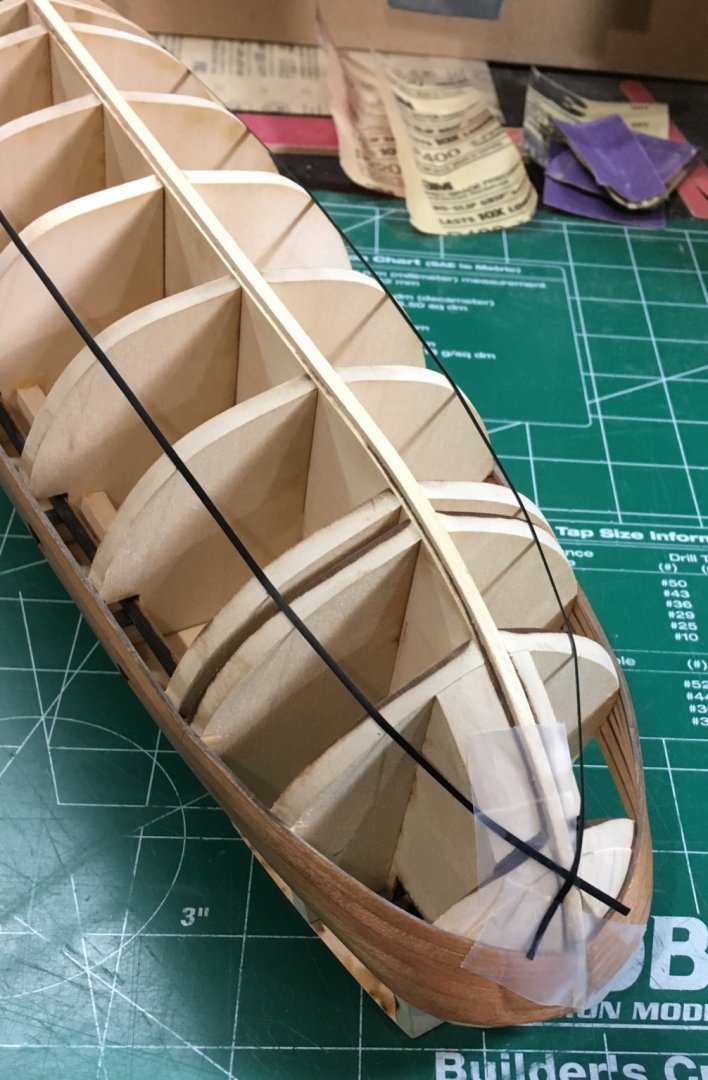
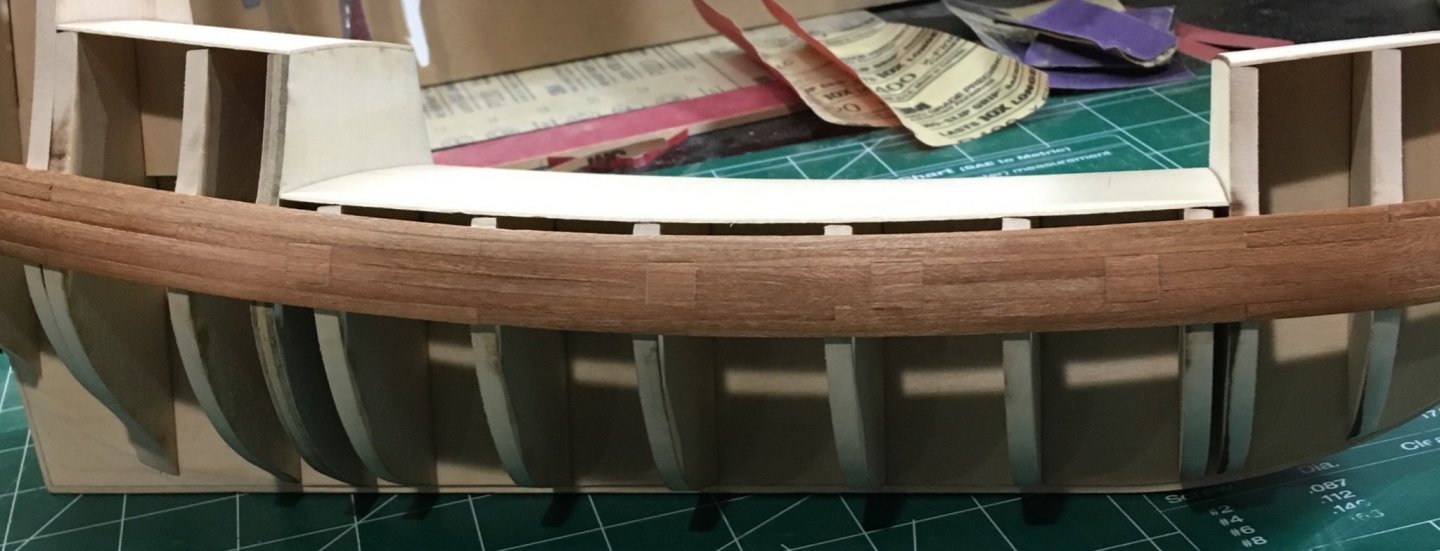
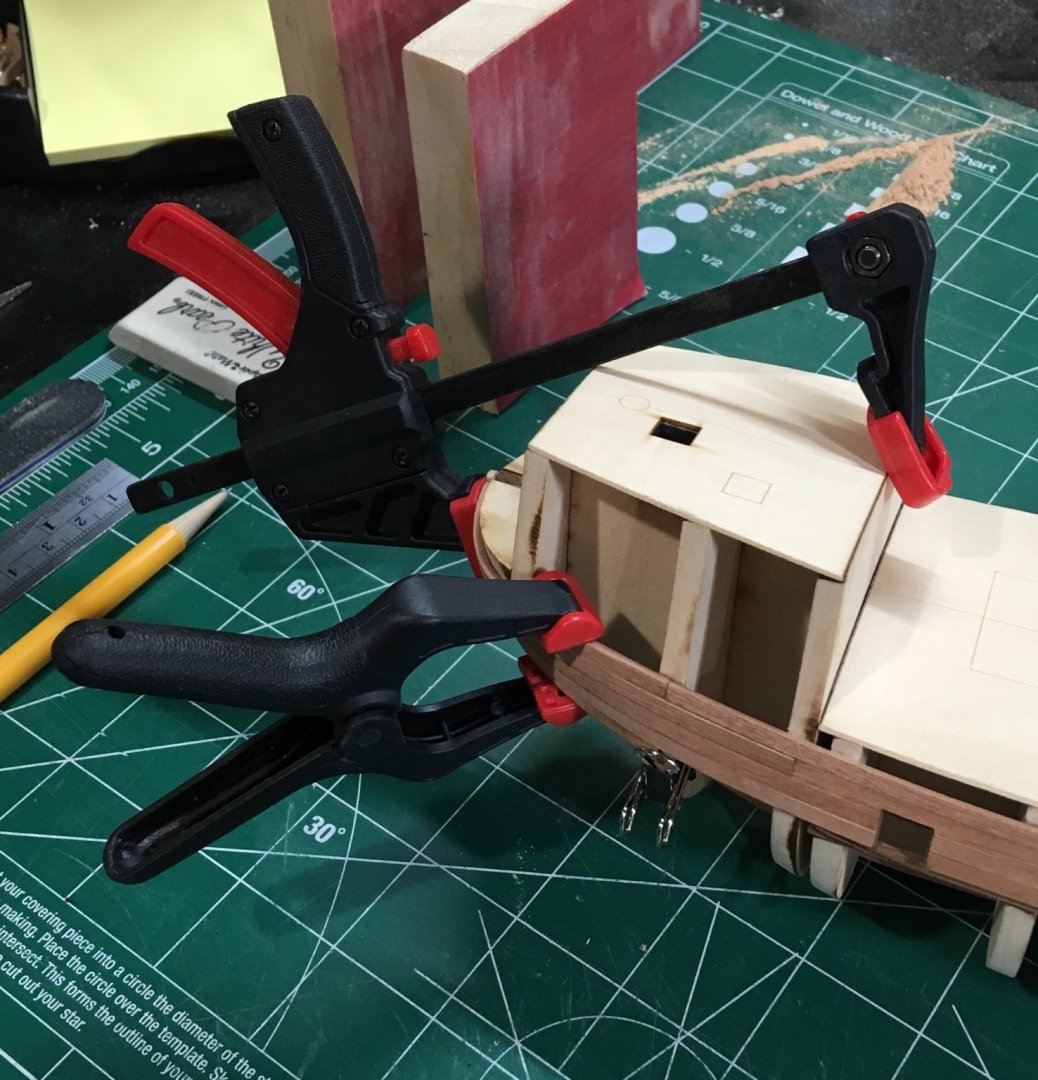
Now that the initial phase of hull planking is almost complete, I thought it would be useful to share the method I’ve been using to plank around this tricky bow. 1. Measure 80% of the 1/8” plank width and mark at the tip of the plank. It’s .1”. I use digital calipers for this. Mark 3” from the edge of the plank and draw a line from this point to mark the taper. I sand up to this line by running the plank across a 220 grit sanding block. 2. Bevel the plank to fit against the previously laid plank on the hull. 3. Soak the plank in hot water for 5-10 minutes. (This is the only time I use water.) 4. Clamp the plank to the hull and heat the plank until it’s dry. Let it cool. 5. Mark the butt joint and sand. Test fit on the hull. 6. When you have a nice fit, mark the edge of the plank to simulate caulking. 7. Apply glue and re-clamp. For the hot water I use a Keurig. I keep a disposable coffee cup in my work area. This works well since the plank lengths at the bow are short. I’ve included a photo of the clamping. Steve
-
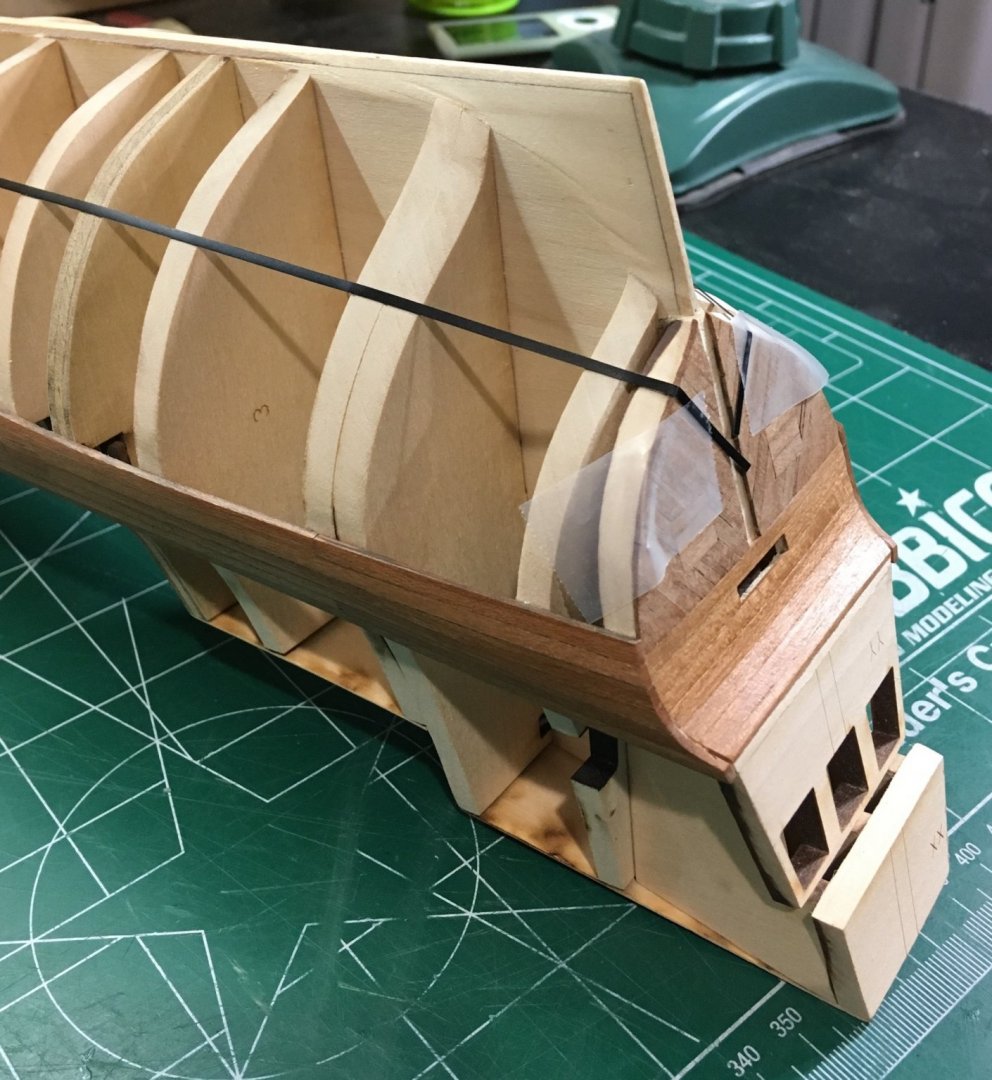
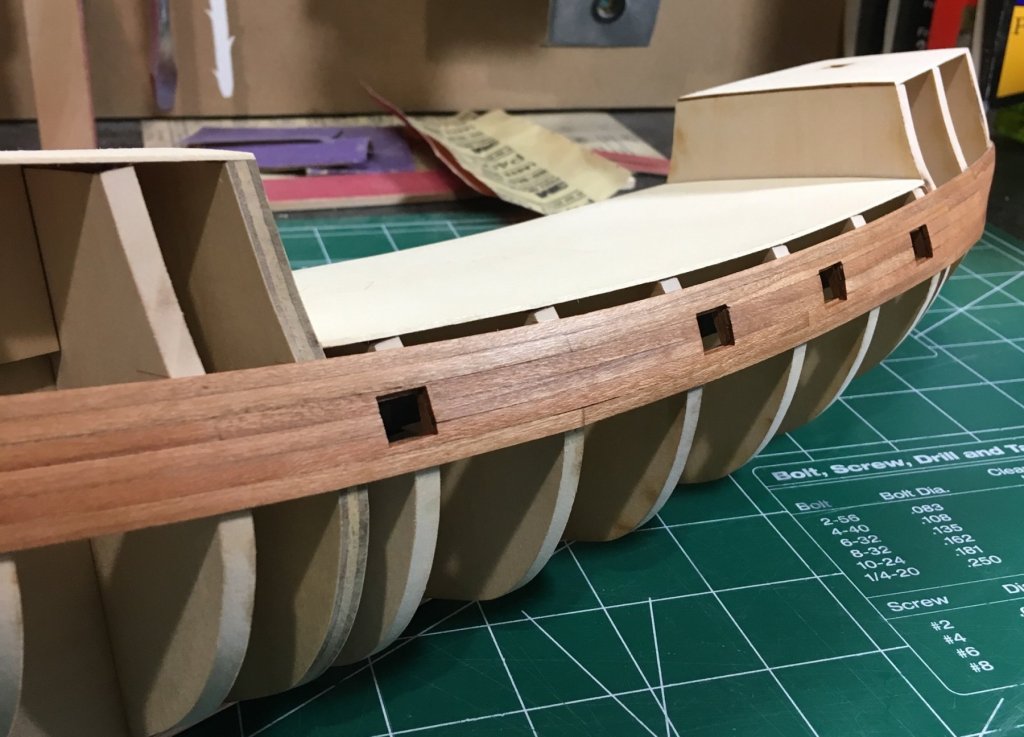
Two more strakes to go port side. The gun ports are much sharper with a more consistent rabbet. The planking on this side is coming out much cleaner. I will most likely close the gun ports starboard and leave the ones port side open. I’m learning a lot from this initial planking. Steve

-
Beautiful presentation and model! Steve
-
People think everything is going to magically sand clean after sloppily planking. Don’t know why. The cleaner it is before you sand, the cleaner it will be after. One piece at a time! Steve
- 1,784 replies
-
- 3
-
-
- winchelsea
- Syren Ship Model Company
- (and 1 more)
-
Requesting feedback for future MSW Group Projects
Tigersteve replied to Chuck's topic in Group Projects on Model Ship World
I like the idea of a stern section. Steve -
Very sharp. Excellent as always. Steve
- 607 replies
-
- 4
-
-
- winchelsea
- Syren Ship Model Company
- (and 1 more)
-
Excited to see a Confederacy build from you, especially after an excellent Syren build! Steve
-
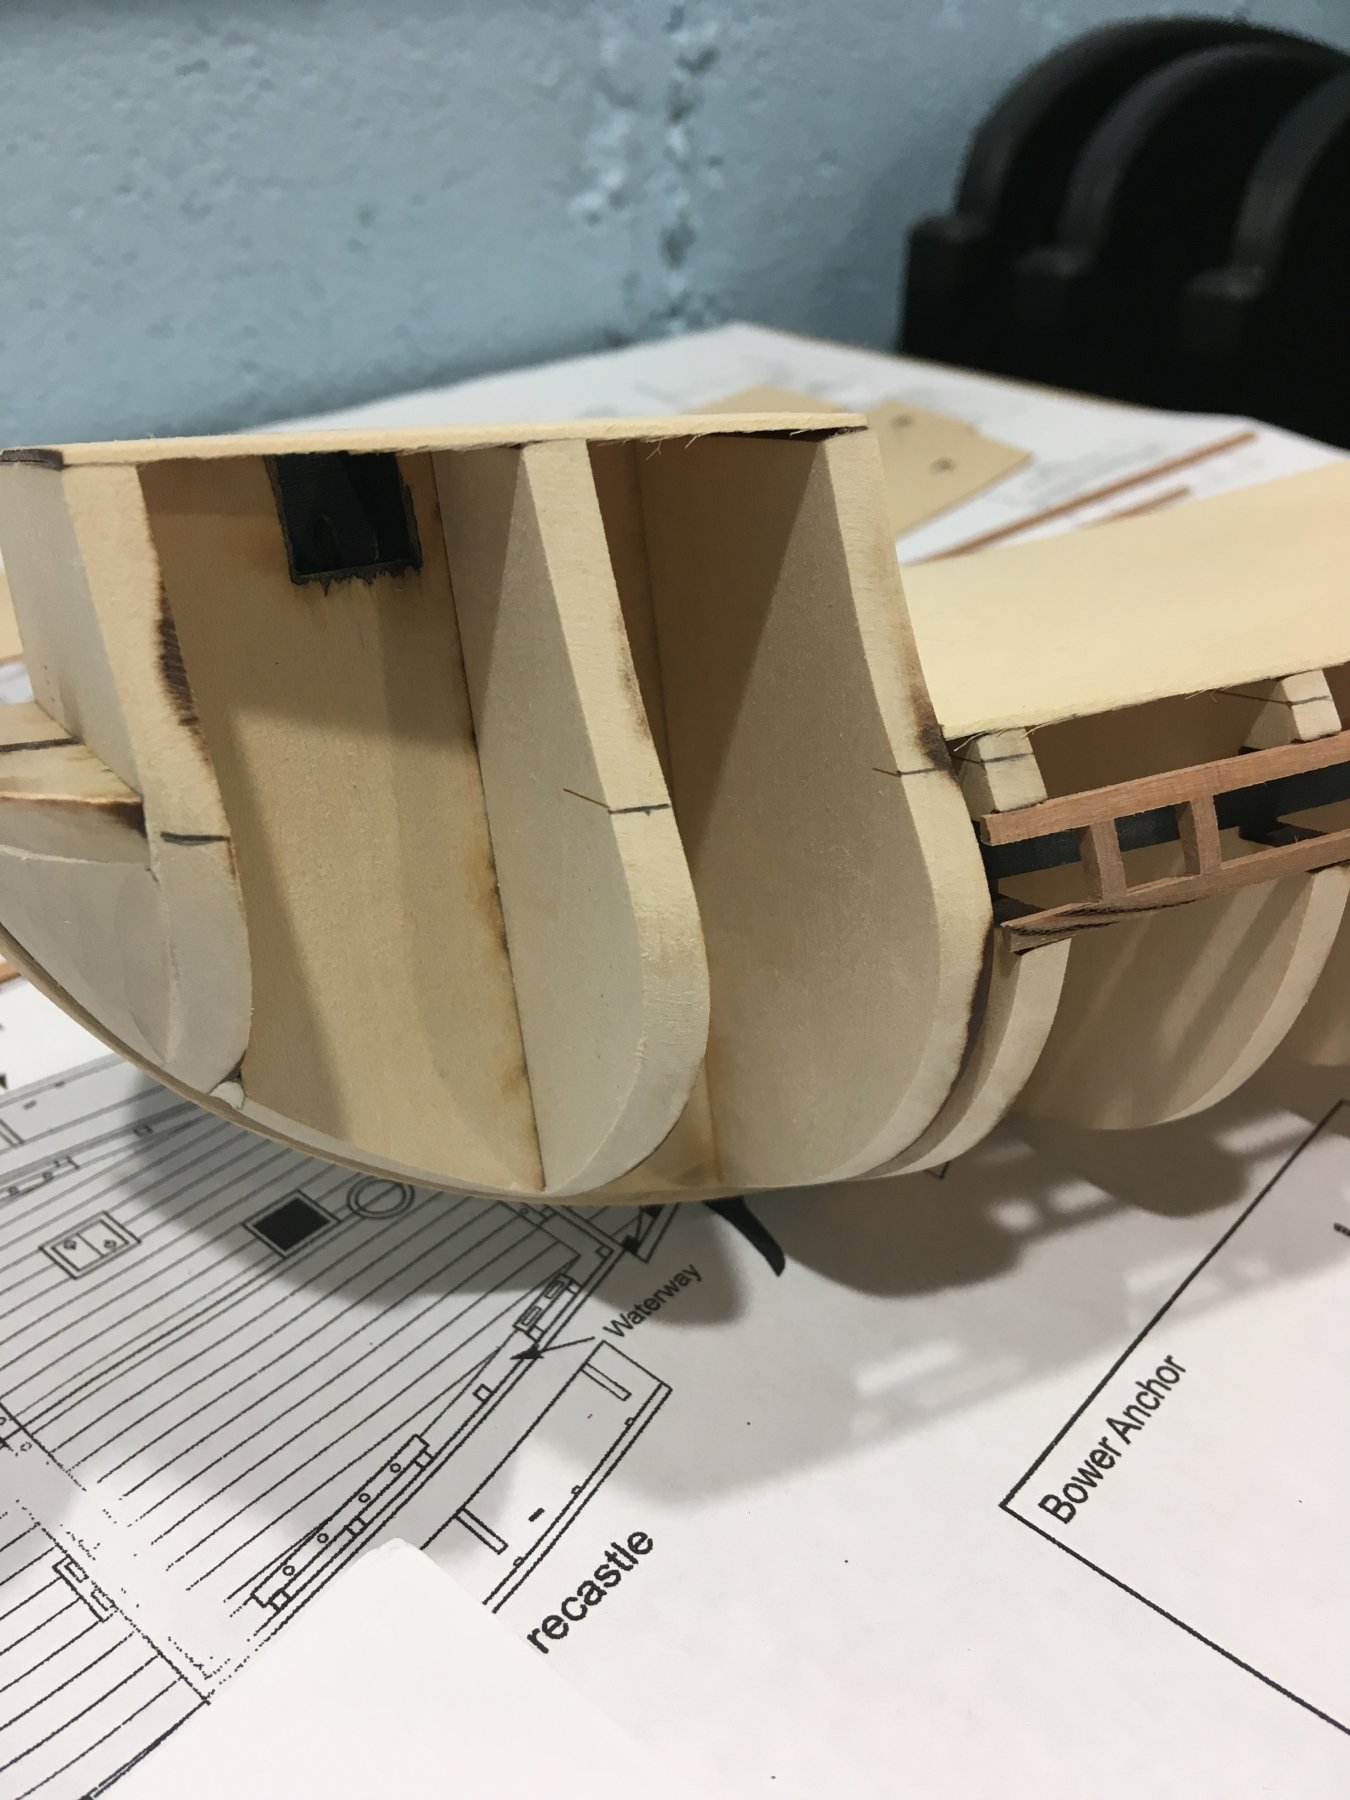
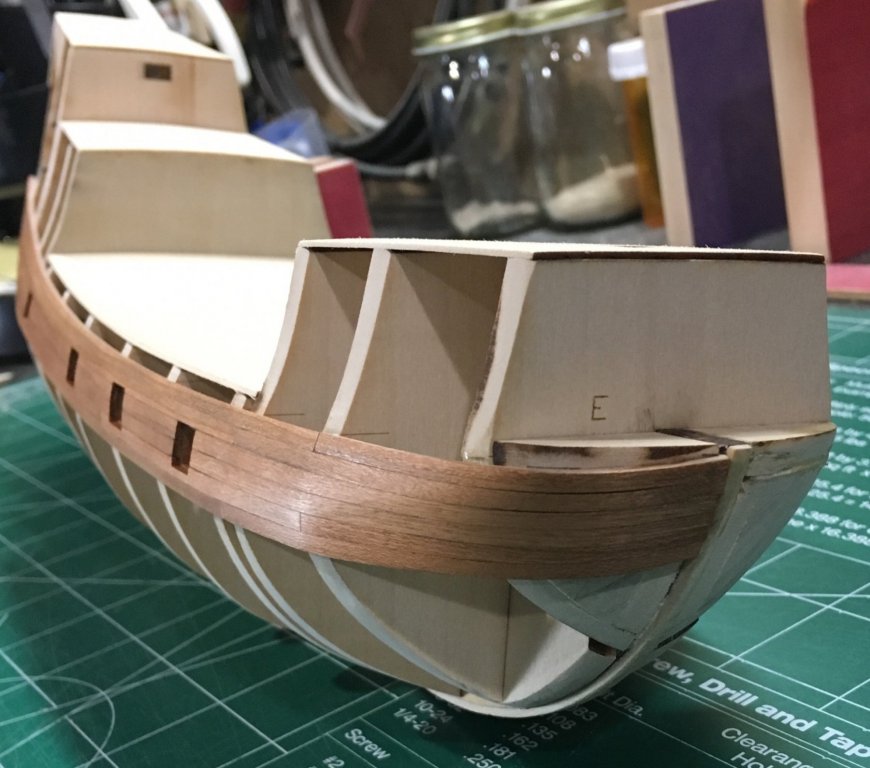
Planking around gun ports- The plank is cut to size and pre-bent with dry heat. Bevel the edge as necessary to get a tight fit. Next, mark the port openings using a straight edge. I like to file the edges and then draw a horizontal reference line representing the top of the opening. Various files are used and the fit of the plank is checked constantly until there is a clean 1/64” reveal. Still working on a more uniform reveal. Steve
-
The last version looks much cleaner and the color contrast with the boxwood is very nice. I’m going to need some moldings for my Confederacy 😜. Steve
- 1,784 replies
-
- 4
-
-
- winchelsea
- Syren Ship Model Company
- (and 1 more)
-
The initial planking is completed starboard. Sanding was done with 220 grit followed by 400 grit. Two coats of Wipe-On-Poly were applied with a 400 grit sanding between coats. 1/16” thick strips were a good design choice for this project. It allows for the needed sanding at the bow, which is tricky to say the least. I planked in scale length planks and left an approx 1/64” rabbet around the gun ports. Steve
-
Here is a company I’ve used for the display case. https://www.casesforcollectibles.com/ Steve
- 50 replies
-
- 1
-
-
- model shipways
- 18th century longboat
- (and 1 more)
-
Another masterpiece in the making. Steve
- 1,784 replies
-
- 4
-
-
- winchelsea
- Syren Ship Model Company
- (and 1 more)
-
Some really nice work here. Steve
-
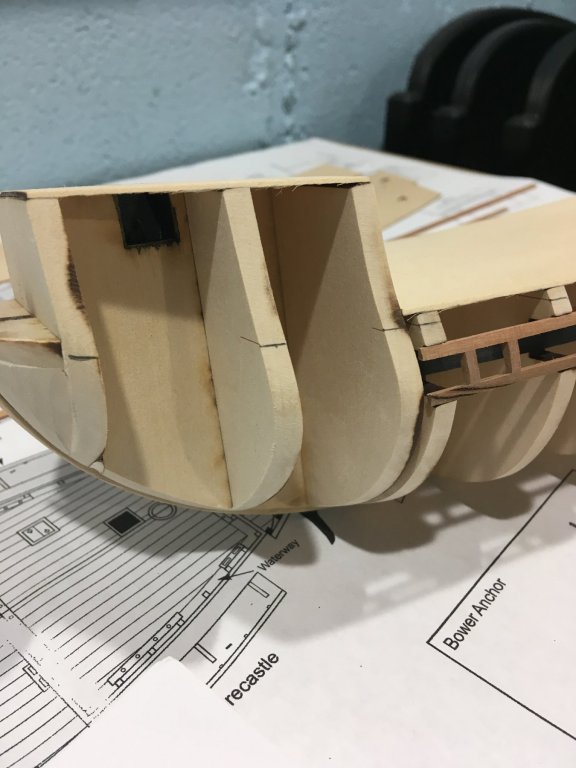
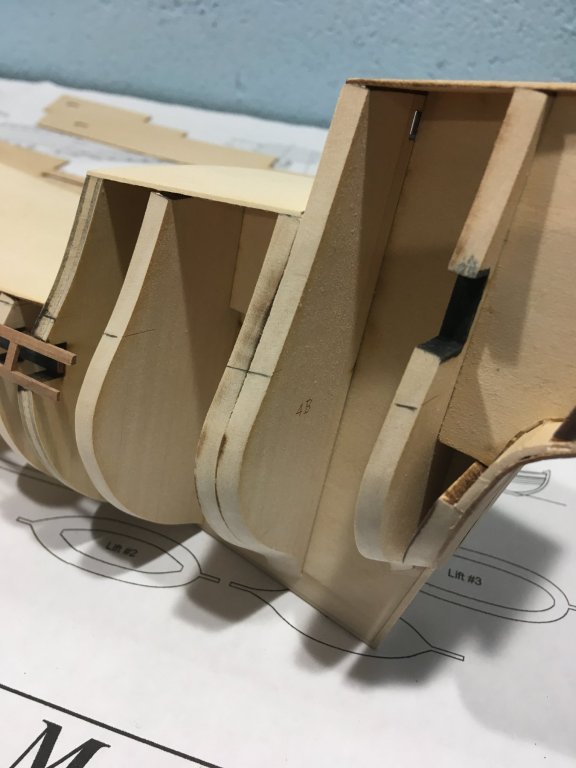
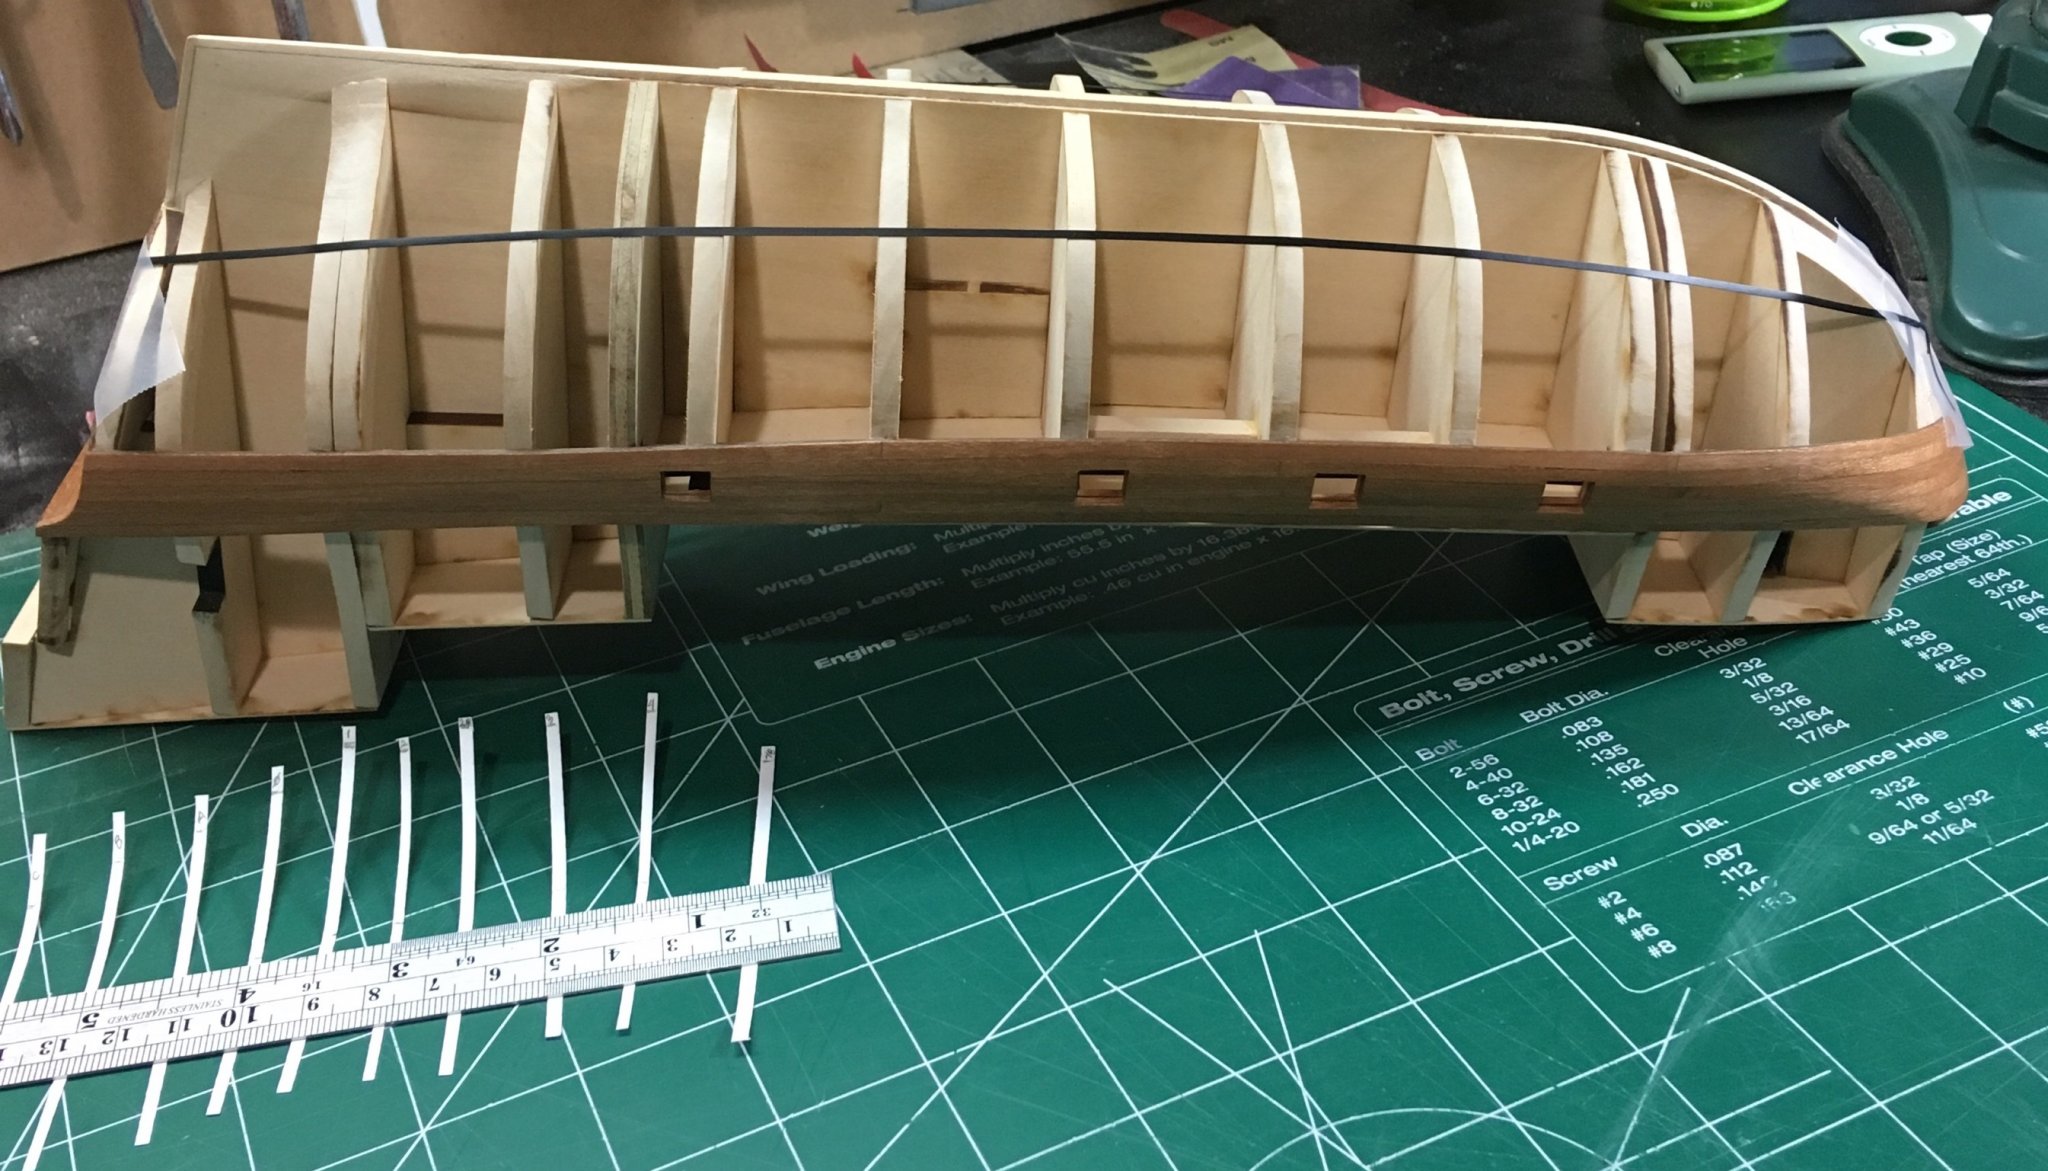
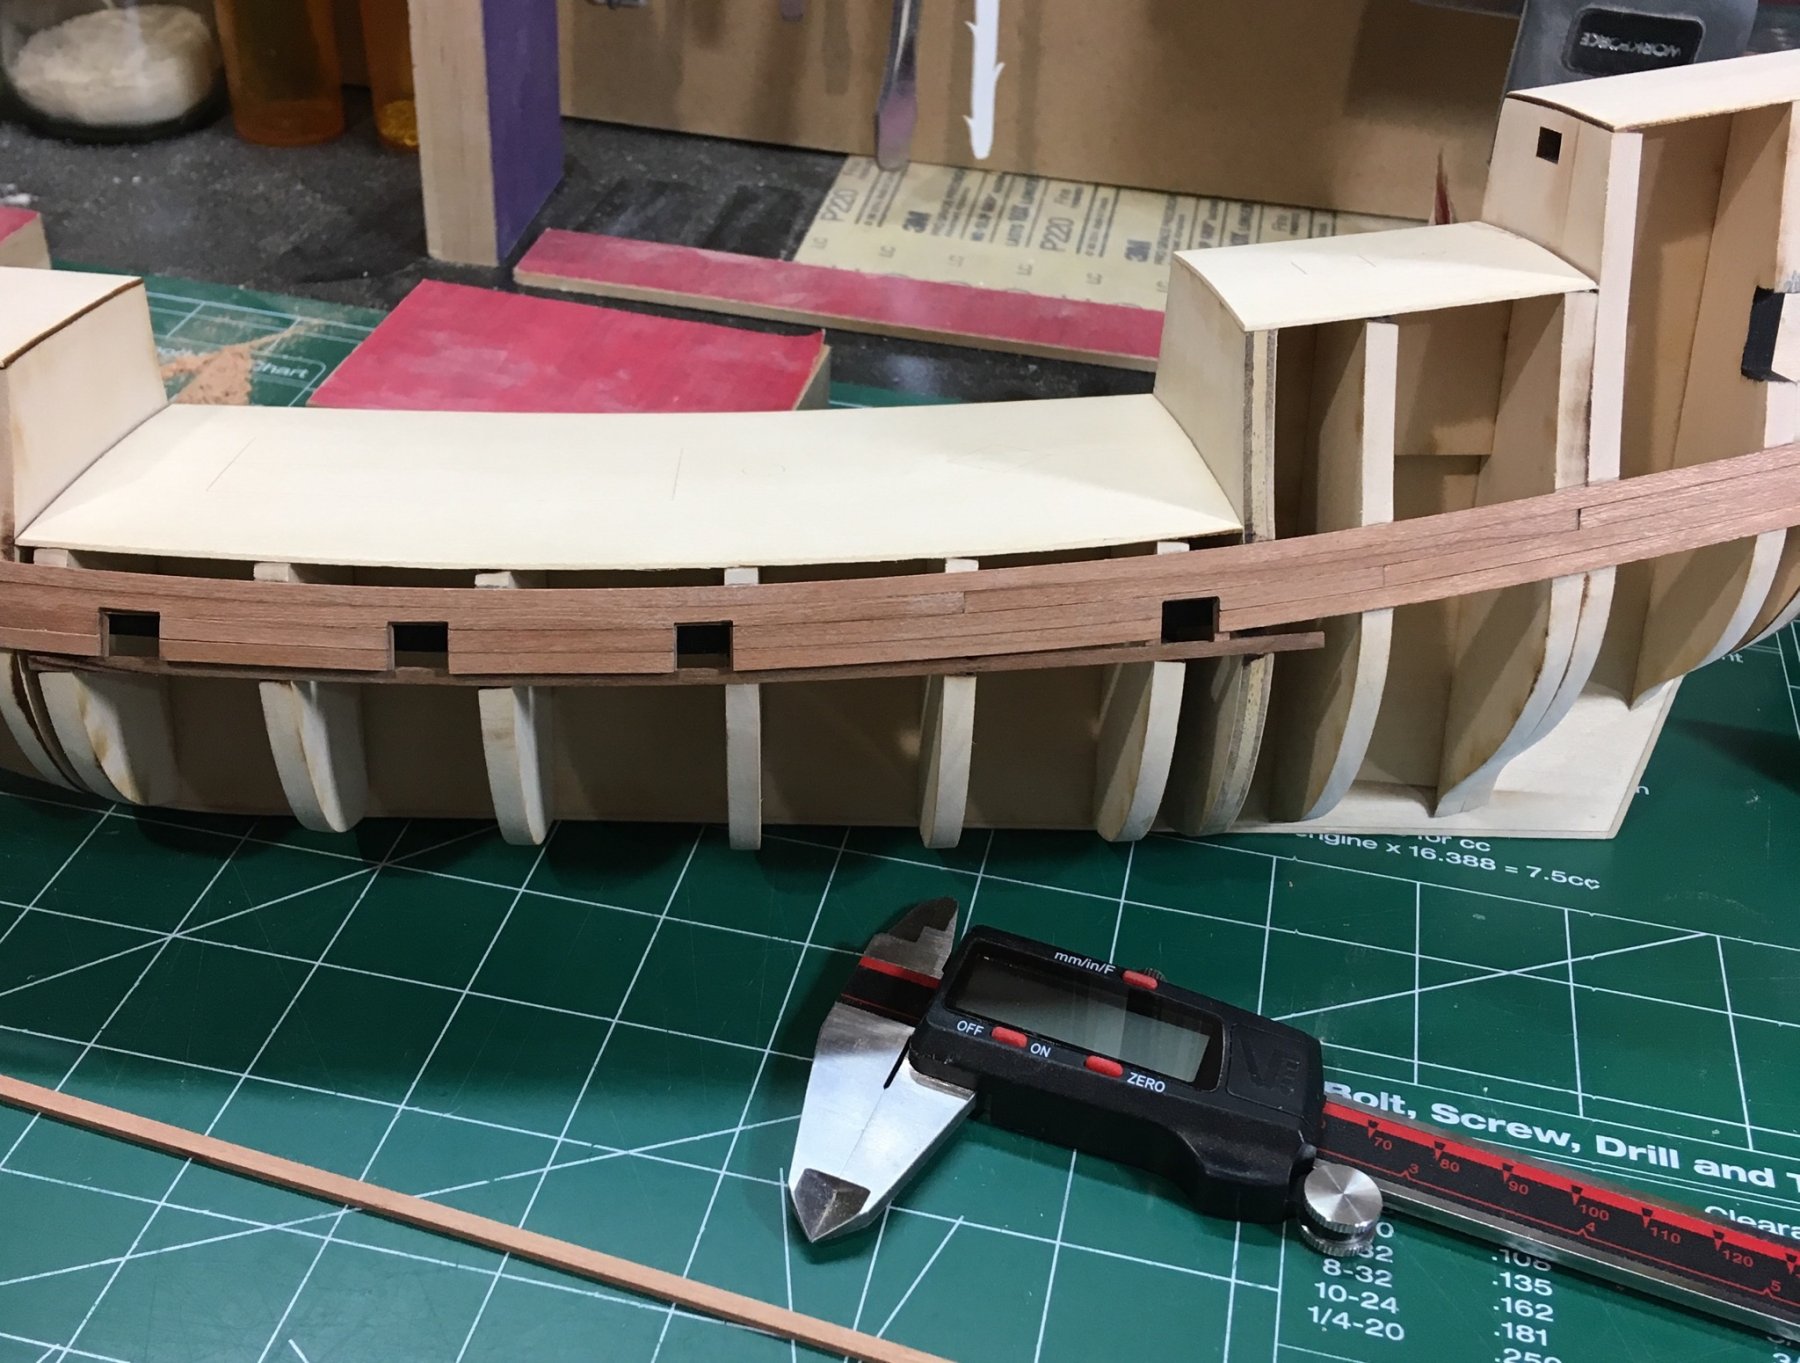
I marked off the reference lines for the initial planks with the bulwark template. Since I will only be planking one layer, I’m trying to figure out the scale lengths and planking pattern for butt ends. I calculated about 4” planks at this scale. I’m trying to follow Chuck’s planking pattern. It seems that some lengths used were longer than 4”. Are all planks supposed to be 4”? Looking for guidance on scale length planks. Steve