HOLIDAY DONATION DRIVE - SUPPORT MSW - DO YOUR PART TO KEEP THIS GREAT FORUM GOING! (Only 13 donations so far - C'mon guys!)
×


Tigersteve
-
Posts
1,323 -
Joined
-
Last visited
Content Type
Profiles
Forums
Gallery
Events
Everything posted by Tigersteve
-
 Yeah- whatever is missing or warped they will replace. They make mistakes but seem to make good for it. I had messed up my longboat and they sent me a whole new set of planking and bulkheads upon request. Steve
 -
Uggh! Email them a photo of it and request a new one. Sorry to hear this. Steve
-
I wonder if the line for the gun tackle is too thick, resulting in the spaghetti look. It's all looking good though. Steve
-
Great work so far! I'll hop aboard if you'll allow. Steve
-
Absolute crap. I can't believe they sent that to you! Just wait on the replacements. Steve
-
They have Monday-Friday 9-5 business hours but email them. They are good with taking care of replacements. It would be good if they sent better quality first time around though. Nirvana is right- there shouldn't be that much char on the tops of those sheets. Maybe request an entire kit replacement if most of it is like that. Char on the back of the sheets is normal. See below copied from their website... Our guarantee … Should you lose a part; accidently break it or just take a wrong turn while building we are here for you. Just find the part number in the kit’s part list, email it to mmosko@aol.com and we’ll send it out to you as fast as we can. Please don’t offer us money for postage. Pay us back by finishing your model and think of us next time you buy a kit, tools or accessories. Photos of your finished model are always appreciated.
-
Request new plywood from them and new plans. Ridiculous! That kit is not cheap either. Steve
-
Thanks guys! It was not easy to accomplish these results. It was important to me to include all rigging detail from the rigging plan in a strategic way that made sense. Also important was to highlight all the small details and avoid a cluttered look. Photos of the overall model will follow upon completion... very soon. Steve
- 165 replies
-
- 4
-

-
- finished
- model shipways
- (and 1 more)
-
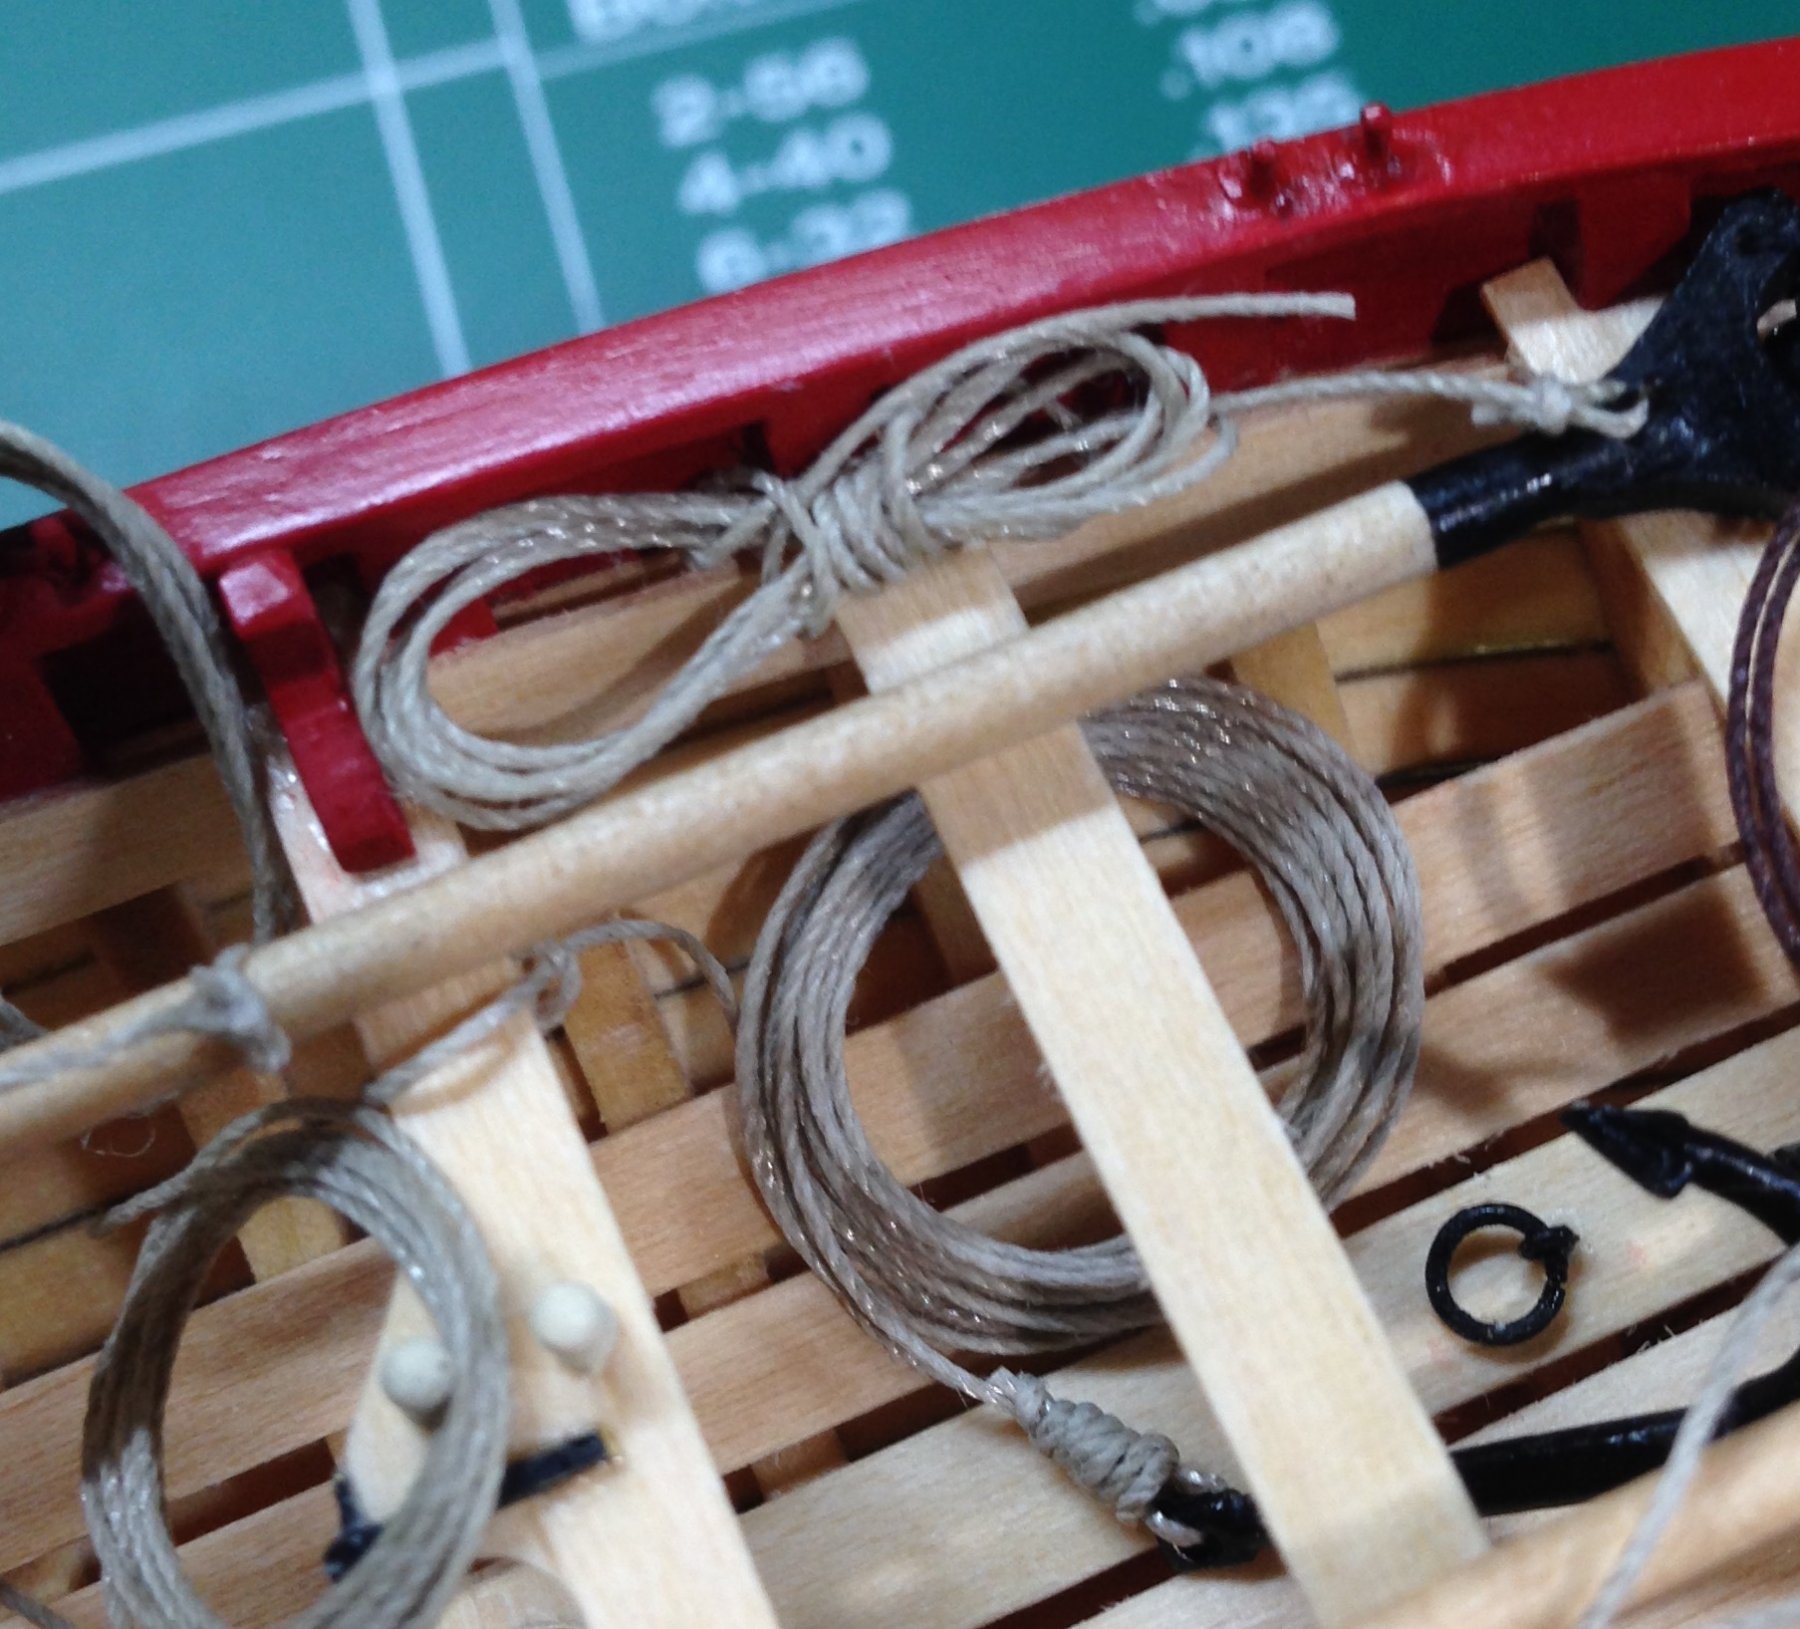
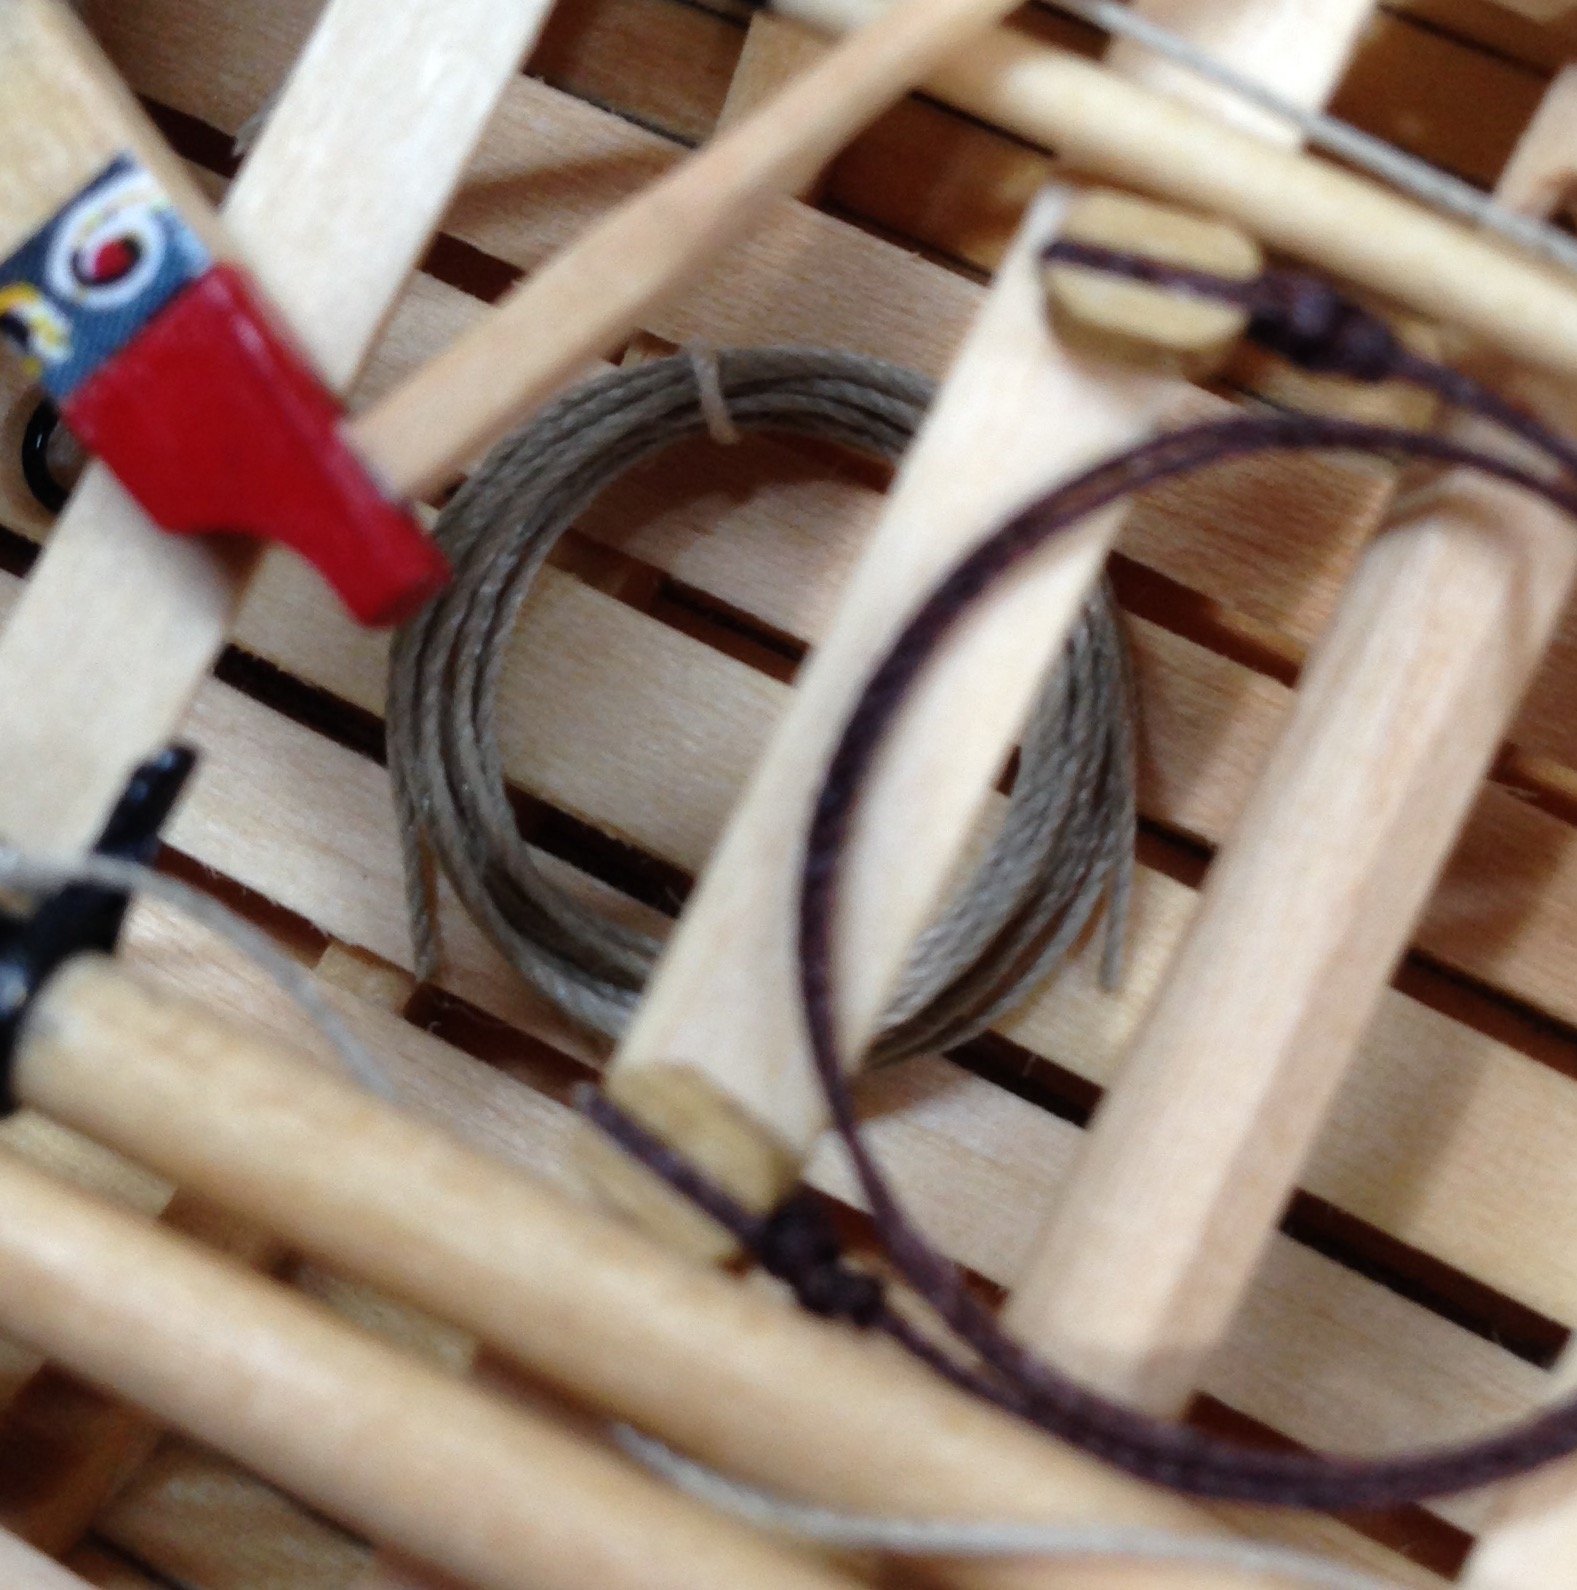
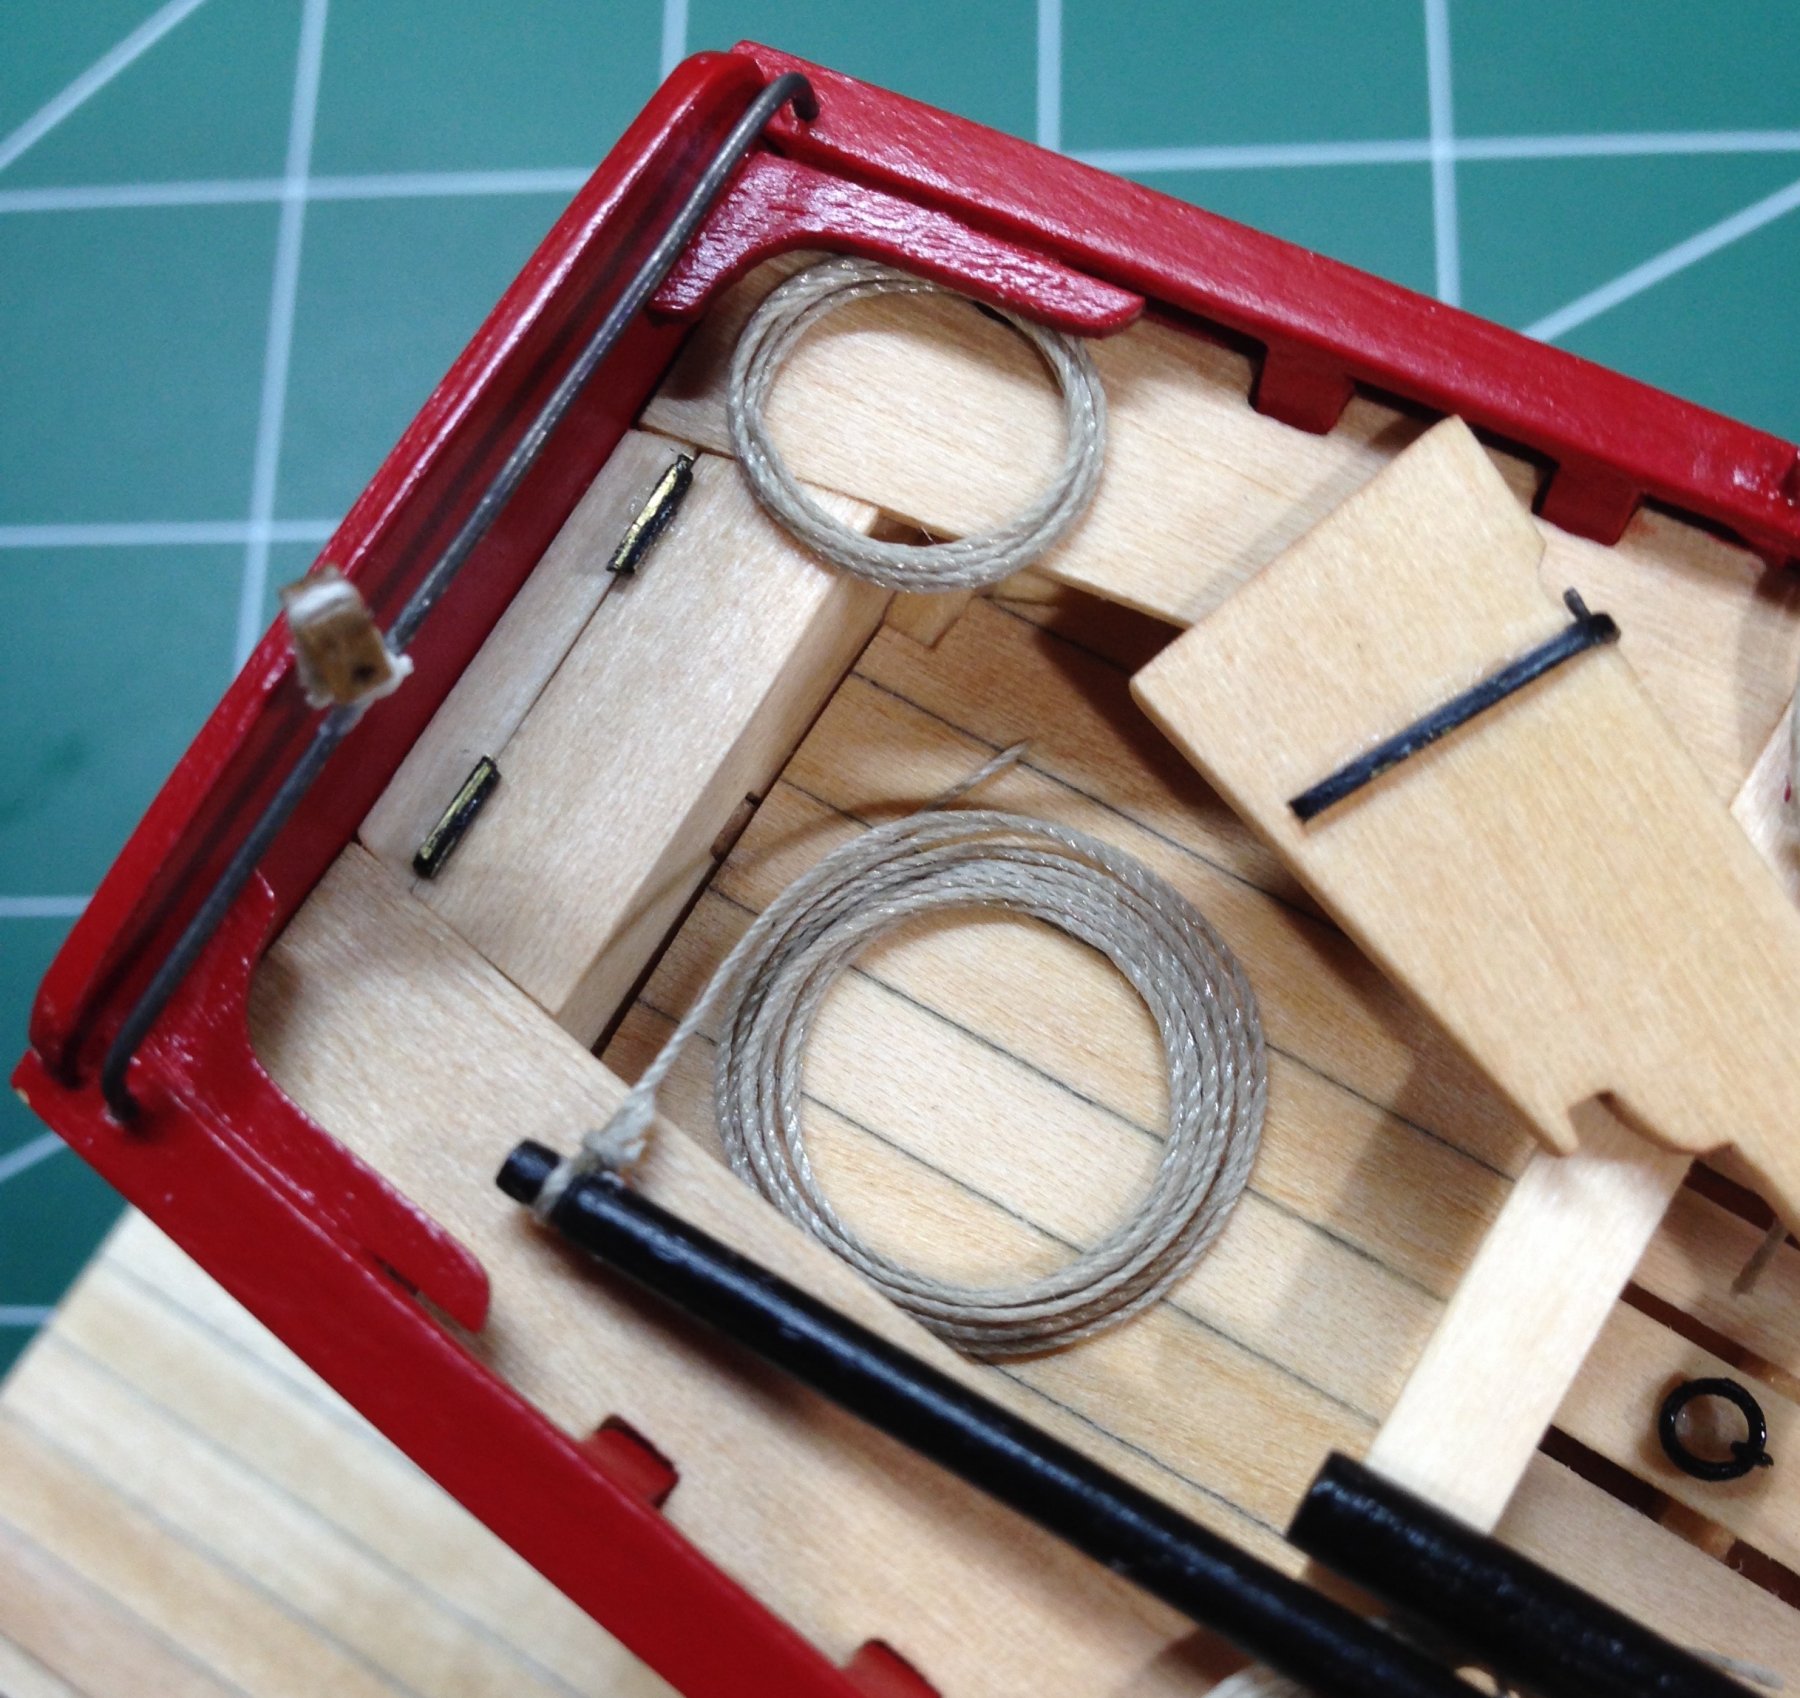
The length of rope for the jibsail halyard was taken from the rigging plan and placed in a rope coil on the floorboards, aft the windlass. This coil was seized with light colored rope. A gasket coil was created next from the remaining line on the gaff. Included is a reference photo of this type of coil. The remaining line on the boom was placed in a coil on the aft platform. When these steps were complete, the remaining staging could take place and a final rope coil could be created for the remaining lanyard at the stern. Lashing the boat is next. Steve


- 165 replies
-
- 13
-
-
- finished
- model shipways
- (and 1 more)
-
Nice! Steve
-
I shall follow too. Steve
-
Looks like it's going smoothly for you. Nice work. Steve
- 1,135 replies
-
- 3
-
-
- model shipways
- syren
- (and 2 more)
-
That worked really well. Looks real clean. Good leaf might work. Test it out for us. Just don't paint them white. I may have to "borrow" your idea of assembling off the boat before install. Steve
- 129 replies
-
- 1
-
-
- finished
- model shipways
- (and 1 more)
-
Mike, my patience is certainly being tested at this stage of the build. I'm glad Ken's logs are helping you. They are impressive. Jct, I'm glad you like the presentation I've chosen. I have some variation in the rope coils coming soon. Stay tuned... Steve
-
Thank you, gentlemen. The boat is coming along. Will be better after you can sand the excess when glue dries. Steve
-
It's coming along nicely. Stick with the wood glue. Steve
-
Maybe leave the panels off in that area. Guess you'll have to redesign a bit. Looks good. Steve
- 129 replies
-
- 1
-
-
- finished
- model shipways
- (and 1 more)
-
Al, please create a separate build log of your Mayflower build for us. It's getting confusing to follow, at least for me. Looking forward to both your builds' progress and pictures. Steve
-
ancre Chebece 1750 by Jeronimo - FINISHED
Tigersteve replied to Jeronimo's topic in - Build logs for subjects built 1501 - 1750
Cool stuff! Steve -
Lucky only chainplates vanished. Sounded like it was going to be worse! Steve
- 245 replies
-
- 3
-
-
- bluenose
- model shipways
- (and 1 more)
-
This project came together very nicely. Great work, congrats! Steve
- 250 replies
-
- 4
-
-
- willie l bennett
- model shipways
- (and 1 more)
-
Len, thank you for saying so. I appreciate everyone's interest and support. It's getting close. Four more rope coils to go! Steve
- 165 replies
-
- 7
-
-
- finished
- model shipways
- (and 1 more)