HOLIDAY DONATION DRIVE - SUPPORT MSW - DO YOUR PART TO KEEP THIS GREAT FORUM GOING! (Only 13 donations so far - C'mon guys!)
×


Tigersteve
-
Posts
1,323 -
Joined
-
Last visited
Content Type
Profiles
Forums
Gallery
Events
Everything posted by Tigersteve
-
 Its not a race, gentlemen! 😀 My plywood is also white in color. I don't think it's basswood. Sounds like you got what they usually include in their kits. Glad you can start now! Steve
 -
Yes, I saw those "dummy" cannons in the kit when I verified all contents. I would like to present my version of the Mayflower with gun ports open. The reality of construction could always change my plans though. Look forward to your photos. Steve
-
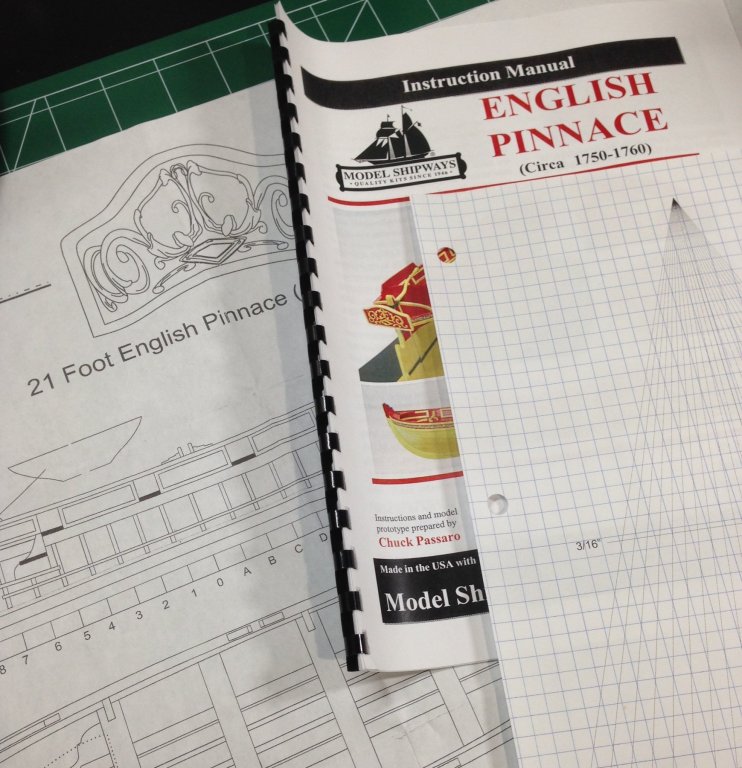
After completing the English Longboat, this build of the English Pinnace seems like the next logical project for me. I placed an order with Wood Project Source for some hard maple. This order covers the planking and various other aspects of the build. The laser cut parts from the kit will be used, of course. I'm very curious how it is to work with hard maple. A photo of the plans, practicum, and my planking fan is included for your enjoyment while I procrastinate on creating a building board for this project. Welcome! Steve
- 190 replies
-
- 14
-

-
- pinnace
- model shipways
- (and 1 more)
-
Love it! Steve
-
Is this project still in the works? Steve
-
Very nice work! Steve
-
Beautiful work all around. Steve
-
Just came across this great project of the Mayflower. Like the paint work also. Hope you're still working on it. Steve
-
I'm pulling up a seat. Steve
-
Regarding the eyebolt- even though I have not thoroughly gone through my set of plans and practicum yet, I believe I remember that there's an illustration on the plans as to how the eyebolt works later on when stepping the mast. I'm actually going through my kit now just to make sure I have all inventory. It's looking good so far, luckily! Not starting this build for a while though. Steve
-
Beautifully done ship's boat! No shame in basswood. It is wood after all. Steve
-
Hamilton, just went through your log. Enjoying it very much. Not the issues with the MS plans though. I shall join your audience. Steve
-
Looping myself in. Awesome stuff! Steve
-
That was a very enjoyable post to read. Ship looks great...no CT scan needed! Steve
- 60 replies
-
- 1
-
-
- pride of baltimore ii
- Model Shipways
- (and 1 more)
-
Looks good. Nice photos! Steve
-
Just went through your log. The ship is coming along nicely. I agree with you that the practicum has such a strange deck layout. Steve
-
I'll hop on board if you don't mind. Steve
-
Thank you everyone for such nice comments. I am very happy with the outcome. Hoping I can plank the pinnace just as well or better. After doing some experimentation with a manila folder, I decided on the dimensions of the case. It will be 10" x 6" at its base and 5" tall. This leaves 1" clearance around the base and 2" clearance around the boat. Steve
- 165 replies
-
- 1
-
-
- finished
- model shipways
- (and 1 more)
-
It's nice when you can just visit these places in person. I'm still trying to figure out how much buffer to leave on each dimension. I haven't found any standards on this online yet. Probably a personal preference. I think I need to do a mockup to see it in 3D. Don, thanks for the info. I will think on this. Steve
- 165 replies
-
- 1
-
-
- finished
- model shipways
- (and 1 more)
-
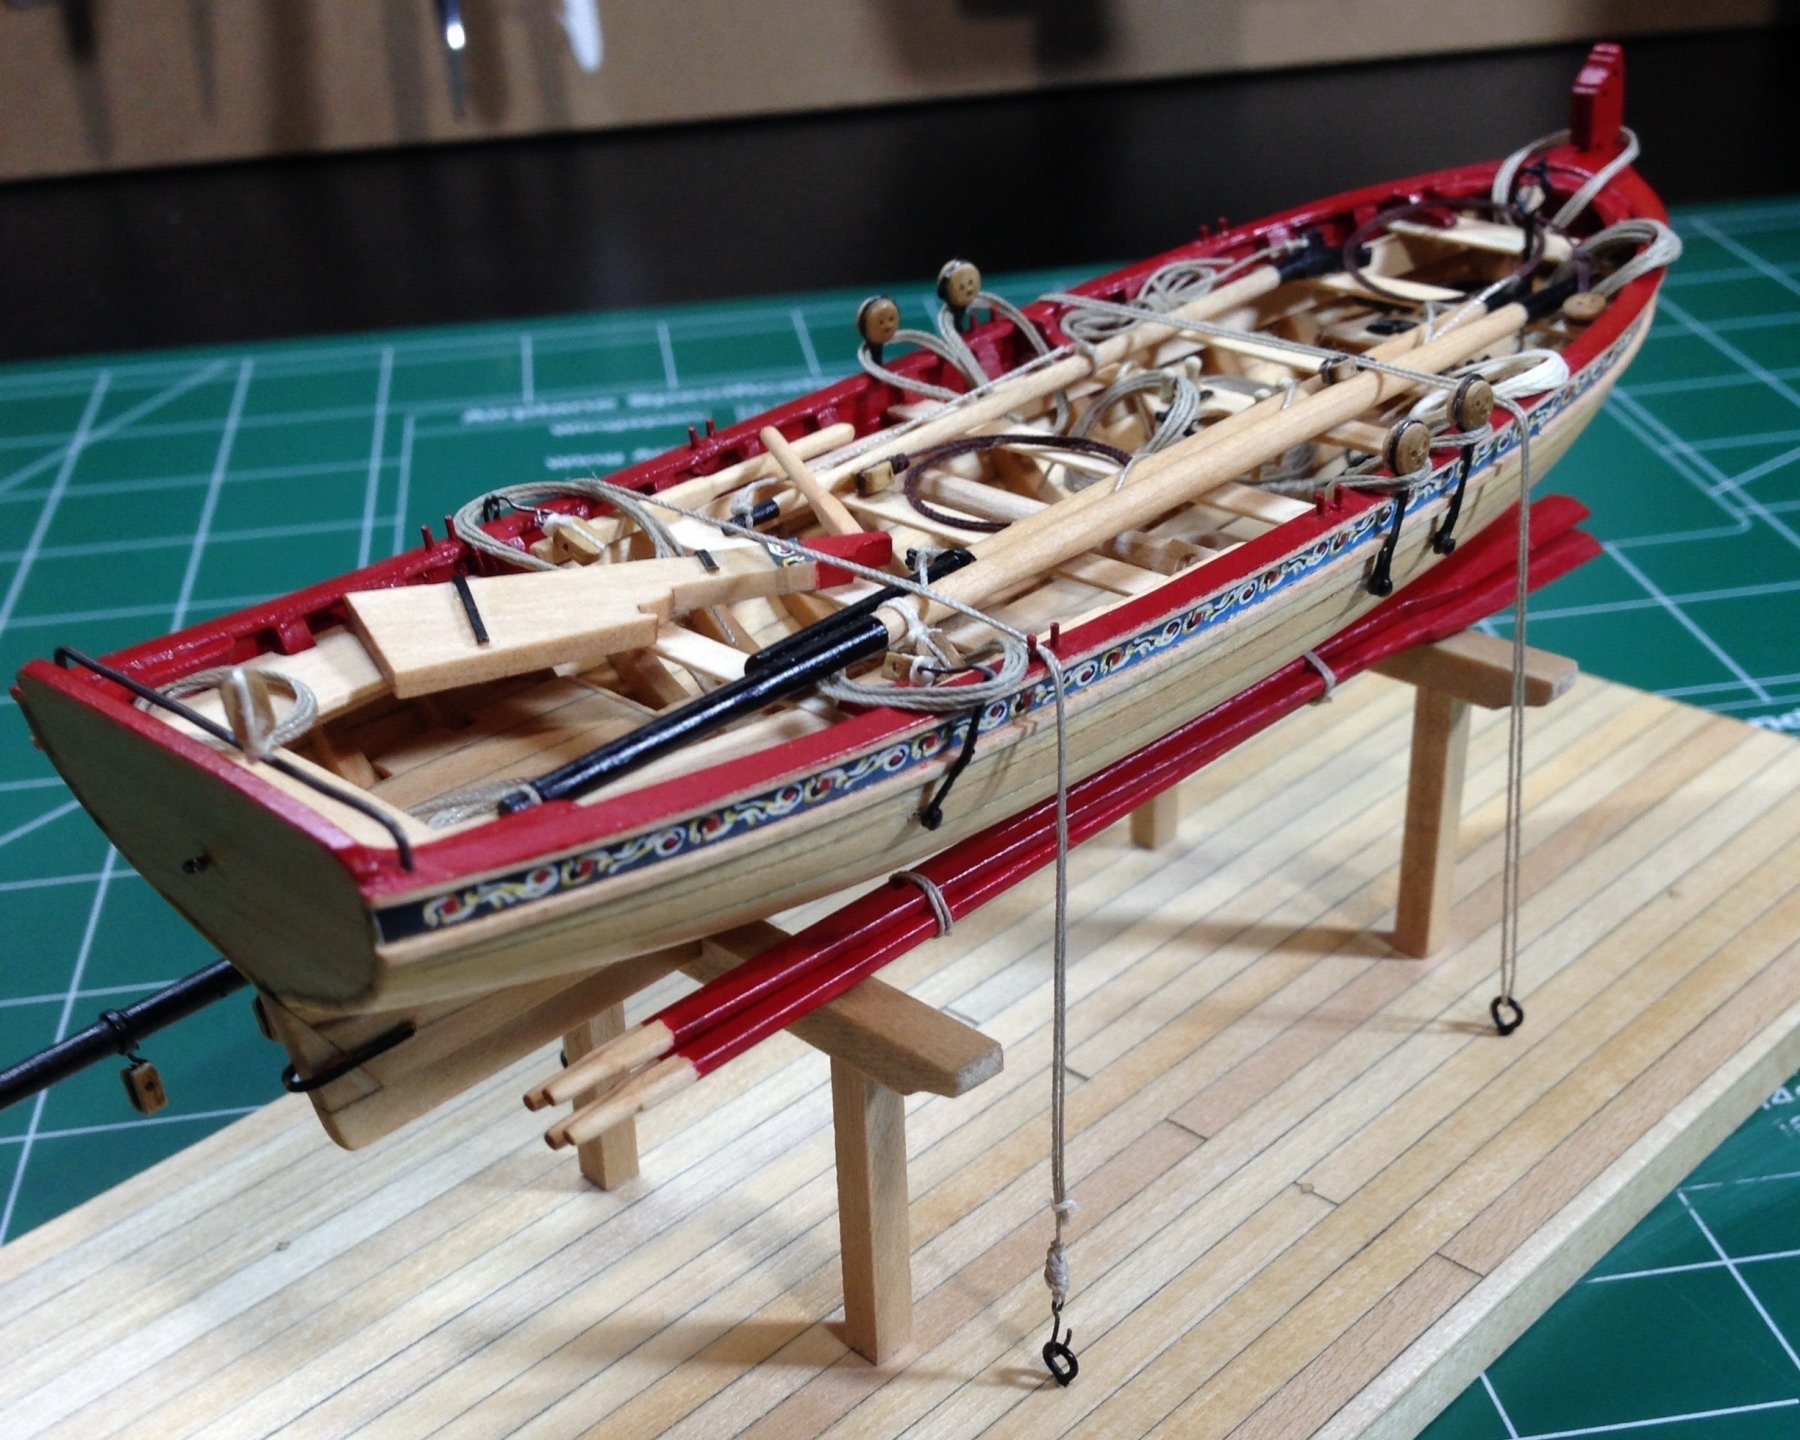
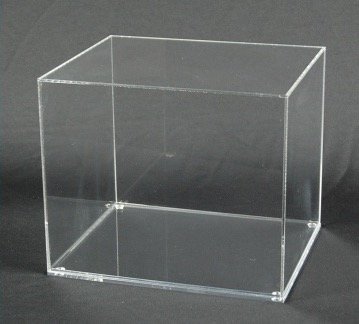
I came across this company a while ago while researching display cases. They make acrylic products and seem perfect for this purpose. http://kreativeacrylics.com/ Included is a photo from their website of a diorama display case. The base has grooves where the cover sits on top. I don't have the appropriate power tools at this point to craft a wooden base, but could always do this in the future. The dimensions of the completed model are 8.5" x 4" at its base and 3" tall. Feedback is much appreciated here on how much buffer to leave at each dimension so the model does not look suffocated. I'm thinking 1"? Steve
- 165 replies
-
- 3
-
-
- finished
- model shipways
- (and 1 more)
-
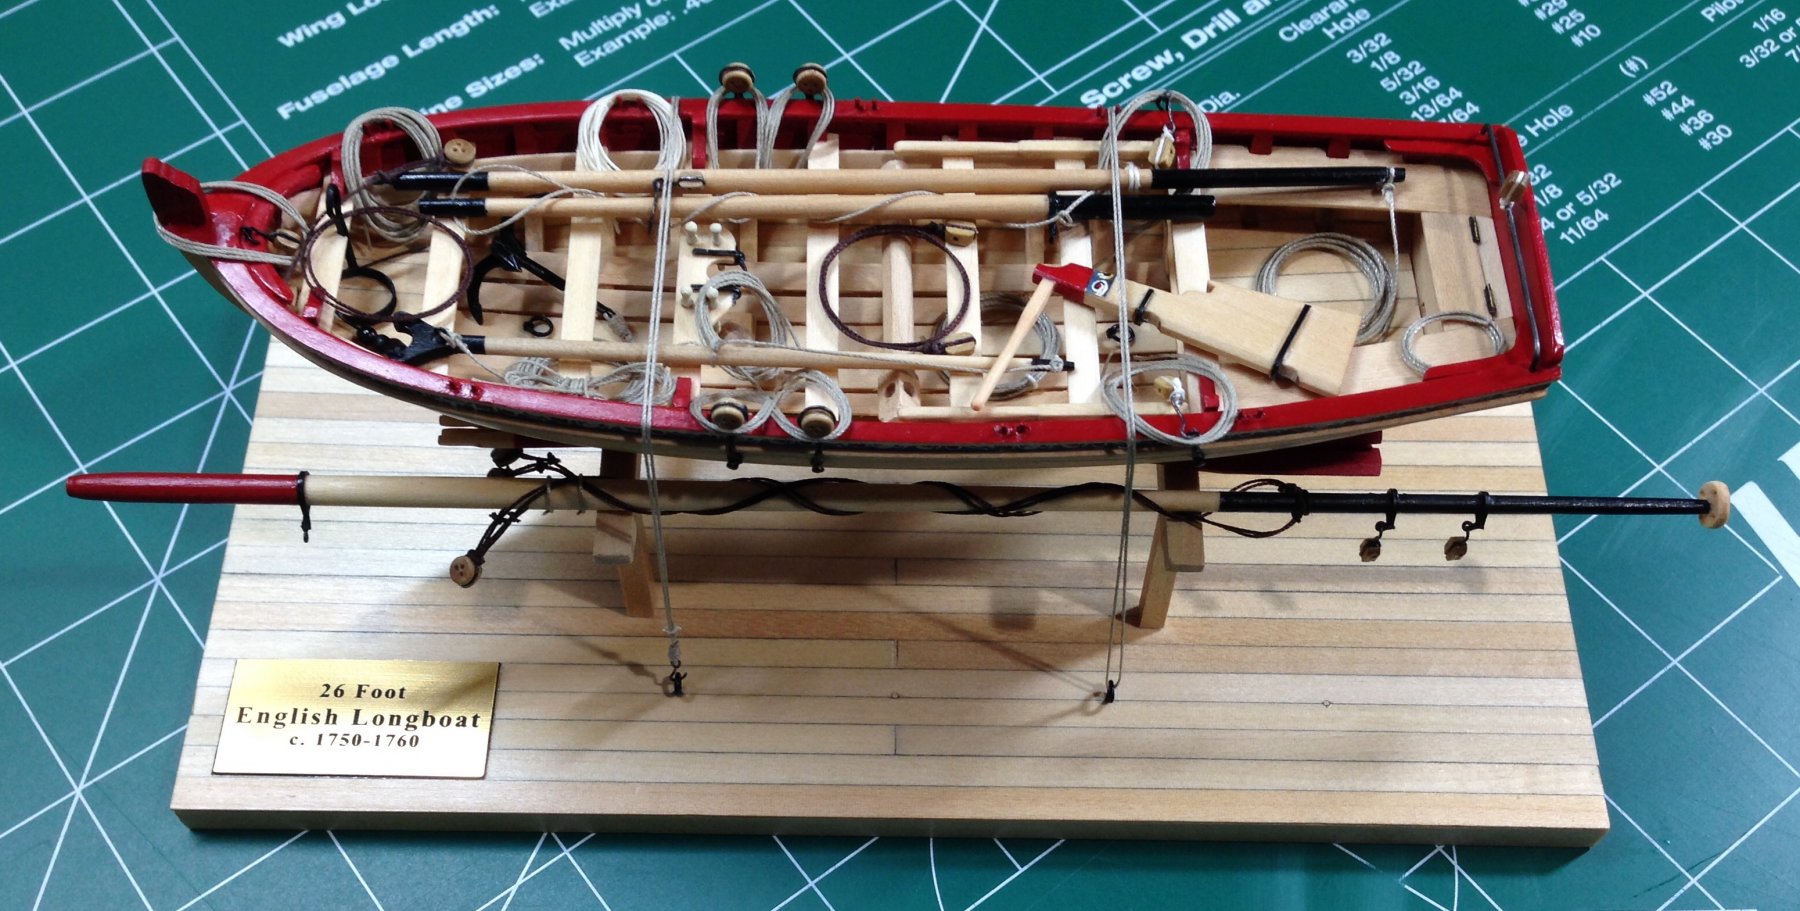
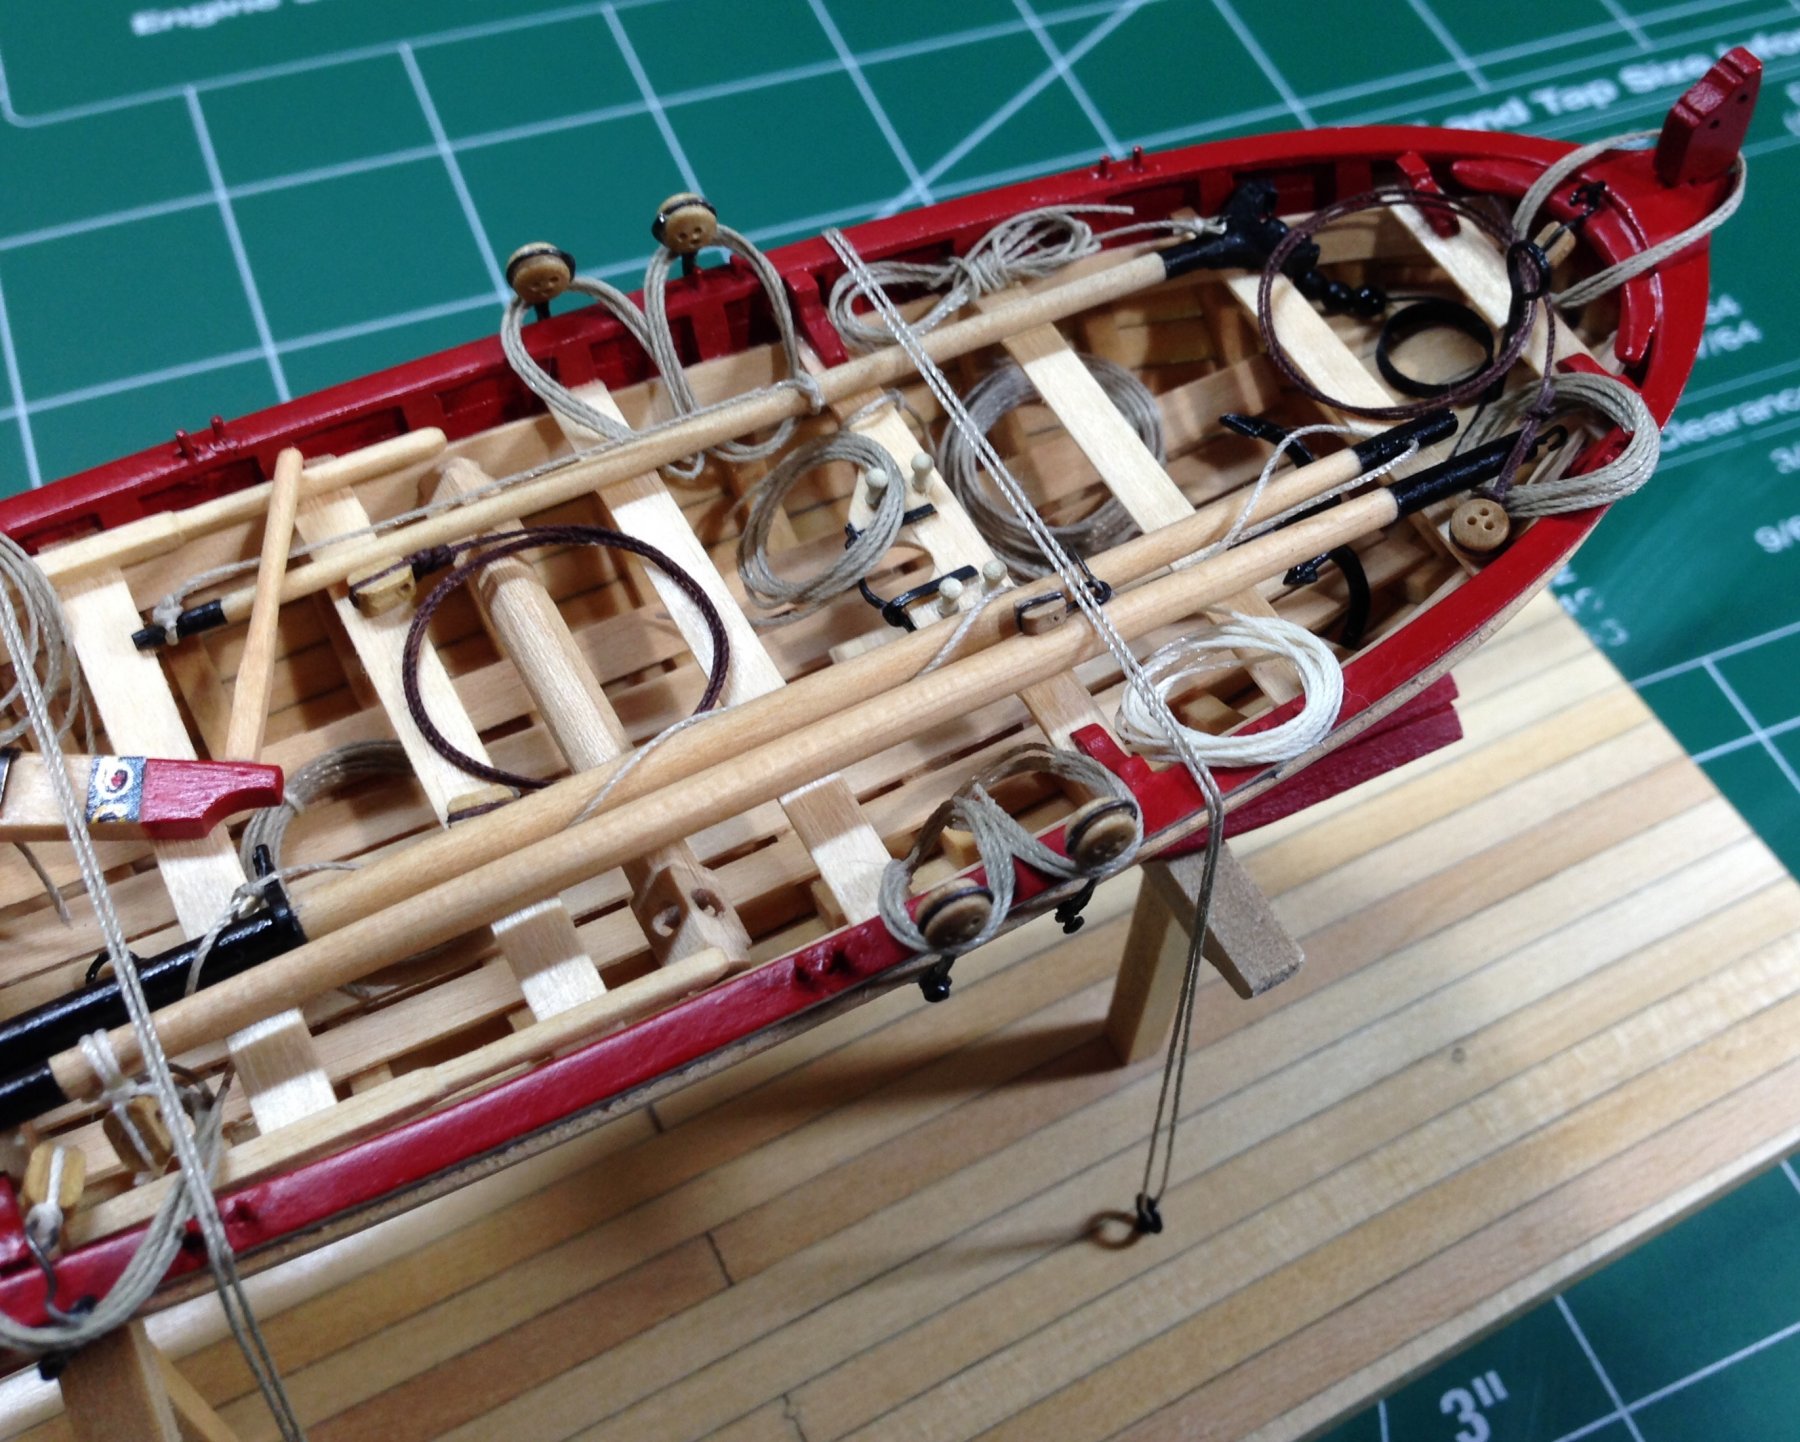
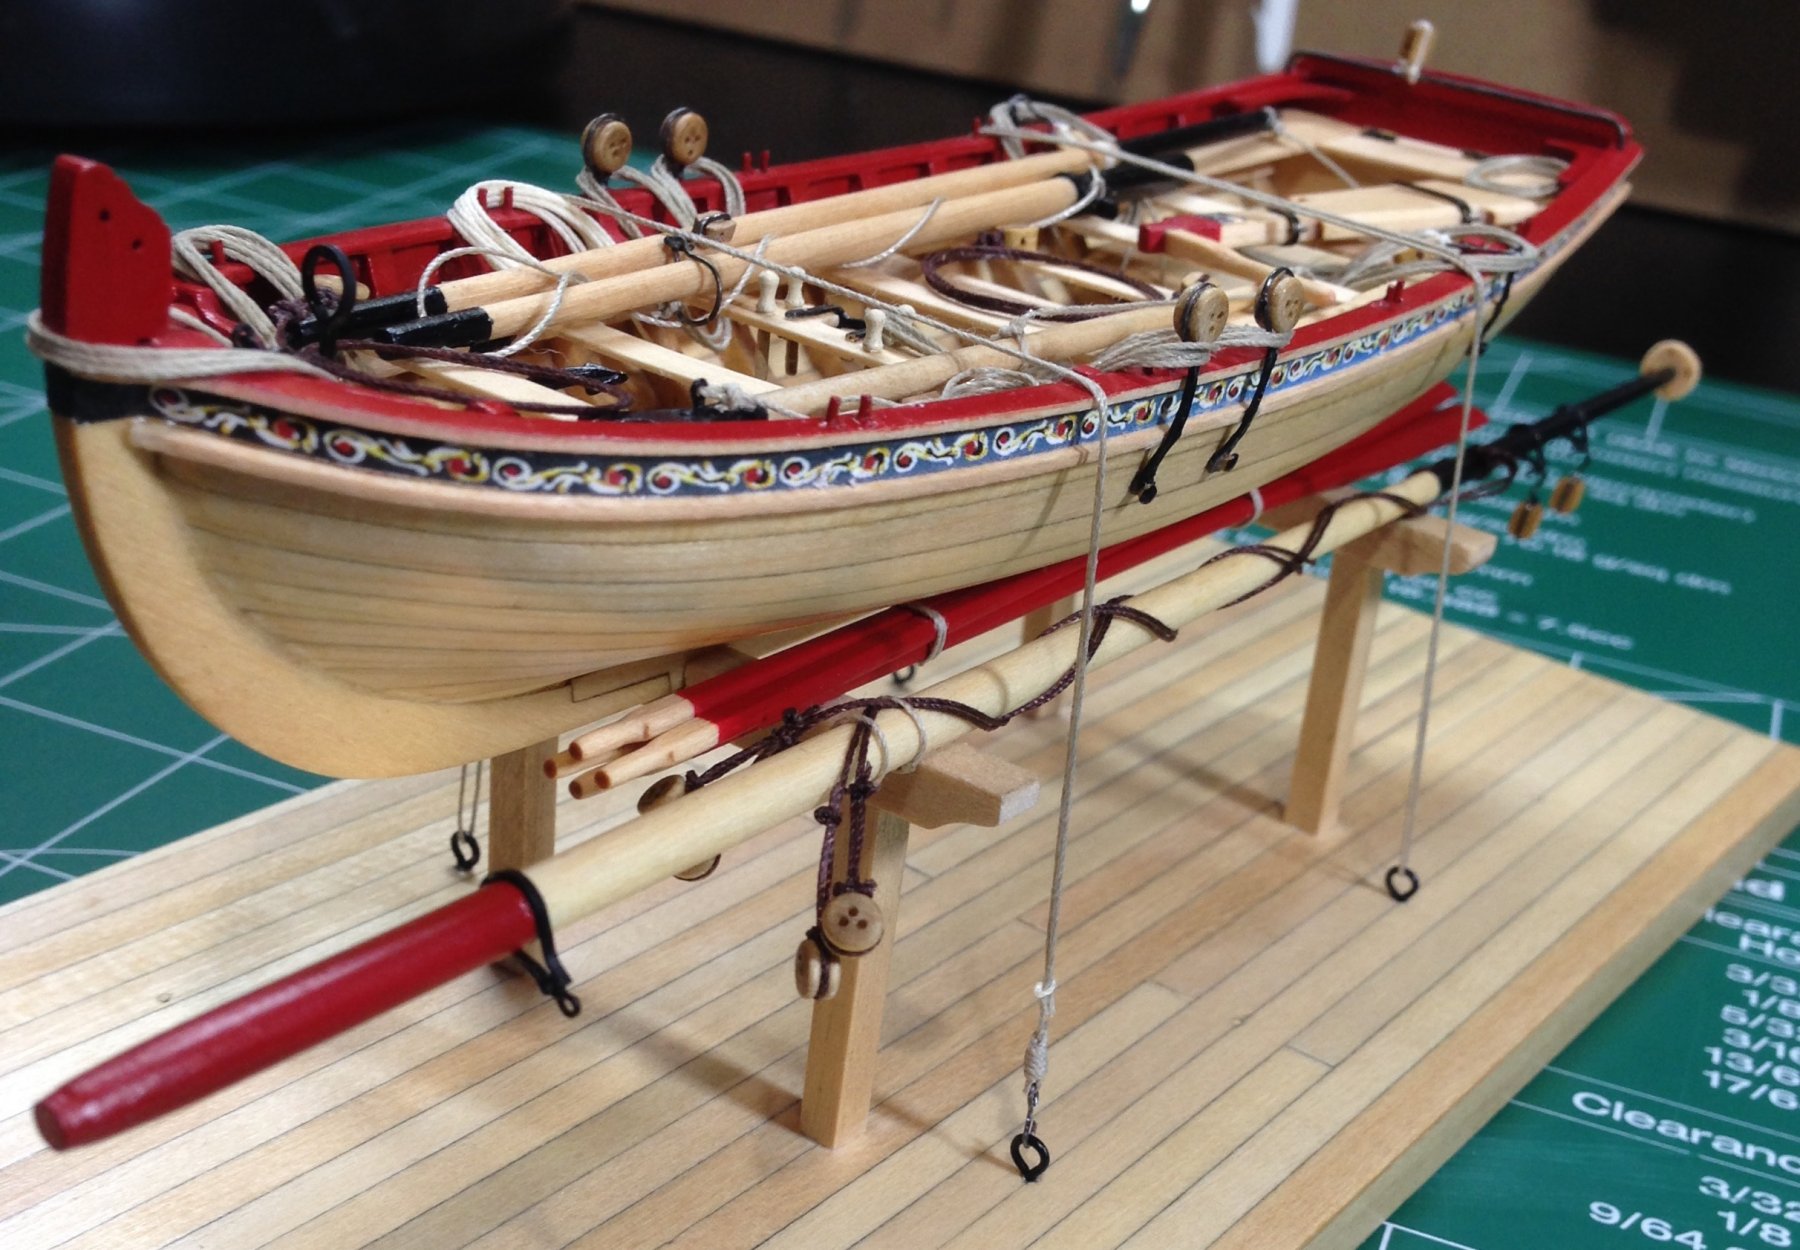
Completed longboat! I appreciate everyone's interest and support throughout this project. I'm looking into a case as well since the overall size of the model is compact. I will keep you all posted. Steve


- 165 replies
-
- 19
-
-
- finished
- model shipways
- (and 1 more)