


Heronguy
-
Posts
863 -
Joined
-
Last visited
Content Type
Profiles
Forums
Gallery
Events
Posts posted by Heronguy
-
-
Thank you for posting Ken, I've been going through build logs again trying to find where the invention was described - I would have got there eventually.
Iread the model expo instructions before ordering but thanks for the link. I will enjoy trying it out to see if it's a go for me - I truly hope so.
Happy modelling and Season's best to you!
-
I hope someone more familiar with this type of approach can comment on Gregory's and Jim's comments. Being new at the game I don't have an informed opinion - more like some hope!
Derek - I'll do my little test and share what I discover. May not be a detailed review - more like a 1st impression!
-
From ModelExpo site

- aviaamator and Canute
-
 2
2
-
Way to go David! It looks great and you certainly seem to have conquered the rigging.
You can be justifiably proud of your build. I know you are pretty humble about your ship building but I can tell you that you set the bar way above where I can reach yet. My selfish vote for your next build is the Prince de Neufchatel!!!!
Merry Christmas!
-
Building the Syren was my 1st chance to experience the joys of the rabbet and I certainly think it helps with the planking at the bow especially. On other builds I used various spring clamps as a temporary movable rabbet. Works pretty well although once you remove it you see any gaps between the plank and the stem - so form it as well as you can before glueing.
Garboard strake always seems to offer challenges and choices doesn't!
-
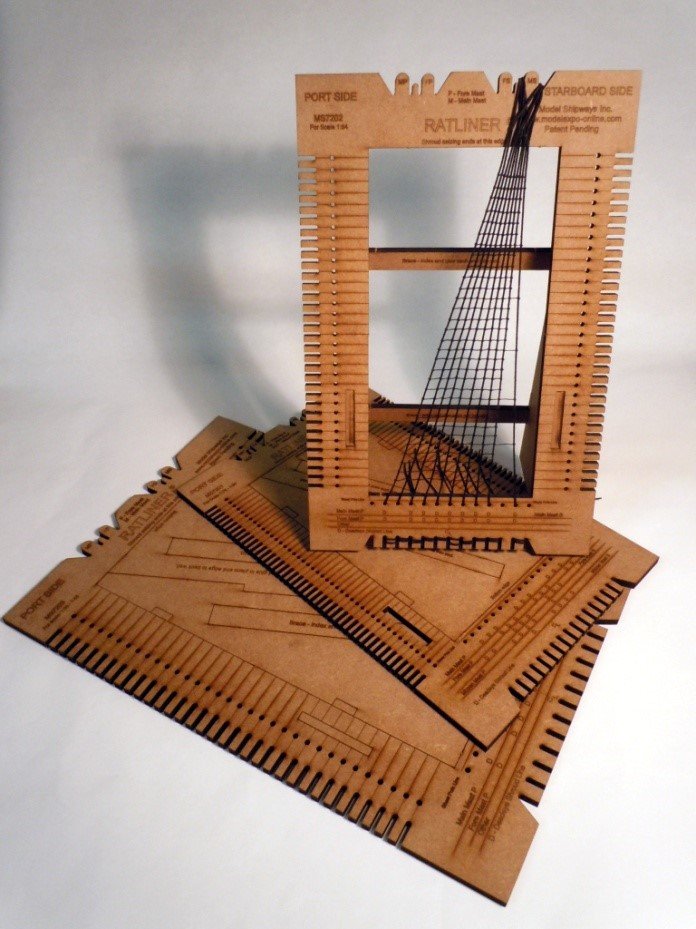
Hi Floyd, I was reading a buildlog on this site a couple of weeks ago when I ran across a description of the Ratliner (unfortunately I don't recall whose log it was) I gather from what I read that it was developed and used by the build log owner - so a member of MSW. He mentioned that Model Expo was taking up the product and had experimented with the best materials to mass produce it - settled on MDF I believe. I'm kicking myself for not bookmarking his log!
In any event I looked into the Model Expo site and decided to give it a try since my skill with rigging is nascent at best, and any tool that looks as versatile as the Ratliner looks will be welcomed. I have it on order but probably won't receive it 'til the new year. When I do then I'll be hoping to try it out right away on the shrouds for my Bluenose II main mast which has been awaiting my attention for the past couple of months.
-
Hi Mike, great to see Trajta back on the bench.
- mtaylor, Elijah and MarisStella.hr
-
3
-
37 minutes ago, Nirvana said:
now I think what I am in for when it comes to my Syren.
This was my warmup for the Syren. And the really easy warm up for this was the Essex cross section. And of course the Syren is a warmup for ...
- Nirvana, popeye the sailor and zappto
-
3
-
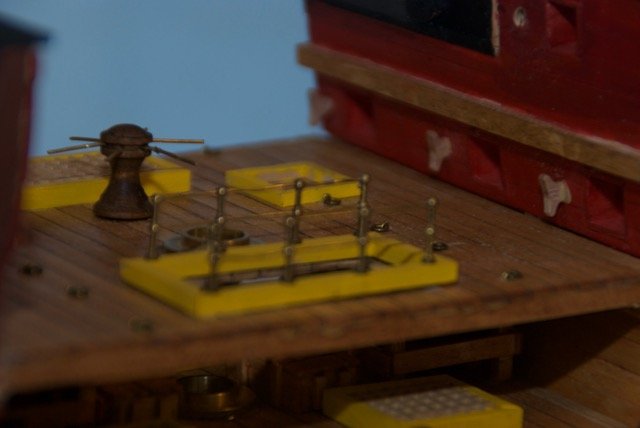
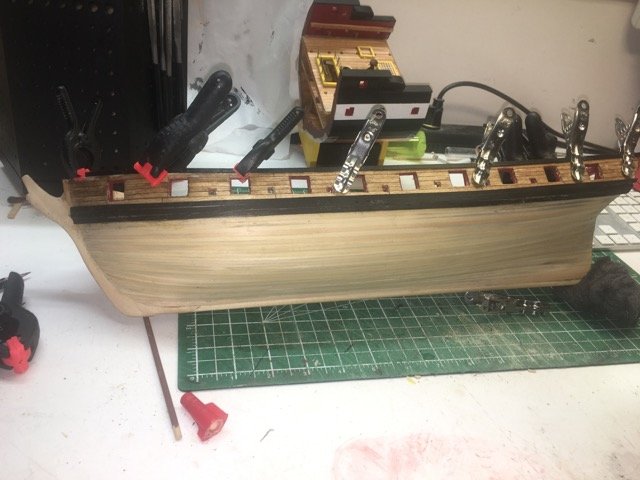
Addressed the cannon carriage issue with a 2 step modification.
I removed the trucks from the carriage and sanded down the bottom of the carriages. That bought me about 1mm.
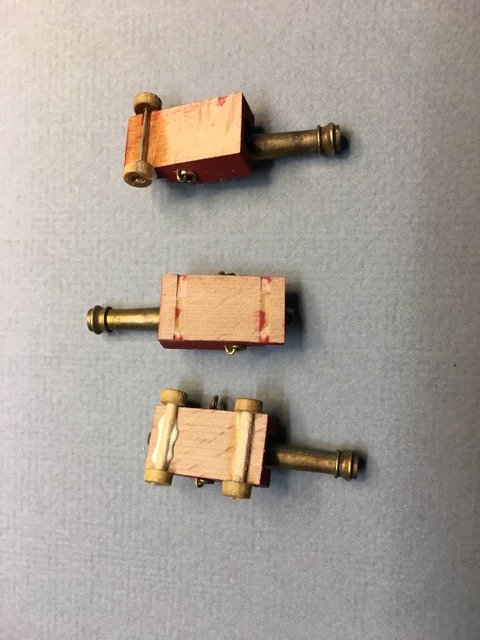
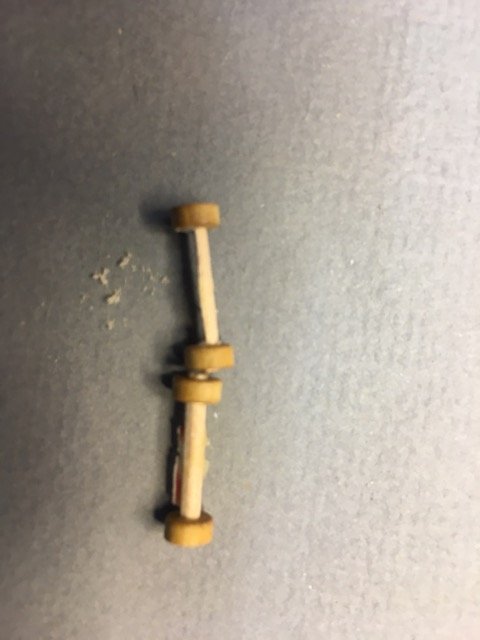
Secondly I sanded the axles have a flat surface for mounting onto the carriage. That got me another mm.
Those were enough to let the gun deck cannons sit nicely.
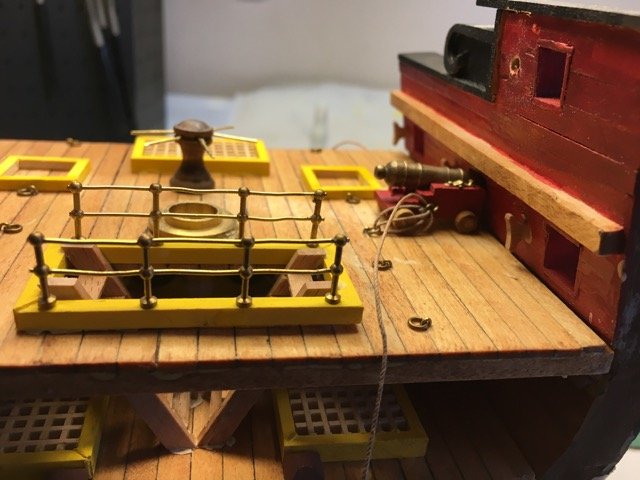
Went on to permanently glue the decks (up to the gun deck) and am now rigging the cannons on that deck. (fiddly job!)5
-
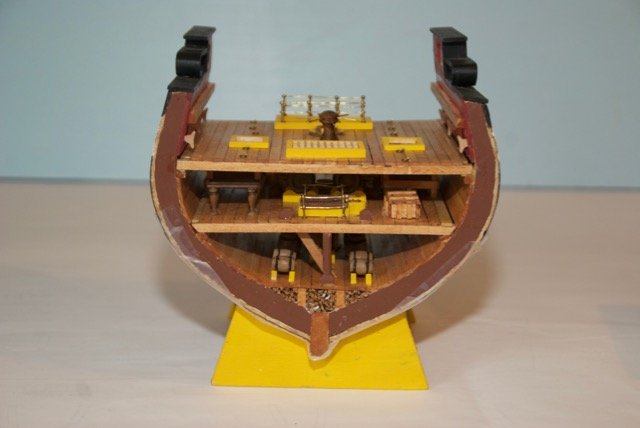
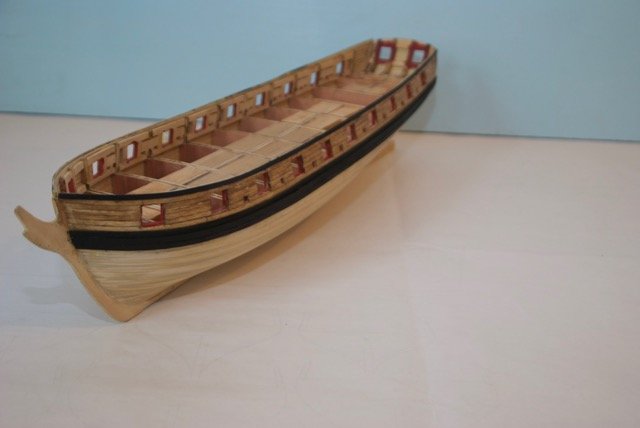
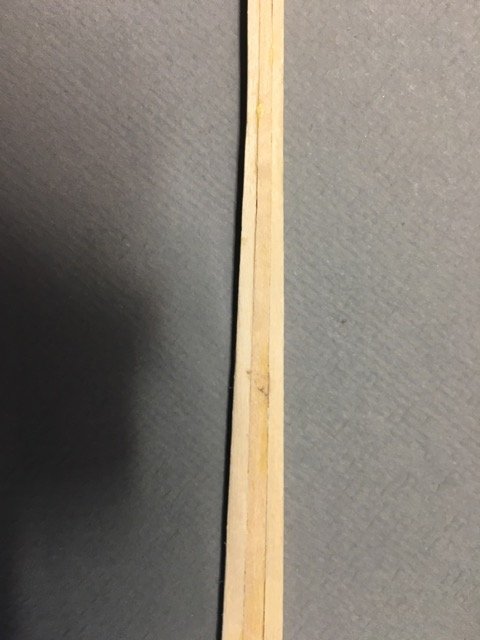
I finally resolved the issue of the missing wood for the waterways. Must have been a typo in the parts list when they list 1 piece of basswood for the waterways which I thought was not very friendly since I needed 2. However reading a little further down I eventually noticed they listed some walnut for the waterways (and other things) and gave lots of strips.
Now satisfied I took another strip basswood from another kits and made my waterways from basswood since they are painted anyways.
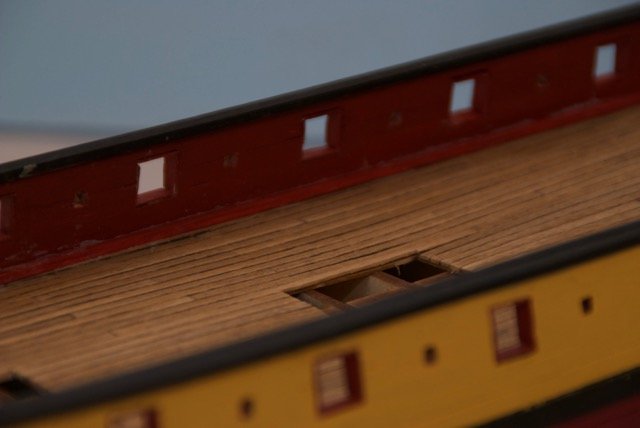

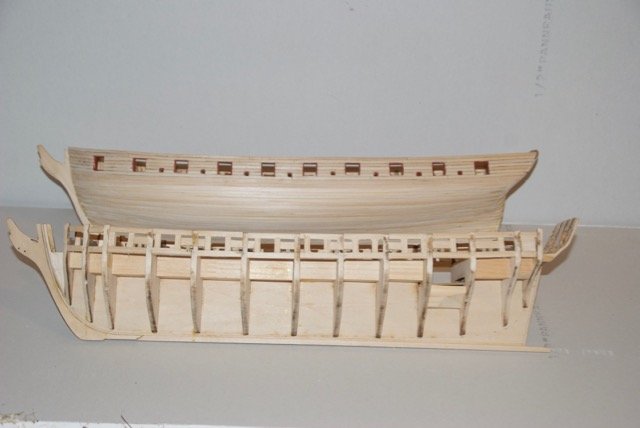
On to building the launch ways for mounting the ship (see the photo from box in the 1st posting of this log).
- coxswain, rafine, Tigersteve and 3 others
-
6
-
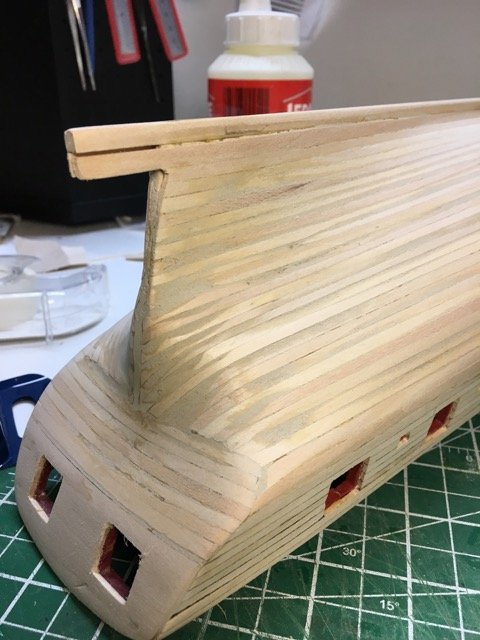
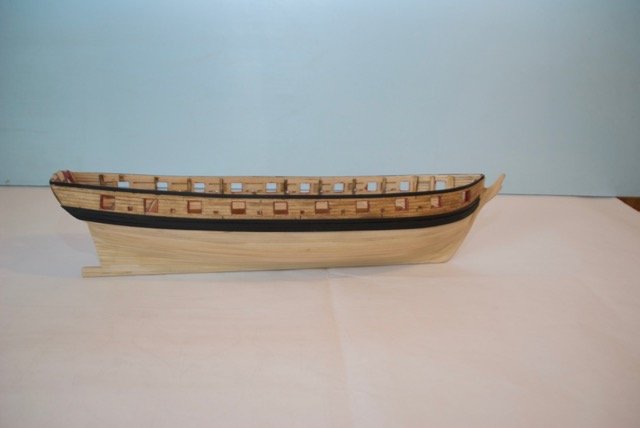
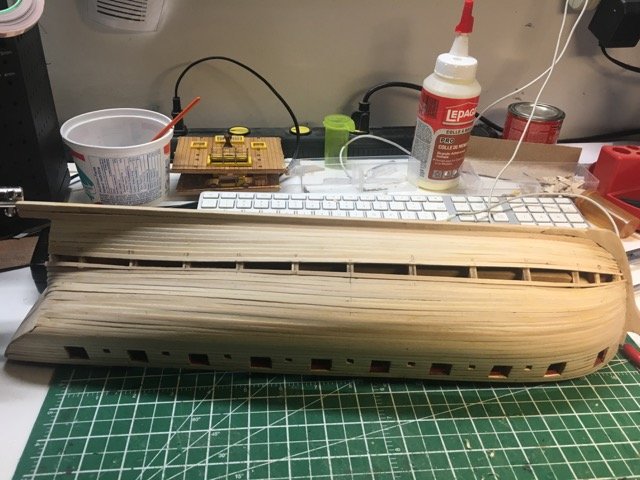
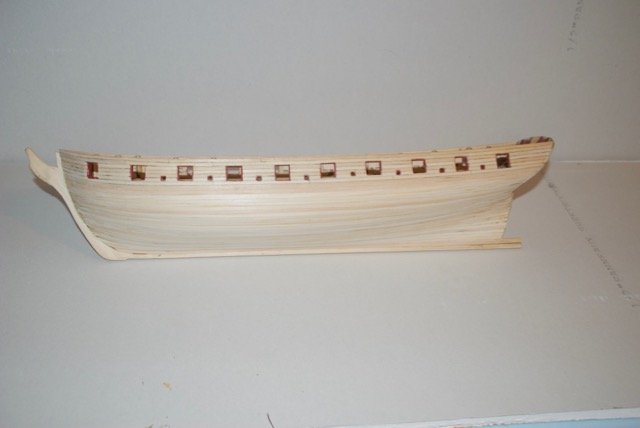
After a little filling and sanding I added the wales and sheer strake.
- Ryland Craze, piter56, David Lester and 3 others
-
6
-
It is looking very good Don.
P.S. Do it the "right away" - just one man's opinion!
- Old Collingwood and EJ_L
-
2
-
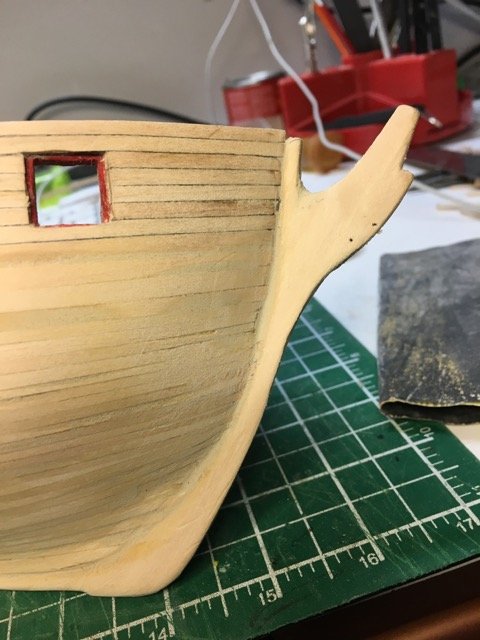
As I closed in on the final few planks I decided to try a goofy idea. I think it worked ok but the purists may not think it appropriate.
I had 6 planks to go. I carefully measured the spacing at each bulkhead, marked a plank based on those values. I took 3 planks and held them together while planing down the bottom edges so I ended up with 3 planks with the same profile. Nothing unusual yet. Carefully bent each plank to conform the the hull and installed each, one at a time.
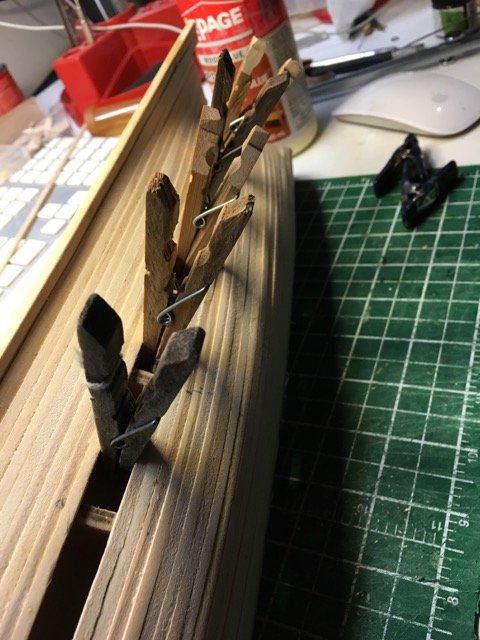
I need some minor clamping and discovered (I'm sure everyone else knows this!) that upside down clothes peg work well in narrow gaps.
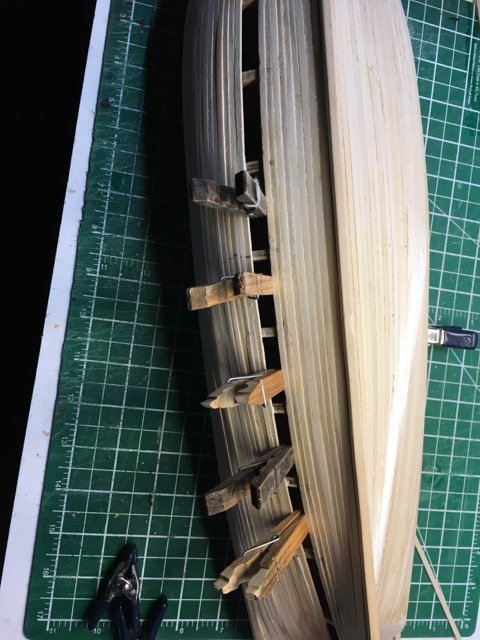
For the final 3 planks I had a pretty curvy gap to fill and by now a very pointy gap at the bow.
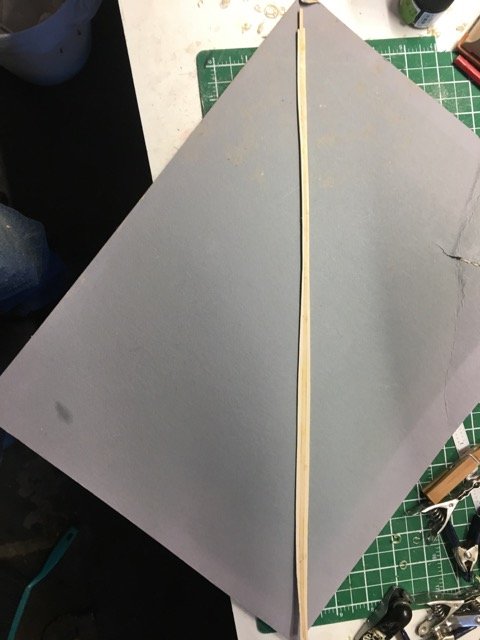
This would normally require one or 2 drop planks or an extra wide strip. Rather than that I chose to prepare the 3 remaining planks as usual (measure at each bulkhead, mark onto plank, plane the 3 strips to the same profile). At this point I diverged from previous practice and glued the 3 strips together to make a wide strip that still looked like 3 individual strips. (I know this is going to be covered by copper plates but I cared). Some pre-bending and extra sanding created a single snug fitting plank that required no clamping.
And now the 1st planking is done.

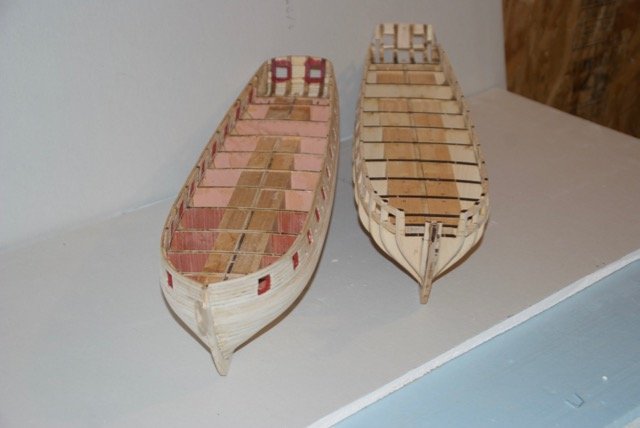
The 2 Syrens
-
On 11/19/2017 at 10:42 PM, Peter Bloemendaal said:
Just my 2 cents worth, I would do 2 things differently after I finished planking my hull.
I tried to cover the full hull length with each plank. That made it a lot harder finishing the stern edge. When looking at Chucks photo's he split them up in two halves and they met up at different bulkhead positions. (you might already been doing this but I couldn't see it in your photo's). So you have extra length at the stern to get the connection right.
At the stern I wet the planks and pre-bend them, but not enough. As you press them onto the bulkhead they compress a bit and they get a sharper bend at the bulkhead location. On my model you can see the location of the bulkheads on the outside of the hull which means it is not a smooth radius. With the last few planks I tried to get a tighter radius than needed and work with dried planks only. It's harder to wrap a plank around a radius and clamp the ends than to push it onto a radius and only hold the middle (theoretically...).
Somehow I missed this post in the fog of activity of the past 2 weeks. I ended up continuing with full length planks so haven't tried your suggestion. I did leave the planks overlong at the stern so there was some wood to clamp down while glue set. I resisted using CA glue to tack the ends the way I have previously - probably in retrospect because I have the really thin stuff that gets all over everything.
As my gap got smaller and I couldn't clamp a plank to the bulkheads I started working harder at getting the pre-bent planks just might. I've been really pleased with how easy it makes the installation of the plank with very little clamping required. I had read HIPEXEC's method before I started plank this hull but hadn't adopted the "form it until it fits perfectly" mantra he espouses. I will from now on!
Thanks for your observations and suggestions - they are most welcome.
-
4 hours ago, T_Warris said:
Only suitable on pretty thin wood. Works great for deck planking and second planking, but on heavier wood it is hard to get the heat to transfer through.
Makes sense. Thanks for the info
-
11 minutes ago, T_Warris said:
Heating the wood while planking works extremely well, while pressing the plank in place with the small iron it completely cures the glue. 5 seconds is the same as 24 hours with a clamp. Can't be removed. I've been using this technique for other wood models for years with great results. Sort of like iron on planks...
I can see this working for 2nd planking using .5mm thick planks - do you also do this for 1st planking? If you do, does it work as well and do you glue along the edges of the planks as well as at the bulkheads?
Your planking looks really good. Good save on the stem!
-
Peter, I don’t have any suggestions for you but I will say that to my eye your ship looks terrific. Variation in the colour of the planks seems to me to be natural in real life and so for model. I like that in wood! The black wales really dresses up the hull too! I hope you find the solution you’re varnishing concerns.
Great work.
- fnkershner and Nirvana
-
2
-
Good suggestions Don (except for the new carriages!). I'll make a couple of experiments to see what works out most reasonably.
-
Very nice David! I'm encouraged to hear that rigging can go well! Keep up the good work.
-
-
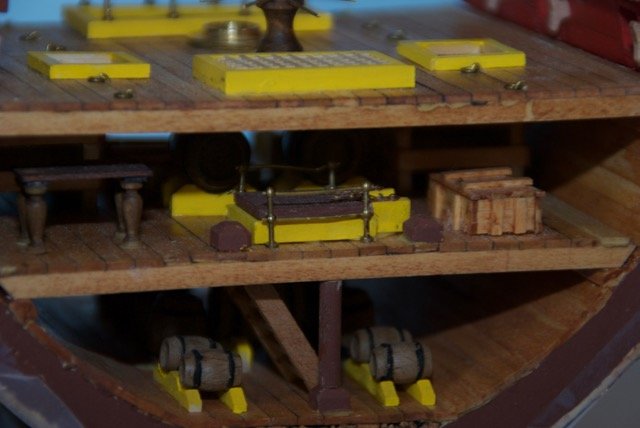
11 hours ago, mikiek said:
I can dig a little but a couple of quick thoughts
1. To keep the barrel pointed upwards?
2. To deal with the slope of the deck - highest at the centerline and sloped down as it moves outwards?
3. Sometimes you don't shoot straight out - a little bit of an angle. The guns were incredibly heavy so moving them was accomplished with the tackles. Haul in a tackle one one side or the other to turn the gun. A bigger wheel would be a better pivot.
All just guesses. There's probably some better scientific answer.
10 hours ago, mikiek said:From THE source - English Sea Ordinaces - the larger a wheel (truck) is the easier its load will roll. Guns had to be able to roll forward to fire and roll backwards for recoil. Rolling forward required men hauling tackles so a larger wheel helped with that effort. On the other hand, recoil needed to be slowed down quickly and a smaller wheel helped with that.
I was right about the sloping deck. The varying wheel sizes kept the carriage horizontal.
Nicely explained! Thank you.
-
What I was struck by in particular was the darker and lighter planks interspersed. I think it looks awesome that way! The varnish brings out such a nice lustre.
- Nirvana, Elijah and popeye the sailor
-
3
-
Looks a bit like dried blood - oh maybe that was the point!
")
-
Pity - looks like the larger wheels are in the front. I still wonder why?
Trajta by mikiek - FINISHED - Marisstella
in - Kit build logs for subjects built from 1501 - 1750
Posted
Mike, I think this method works OK but only as an approximation when the curvature is not to great.
The dividers give you the length of the chord not of the the arc. That's is fine as long the curvature over that distance is not too great. Within the precision you're working and the number of bands you've chosen I imagine it is a good approximation.
I think proportional dividers are very cool but when I tried to use them for the individual planks within a band I couldn't control the shaping of planks with any great precision. My pencil marks were always much wider that the precision I was trying to achieve ( getting 3.6mm instead of 3.7mm for example proved to fine for my temperament!)
Your use of the dividers to lay out the bands makes a lot of sense to me. Do you use your proportional dividers for other tasks as well?