HOLIDAY DONATION DRIVE - SUPPORT MSW - DO YOUR PART TO KEEP THIS GREAT FORUM GOING! (Only 36 donations so far out of 49,000 members - C'mon guys!)
×

Timmo
-
Posts
609 -
Joined
-
Last visited
Content Type
Profiles
Forums
Gallery
Events
Everything posted by Timmo
-
 More top work Joe, she looks great with all the deck fittings and the boxwood looks so crisp. You should be very proud. Given you've done anchors and fish davit etc that I've left till last I think you've passed me now. I've just finished rigging the yards and will post a pic but I look forward to following happily in your wake now.
- 302 replies
-
- 1
-

-
- granado
- caldercraft
- (and 1 more)
-
Superb work on that deck mike. It's given me the inspiration to try it one day. Merry christmas and all the best for 2015
-
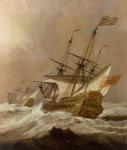
Coming together there ray. That's a fine collection of His Majesty's vessels.
- 536 replies
-
- 1
-
-
- diana
- caldercraft
- (and 1 more)
-
Small world isn't it Joe? The physical end of the business is disappearing rapidly all right - this website is an example of why. On the plus side when I started out only 15 years ago I didn't think I'd be involved in some of the cool things we do online now. But I miss taking a new reporter out to show them the press in full flight as it was a good education on the potential for their mistake to be on every one of the 50,000 copies spinning through it. On the modelling front I've gained a very large workbench which will enlarge my modelling space dramatically and am also re jigging the serving machine slightly to speed up shroud production to try to keep ahead of you
- 366 replies
-
- 1
-
-
- granado
- caldercraft
- (and 1 more)
-
Ray, I agree. Diana is a beautiful vessel and you are more than doing her justice and she looks very good next to Lady Nelson. BE- is your admiration for lower hamper only because that's the stage Pegasus is at? Come on, we're all waiting for you to finish your masterpiece and inspire us all-especially those dealing with the tricky string-end of things.
- 536 replies
-
- 1
-
-
- diana
- caldercraft
- (and 1 more)
-
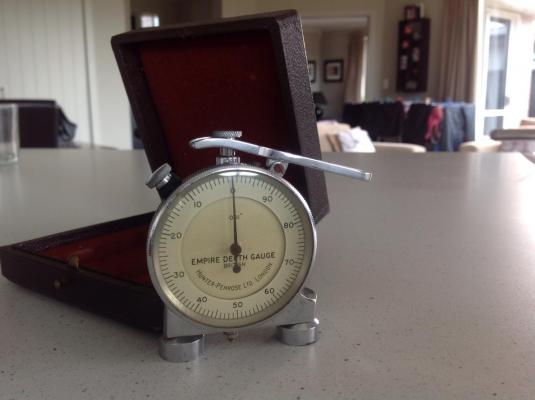
Another diversion here but here's a souvenir that some might appreciate - a very fine depth gauge. It's from the now abandoned engineering workshop at the paper where I work after the press was decommissioned. It was used to calibrate press rollers to very fine tolerances for decades Little ship modelling value but it makes you appreciate the quality and workmanship that used to go into tools that is so hard to find now.
- 366 replies
-
- 3
-
-
- granado
- caldercraft
- (and 1 more)
-
Good point Jason. I've served it and it looks ok on 1mm thread. The first starboard shrouds are installed. I'll post some pics when I get a mo.
-
Having a go at the shrouds. AOTS Suggests they are served down to the catharpins but am I right in thinking the foremost ones should be served all the way down to the deadeye as per Steel's rigging masterwork? Suggestions welcome.
-
Home Built Thickness Sander
Timmo replied to Snowmans's topic in Modeling tools and Workshop Equipment
Thanks for the post Shannon. Very helpful indeed. -
Nice deck Jason. That's worked out well.
-
Thanks Juergen. Joe, feel free to overtake and clear path for us both through the tangle of rigging ahead.
- 366 replies
-
- 1
-
-
- granado
- caldercraft
- (and 1 more)
-
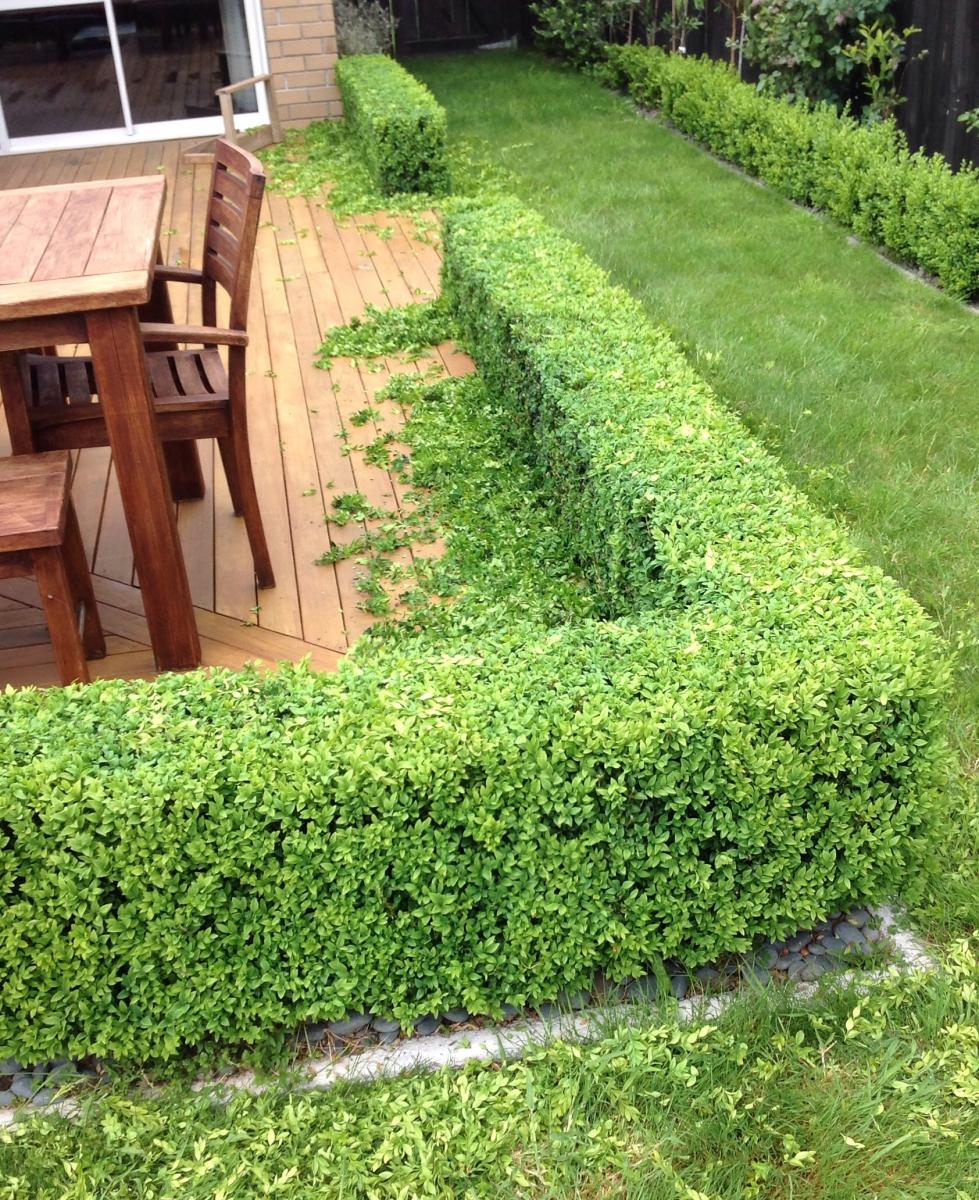
I can't be the only member of MSW seeing the irony in wishing I had an easier to obtain and cheaper source of boxwood for the next project as I hack my way through piles of buxus semperverins hedge every spring...

- 366 replies
-
- 3
-
-
- granado
- caldercraft
- (and 1 more)
-
Very nice progress Juergen, I've just picked up a very cheap and good copy of Rif Winfield's book and can see you are making a fine job of the Leopard. what timber are you using on this build?
-
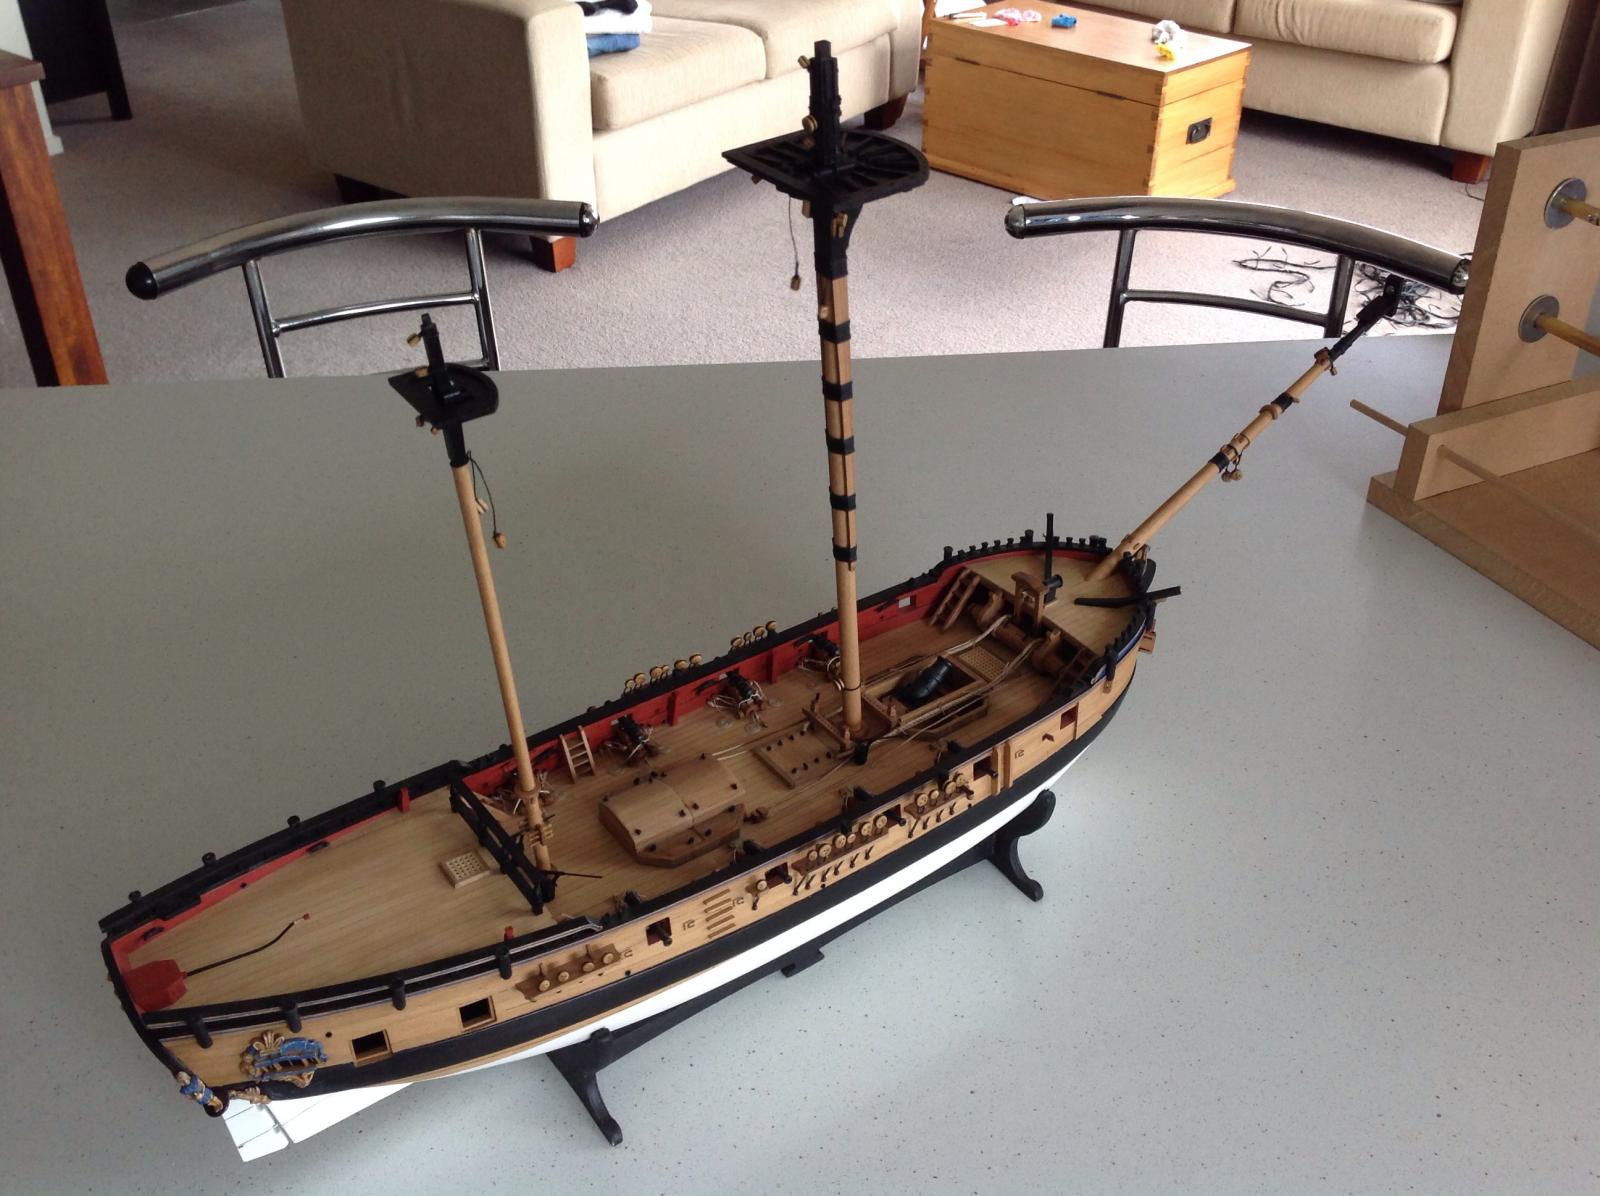
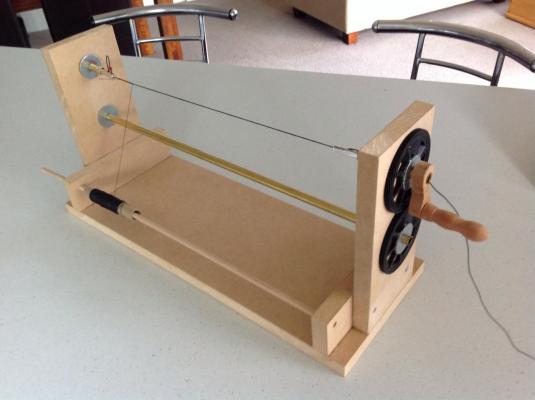
The blocks have all been attached and the lower masts and bowsprit have been stepped. There are still a few items on the hull to finish such as the lids for the rear gun/light ports, anchors, fish davits etc. The big project of the weekend has been making a serving machine. This was done using the very helpful post from MSW member robnbill who describes it well. See it here: http://modelshipworld.com/index.php/topic/5980-serving-machine-from-scratch/?hl=serving The gears slip a little sometimes due to the size of the teeth (cheapest I could find at reasonable price) and my lack of accuracy on the drill but I'm happy with it and like the little turned rimu handle done on the lathe.

- 366 replies
-
- 8
-
-
- granado
- caldercraft
- (and 1 more)
-
I prefer the metal as it follows the AOTS but the wooden version doesn't look out of place at all and you've executed it well. I'm hoping to step the masts on my Granado this weekend in a vain attempt to stay ahead of you.
- 302 replies
-
- 1
-
-
- granado
- caldercraft
- (and 1 more)
-
Nice looking channels there Joe. Very crisp in boxwood.
- 302 replies
-
- 1
-
-
- granado
- caldercraft
- (and 1 more)
-
Nice work so far Denis. Any thoughts on what you'll use for planking on this one given you've got all that Byrnes hardware at your fingertips? I've picked up a byrnes tablesaw and been experimenting with some timber and found plain old macrocarpa has a lovely honey colour that looks rather nice. I've knocked up some sample fittings like riding bitts and it's pretty nice with a careful touch that doesn't splinter edges. Smaller fittings and turning probably wouldn't suit as it frays and the end grain isn't stable. Matai would probably be better for detail. I'm thinking there's a combination of native timbers that might suit most needs if I look hard enough. Any input welcome.
-
Nice work Joe. Your scroll is a bit fuller than mine. I like it. You'll feel the full reward when the catheads are fixed and the head is all done. Have you test fitted a dowel for the bowsprit? It's easier to jake any adjustments with file at this stage.
- 302 replies
-
- 1
-
-
- granado
- caldercraft
- (and 1 more)
-
Ha! 1/35th armour also helps. Even the mud and rust
-
Fine looking timber there Grant . You and your colleagues will make a fine job of this build I'm sure
- 456 replies
-
- 3
-
-
- finished
- bomb ketch
- (and 2 more)
-
ANZAC Convoy - 100 Year Commemoration - Albany W.A.
Timmo replied to hornet's topic in Nautical/Naval History
Nice. There was a bit of a commemoration with frigate sail past in Wellington a couple of weeks ago to mark the centenary of the departure of the NZ expeditionary force.- 1 reply
-
- 1
-
-
Agreed on Future- they sell it as Johnson's Kleer here and you can ladle it on as it's so cheap.
-
Another thought. It pays to test fit those free standing quarter figures as I found they sat at a slightly different angle to each other and their bases once held in position. It took some careful bending and a little fillet cut from an inside foot position on one to get them to match up. Also a bit of the inner facing of the plinth was filed off on each to get them angled right to the stern. This was different for each due to differing shapes and it was frustratingly time consuming to something close to symmetry on my castings. A lot of paint was lost in this process as a result and there's a lot of touch ups to be done once the Granado is finished.