


Keith Black
-
Posts
6,681 -
Joined
-
Last visited
Content Type
Profiles
Forums
Gallery
Events
Everything posted by Keith Black
-
 Brian, super nice work. It's hard to believe how much you've gotten done in just three weeks.
 -
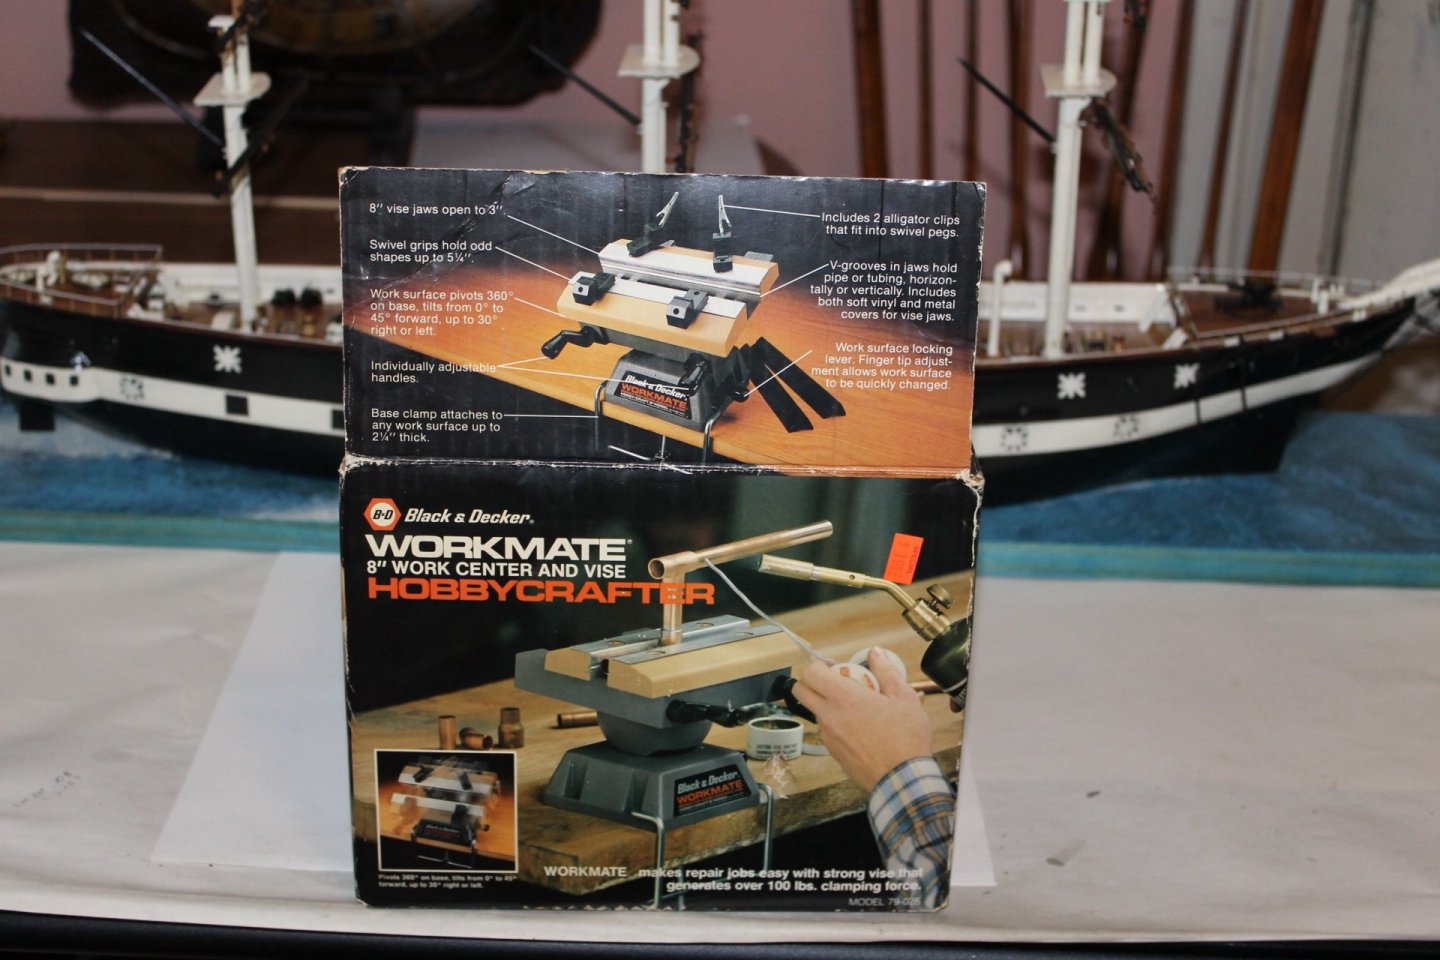
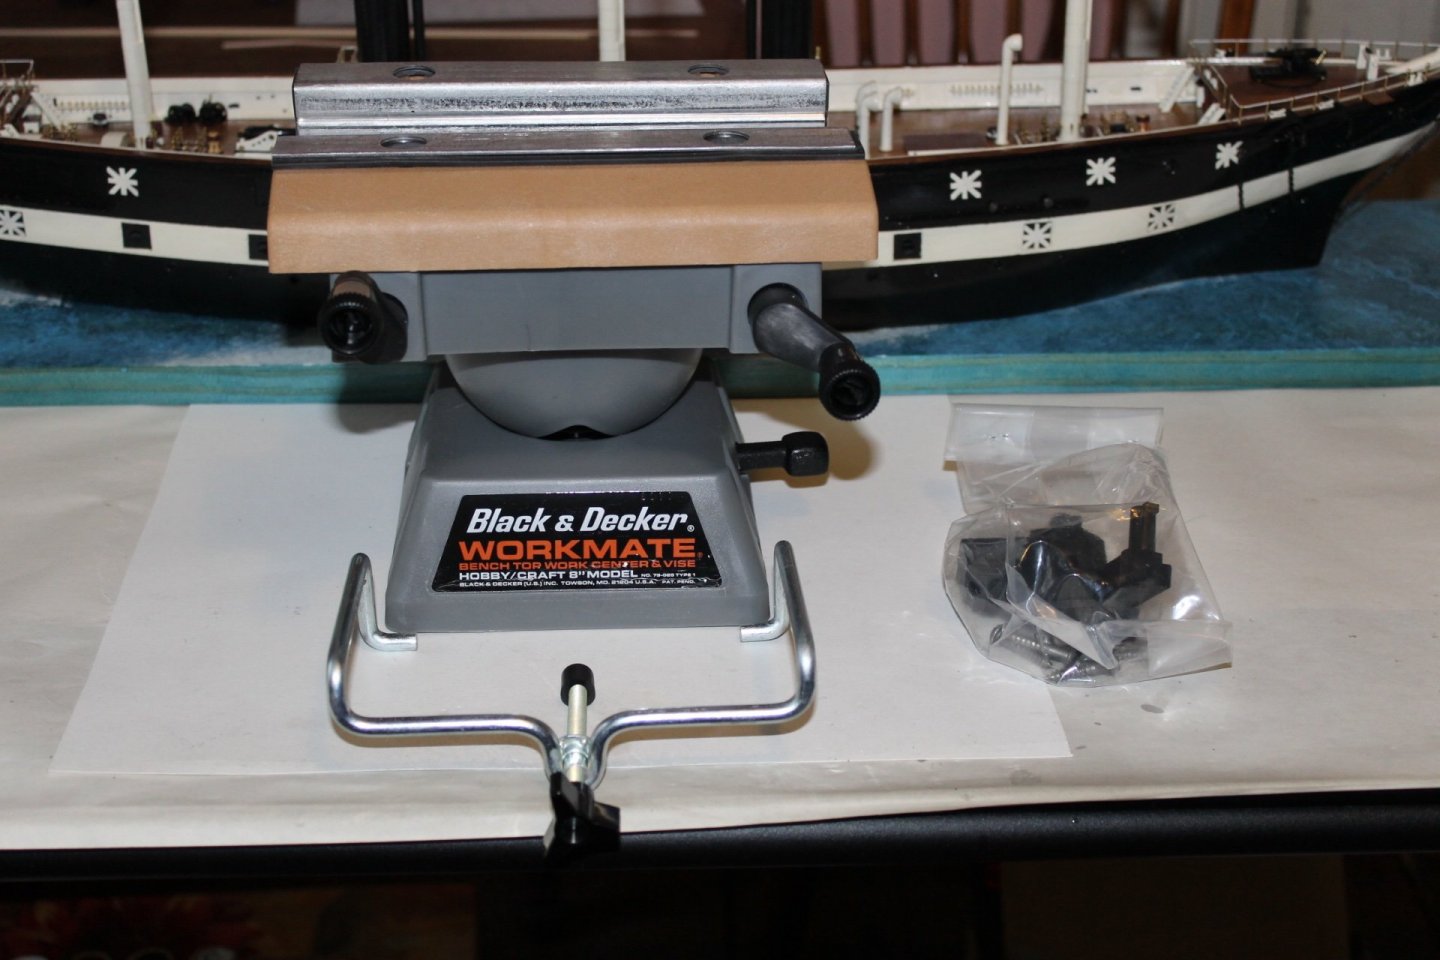
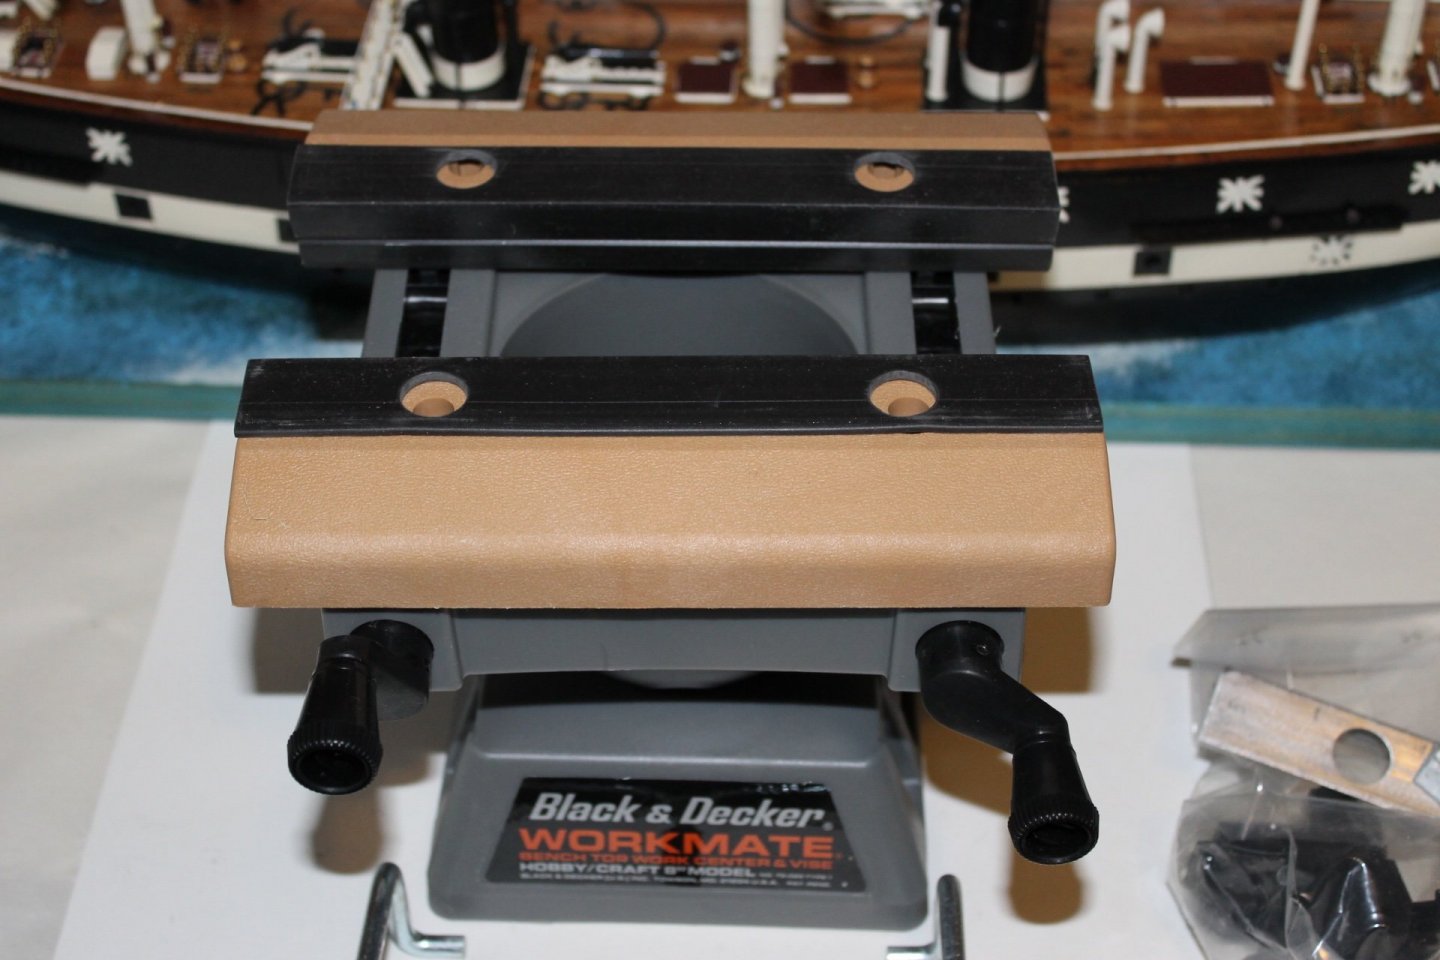
Brian and Brian, thank you for your kind comments and thank you to all for the likes. As i neared working on the mast off ship my search intensified for a Workmate, model 79-025, 8 inch table top vise. I've seen this vise used in other build logs and it looked like just the ticket. I was checking eBay the other day and low and behold there was a new, unused, still in the original box, buy it now listing. I jumped on it like a chicken on a Junebug. It was less than $50.00 including shipping. I received it today and there is a price sticker of $19.95 on the box. I don't know if that's the original price as a printed sticker on the box from Black and Decker to the hardware store in Federal Way is marked with a 1980 date. All the yards have dried after their poly bath. Yesterday I drilled out all the block holes so the yards are ready to rock and roll. Pieces parts are still in stapled clear bag. I'm pretty stoked, let work on the mast begin!
-
Adding just the bottom row of deadeyes wouldn't take a great deal of effort and would add some detail to the hull/channels. Mark, lovely work, sorry I came late to your build. I'm gonna get the nickname 'late again Charlie' if I keep this up. I don't exactly know how I keep missing build logs, I'm on MSW several hours a day.
- 505 replies
-
- 5
-

-
- vanguard models
- Sphinx
- (and 1 more)
-
Eric, when gluing I have several Q-tips at the ready to soak up any excess CA. I go through a ton of Q-tips because the tips become hard after one use.
-
Eric, I've never had good luck with the GG brand, I've always used the old SG brand with much better success.
-
Eberhard, sorry, I thought the .12 x .03 inches might work for you. Ten times smaller you say, good golly man, that would be .012 x .003 inches. I can't imagine how difficult that would be to work with. The skylight is a beauty, great color. Would it be possible to bundle and glue with CA several ( 50 or more) of the molybdenum wire in lengths that could then be milled and once cut to length the bundle soaked in acetone to separate?
-
Rob, she's turning into a grand lady. Merry Christmas to you and yours.
-
Greg, Merry Christmas and welcome to MSW.
-
Thank you, Brian, that's very kind of you. It's good to have you along to share the journey, If ever I can be of help, please ask. I may not know the answer but I bet I know who would.
-
Tom, you and the family have a Merry Christmas and a Happy New Year. God bless you and yours.
- 341 replies
-
- 1
-
-
- Sophie
- Vanguard Models
- (and 1 more)
-
Chris, it seems a shame to hide away your beautifully detailed work but I understand completely. We know it's there.
-
Brian, Merry Christmas and welcome to MSW.
-
Thank you, Johann, Merry Christmas and Happy New Year to you and yours.
-
Allan, the model looks great, the staining is a bit uneven but as you said, it adds character.
-
Dirk, great to see you've started a build log. There is a search function top right, if you search "Marie Jeanne" you'll see several build logs of the MJ, I've attached one as an example though it is a Artesania Latina kit and not a Billings Boat kit but you'll see several MJ BB build logs. Please take a look through those build logs and you'll see how others handled points in their builds that you may have questions about.
- 18 replies
-
- 3
-
-
- marie jeanne
- Billing Boats
- (and 1 more)
-
Dirk, welcome to MSW. The very best to you in finishing your dad's Regina.
-
Steven, what a fantastic build. I'm kicking myself for missing your project from the start. Please consider all previous updates a big thumbs up. It seems a shame to paint her, the look of the raw steel is beautiful!
-
Thank you, Lynn. Brother Tom has an overactive imagination but he's forgiven as Mother always loved him best. Thank you, Phil Tom, thank you. About all those stories, you need lay off those brownies from Jane next door, I warned you about her. Gary, thank you. I enjoy playing dress up with my baby. Thank you, Brian. I'd love to see you take on one of the ships from the transitional period. You could take a POB kit of a ship that closely measures to that of the ship you want to replicate, build the hull, and then bash it from the deck up. There are so many neat ships from that period and are so underrepresented. Simon, thank you, you're too kind. You are doing a bang-up job with your dad's Cutty Sark, I always enjoy your updates. To all, thank you for your comments and likes. Each of you are the wind in my sails. I removed the yards from the mast and poly coated them and they dry as we speak. The Tennessee looks naked and a bit ugly without them. Funny how soon we forget. To all my dear MSW family, Merry Christmas, Happy New Year, and may God bless each of you and your families.......Keith
-
Shane, welcome to MSW. I look forward to seeing your work.
-
One of the proposed alternatives to the Panama Canal
Keith Black replied to bruce d's topic in Nautical/Naval History
You might be able to squeeze it all in using TT scale (1:120) and still save your sanity though 1:120 can be a bit maddening at times.


