GrandpaPhil
-
Posts
6,161 -
Joined
-
Last visited
Content Type
Profiles
Forums
Gallery
Events
Everything posted by GrandpaPhil
-
I like it! Very nice idea about planking the model! Your plane looks really good. I will have to remember that idea for the next plane I build.
-
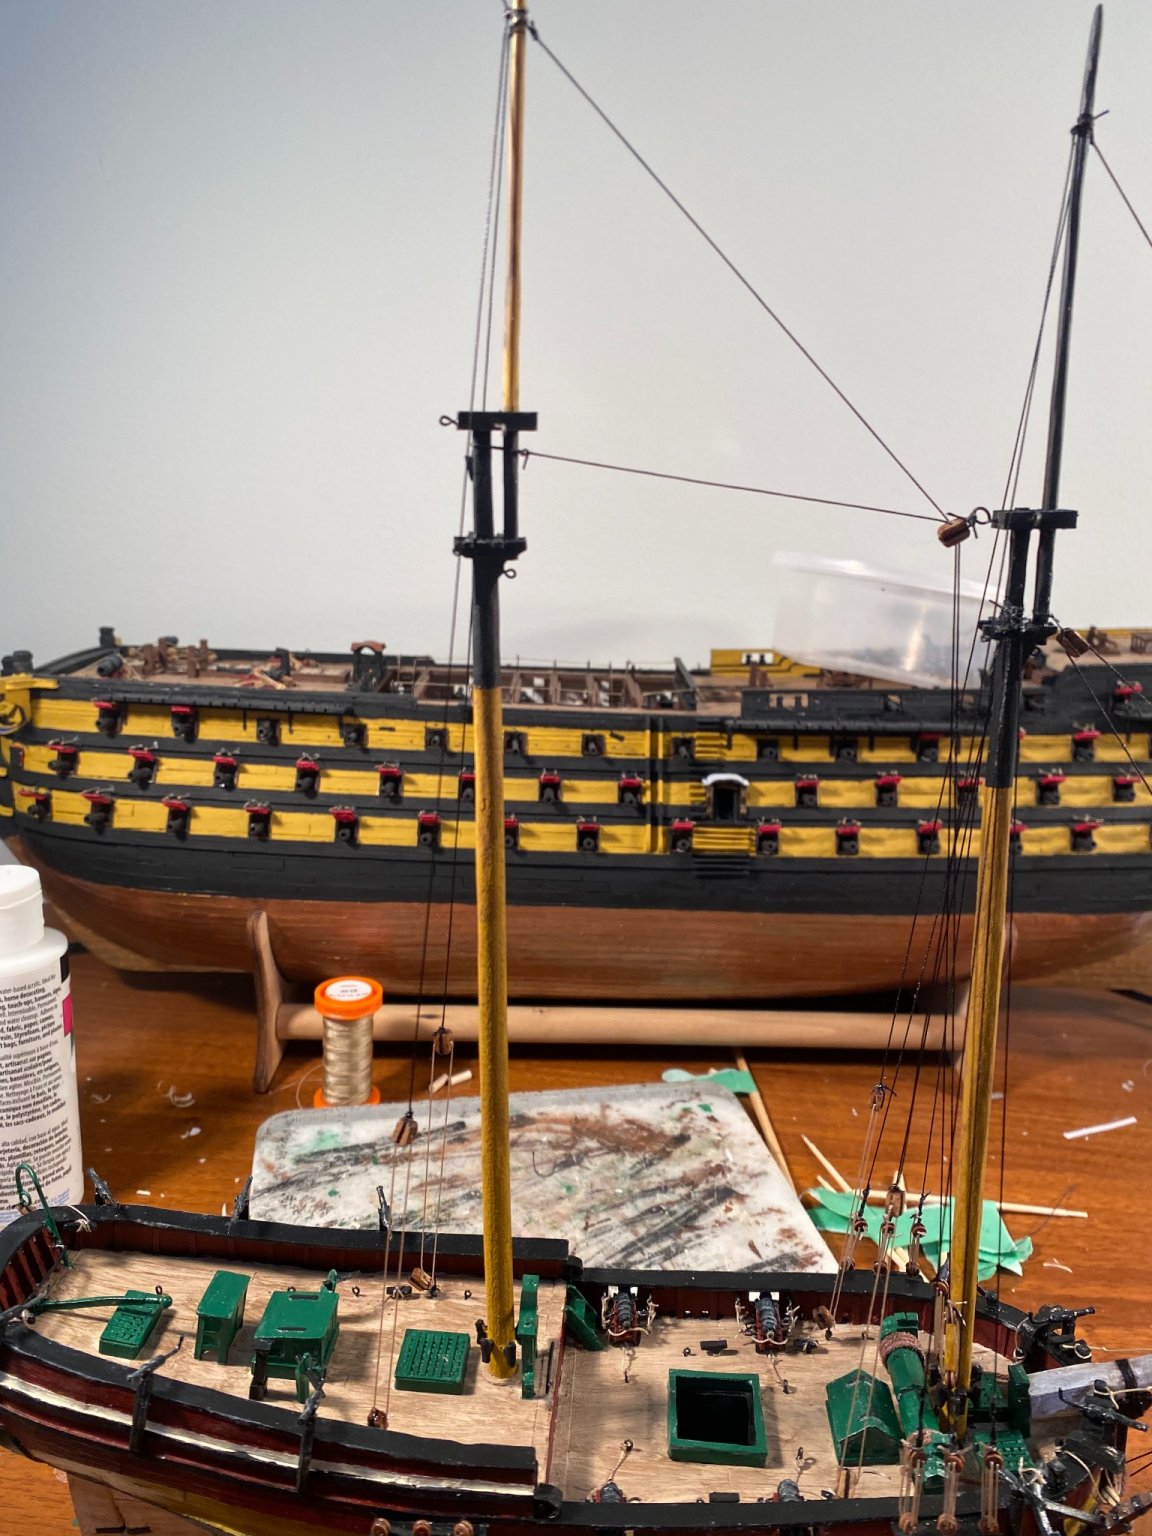
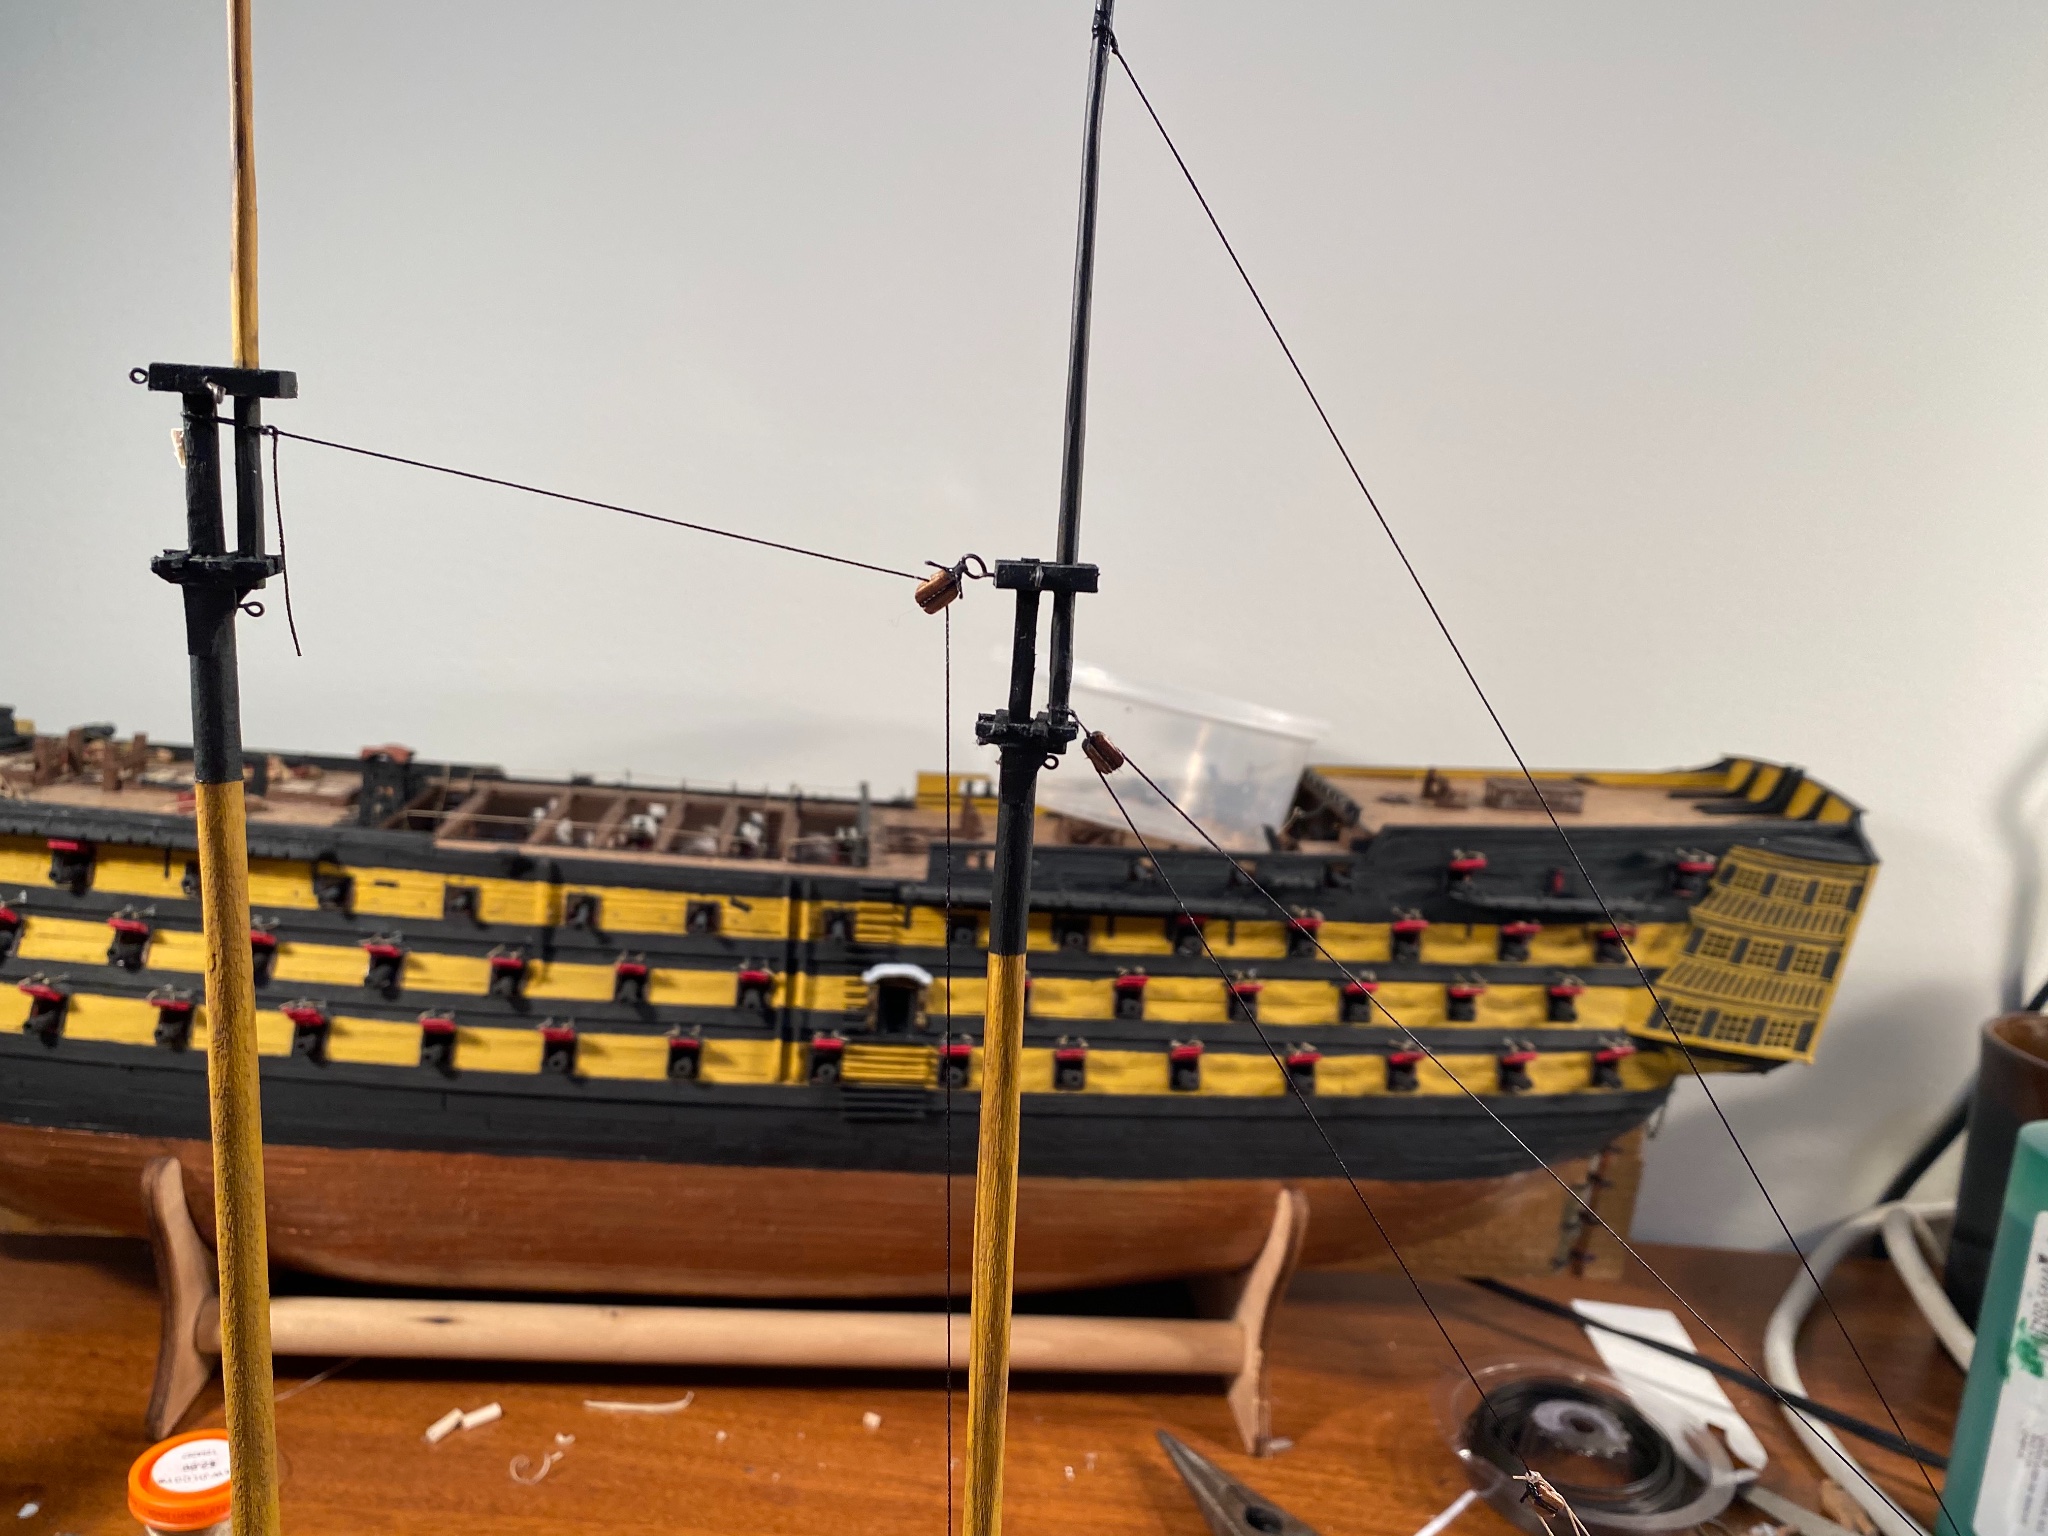
Thanks, OC! The hardest part for me is always setting up the shrouds and getting the spacing right for the dead-eyes. I’m pretty much cloning the stays and backstays from the Sultana, but factoring that in with the rigging plan from The Colonial Schooner. Sultana had a much more complicated rig so I am adapting for the differences.
-
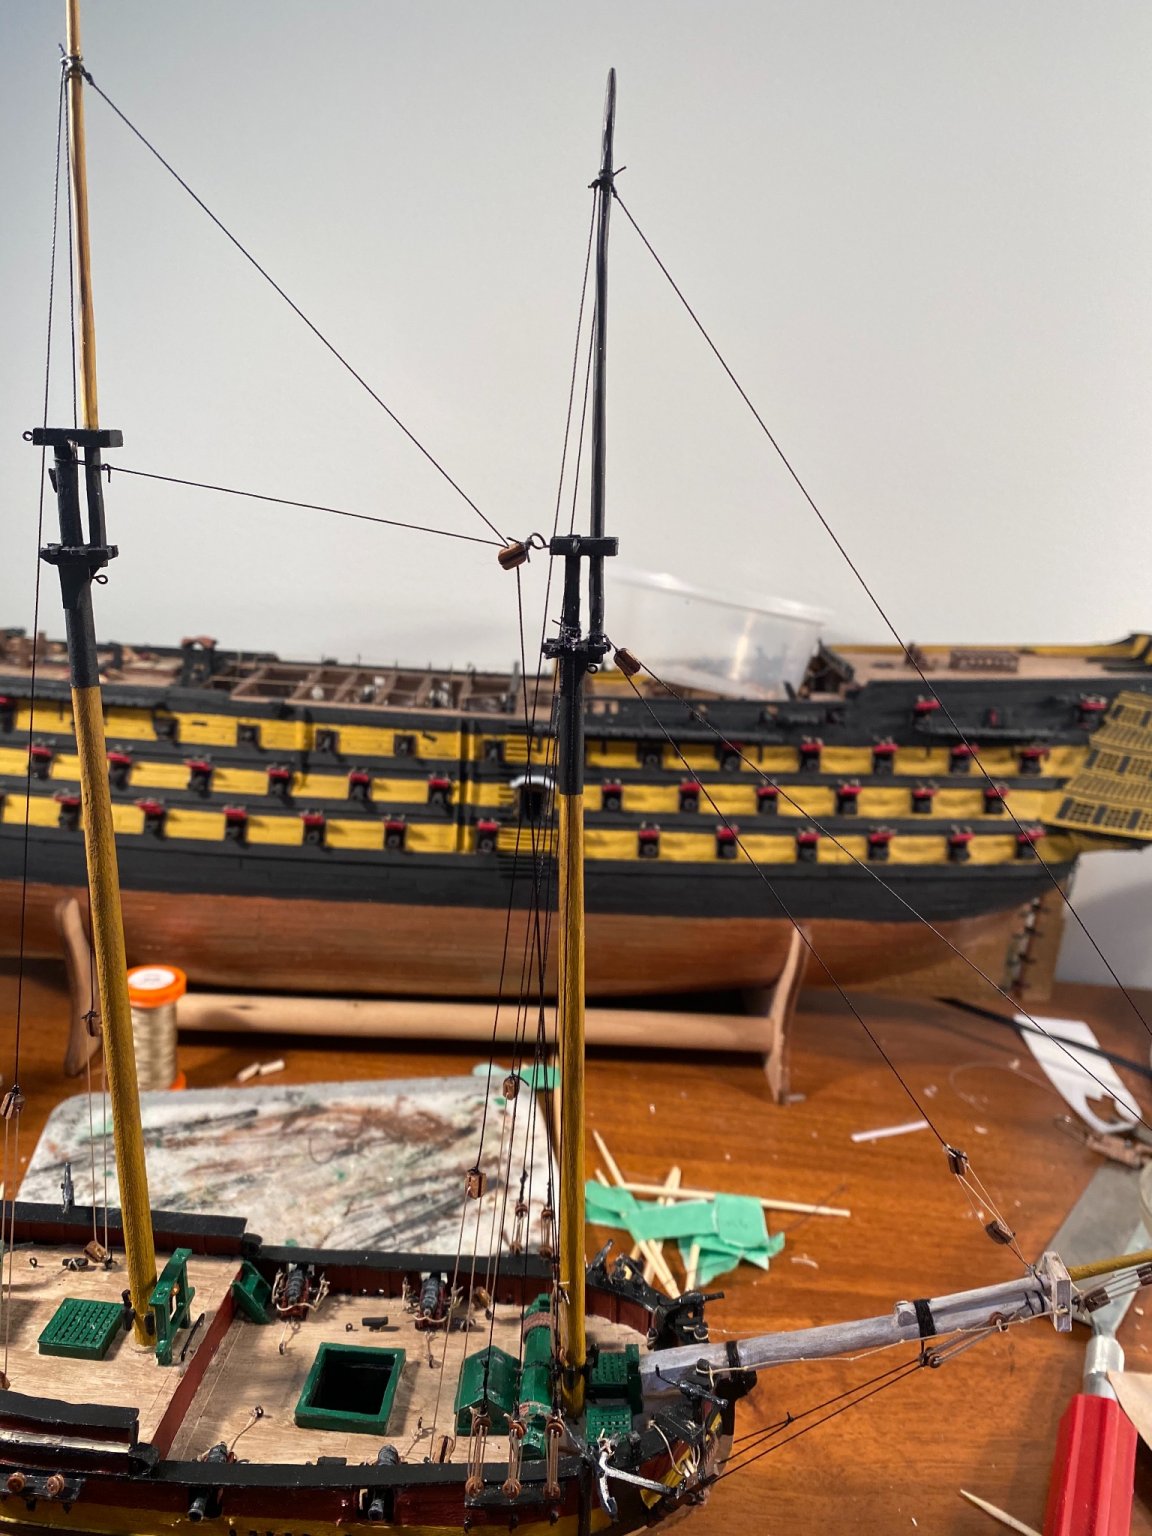
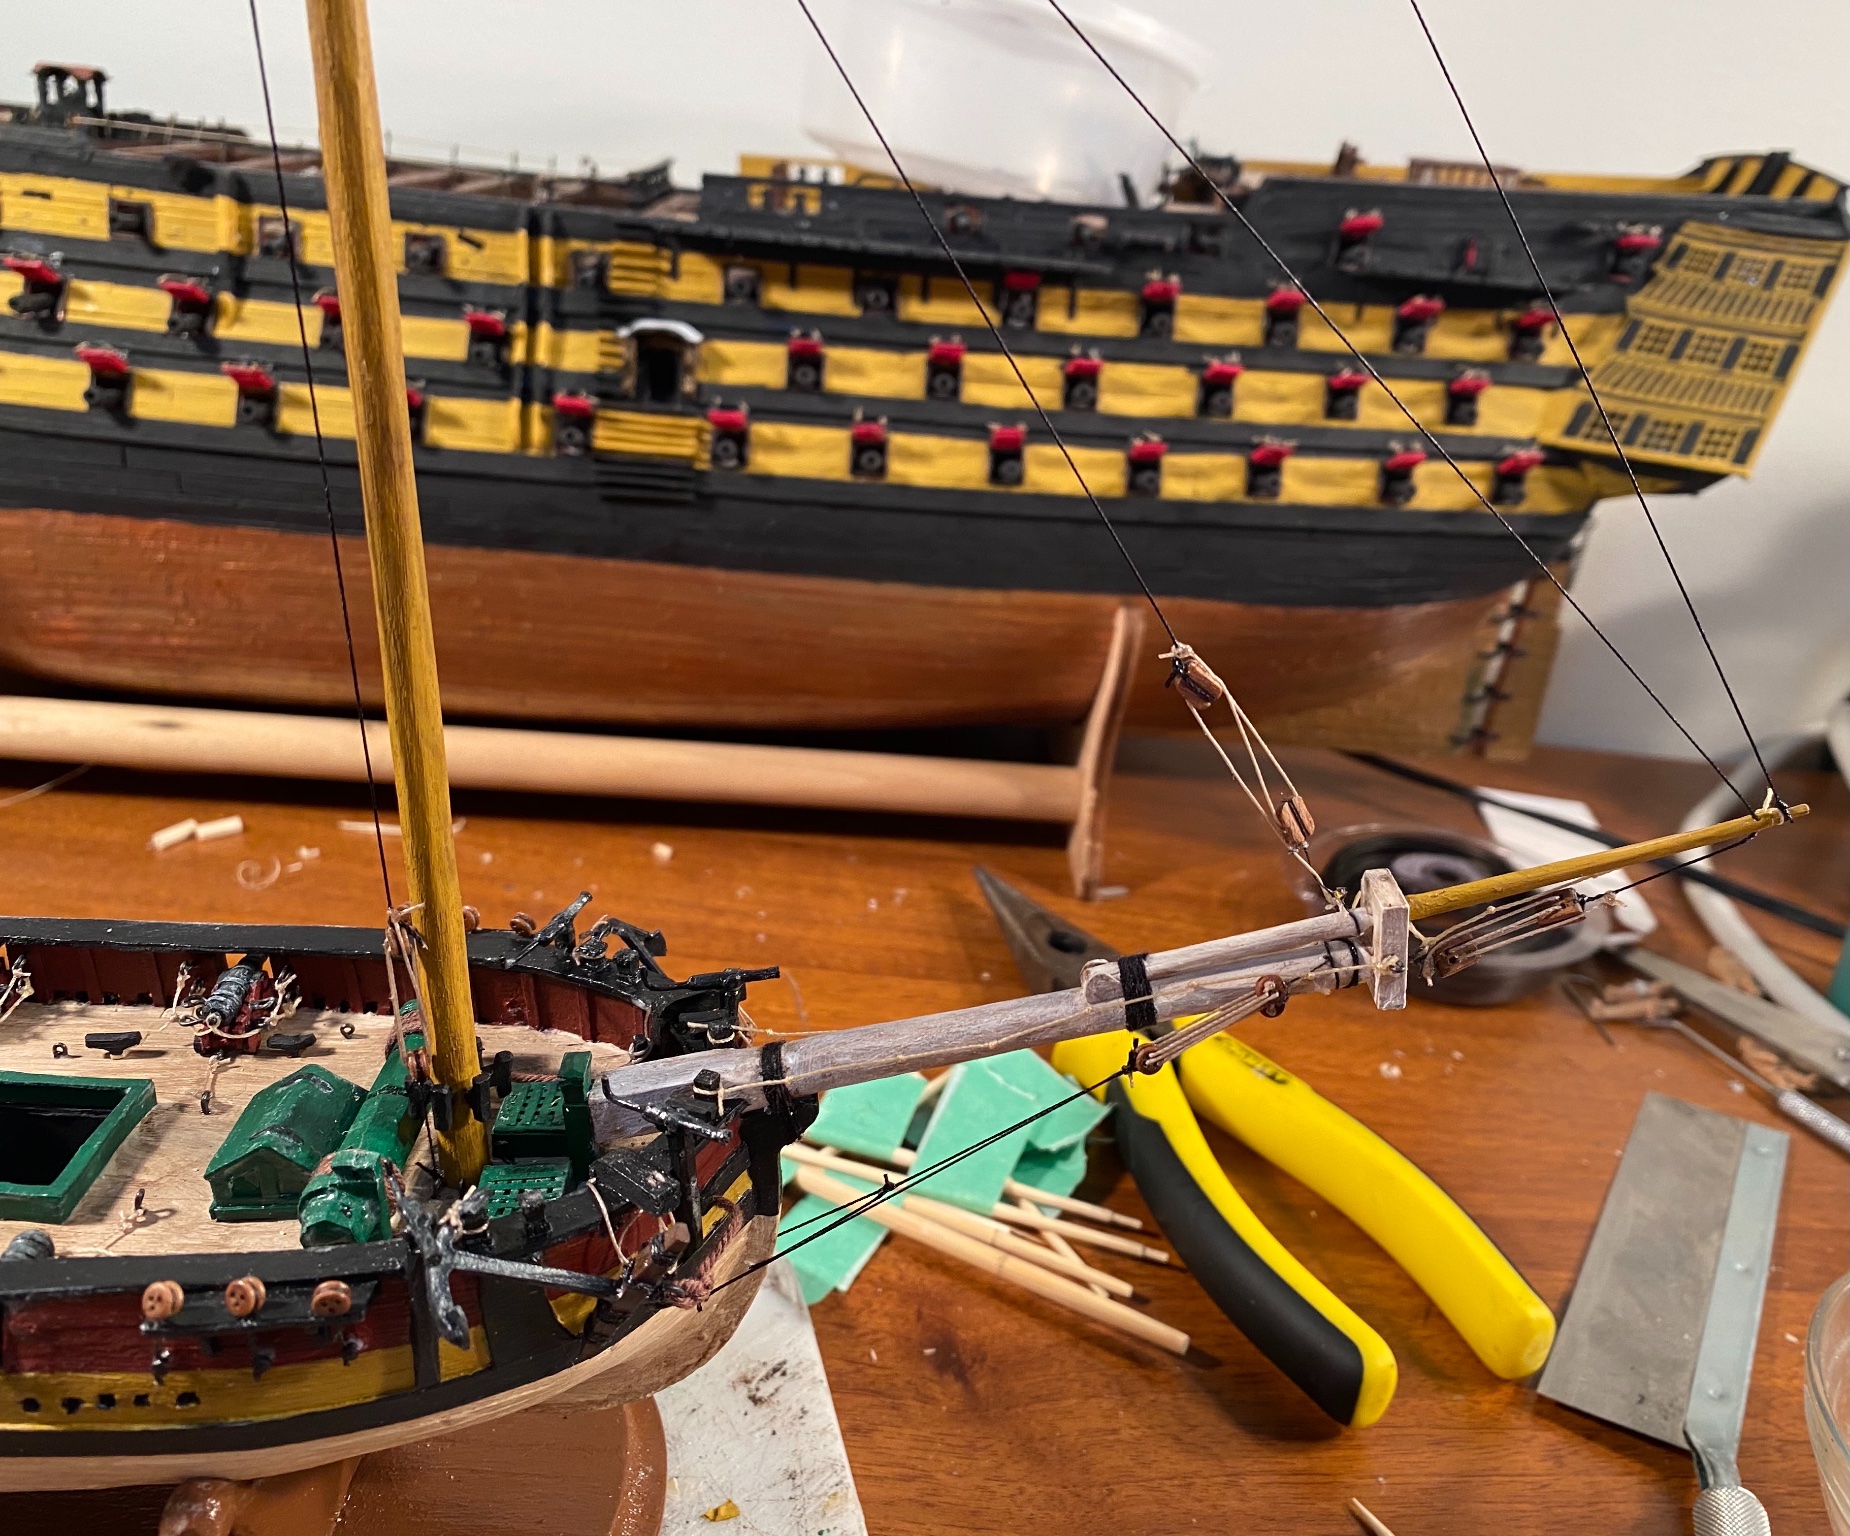
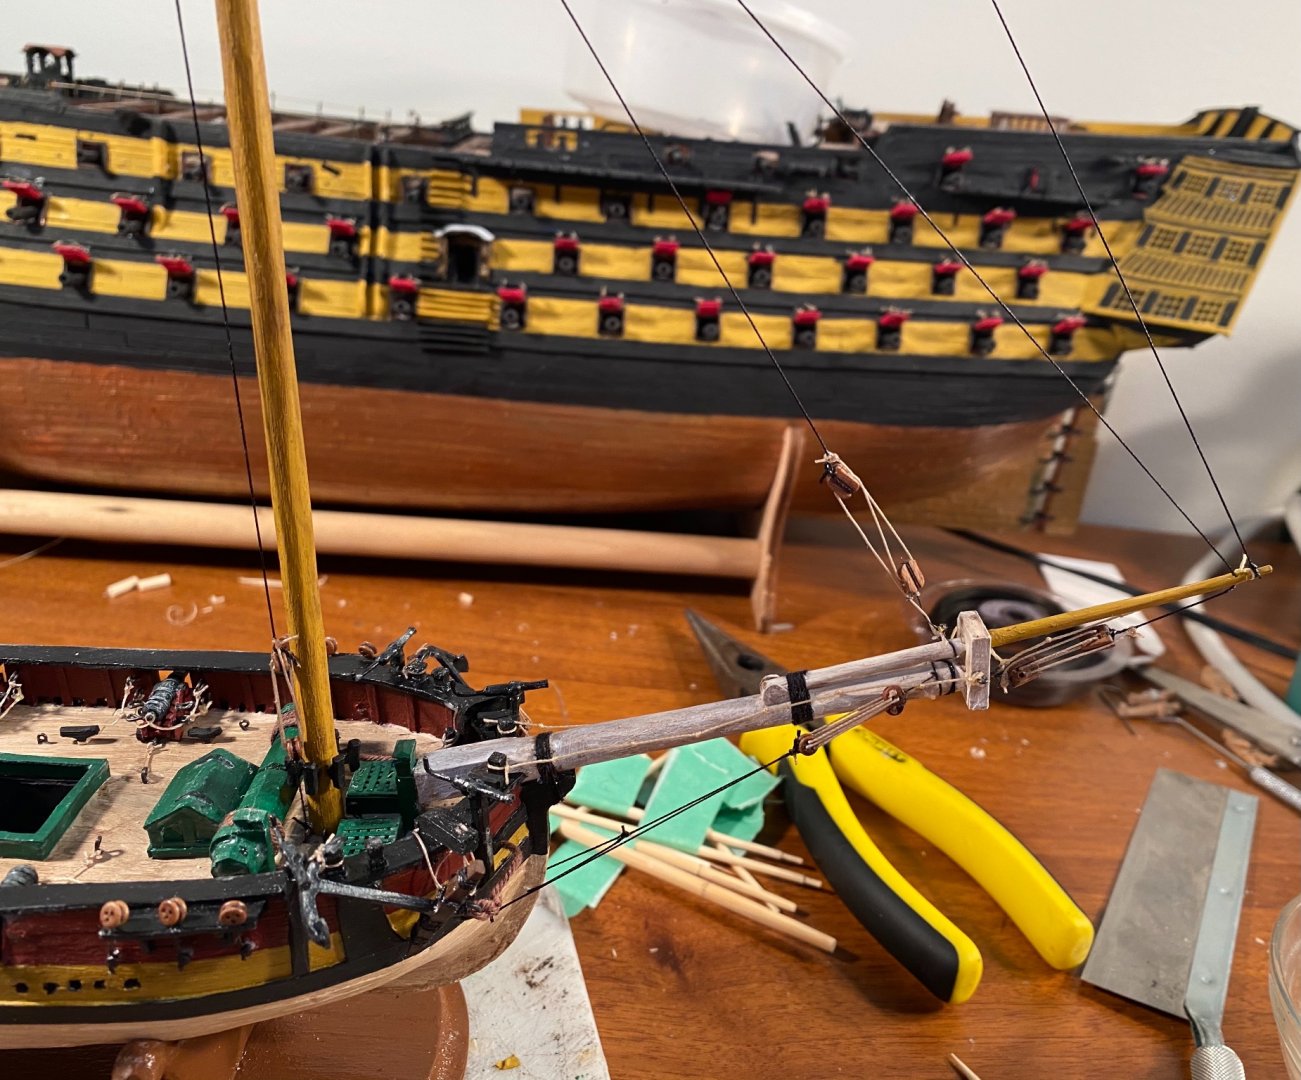
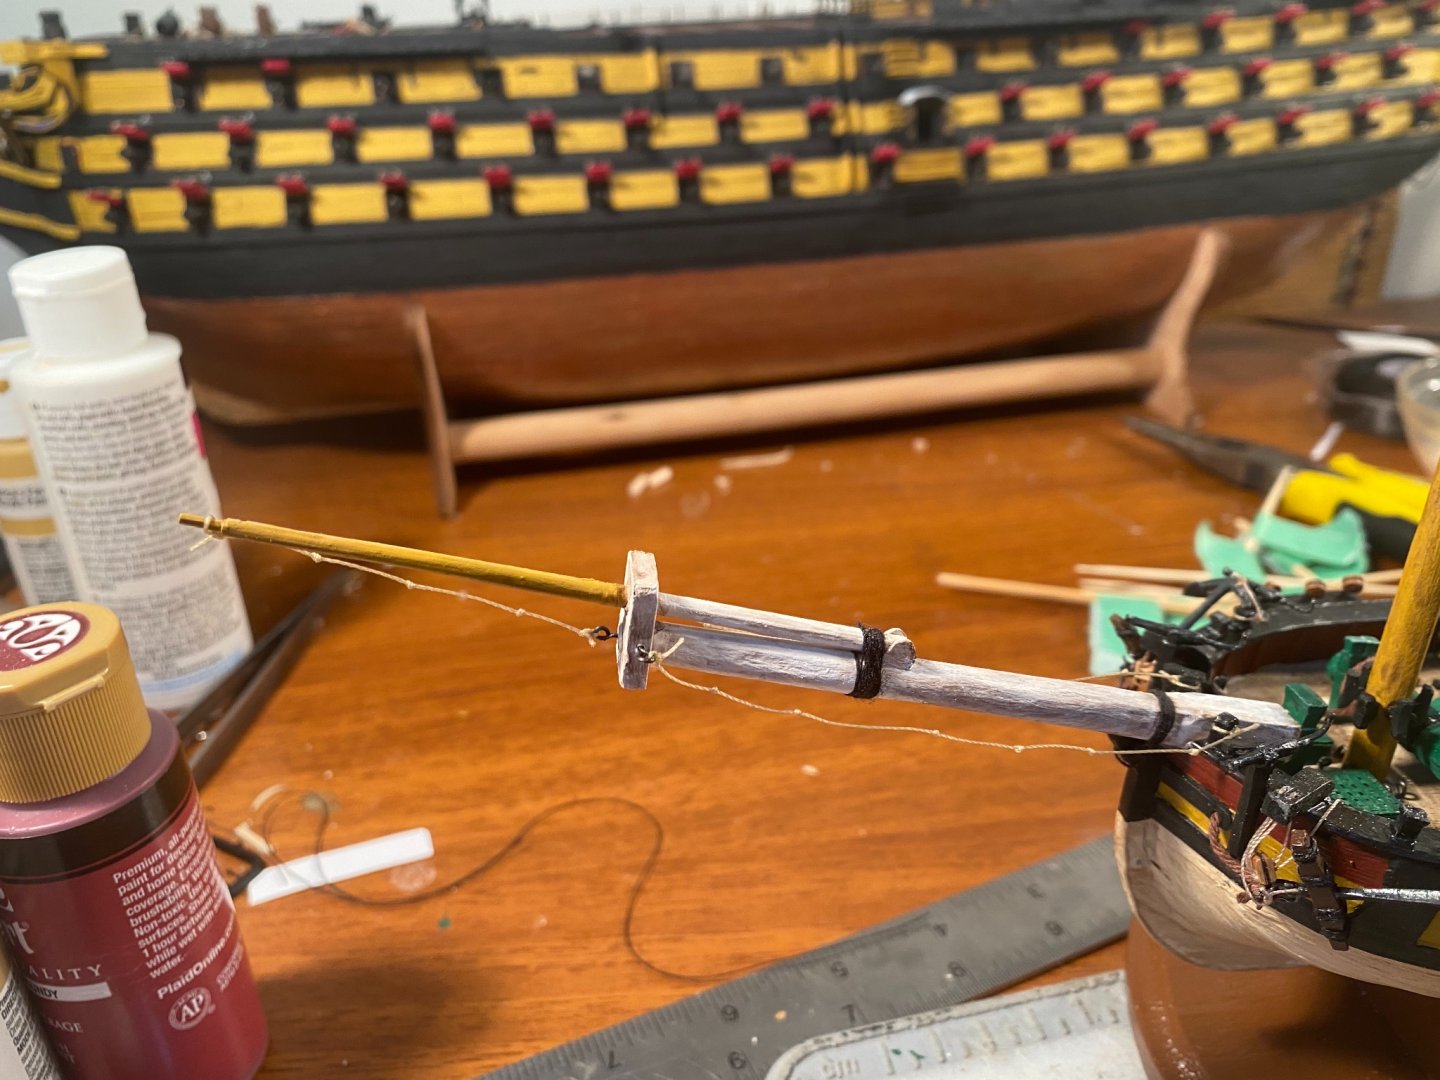
I made the foot ropes for the bowsprit. The stays are going up and the bowsprit is rigged (standing rigging). The fore top mast isn’t actually bent forward as bad as it looks like in the picture.


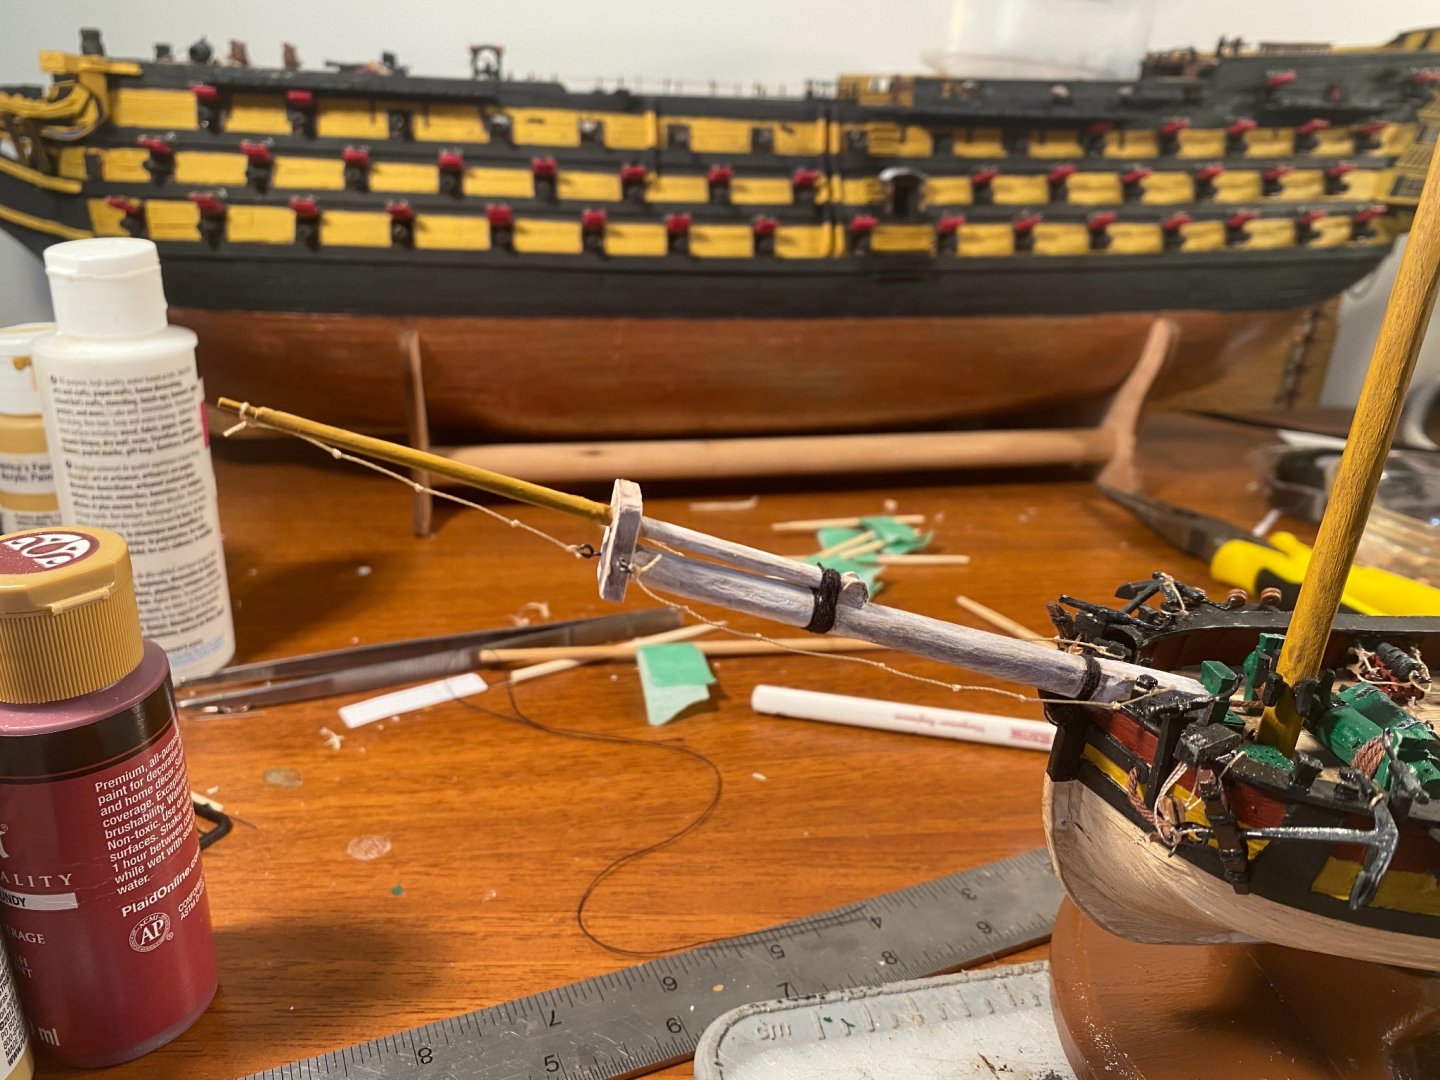
-
I had to add some more rigging fittings from following Sultana, which isn’t entirely unsurprising. I really need to learn more about rigging.

-
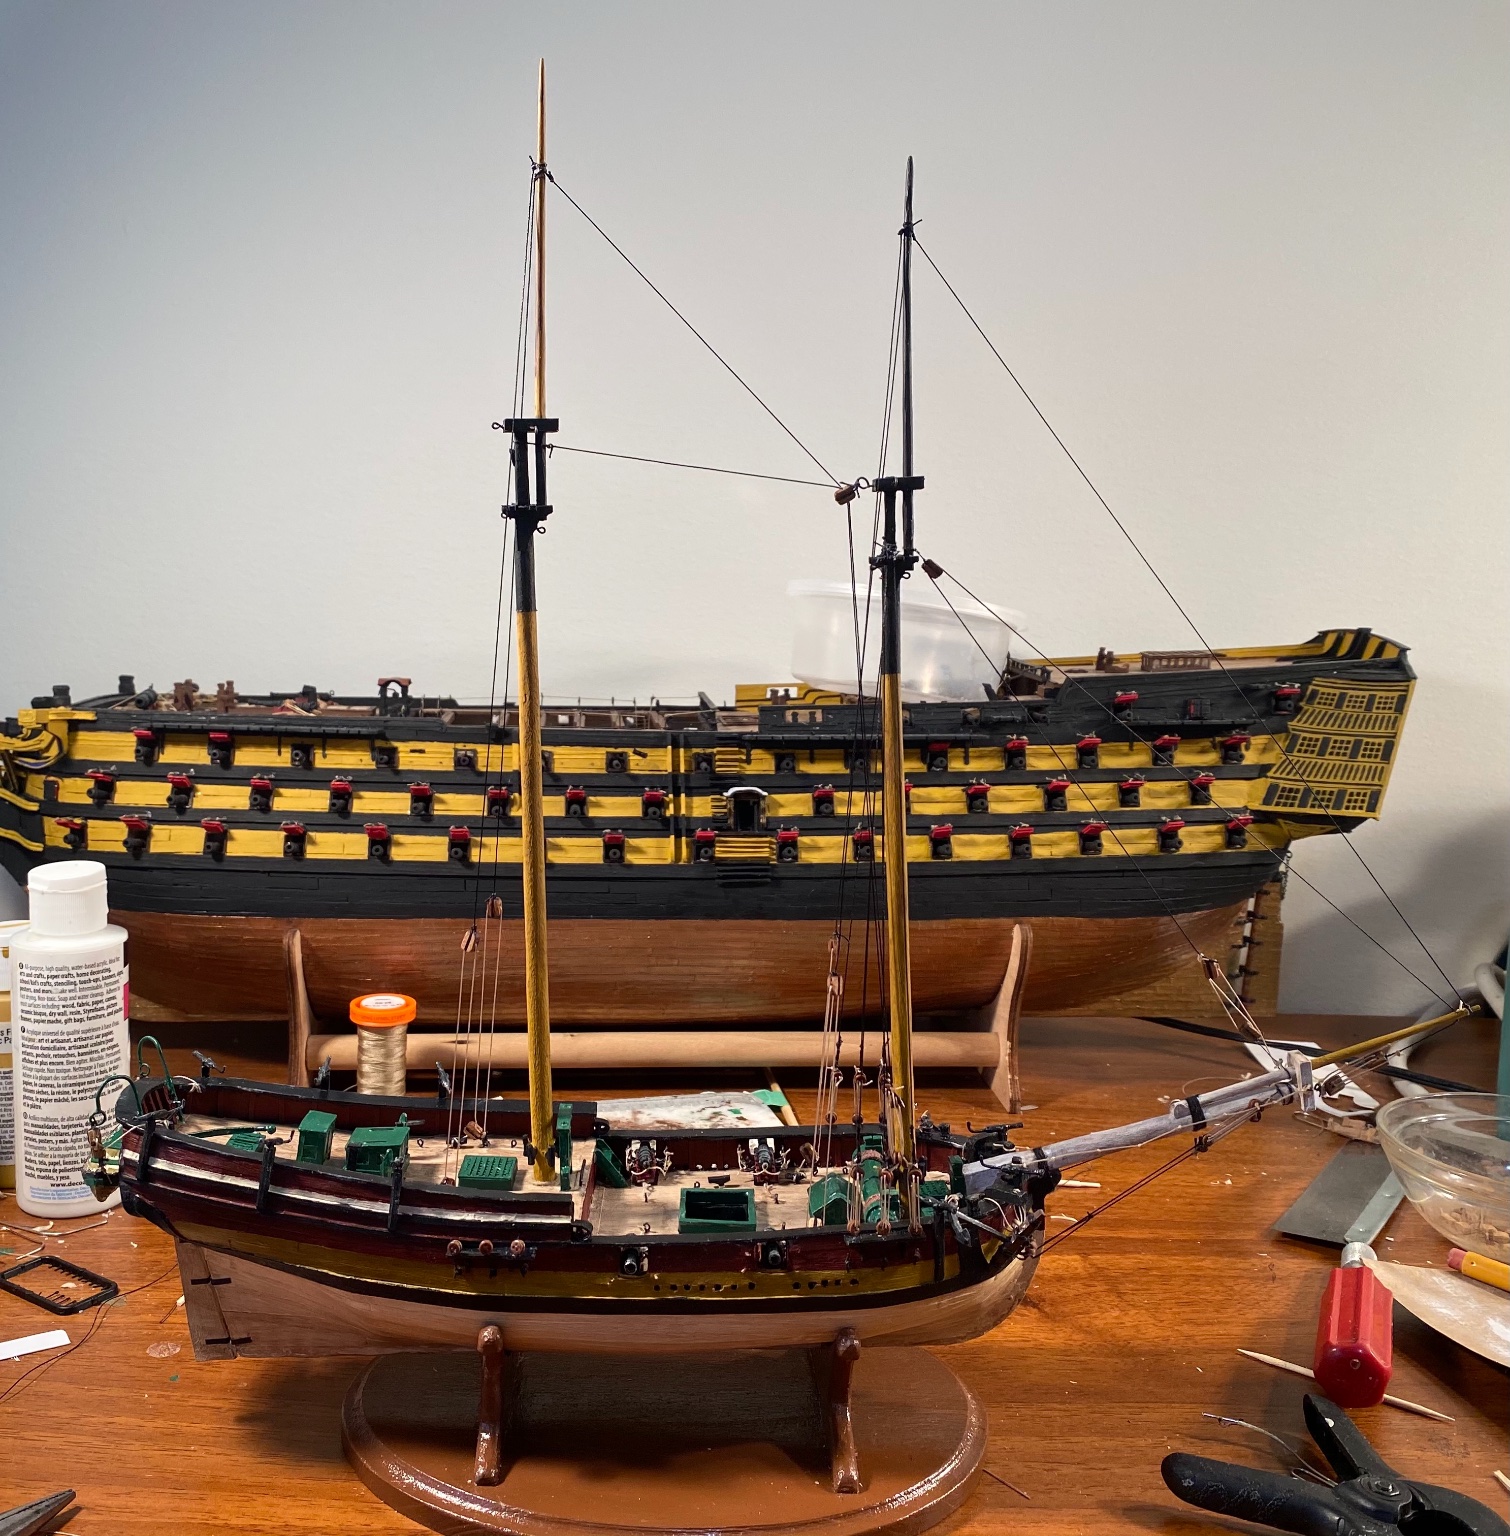
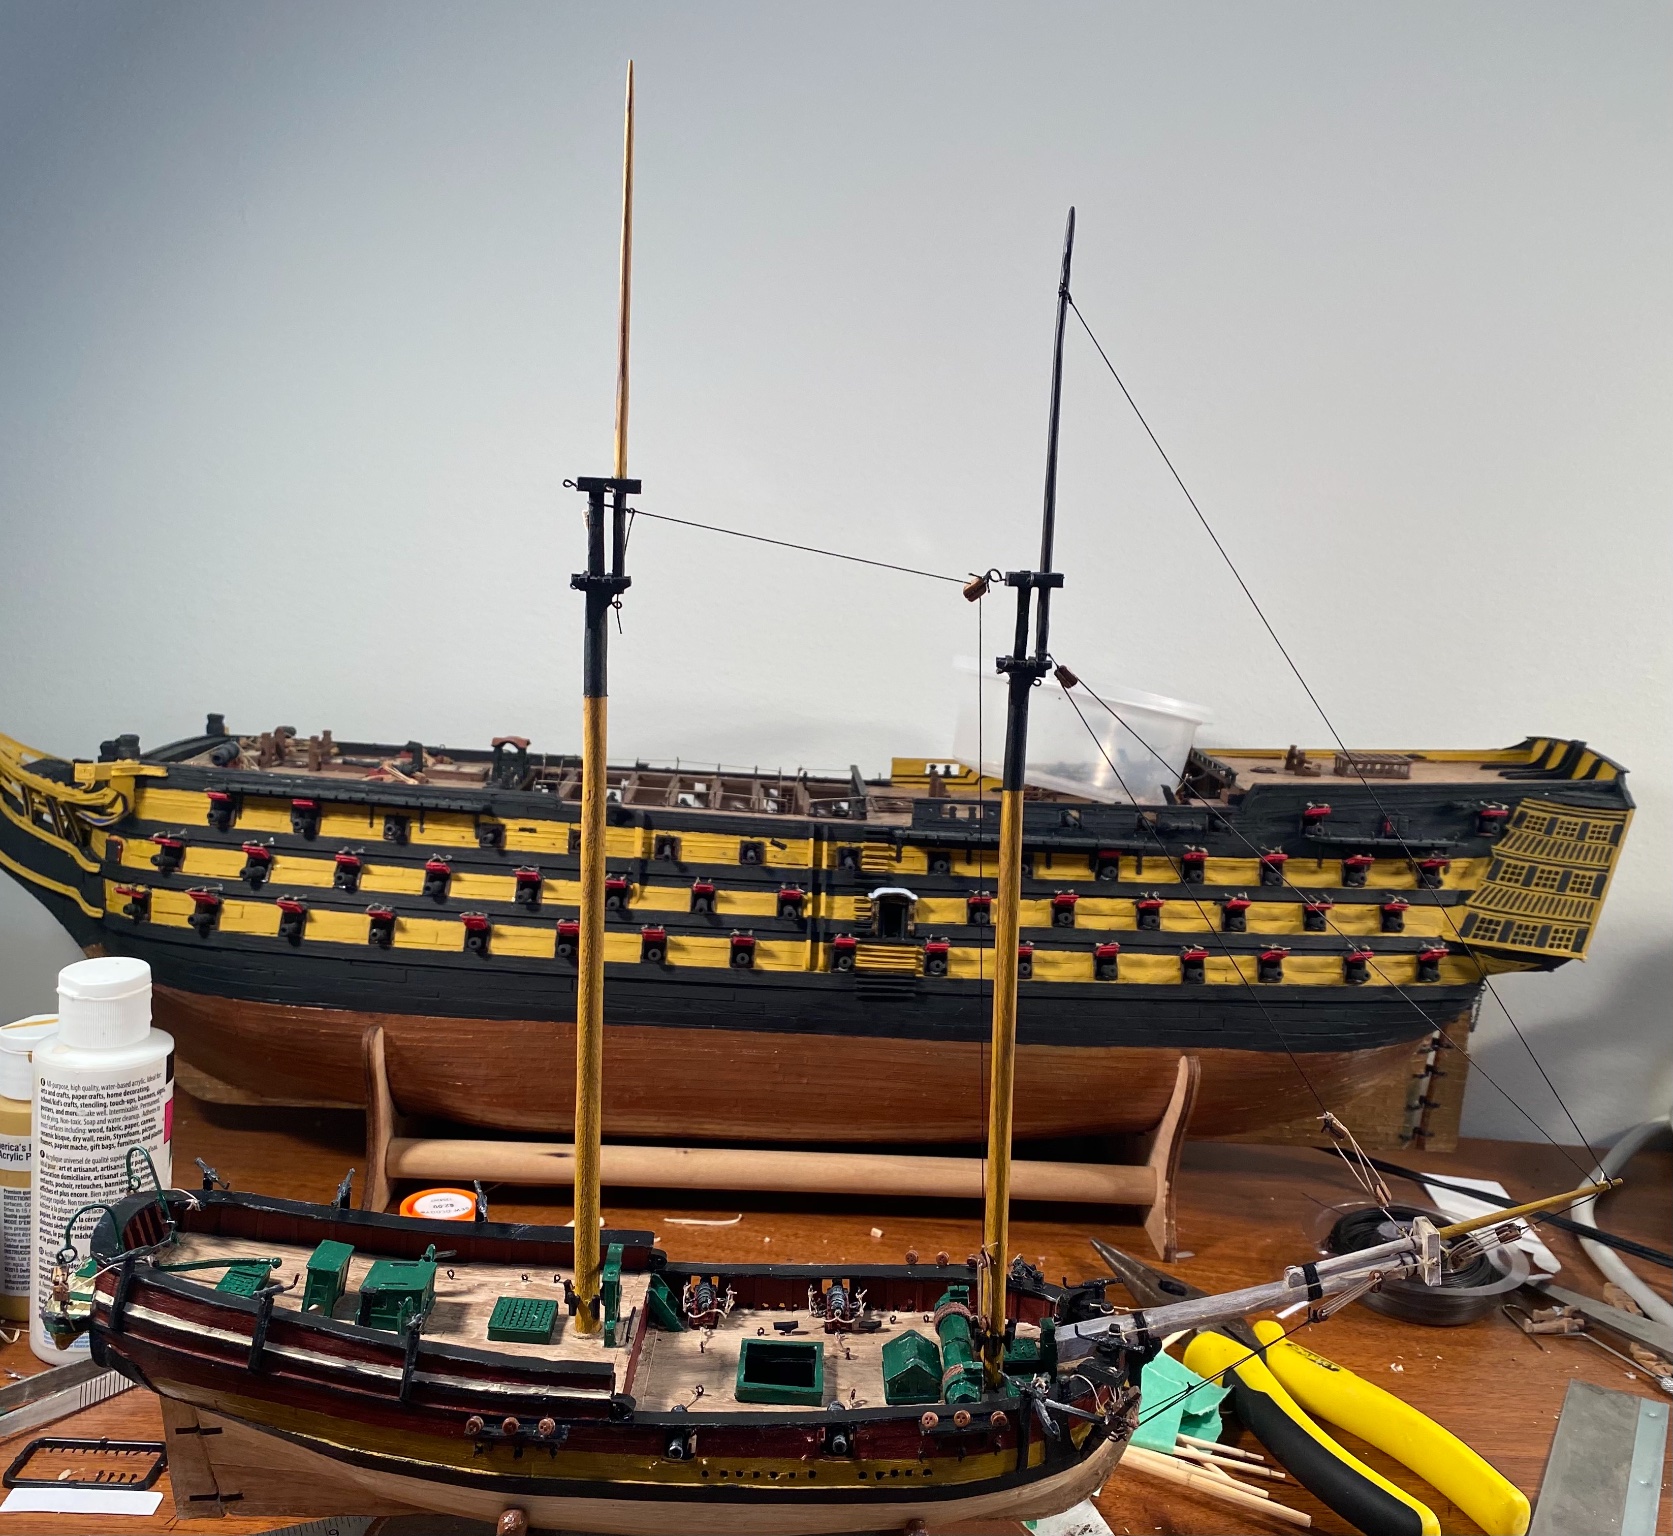
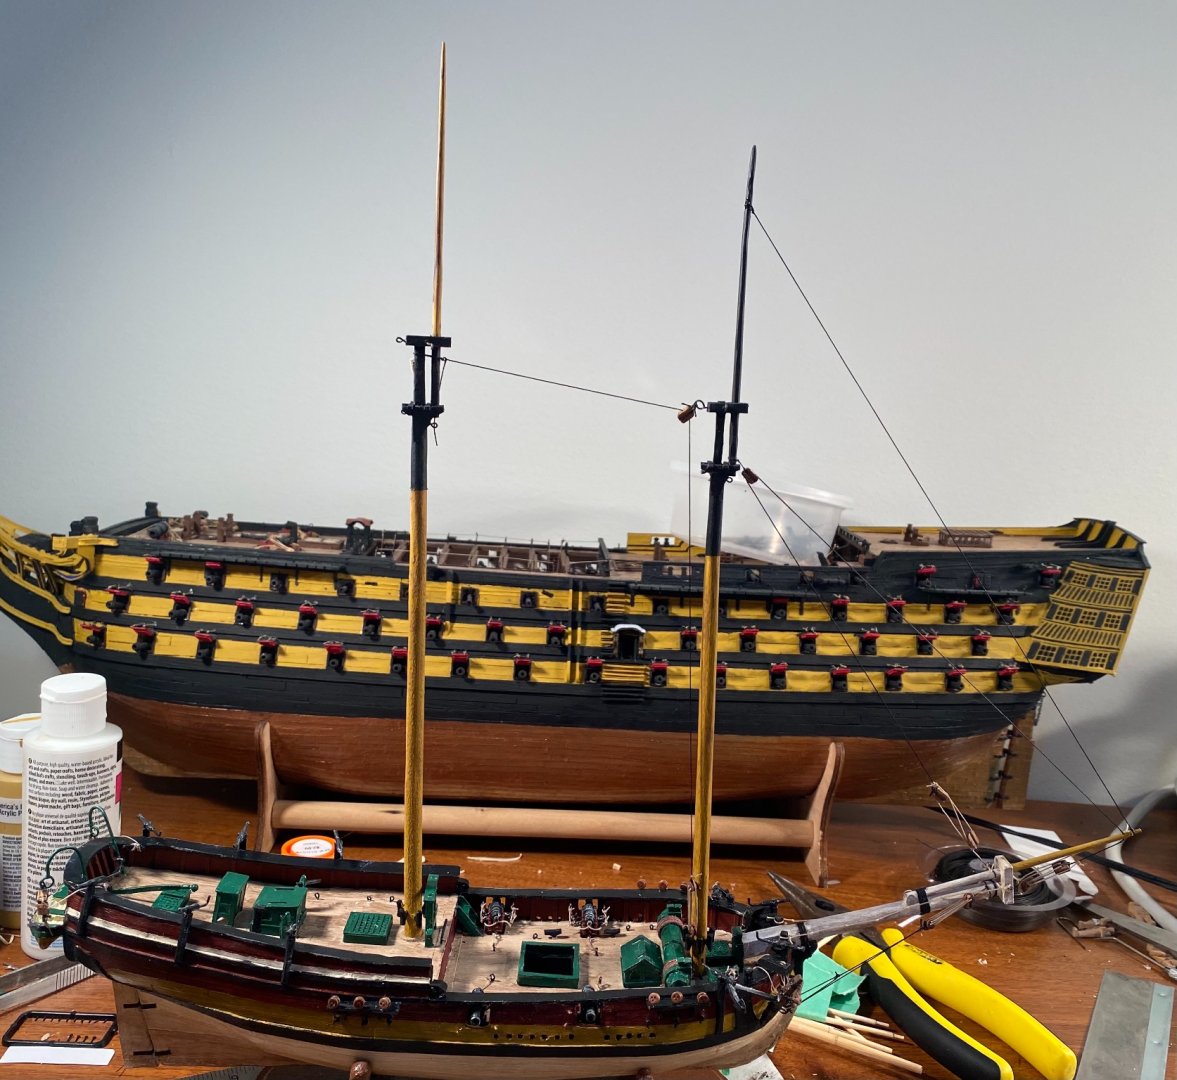
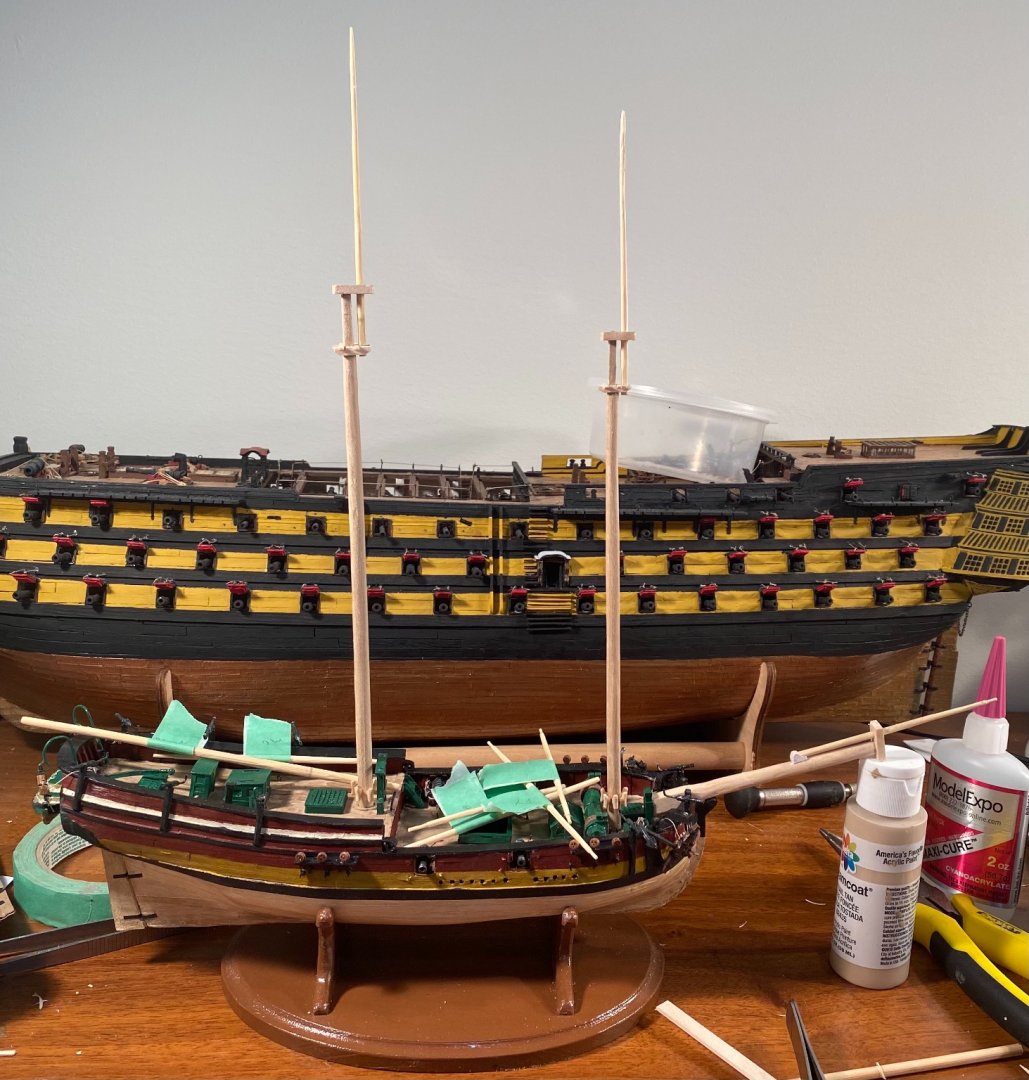
Thank you very much! The masts are painted and glued in place. Initial weathering is done too. The model still needs a highlight coat.
-
Happy New Year!
-
Hope you feel better! Drink lots of Orange Juice!
-
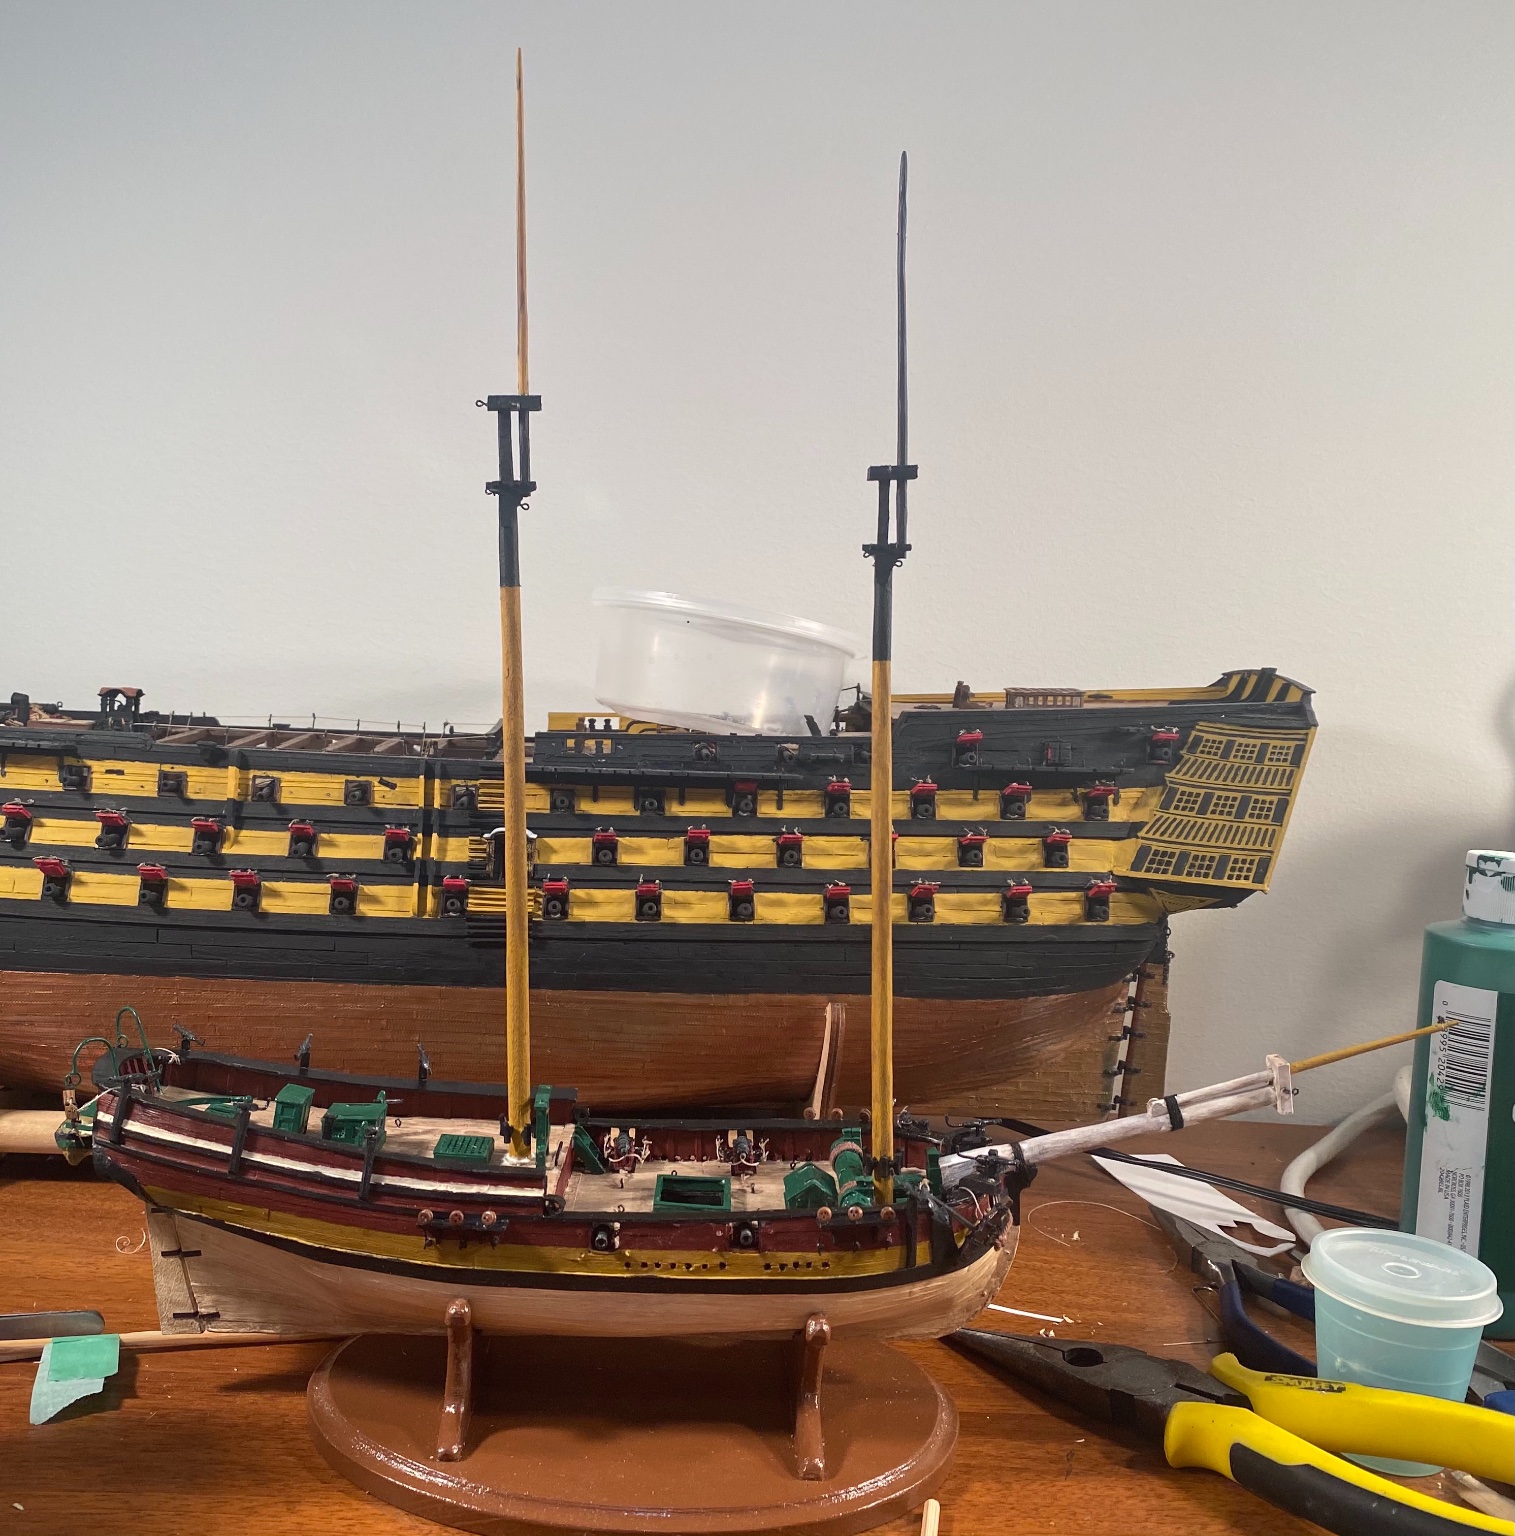
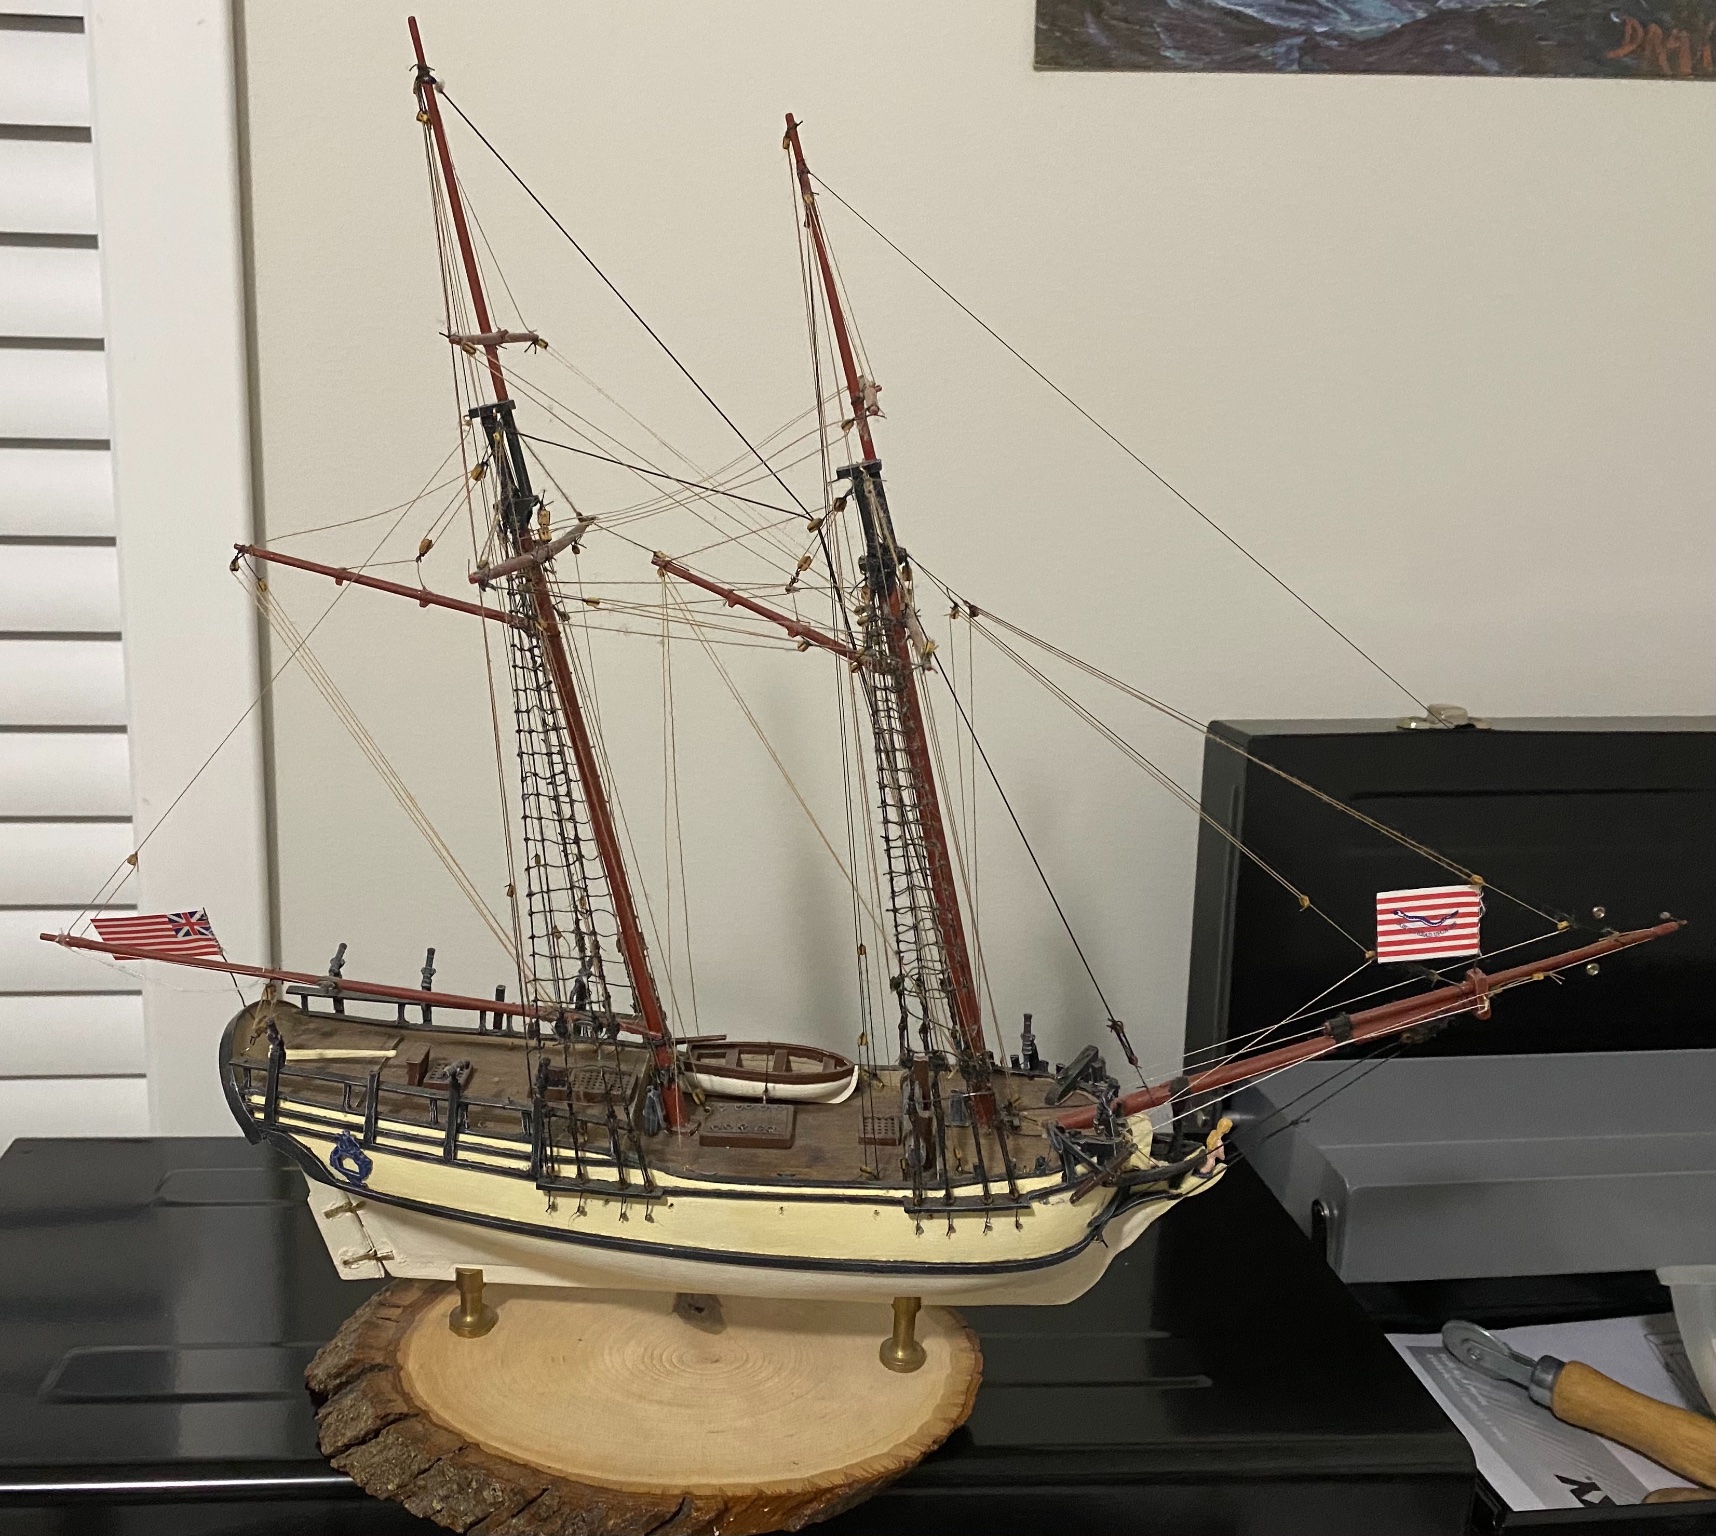
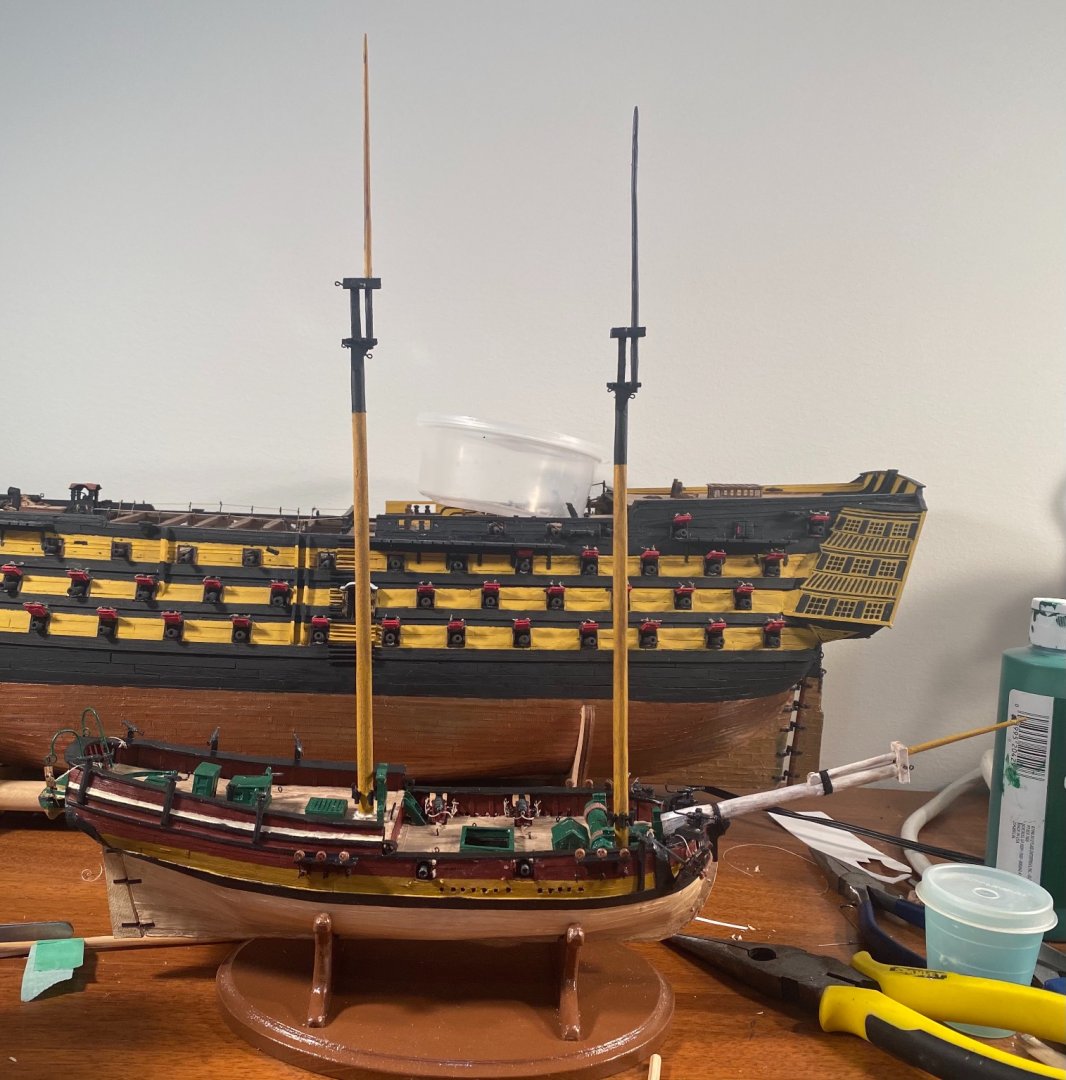
I took my Sultana (Model Shipways) out of the case to use as a reference for the rigging, and specifically the belaying of the Hannah, due to similarities in the rigging. The Sultana was my first ever real ship model. The masts are assembled and in the process of being painted. The bowsprit is complete and installed.


-
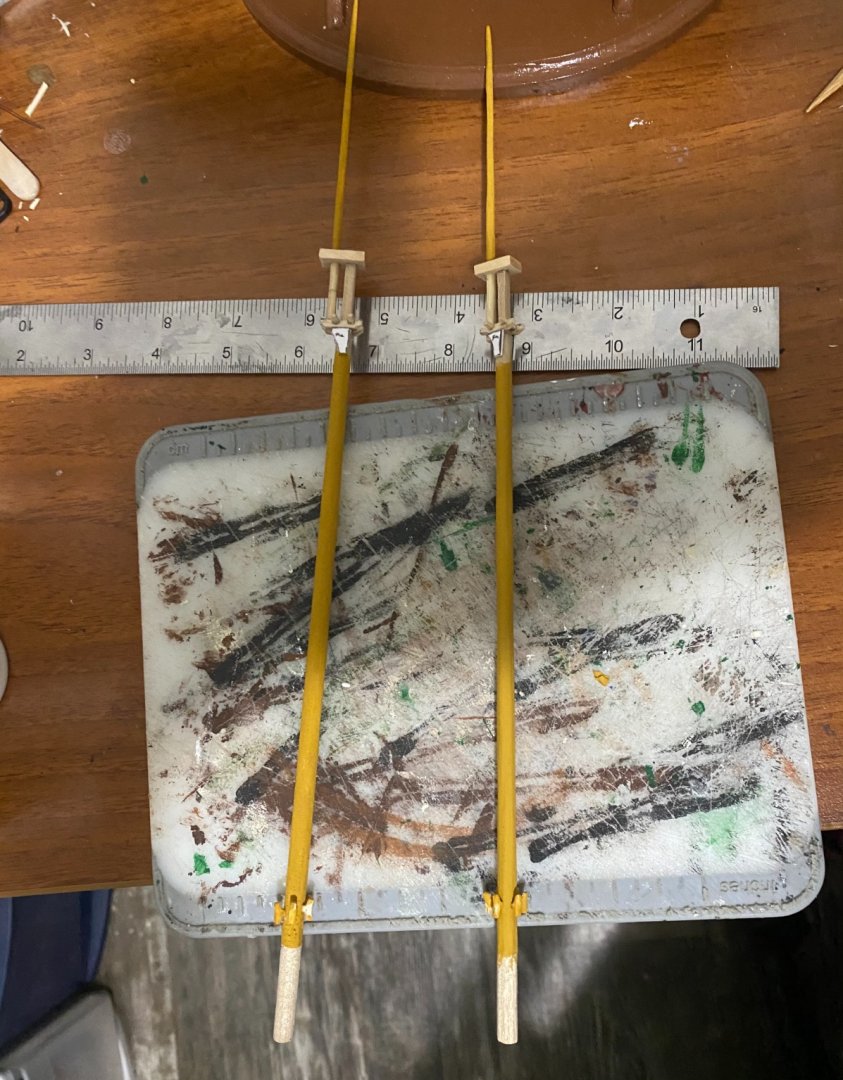
The masts are almost ready to paint: The mast tops still need bibbs. The bowsprit is ready to paint.
-
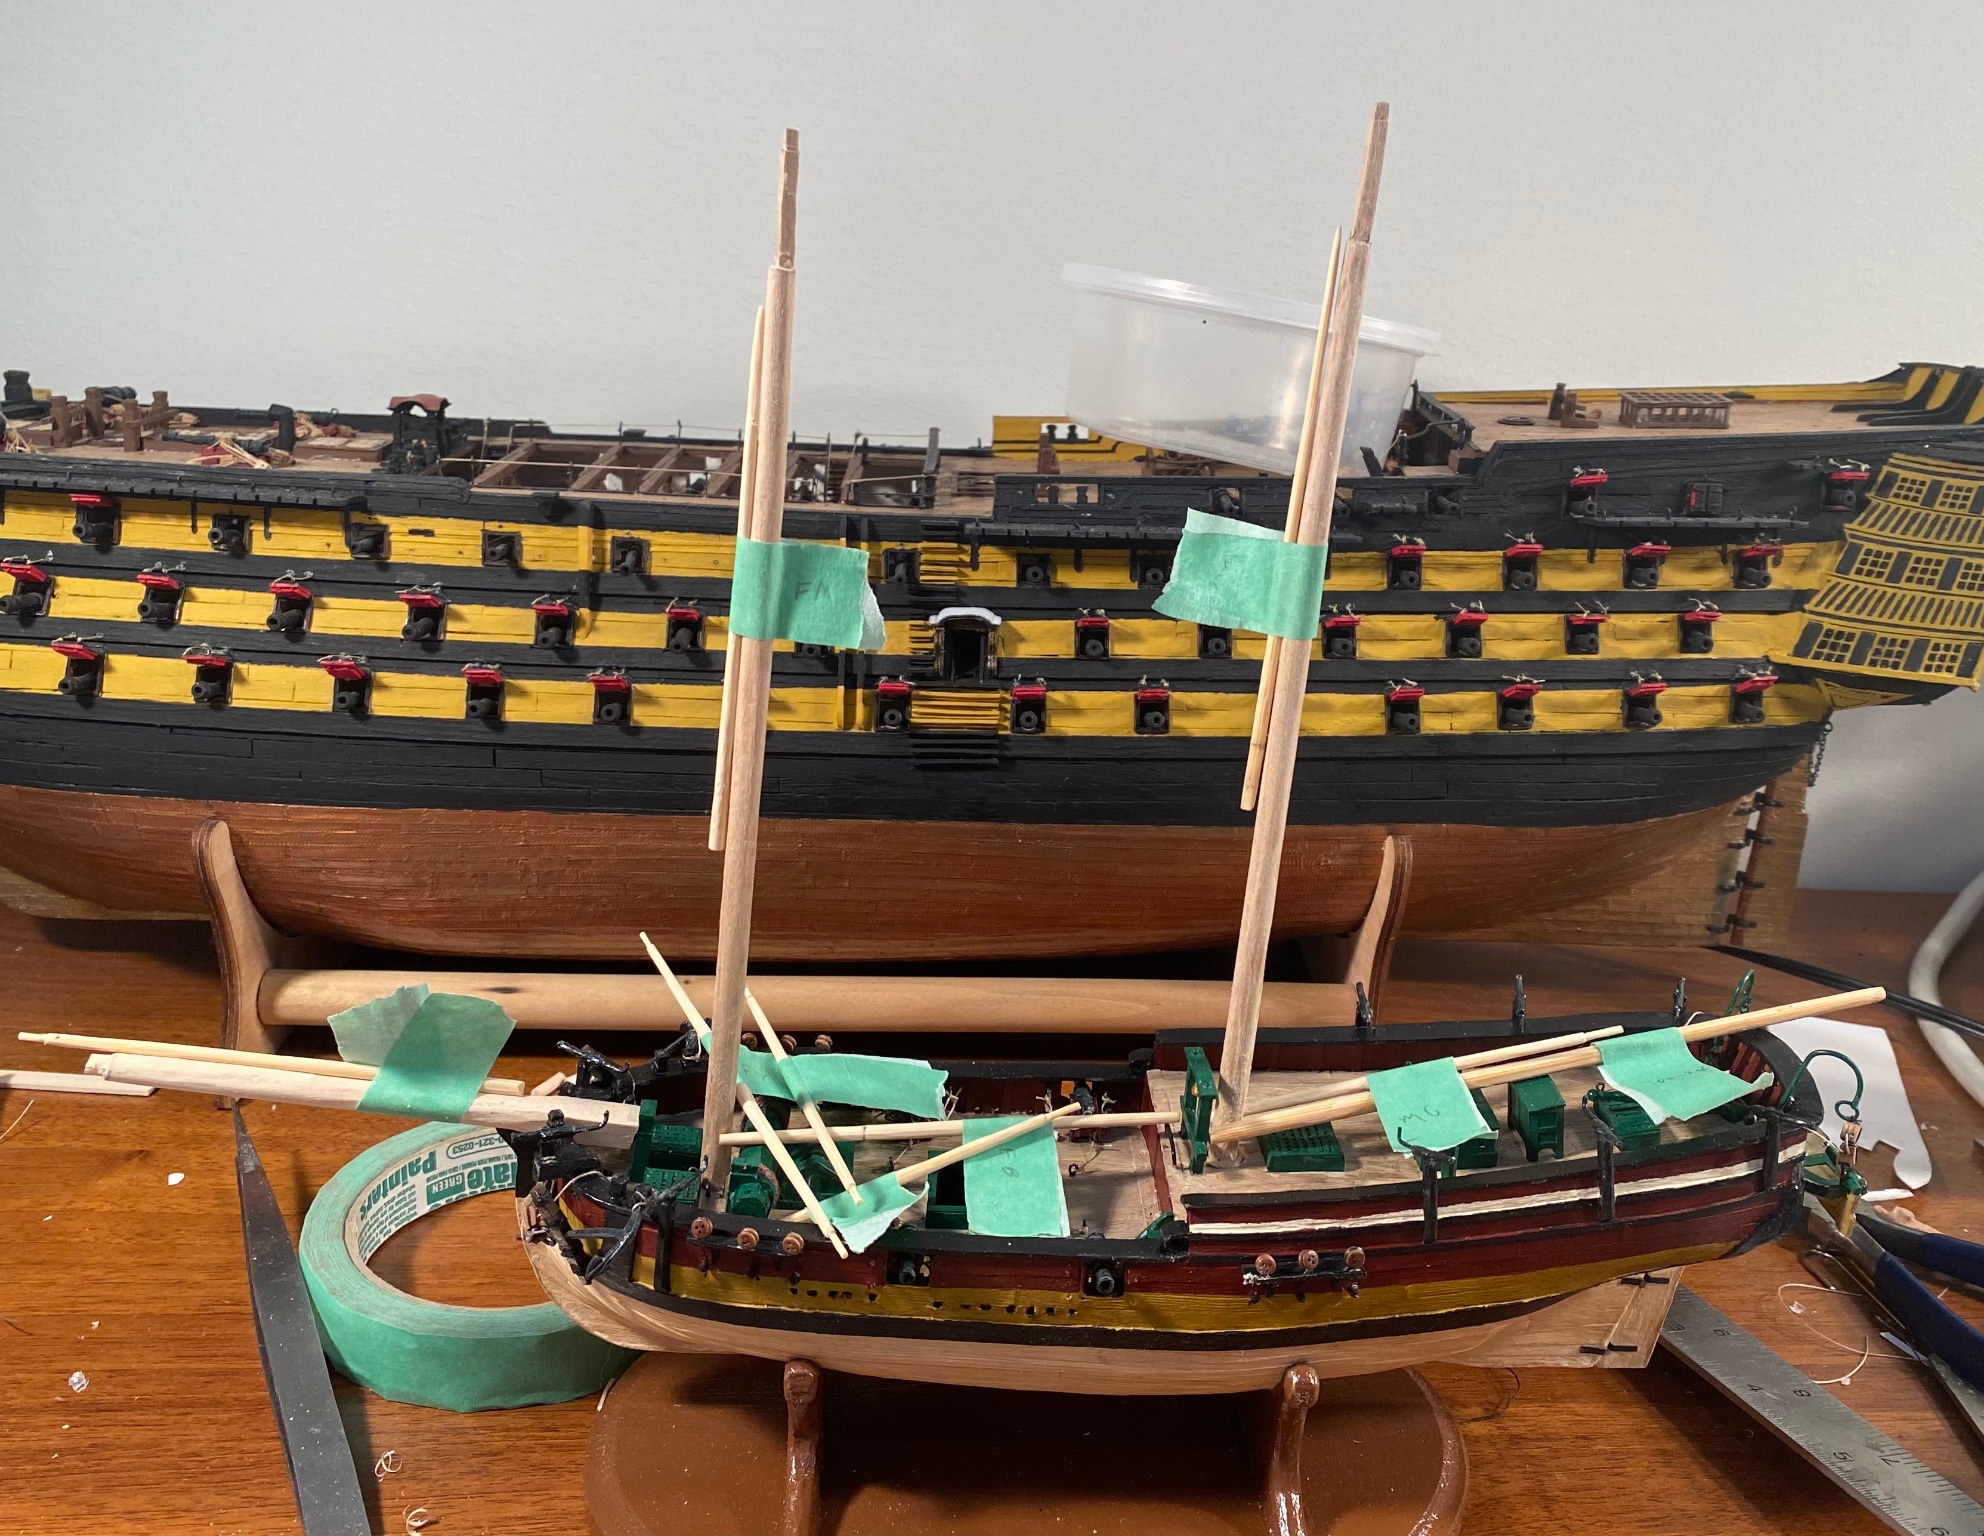
I am making masts for the Hannah, which means I should be getting back to Victory soon.
-
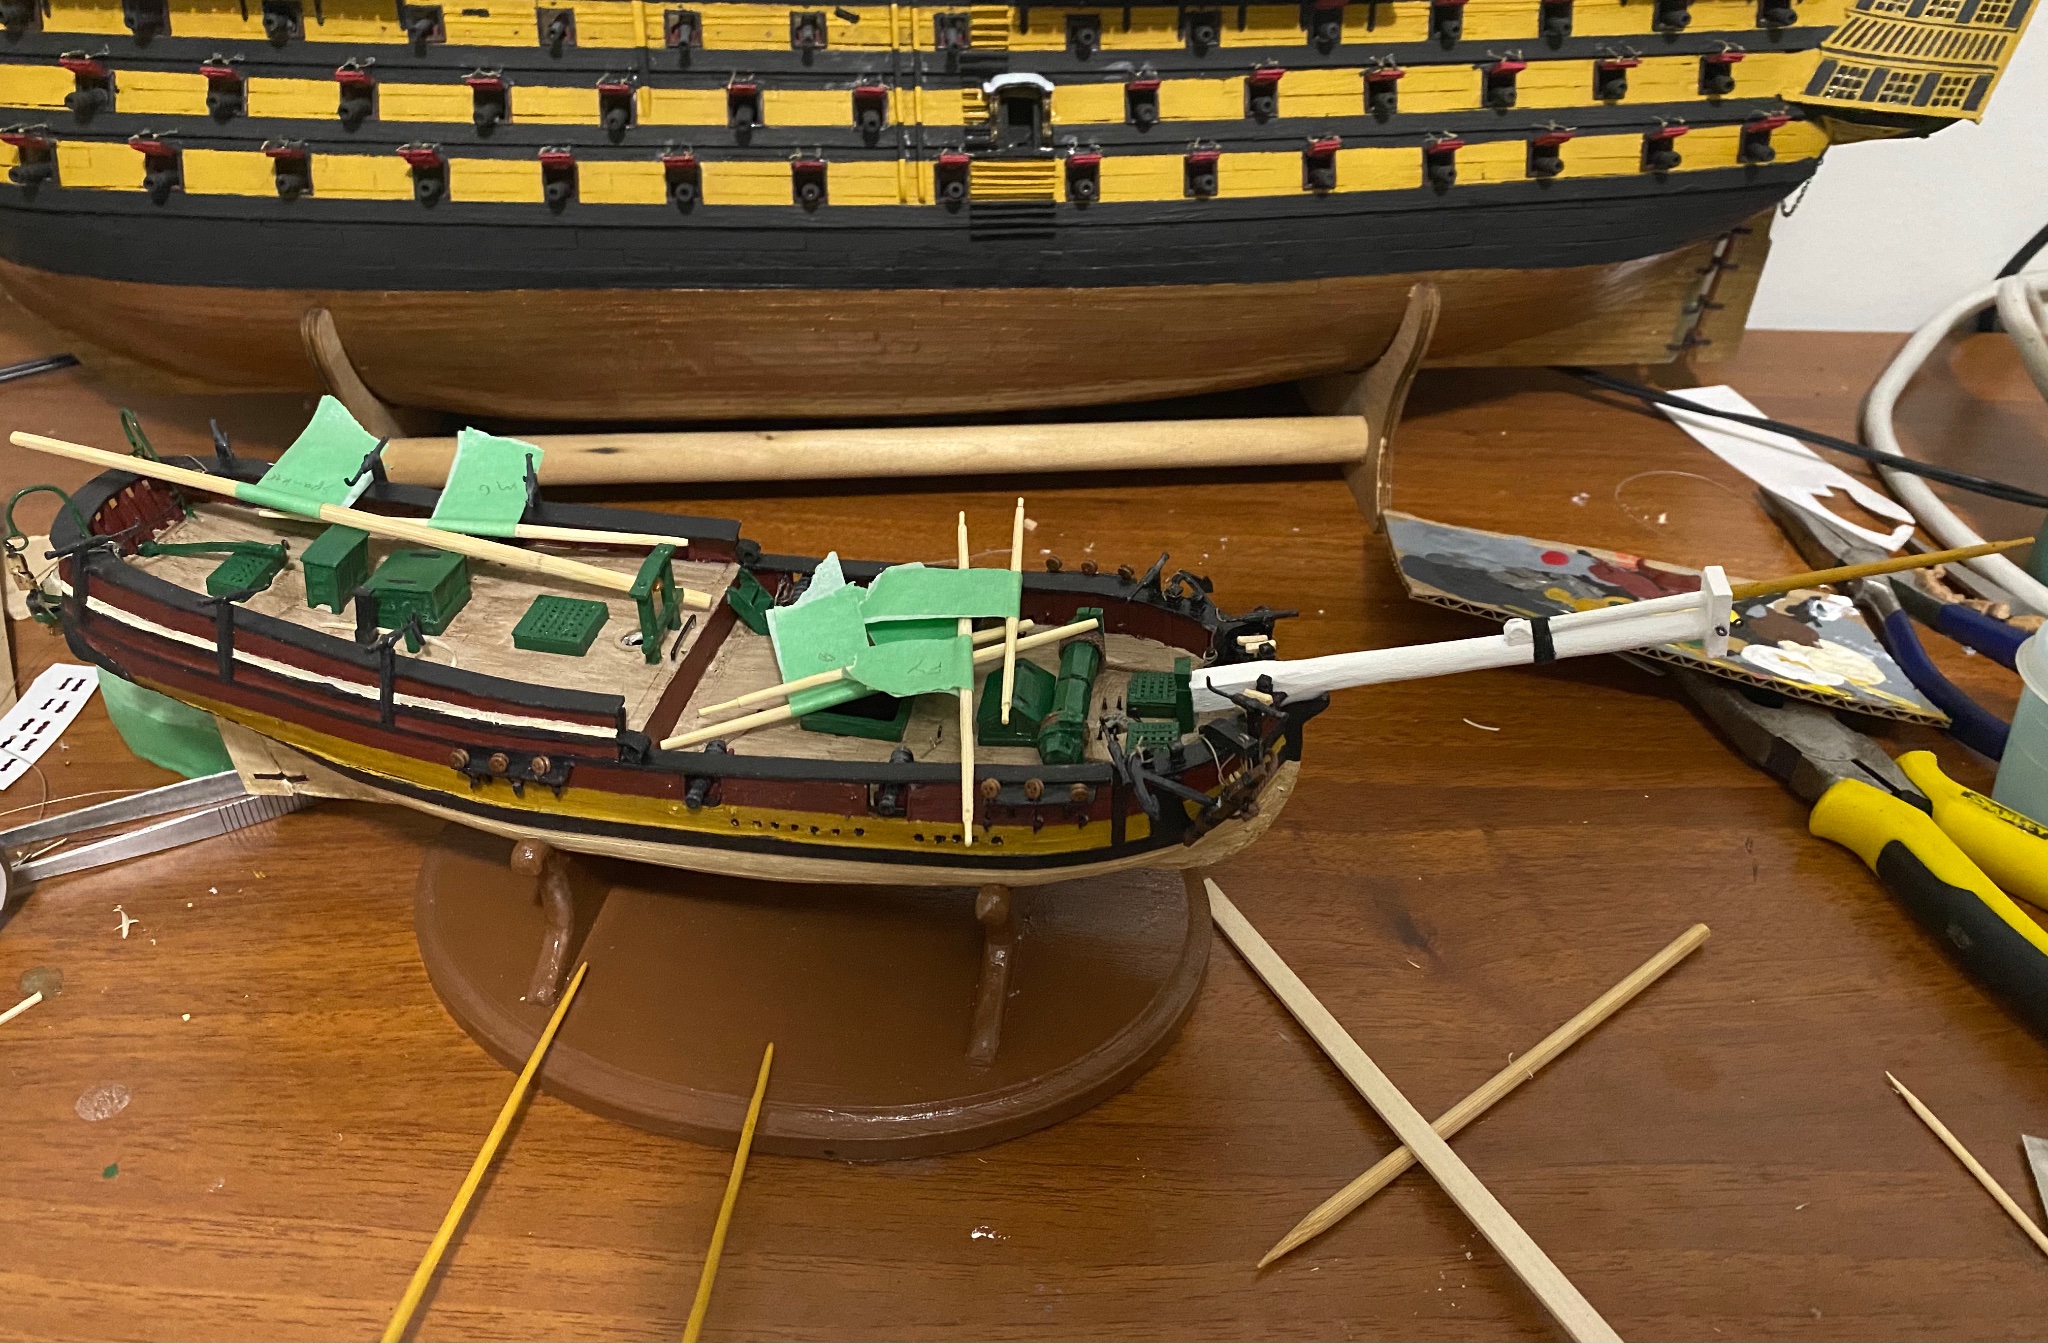
All masts, yards, booms and gaffs are now roughed out: I’ll make the various pieces that attach to them tomorrow, along with the various caps and mast tops.

-
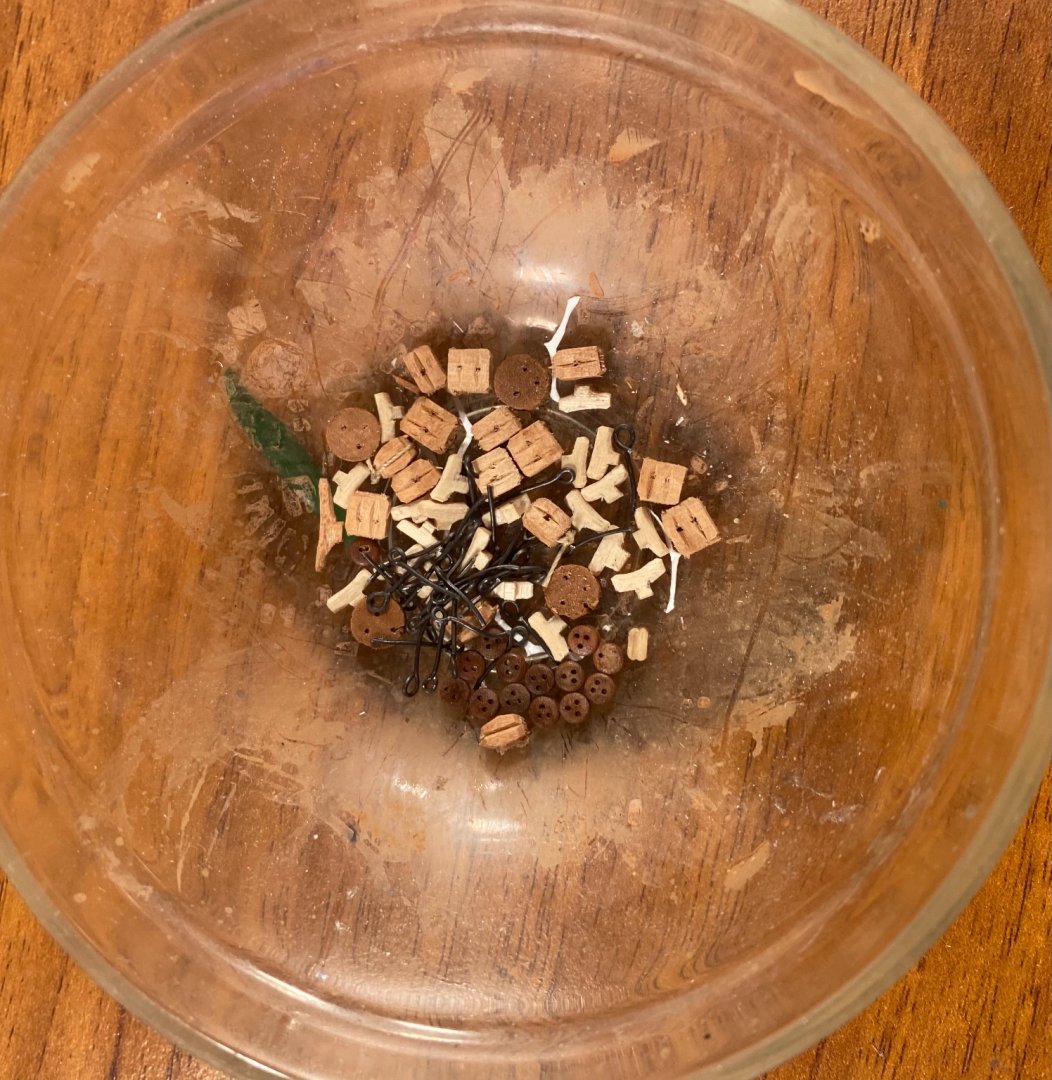
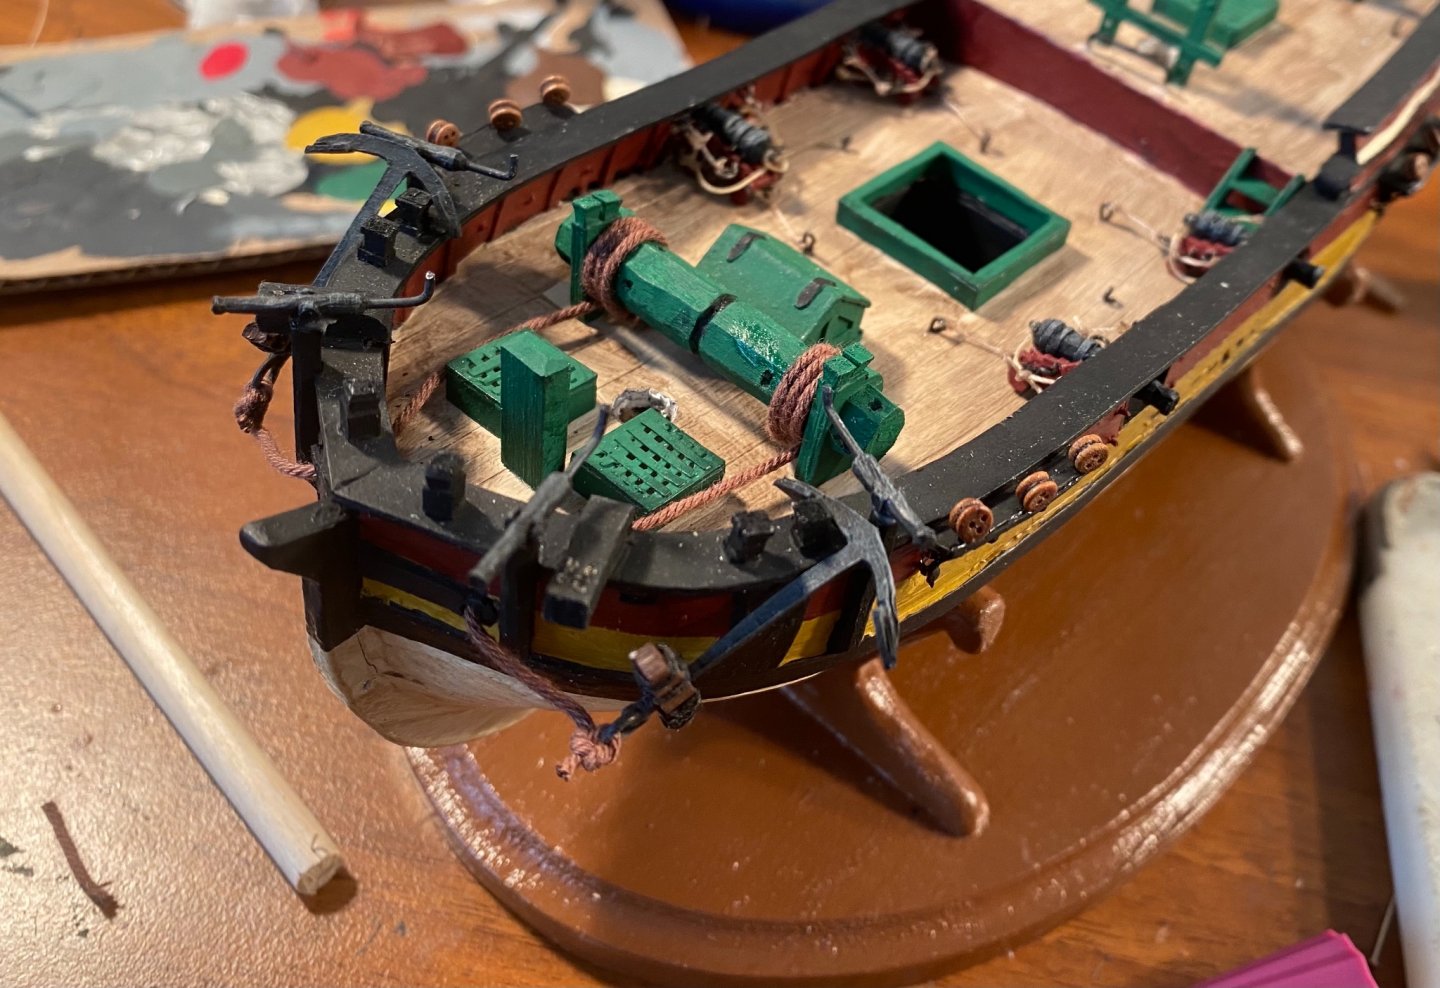
Hannah is ready for masts: To the end of making masts, I made 22 cleats for the masts, booms, and gaffs. I may need more. I also made a bunch of eyebolts.


-
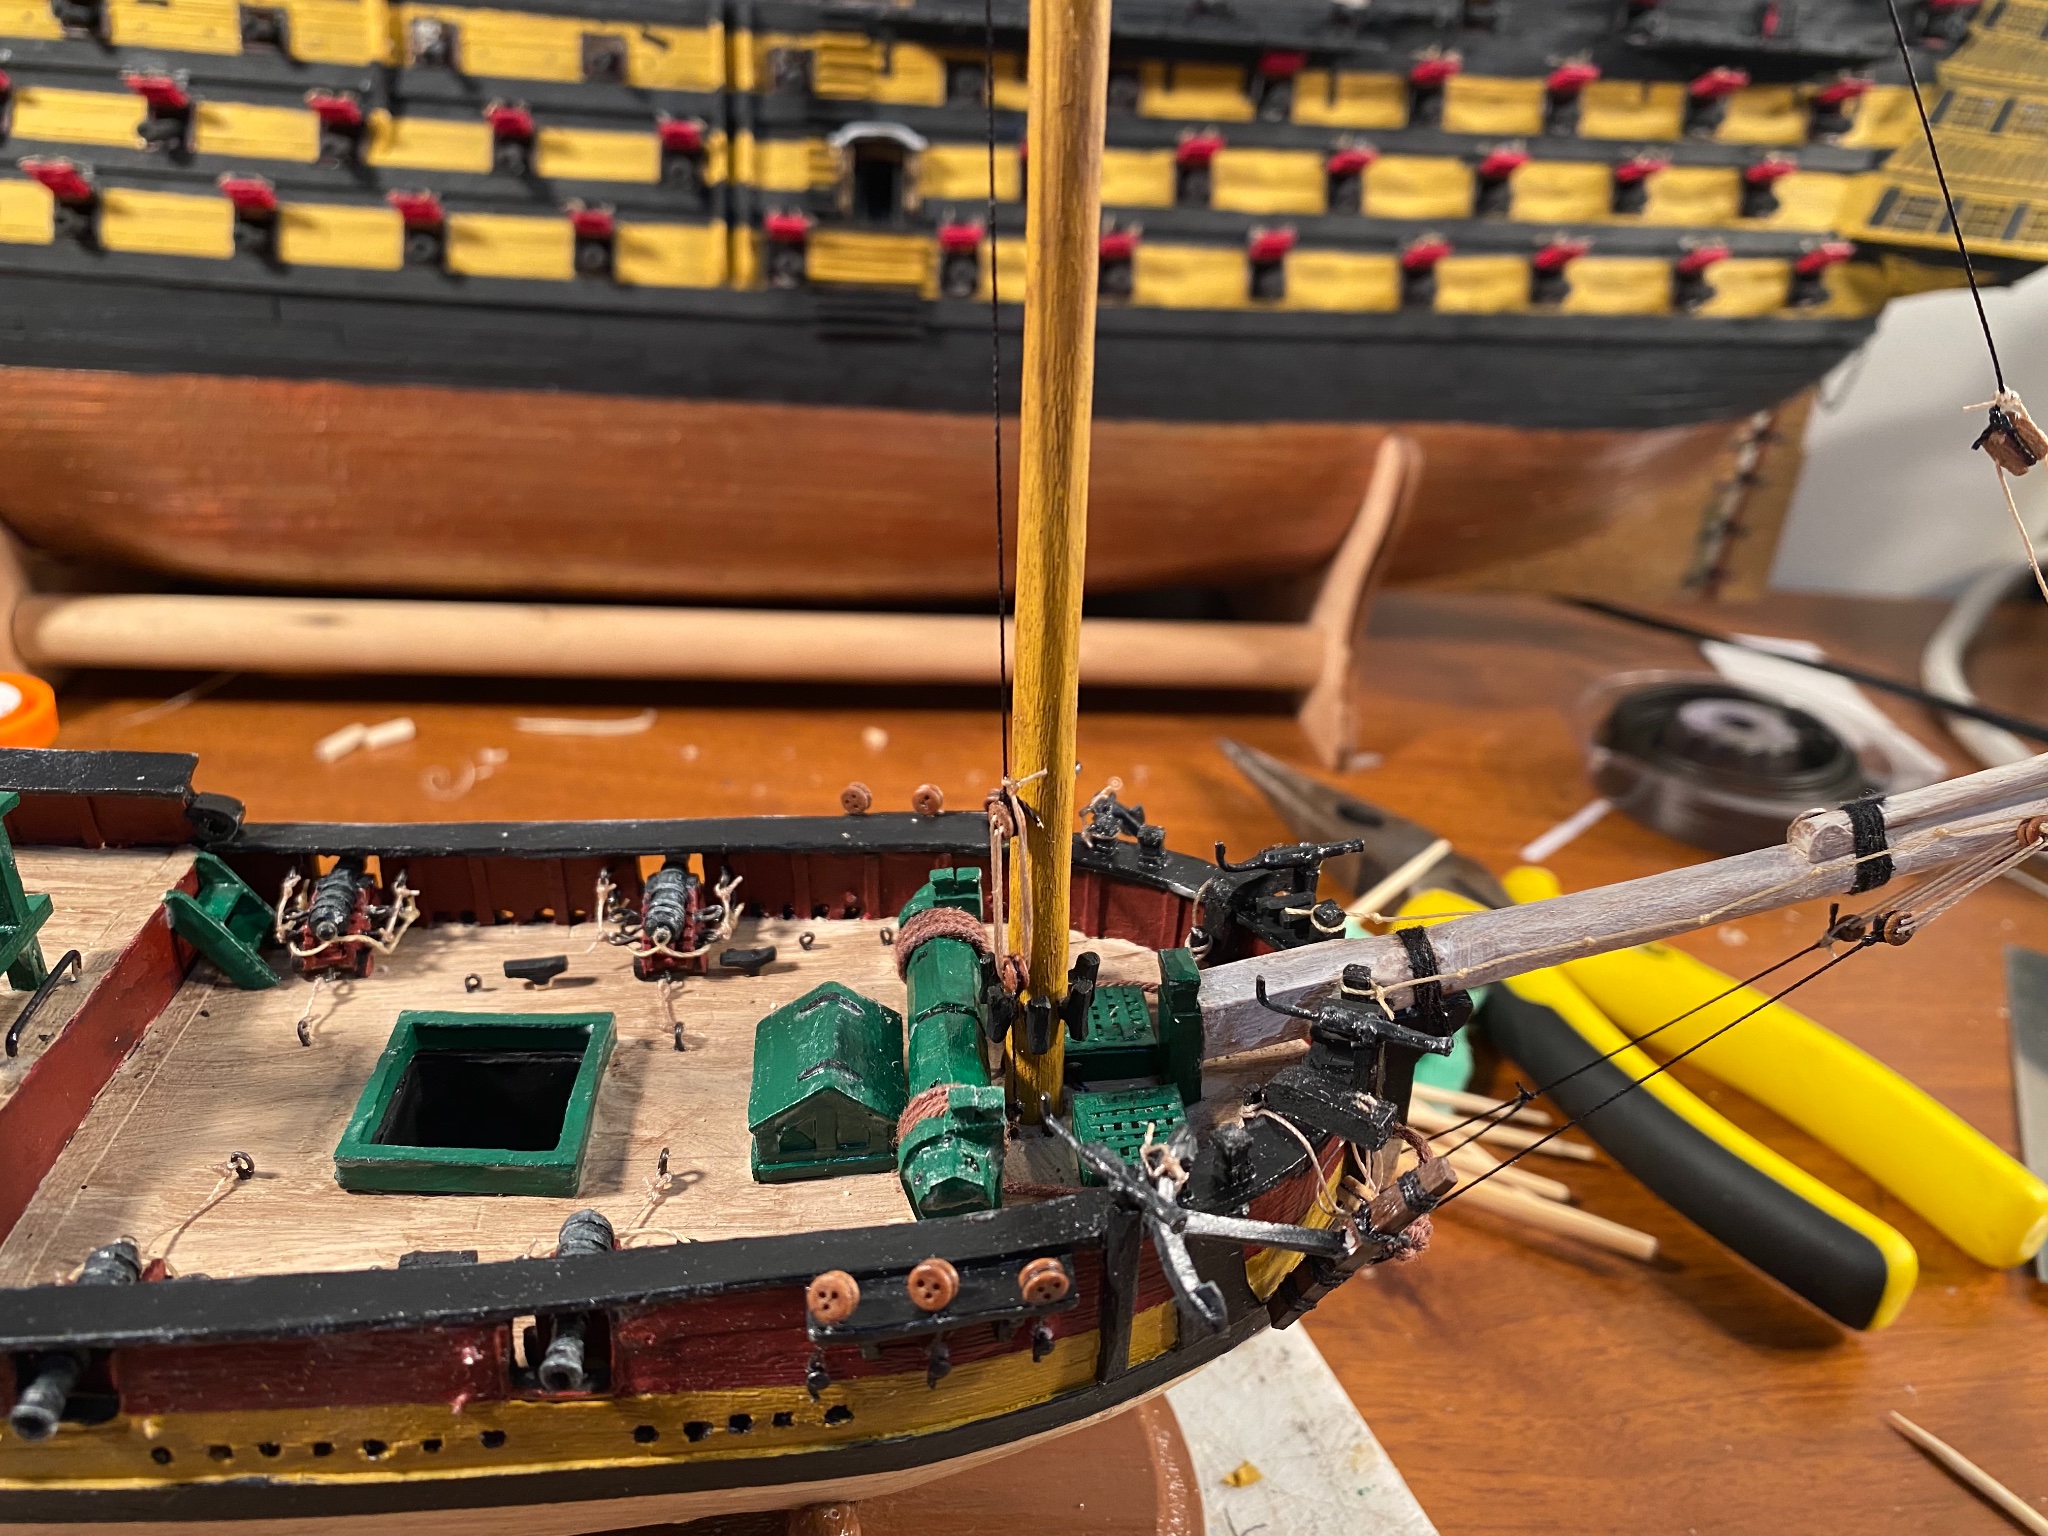
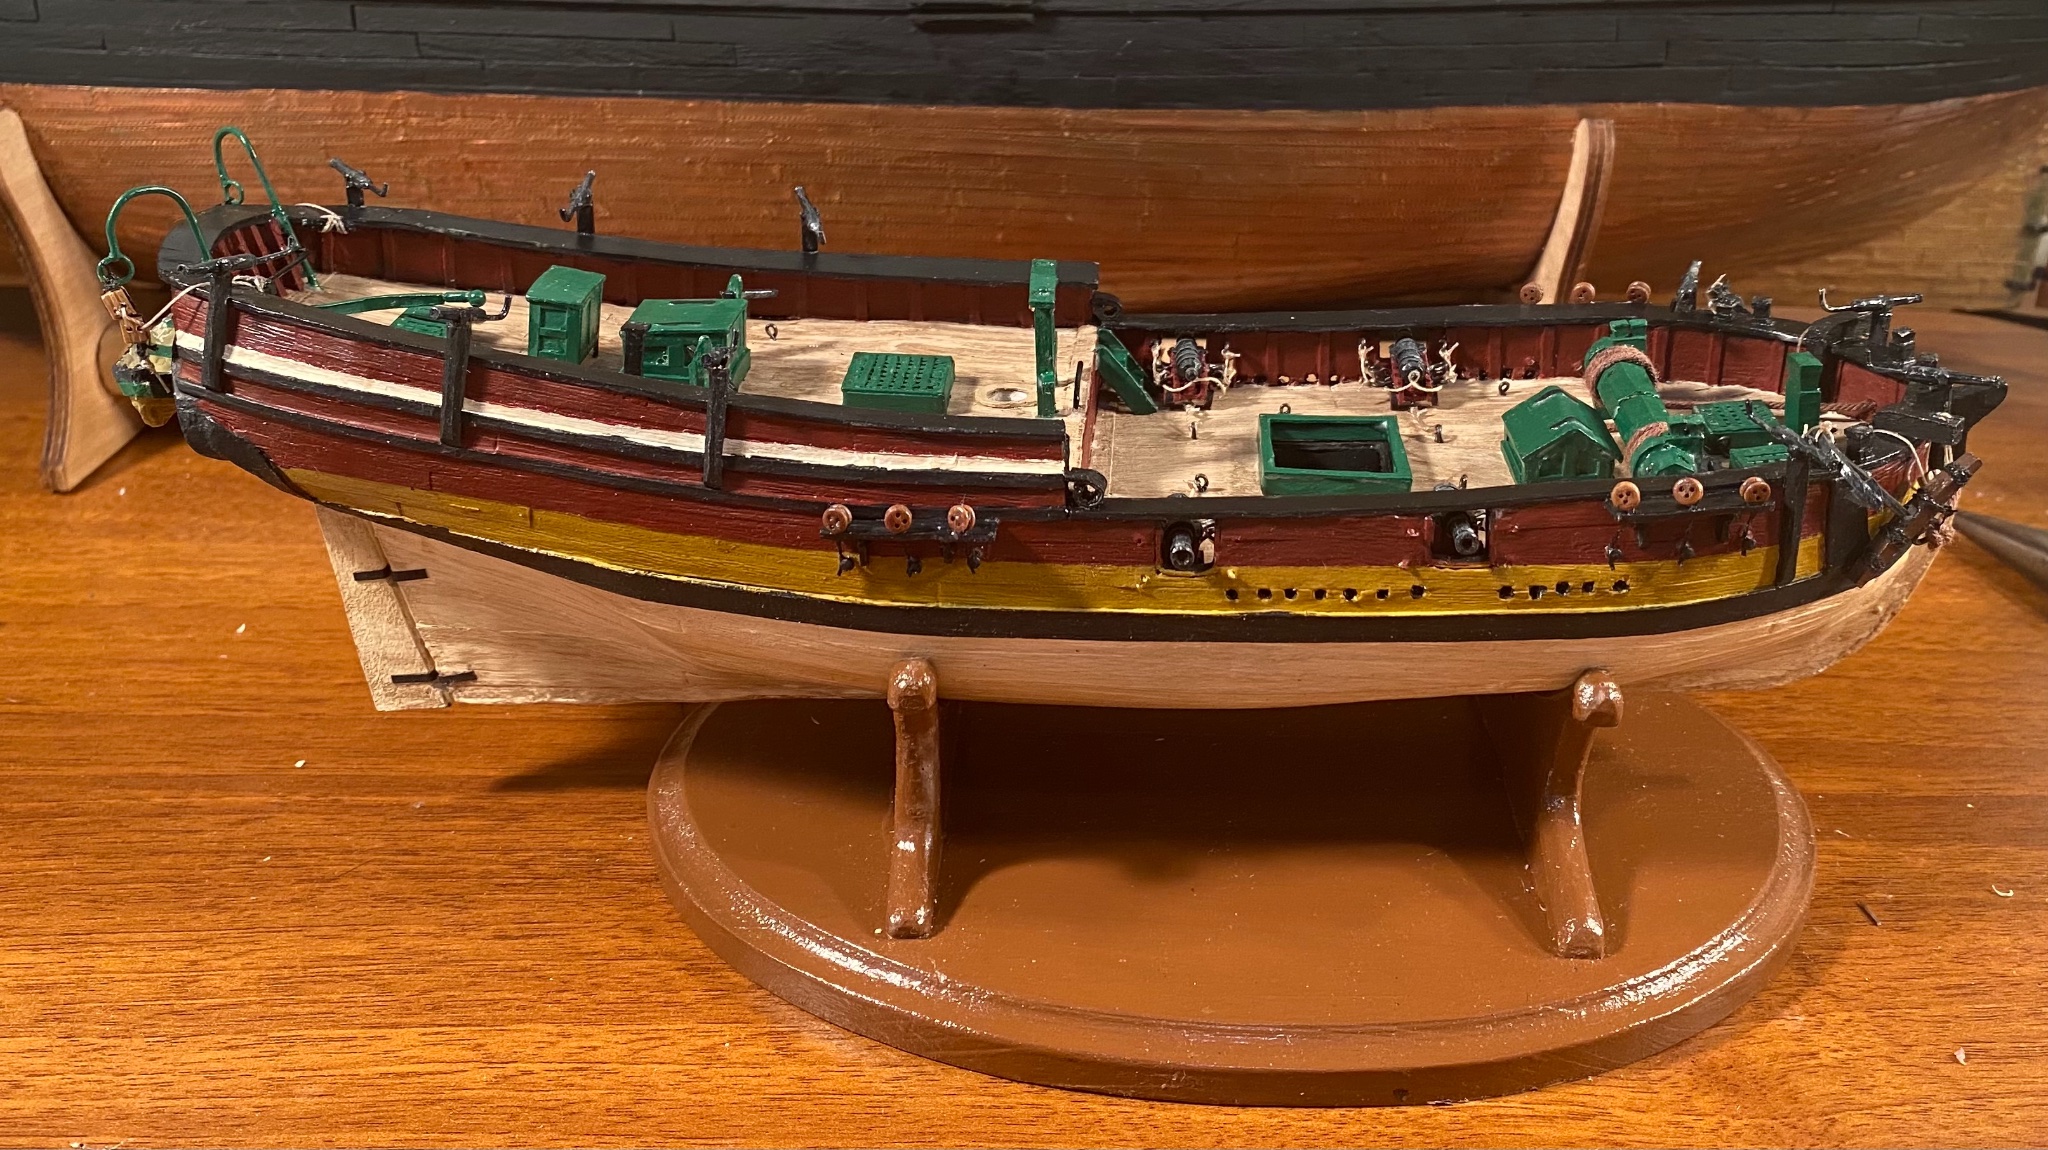
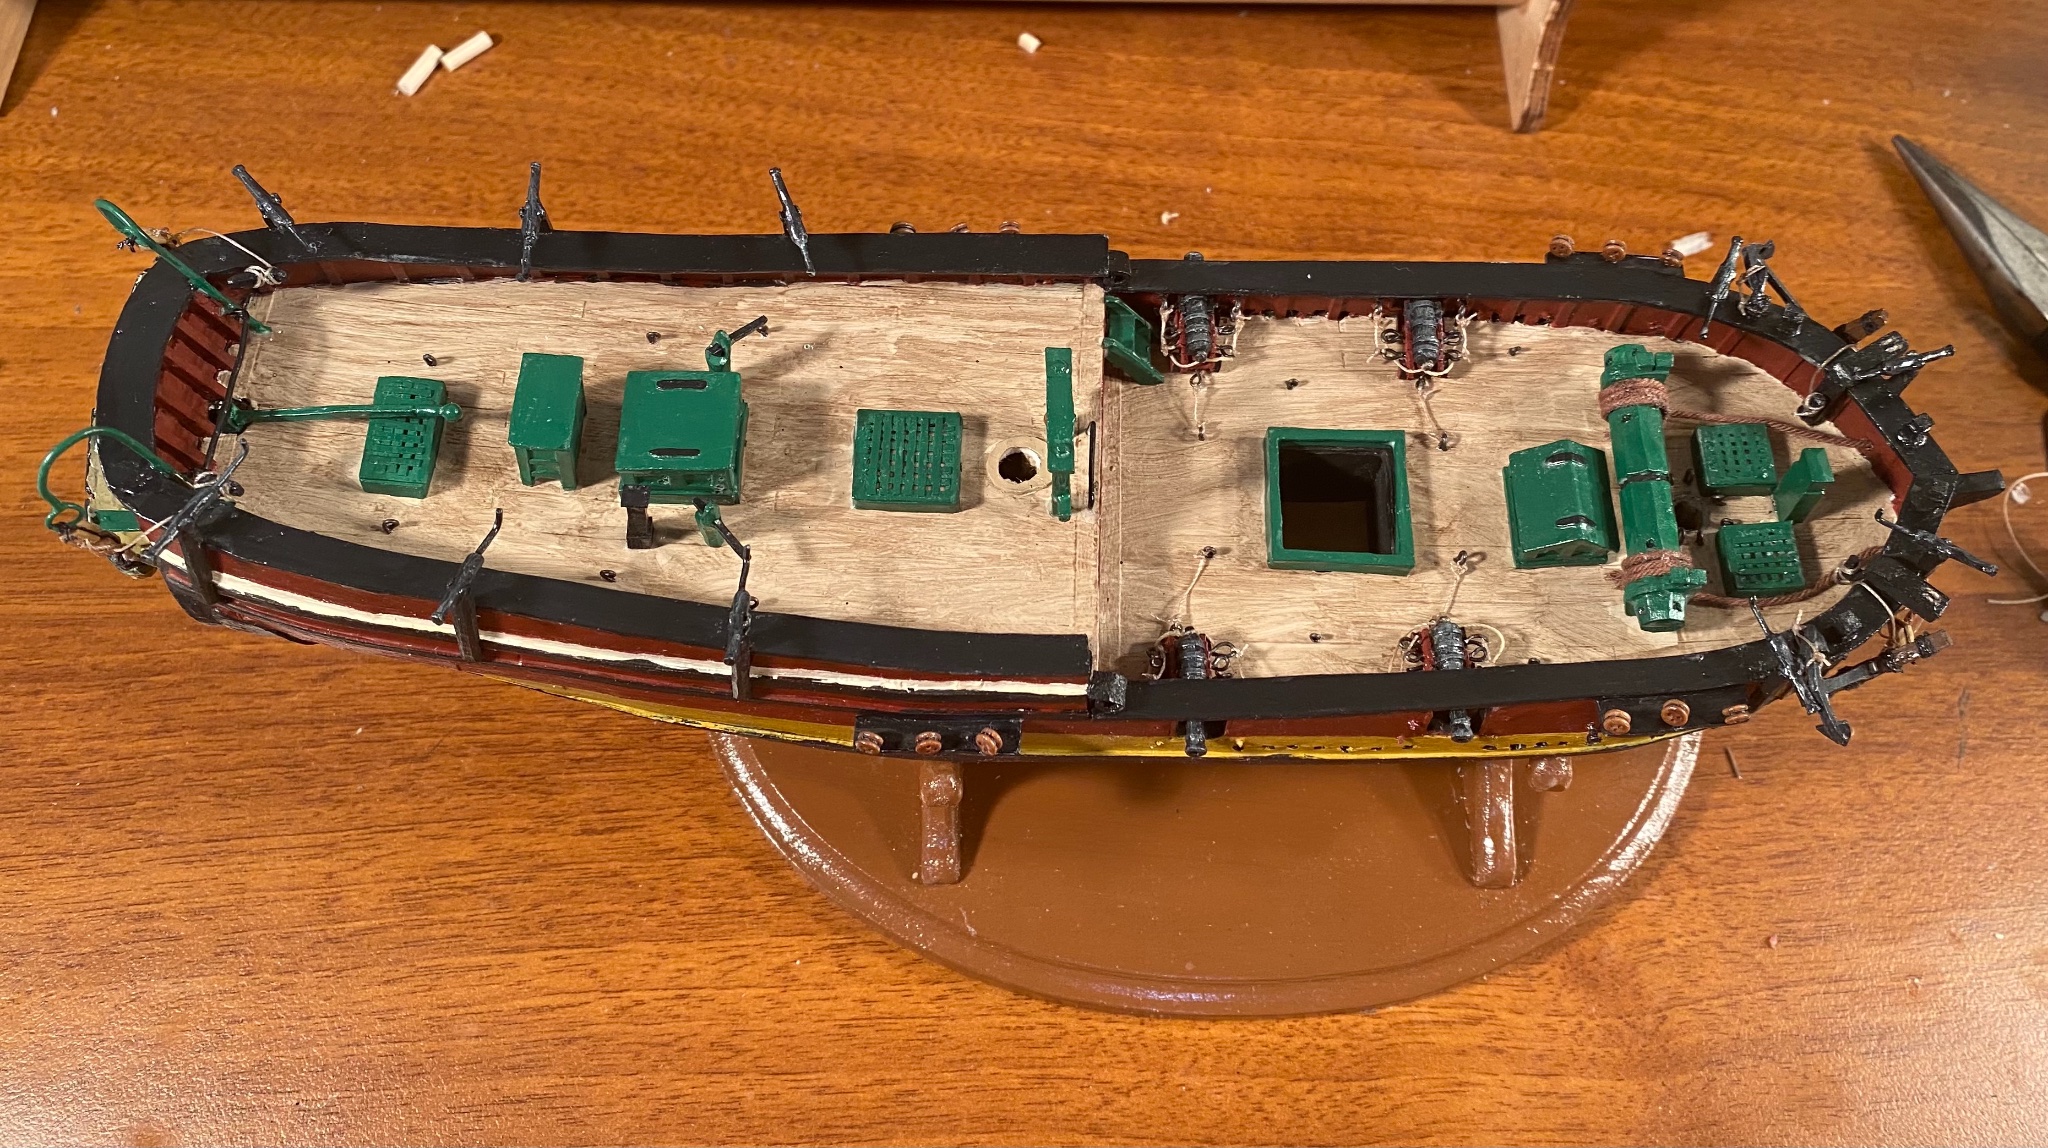
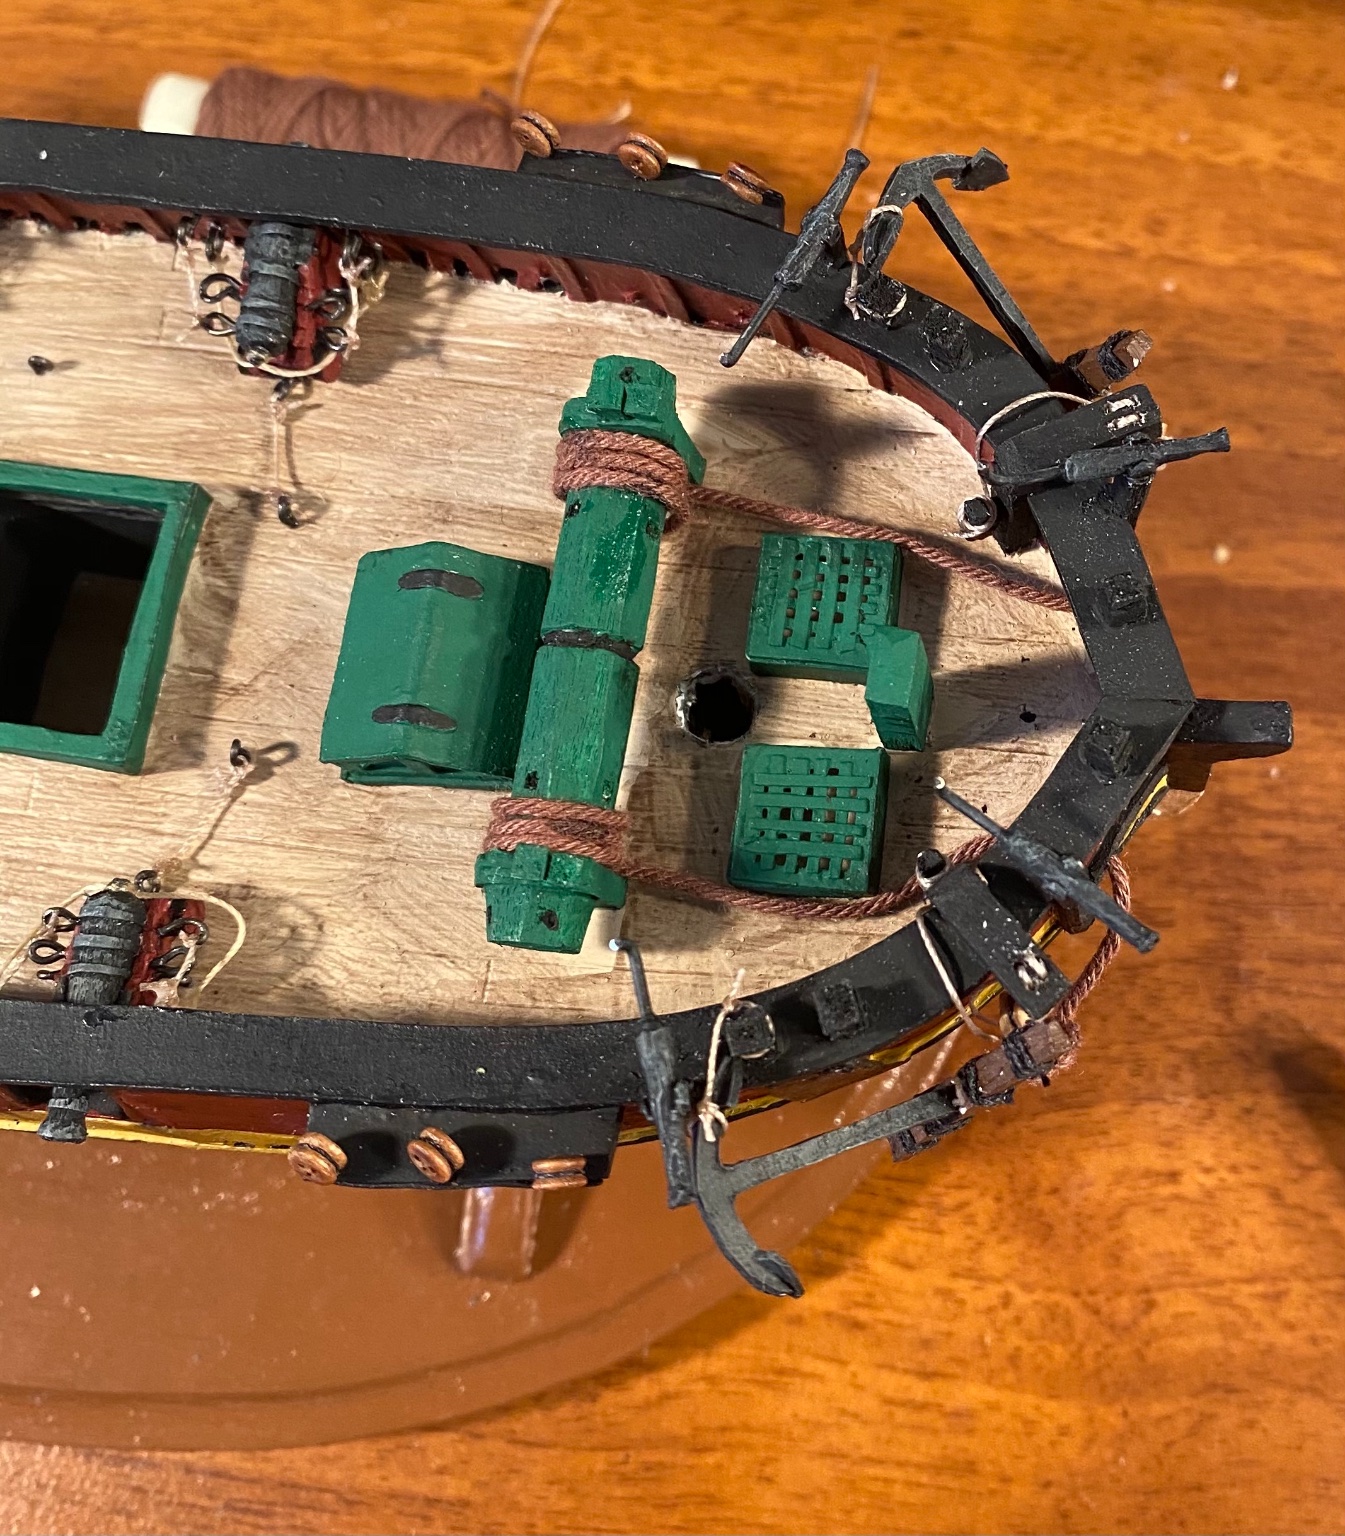
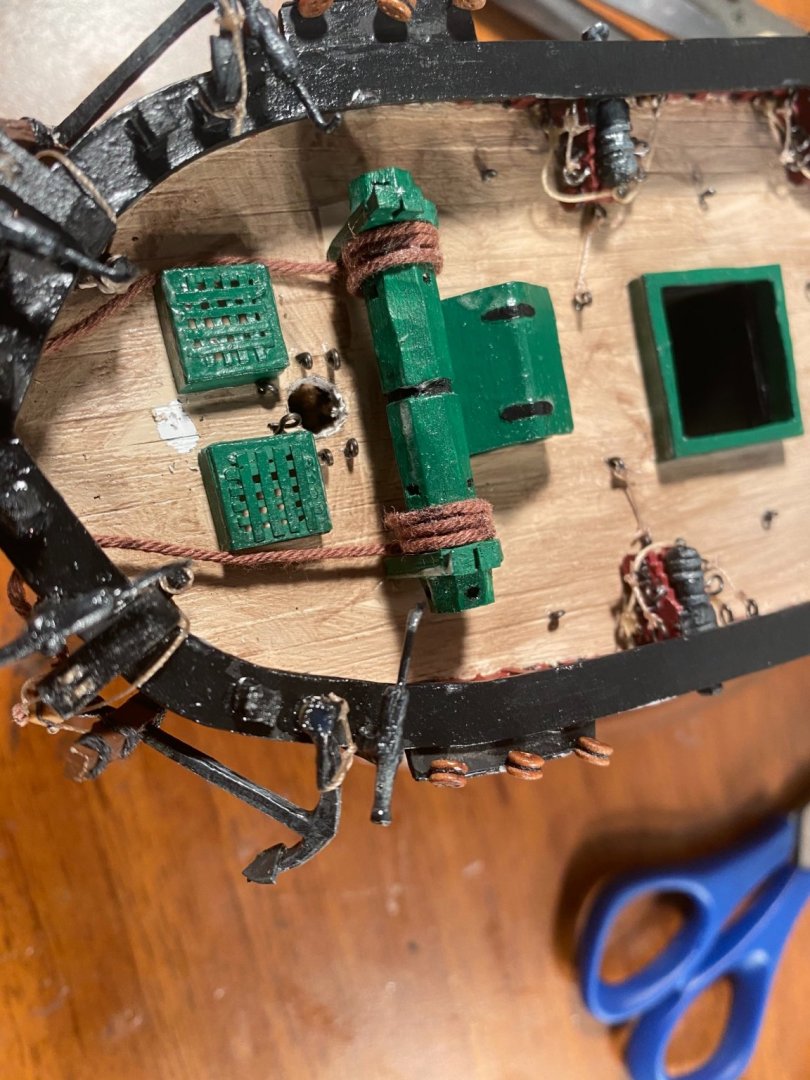
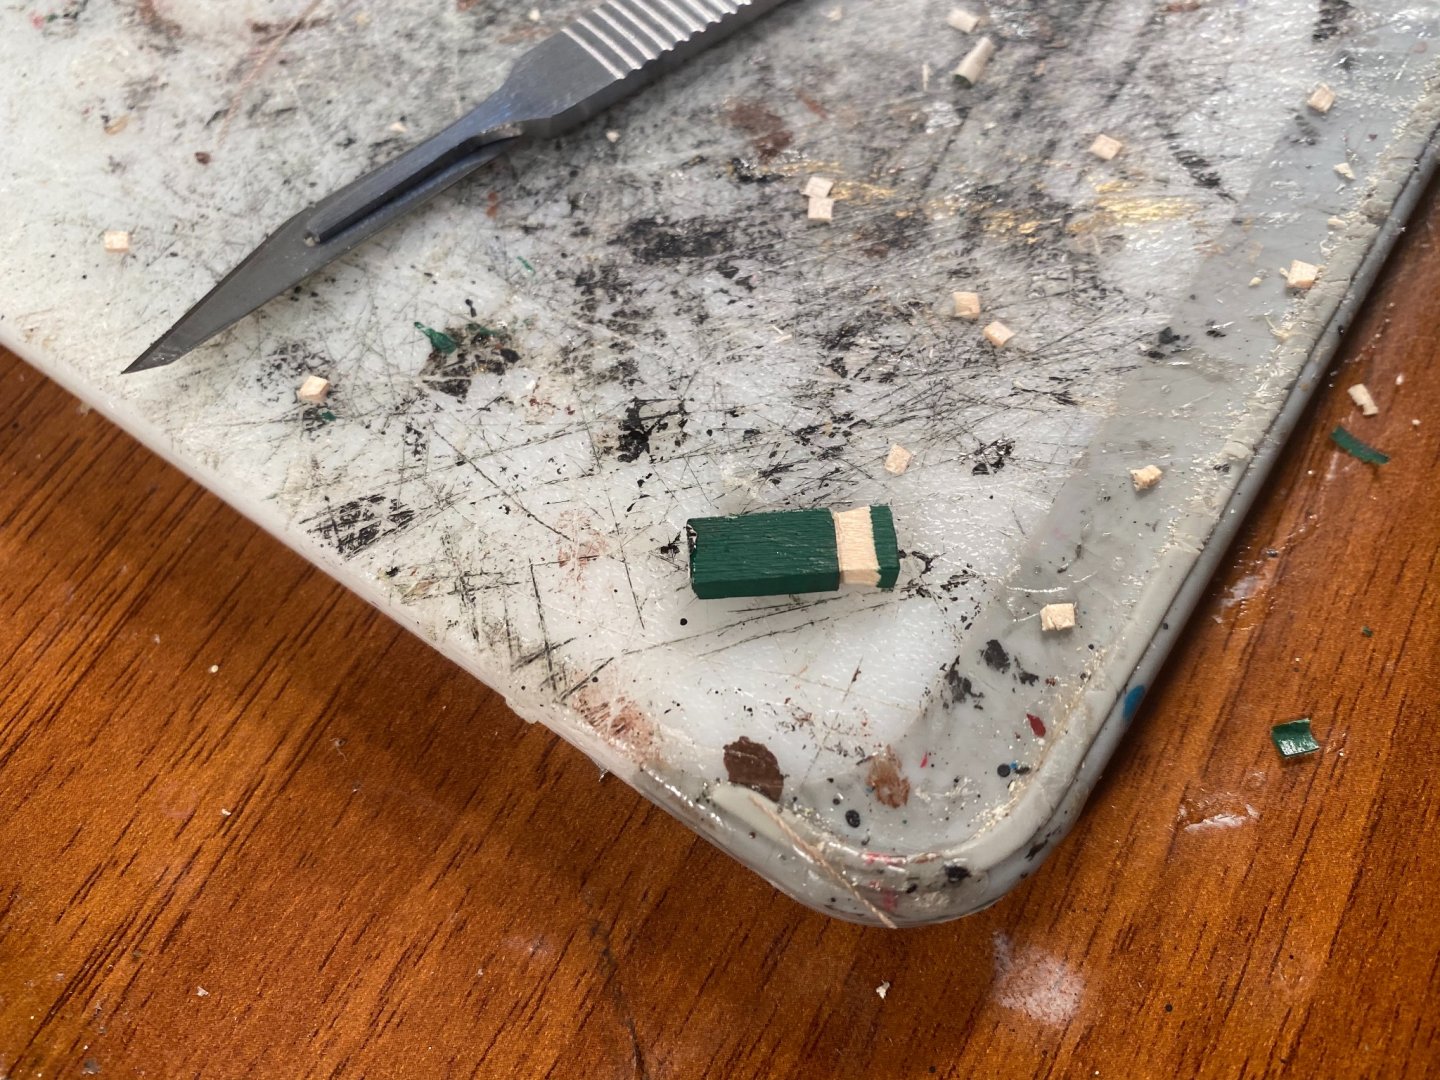
Thank you for all the likes and for stopping by. I need to start off by saying that this forum is great inspiration to me. Whenever I get stuck or don’t want to make something correctly, looking at what some of you are building puts me right back on track. Tonight, I had another case of this. The bitt that the bowspirt sits against on the front of Hannah is represented as a rectangular block on the plan. In pictures in the rest of the book, of the model in the Navy Museum, you can see that is shaped like a normal bitt. Tonight I tore it off the model and fixed it. Once I repaint it, I will reinstall it and finish sealing Hannah. At that point, she will be ready for masts. I have the main mast and main top mast already carved out. I have the foremast cut to length, I just need to carve it to shape. I have been making cleats, too. I also need to make some shroud cleats. All of these are being made from craft sticks (popsicle sticks).
-
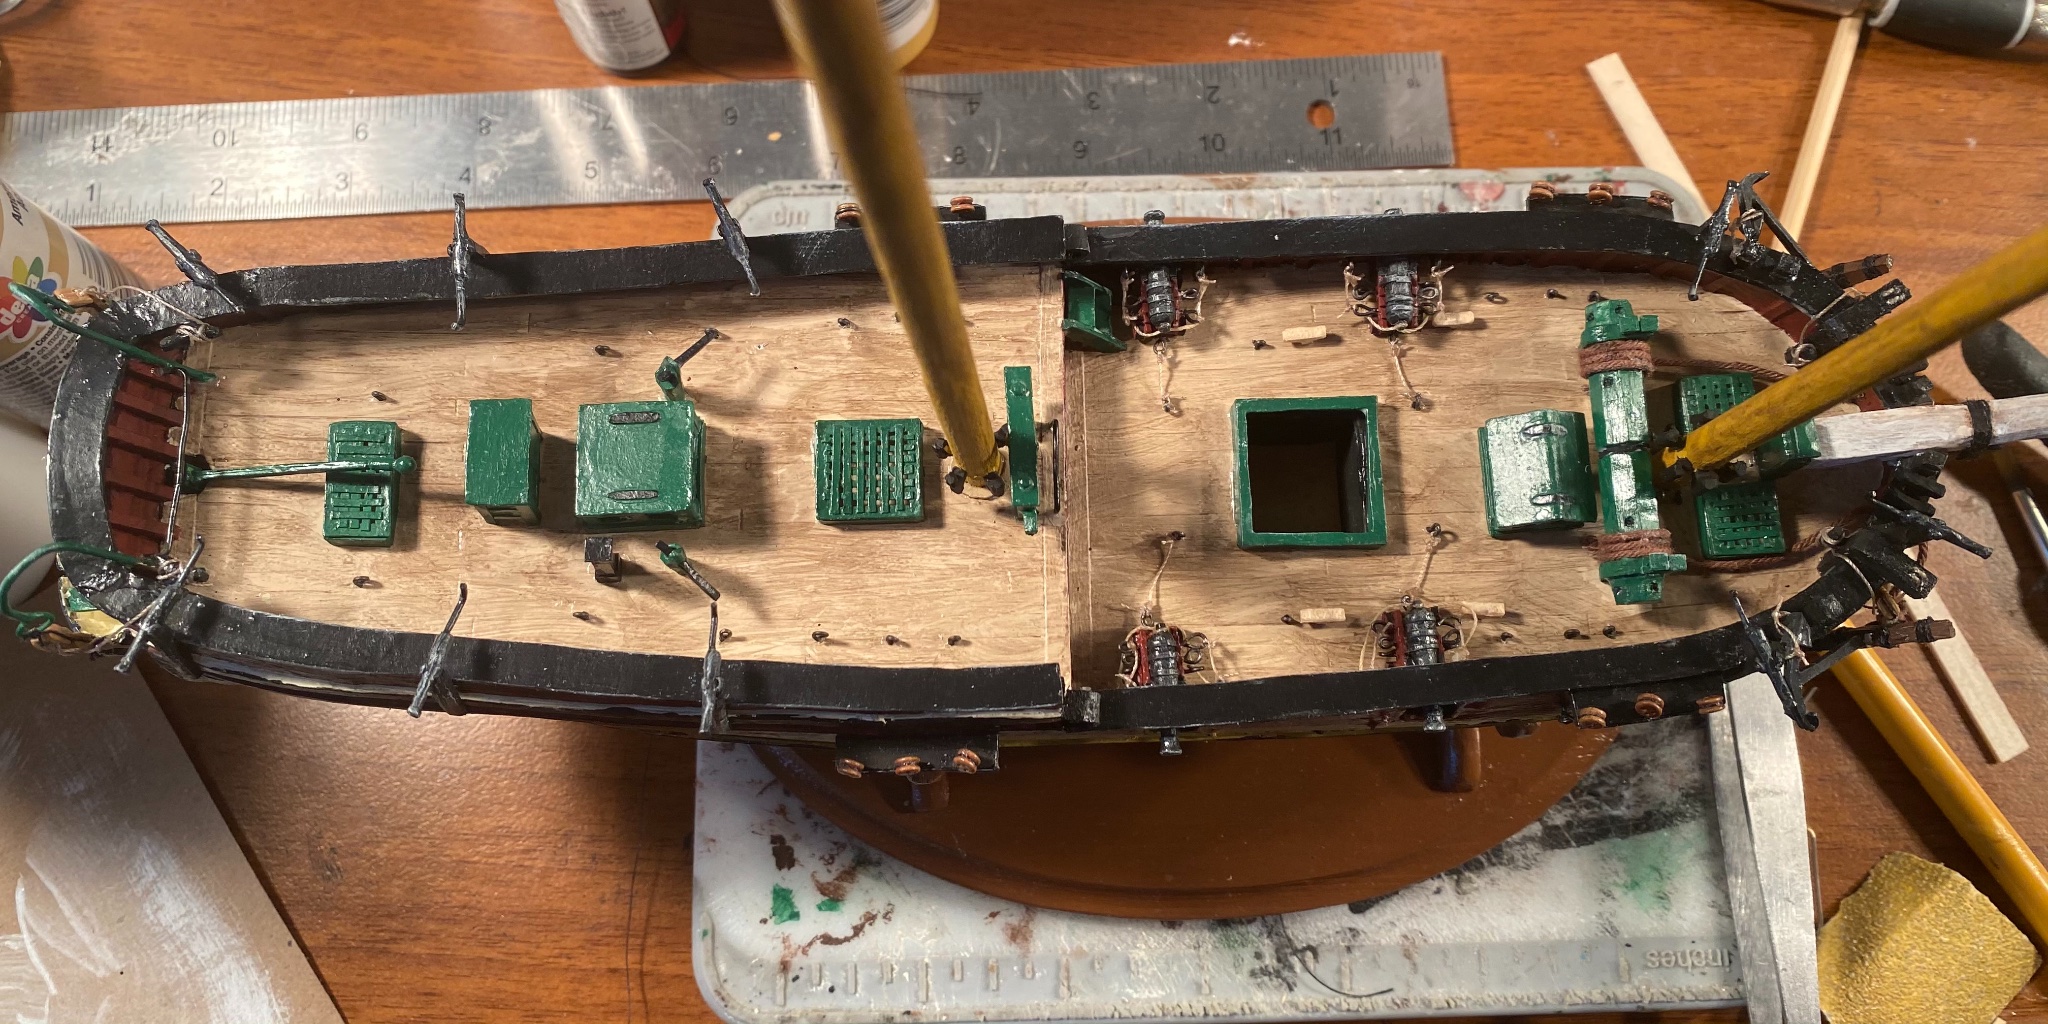
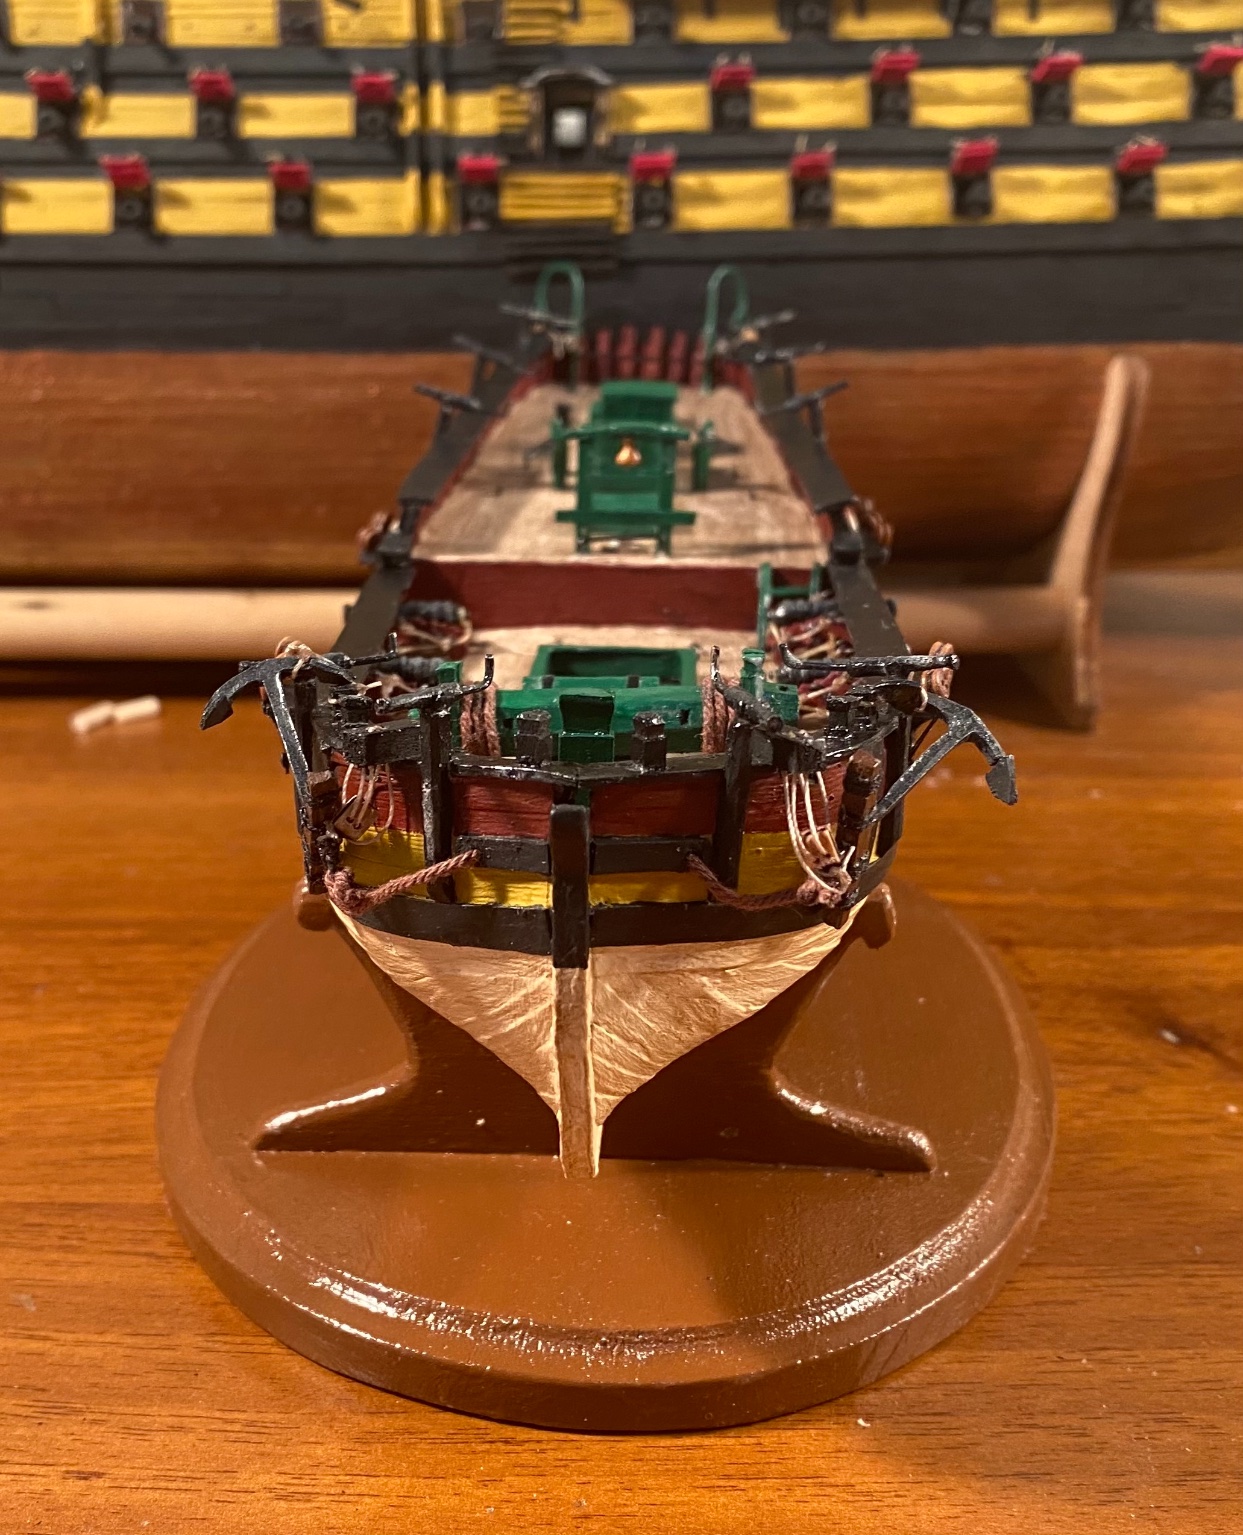
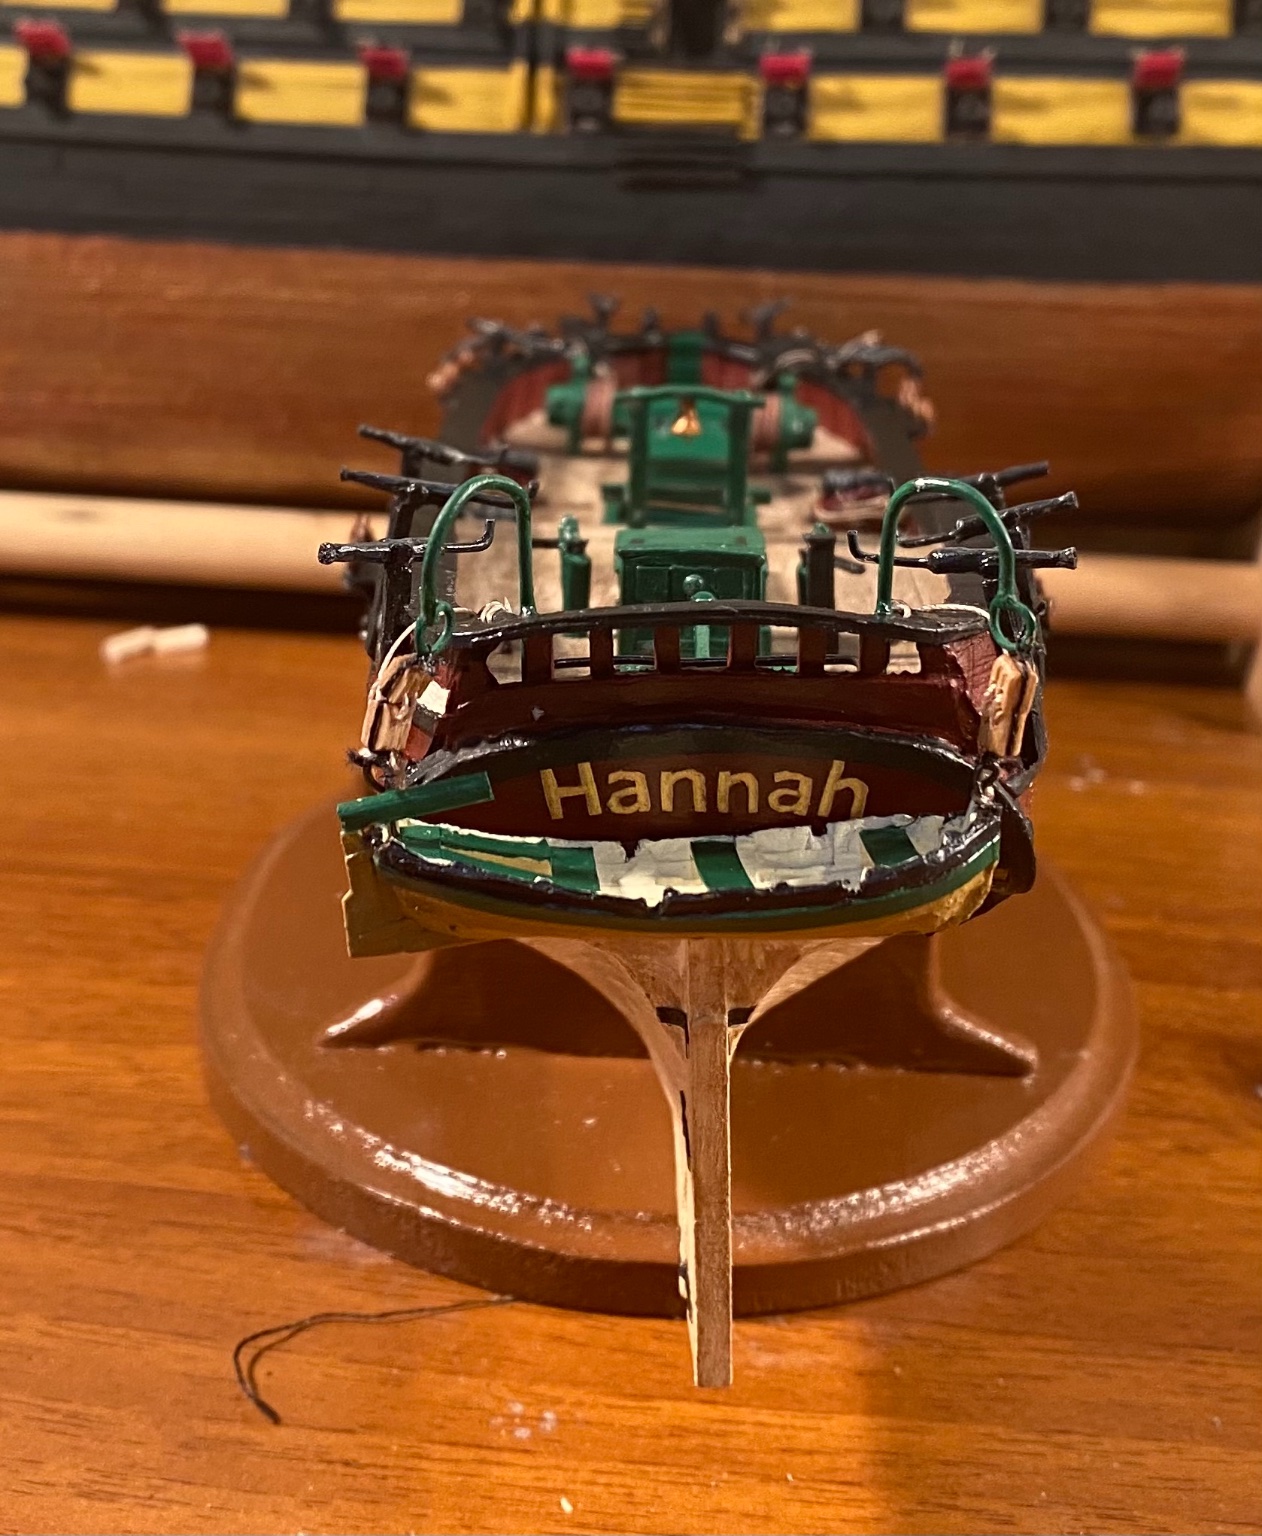
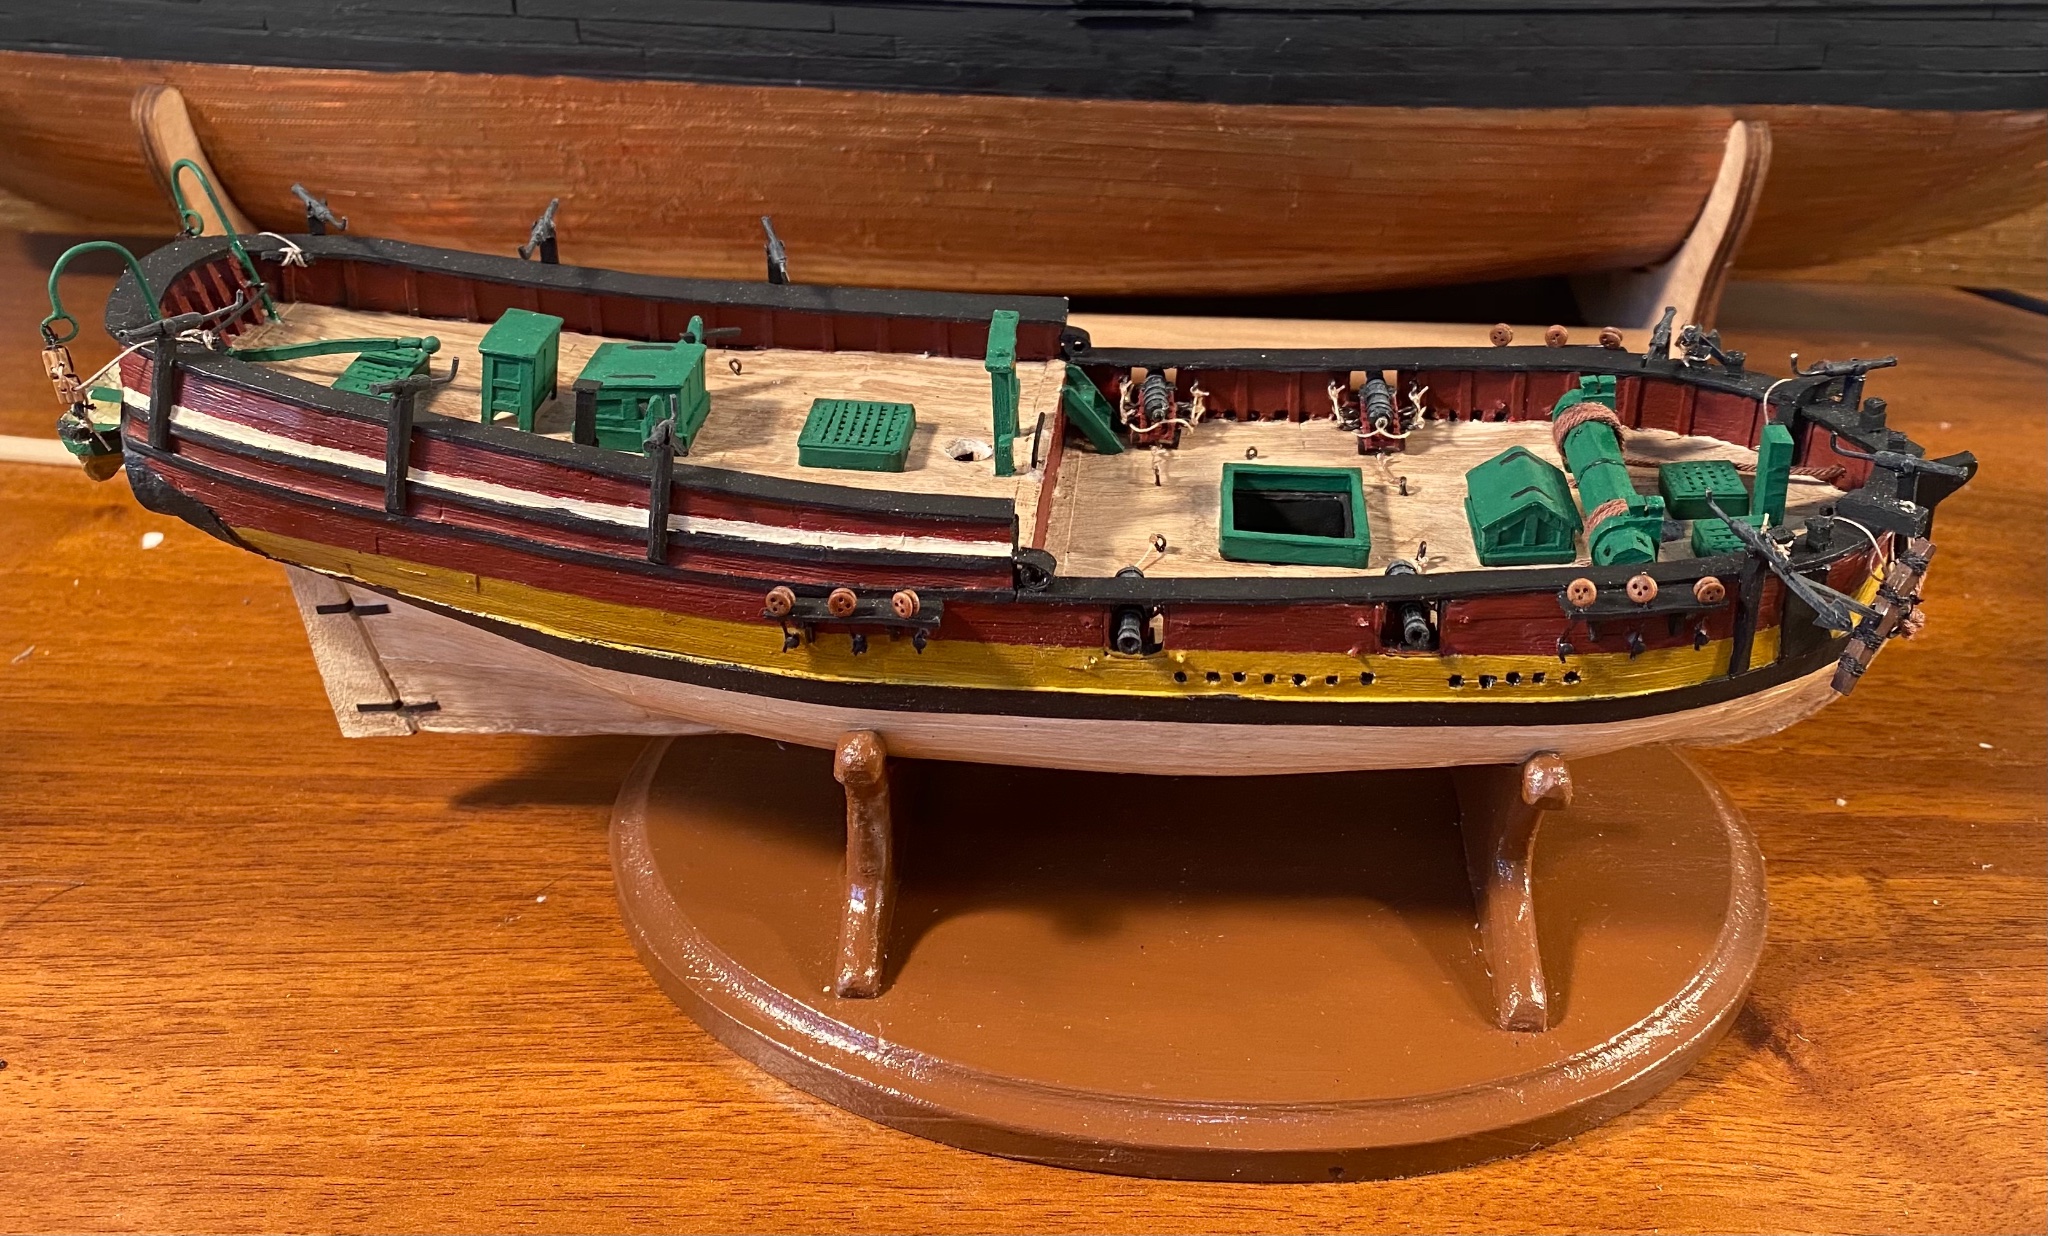
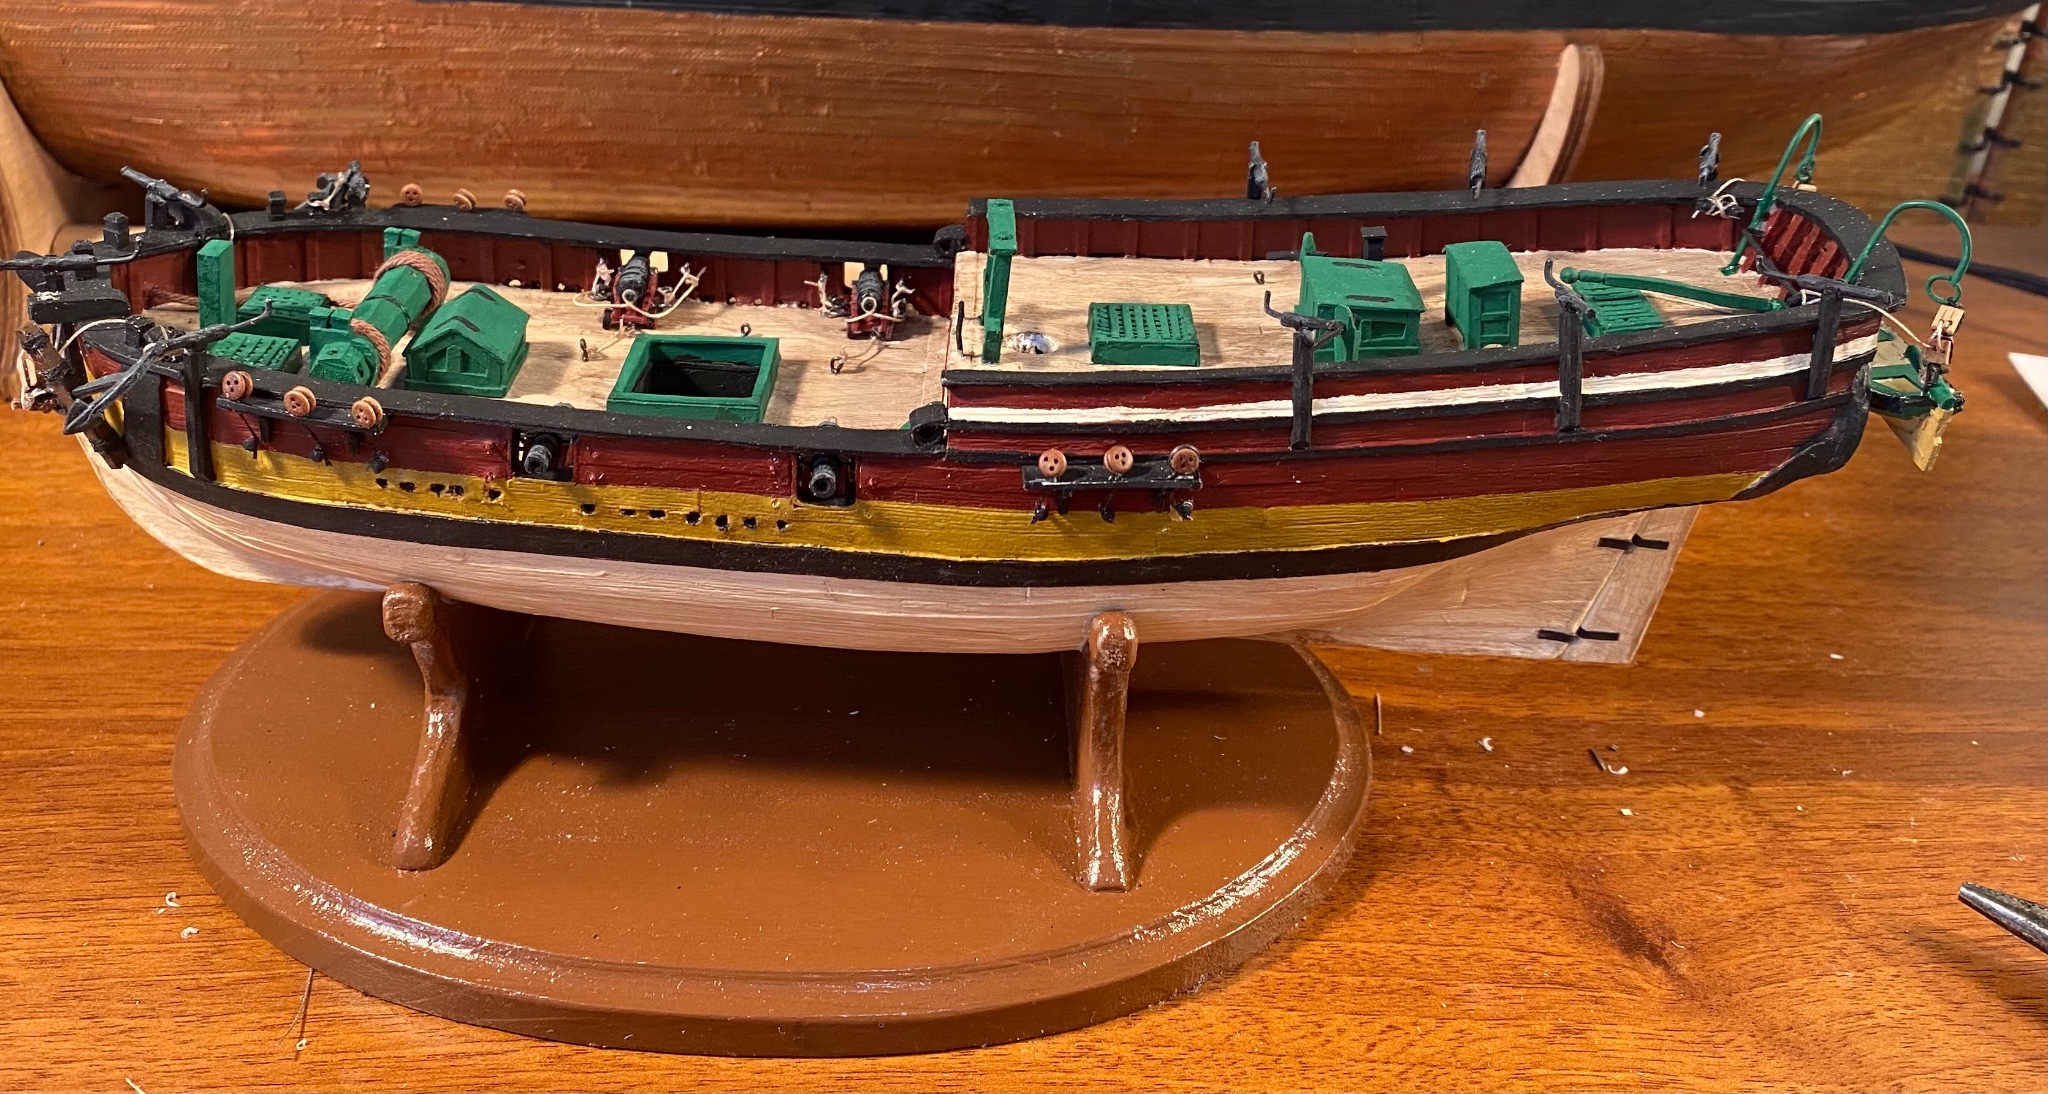
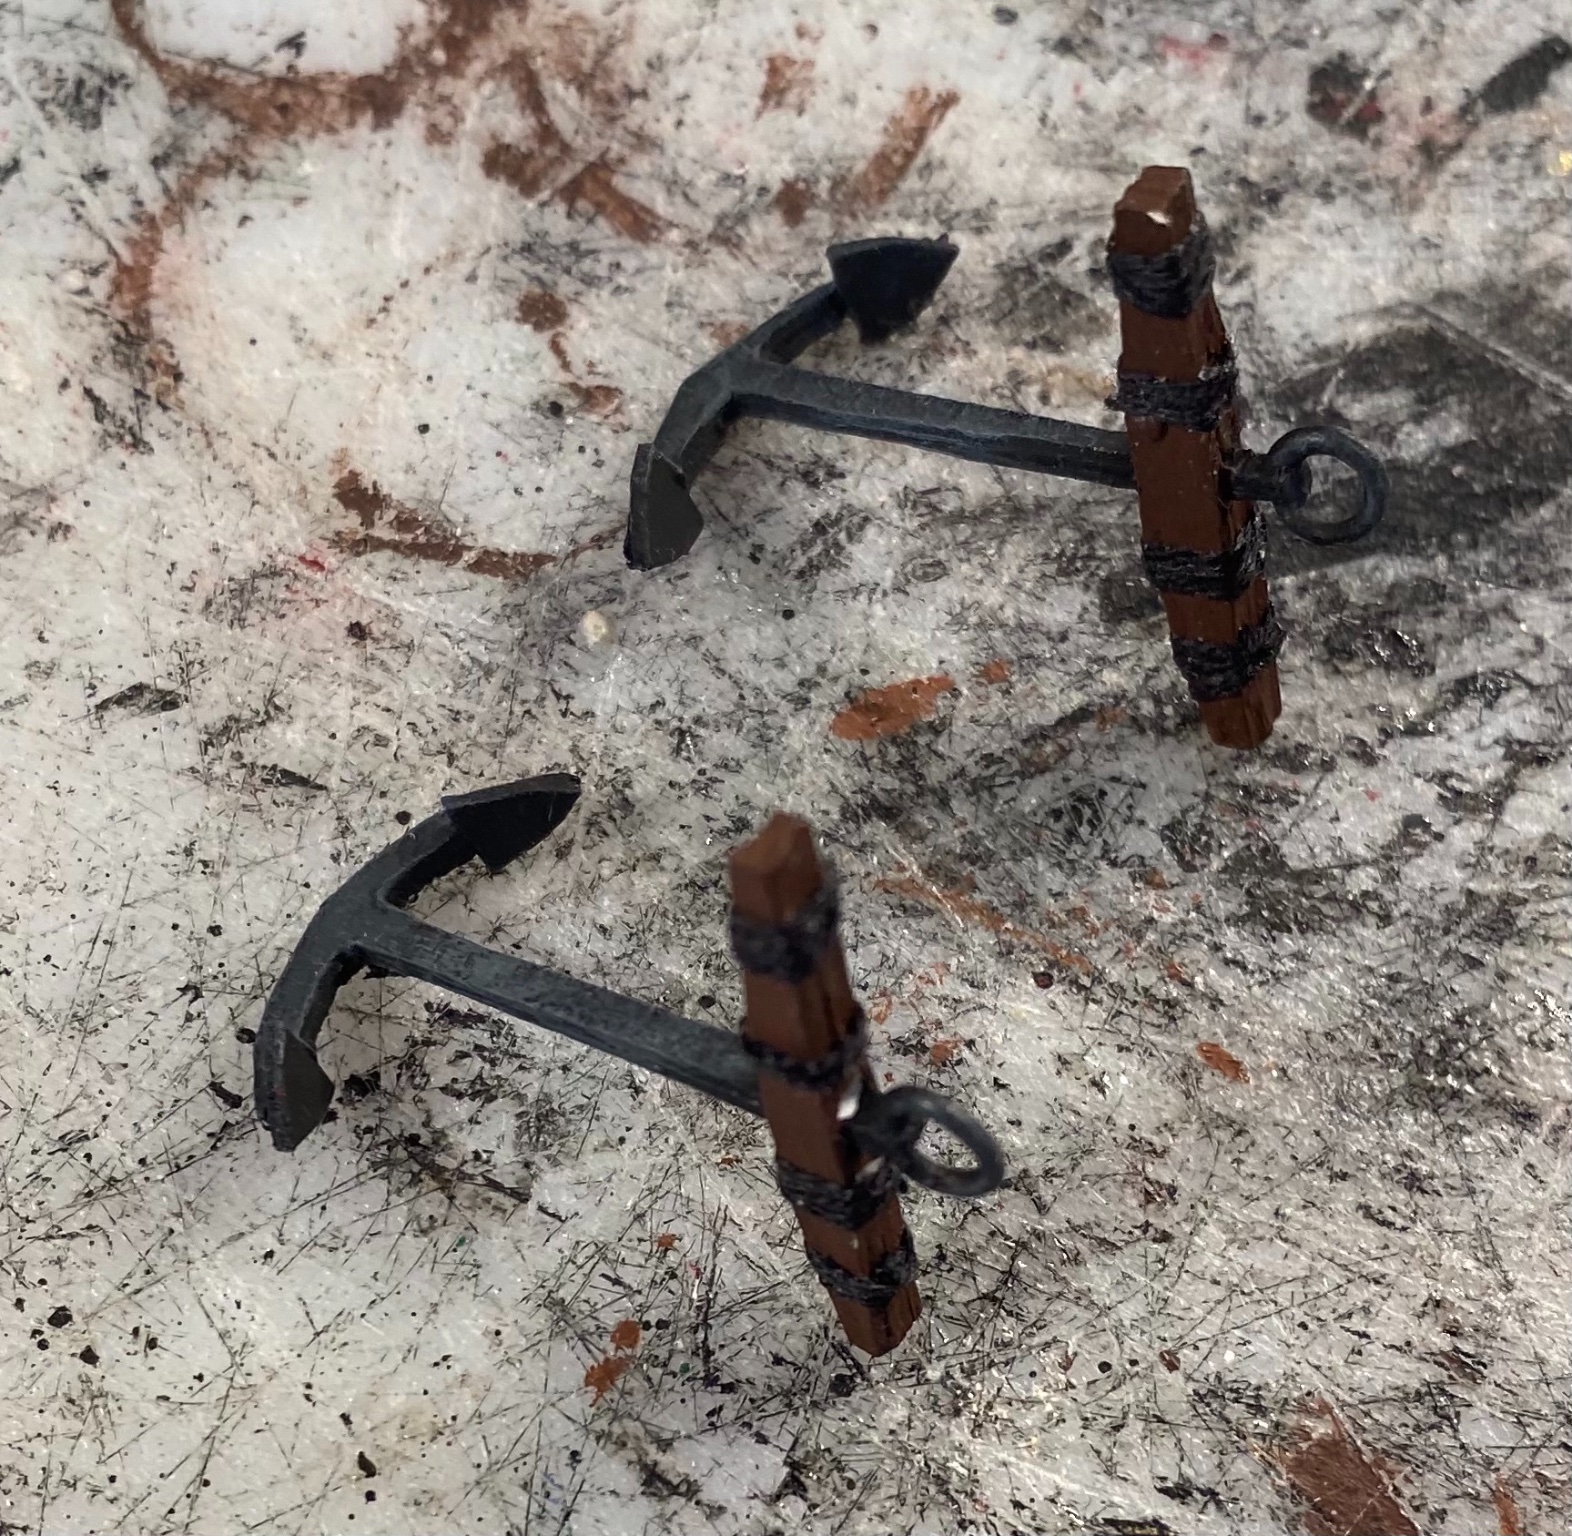
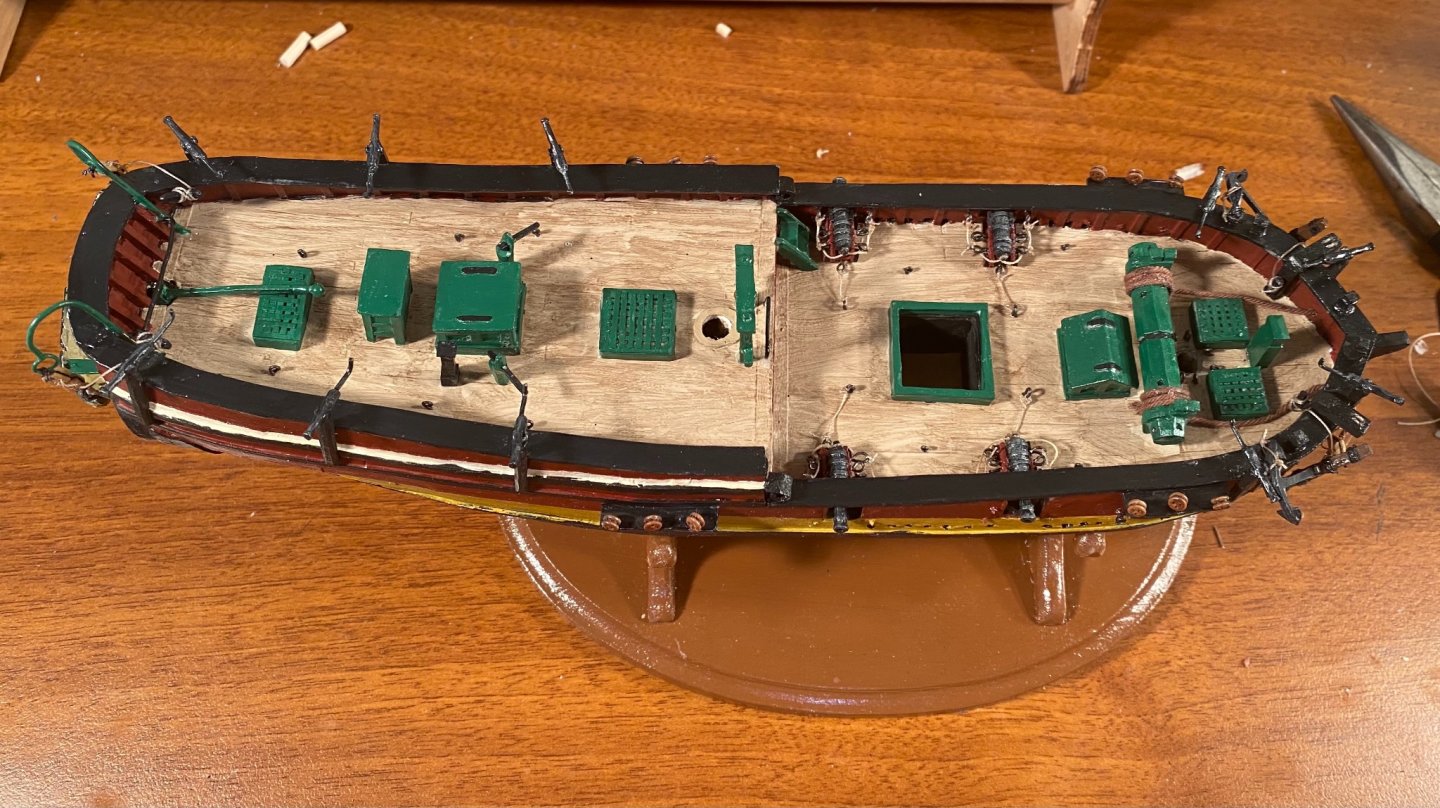
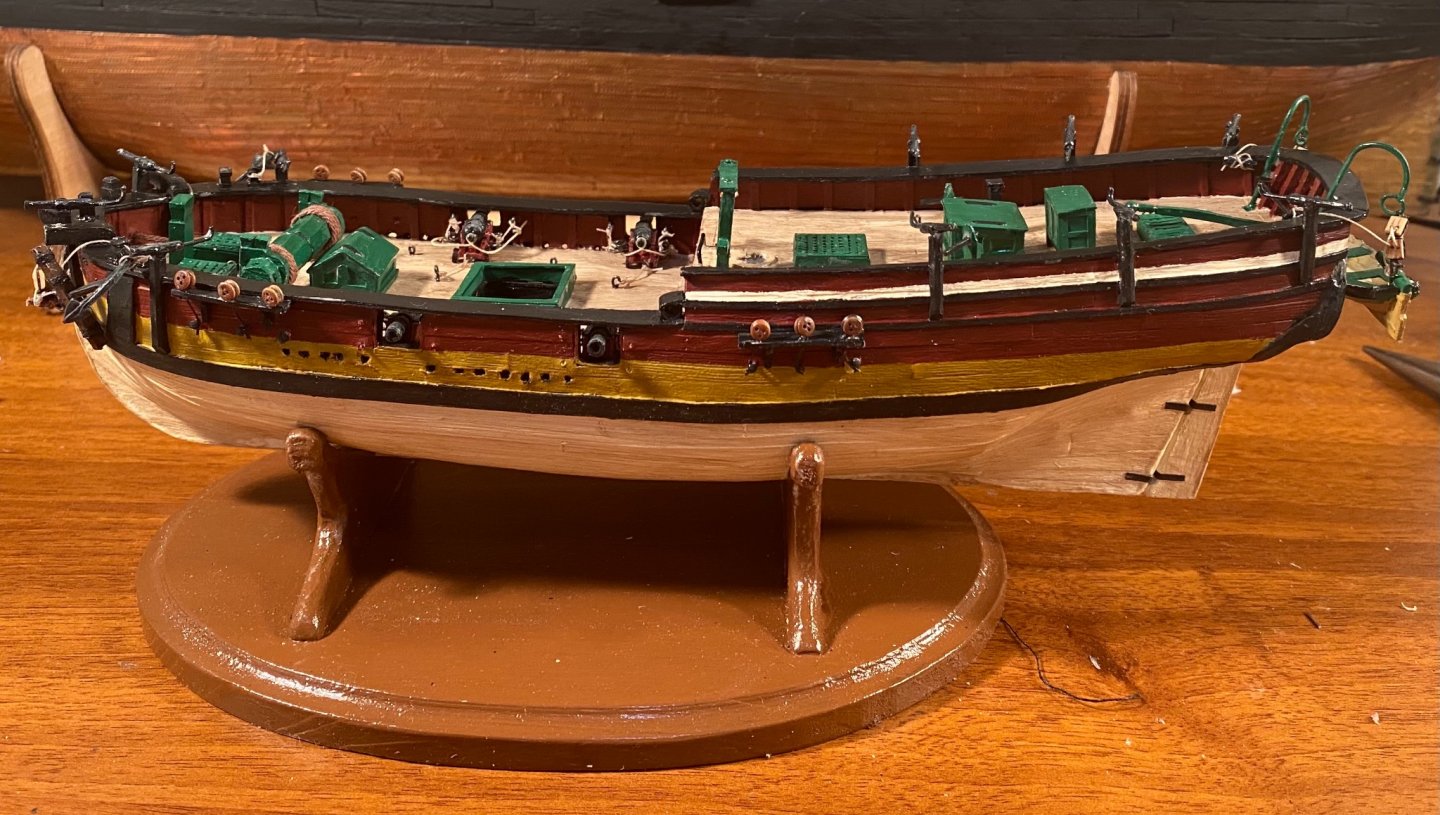
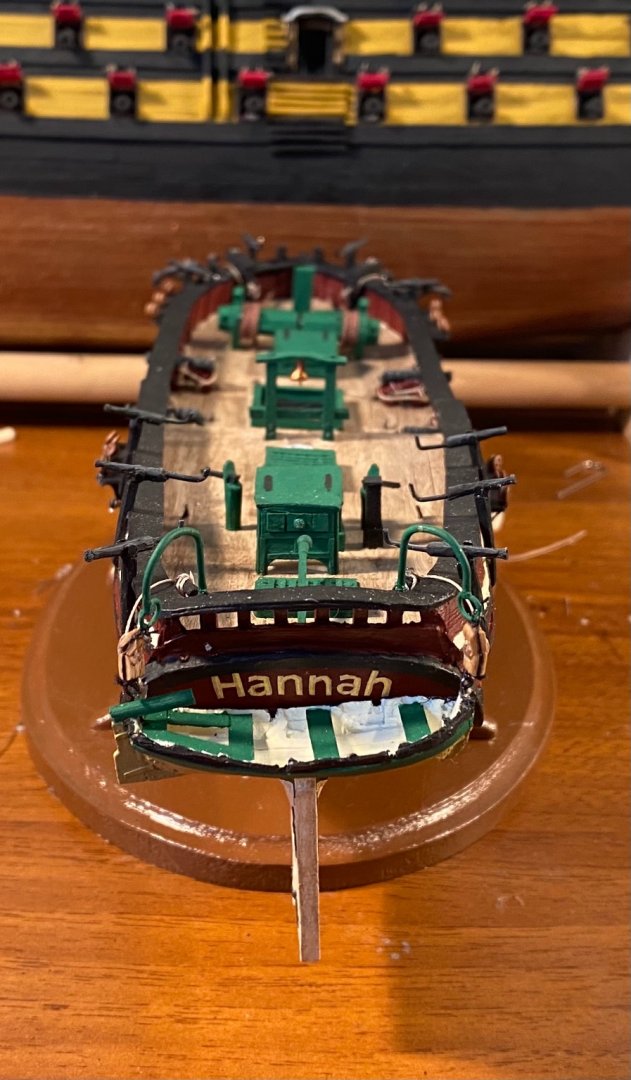
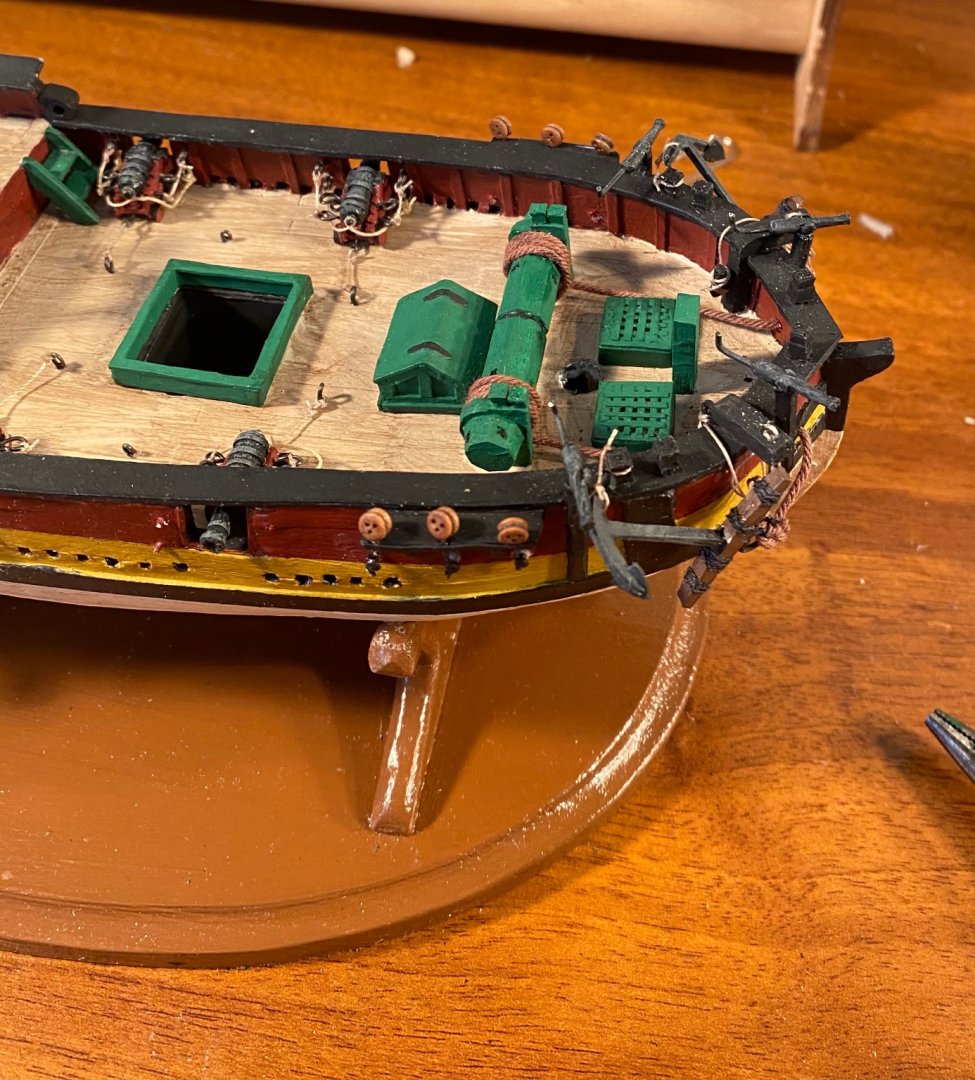
The anchors are rigged and the hull is almost ready for masts. The rigging fittings still need finalized and I need to final touchup the paint on the hull and deck/fittings and then seal all of my work.


-
Congratulations! Beautifully done!
-
Congratulations! Well done!
-
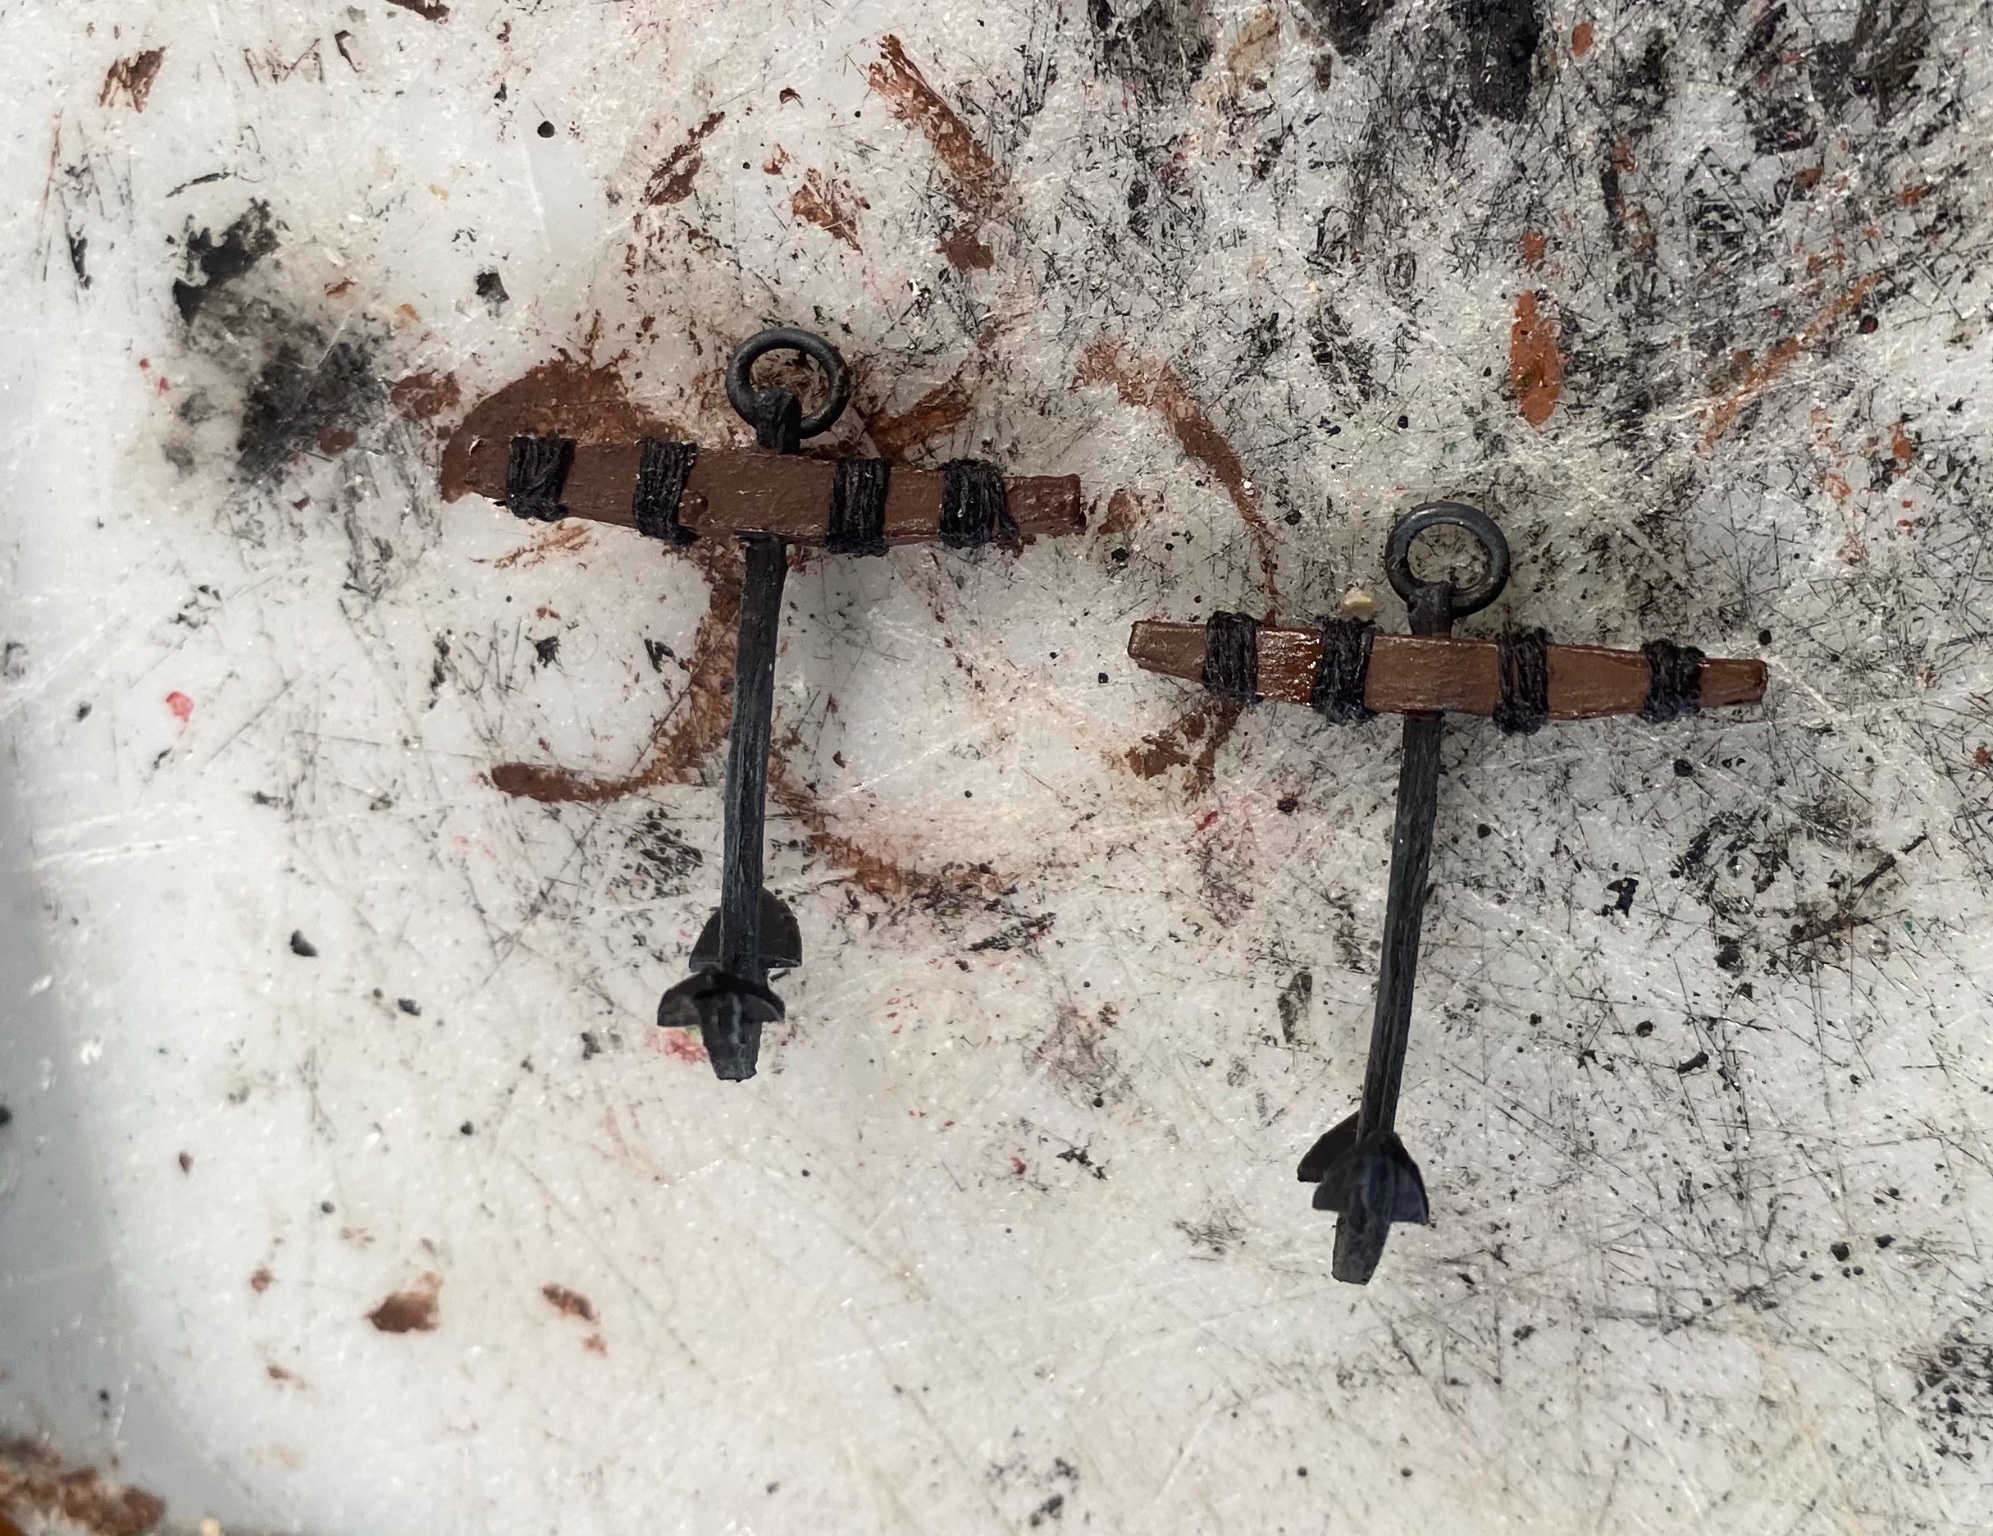
The anchors are finished: While installing, I realized that I need some cleats to tie them off to, and I need some cleats to tie off to on both masts, so I am going to be making a bunch of cleats.


-
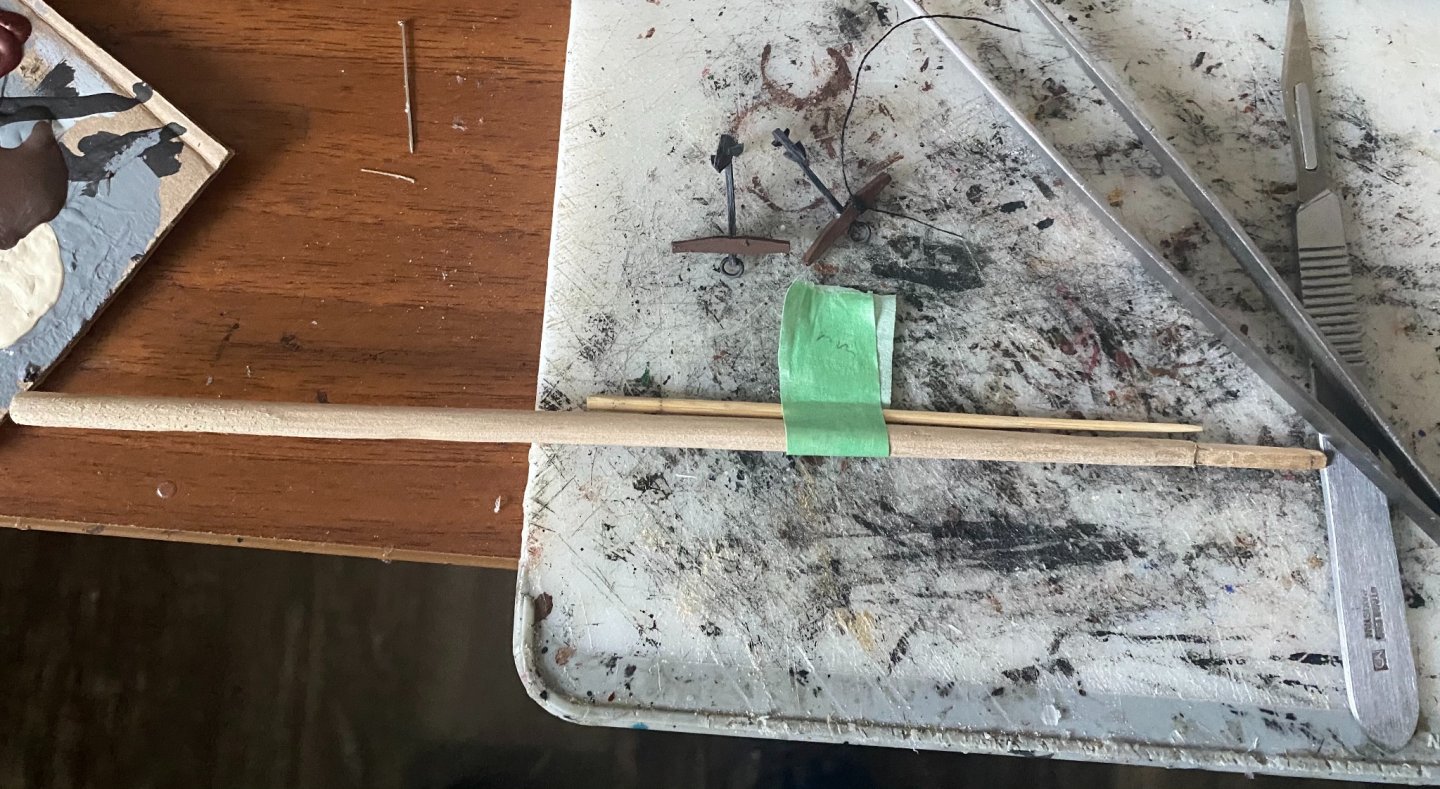
It’s that time of the model where we make the mast and work on finalizing the hull and any remaining fittings. Quick note to all, bamboo kitchen skewers work beautifully for making masts and yards. It is a hard wood, and has been carving better than the dowel rods I had been using.
-
Merry Christmas and all the best to you and yours as well!
-
I have built one of the Dragon Arleigh Burkes. I enjoyed it and it came out well.
-
Very cool build!
-
Very cool!