GrandpaPhil
-
Posts
6,161 -
Joined
-
Last visited
Content Type
Profiles
Forums
Gallery
Events
Everything posted by GrandpaPhil
-
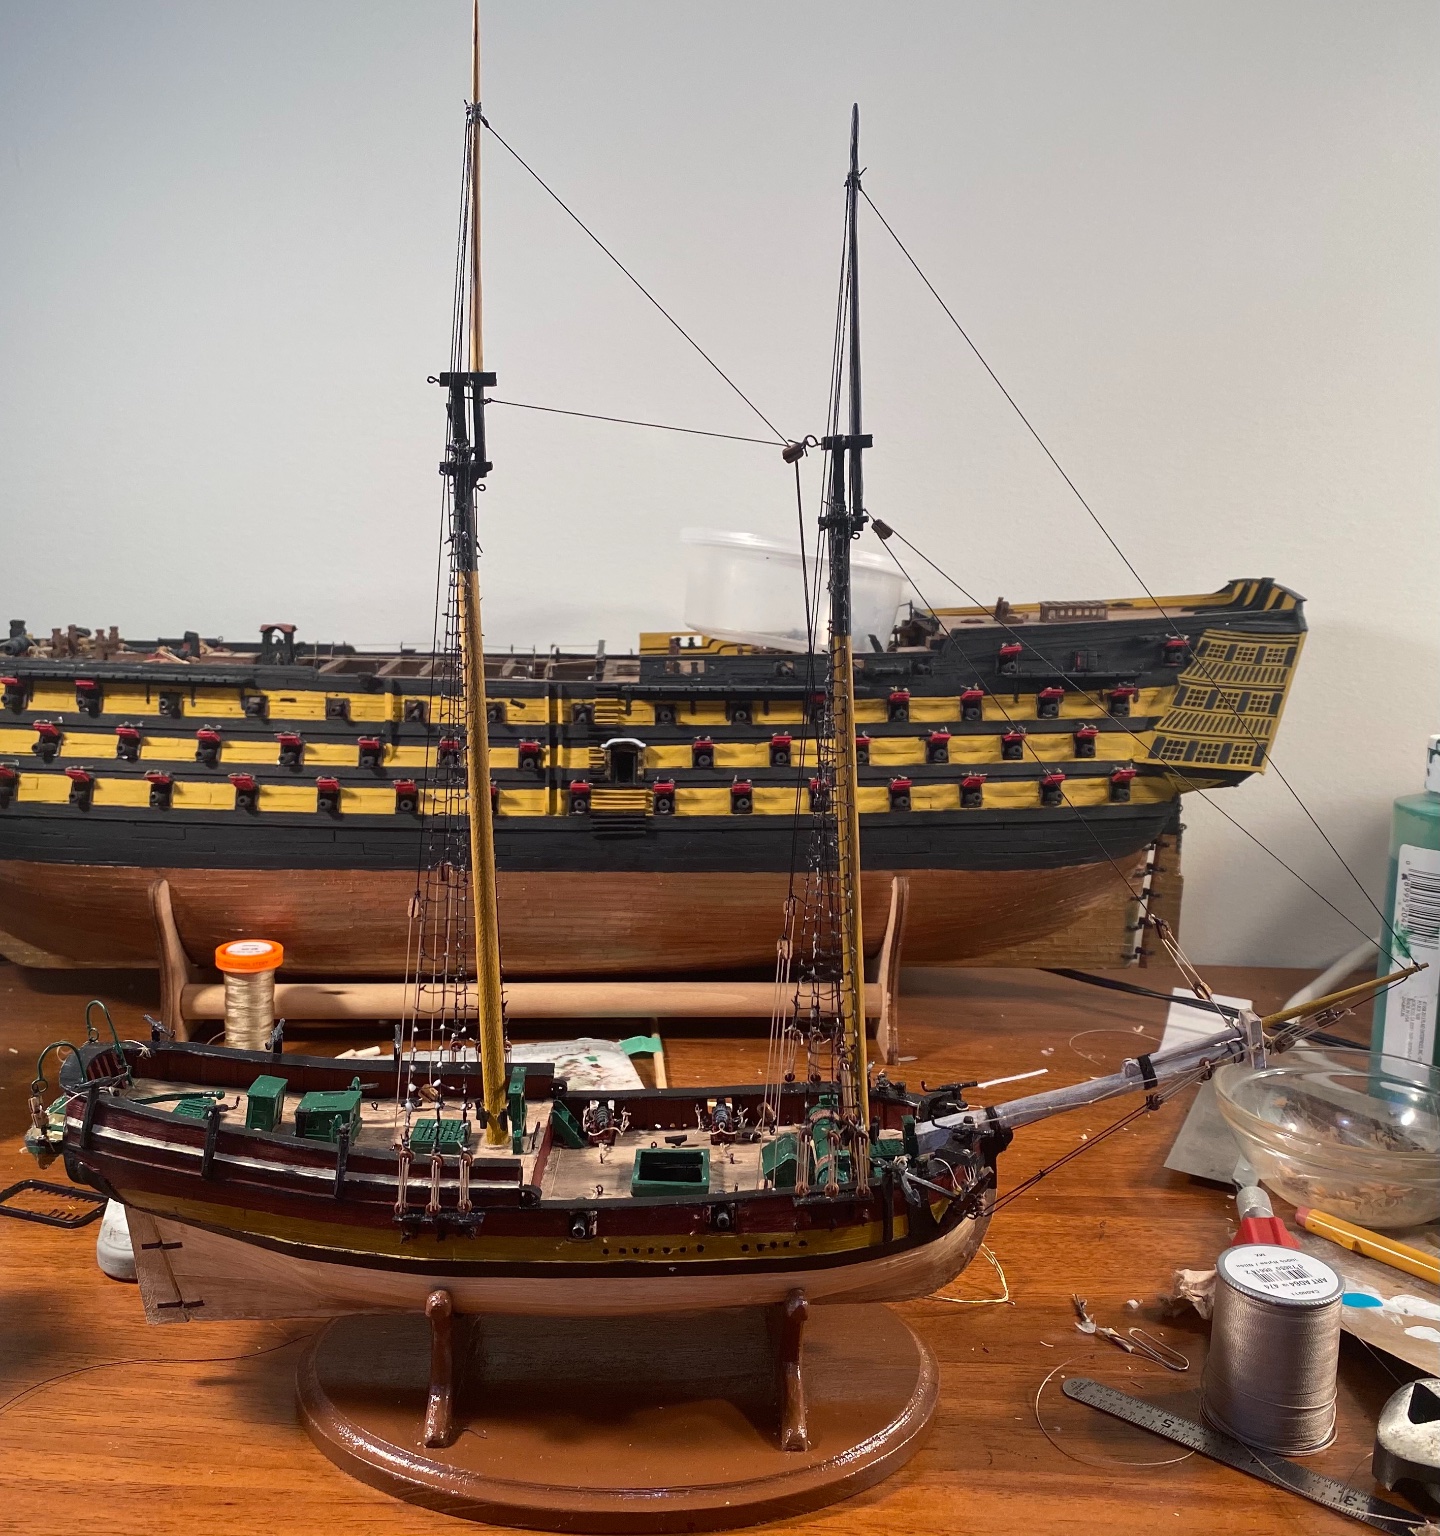
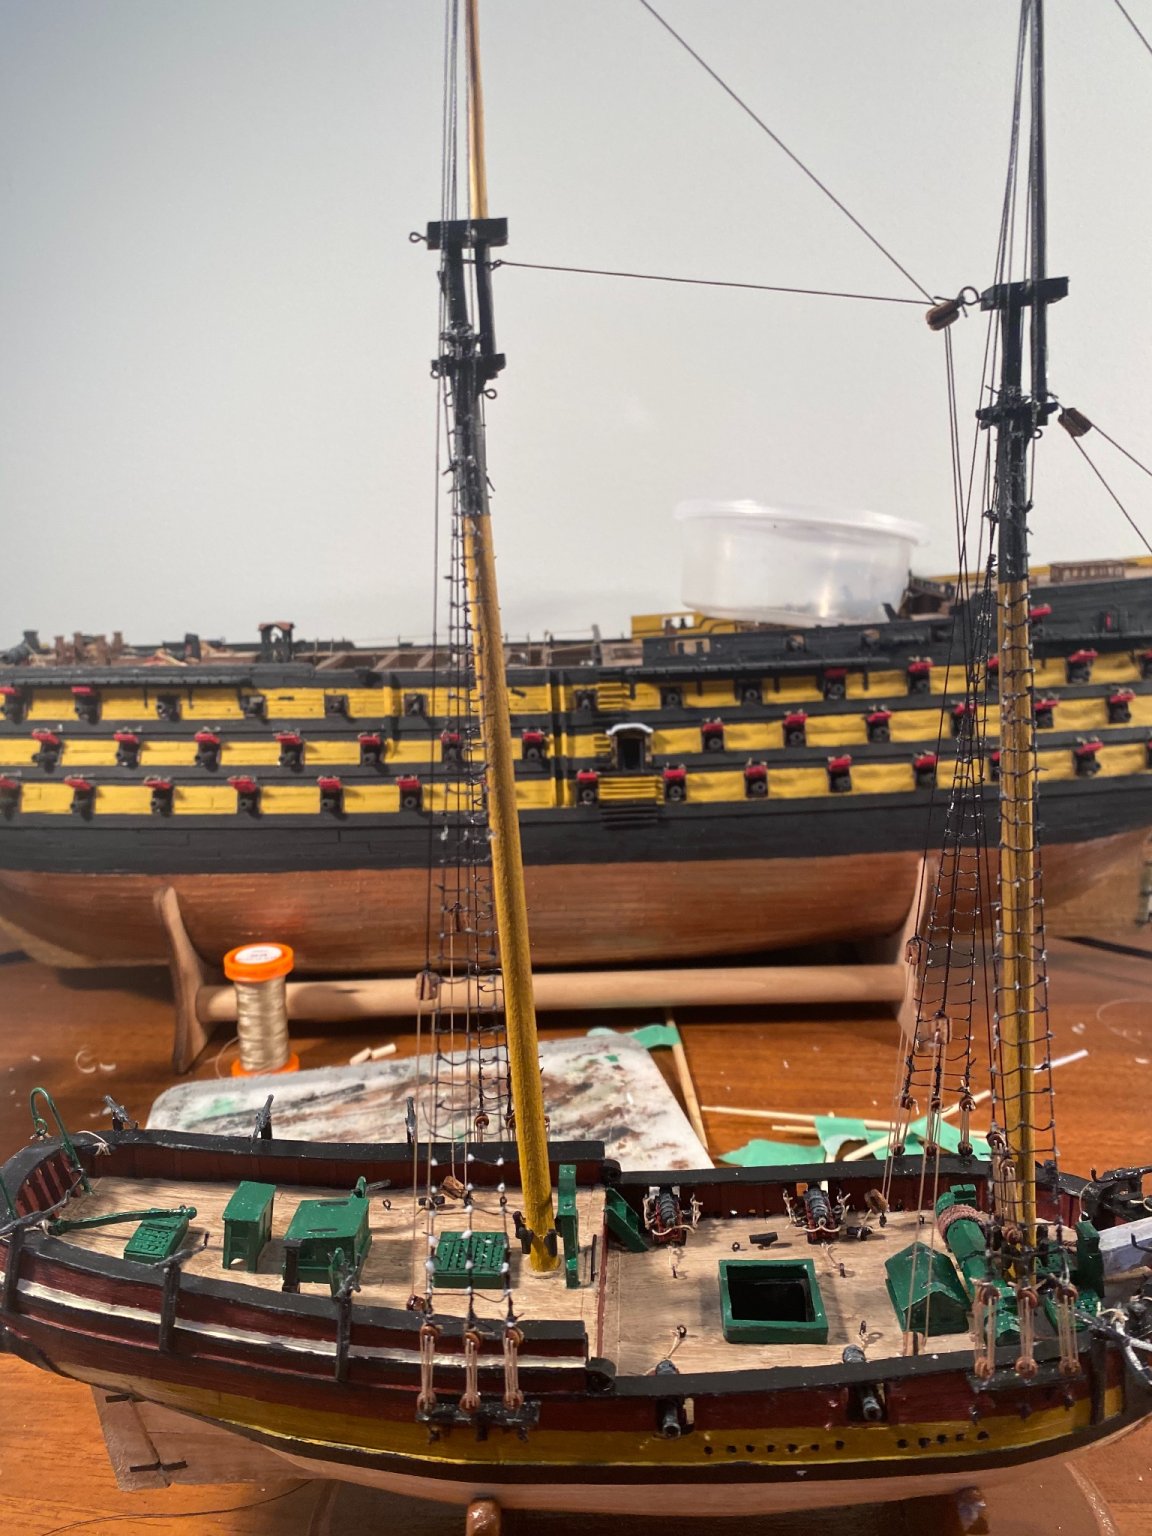
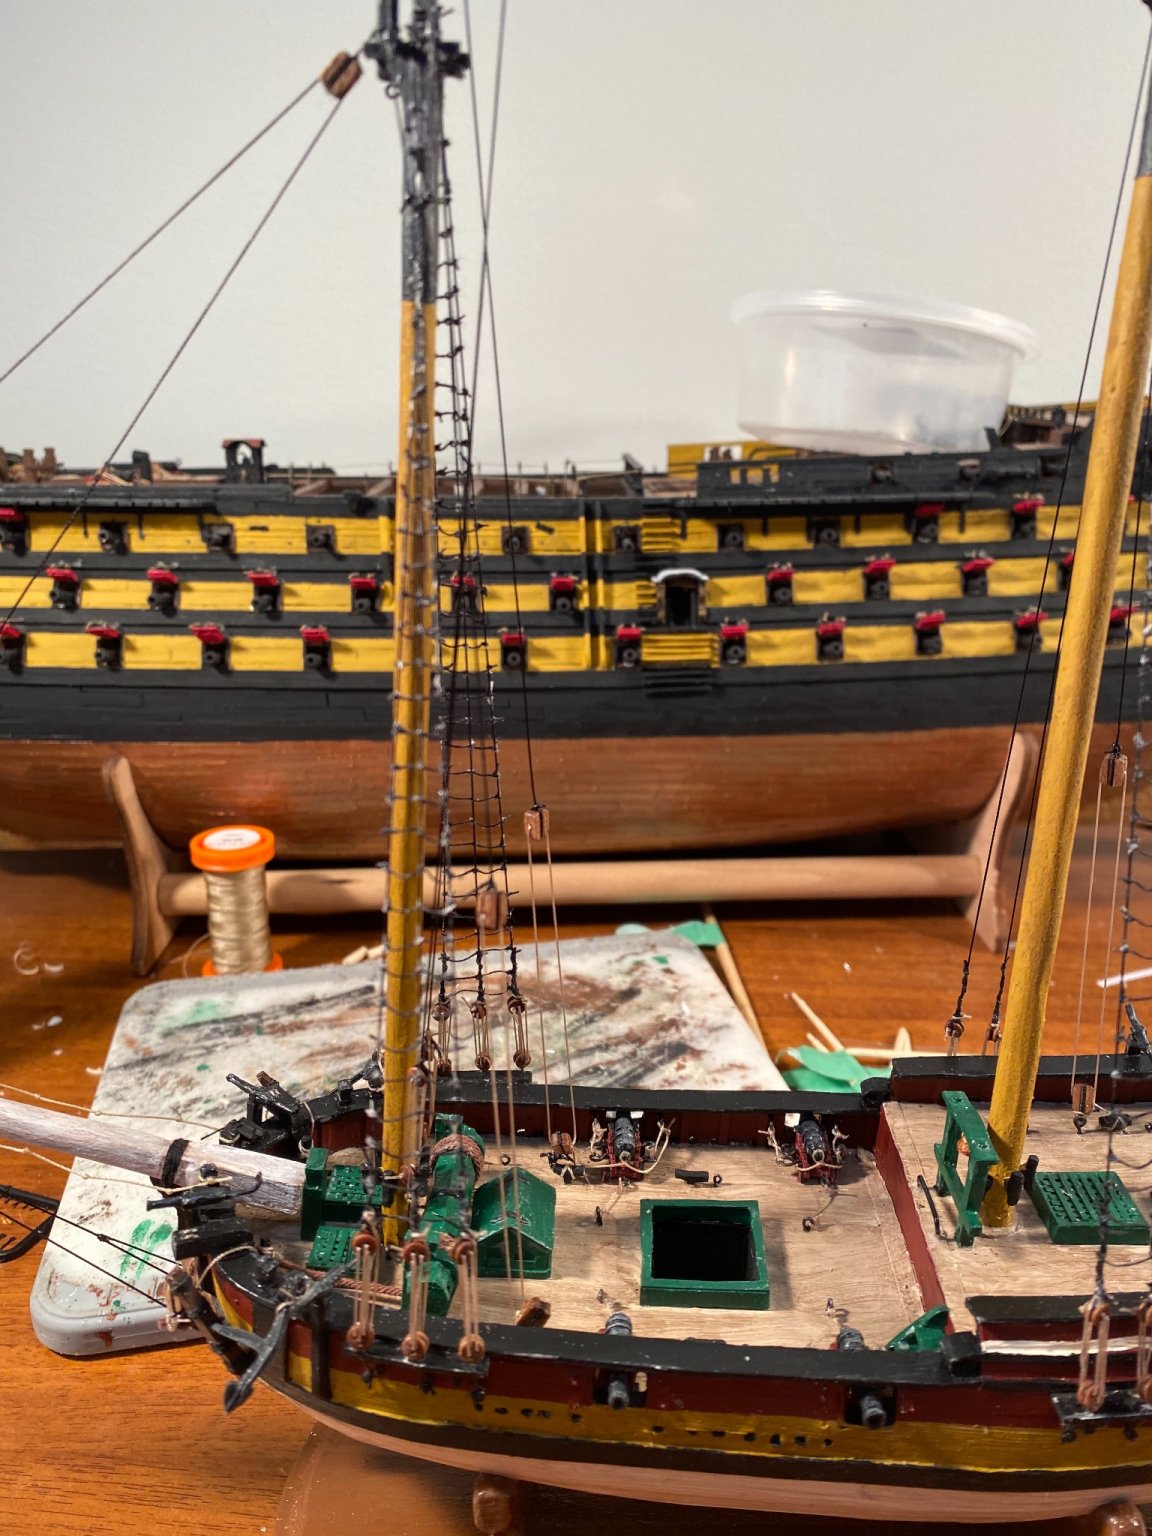
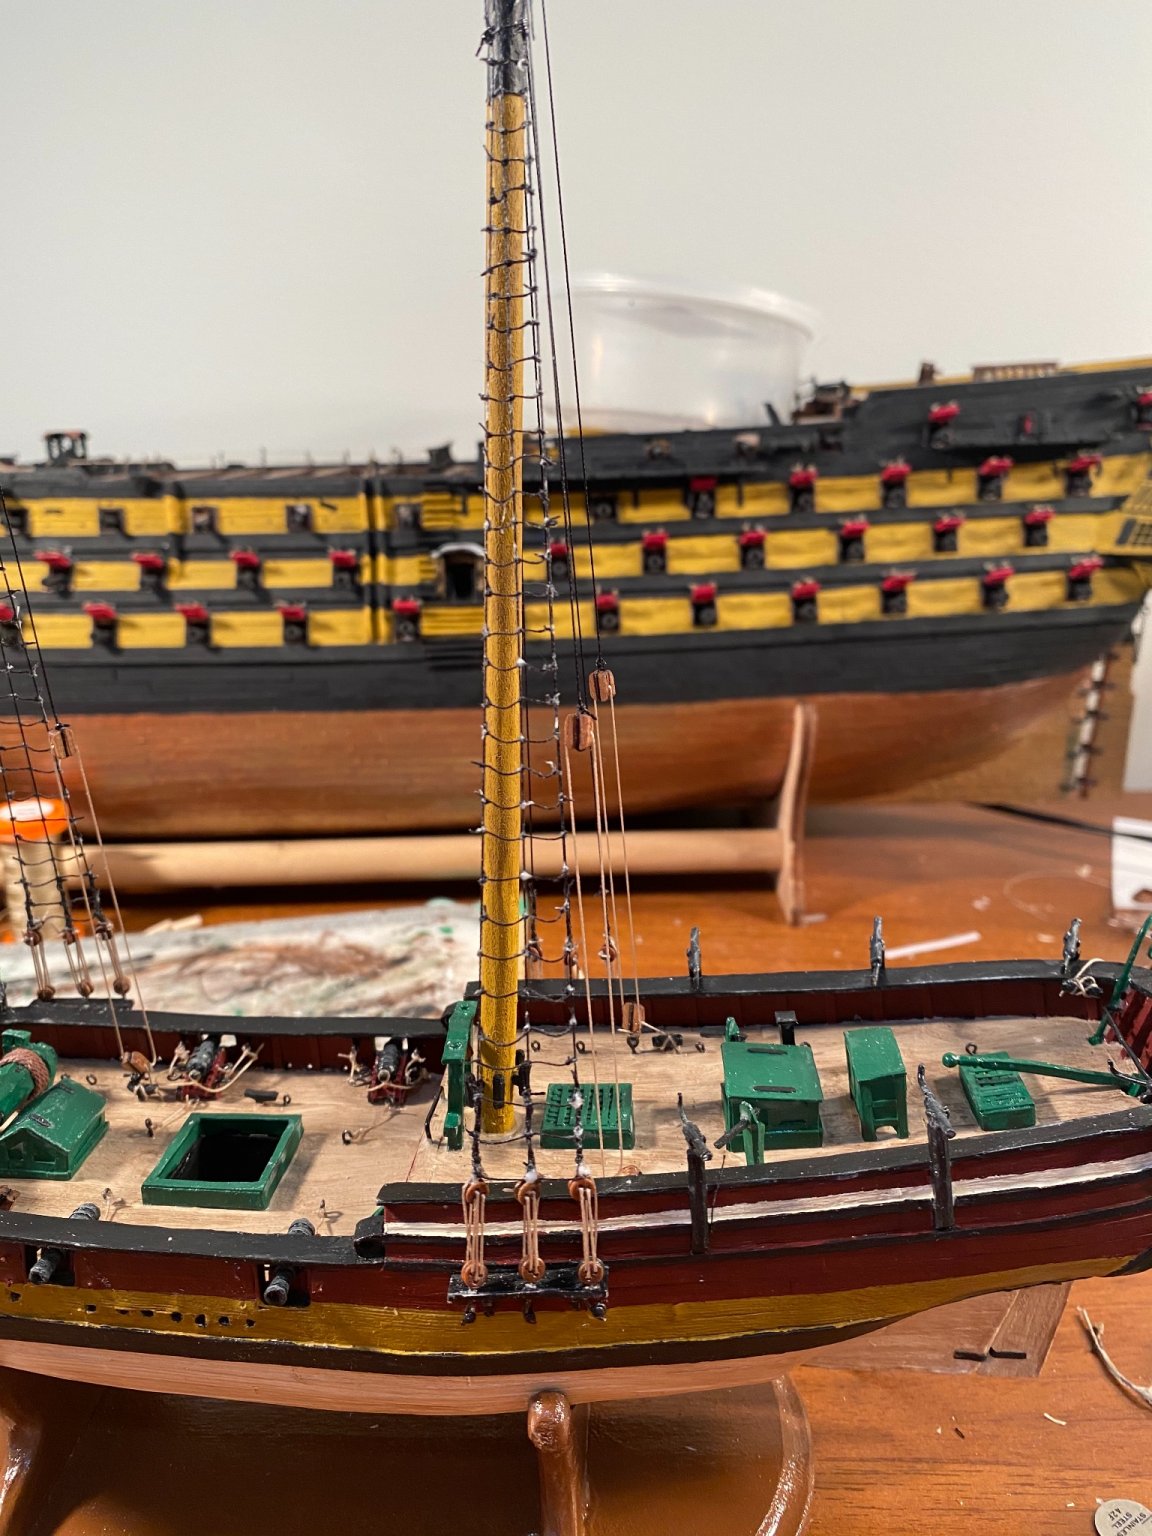
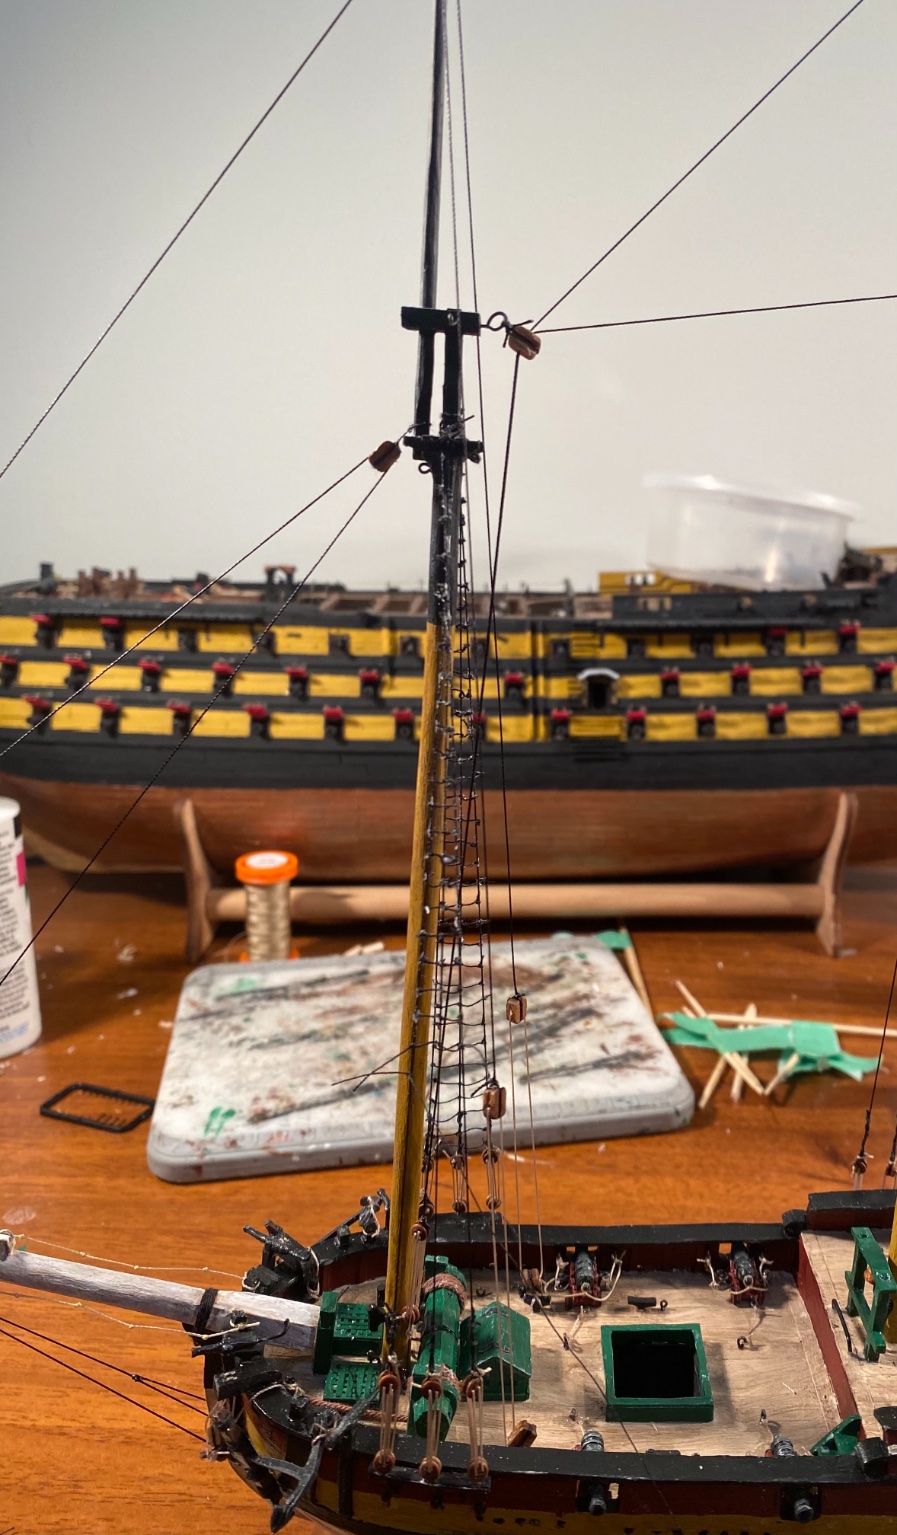
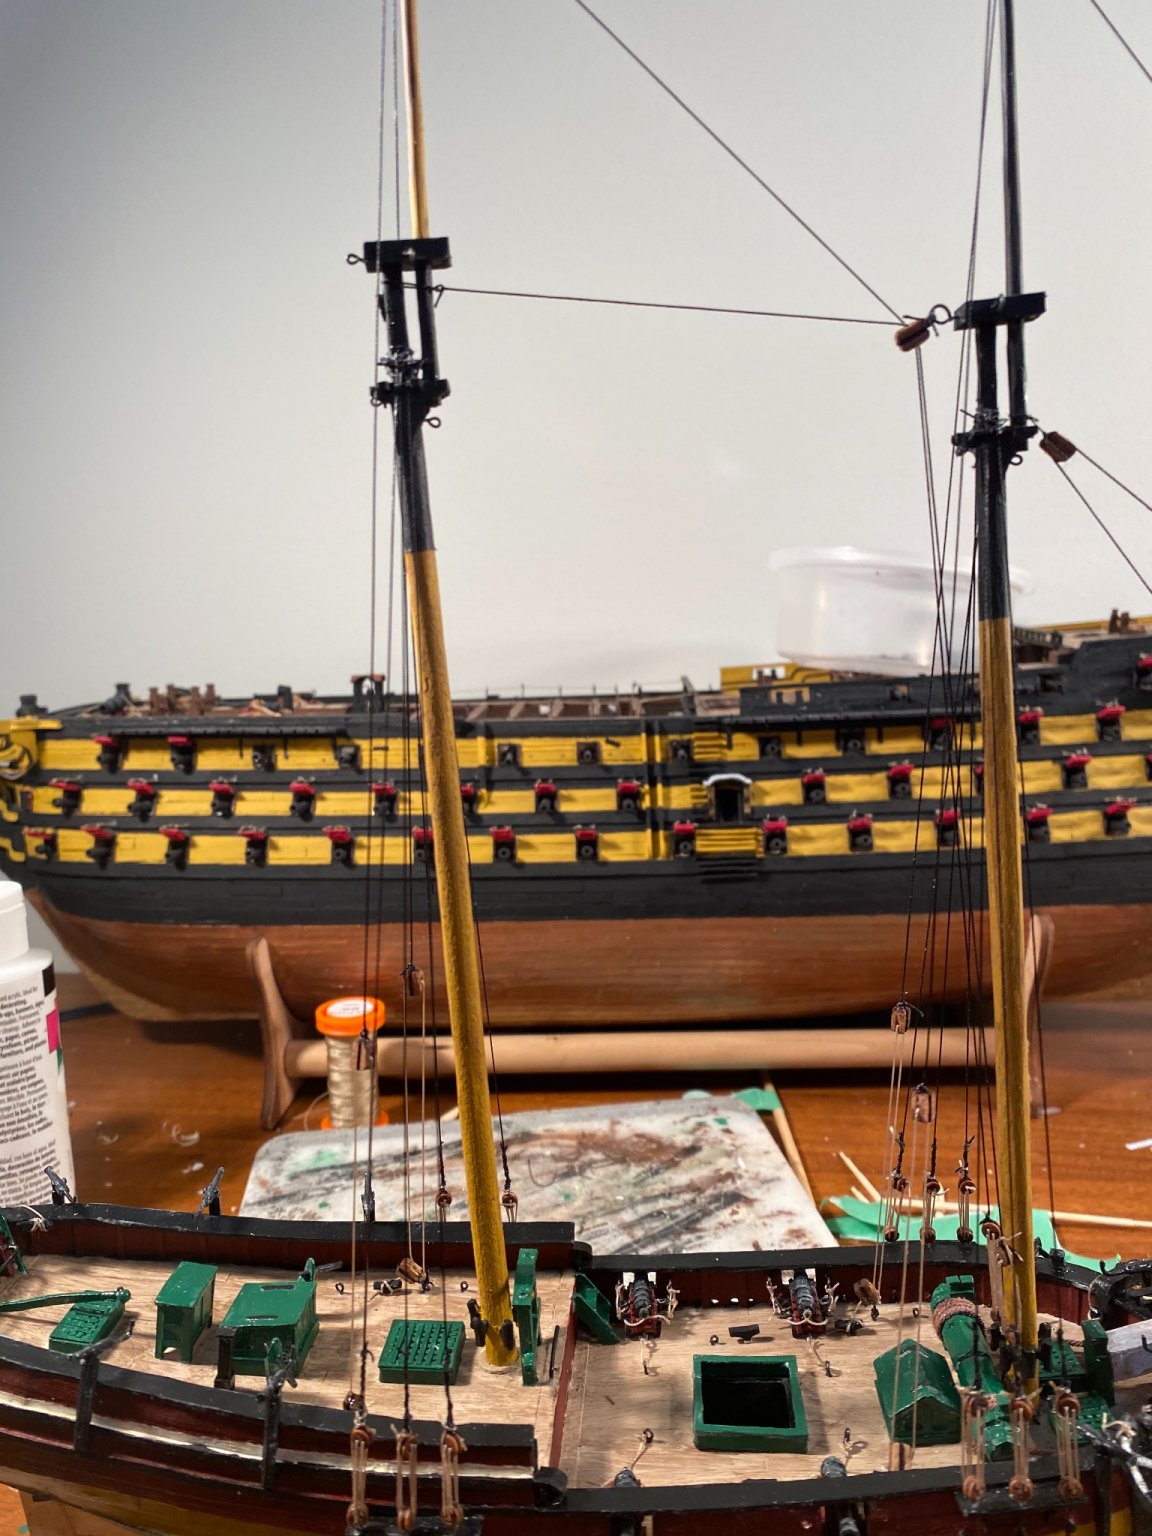
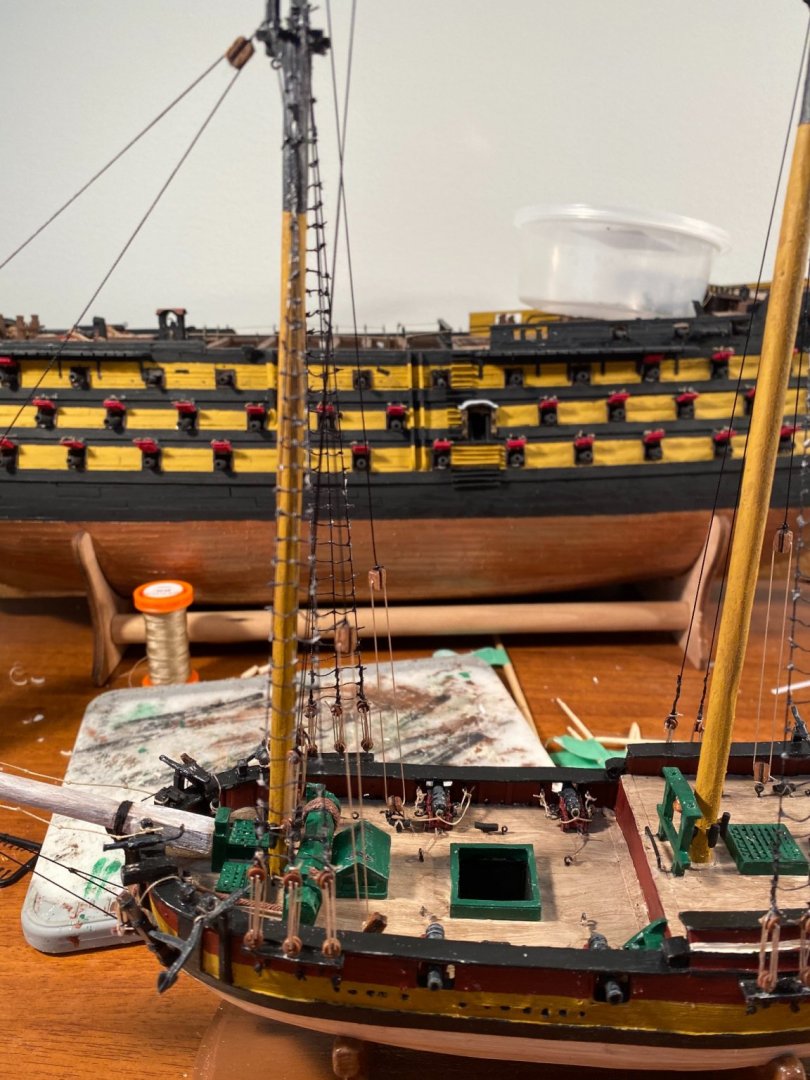
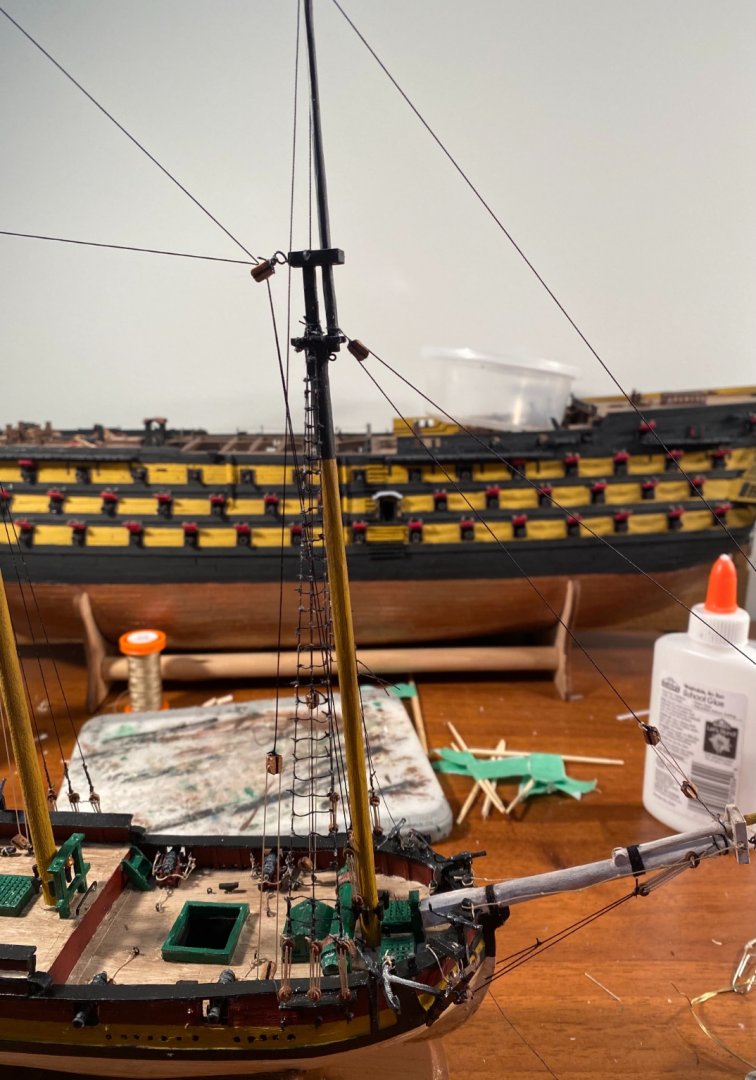
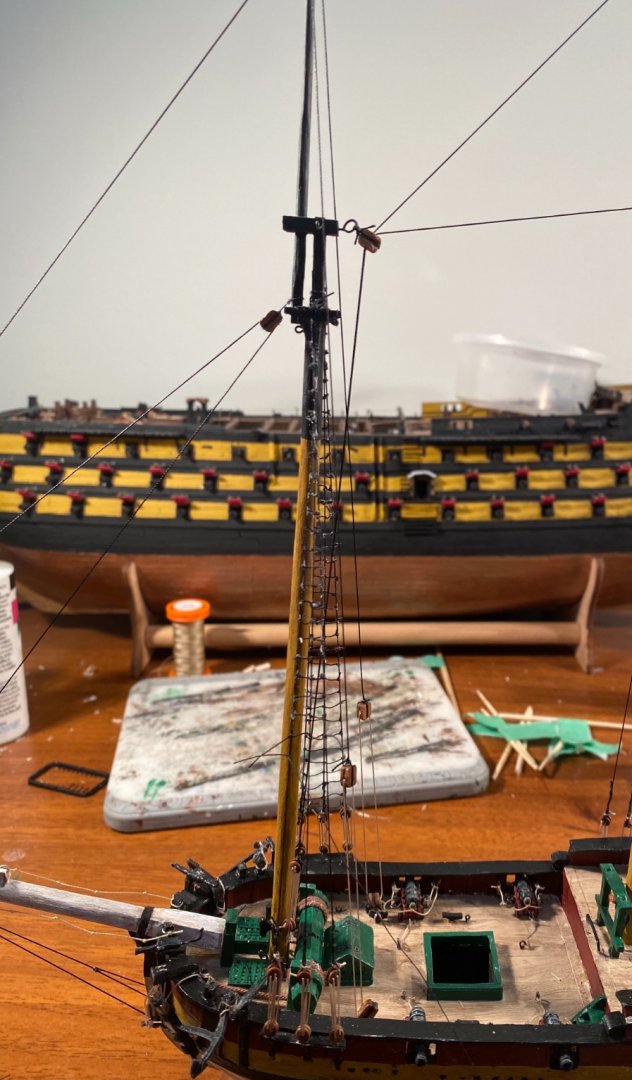
Thank you all very much for stopping by, and the likes! The shroud cleats are painted black and installed: The spars, booms and gaffs are painted. They need some touch ups and a highlight coat. After that, I can install blocks and foot ropes. Next up, I need to attach rigging blocks to the eyebolts on the deck.

-
Hobby Knife Preference?
GrandpaPhil replied to Matt D's topic in Modeling tools and Workshop Equipment
I personally like scalpel blades. An X-Acto blade usually dulls out on me within a couple hours of carving/shaping. Excel brand blades/handles are better than X-Acto. They are sharper and last longer. I can use one of those blades for a day, maybe two, before it dulls out. I LOVE scalpels. They are super sharp and I can build for a week before I need to replace a blade. -
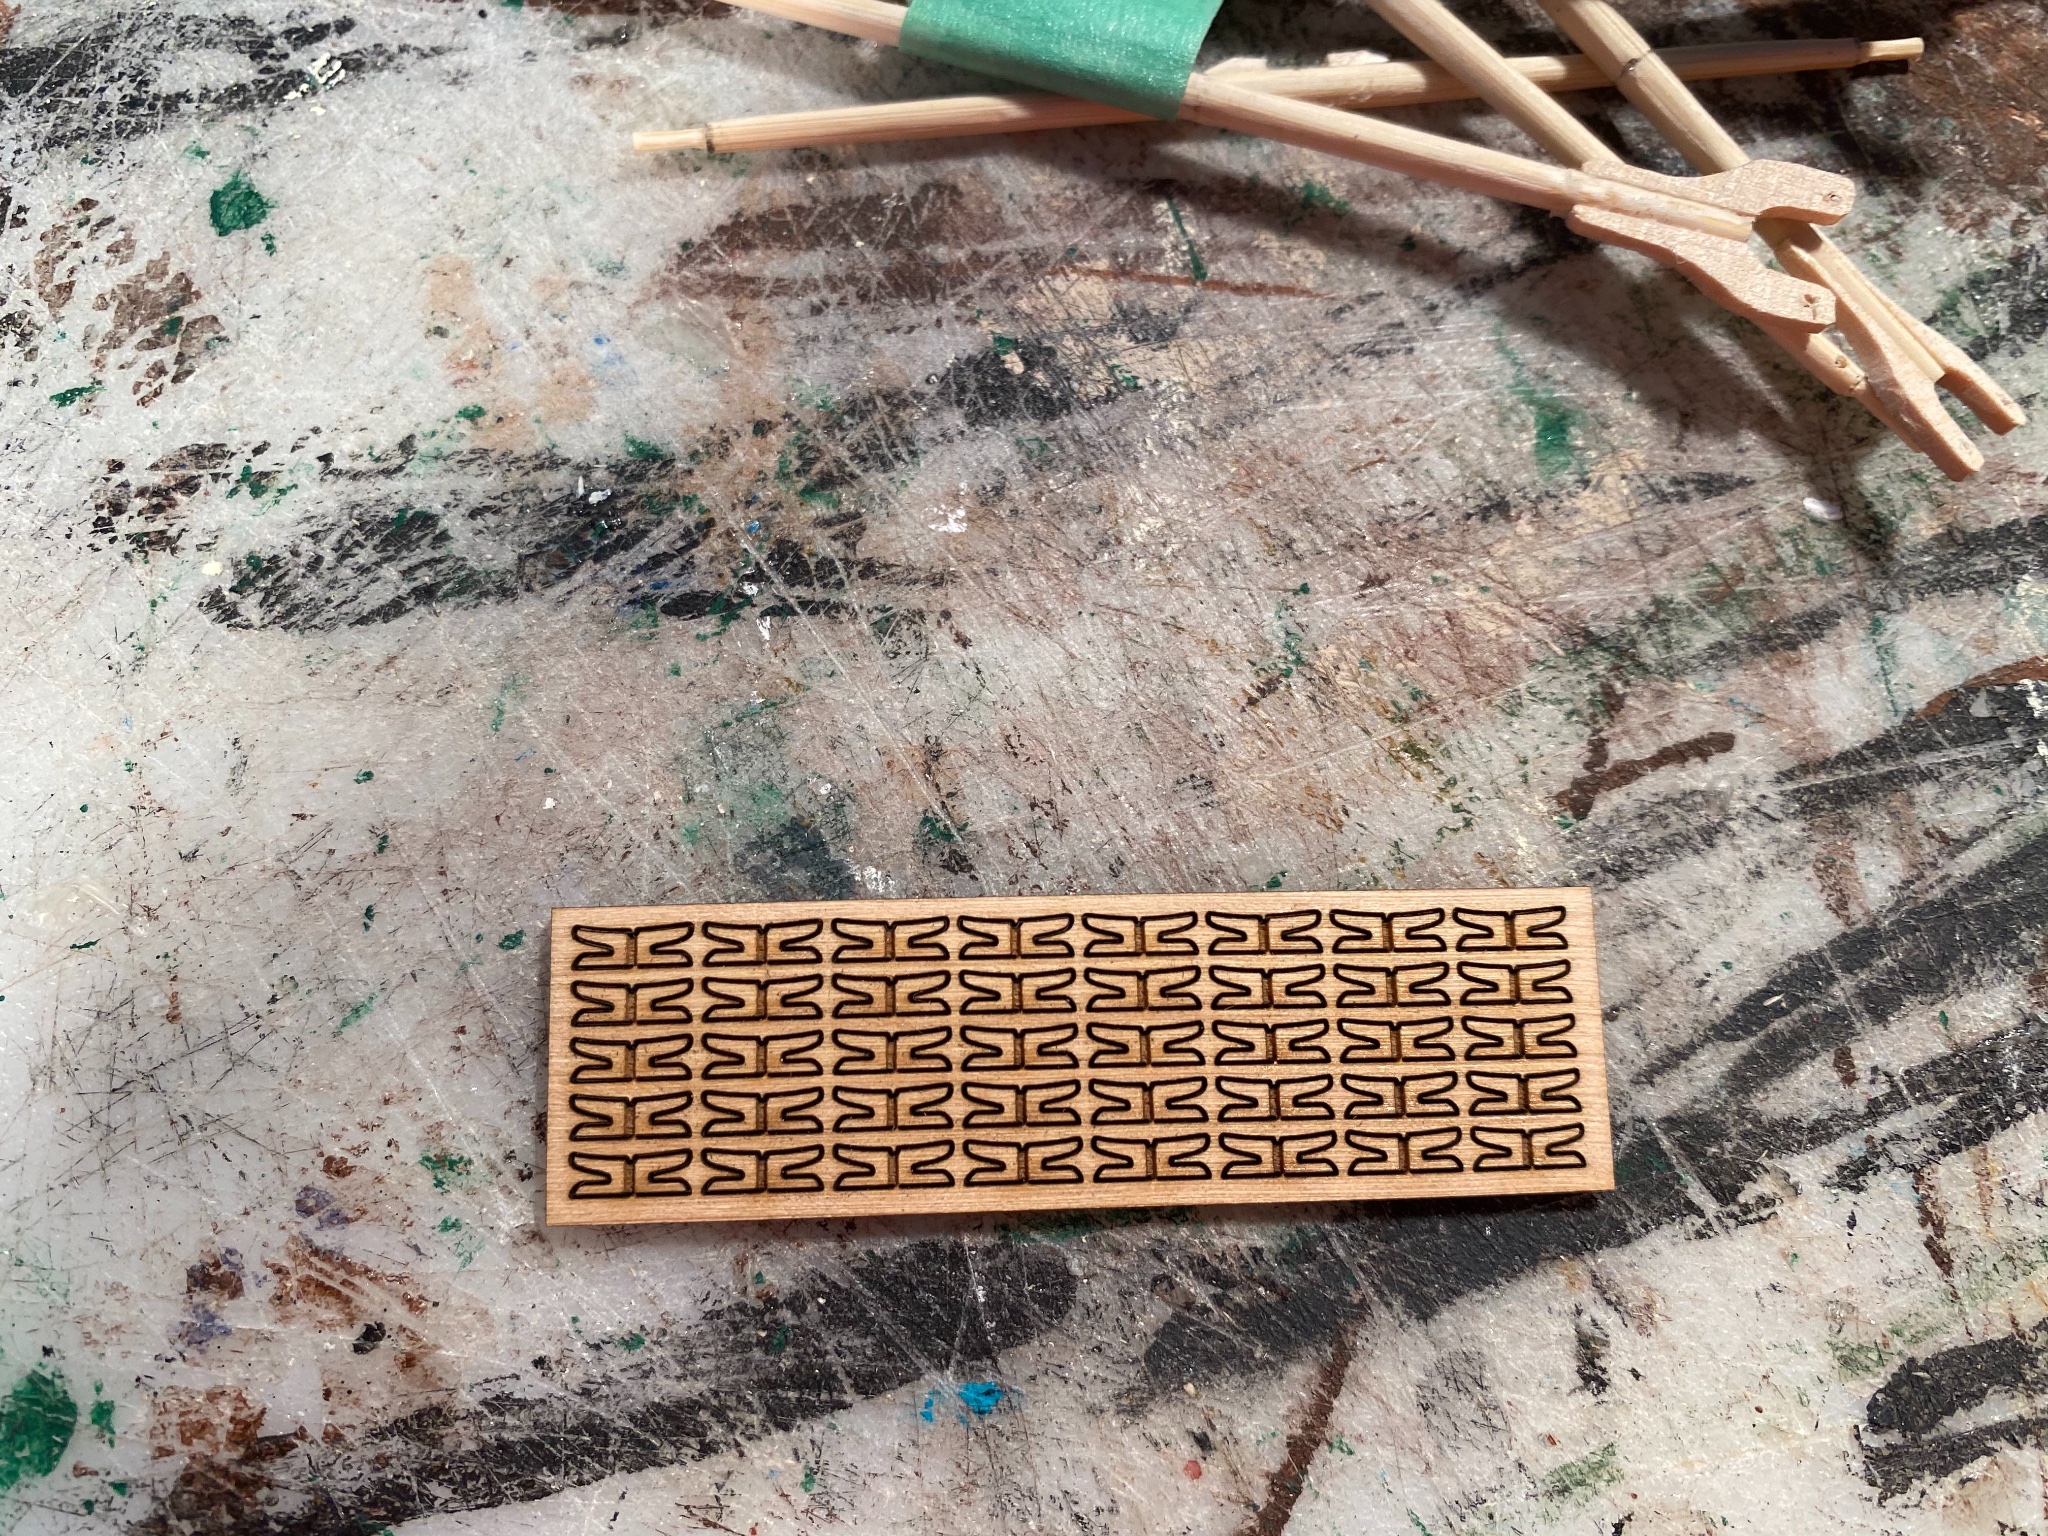
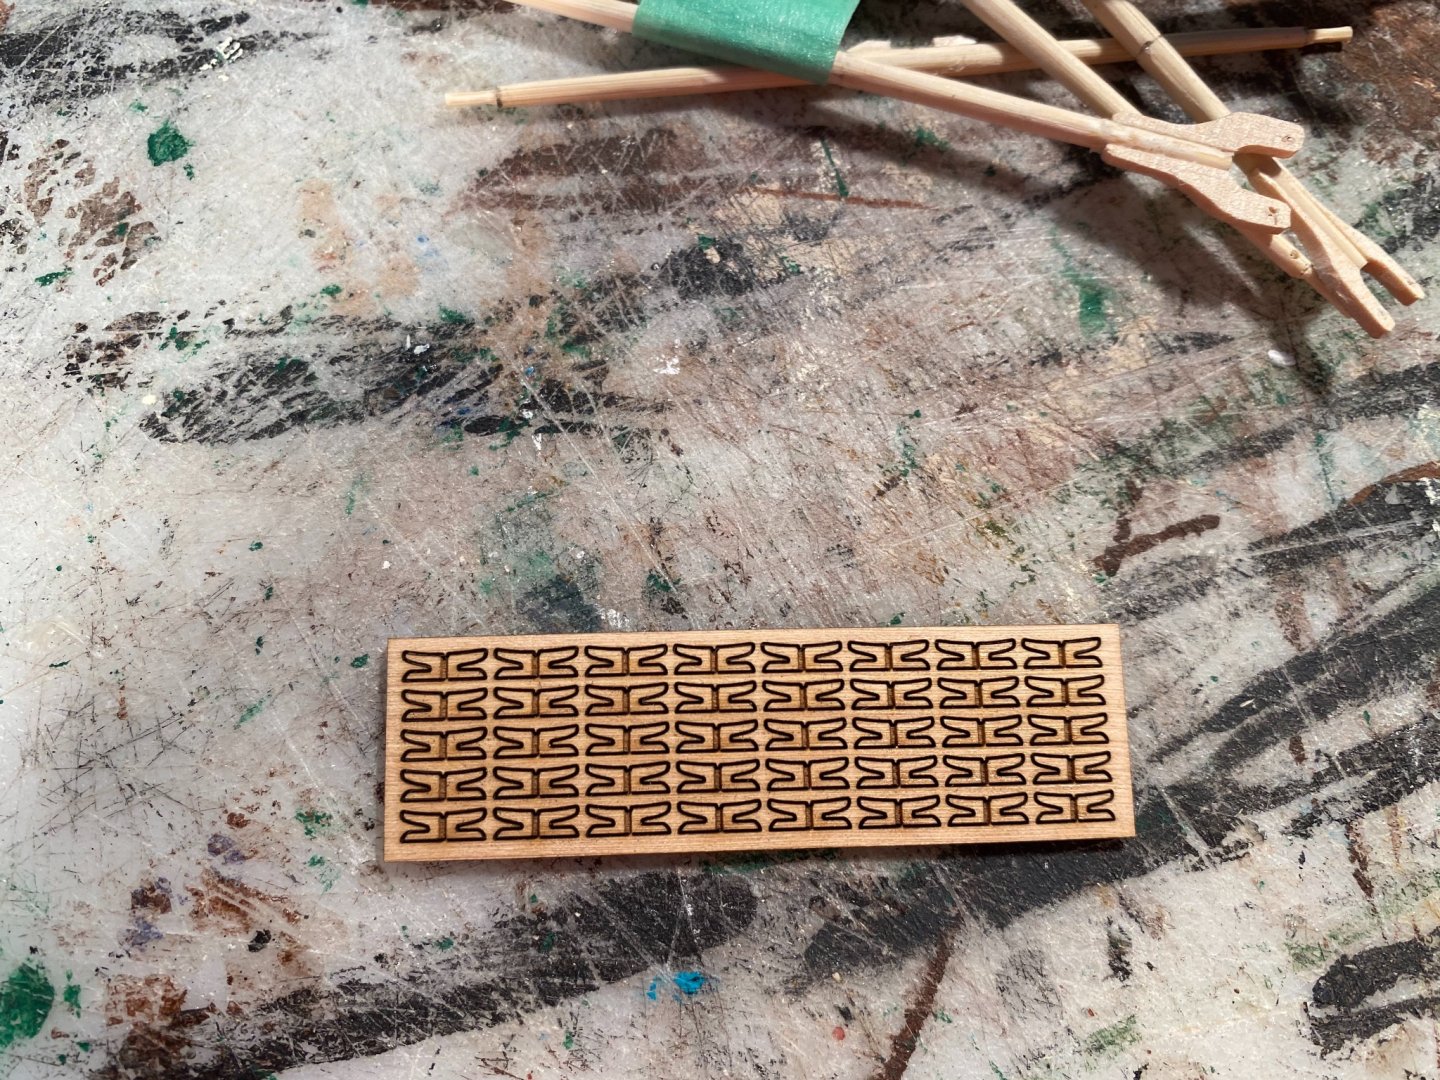
I have my shroud cleats from Syren now and I have time to work on my model. These are very nice: Time to paint them black and install them.
-
Looking good! Keep at it!
-
I personally like 1/72 scale. I can still have a lot of detail without models of larger ships being unmanageable.
-
I usually glue mine. That’s just my personal choice.
-
Congratulations! Well done!
-
You and me both!
-
Awesome job on the planes!
-
Thank you very much!
-
I like the change!
-
While we’re on the topic, is there a particular book that you would recommend for English 74’s?
-
Welcome!
-
I found a fitting that doesn’t seem to work out well for me to make, that is the shroud cleat. So, I ordered some from Syren.
-
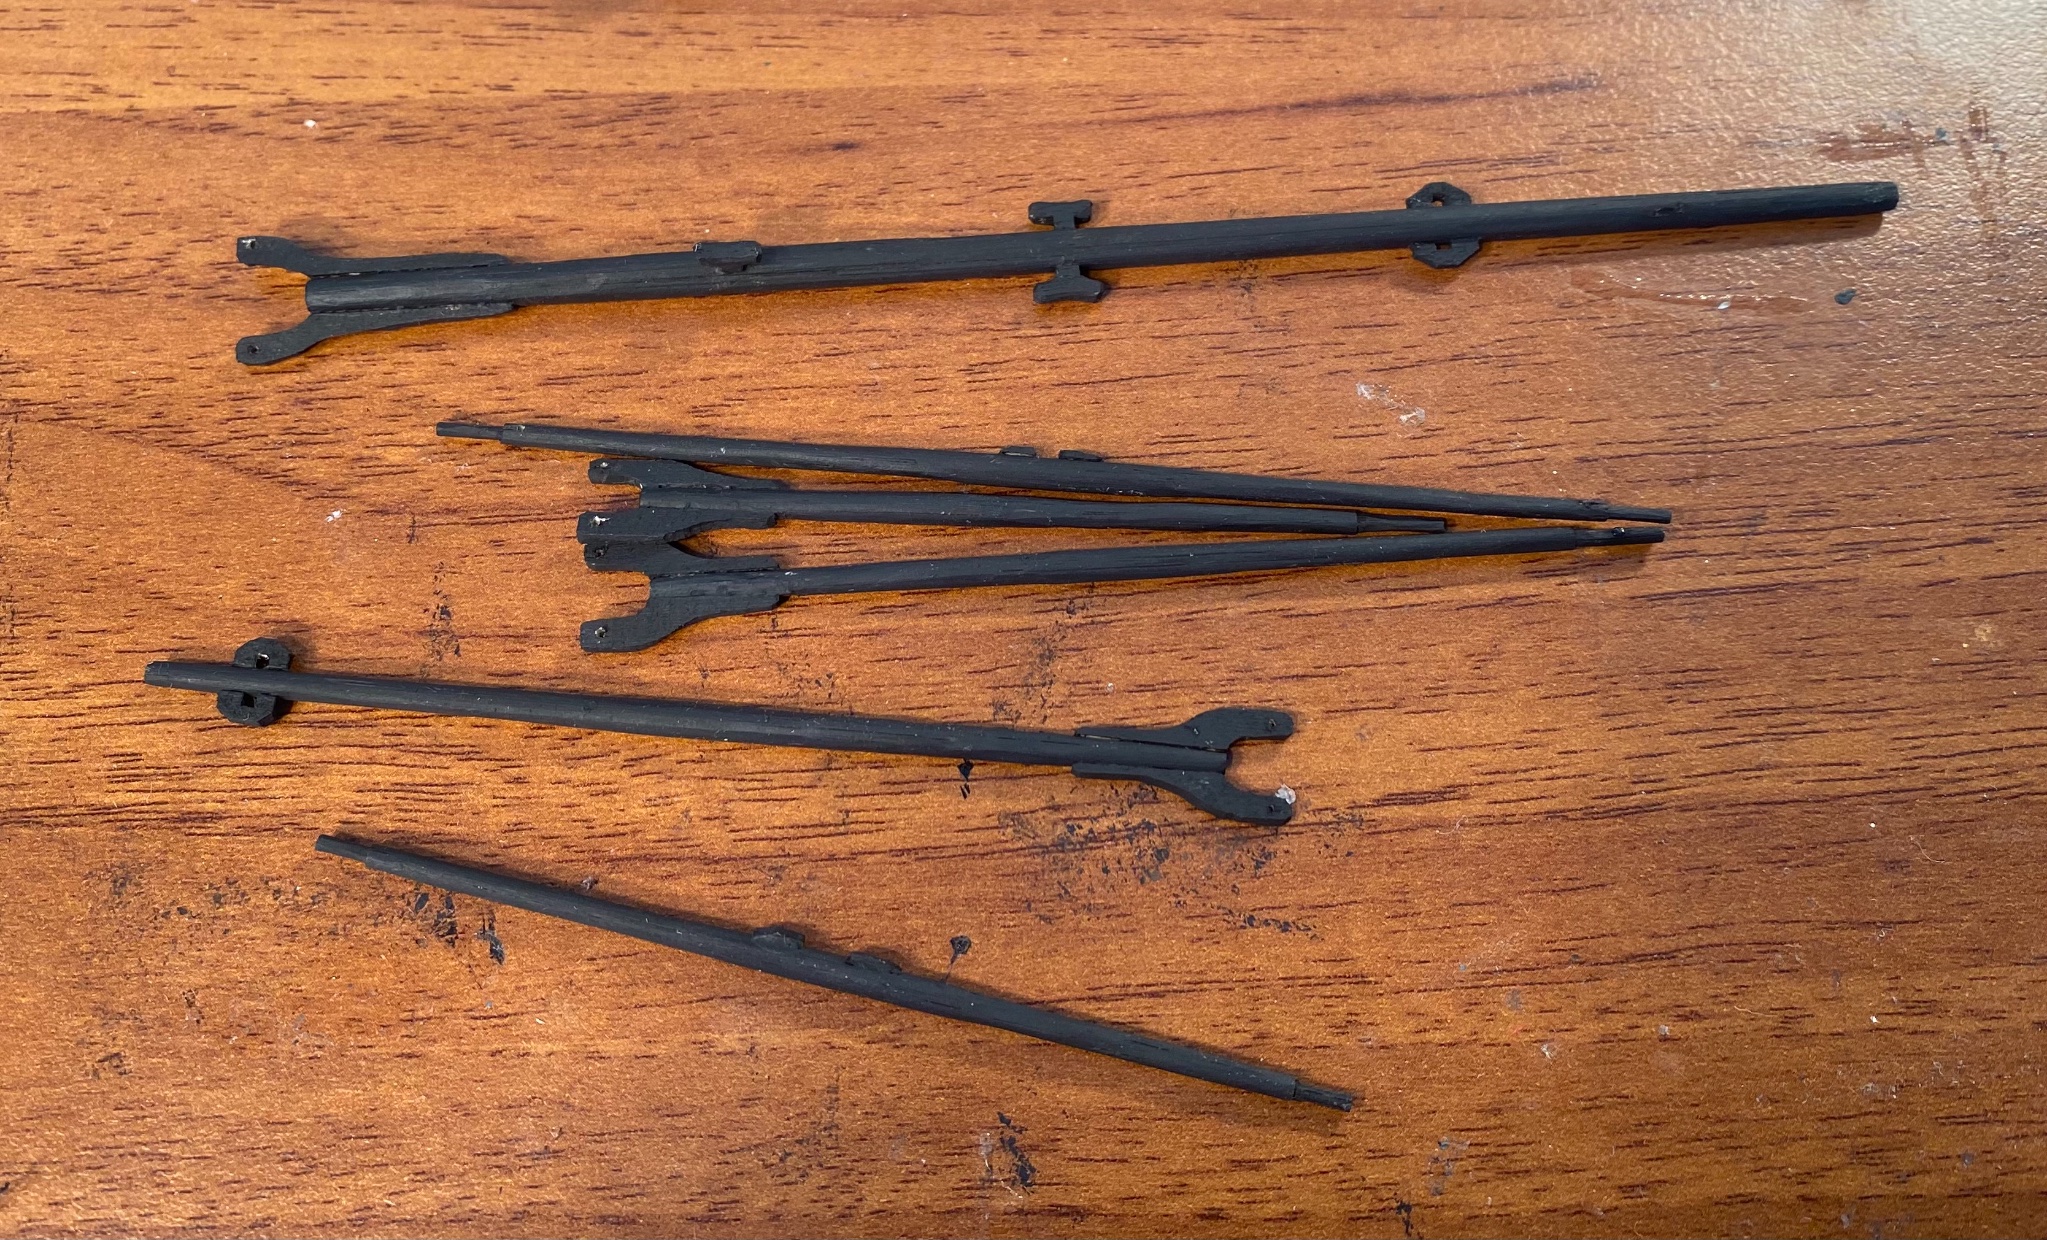
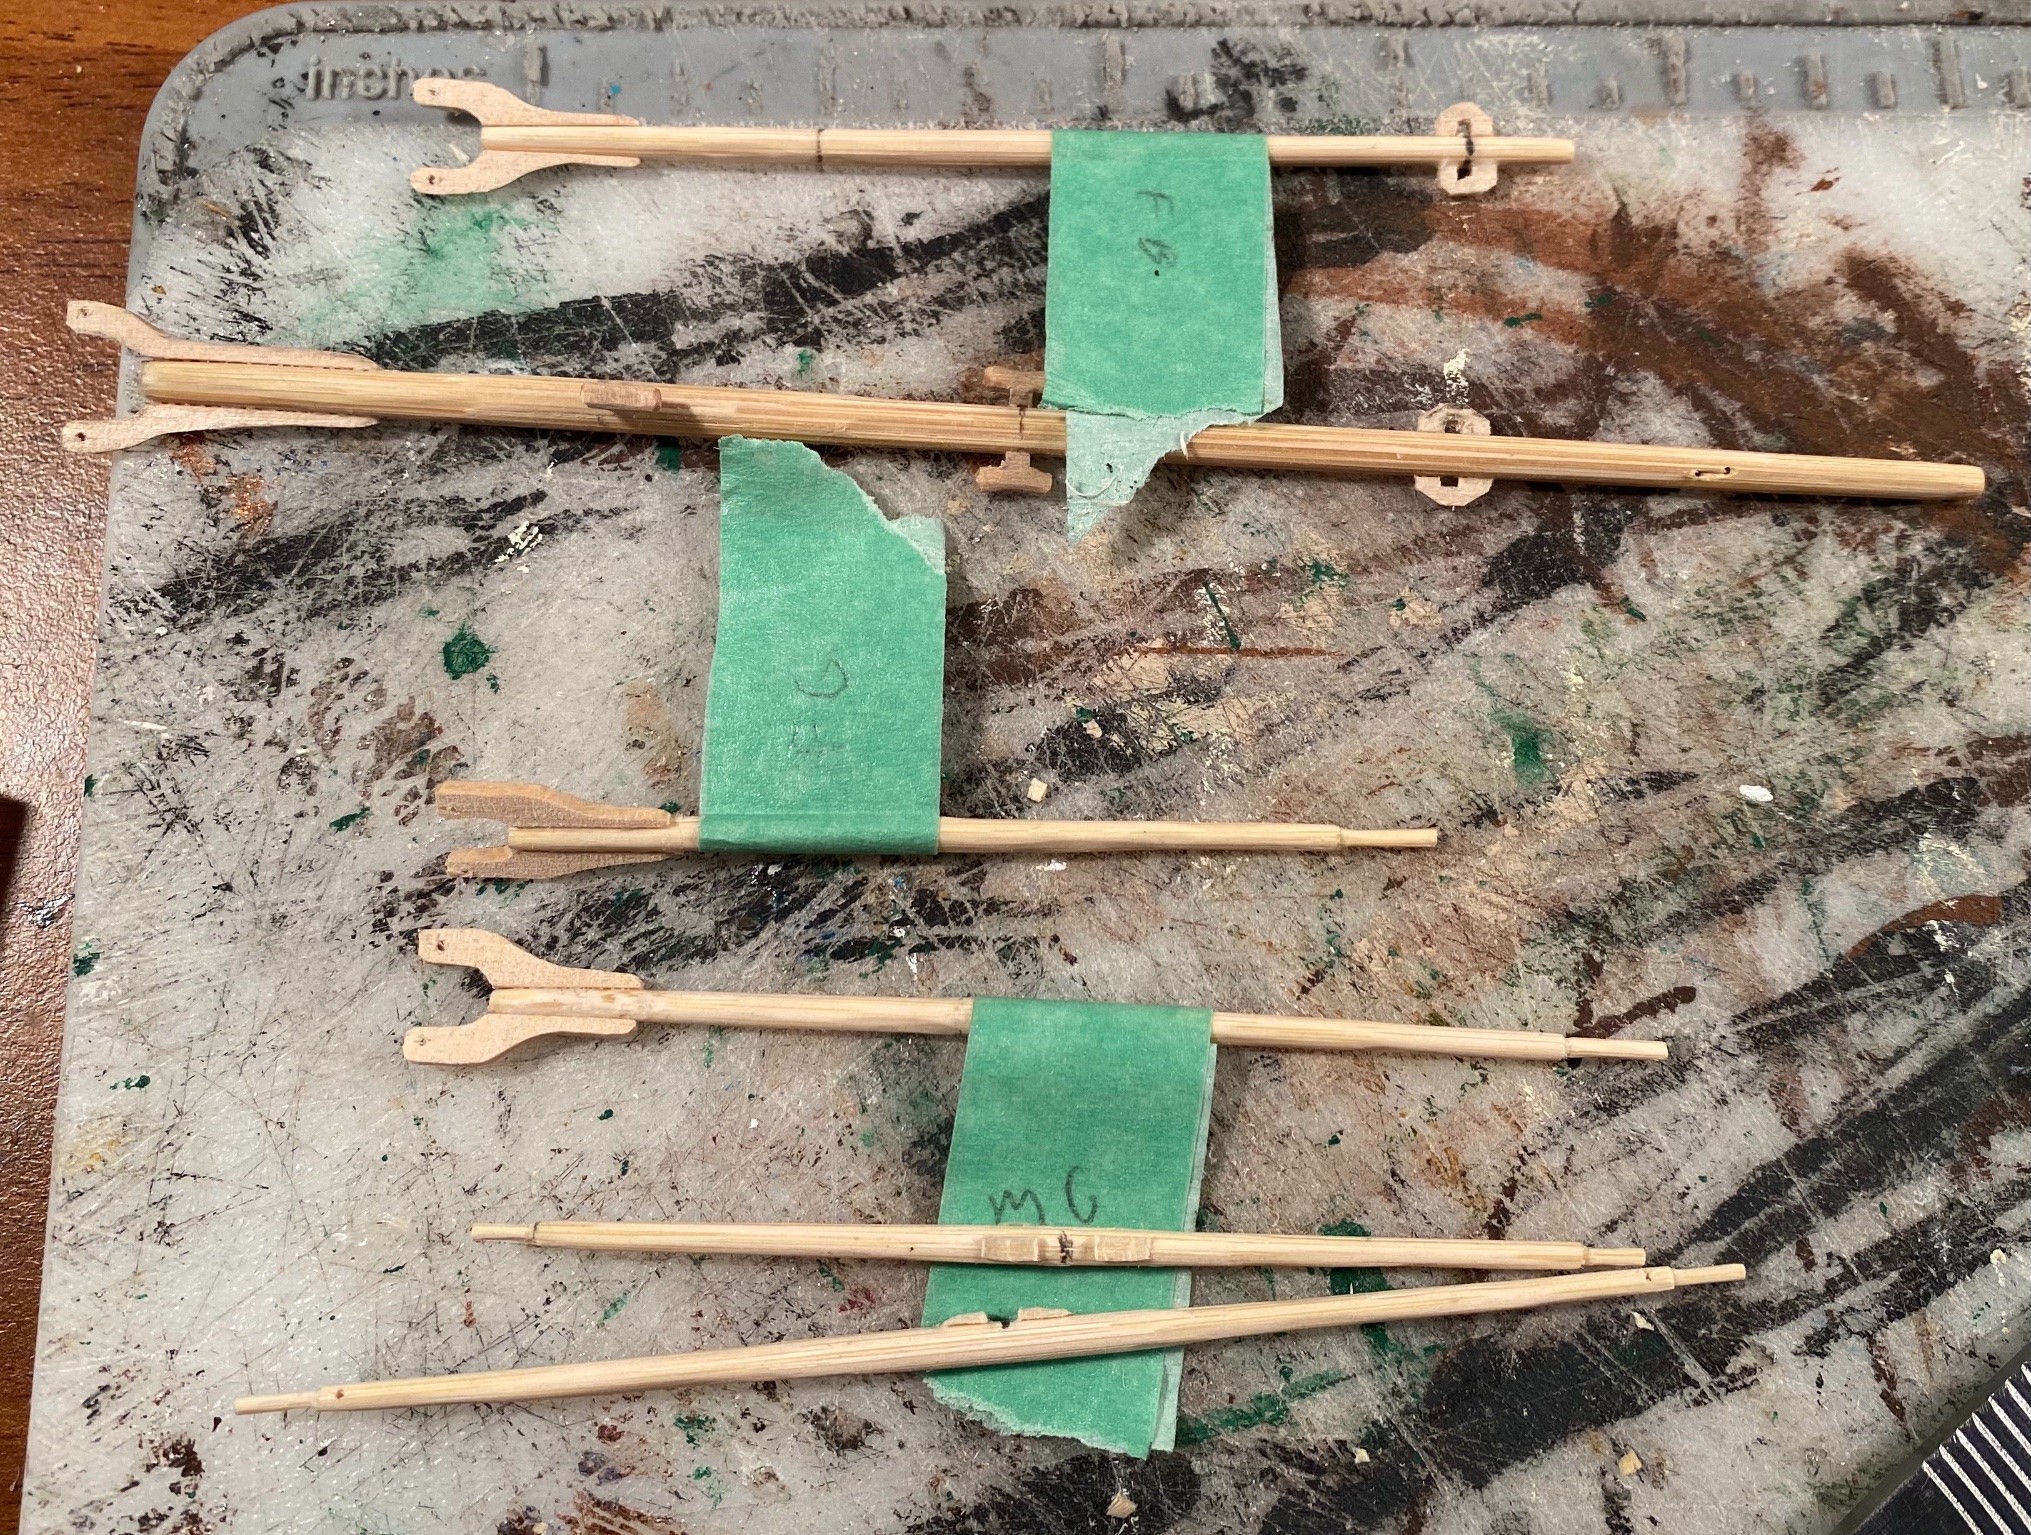
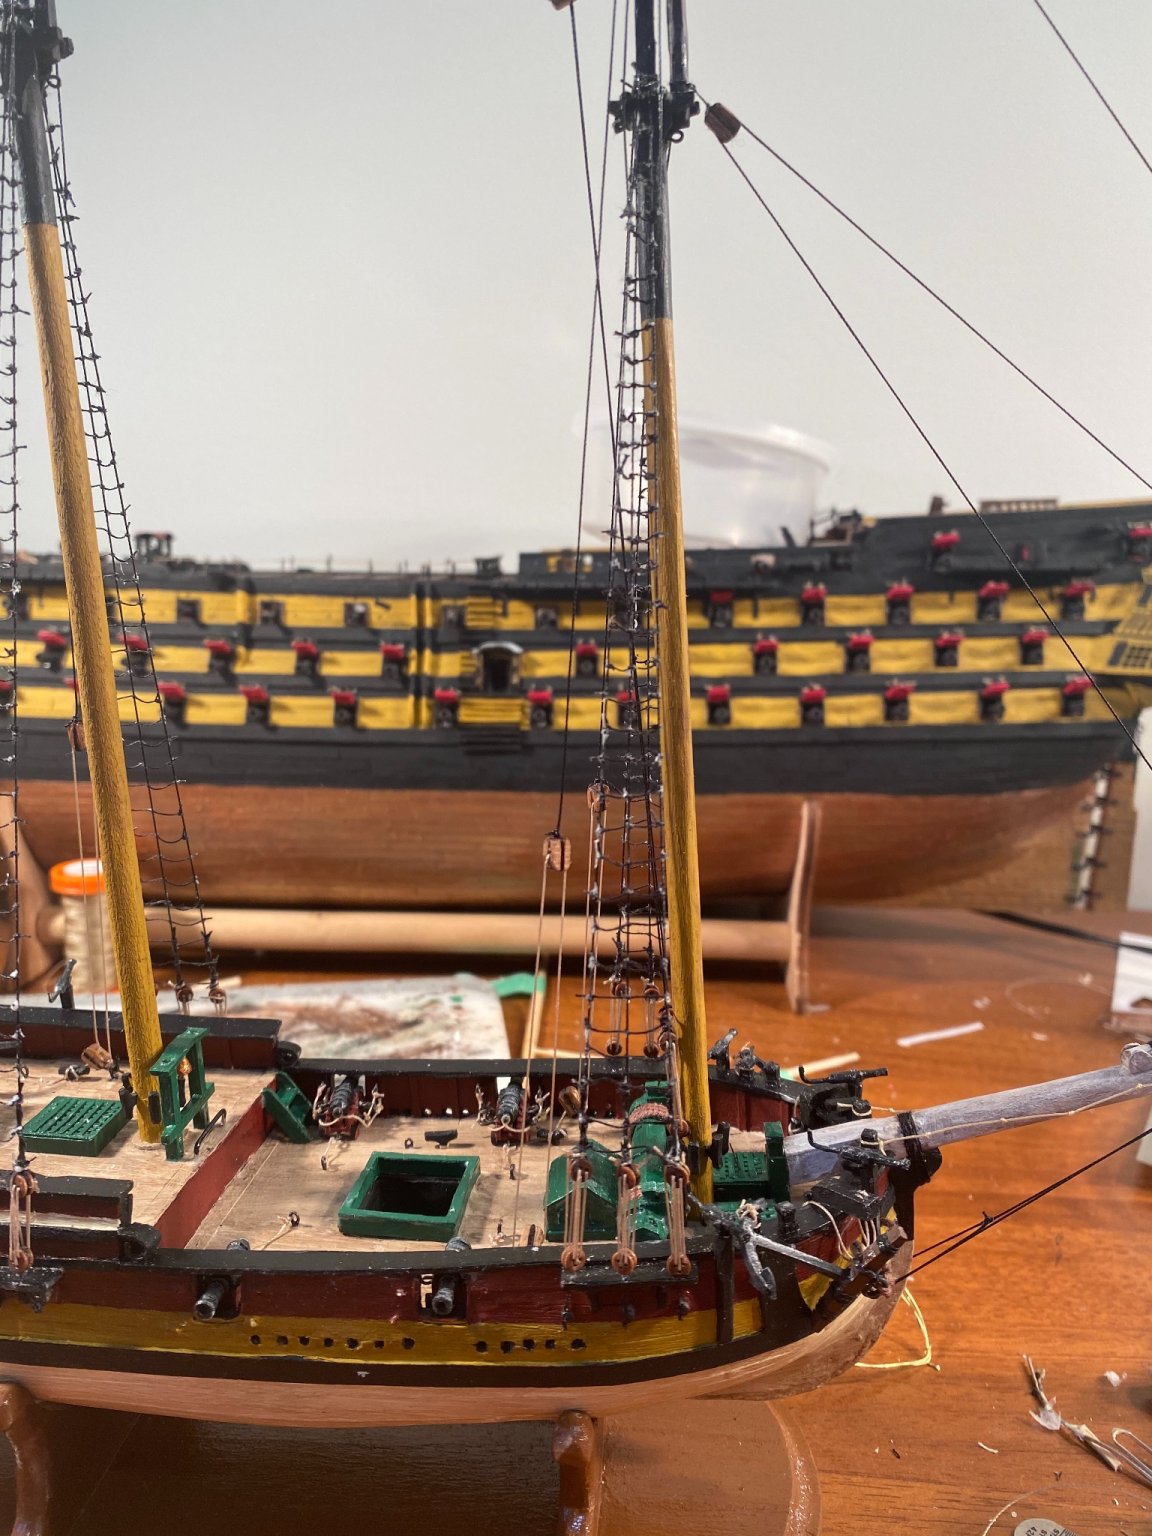
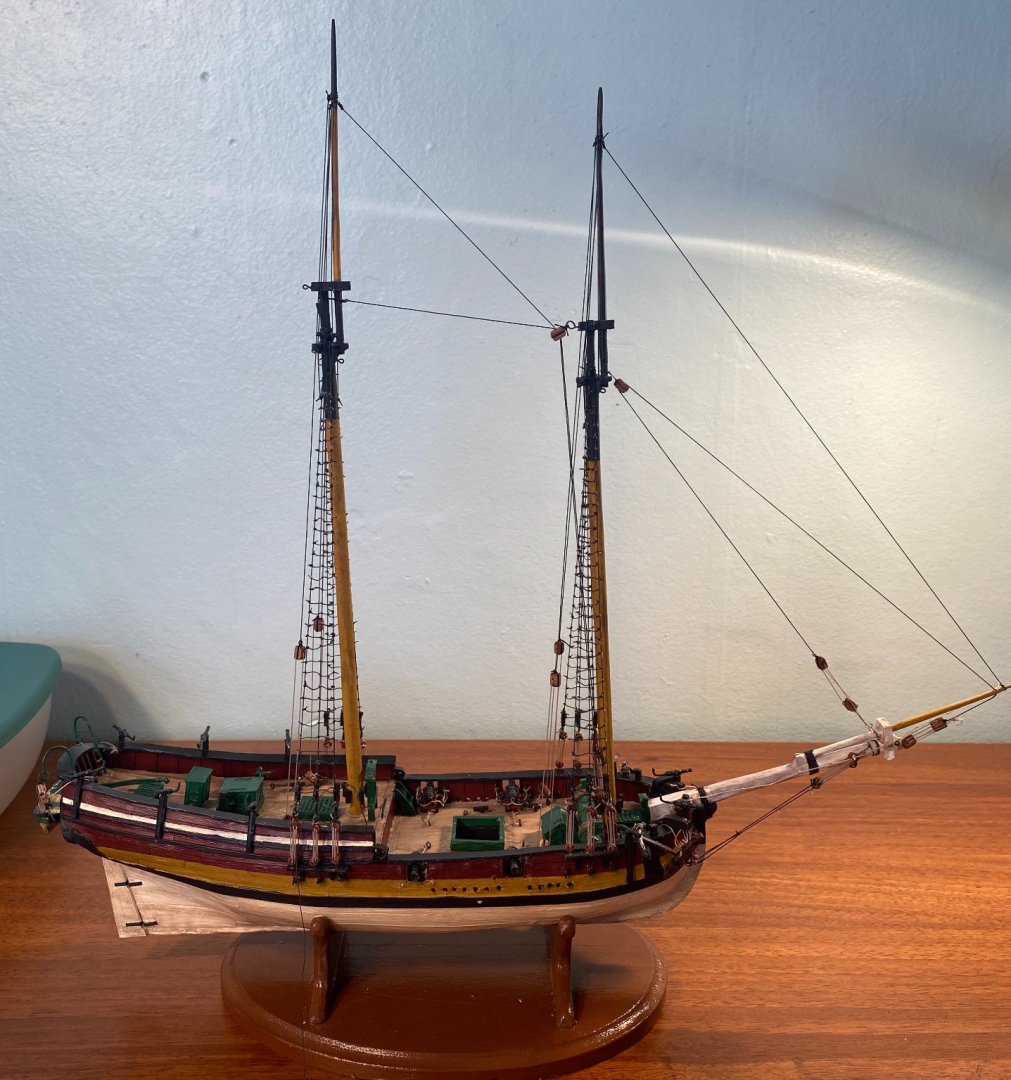
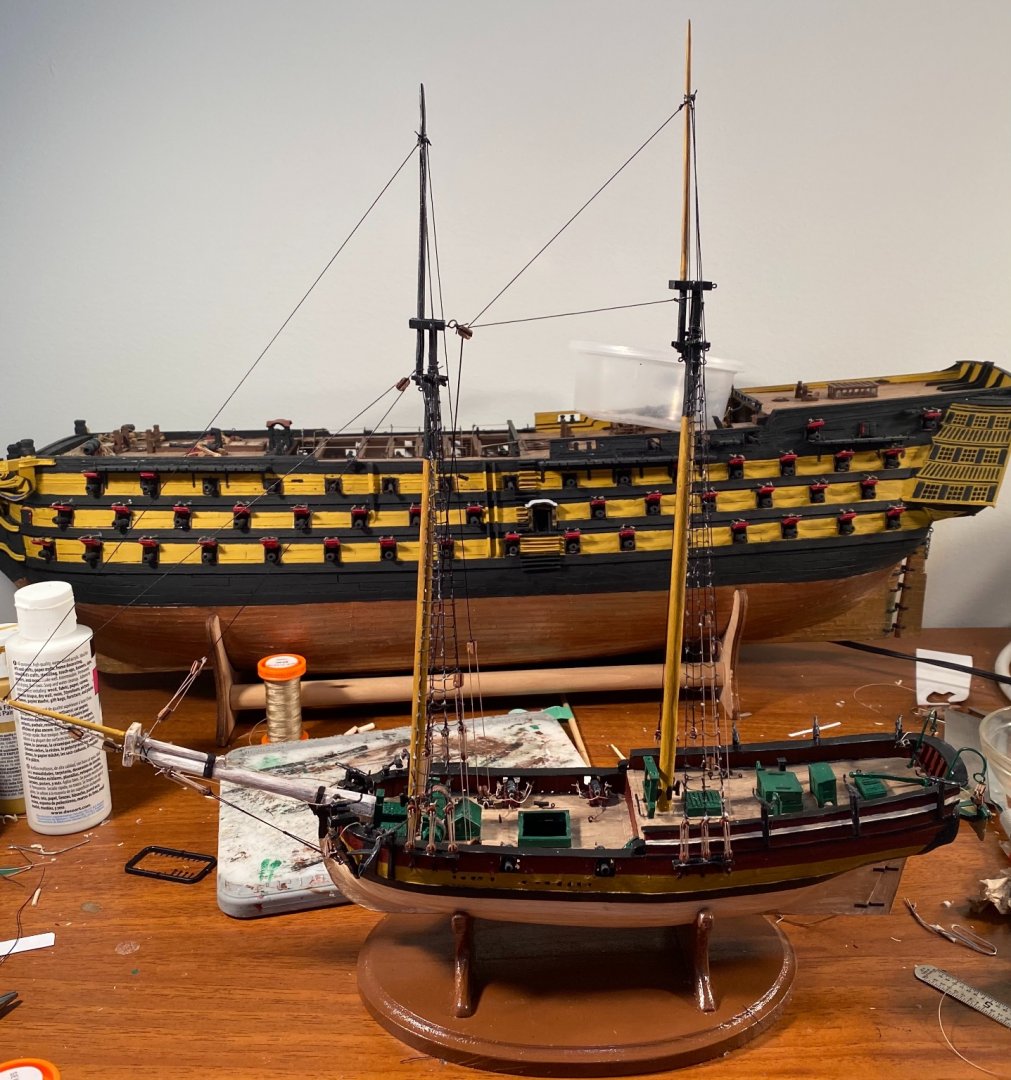
Booms, gaffs and yards are made: There are only 6 total for the entire model. I was looking at my plans for Victory, yesterday, in preparation for finishing it after I finish this one. The rigging is much more complicated. I am looking forward to the challenge. One of my goals for this year is to finish it.

-
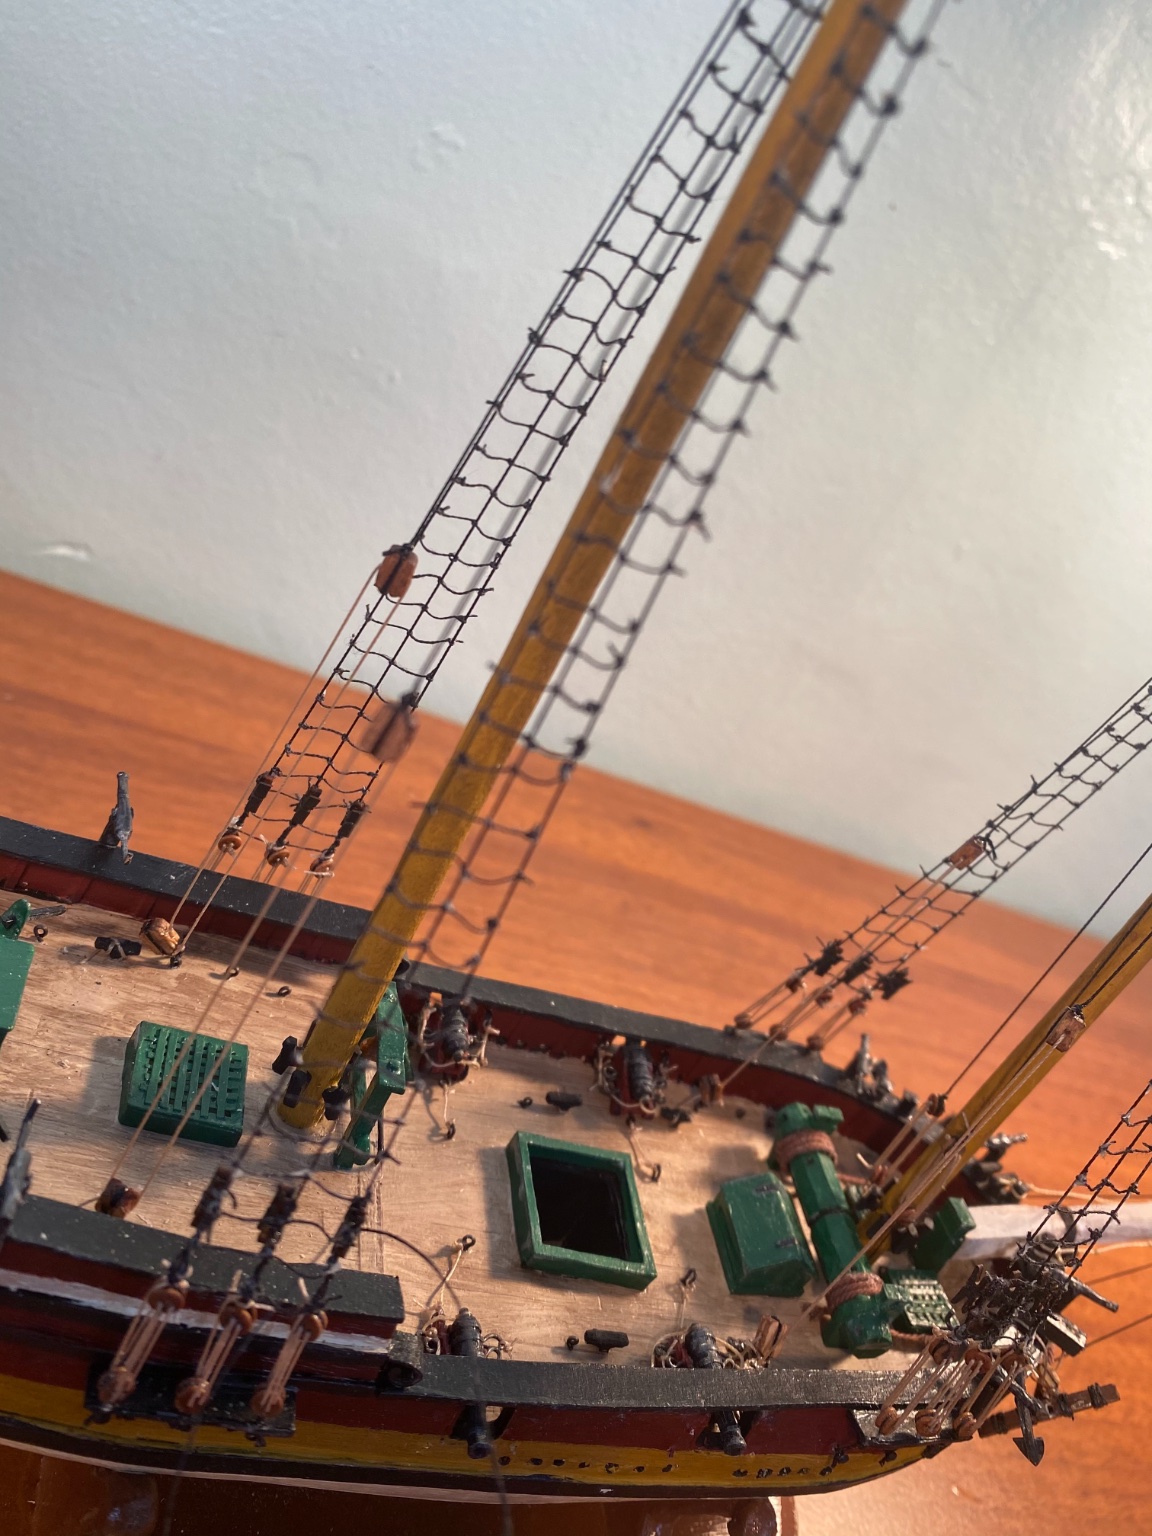
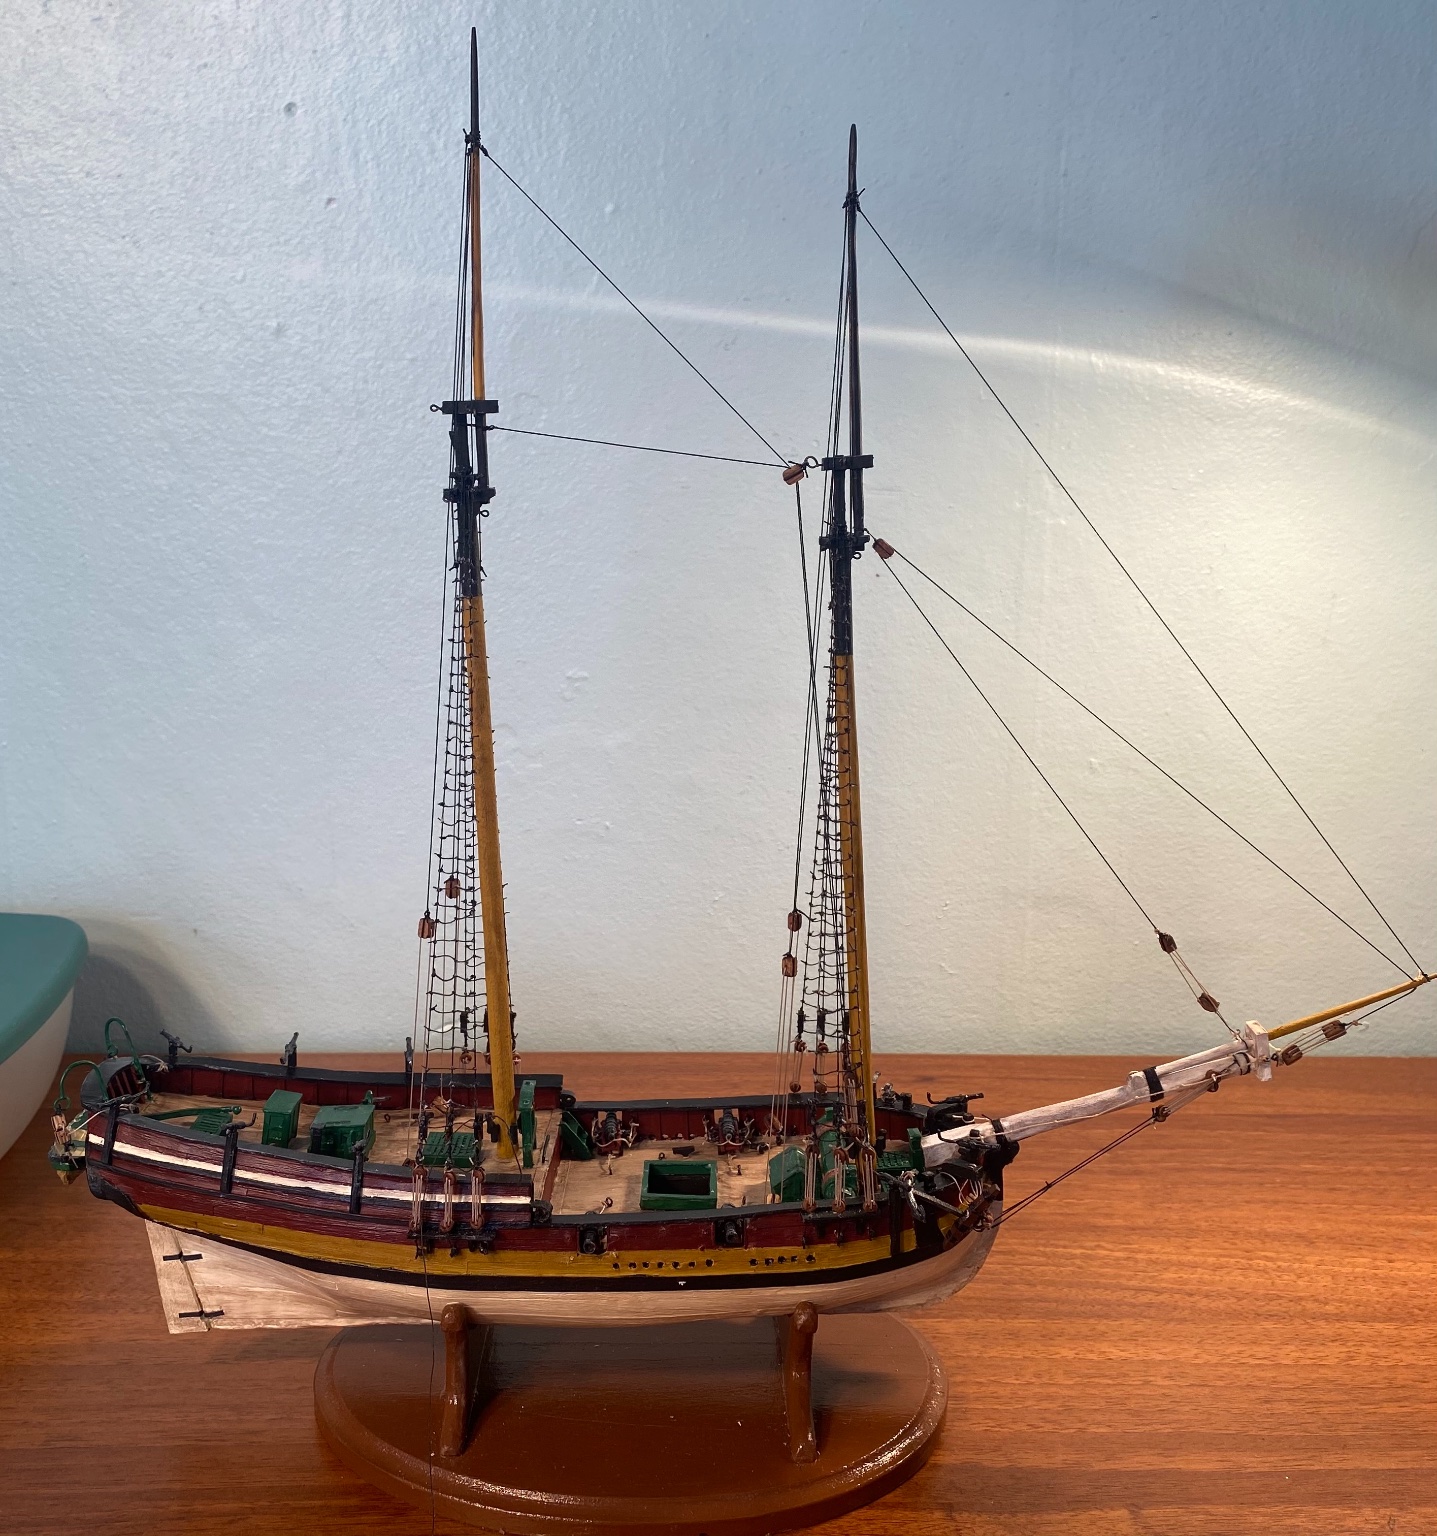
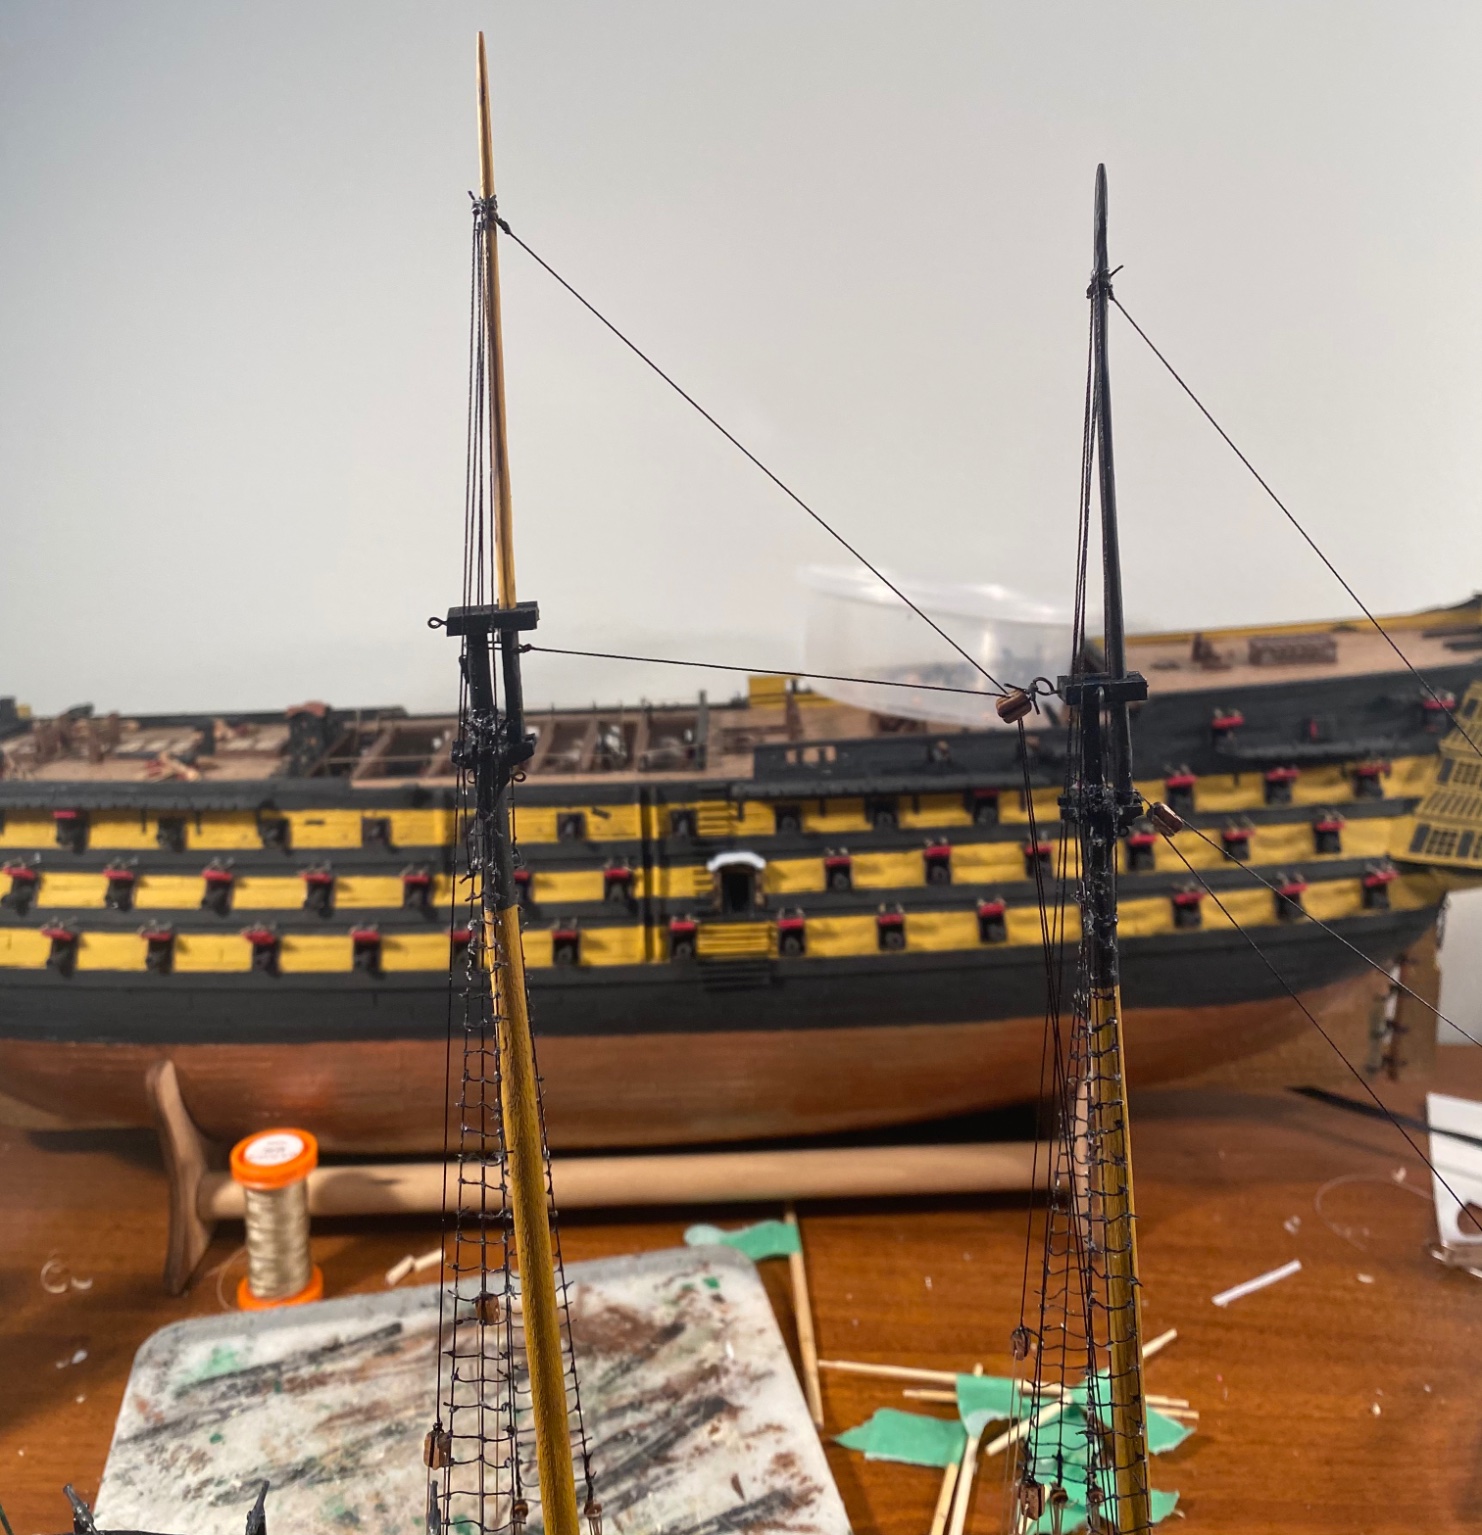
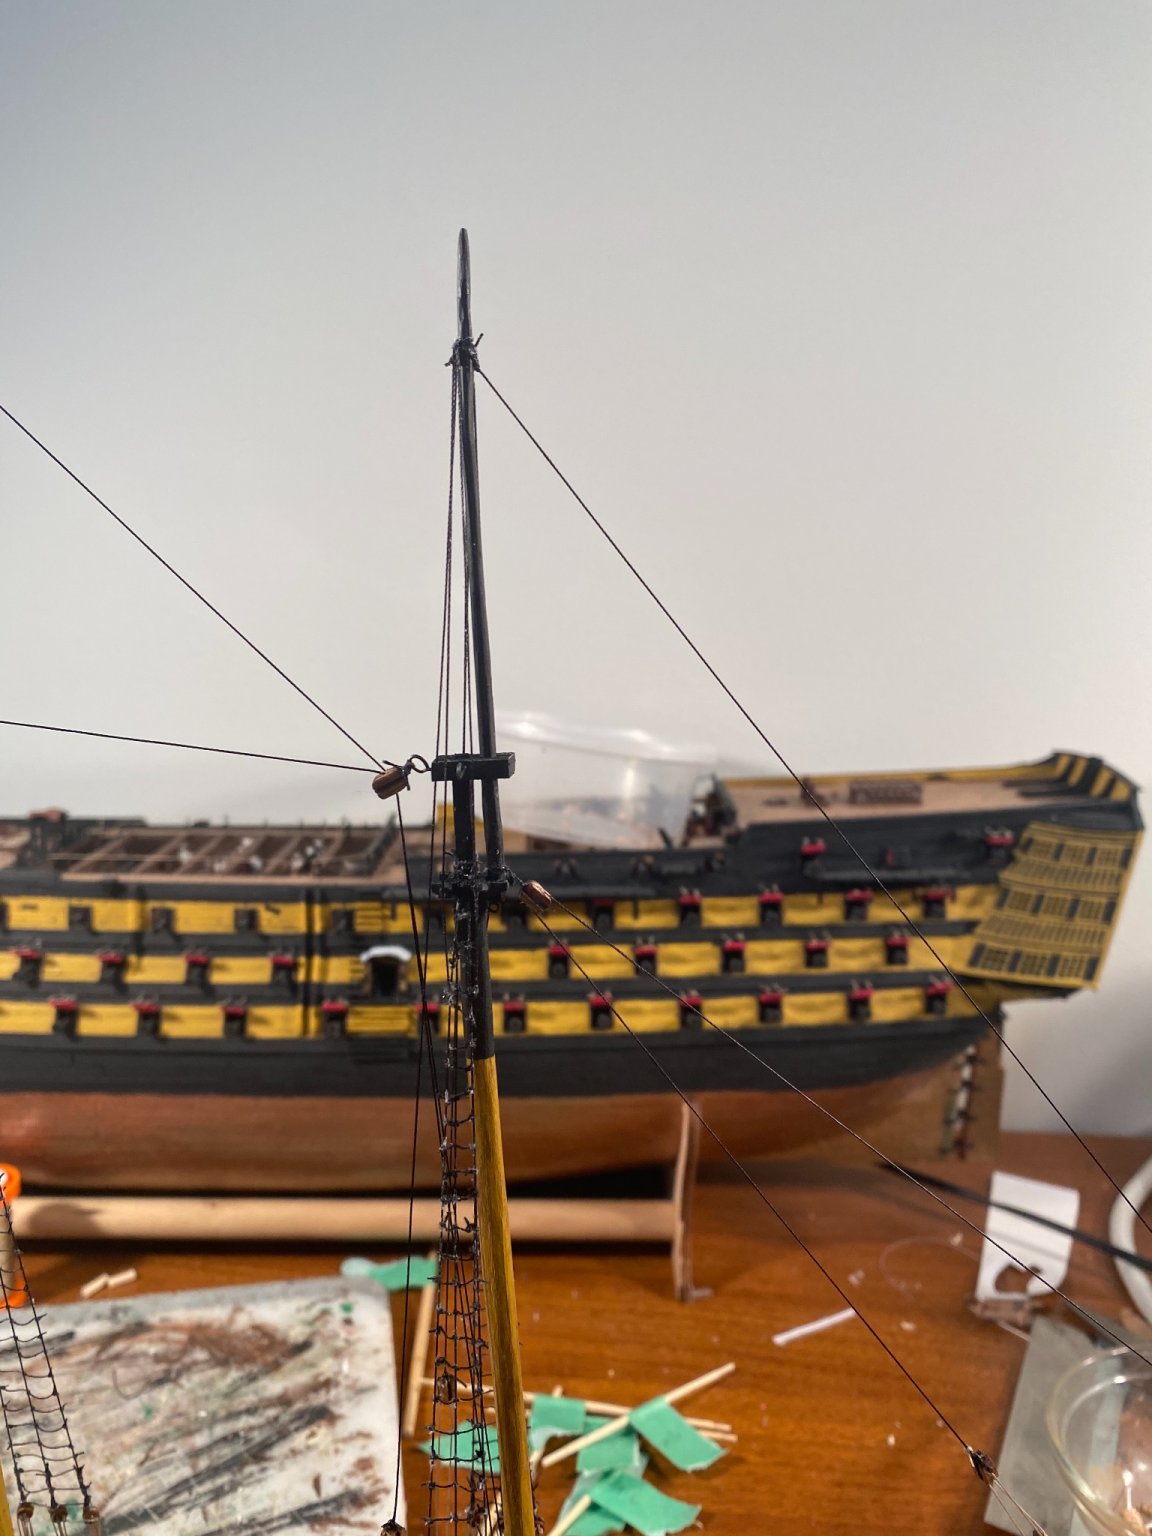
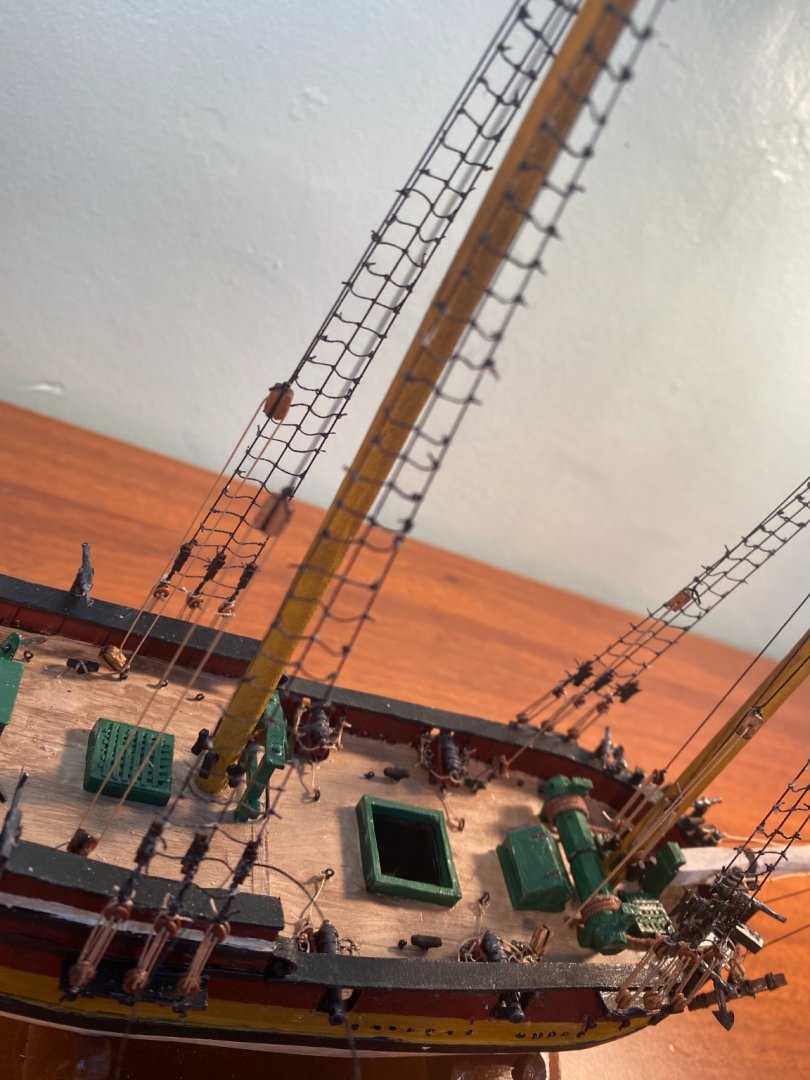
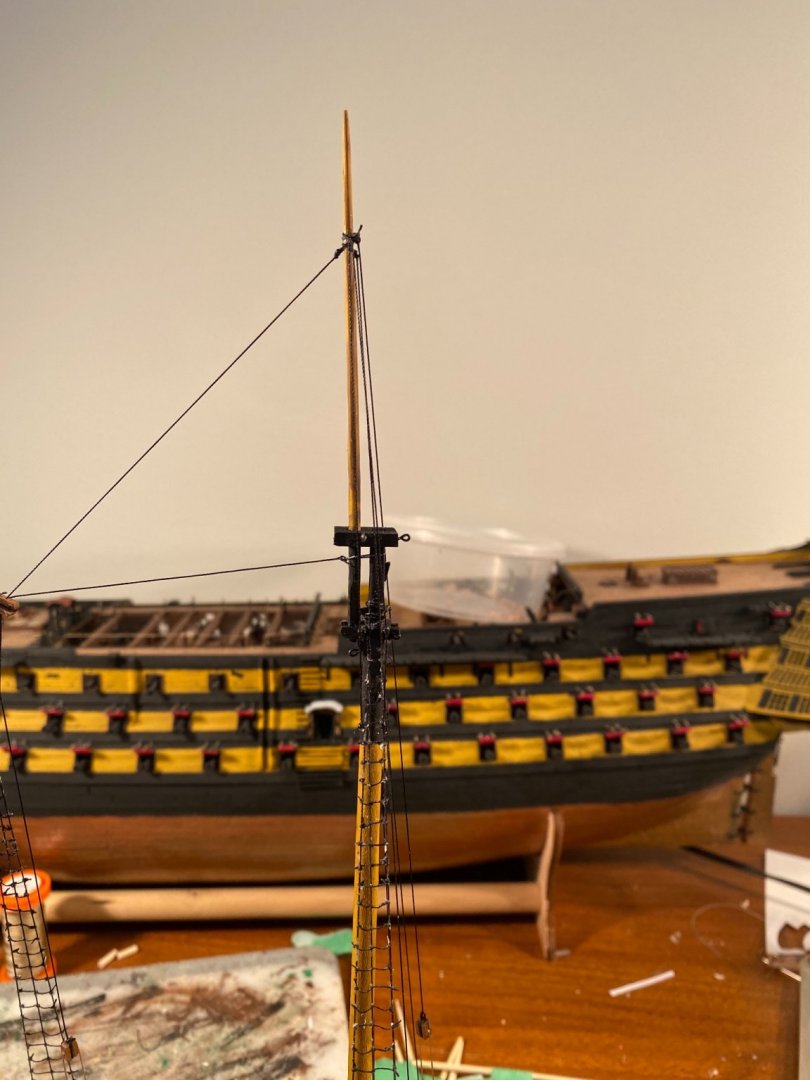
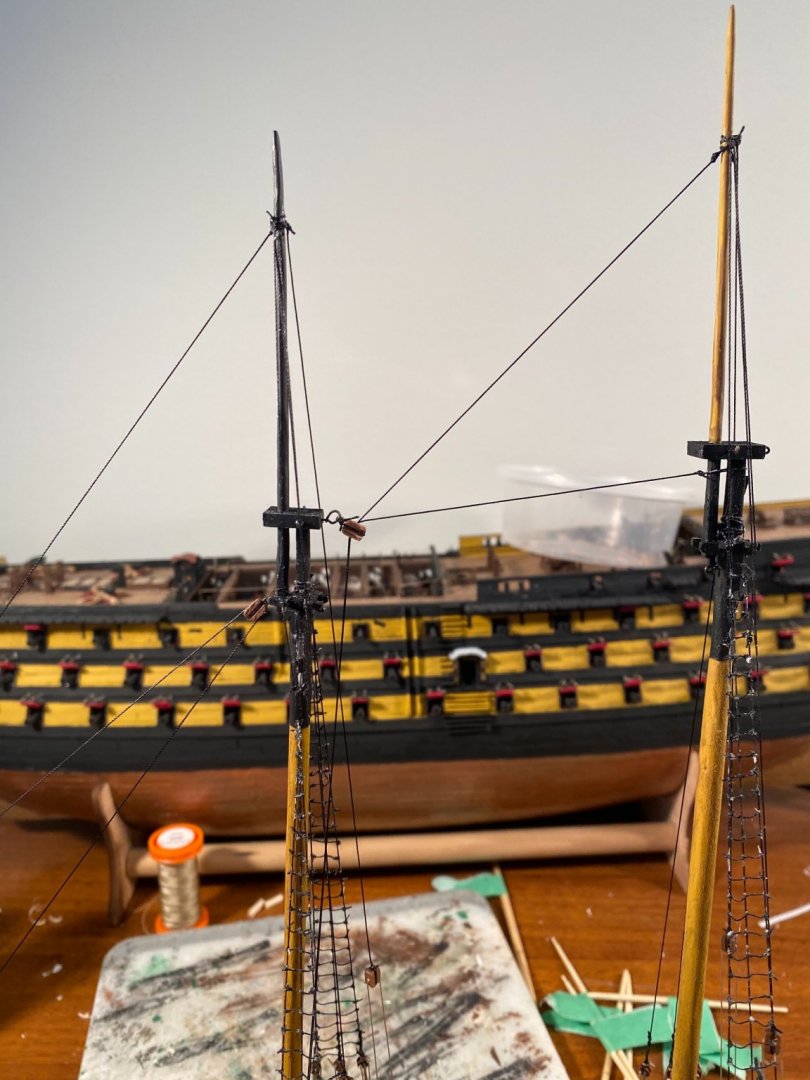
All ratlines are on. All futtock shrouds are on. At this point, I believe that the standing rigging is complete. At this point, it is time to finish the spars, make some shroud cleats and generally make ready for the running rigging. I am also going to make some sails. I am using the model, and the plans, for measurements , and the painting off the US Navy’s Historical Command’s website, for a guide of which sails to make. These consist of a Main Sail, a Fore Sail, a Top Sail and two Jib Sails, for a total of 5. I will make them the same as I did the ones for the Prince de Neufchatel.


-
Thank you very much, Edward! Thank you everyone who has stopped by or hit the “Like” button! The port side ratlines are complete and the futtock shrouds are in place: On to the Starboard Side Main Mast!

-
The ratlines are coming along nicely on the fore mast: Realized I forgot about the futtock shrouds. So, those will get added after the ratlines are all on.
-
I am sorry to hear this. I have seen your other builds and know you to be an excellent modeler, so don’t sell yourself short. We all have at least one of these models that we just lose interest in. Your next one will go better.
-
Thanks, OC! And thanks to all who have hit the “like” button or stopped by! Shrouds are done: Ratlines are under way!


-
My condolences on your loss. The Royal Katherine is magnificent!
- 1,035 replies
-
- 4
-

-

-
- royal katherine
- ship of the line
- (and 1 more)