GrandpaPhil
-
Posts
6,161 -
Joined
-
Last visited
Content Type
Profiles
Forums
Gallery
Events
Everything posted by GrandpaPhil
-
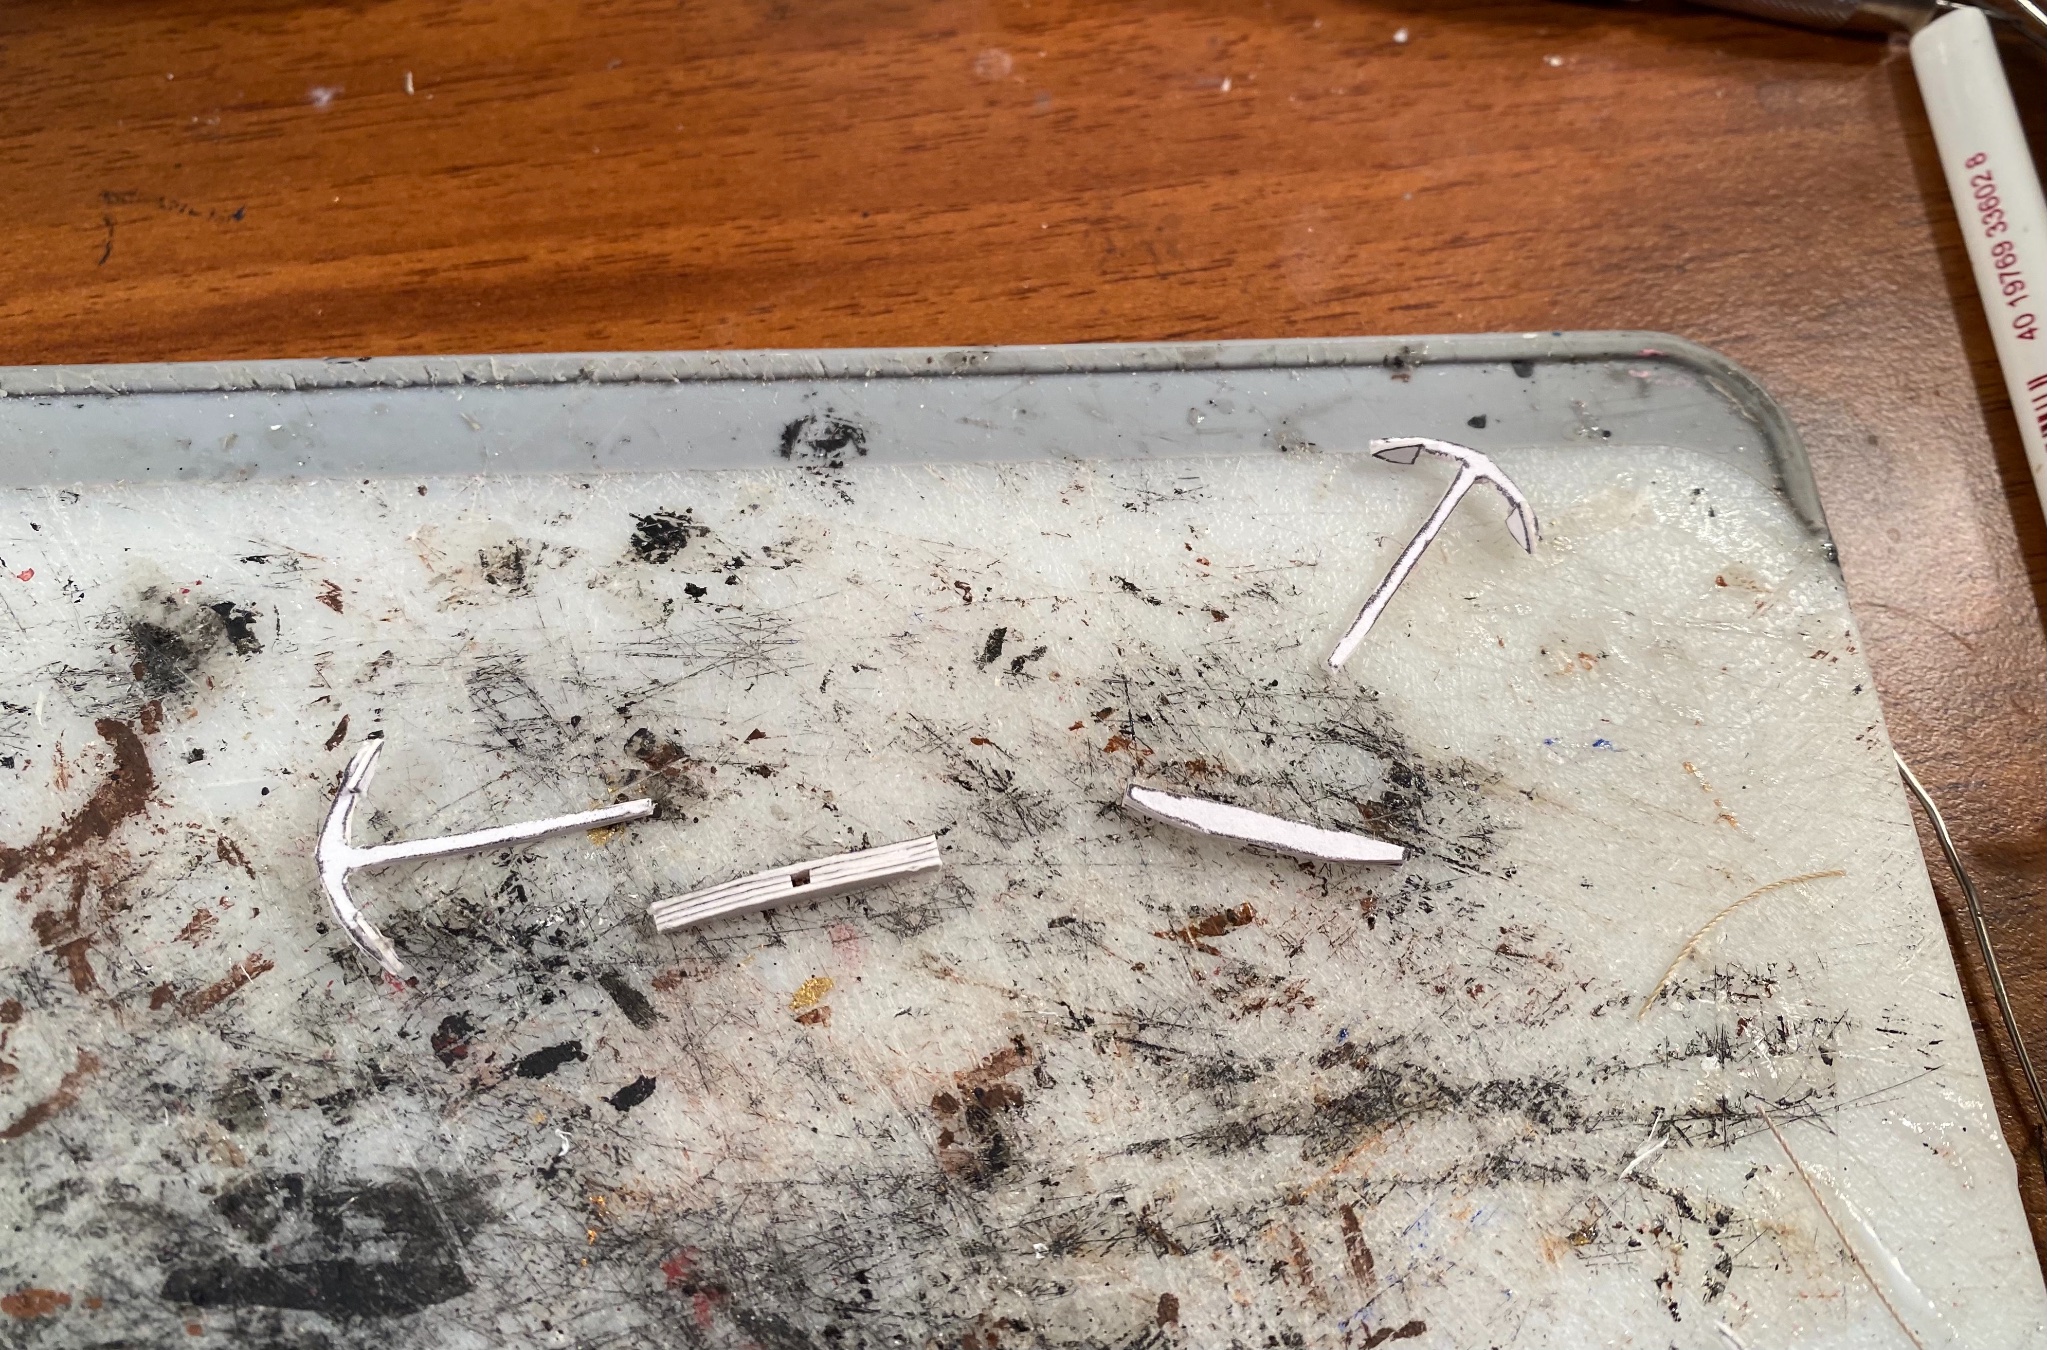
The anchors are cut out and assembled. They just need painted and the banding installed on the wood part of the anchor.

-
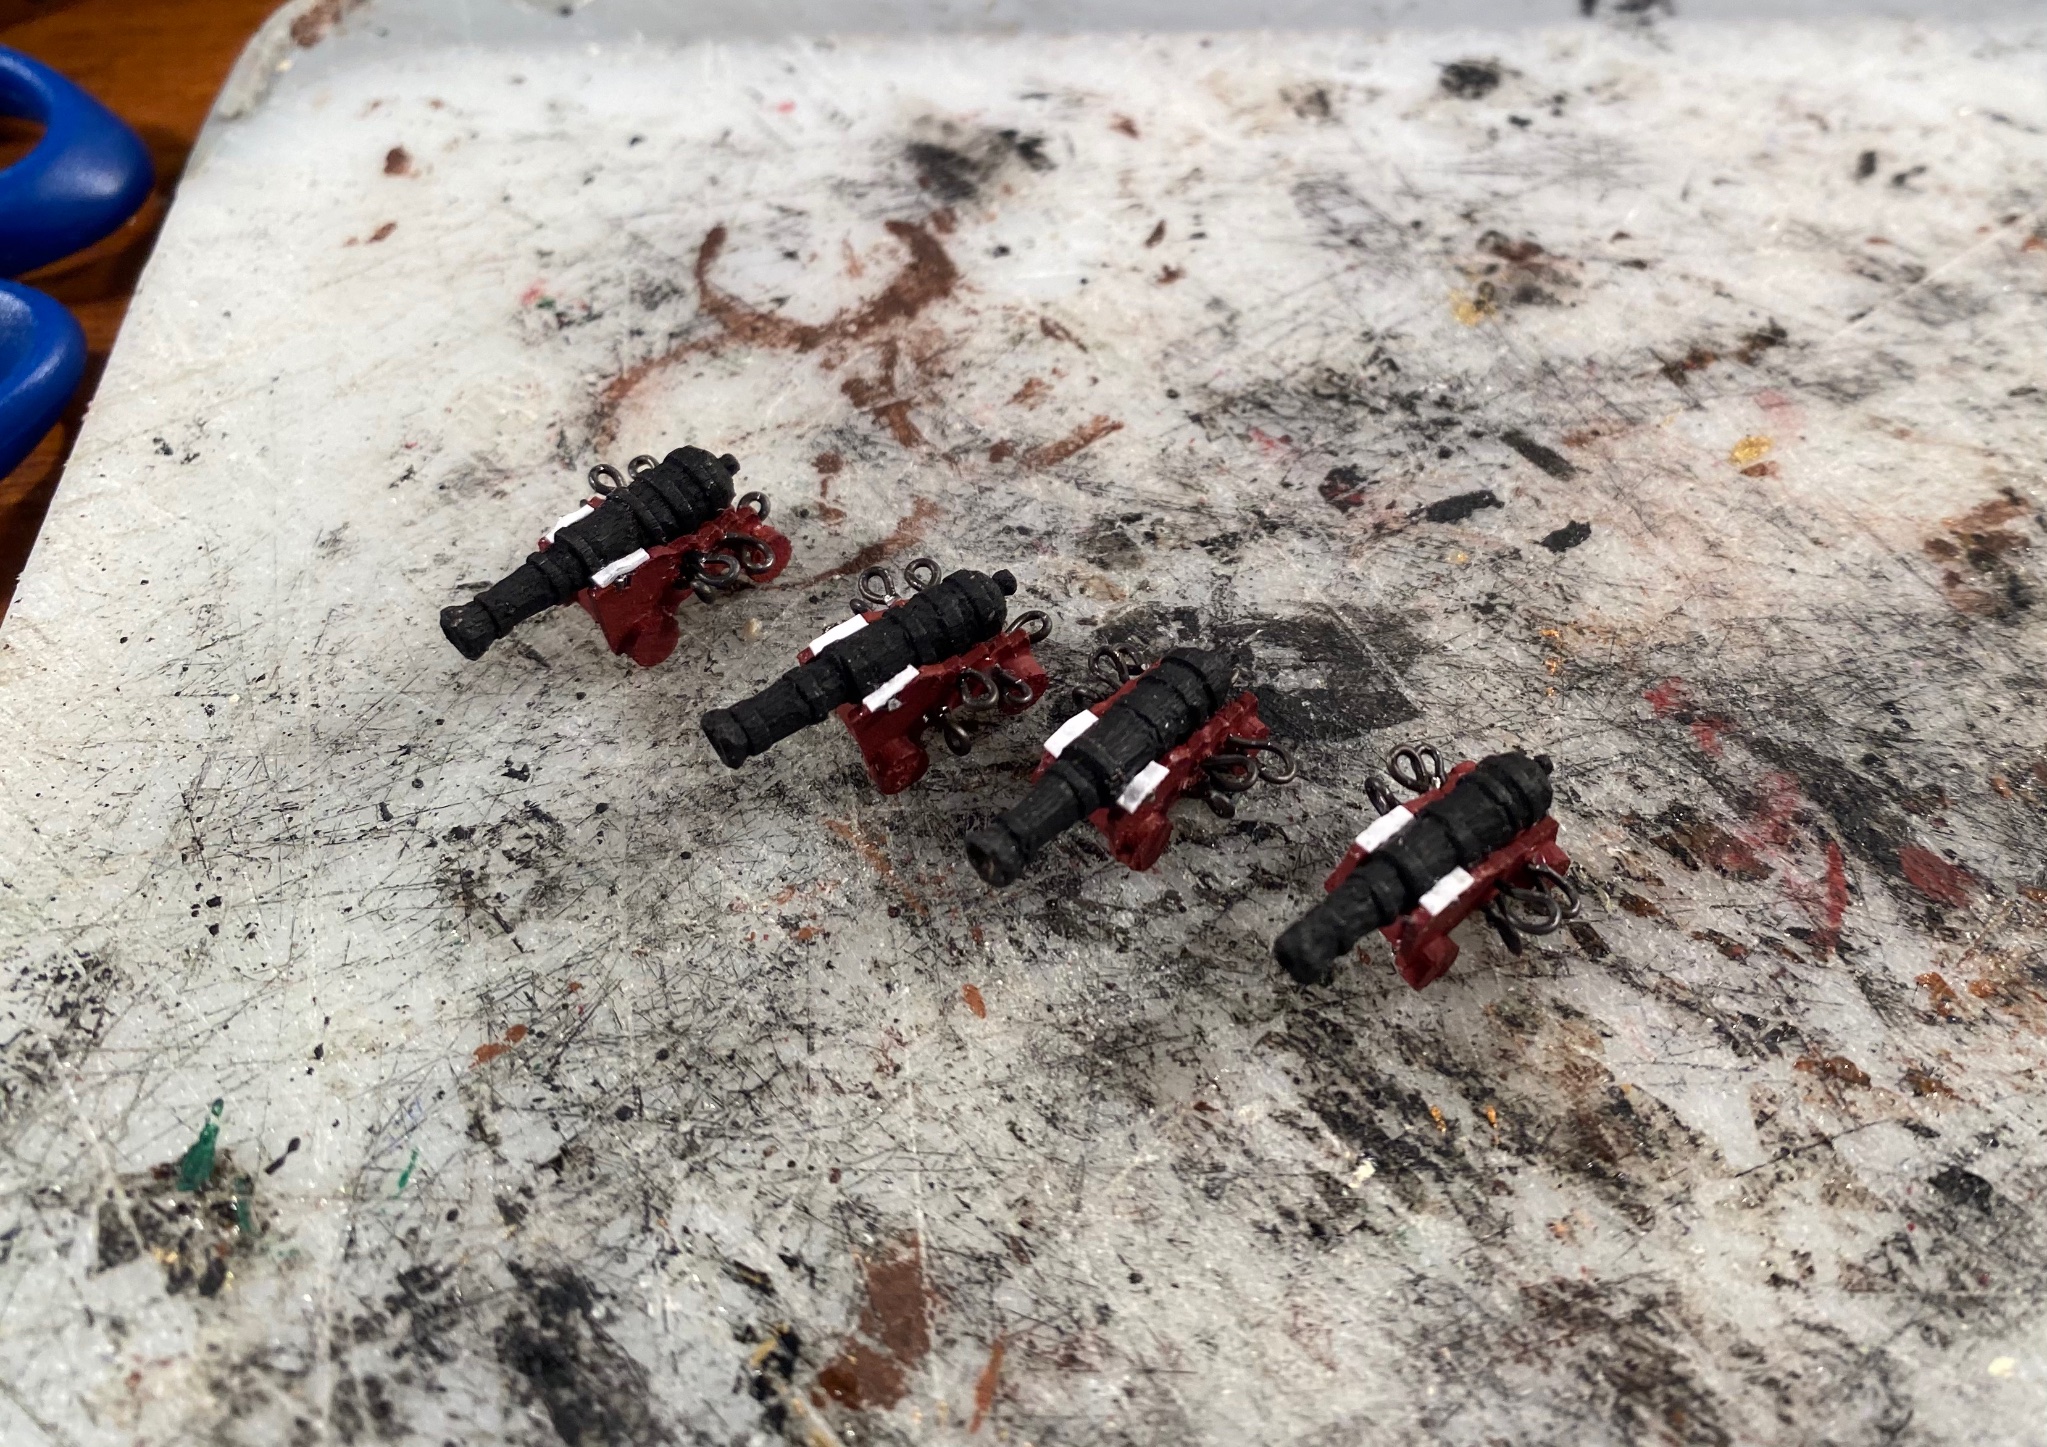
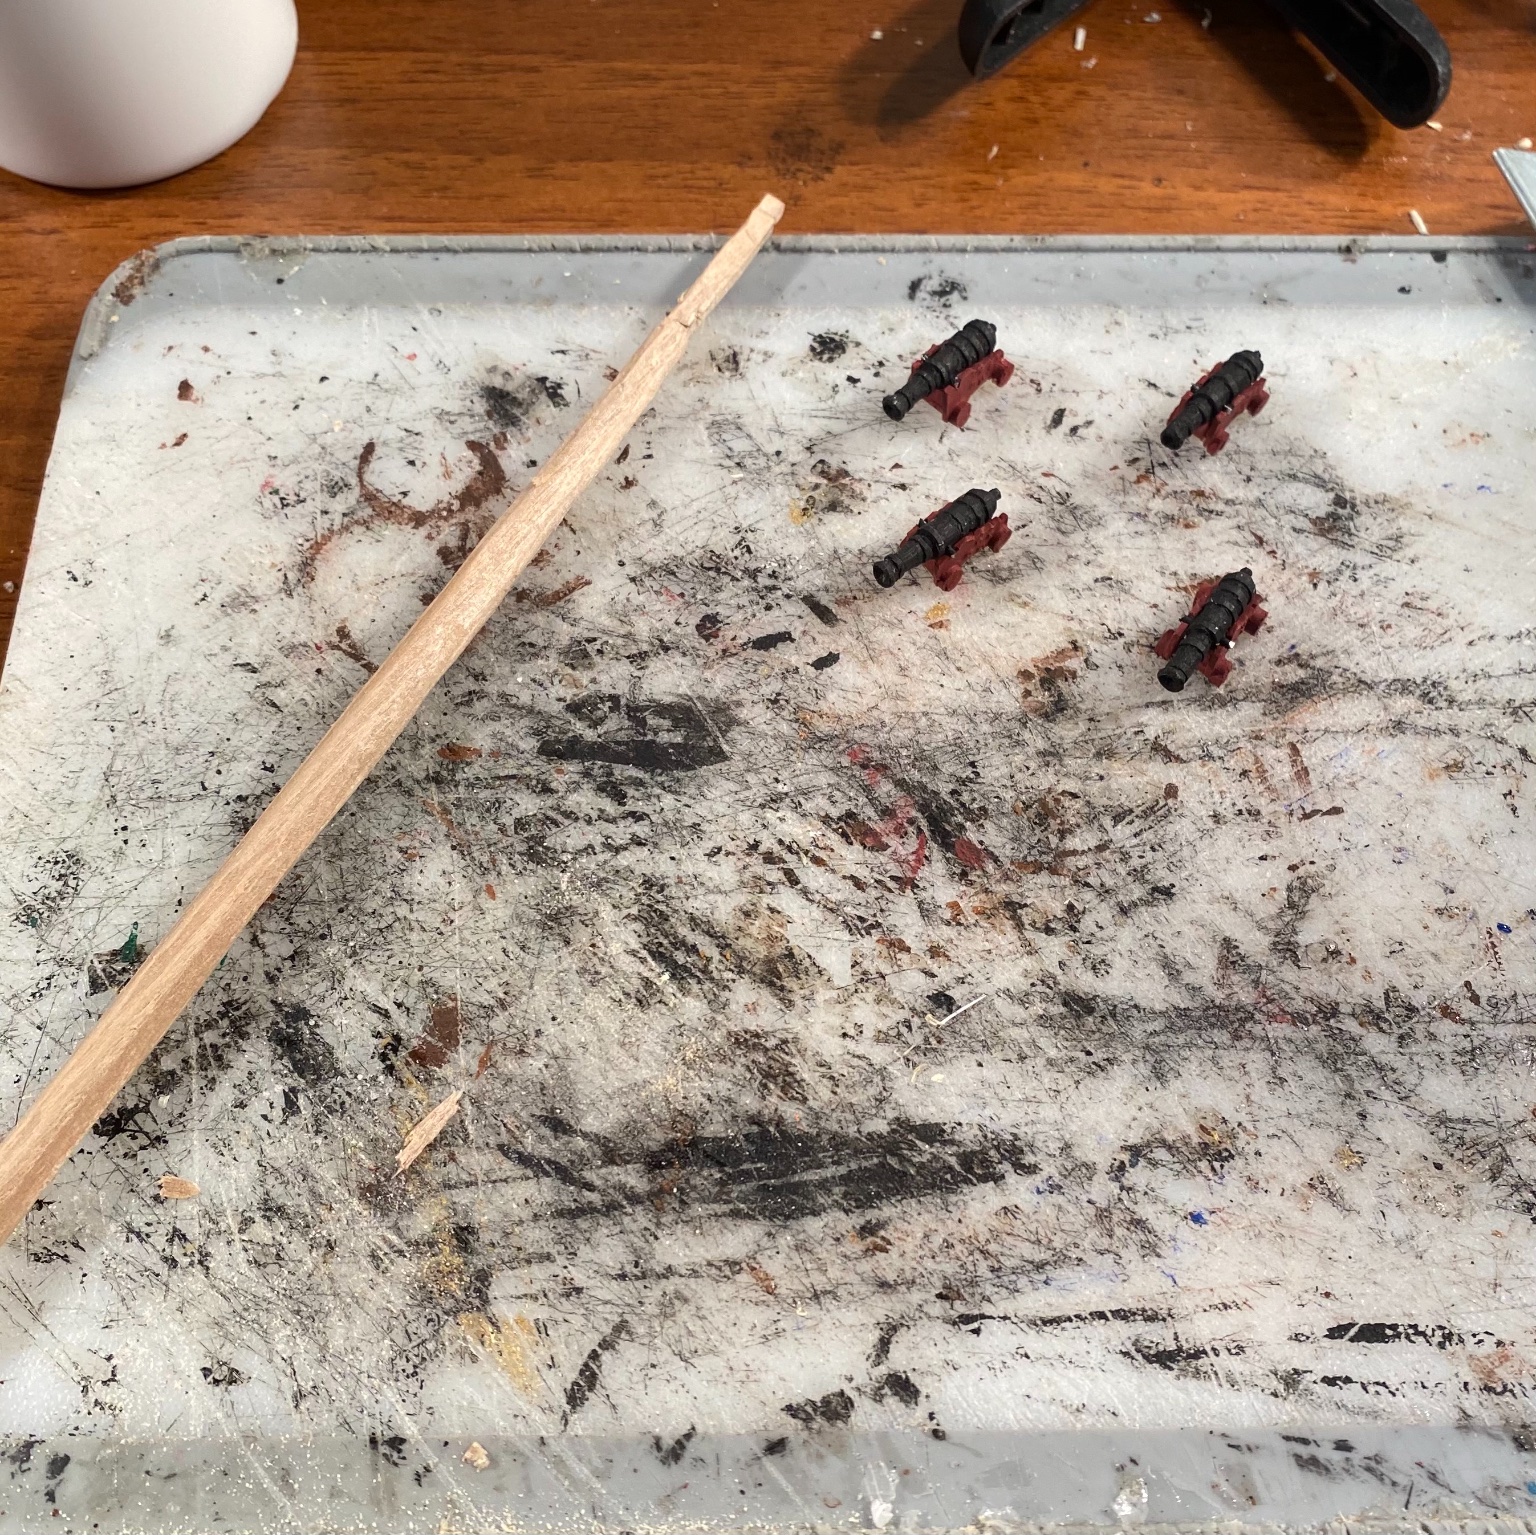
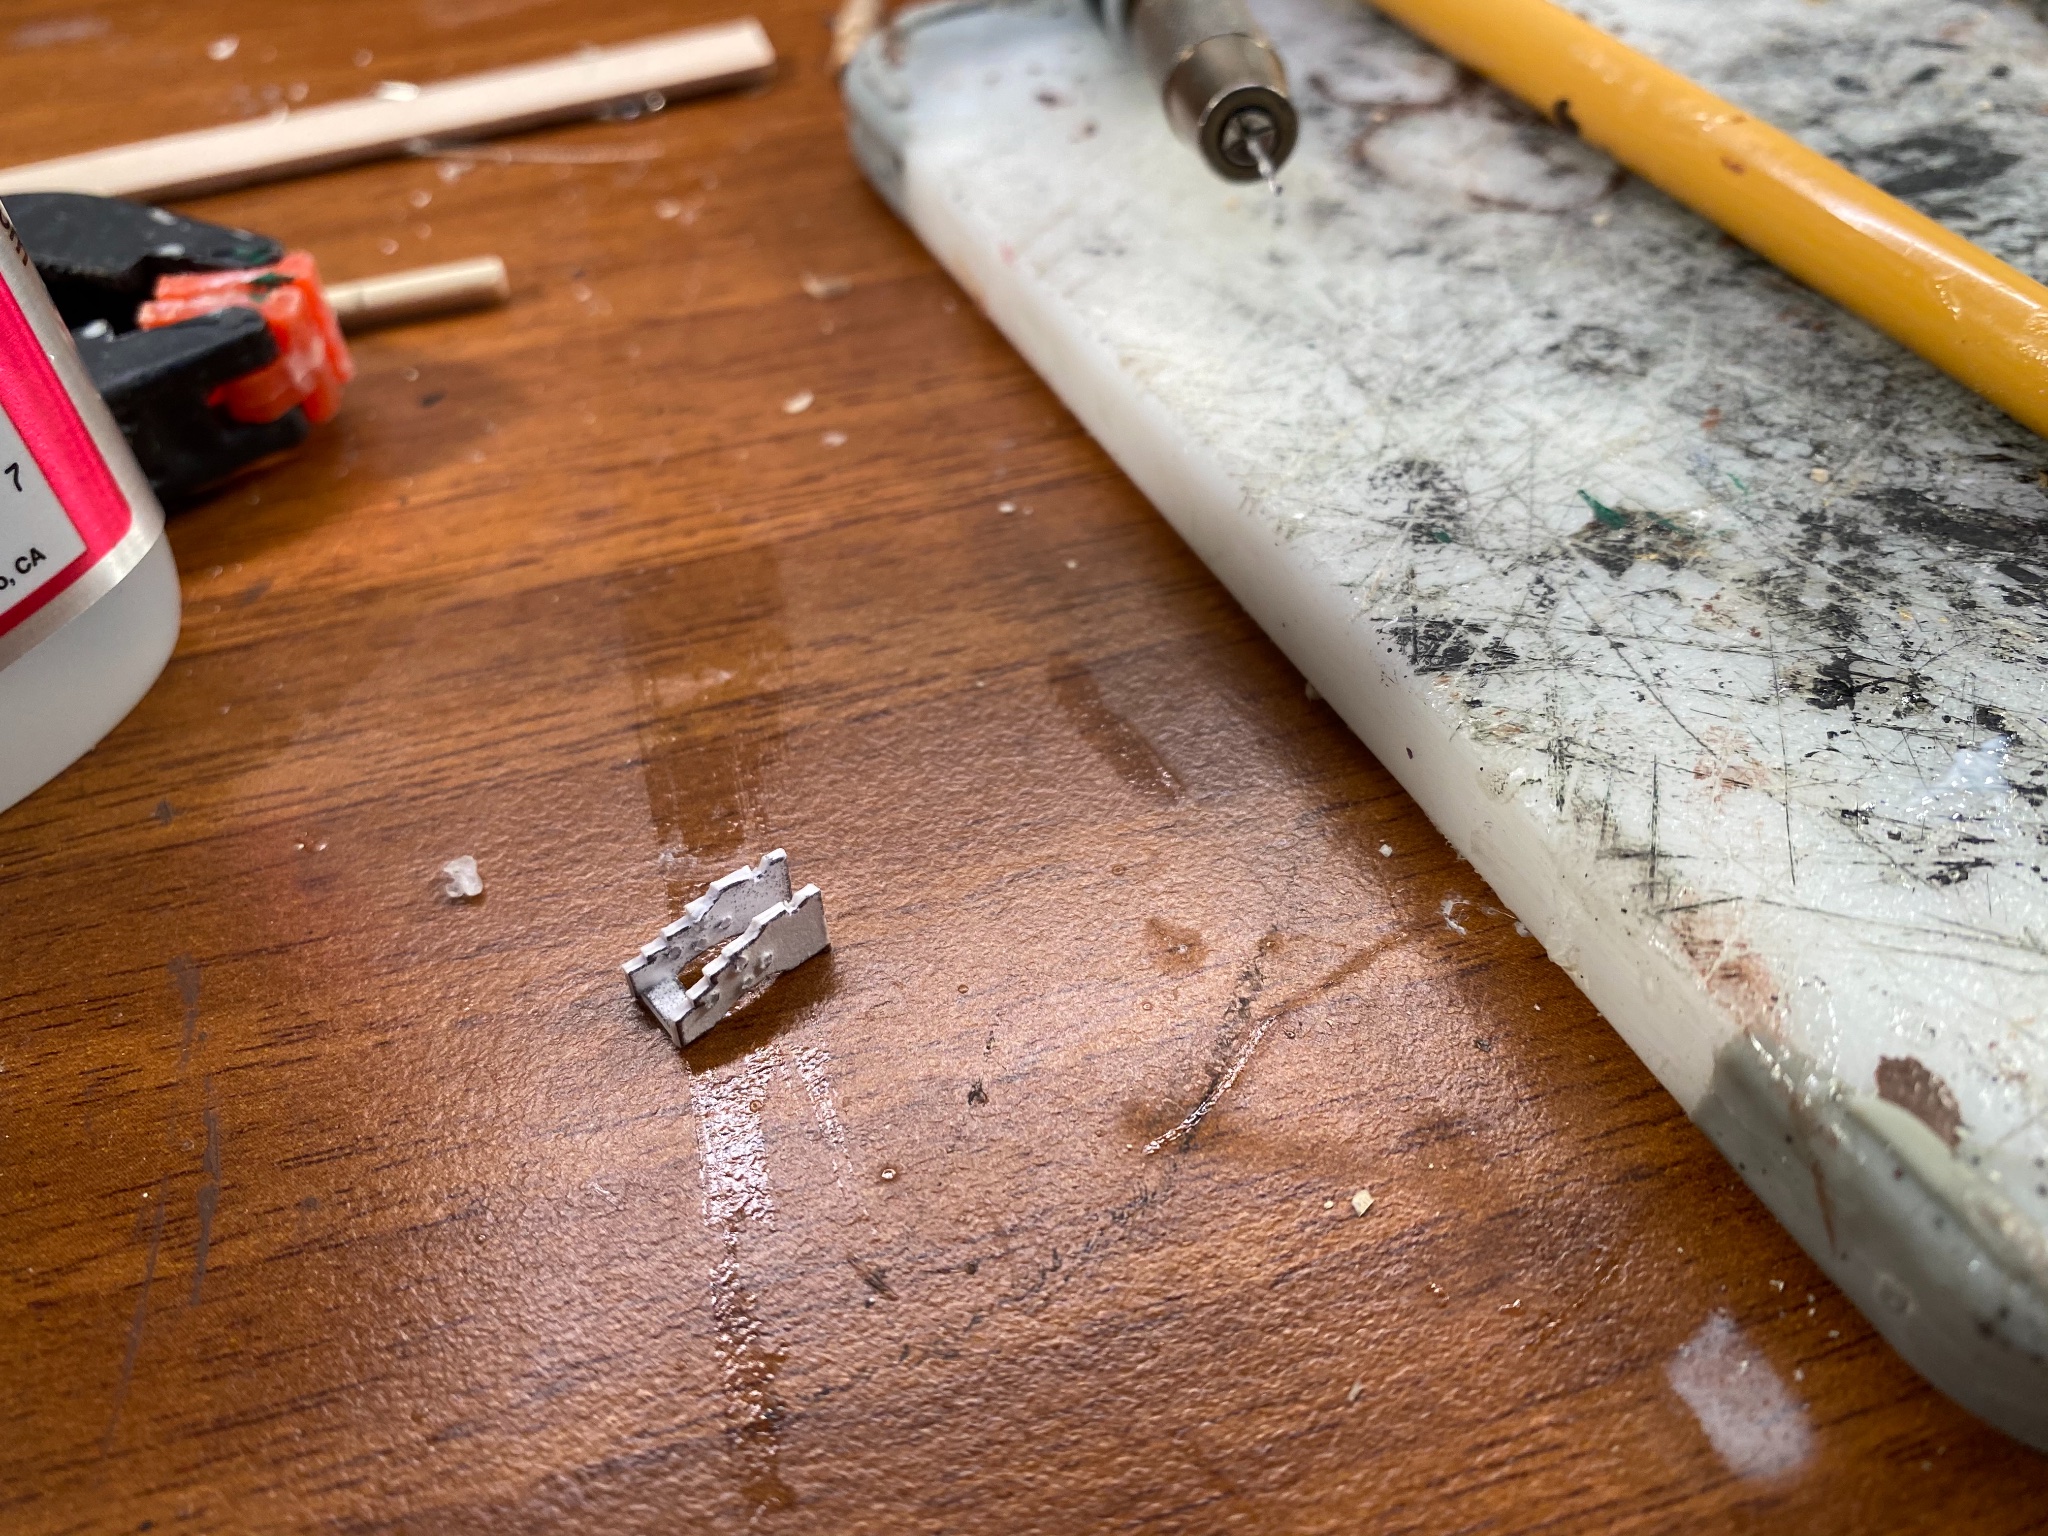
Important note for those carving their own cannons and lesson learned for me. Ensure that the cascabel is sufficiently defined to wrap a breaching rope around it if you are making cannons that do not have the eyebolt in the breech. In other news, 4 lb cannons are tiny and small enough at 1/72 scale that I don’t have blocks small enough to rig the guns without the blocks interfering with one another, so I will be doing a simplified version of the rigging like I did for the carronades on my Prince de Neufchatel.

-
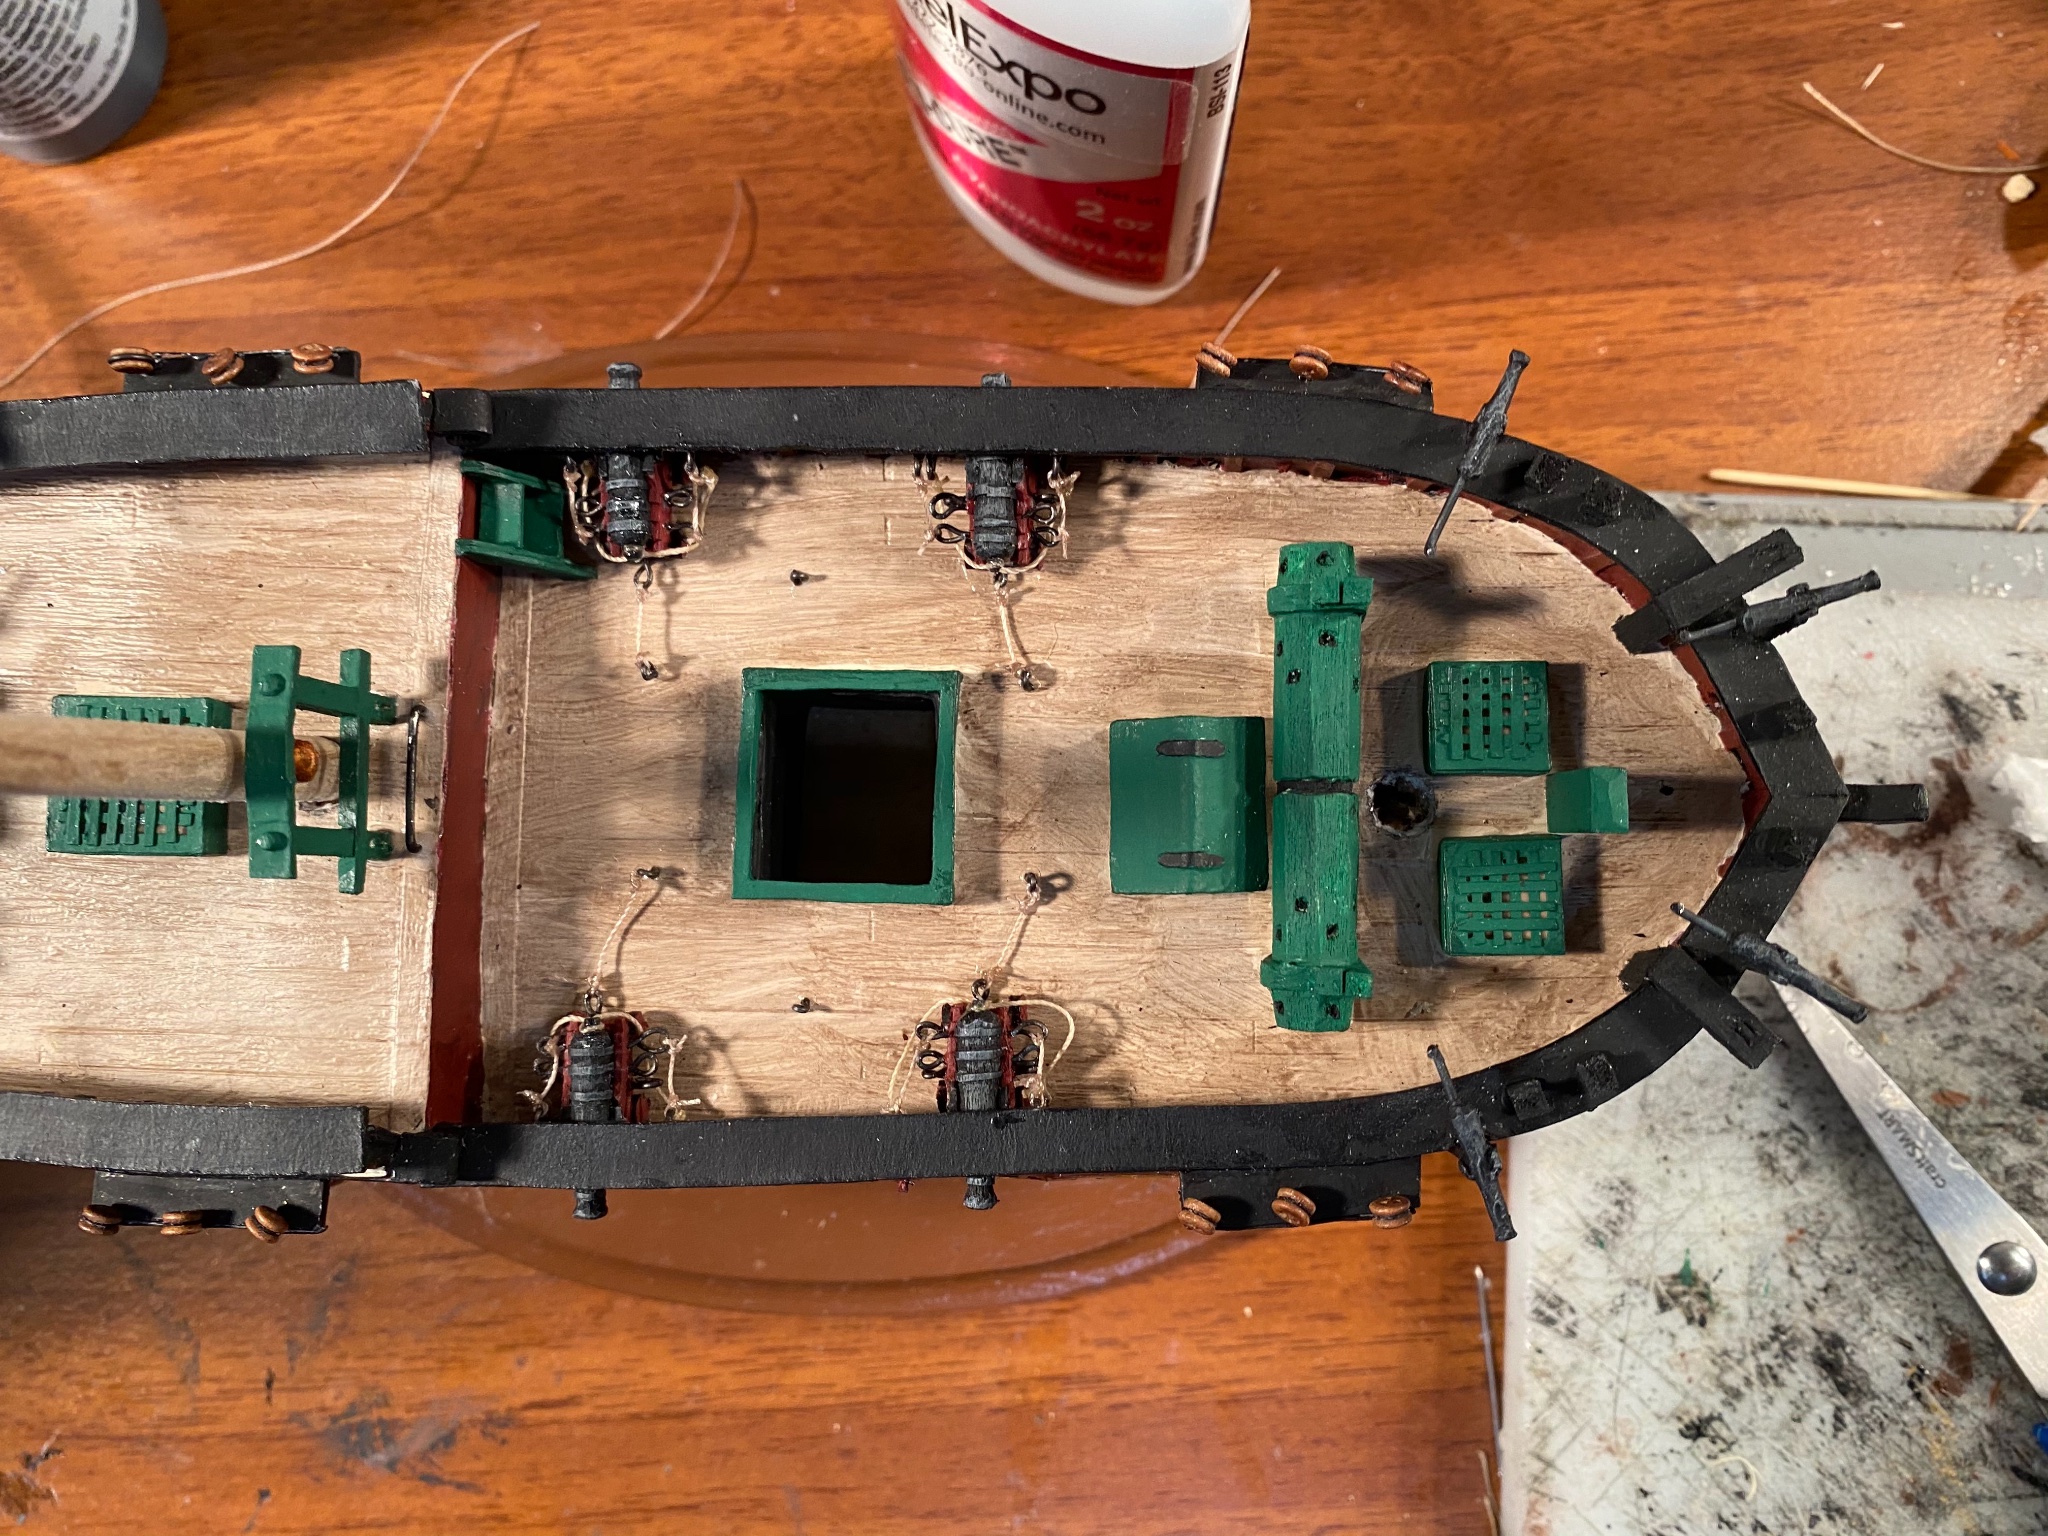
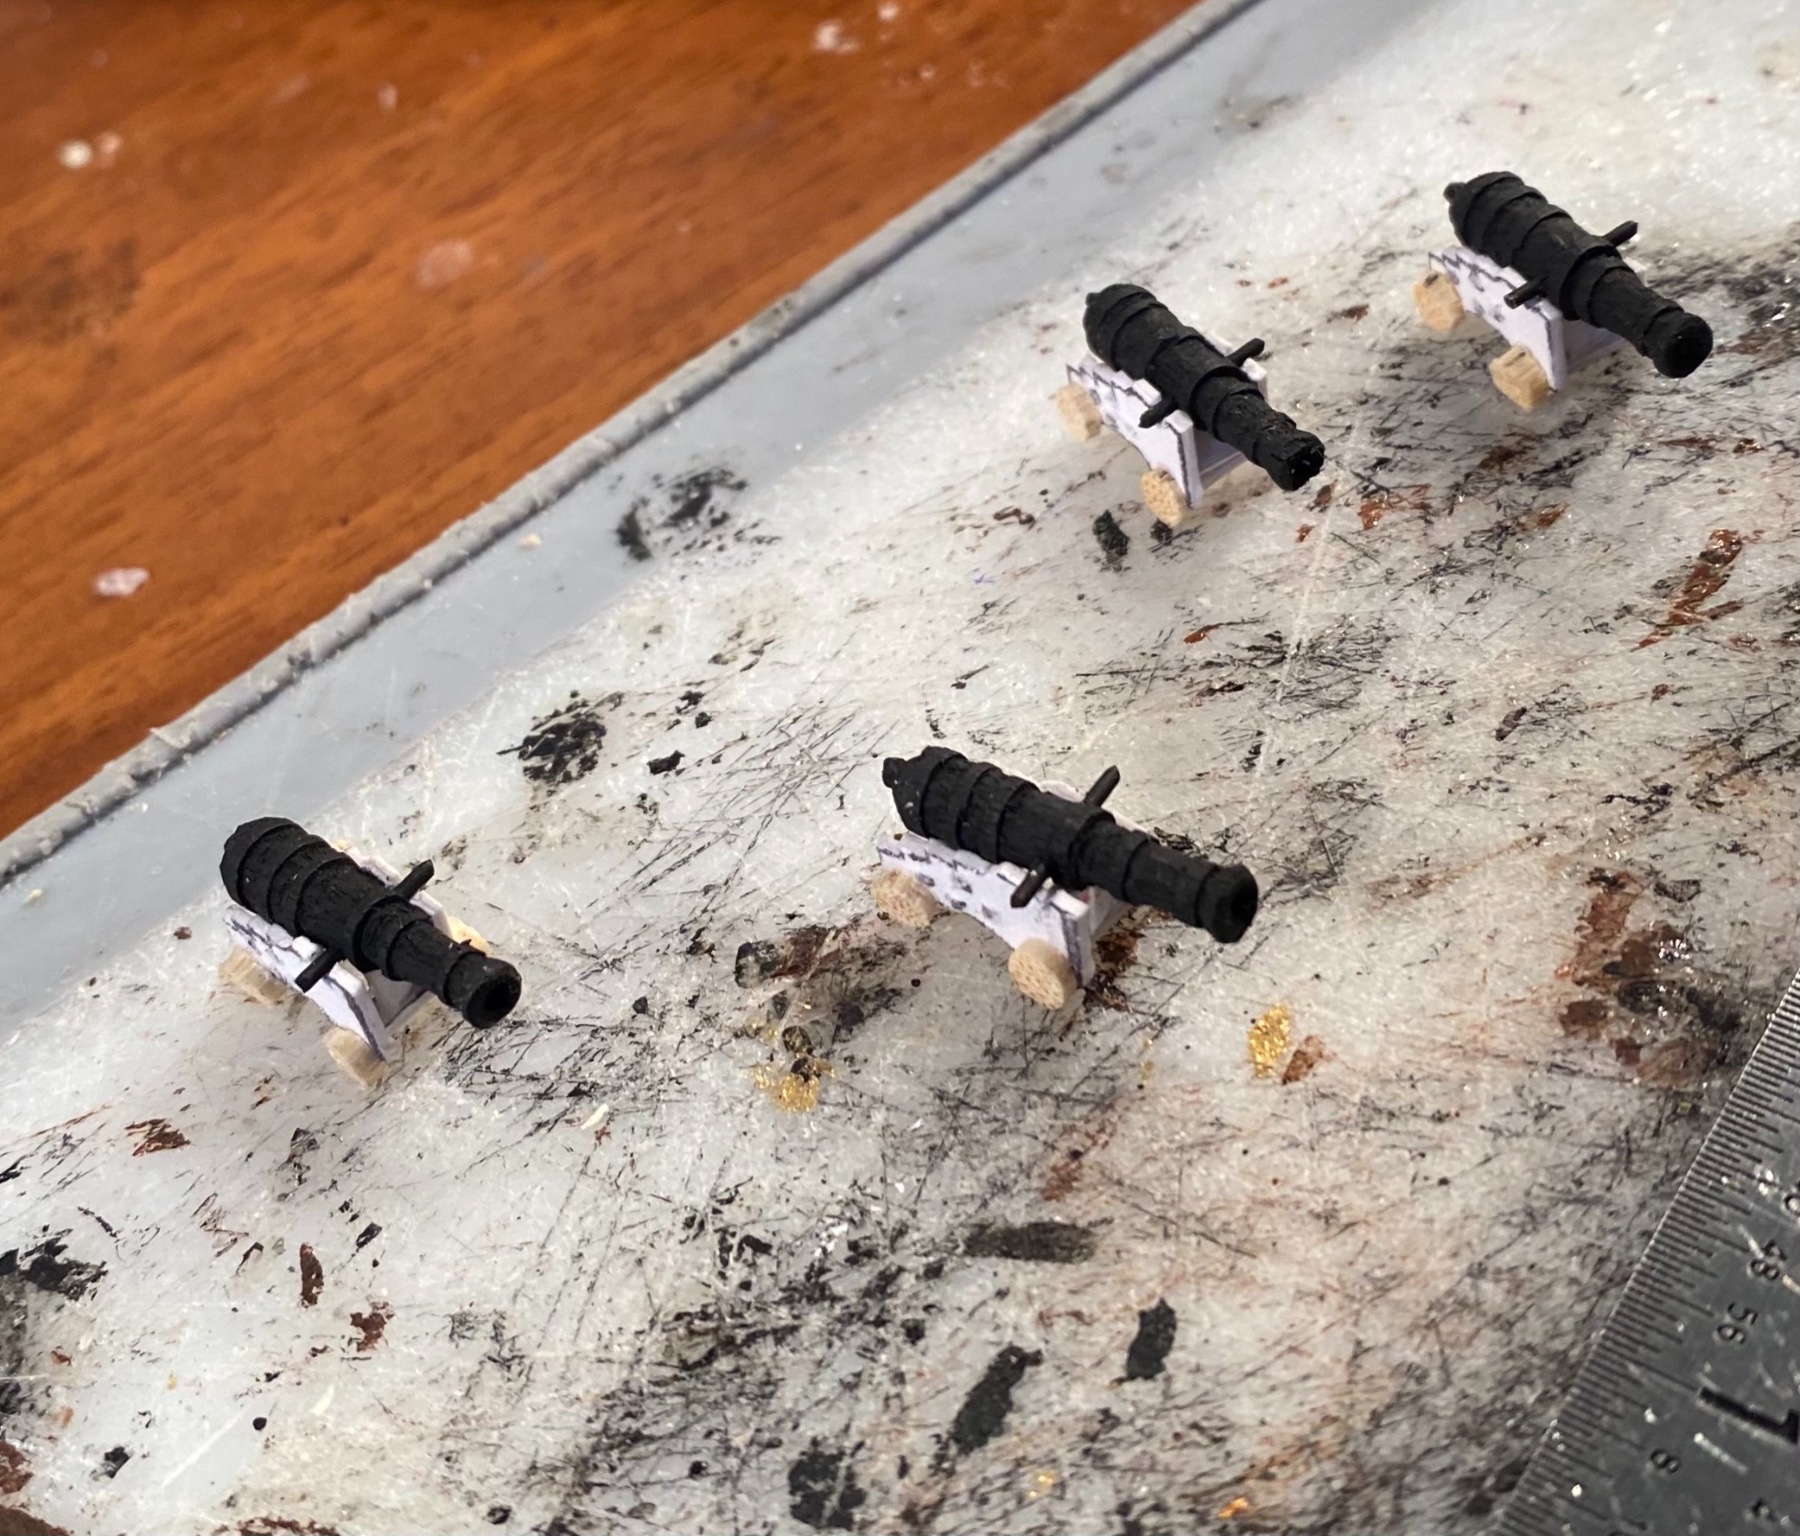
The carriage guns are mostly complete. They still need final painted. The deadeyes and chain plates are on. This means that with the exception of some minor painting and possibly a couple of cleats, the hull itself is done. The anchors are ready for assembly as well. Once all of this is done, it will be time to build all of the masts, make some sails and rig the model, not necessarily in that order.


-
The Cutter is coming along nicely!
-
The four carriage guns are base coated and assembled. The Main Mast is mostly roughed out now too. The guns still need iron banding and eyebolts.

-
Dave, The Bluenose is looking good!
-
USS Delaware 1817 by threebs
GrandpaPhil replied to threebs's topic in - Build logs for subjects built 1801 - 1850
Very impressive! -
Denis, My props were 1 1/2” across. They were RC props that I found at a hobby shop. They were in the same direction. I used dowel rods for the prop shafts.
-
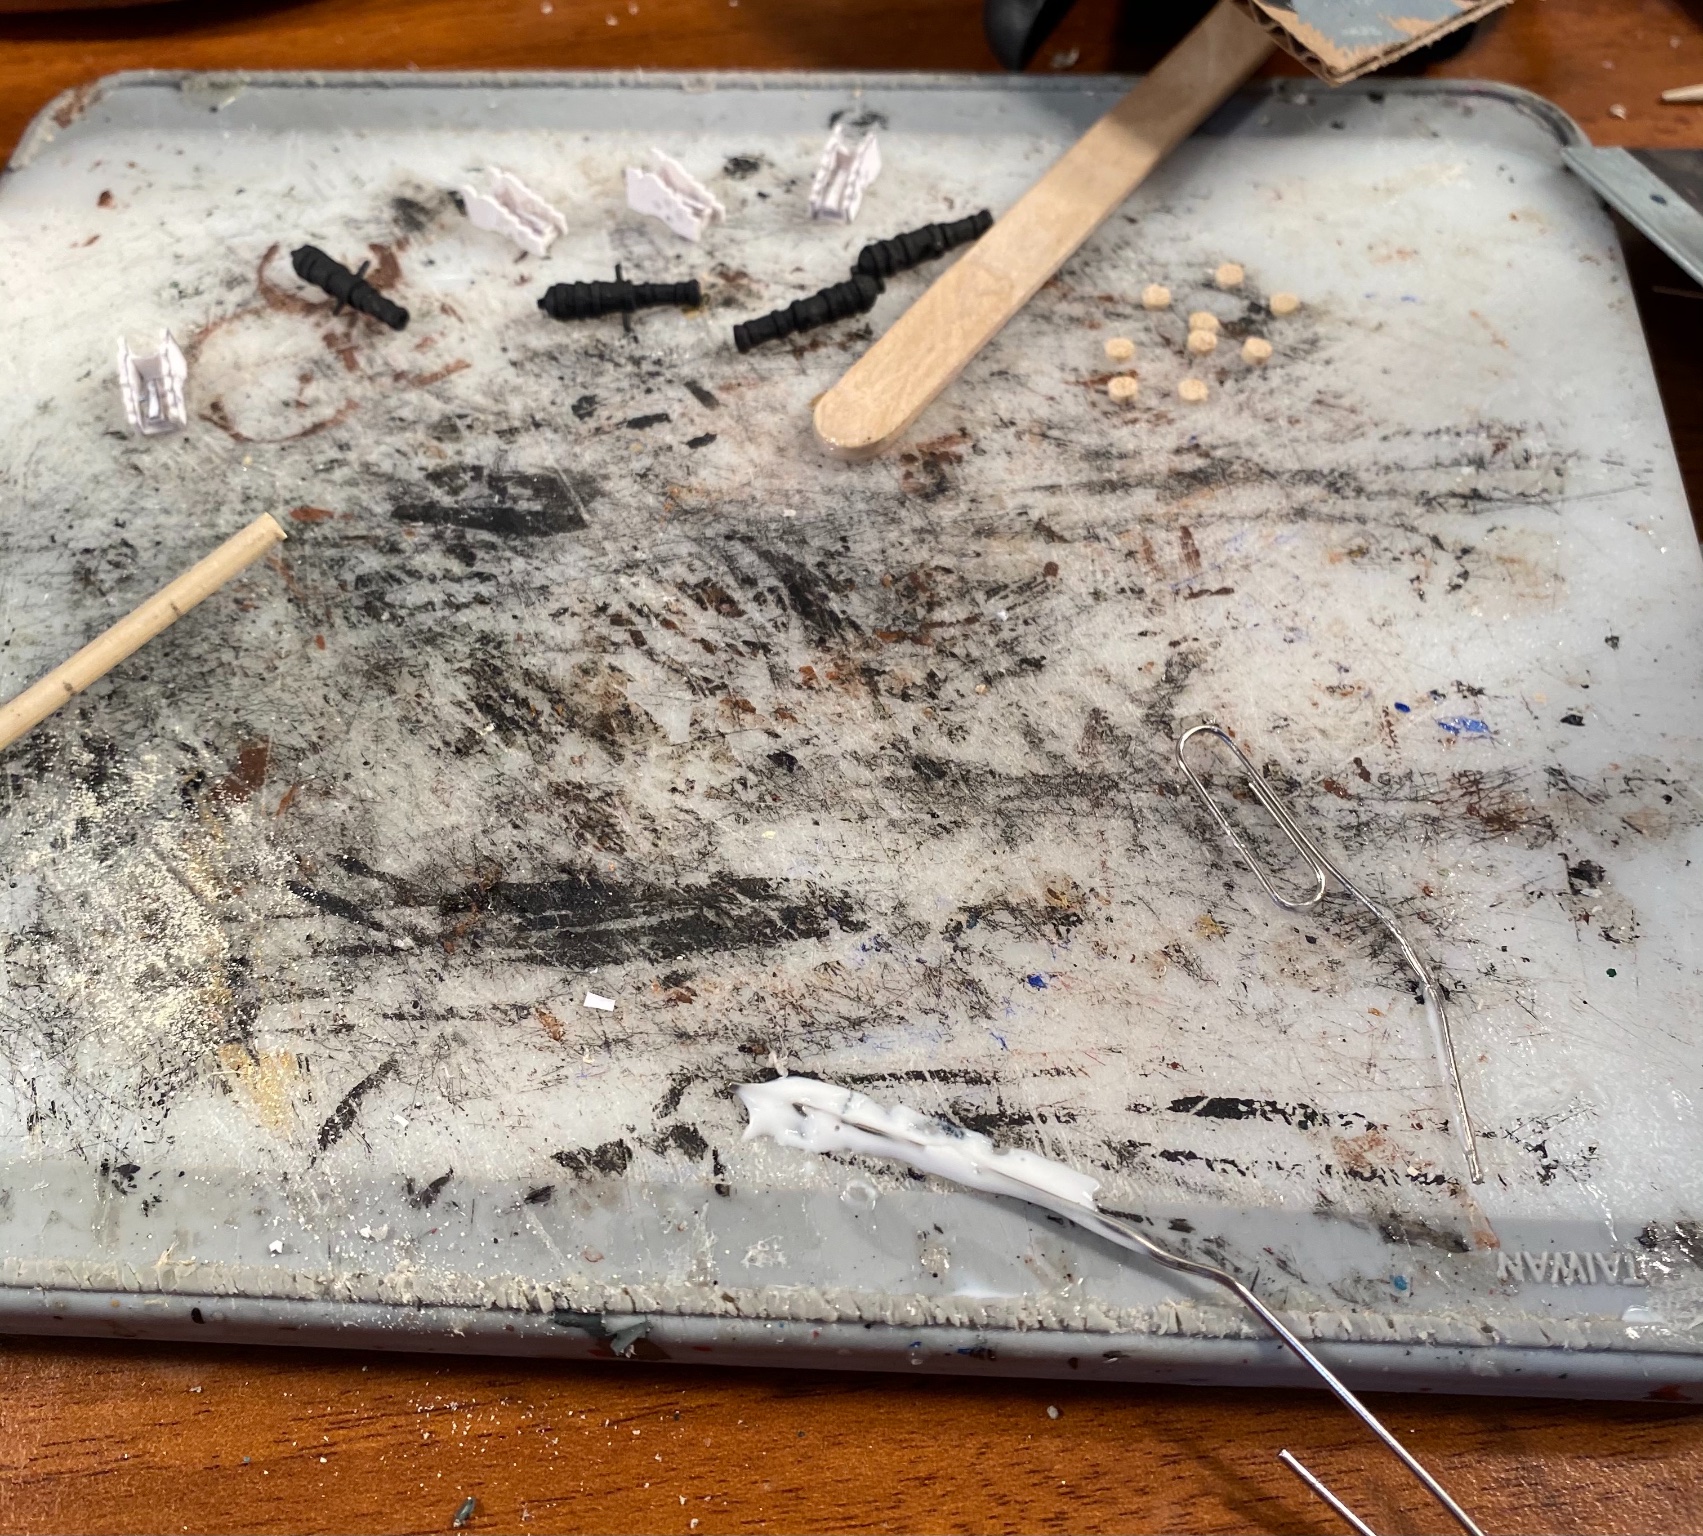
Touch ups are done: The carriage guns progress: The wheels are being made from a bamboo kitchen skewer.

-
Very cool! I built this kit back in 2012. I bought add on propellers (but only 2) from a hobby shop and scratch built the rest of the running gear. It is still one of my centerpieces.
-
Welcome!
-
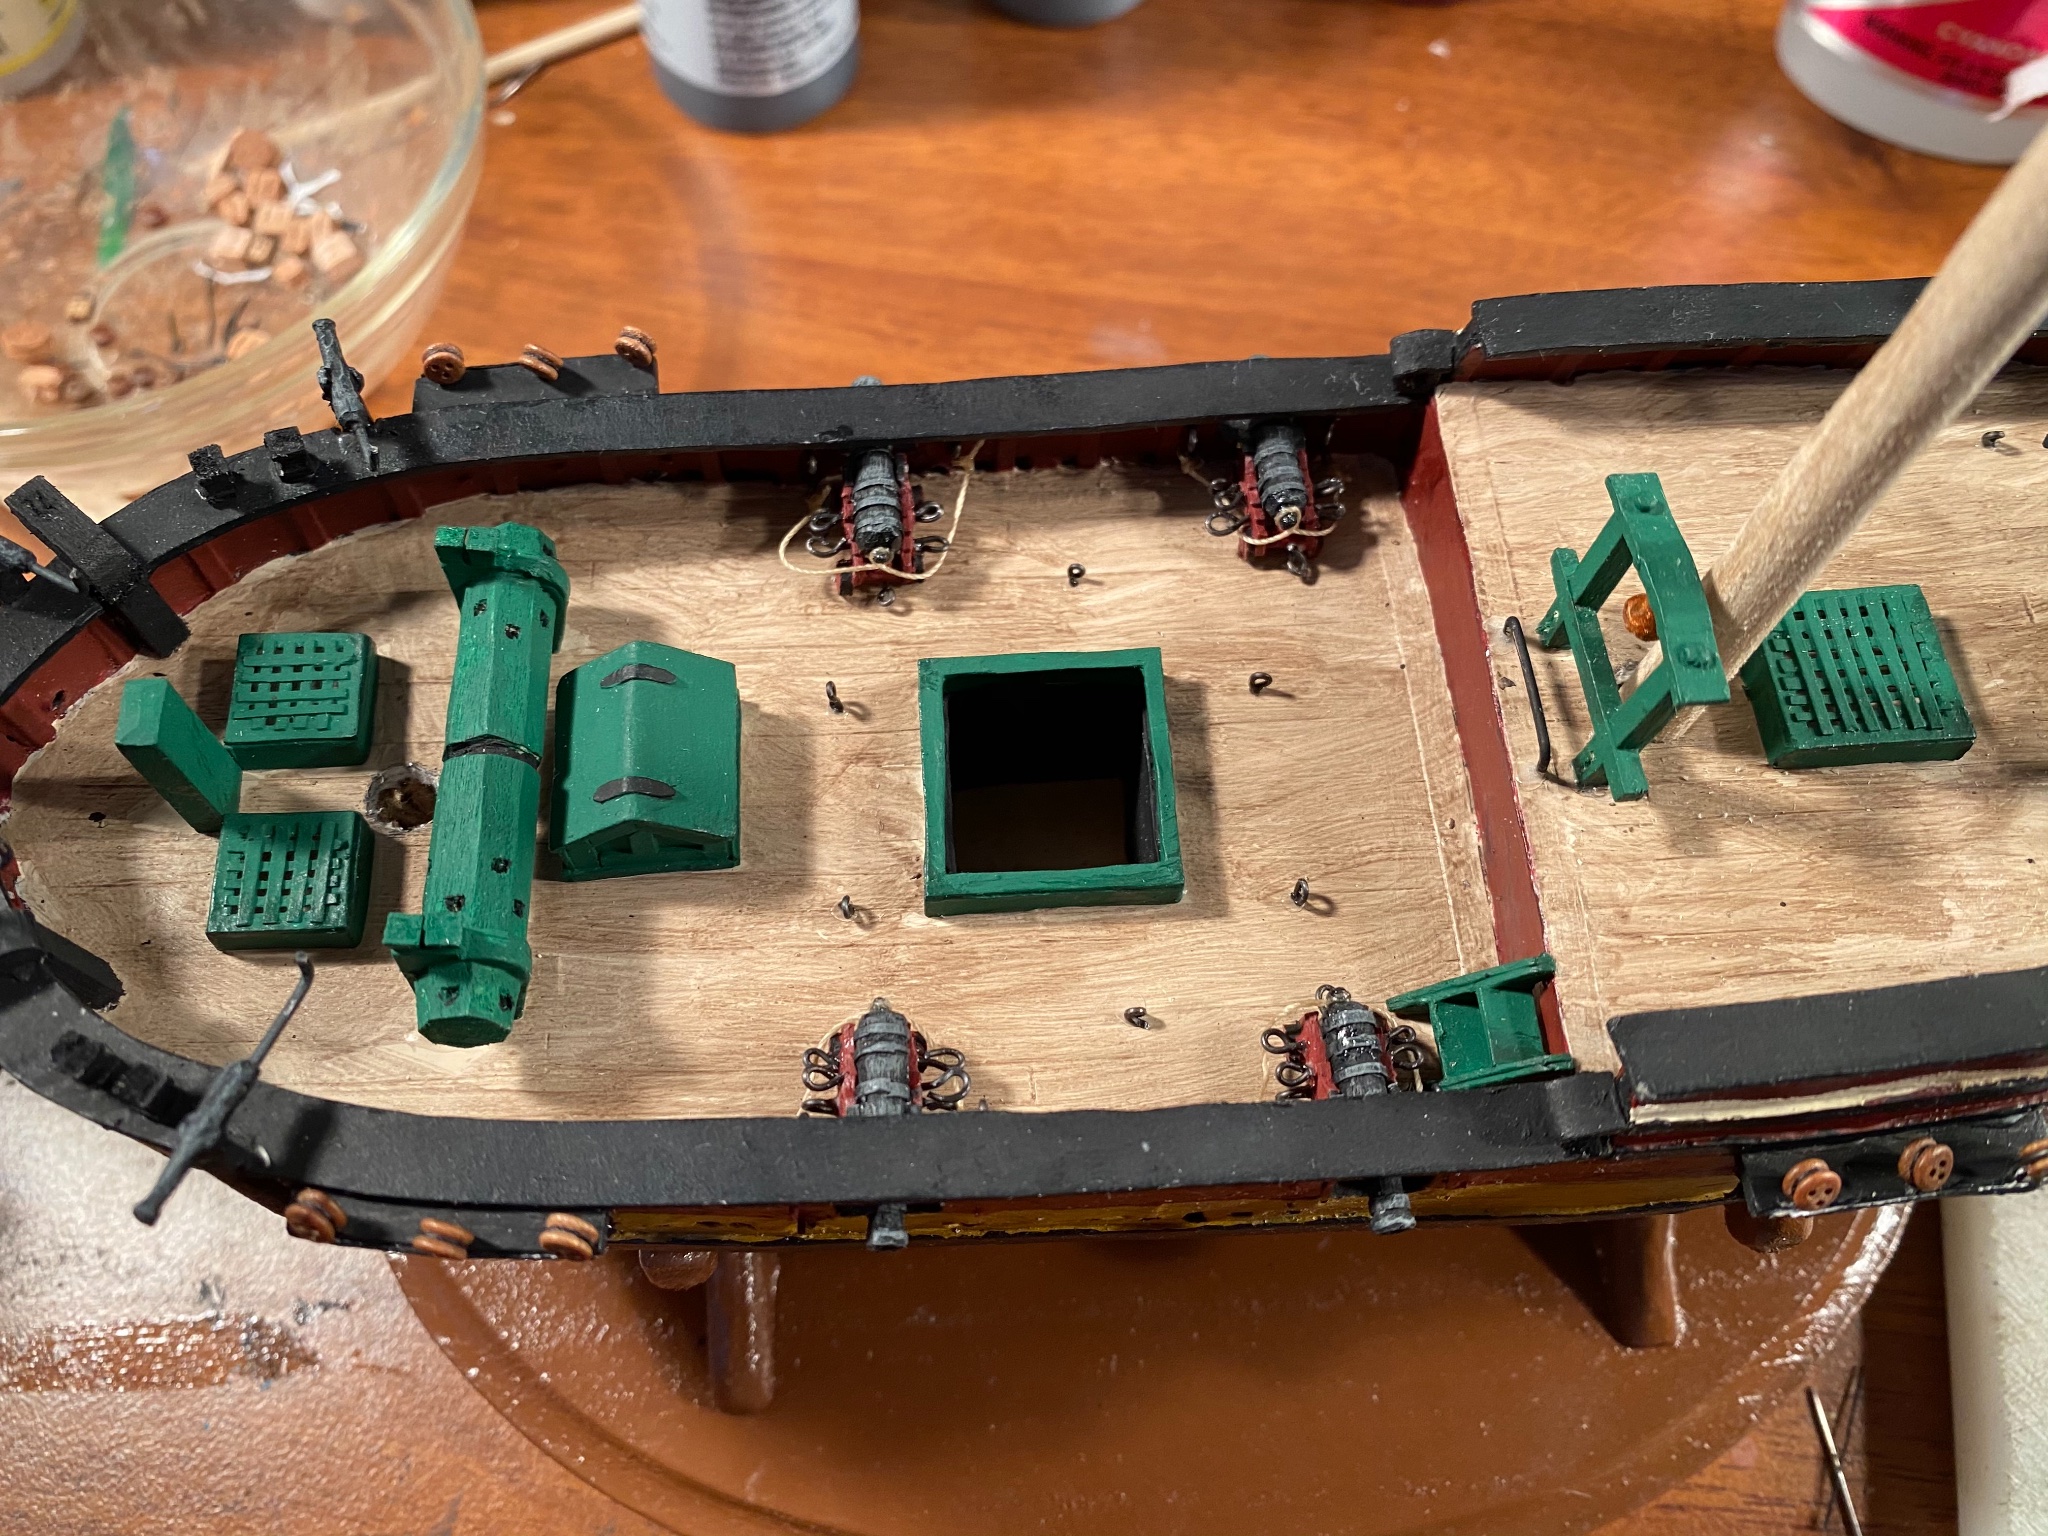
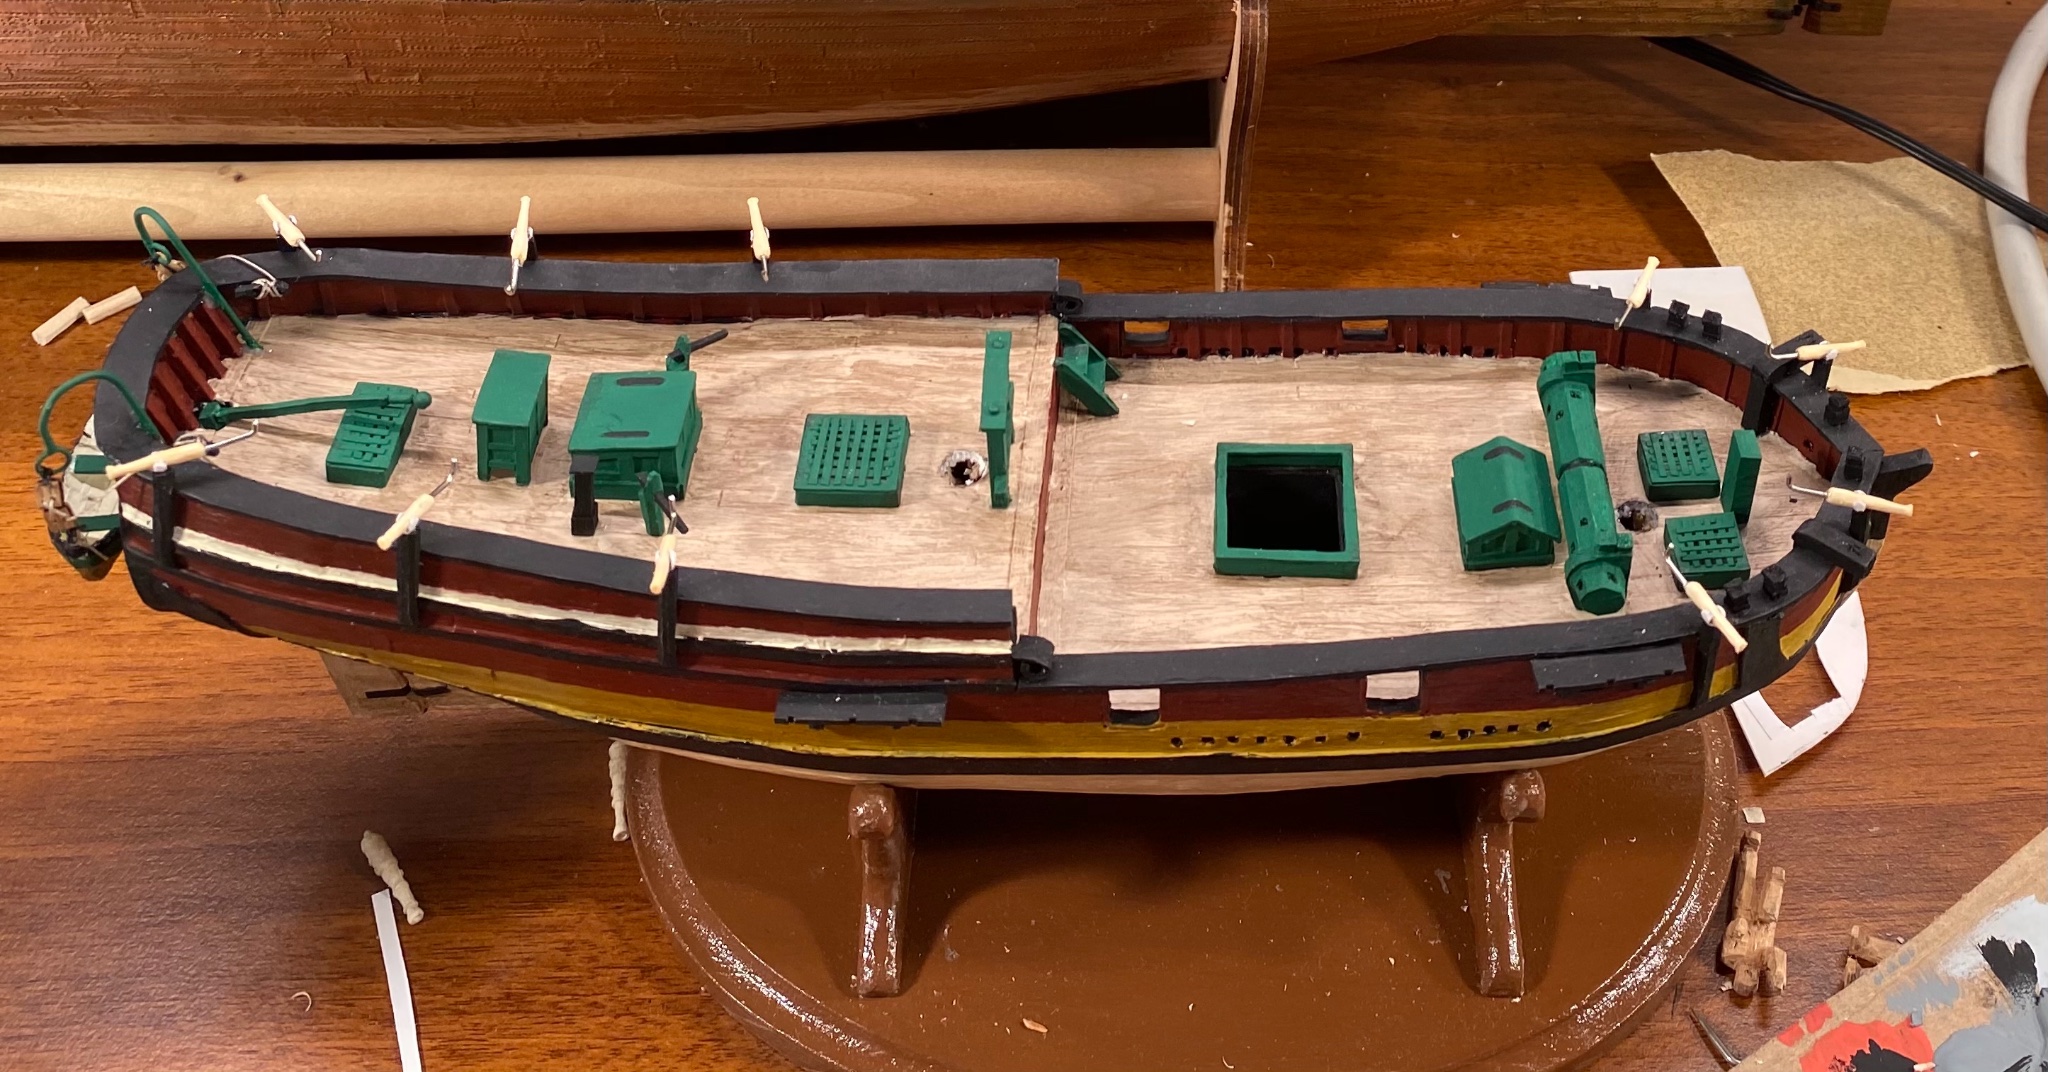
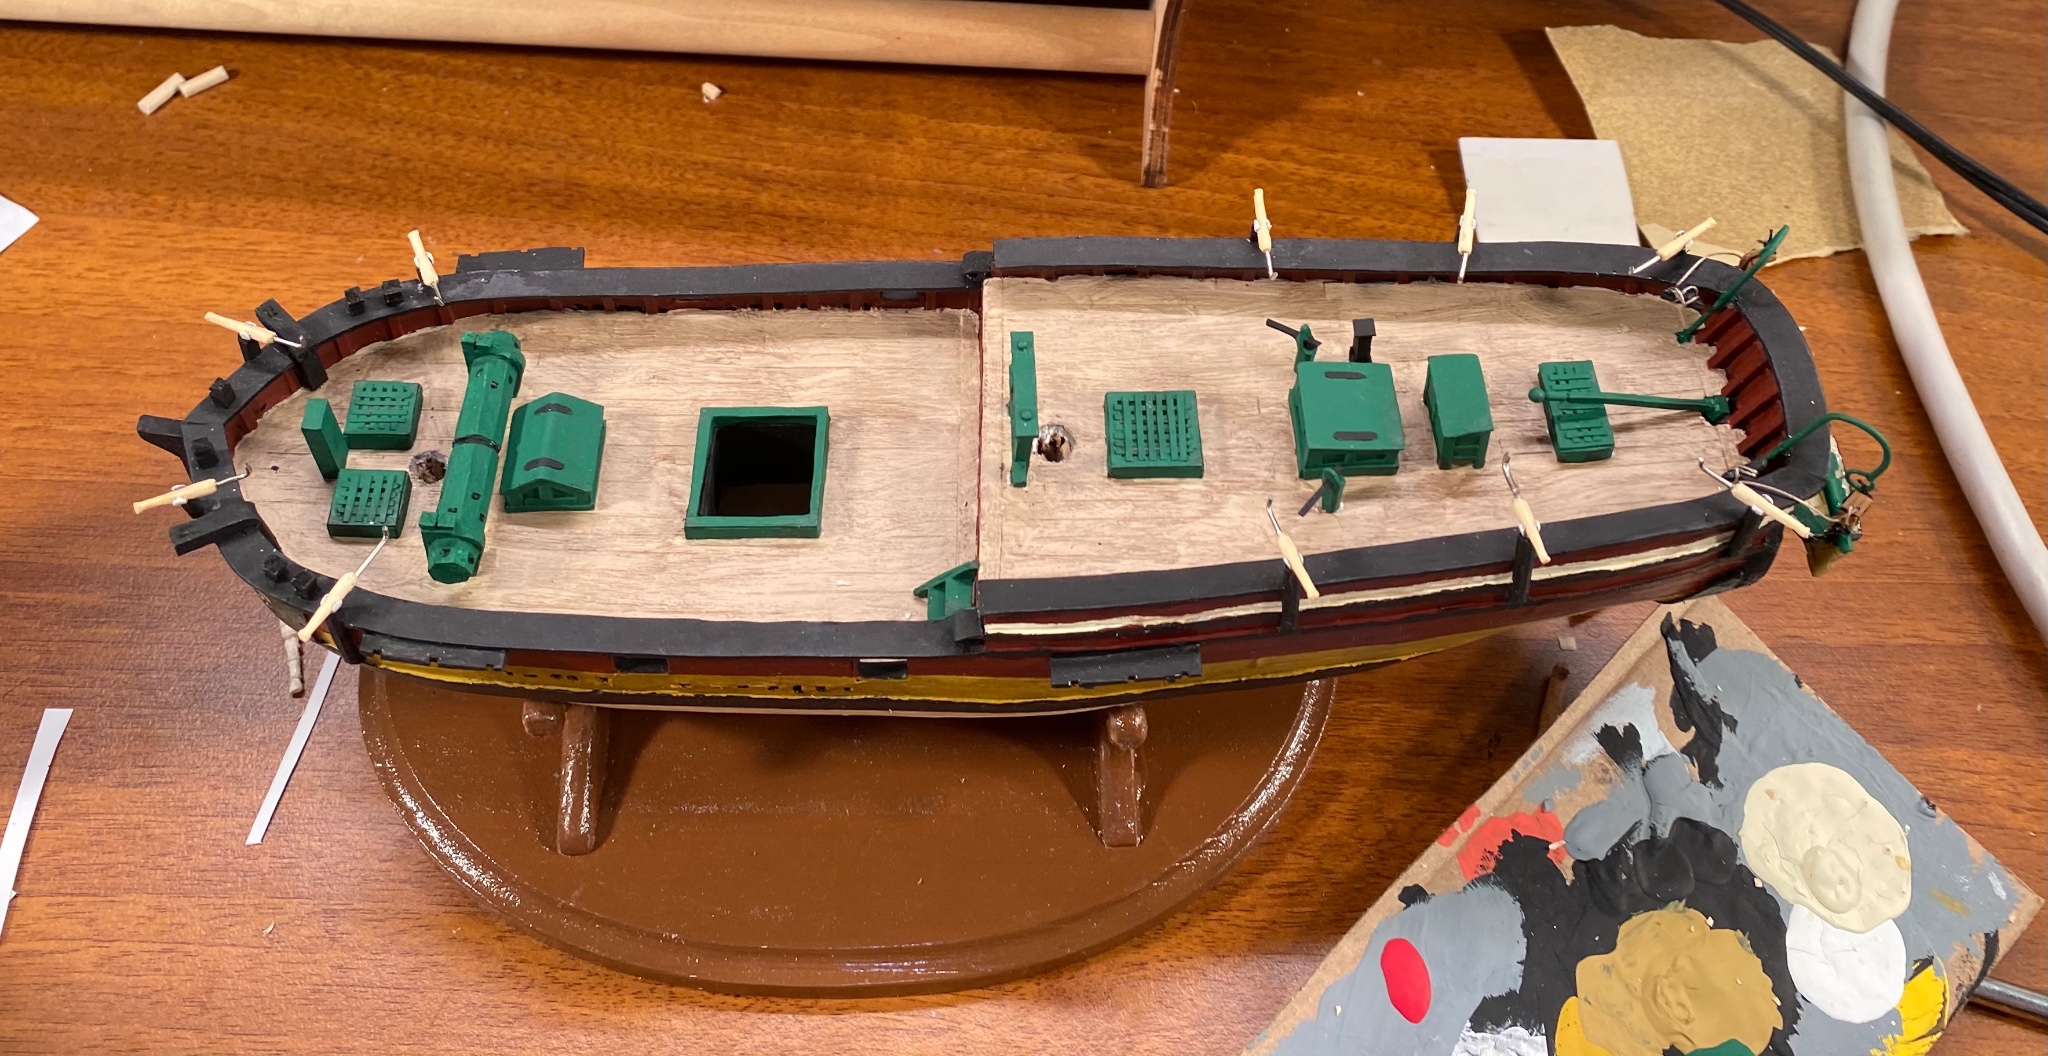
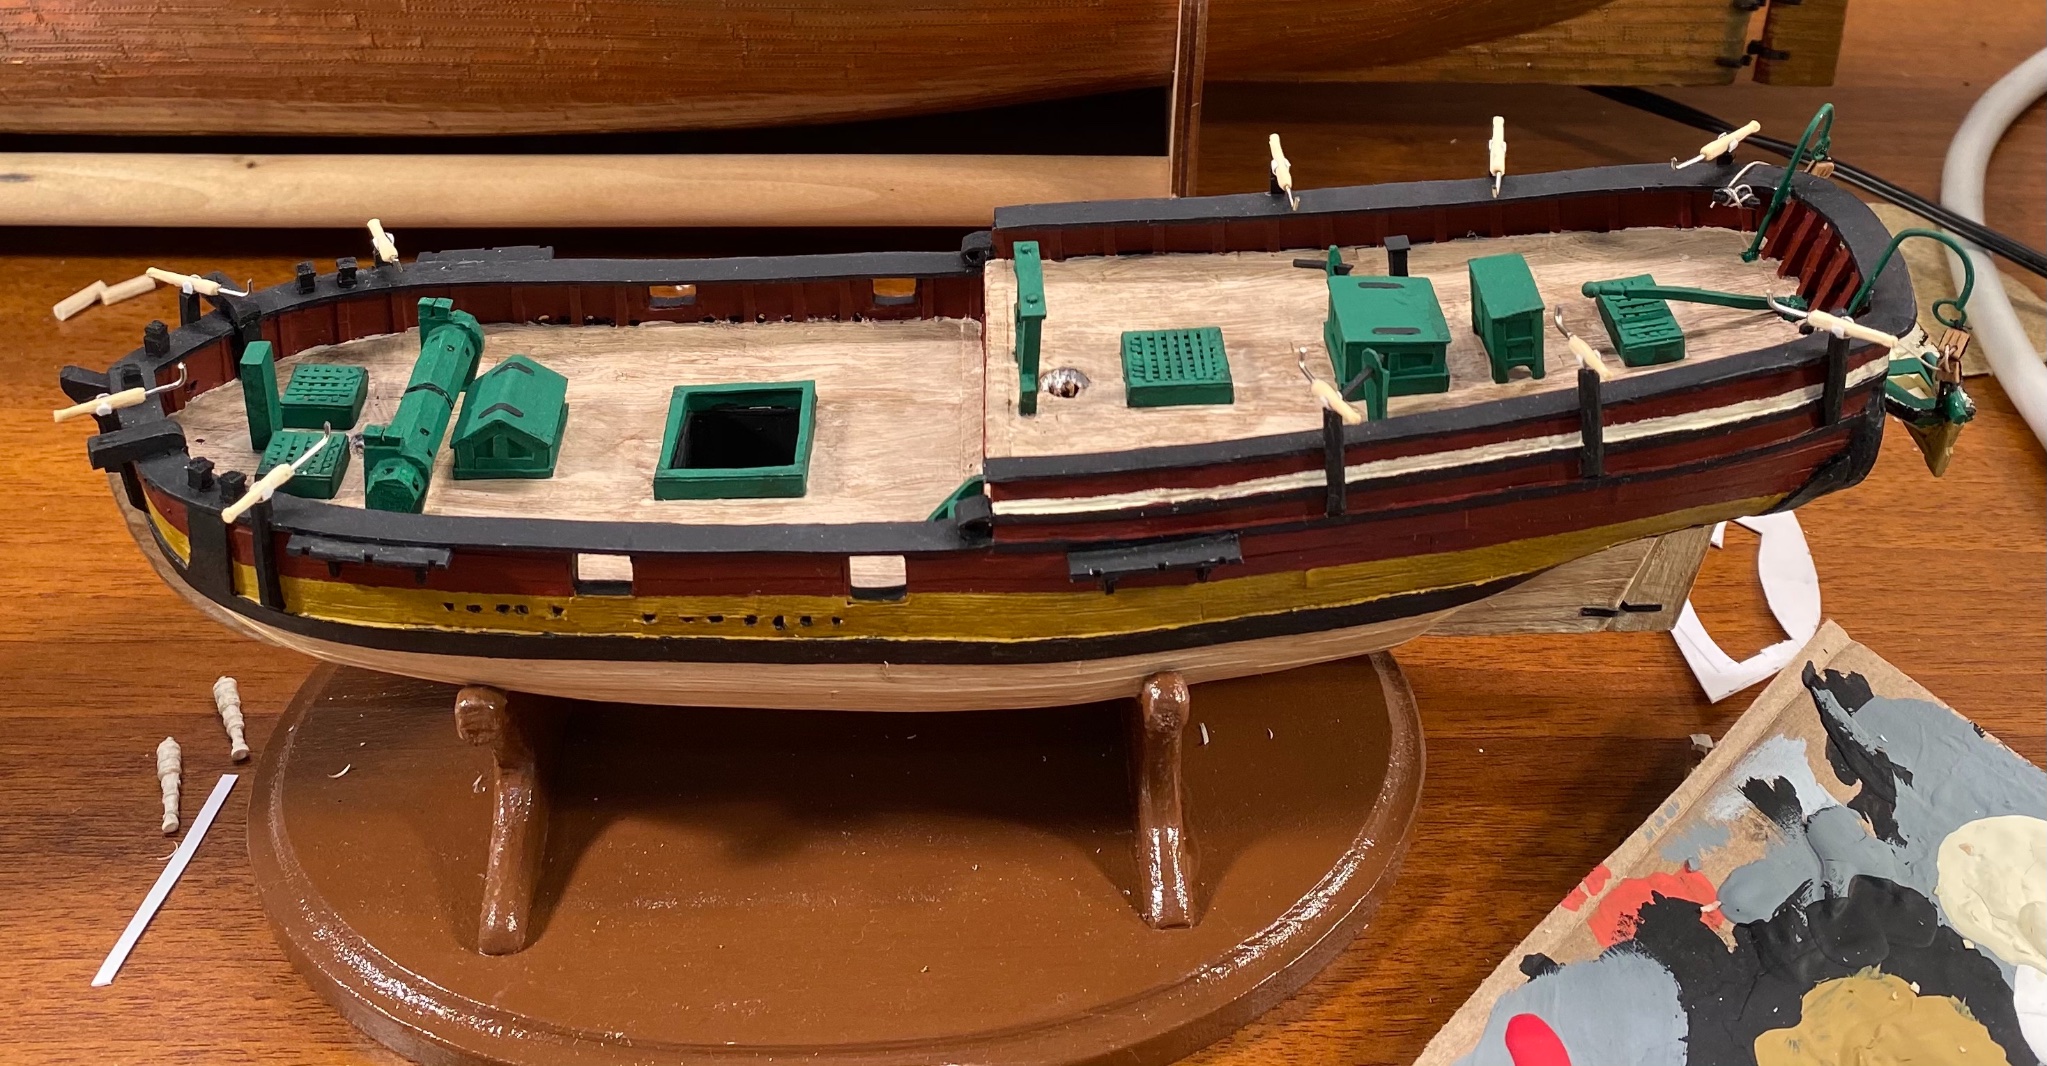
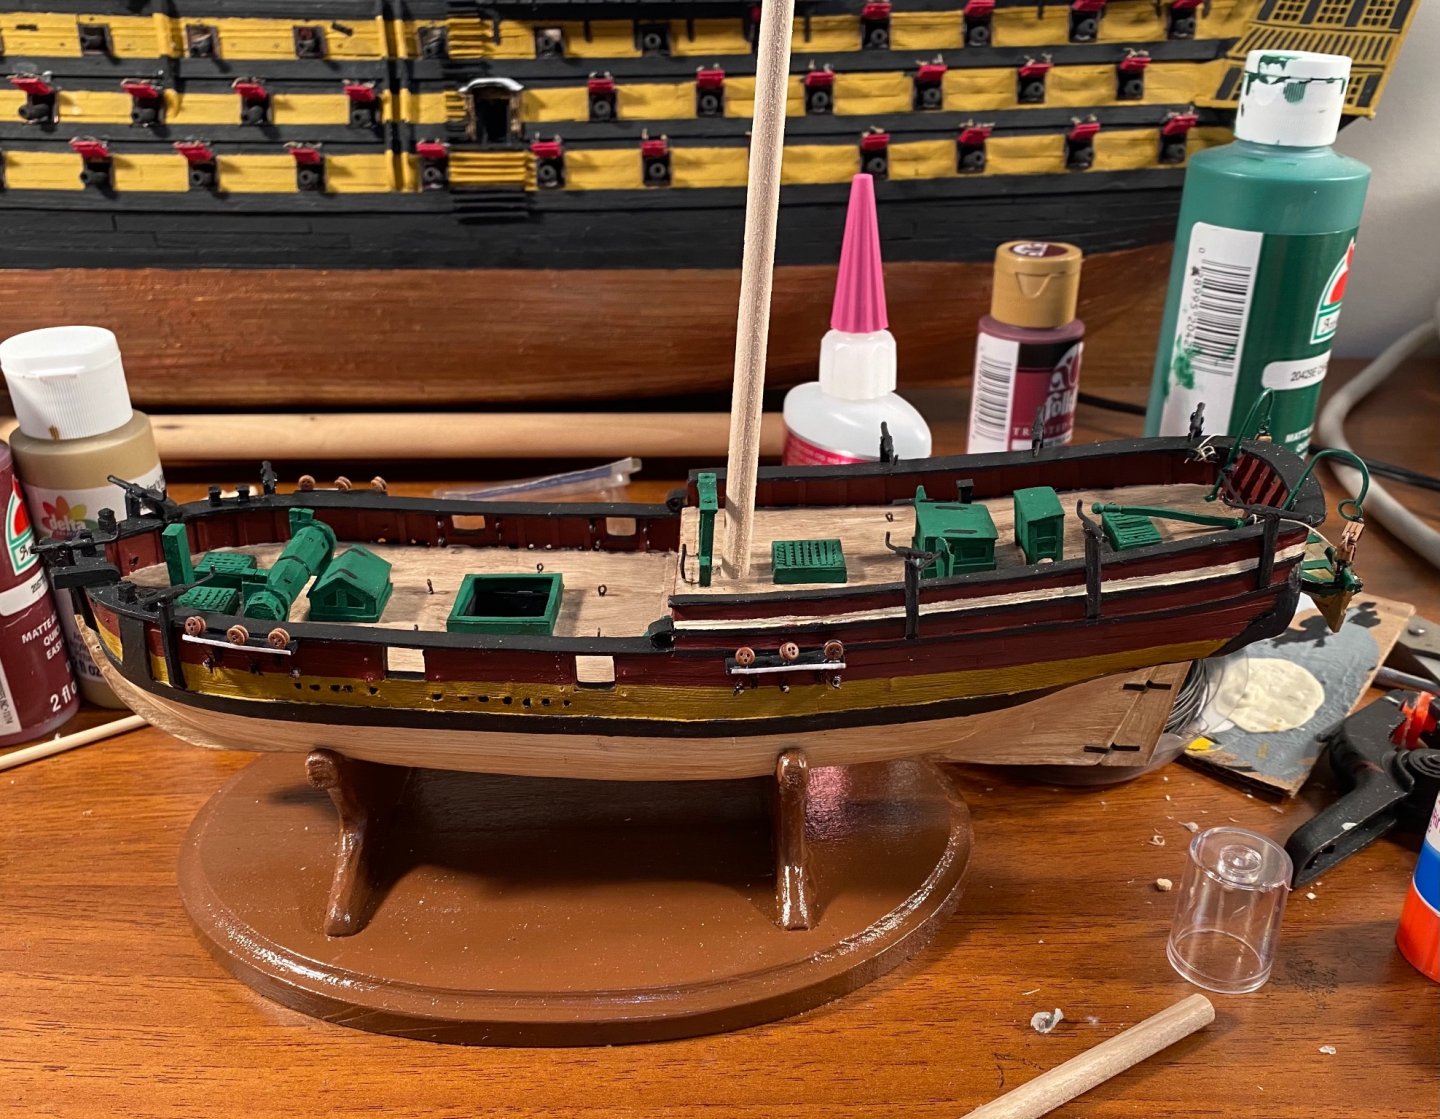
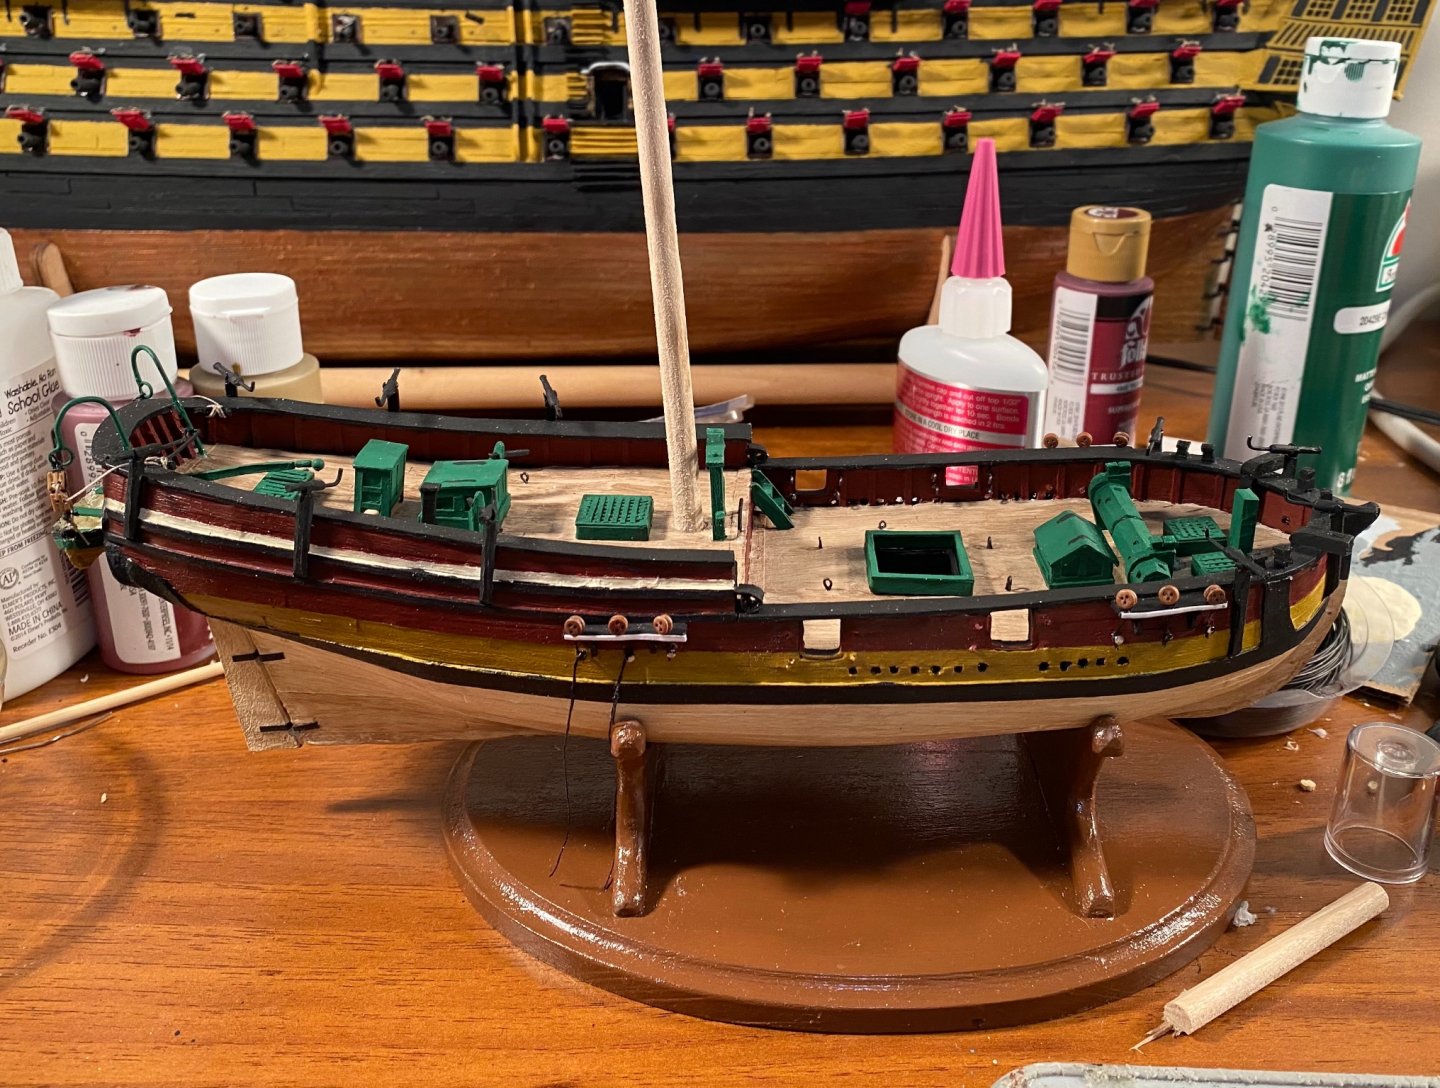
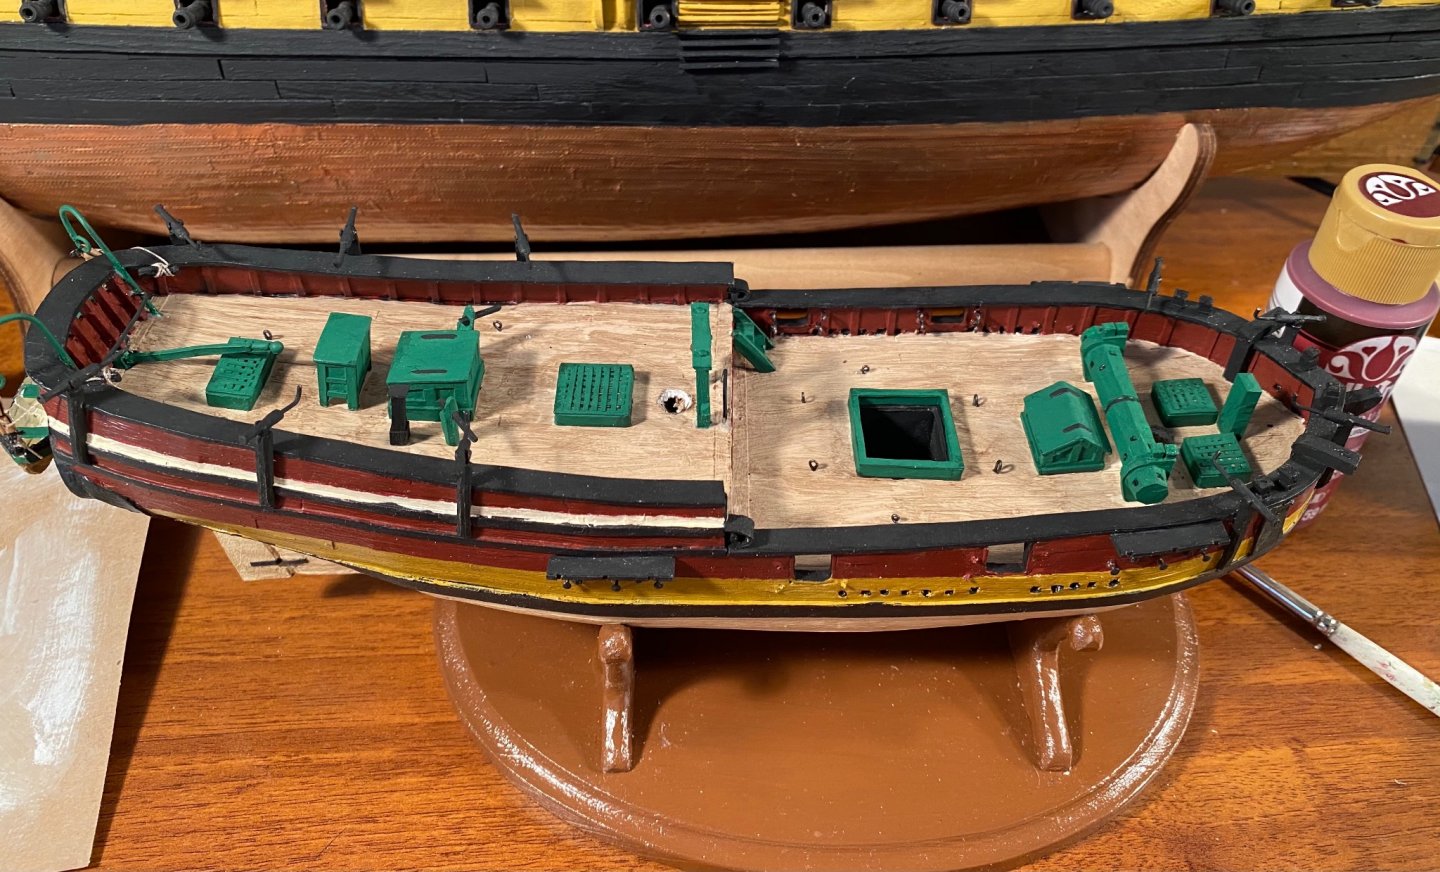
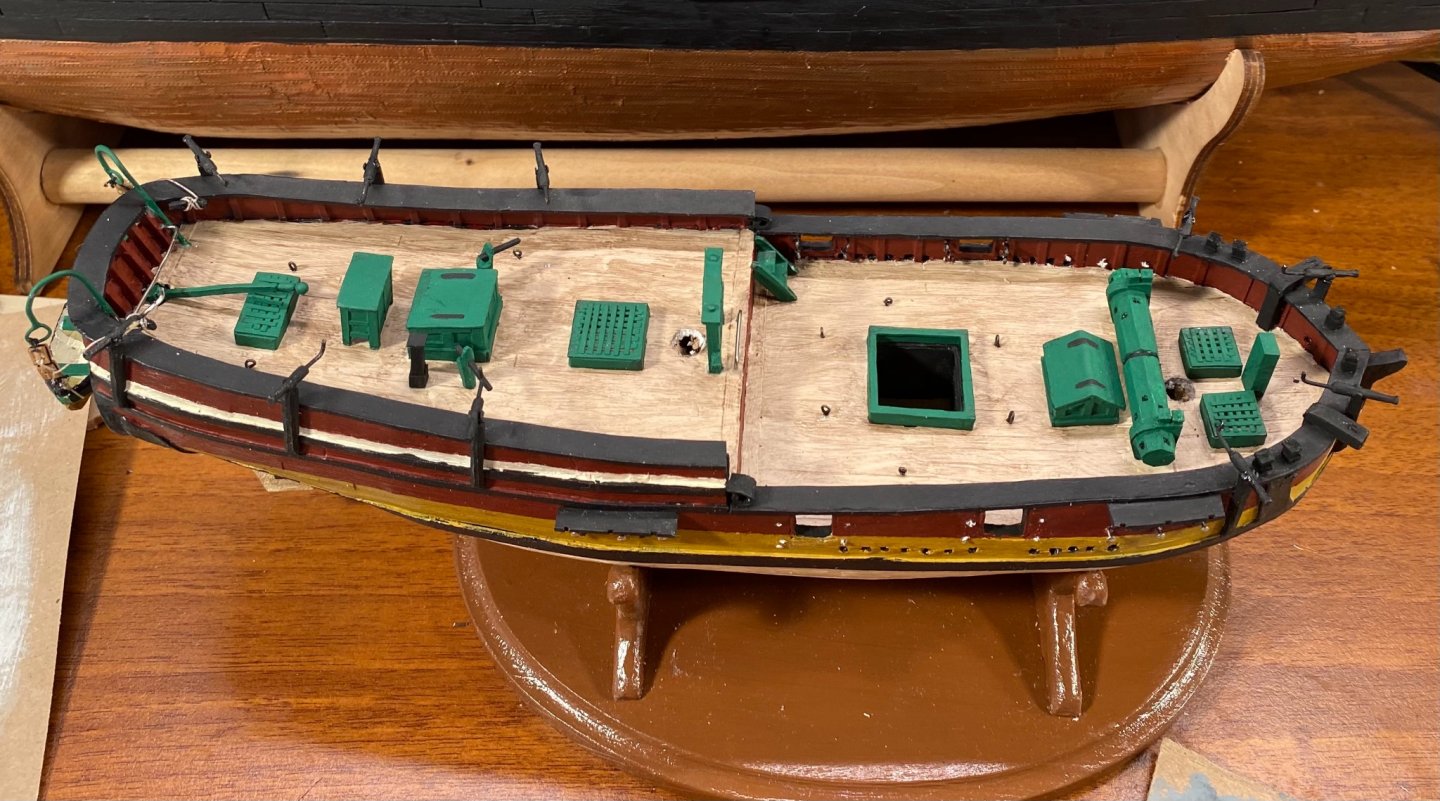
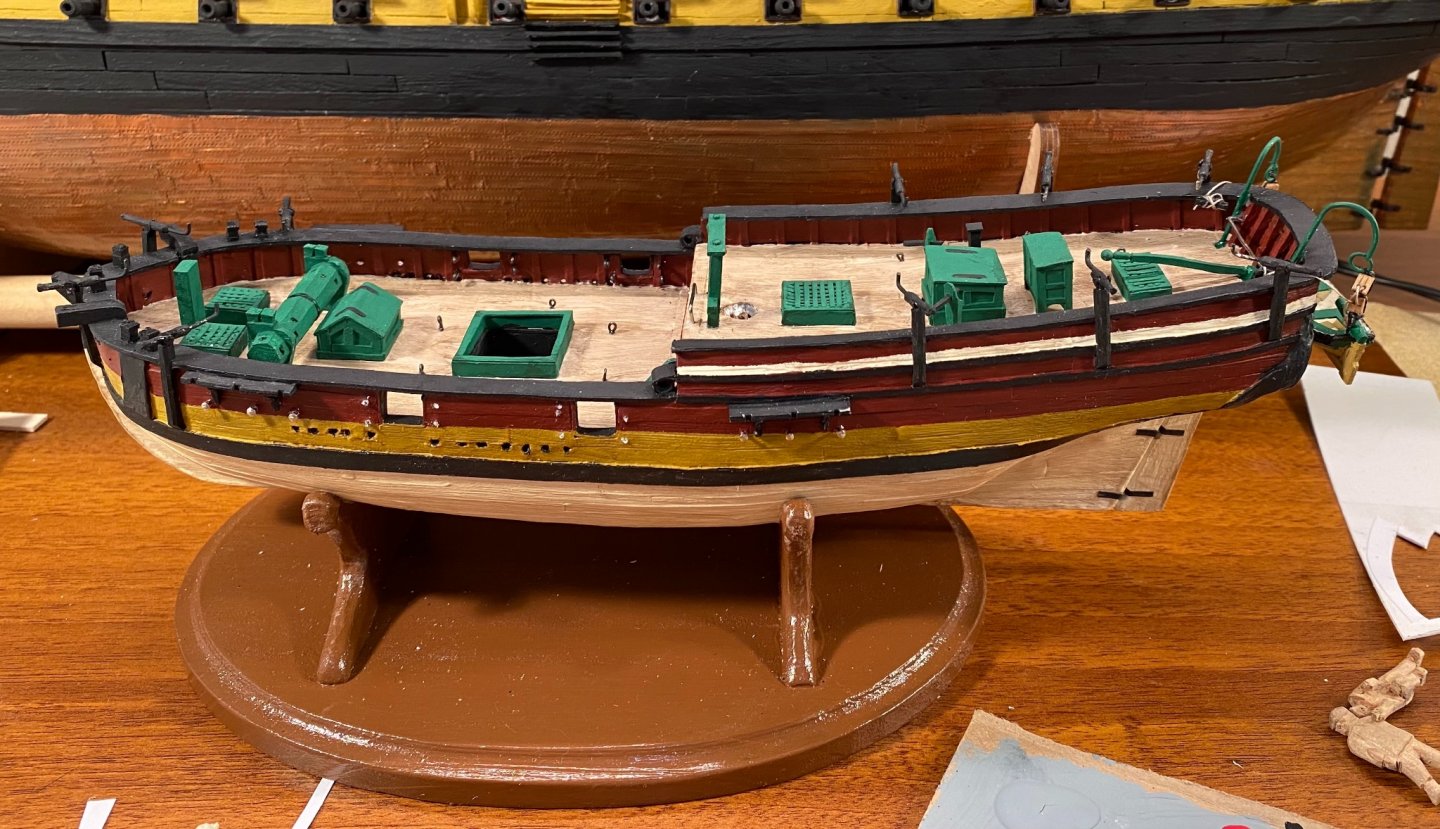
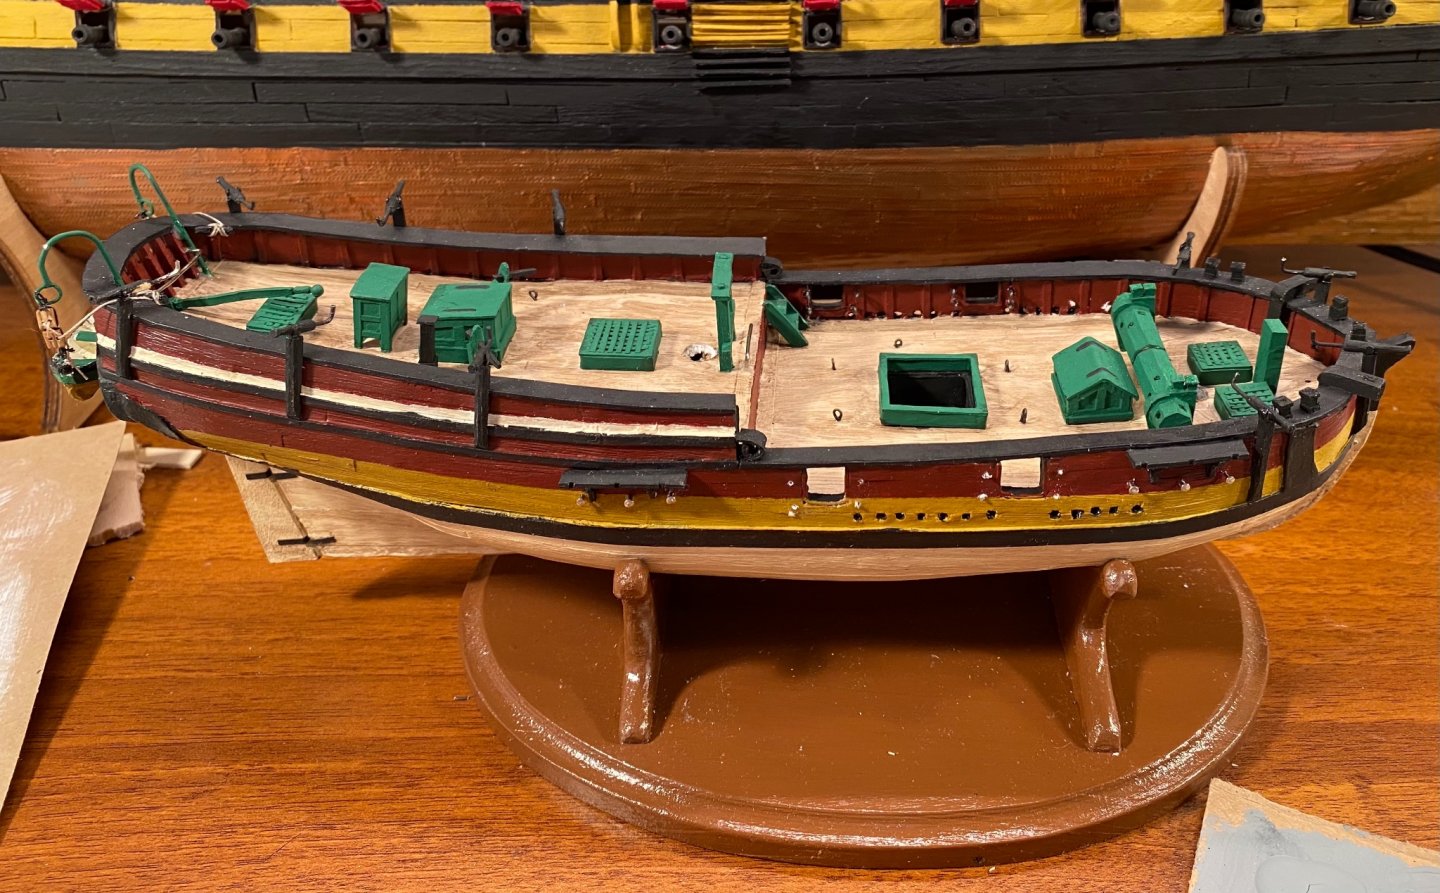
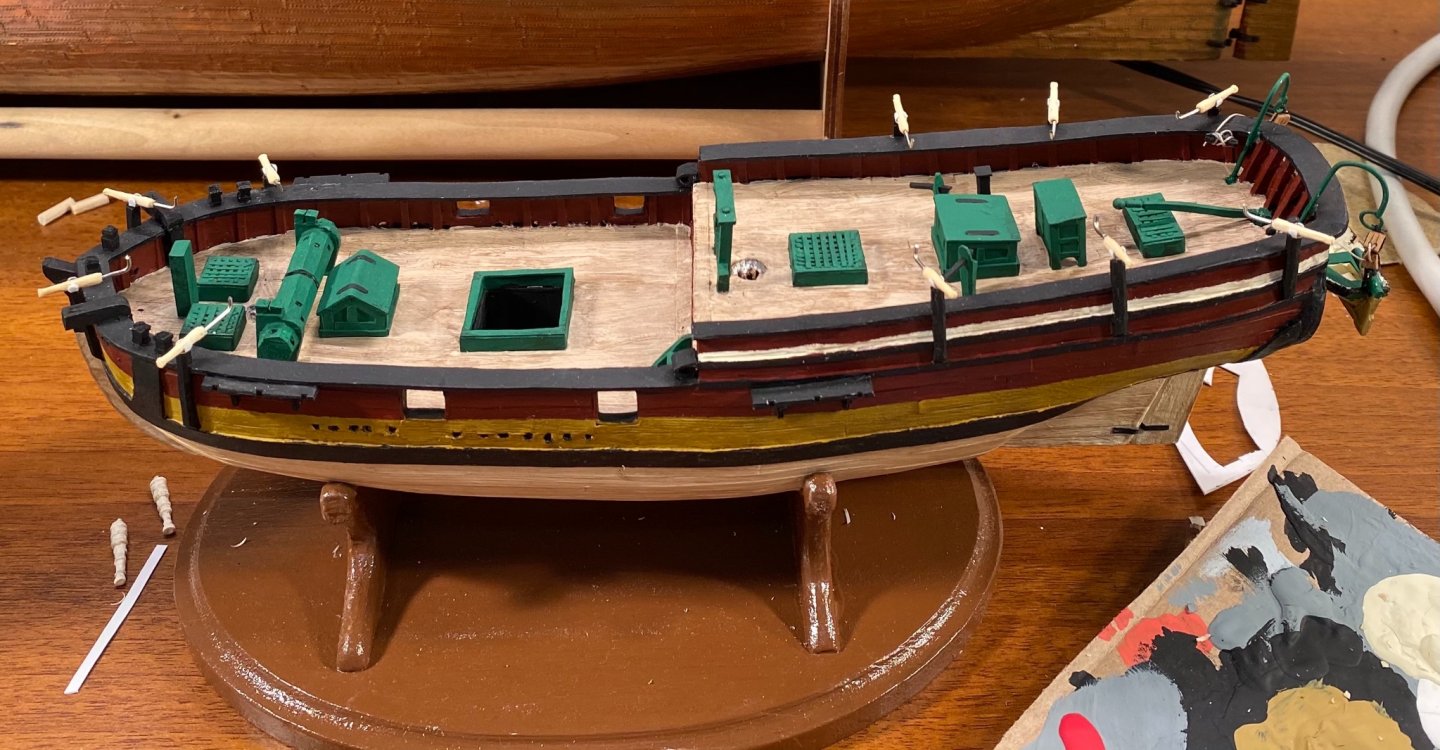
Thank you very much! Most of the rest of the hull and deck fittings are now in place. Hannah is only lacking her carriage guns, anchors and chain plates. She also requires some paint work where I inflicted damage installing the rest of the fittings.
-
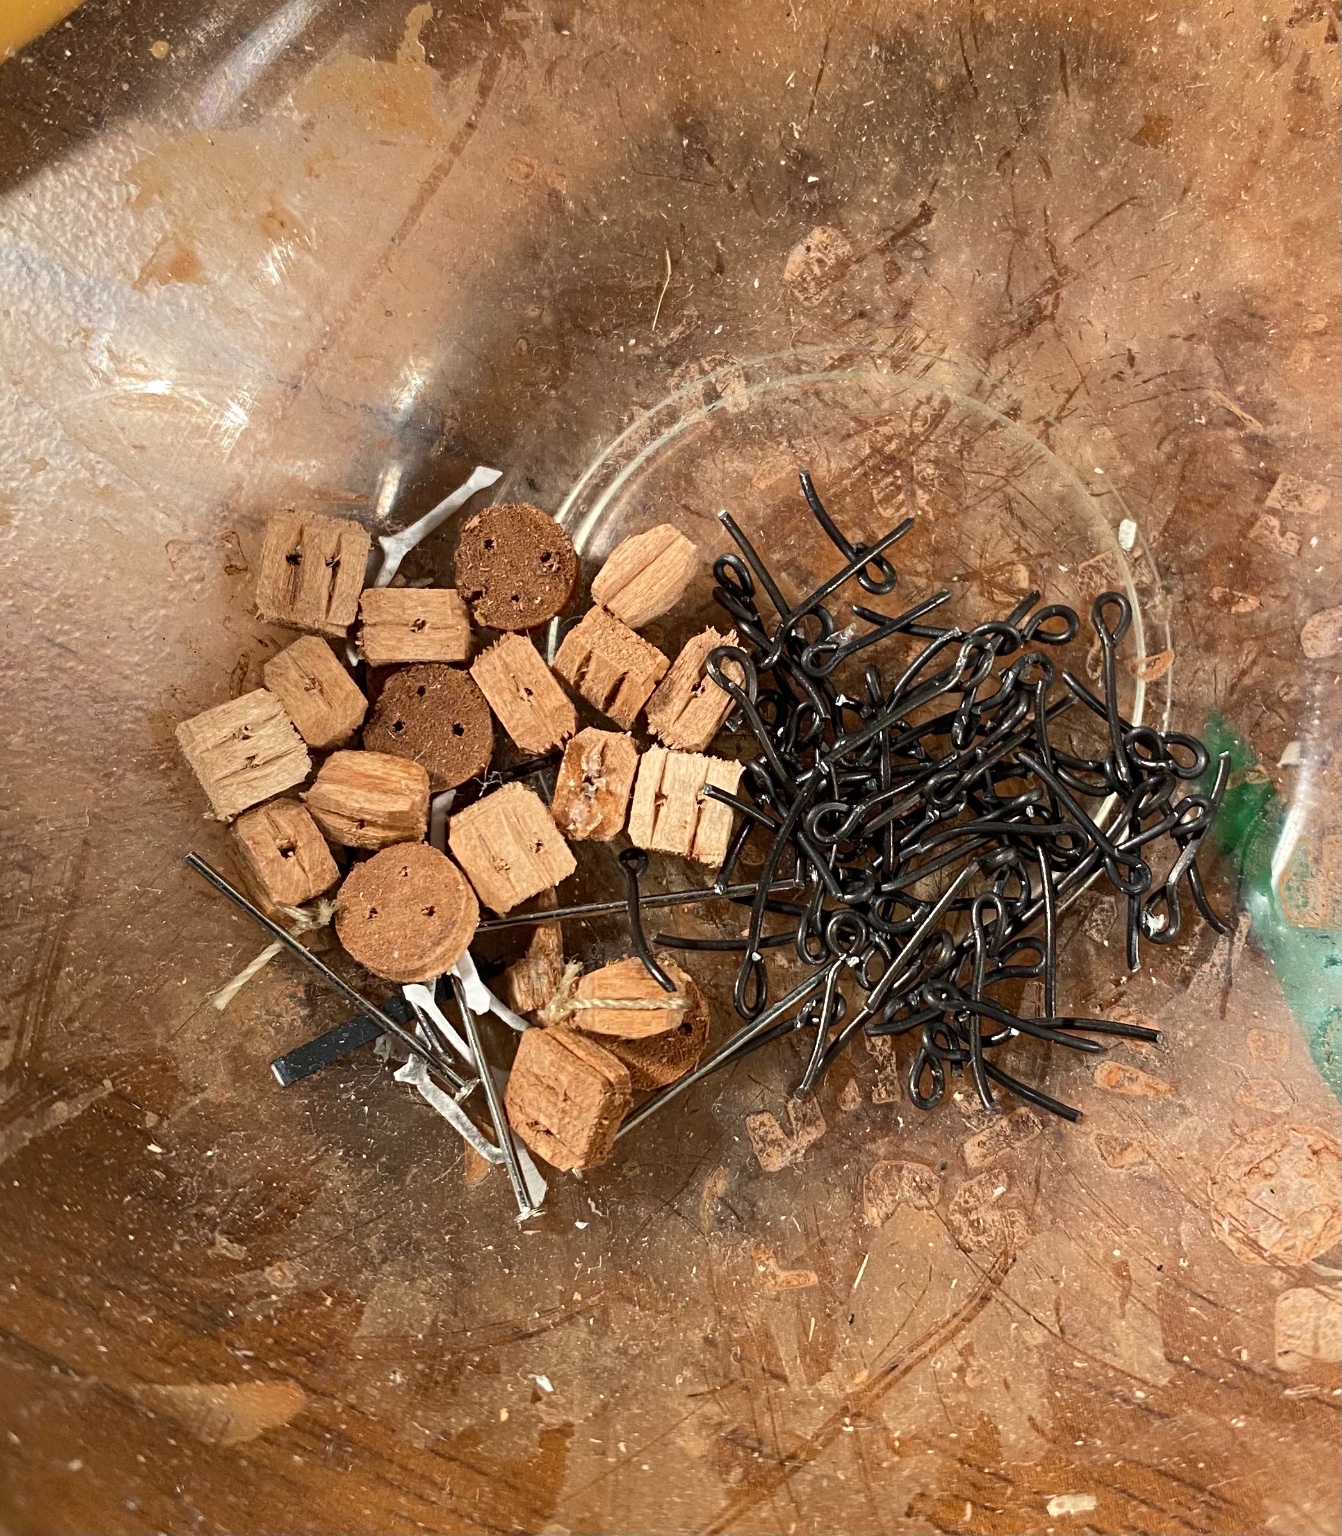
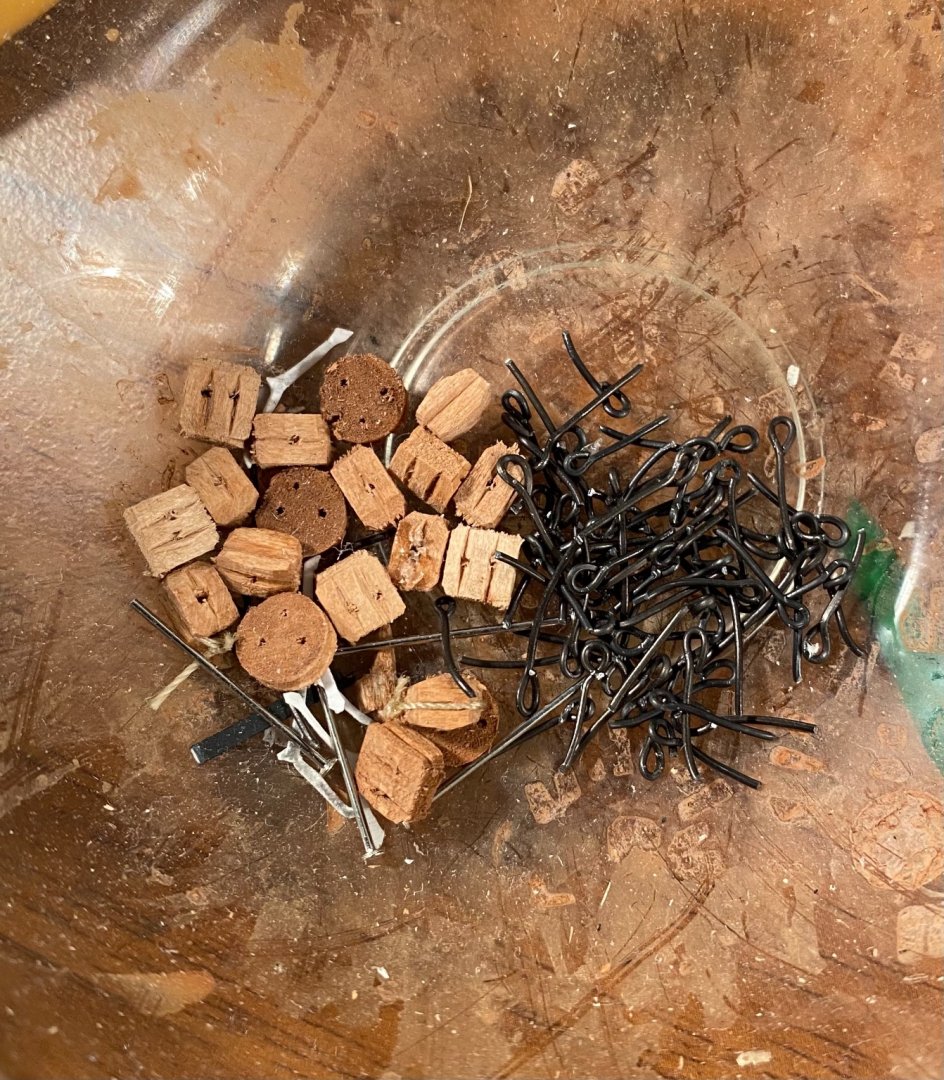
A bunch of eyebolts (60 to be exact): Along with leftovers from the Victory and the Prince de Neufchatel.
-
I’m looking forward to seeing these, especially the Oregon!
-
Nicely done!
-
FINISHED - 1:8 GT500 Shelby Super Snake - Agora Models
GrandpaPhil replied to James H's topic in Non-ship/categorised builds
Very cool build! -
This is a most excellent build!
-
I installed the swivel guns and have started the gun carriages. I will paint the swivel guns when I get around to painting the other cannon barrels. Hannah only packed 4 carriage guns, which is a big change from the other ships I have been building lately. Once the carriages are assembled and painted, I will need to come up with a bunch of eyebolts.


-
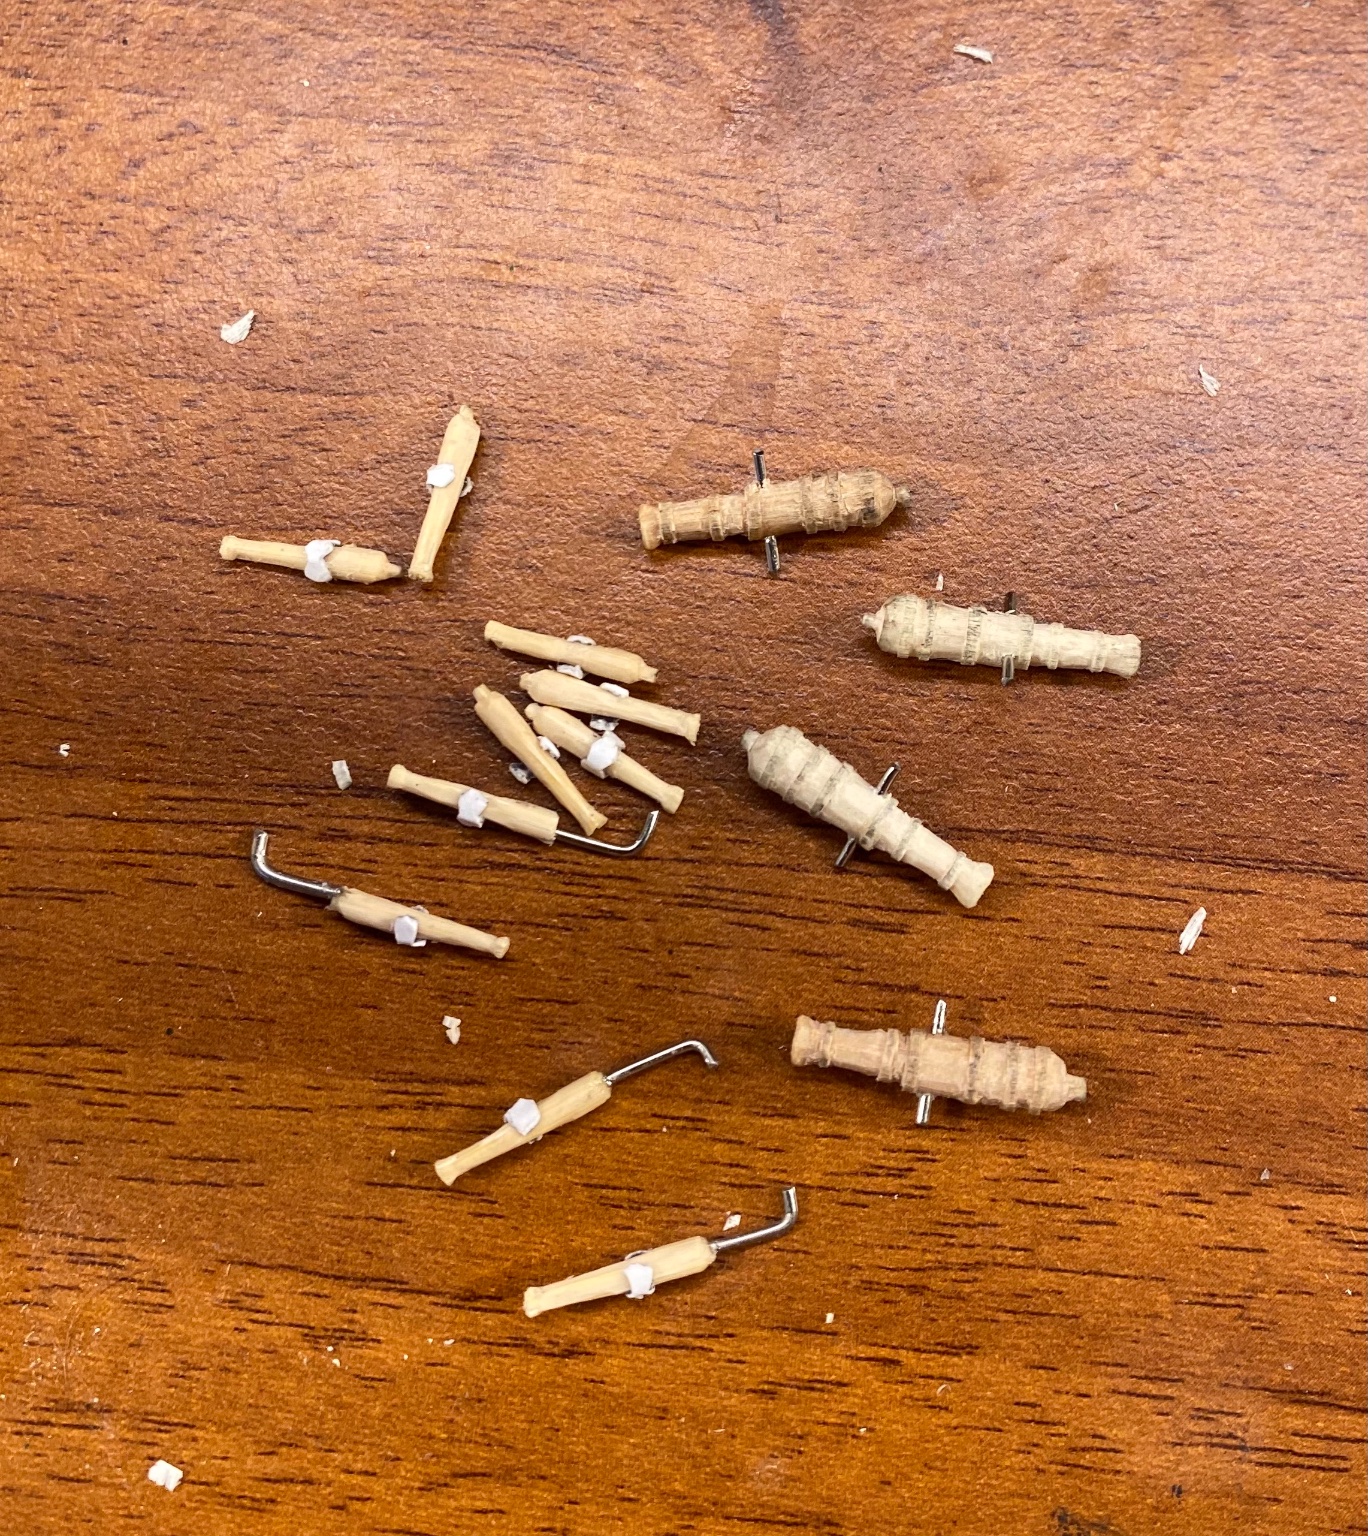
More work done on the guns: The swivels with the angle piece on the breech end are ready to install.