


GrandpaPhil
-
Posts
5,720 -
Joined
-
Last visited
Content Type
Profiles
Forums
Gallery
Events
Posts posted by GrandpaPhil
-
-
-
-
-
-
I sealed the model prior to painting:
I used Mod Podge for my initial sealant:
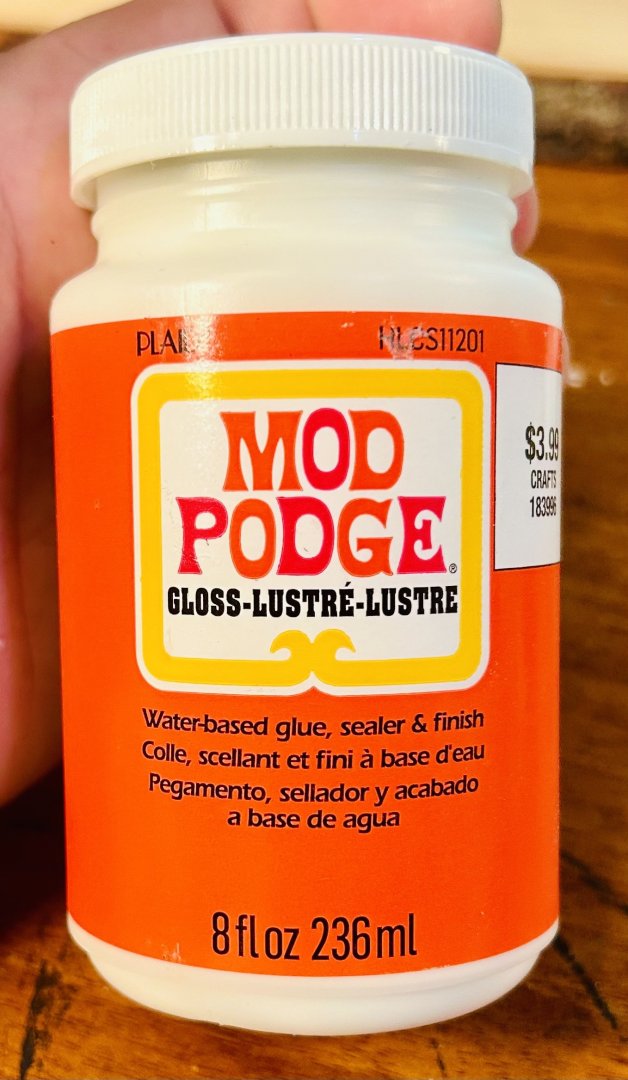
This is the best undercoating that I have ever found.
It works to make a paintable undercoat for any material that I have ever painted.
Once it cures for 24 hours, it will not flake or peel off, even on soft plastic miniatures, and acrylic paint sticks to it just fine.
I will start actual paint work tomorrow after this cures.
The only caveat is that you CANNOT sand anything you use Mod Podge on.- Old Collingwood, Canute, Jack12477 and 5 others
-
 8
8
-
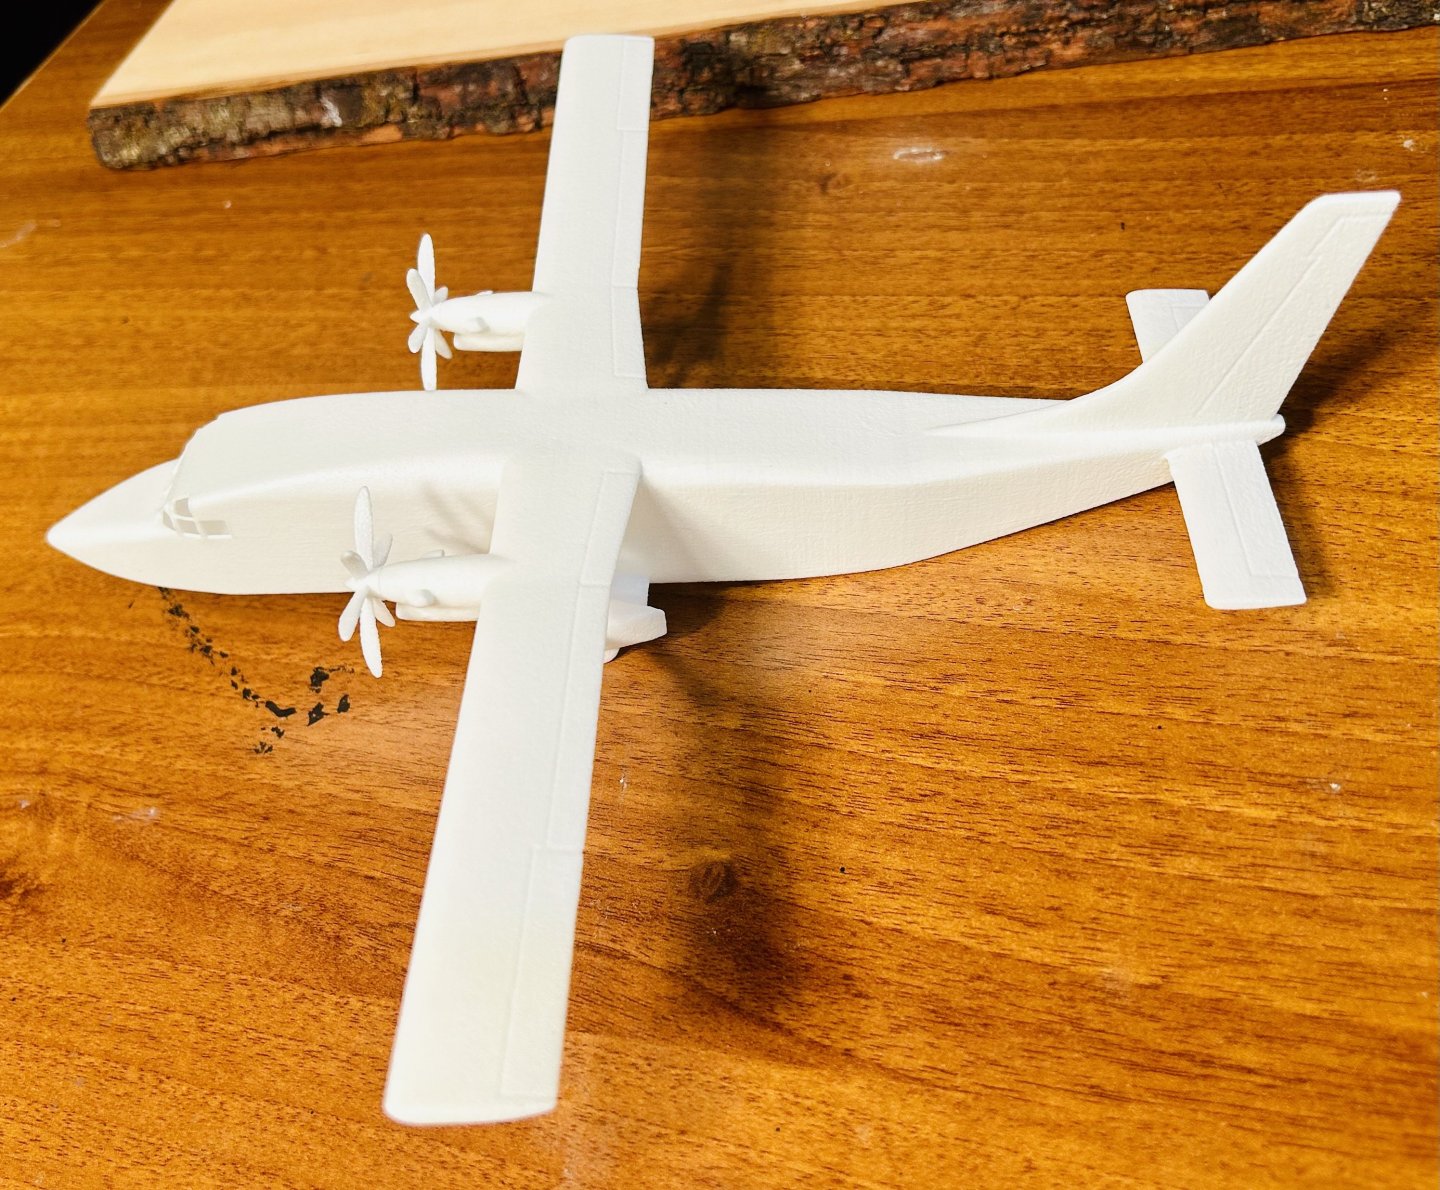
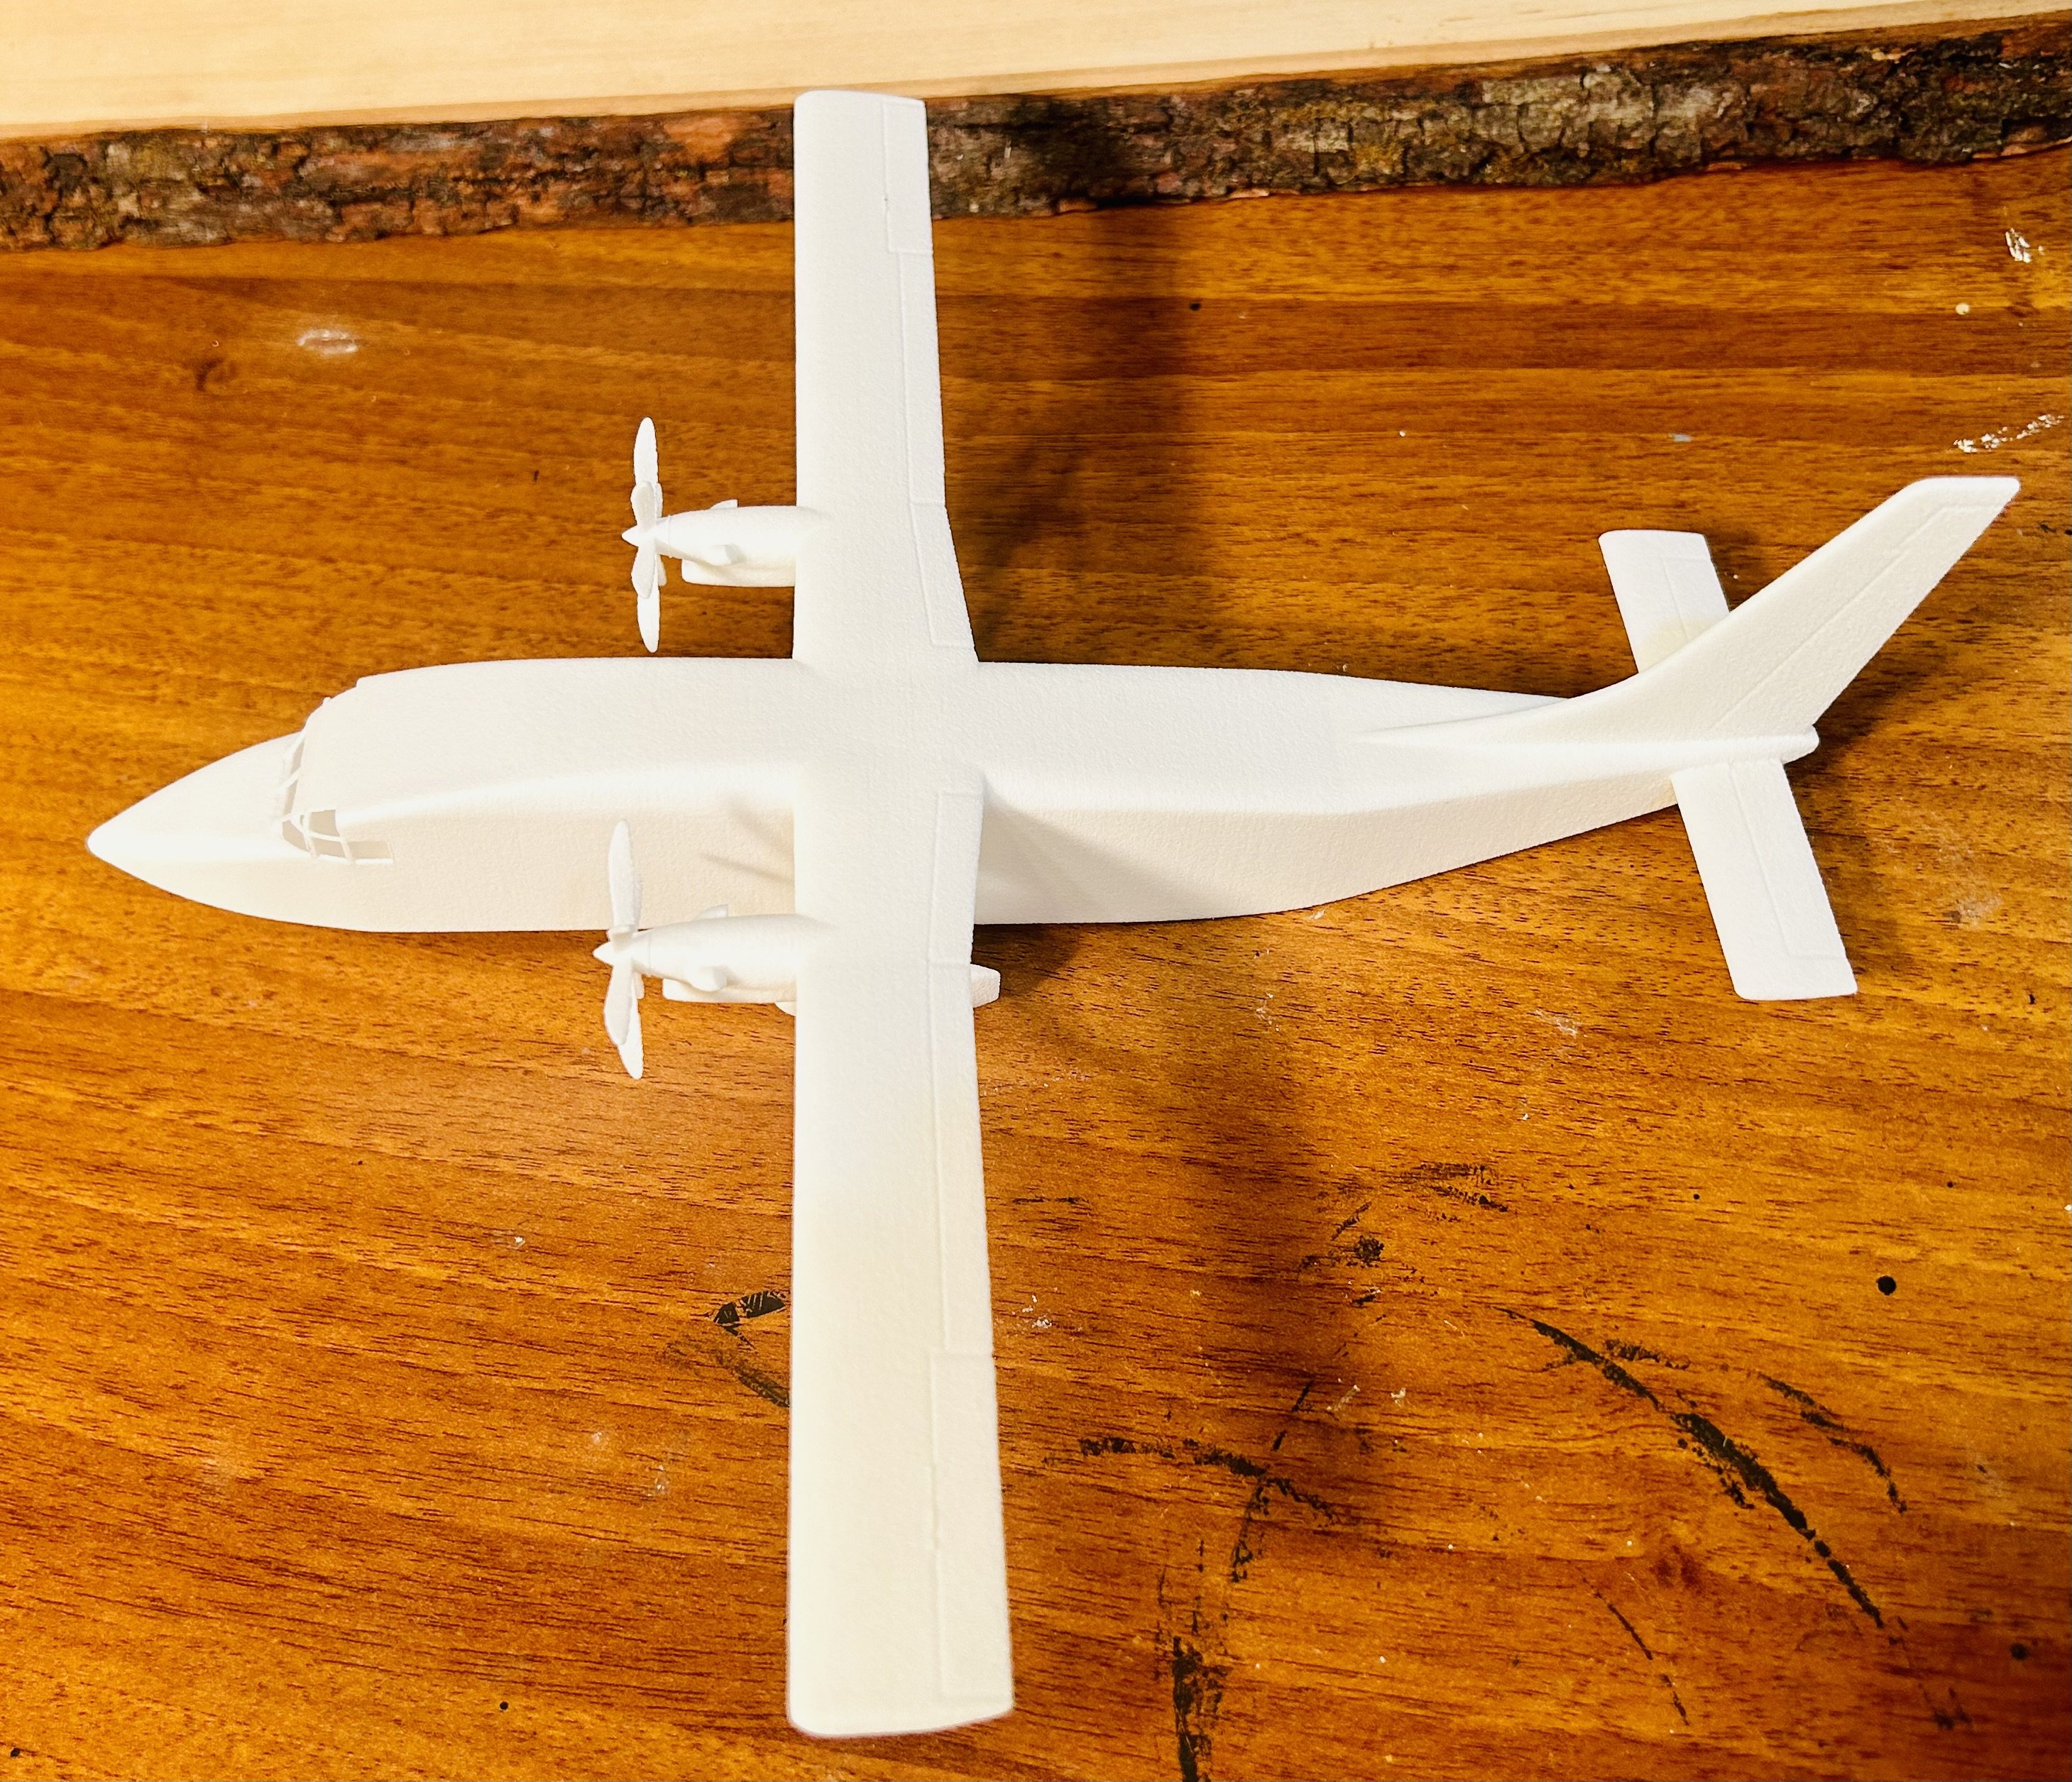
I’m painting a Shorts 360 for a friend of mine.
It was his old plane.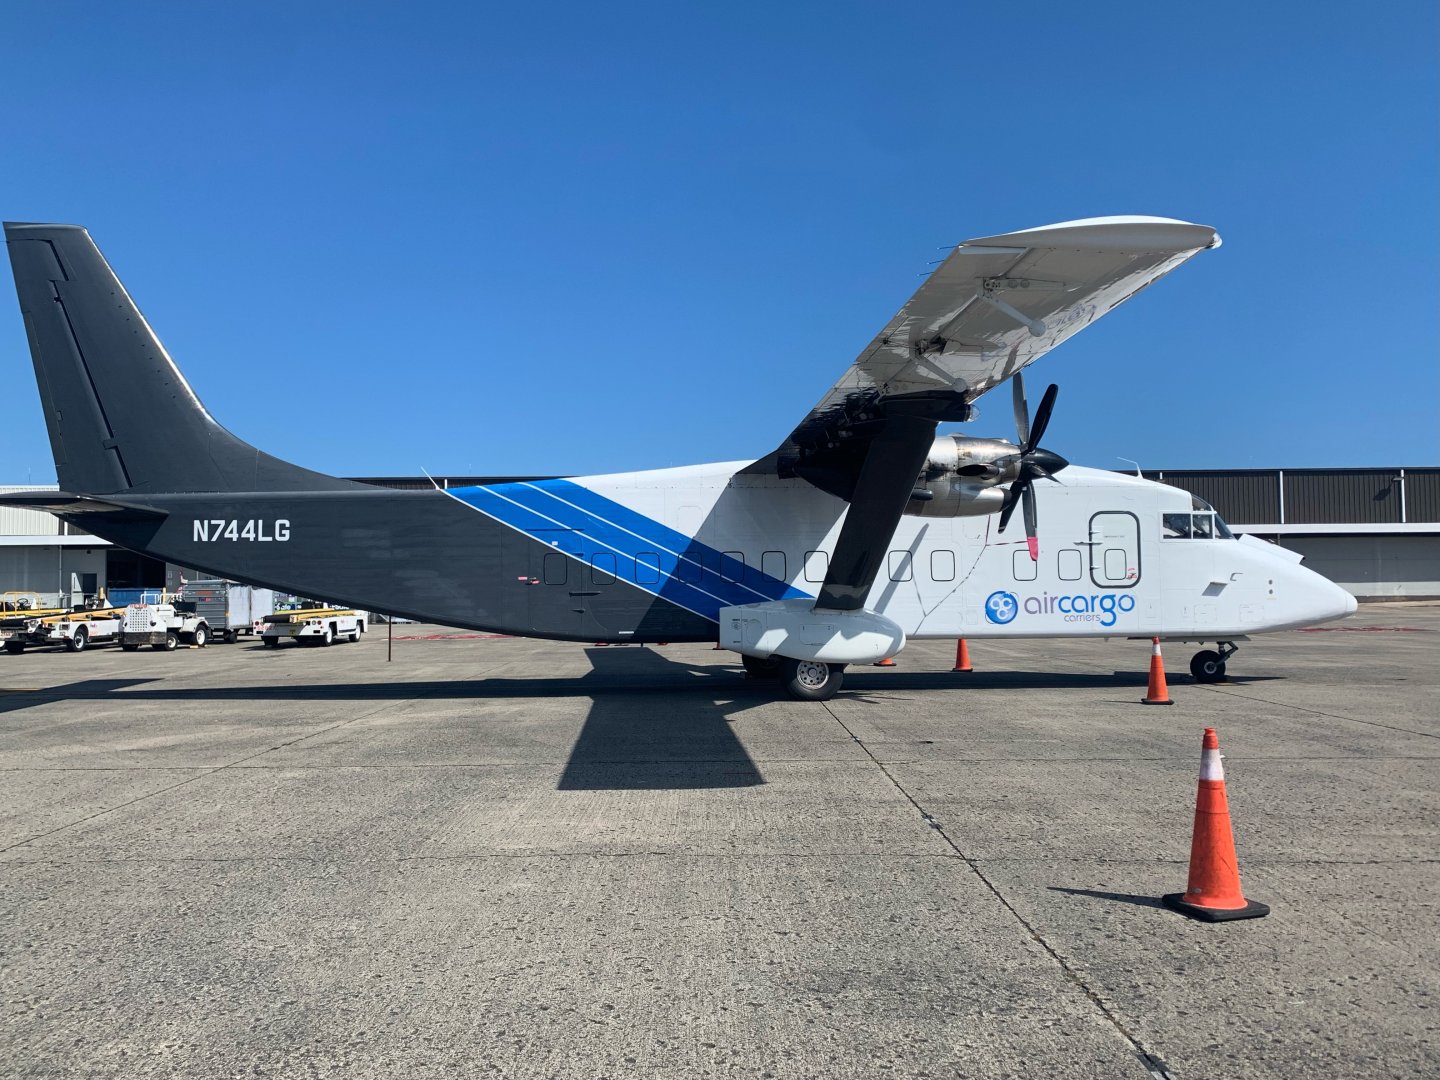
I’m going to clone that particular plane for him.Here’s the 3D print:


It has the typical issue with tricycle gears in that the model is tail heavy.
I will add pennies to the under carriage, where they won’t be visible to weigh down the nose.
- king derelict, Canute, Charter33 and 5 others
-
8
-
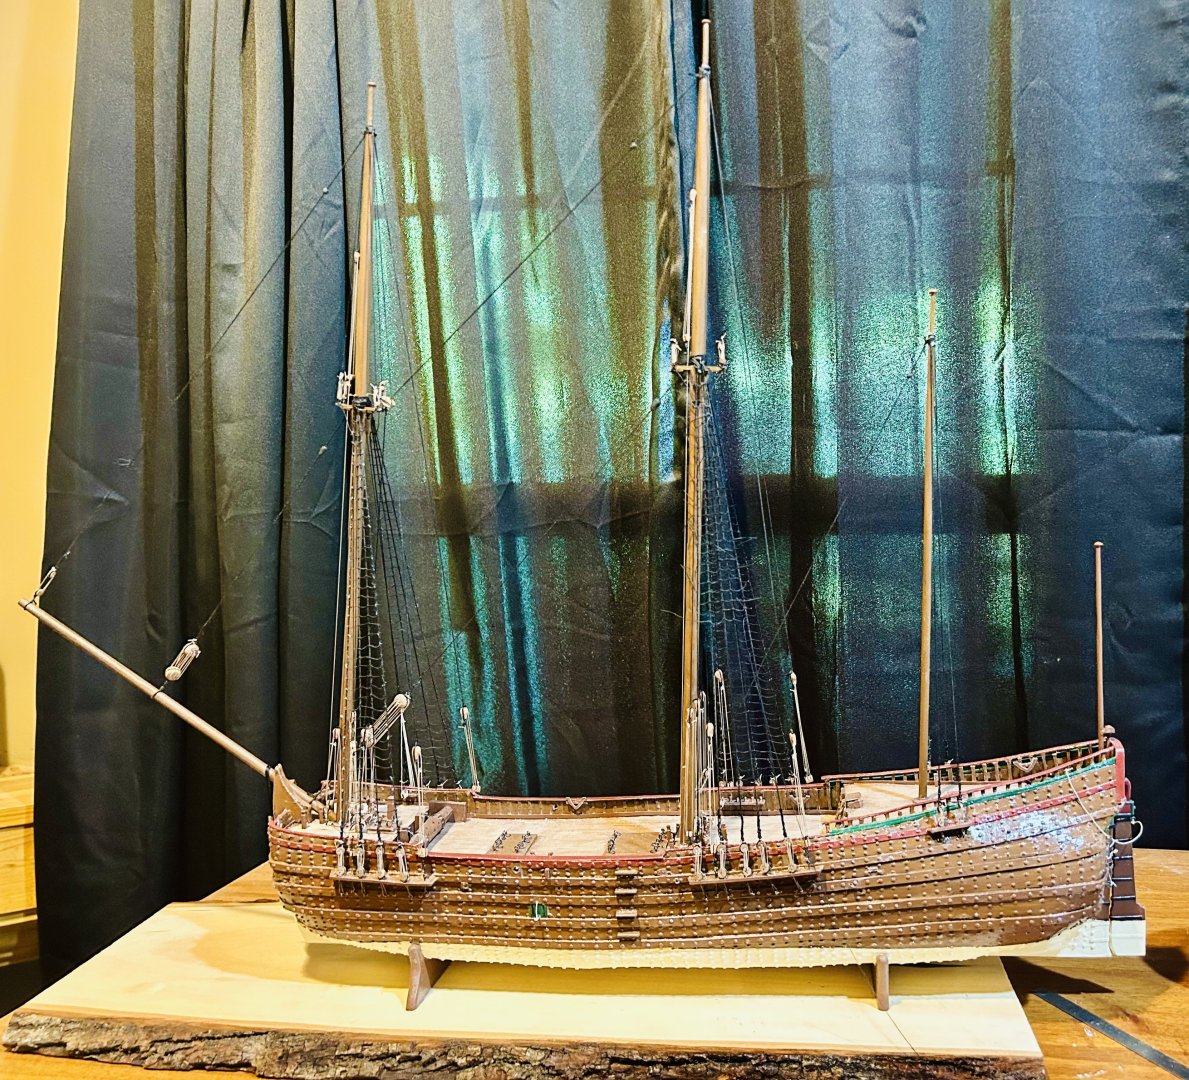
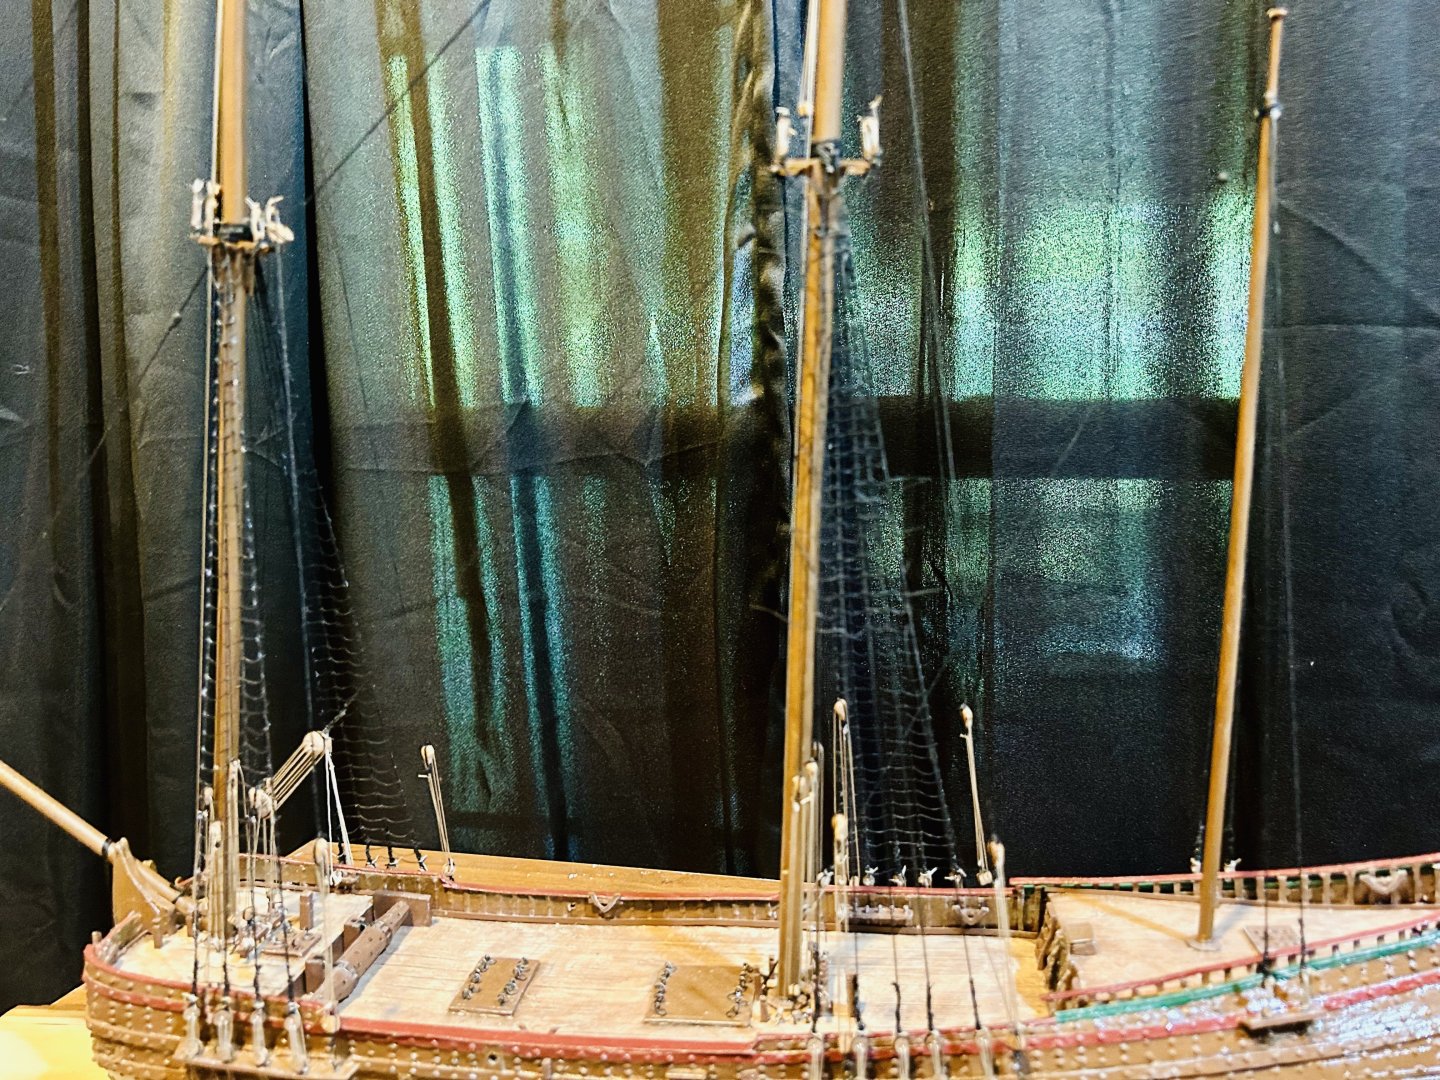
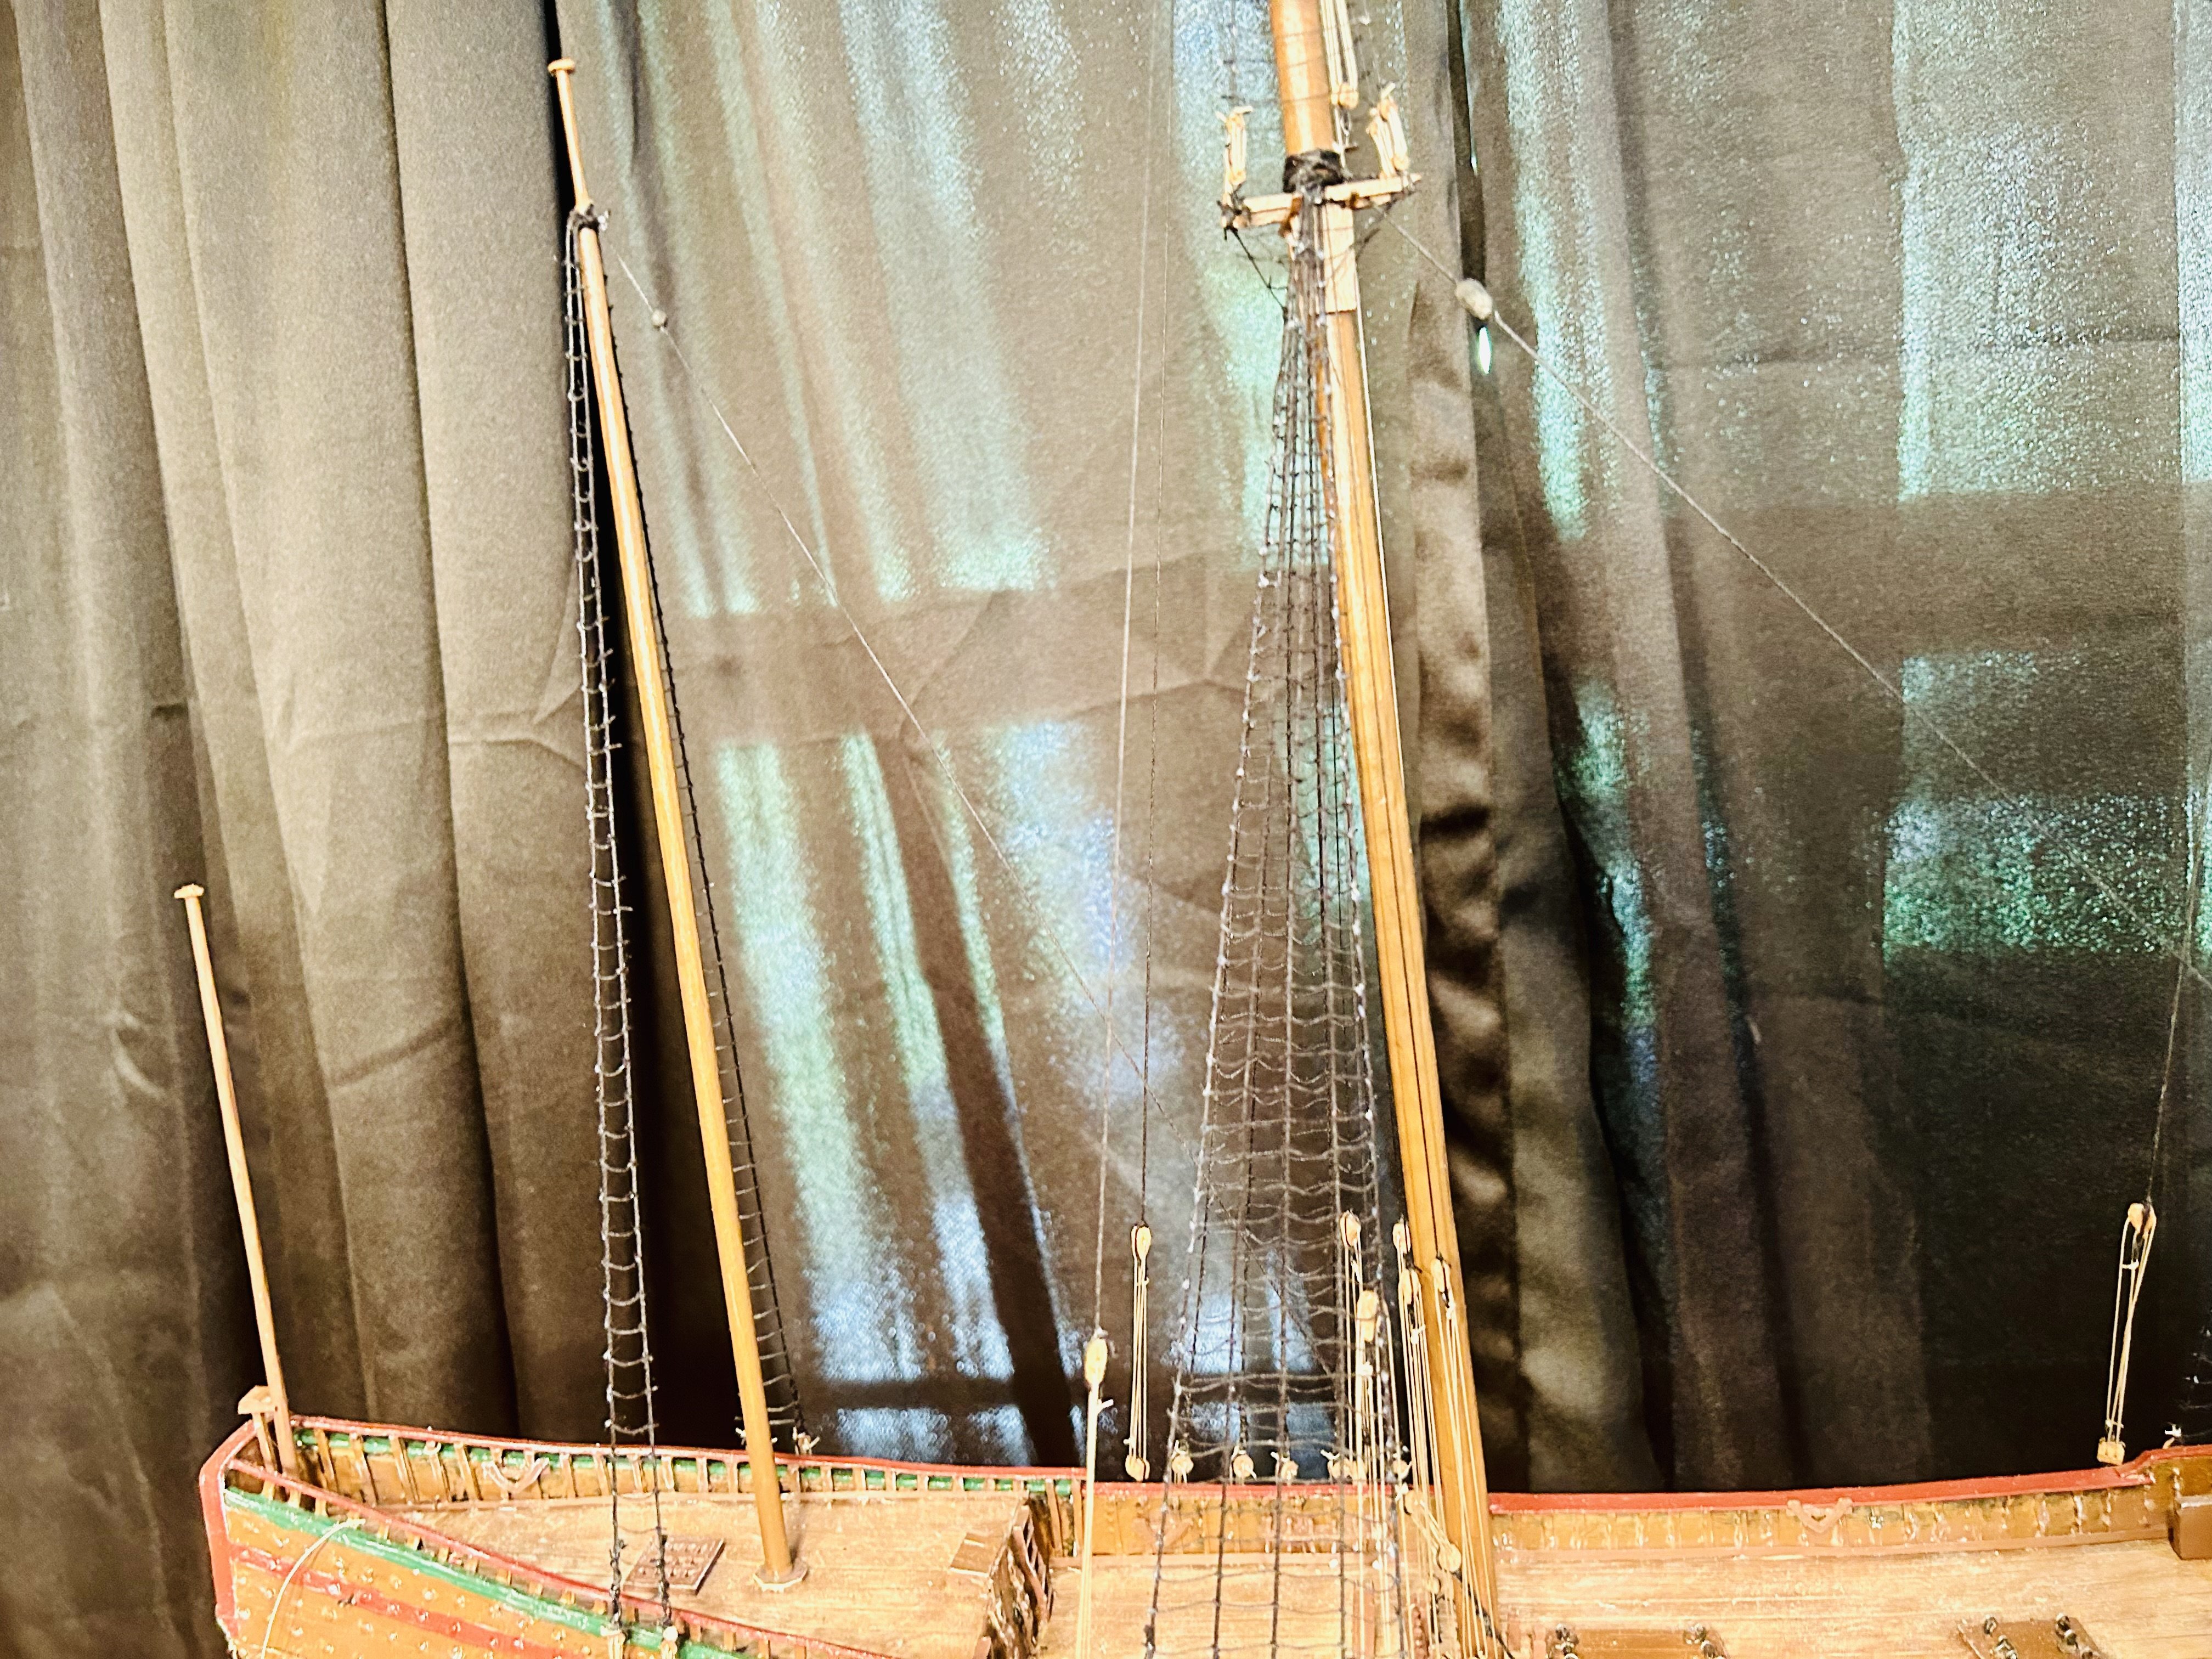
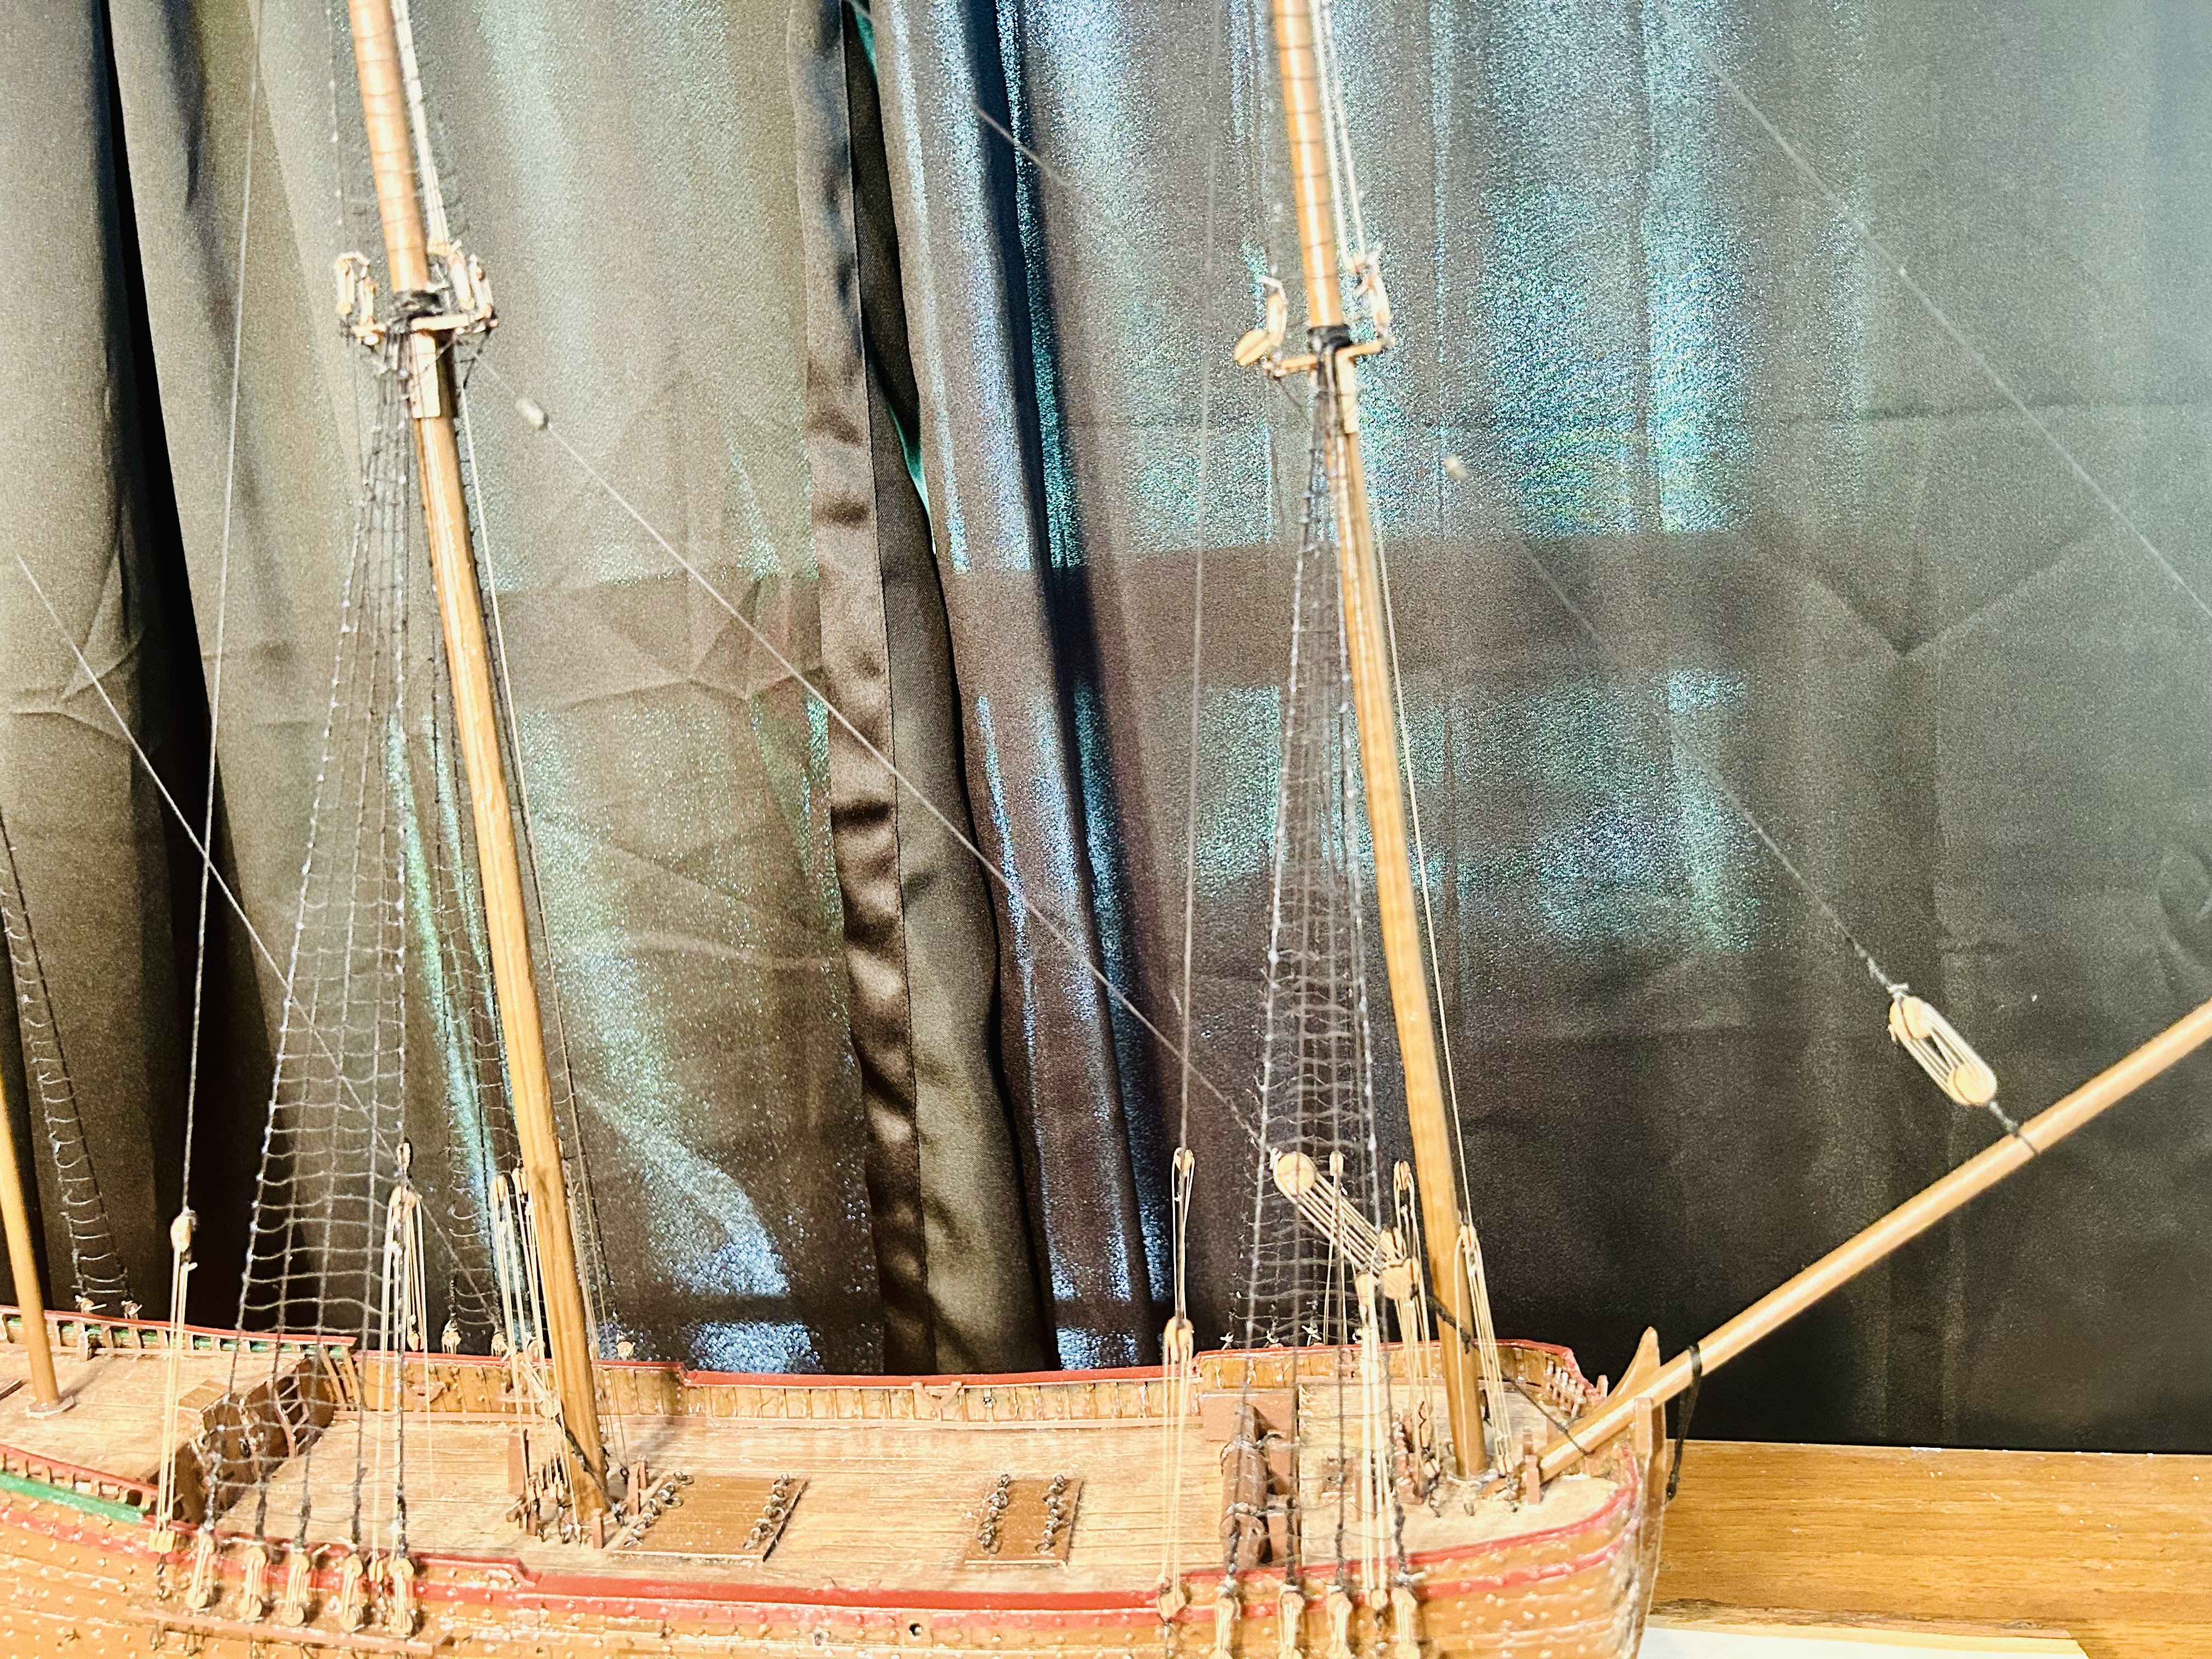
Ratline pictures:
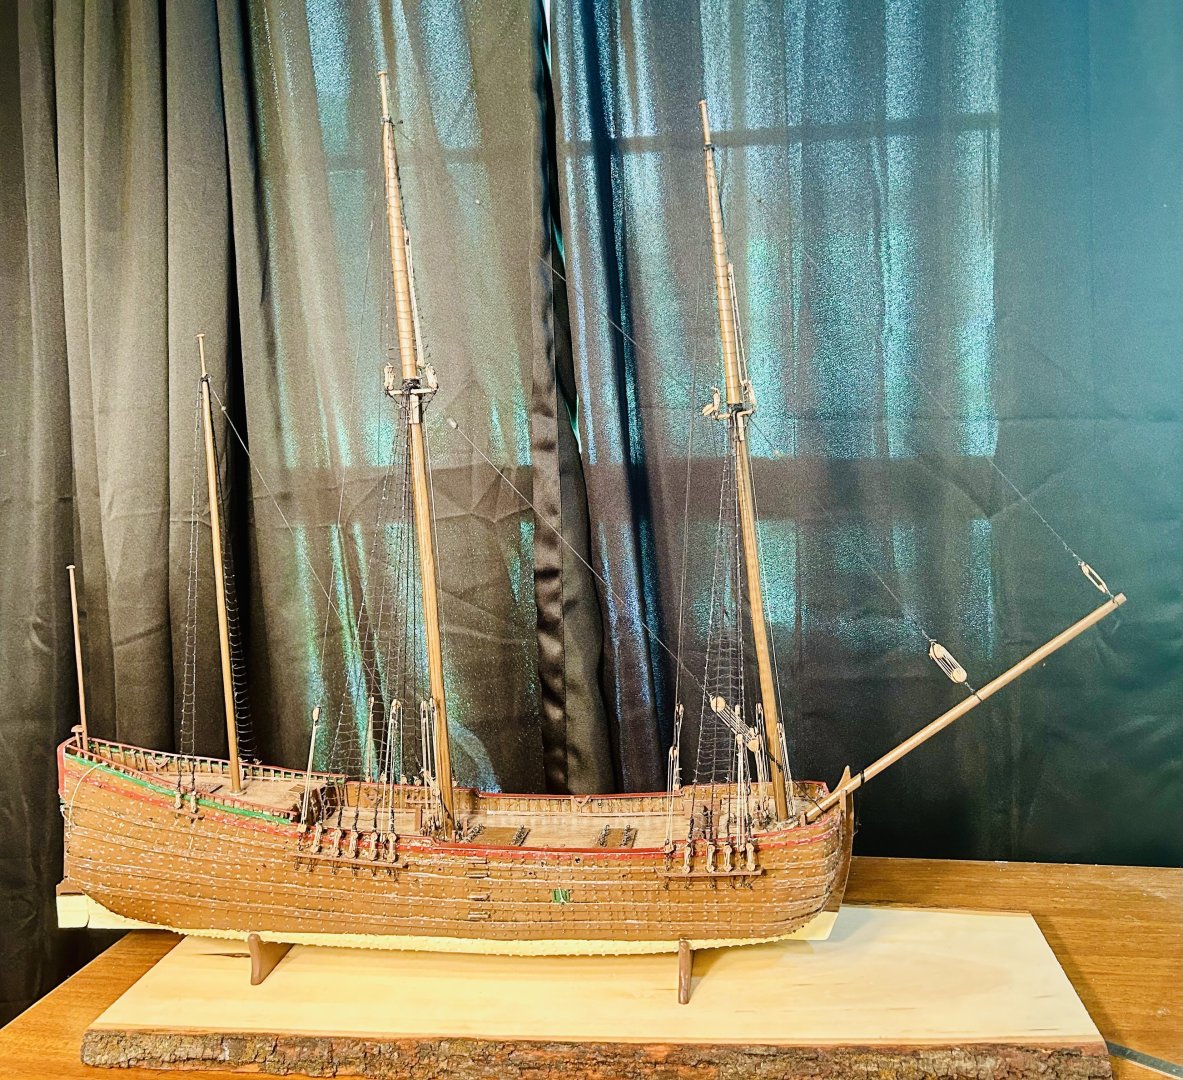
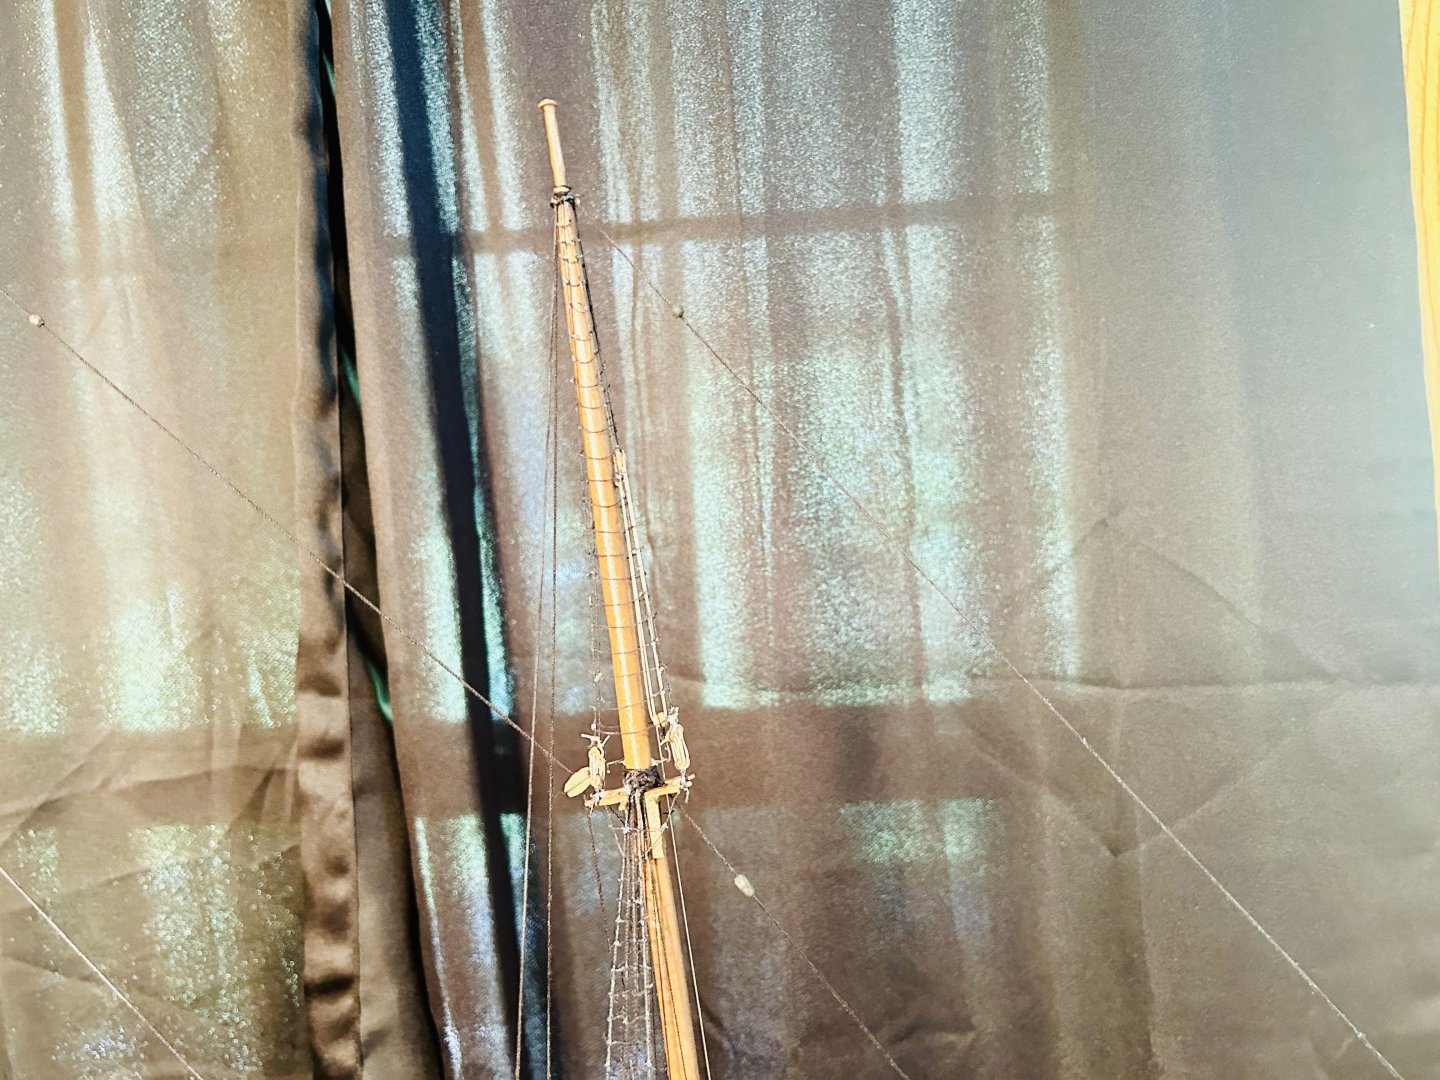
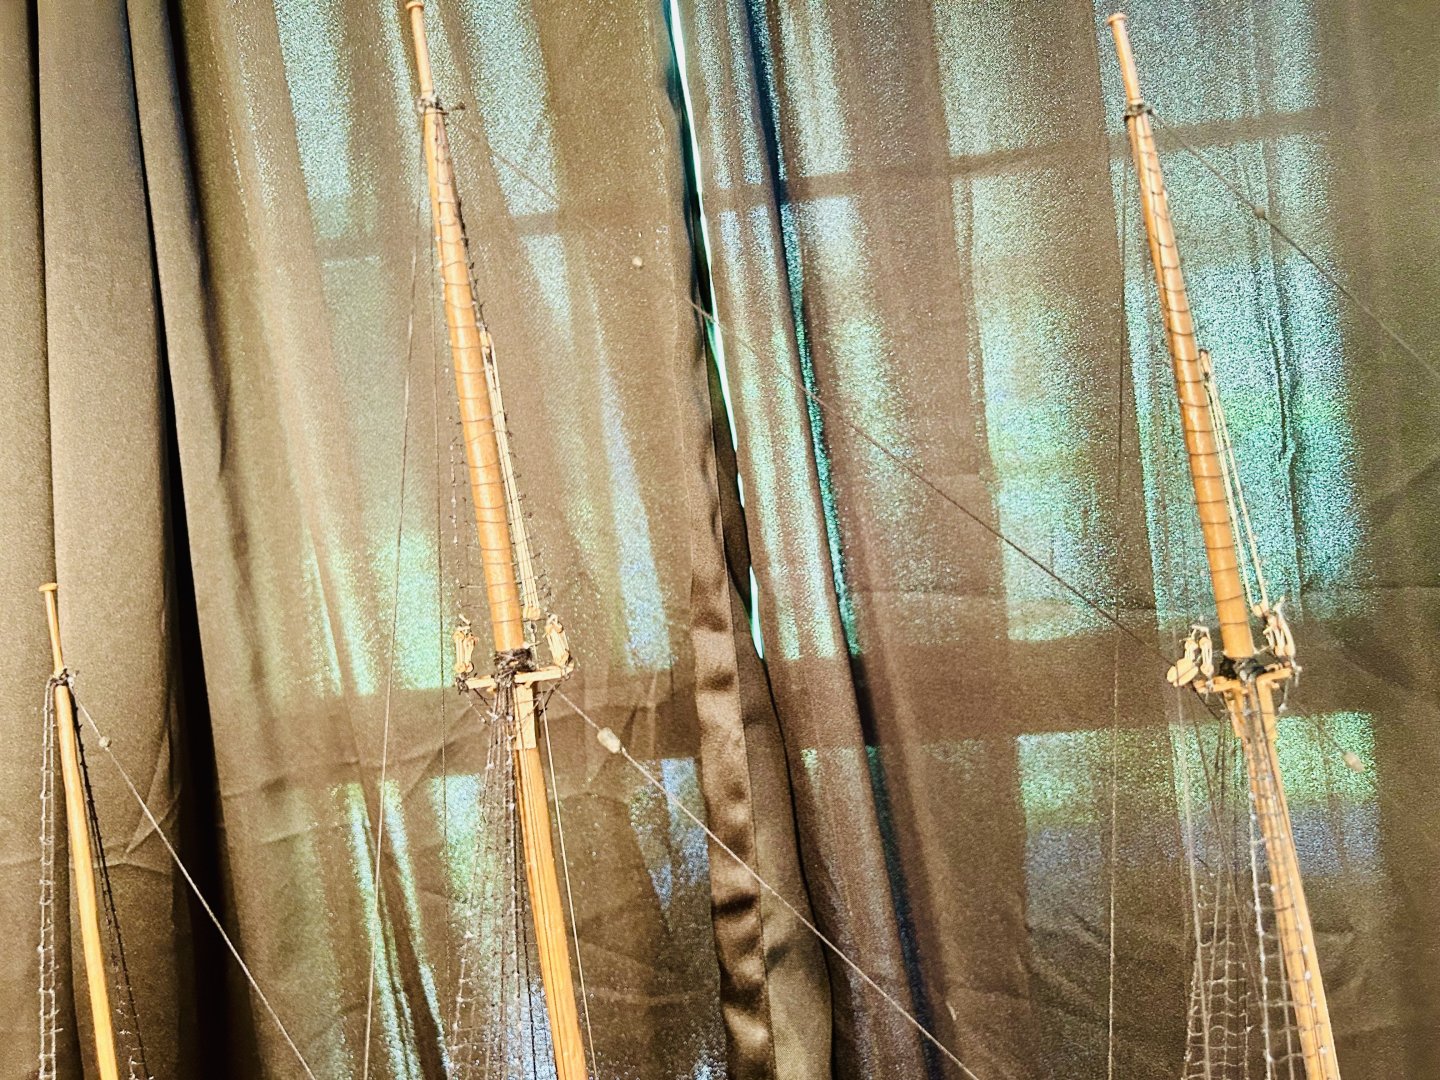
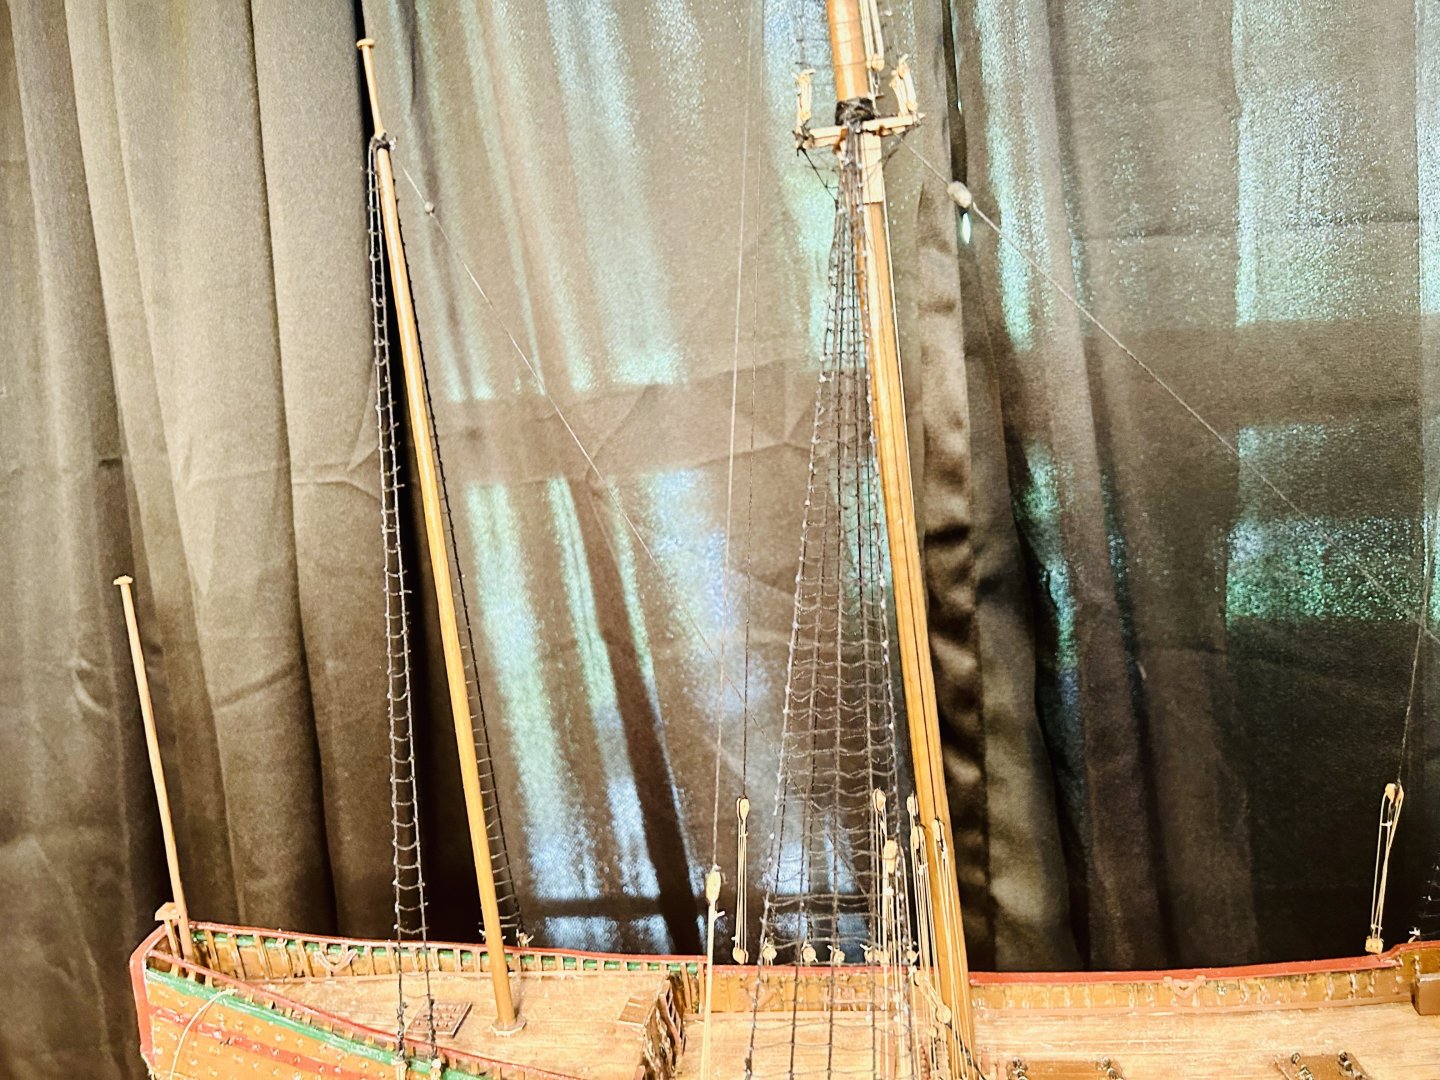
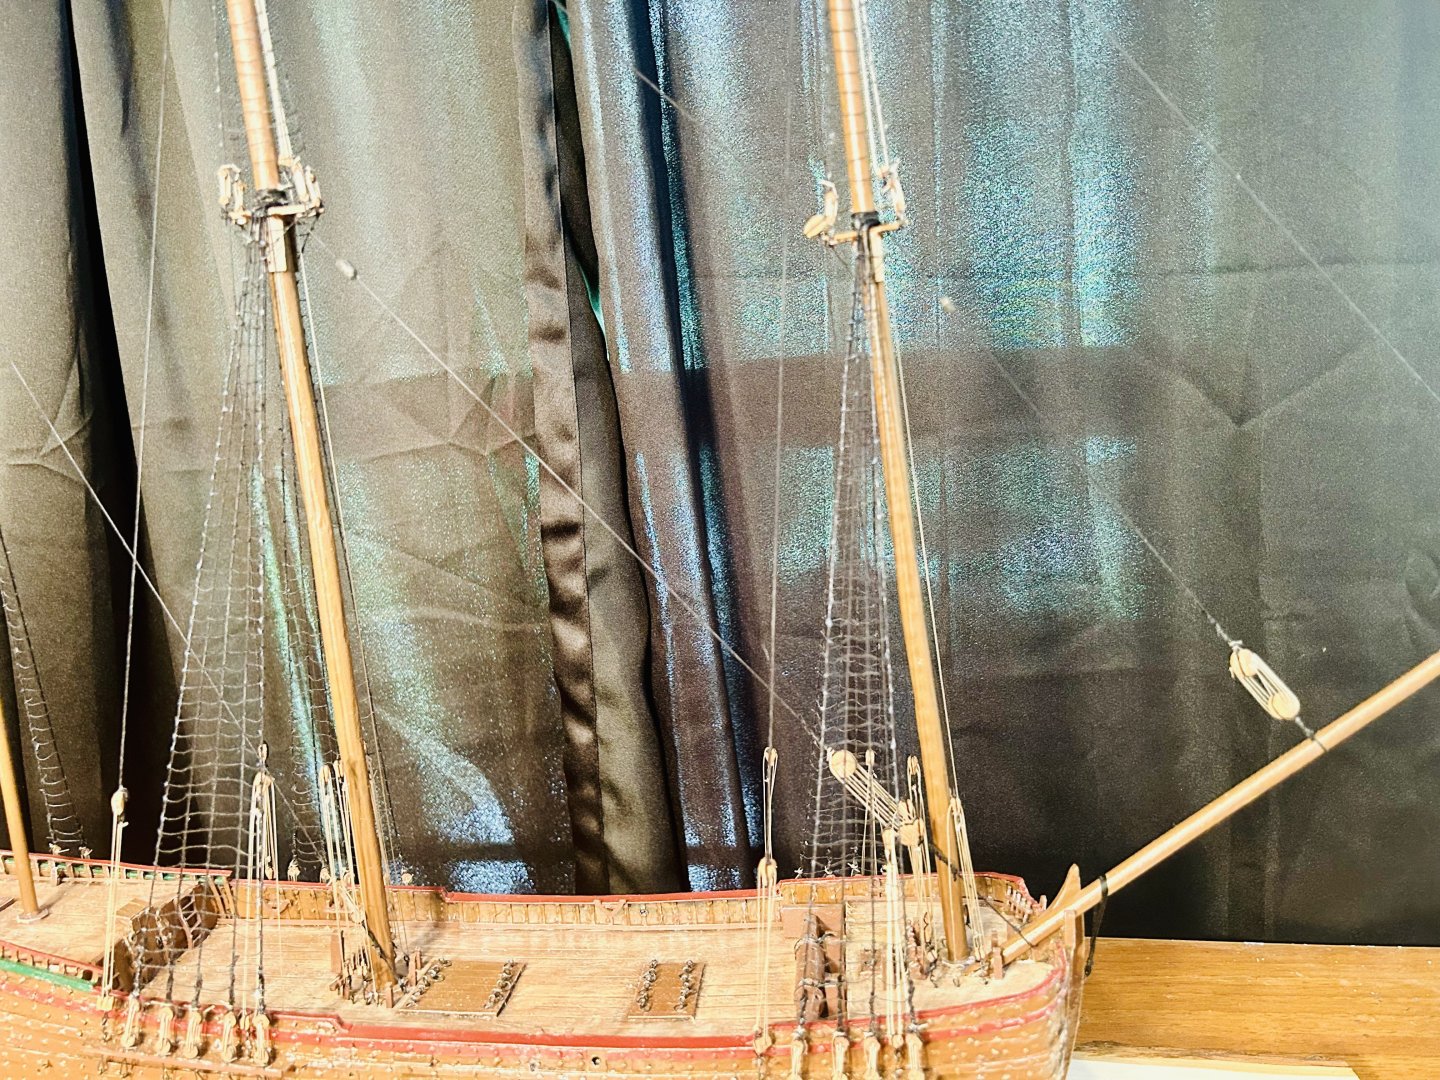
I just tie my ratlines by hand.
This is the third set I’ve done for a 3-masted ship, although the mizzen mast and both sets of top mast ratlines only had 2 shrouds apiece to tie off to, which made finishing the ratlines much easier.
Revenge has double the number of shrouds.
-
-
Thank you very much!
I tied them with overhand knots.
- Glen McGuire, Scottish Guy, mtaylor and 3 others
-
4
-
 2
2
-
Ratlines are done!
I’ll post pictures later.
- Canute, Scottish Guy, Glen McGuire and 3 others
-
6
-
-
Welcome!
- Keith Black, Mollusc, mtaylor and 3 others
-
6
-
-
Welcome!
- Ryland Craze, mtaylor, OcCre and 1 other
-
4
-
Still working ratlines:
Life has been very busy so I’ve only been working on my model periodically, for a few minutes at a time.
- Scottish Guy, Rick310, Javelin and 7 others
-
10
-
-
You and Gnomer Pyle are doing an excellent job!
- Glen McGuire, Keith Black and Knocklouder
-
2
-
 1
1
-
Welcome!
- mtaylor and Keith Black
-
2
-
-
Welcome!
- Scottish Guy, mtaylor, Keith Black and 2 others
-
5
-
-
Shipyard Kits are very nice.
You’ll enjoy building them!- catopower, Keith Black, mtaylor and 2 others
-
5
-
Thank you all very much!
- Jack12477, Old Collingwood, Egilman and 2 others
-
5
-


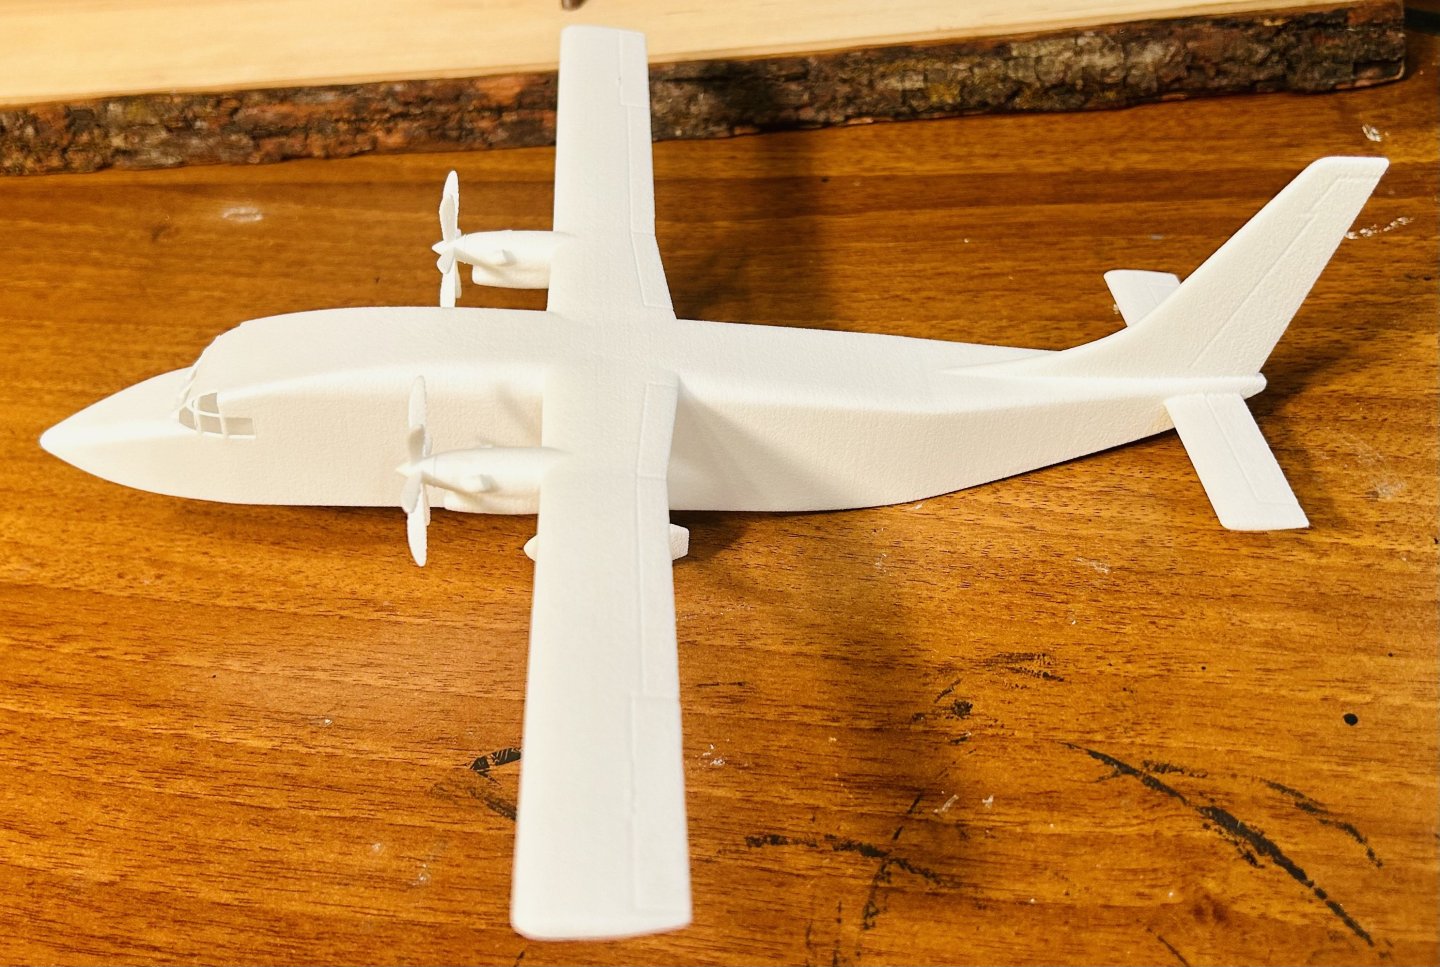
Air Cargo Shorts 360 by GrandpaPhil - FINISHED - 1/72 - Model Shapeways - 3D-Printed
in Non-ship/categorised builds
Posted
It’s got 4 coats of white on it now: