


GrandpaPhil
-
Posts
4,956 -
Joined
-
Last visited
Content Type
Profiles
Forums
Gallery
Events
Posts posted by GrandpaPhil
-
-
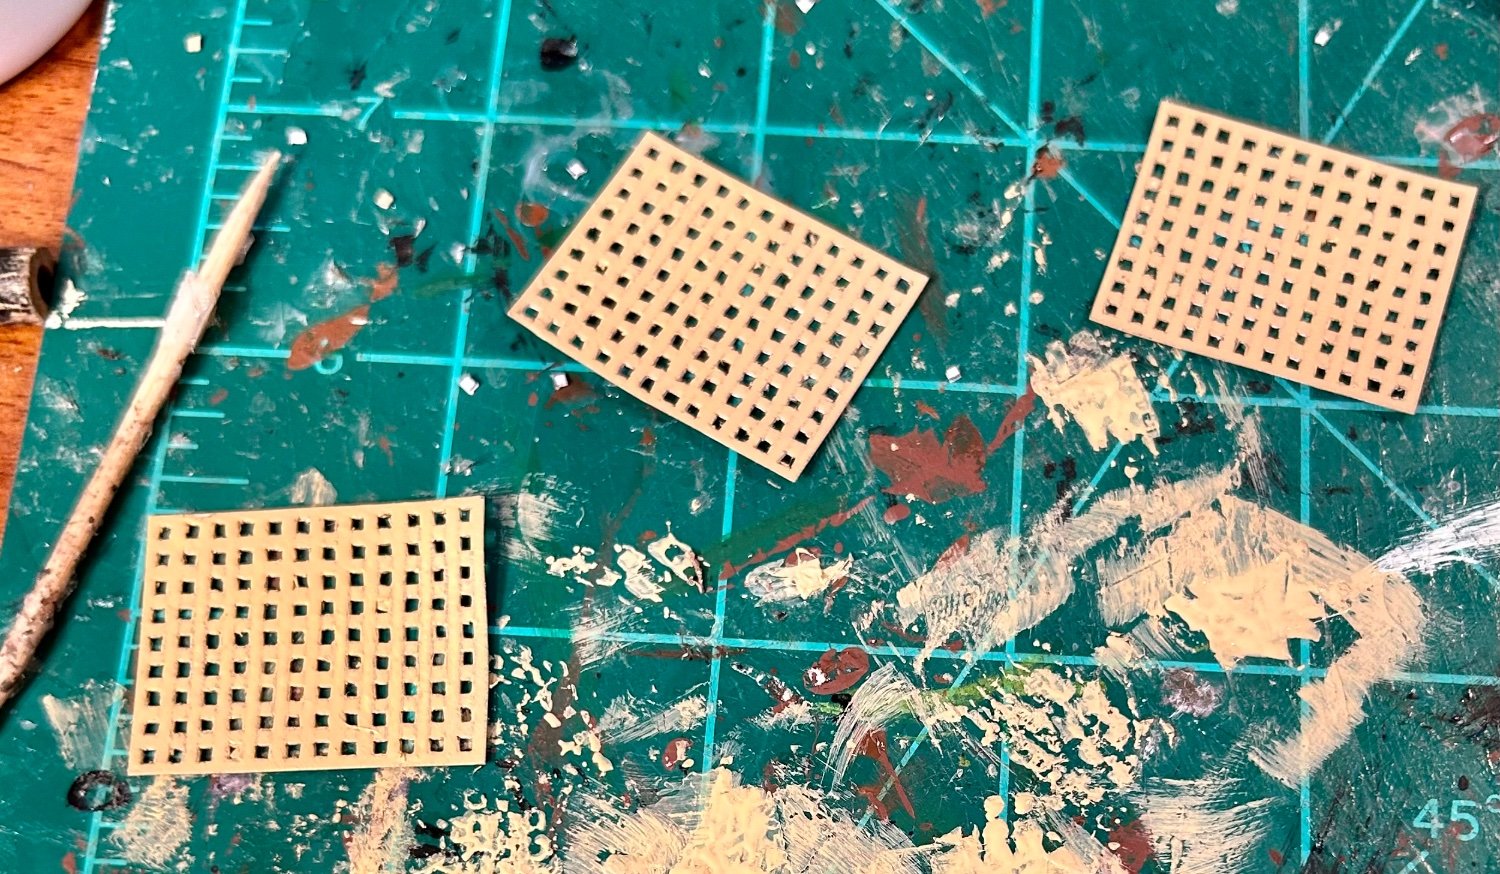
There are the gratings and ladders that I mentioned earlier:
The ladders need some assembly, lol.
Once these are all in place, I’ll start making the exterior bulkheads.
That’s when the real paintwork and decorating will begin.
-
-
That’s one way.
Or you assemble subassemblies and then paint.
I’ve utilized both methods with great success.
- thibaultron, Canute and mtaylor
-
 3
3
-
-
-
-
Very nicely done!
- Egilman, Haliburton, Canute and 2 others
-
5
-
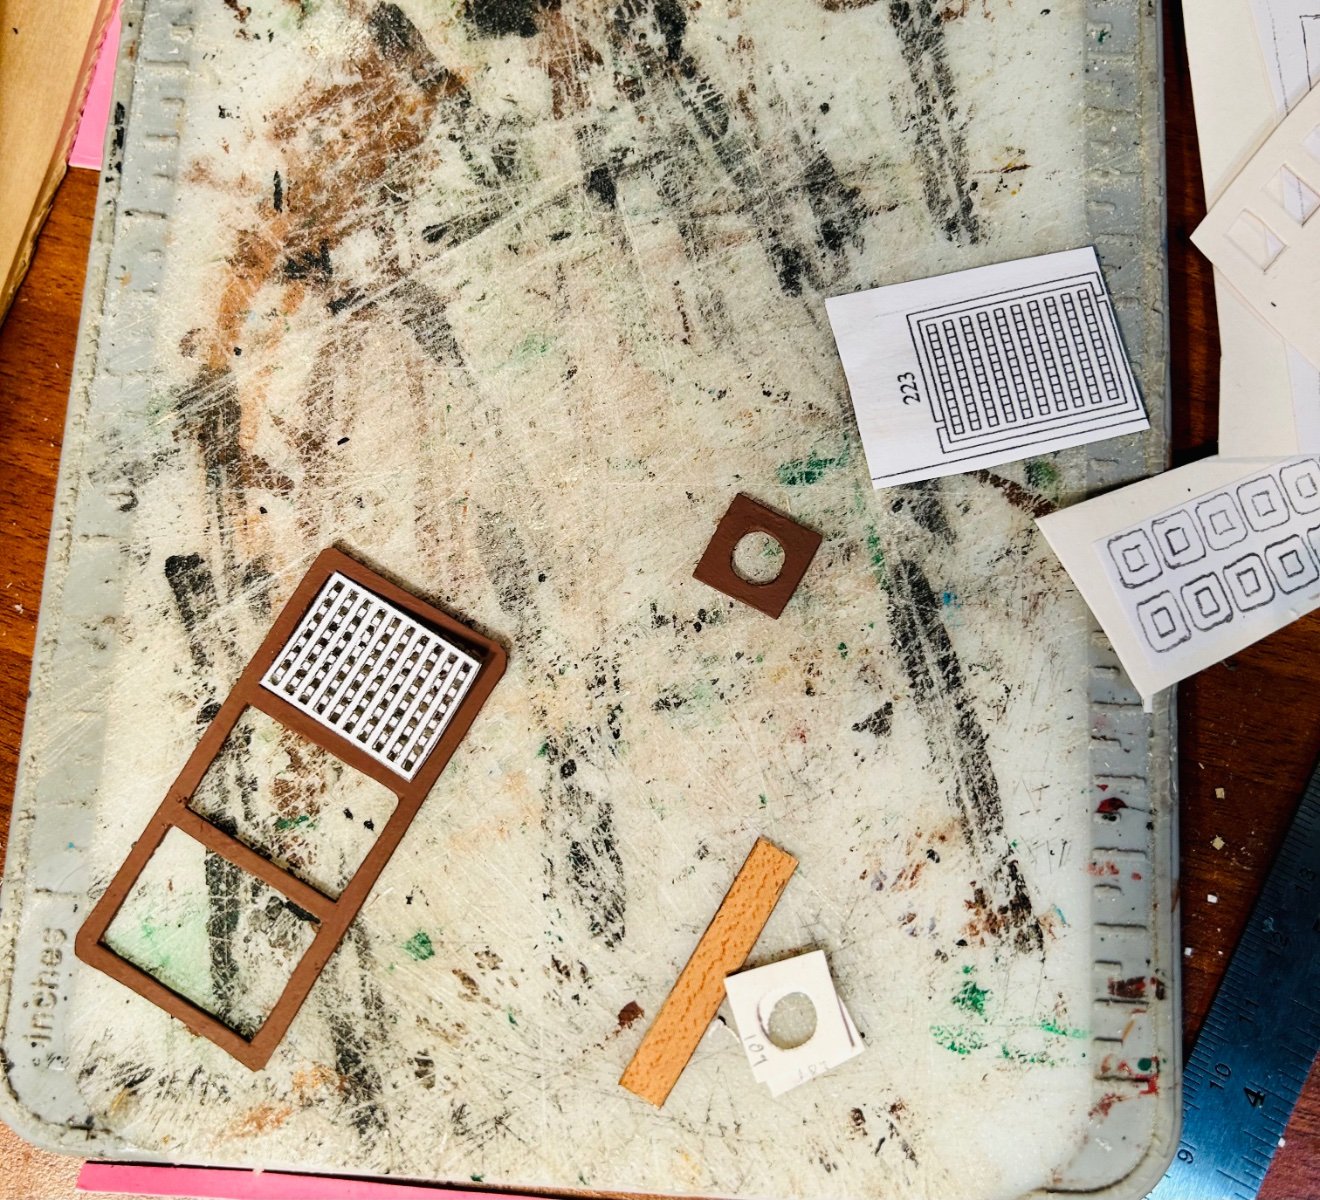
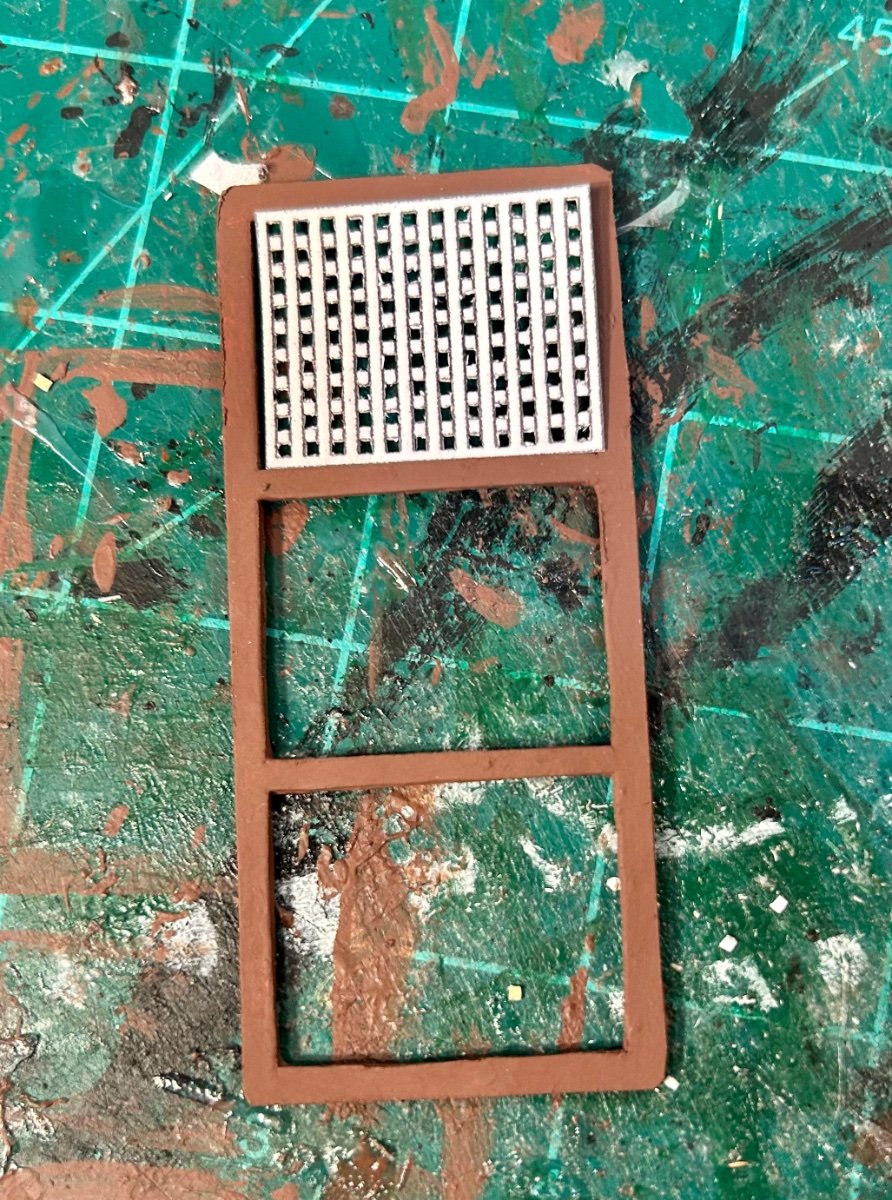
Proof of concept/prototype for the first grating:

It still needs cleaned up and painted, but that will do just fine.
This set of plans is very nice.
The trick for the plan sheets for the brass photo-etch is to just photocopy onto thin card and then cut them out.
I made the mistake with the gundeck and orlop deck gratings of cutting out the pieces on the plan and trying to glue them to card.
It didn’t work too well.
But, this is working just fine.
It is fundamentally the same thing I did with the windows I made earlier.
It’s a little tedious, but isn’t everything in this hobby, lol?
That’s part of why this hobby is so relaxing.
-
-
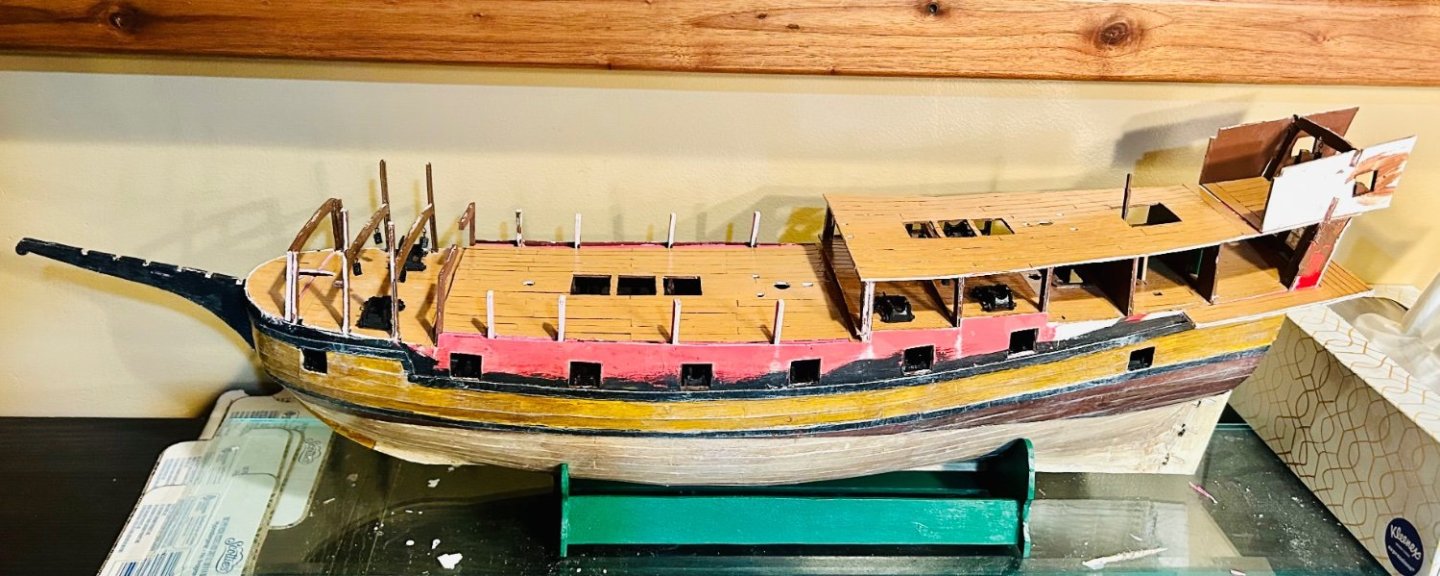
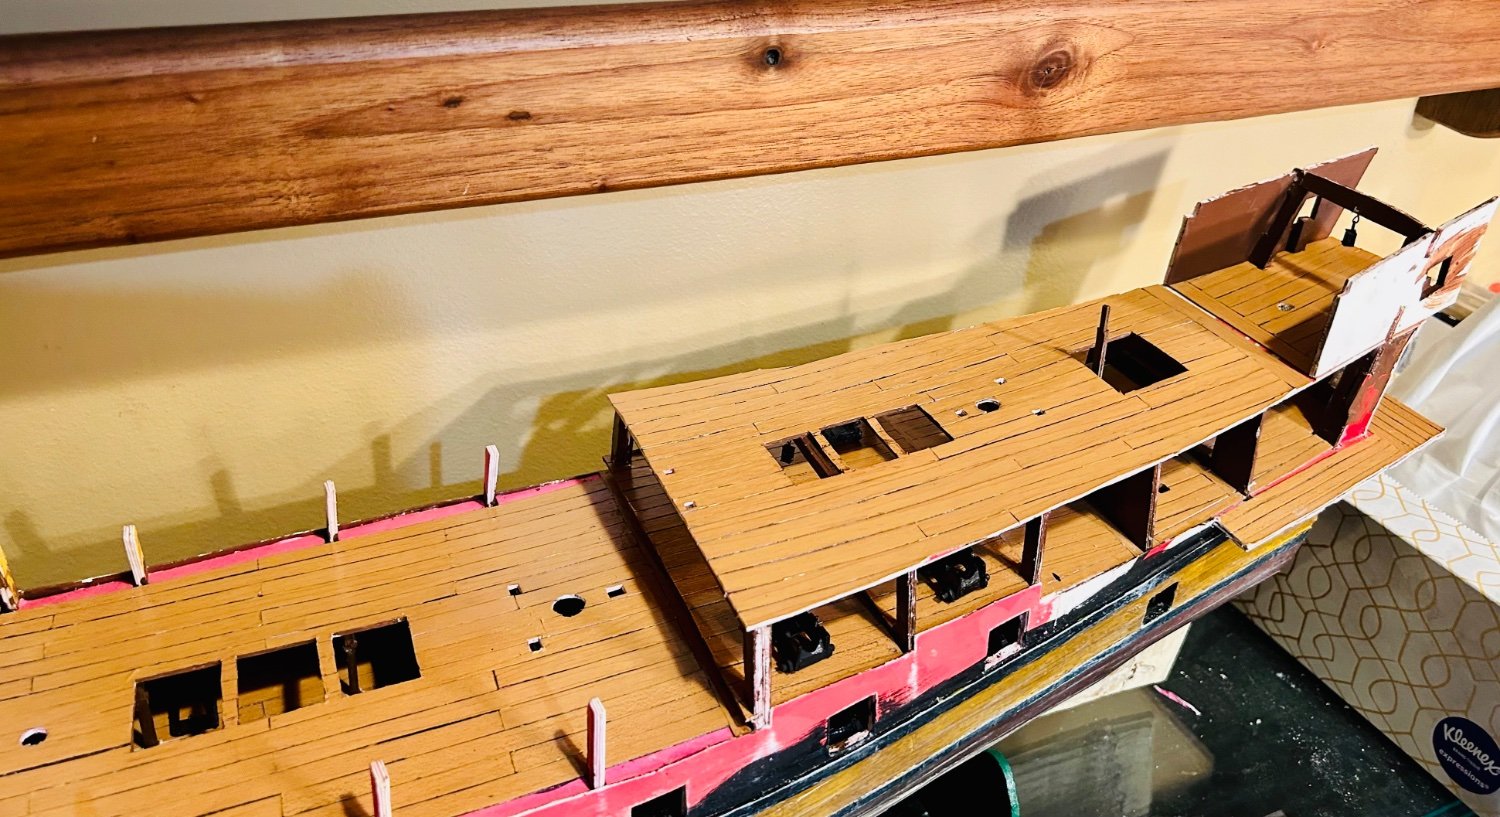
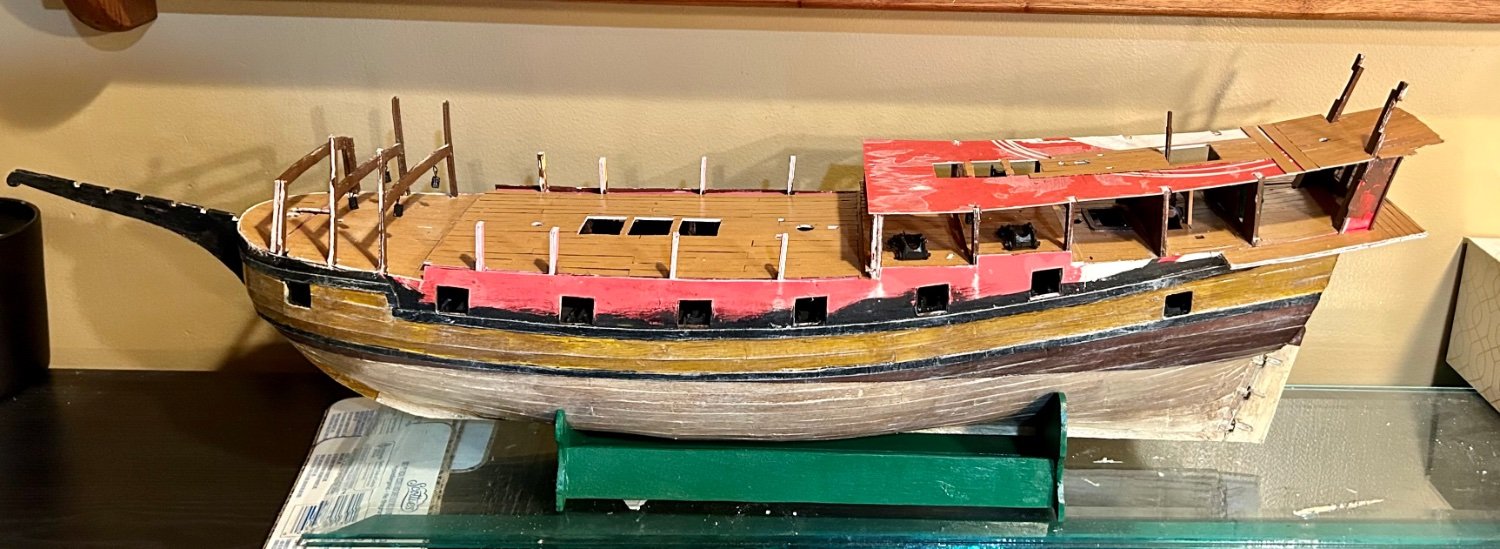
All decks are planked and the forecastle deck is sealed.

I’m actually a little farther along with the model, but I haven’t paused to take pictures.
I’m currently working on cutting out the rest of the pieces that I traced out and prepping the grating pieces and trim pieces that I copied on the thin card.
Those are going to either get layered onto other card after I carve the details into them, or get glued down to wood and then carved.
Thank you again to this wonderful forum for that carving group project. It was immensely valuable to me.
Sometime in between, I need to make 2 ladders and get the hatch pieces finalized, to include the aforementioned gratings.
- BenD, Cirdan, Thukydides and 7 others
-
10
-
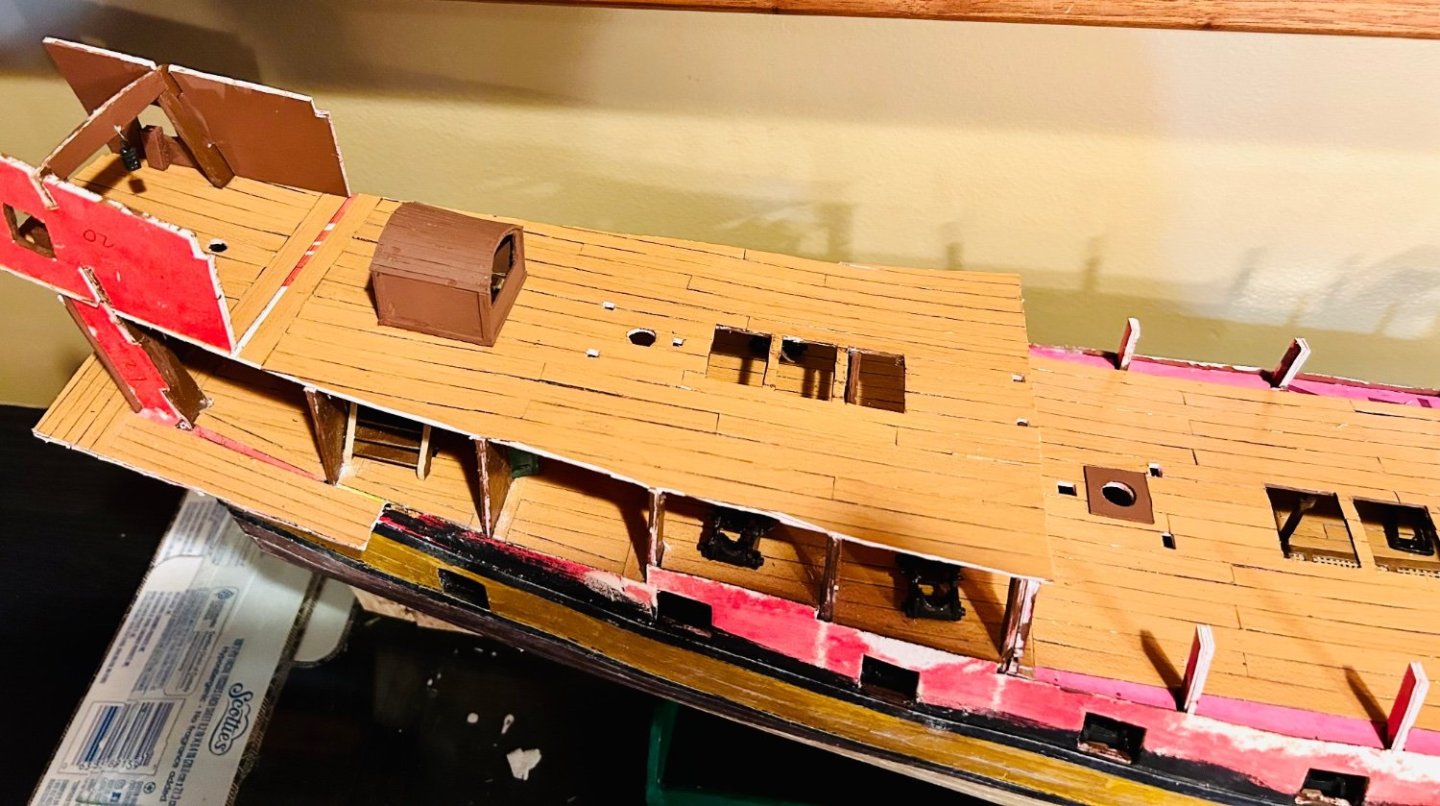
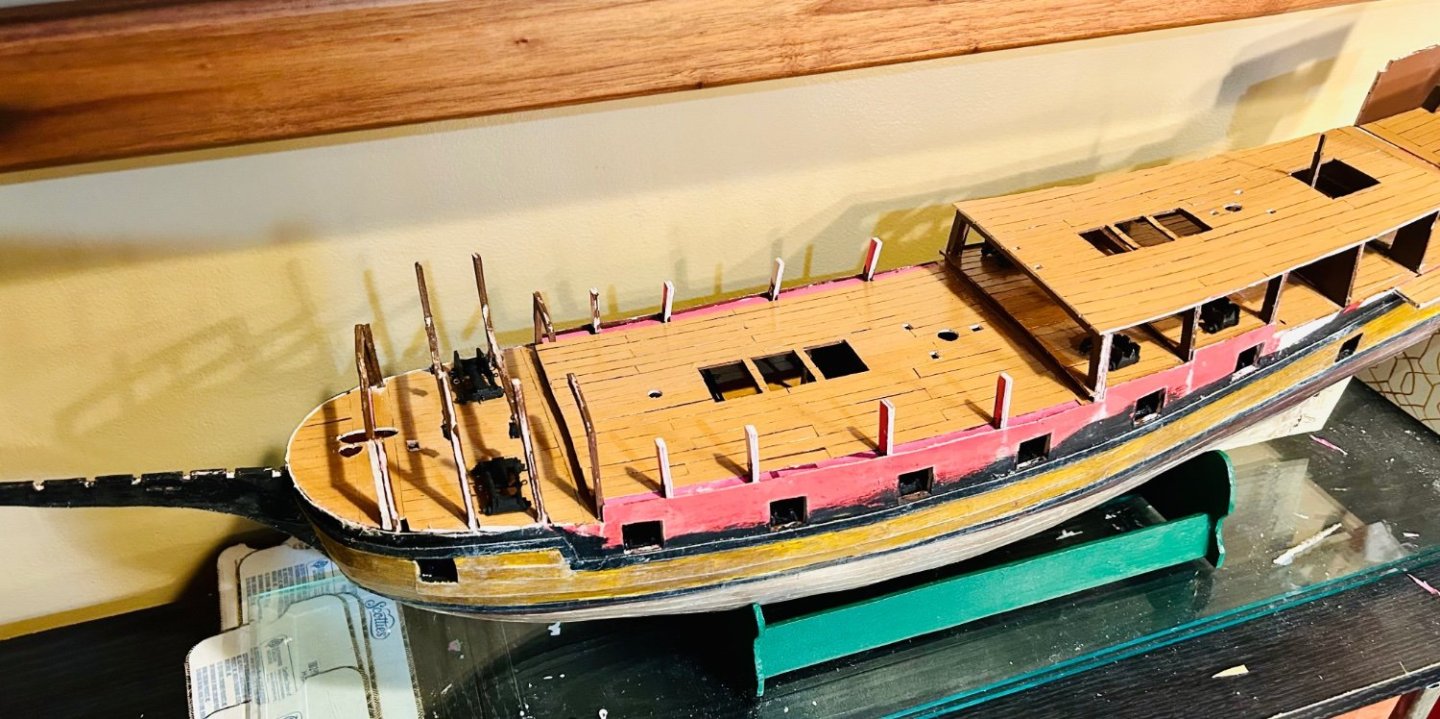
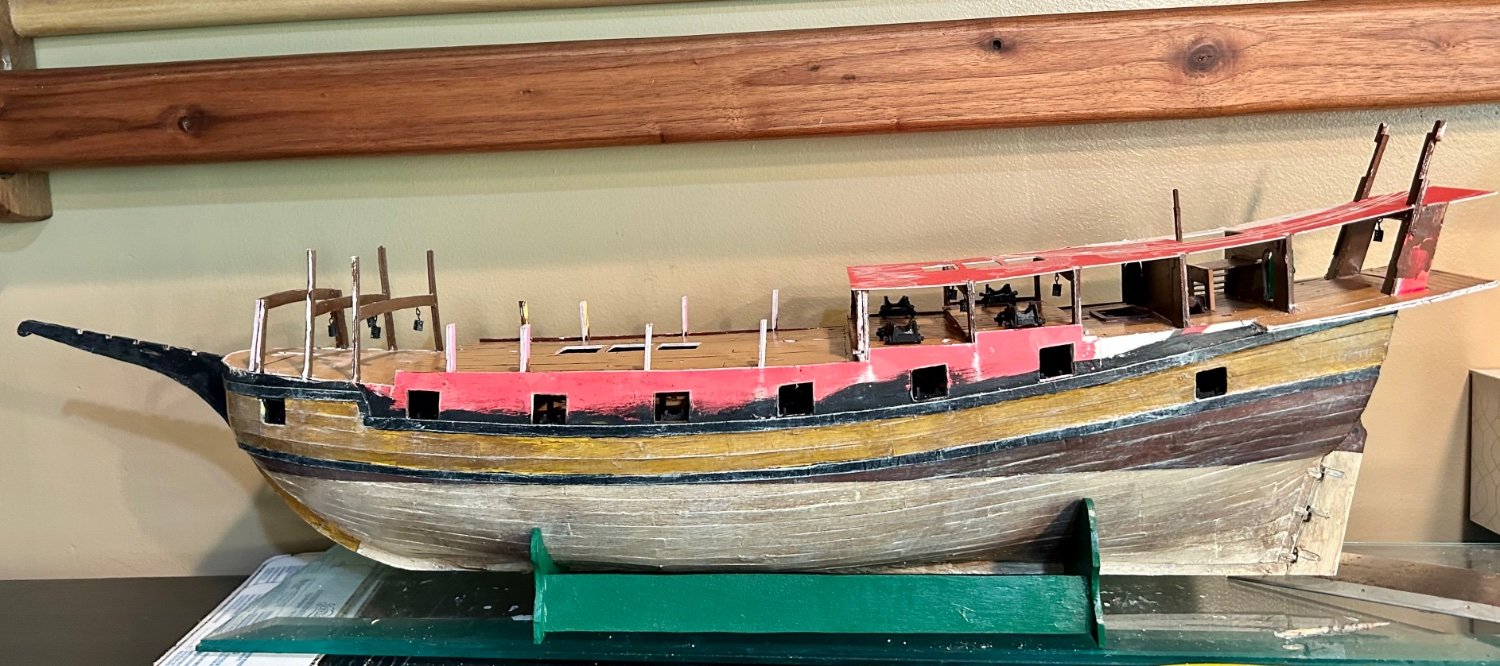
Making progress:
I already made a lot of the deck fittings, so I’ve been adding the hardier ones as I go.The forecastle deck is glued in place because I need to cut the bulkhead tabs off flush with the deck and plank over them like the quarterdeck.
- Rudolf, John Fox III, mtaylor and 5 others
-
8
-
-
Thank you very much!
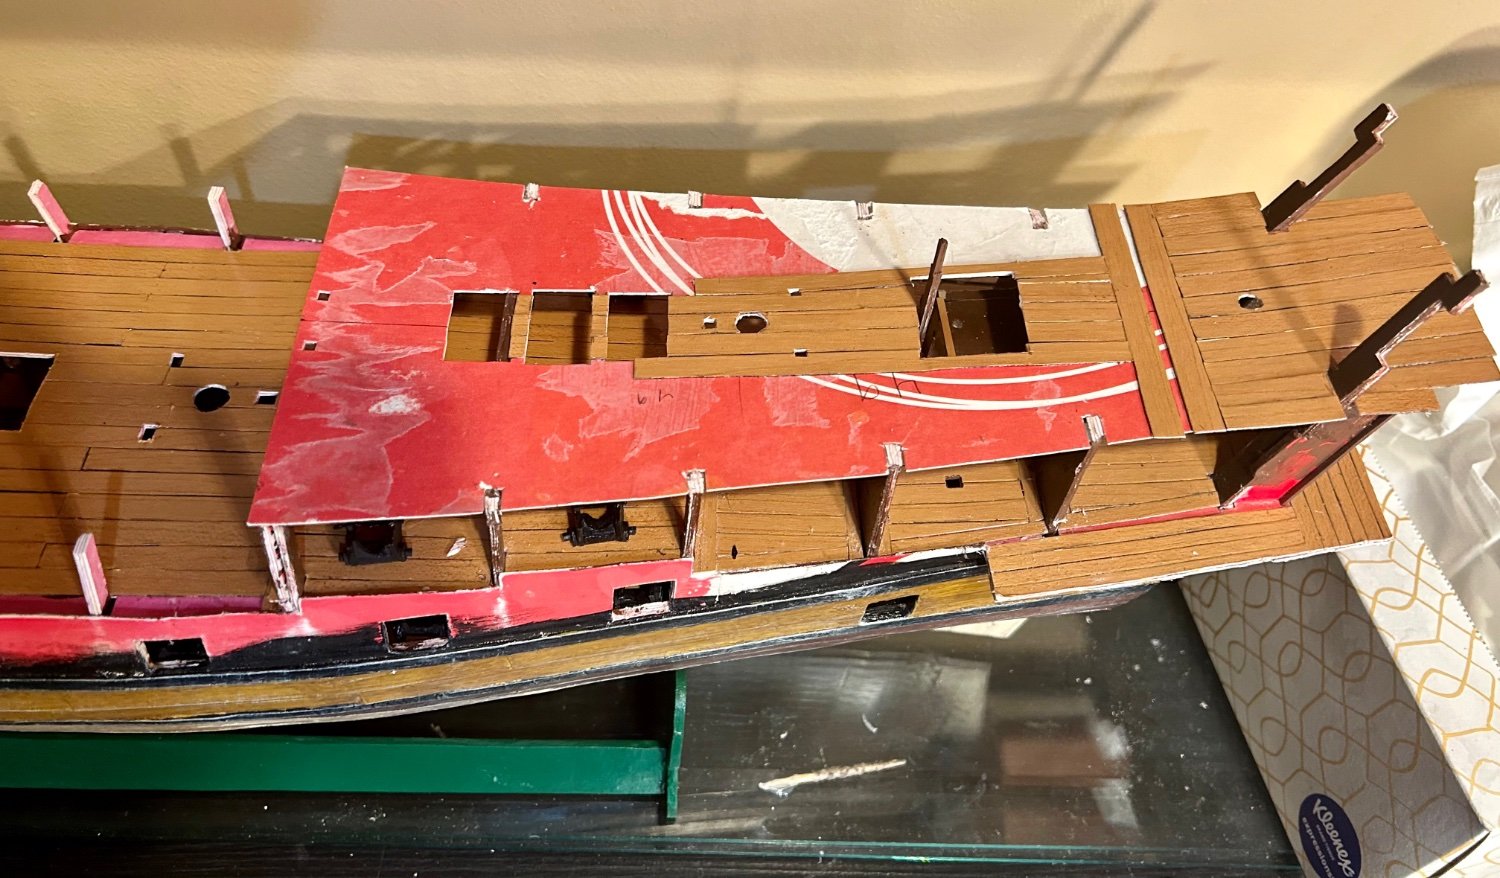
Working on the next round of fittings:
Looks like a mess, but it is more organized chaos, at the moment, lol.
I am painting the underside of the forecastle deck.
The knighthead will be installed prior to installing the forecastle deck.
-
Royal George would be really neat!
Calendonia, a 120, would be awesome!
- markjay, chris watton, thibaultron and 2 others
-
5
-
-
Very cool! Very nicely done!
- mtaylor and Keith Black
-
2
-
They look like timber heads or bitts to me, or something that fulfills the same function.
They could possibly be tie off points for oars or sweeps as well.
Possibly dual purpose?
-
-
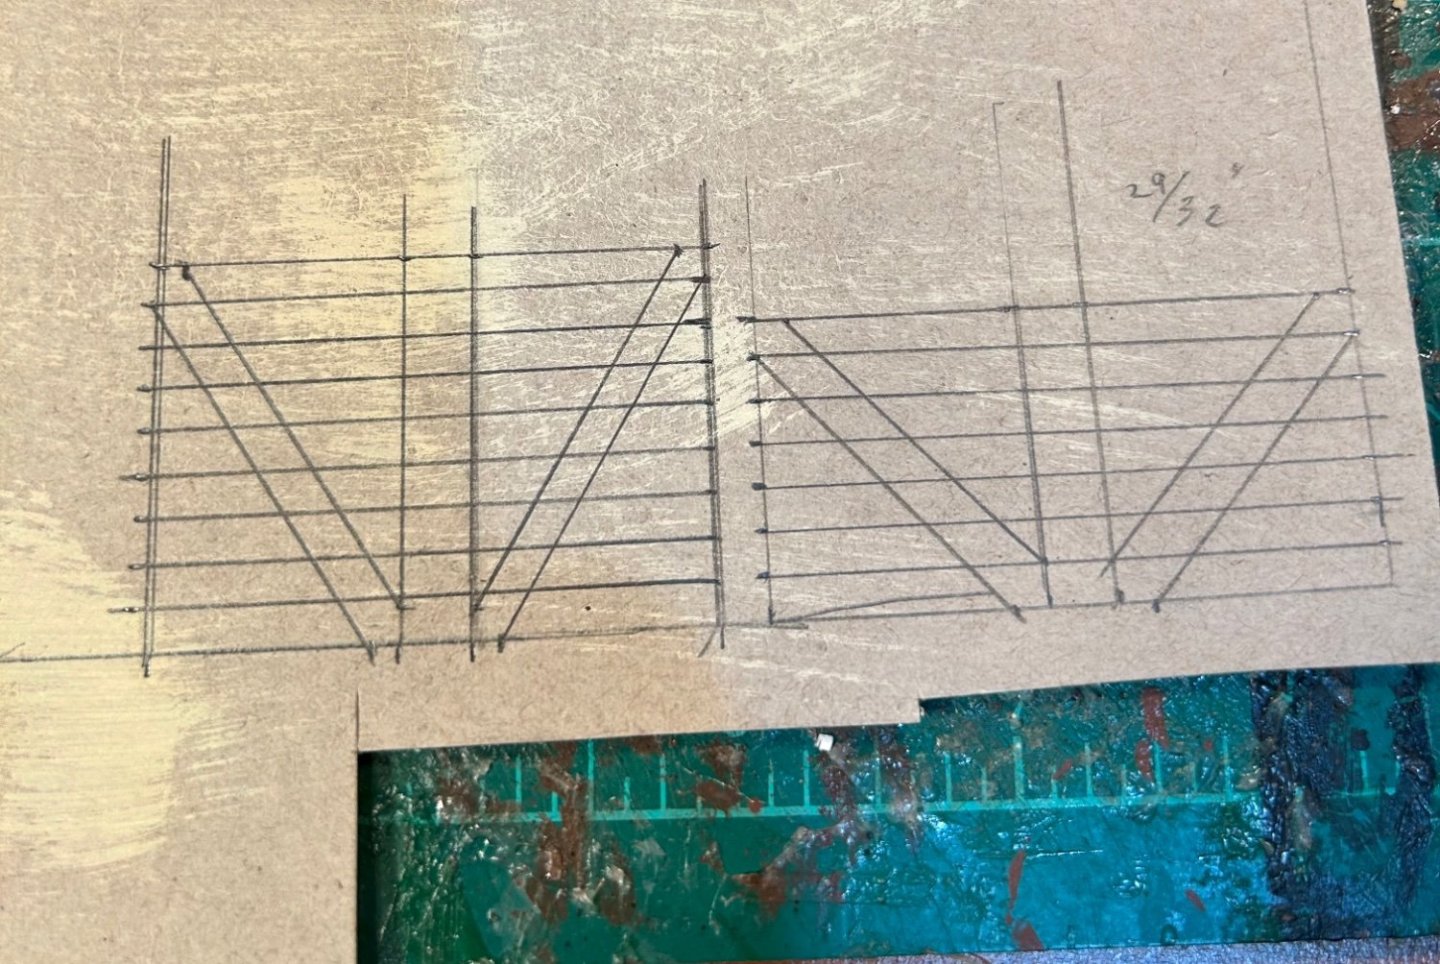
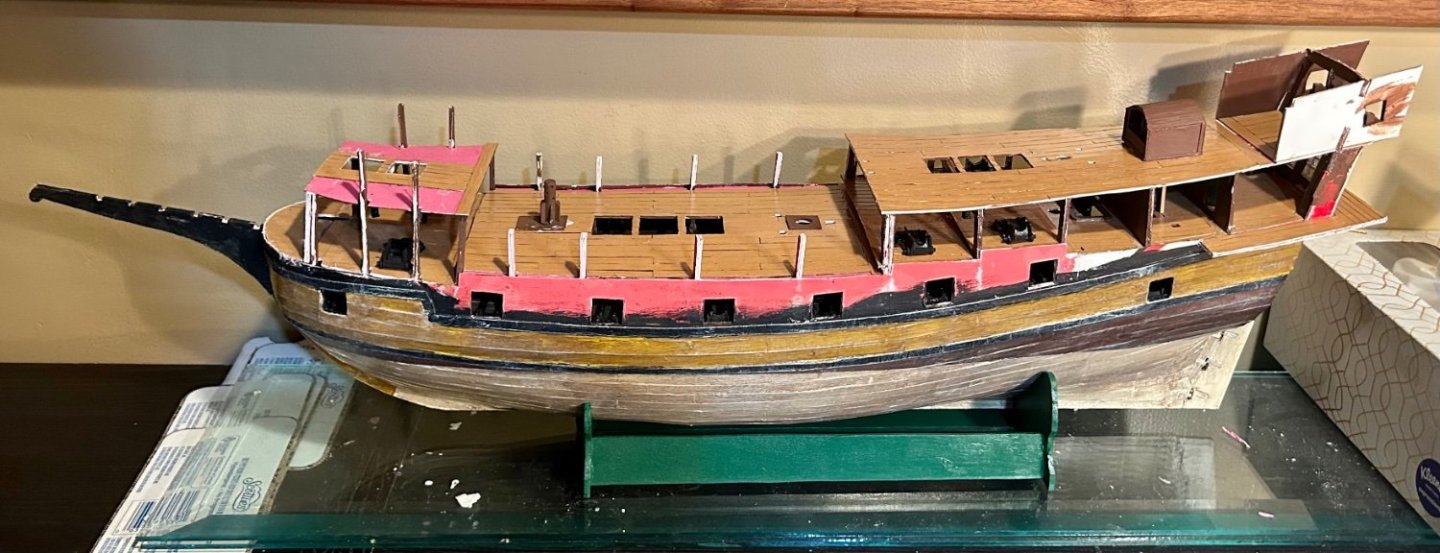
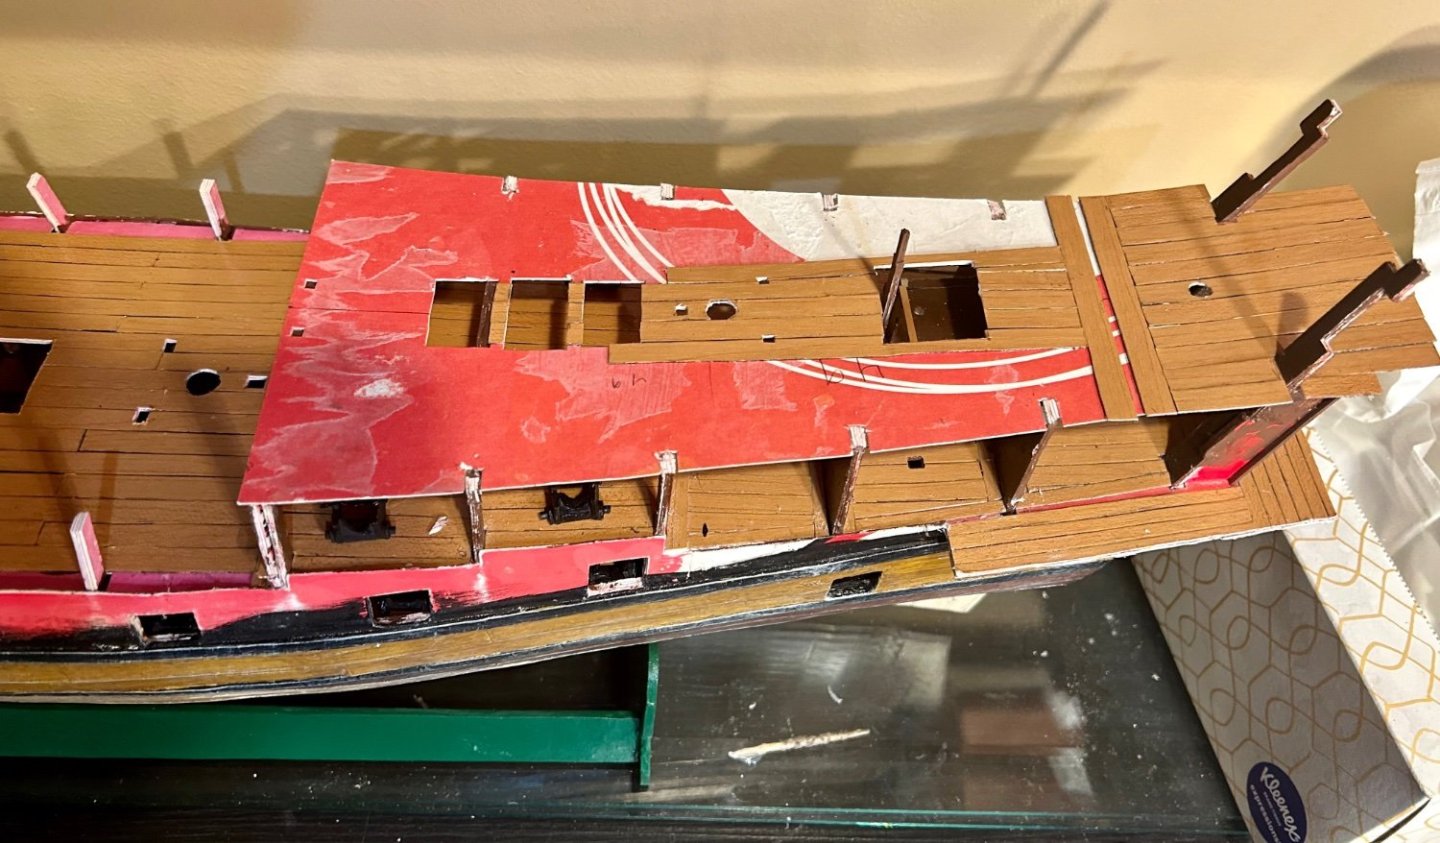
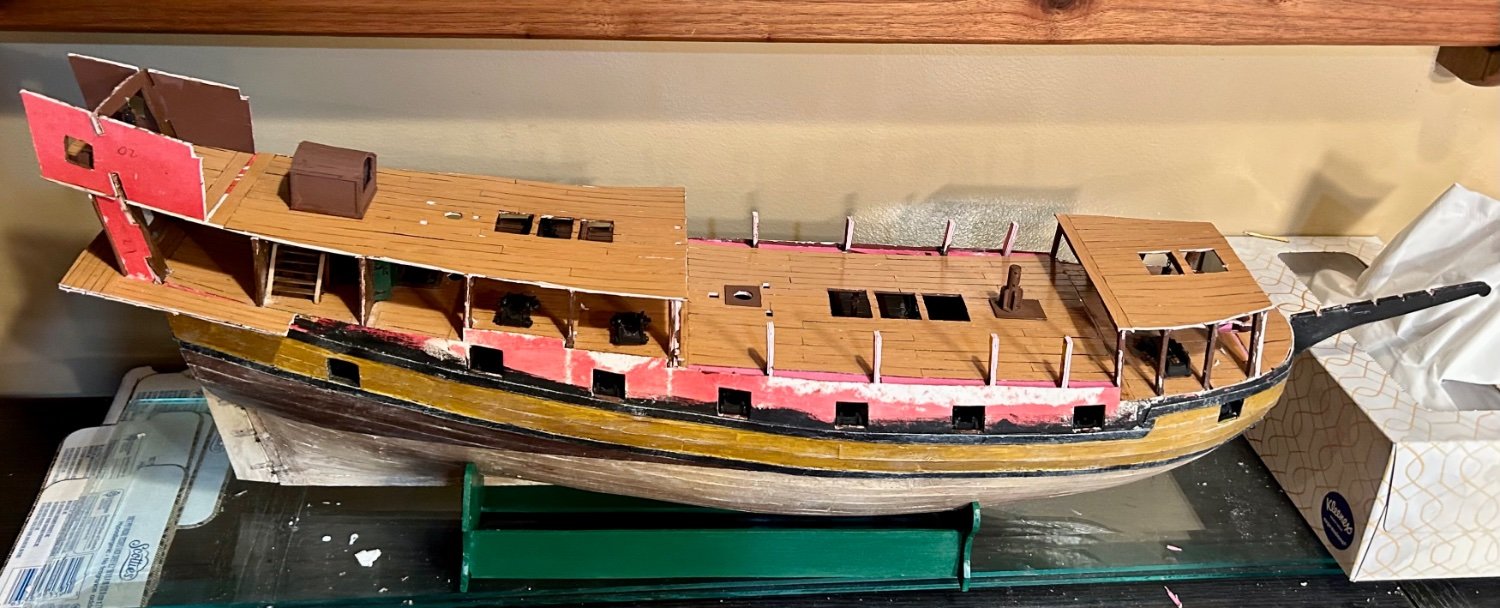
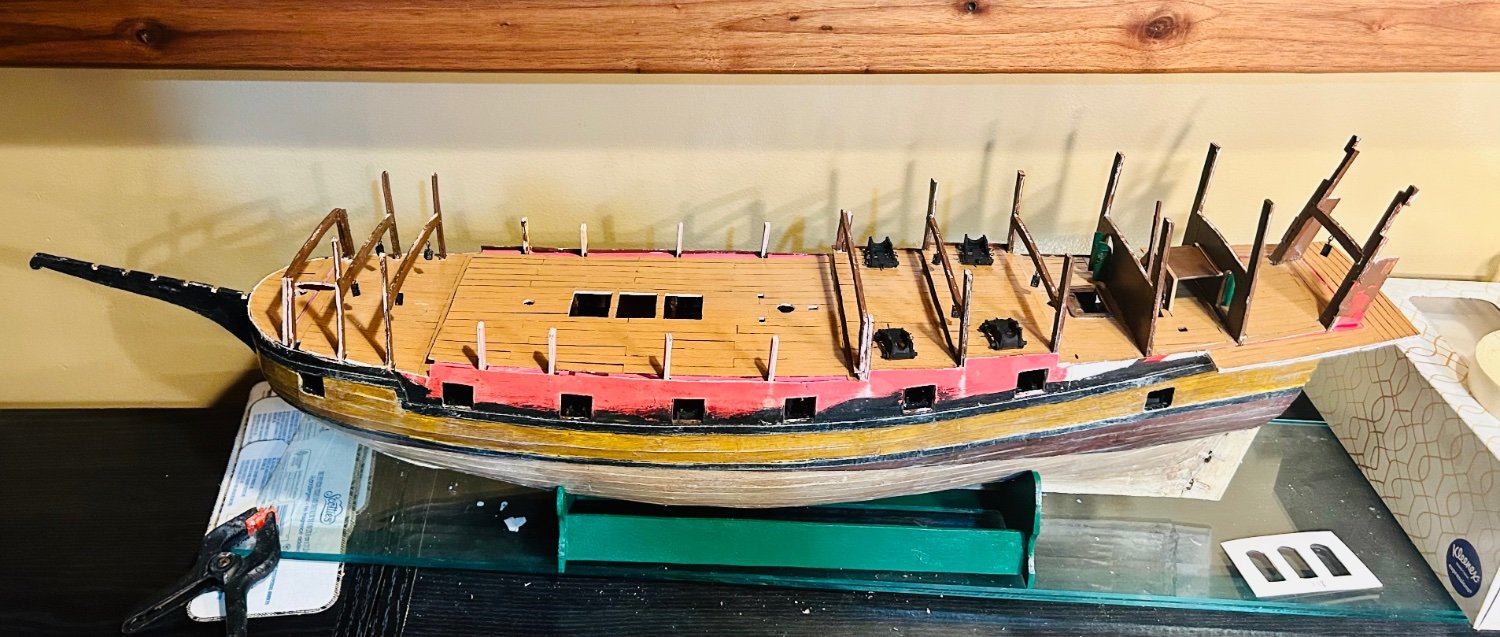
The quarterdeck is planked and all remaining deck beams are in place:

I traced out the next sets of parts.
So, those will be copied in the near future and glued down to cardstock.
I got my Orel Vasa in the mail today.
That will be fun to modify and build up in 1/64 scale.
I have 4 Orel kits now.
I have a Seahorse De Zeven Provincien coming too.
That will be my first Seahorse model, and it will also be used more as templates than an actual kit.
They will all be a lot of fun to build up.
-
Thank you very much, Patrick!
The stern piece is done and in place:
The planking of the quarterdeck is about a third complete:
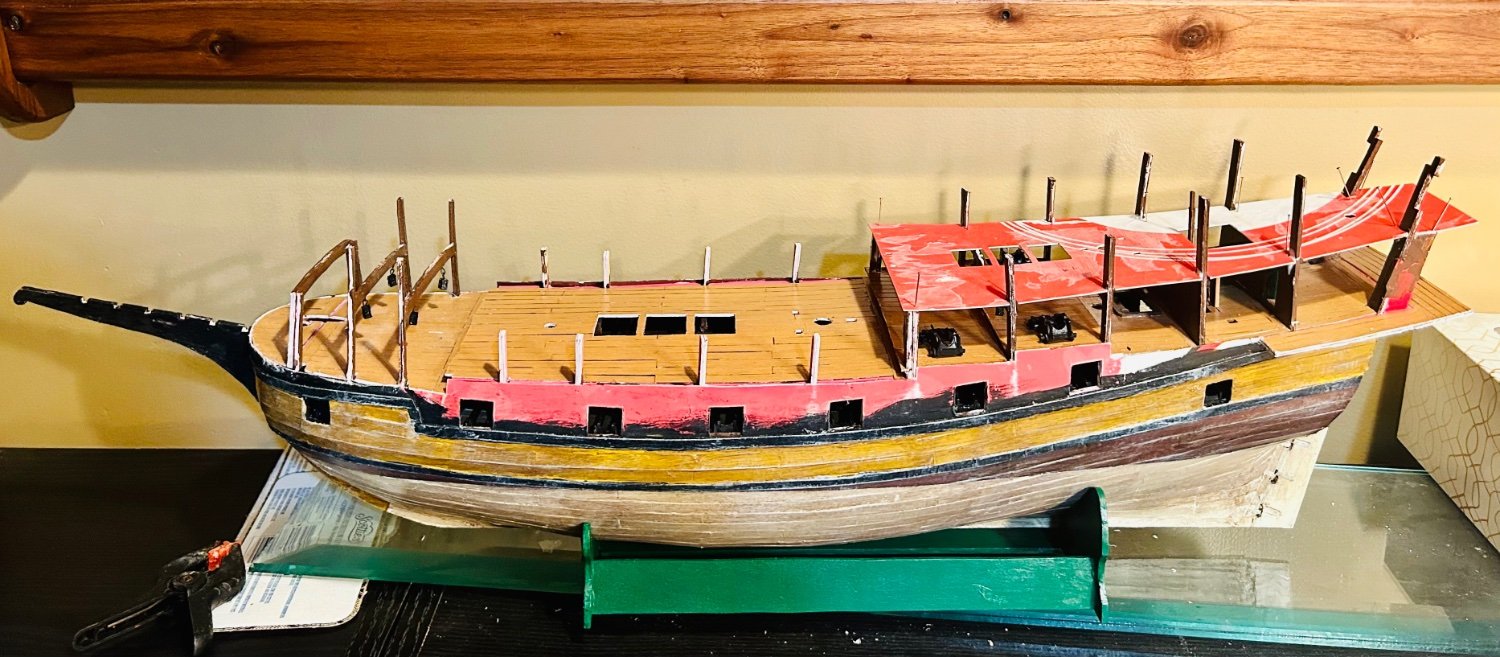
The Revenge is proceeding nicely.

This is by far the most complex project that I have ever undertaken.
I am learning a lot and having a lot of fun.- mtaylor, Glen McGuire, Rudolf and 5 others
-
8
-
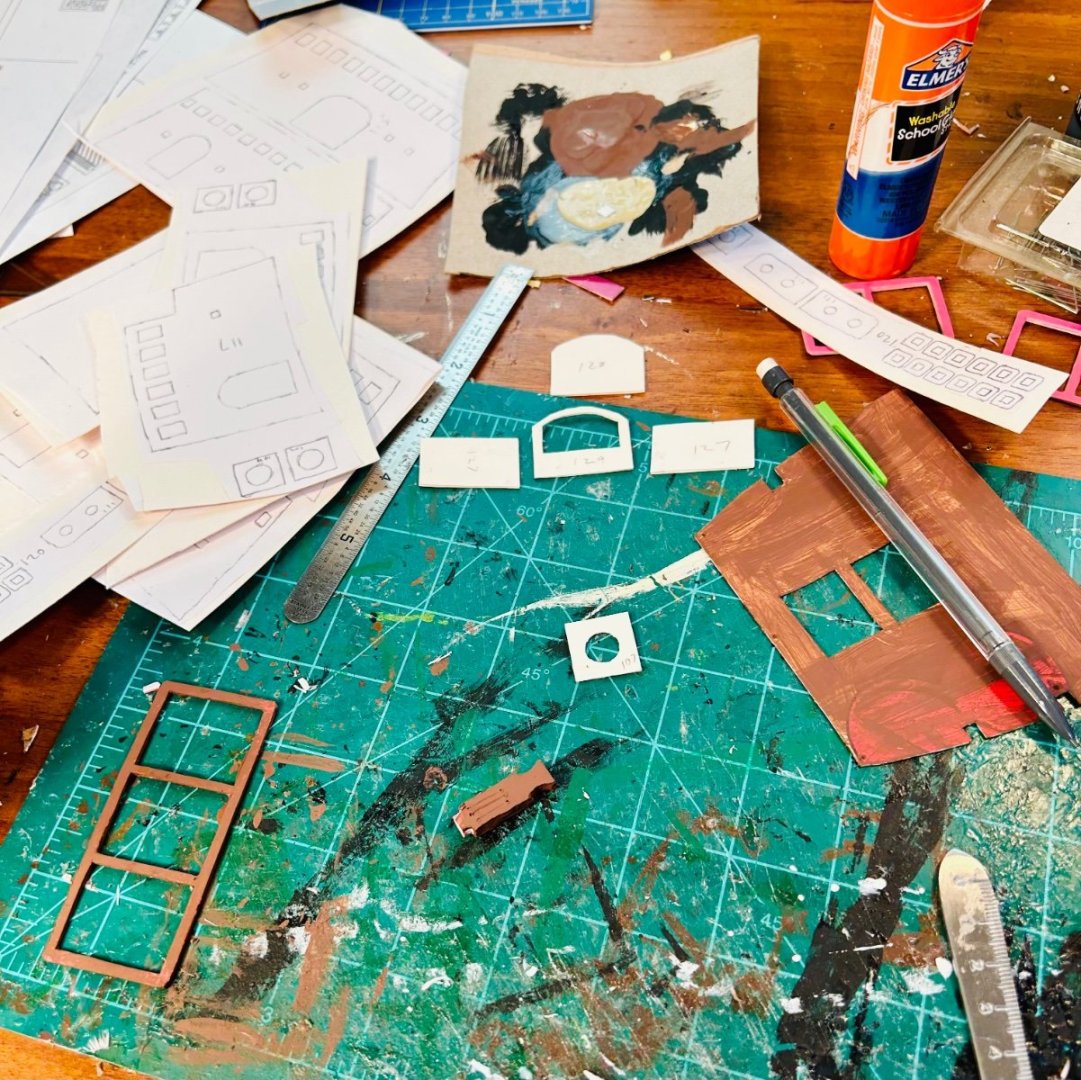
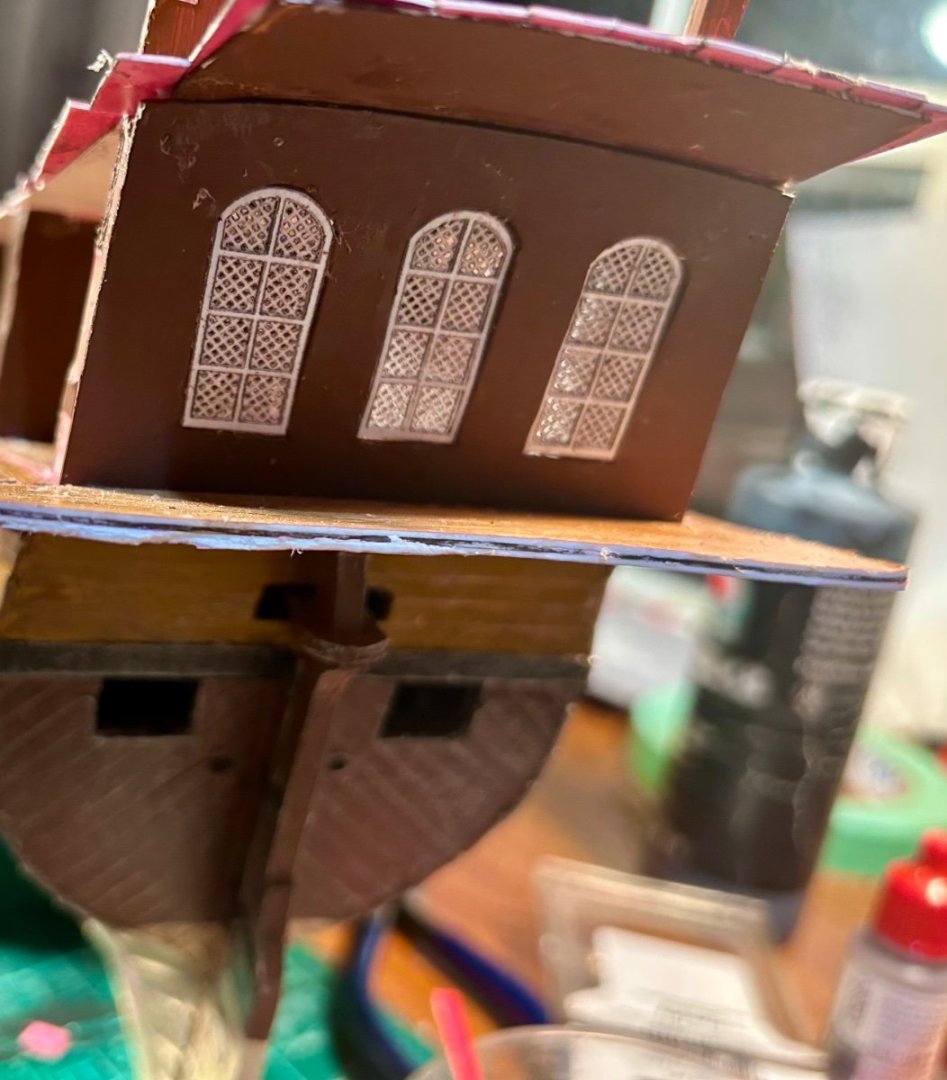
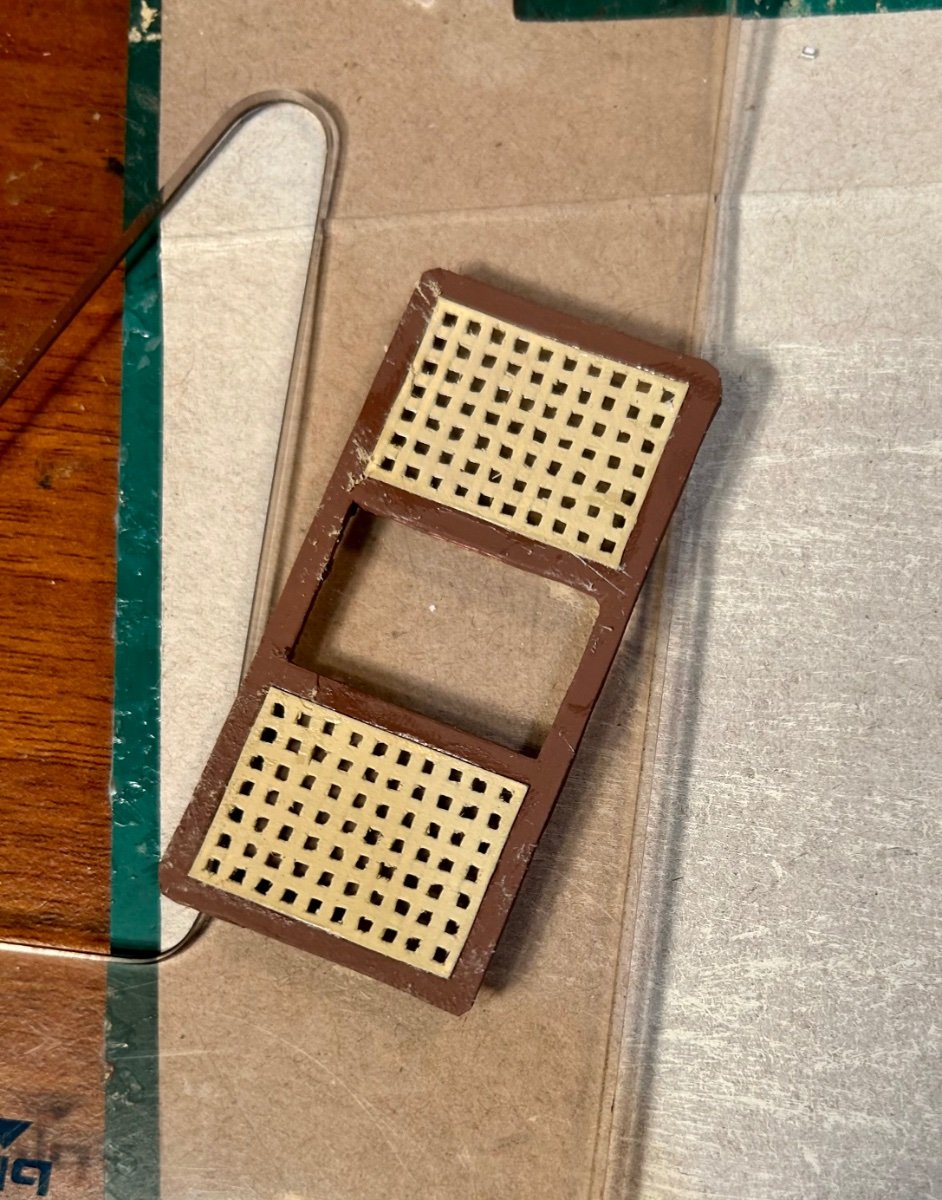
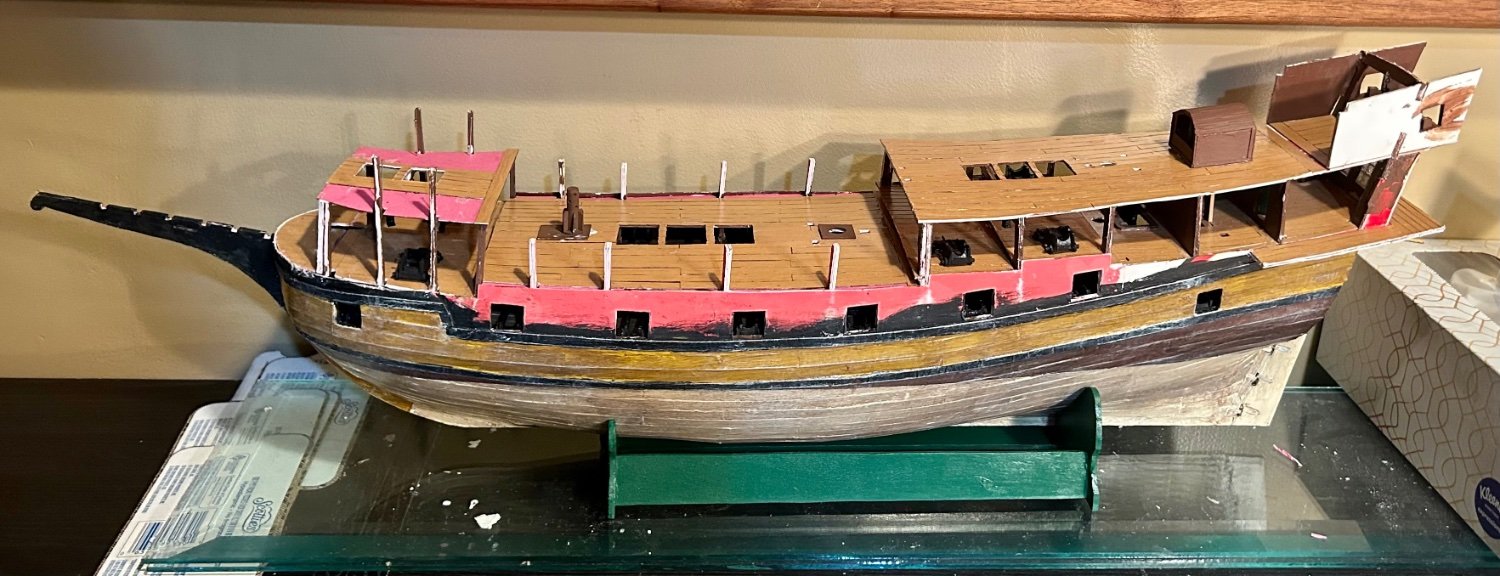
The quarterdeck bulkhead pieces have been trimmed off:

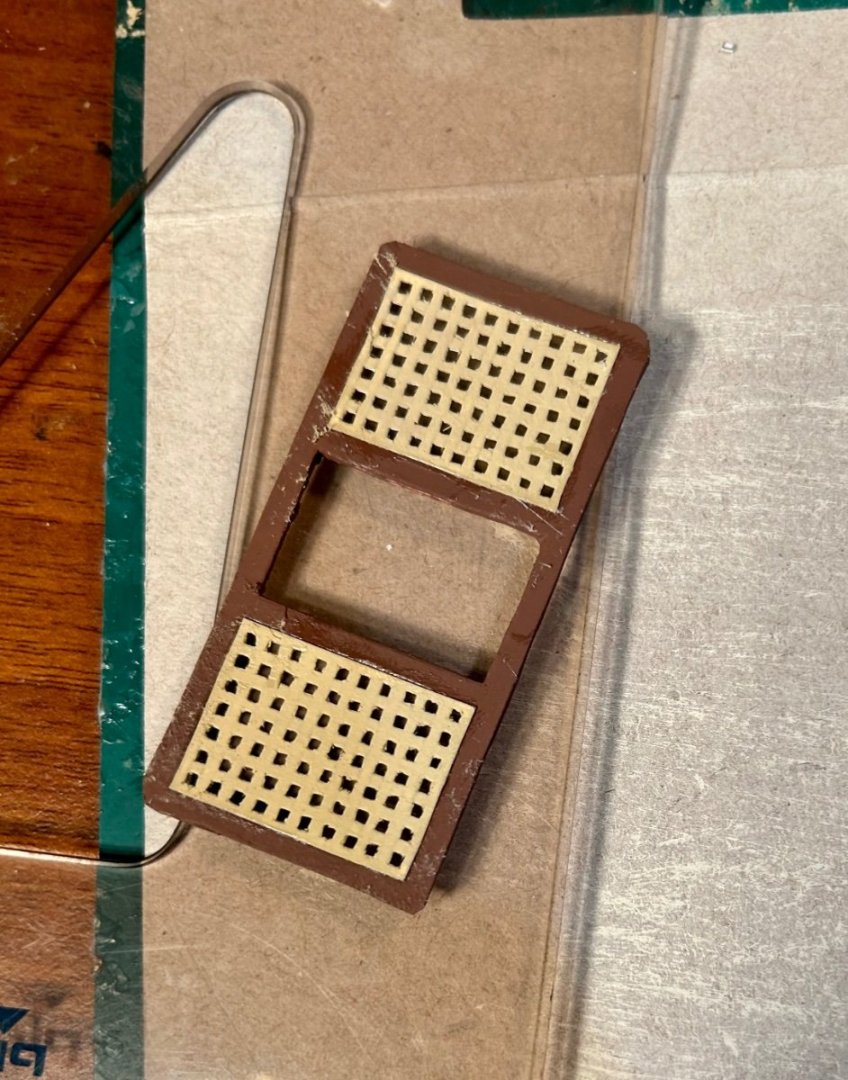
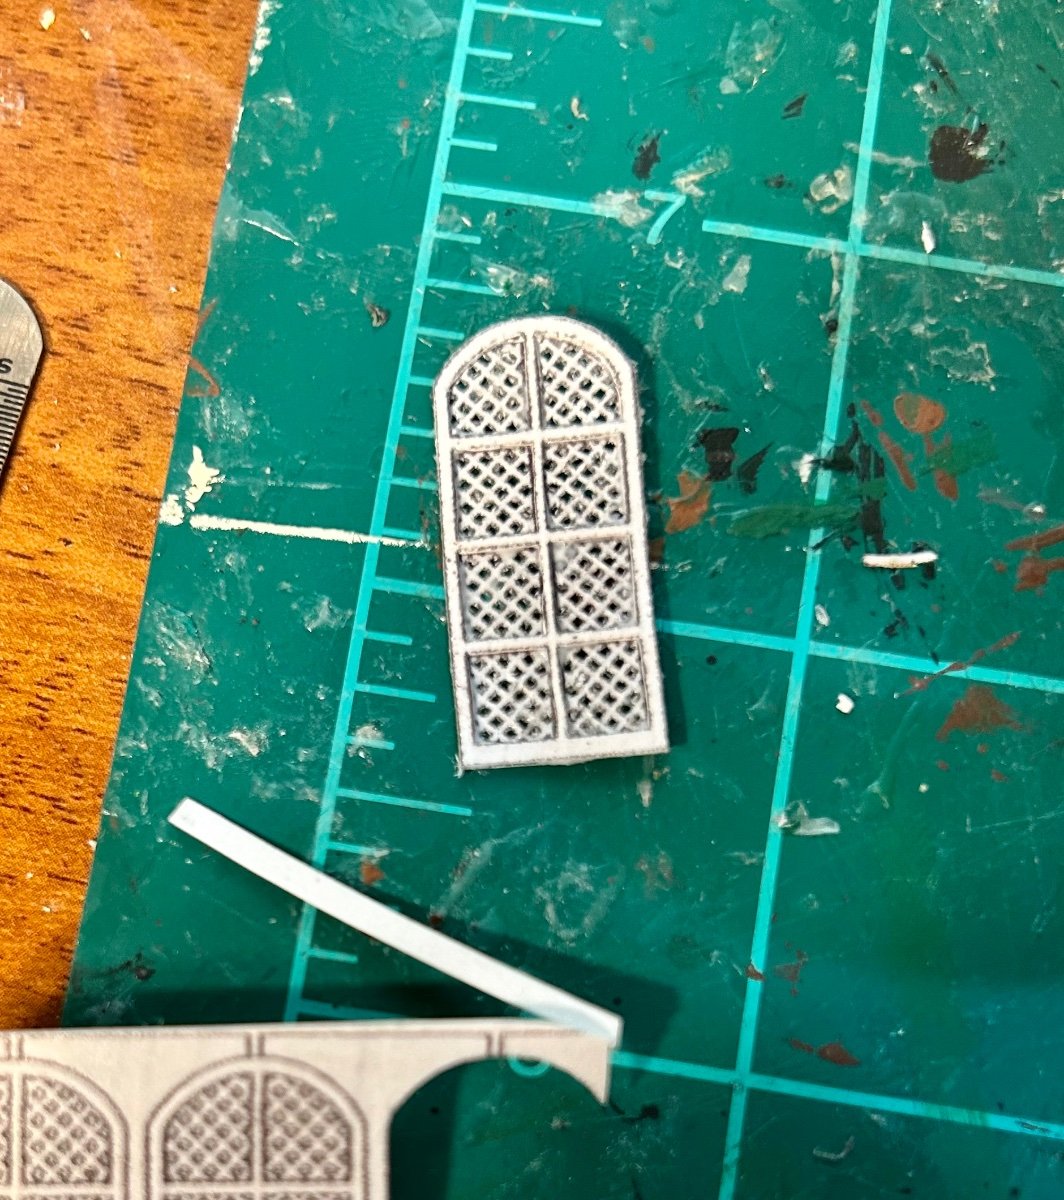
Working on the stern windows:
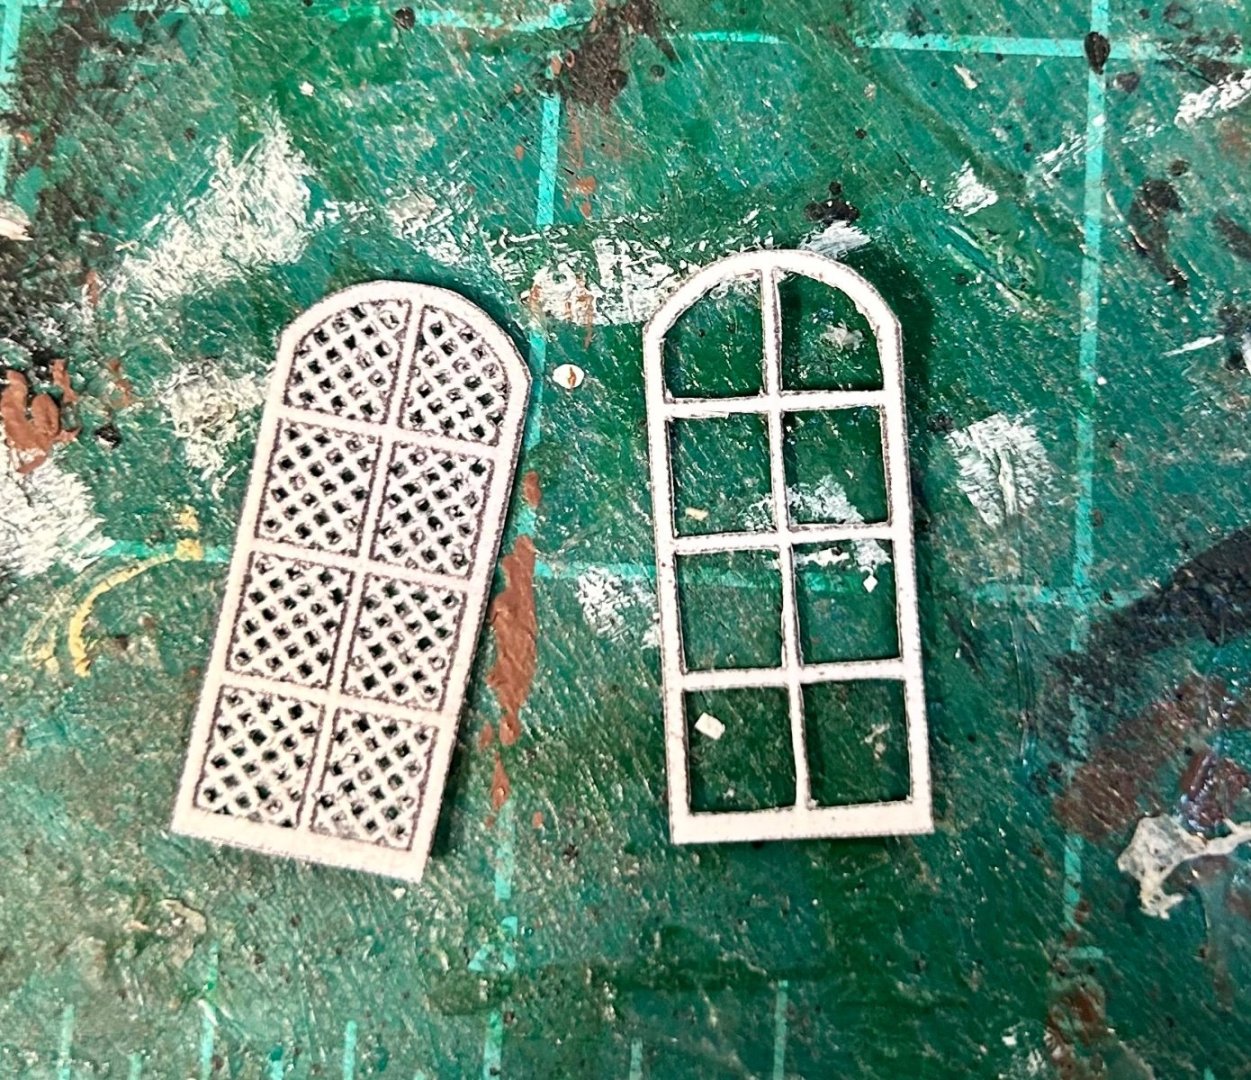

It is a two step process.
I copied the window pieces twice.
Once onto regular paper and once onto cardstock.
I am using the regular paper to make the lattice by cutting out all the holes with a scalpel.
I am making the window frames from the cardstock and then gluing them together.
The finished window looks a lot better in person than in the pictures.
There are three across the stern.
I have two to go.
-
-
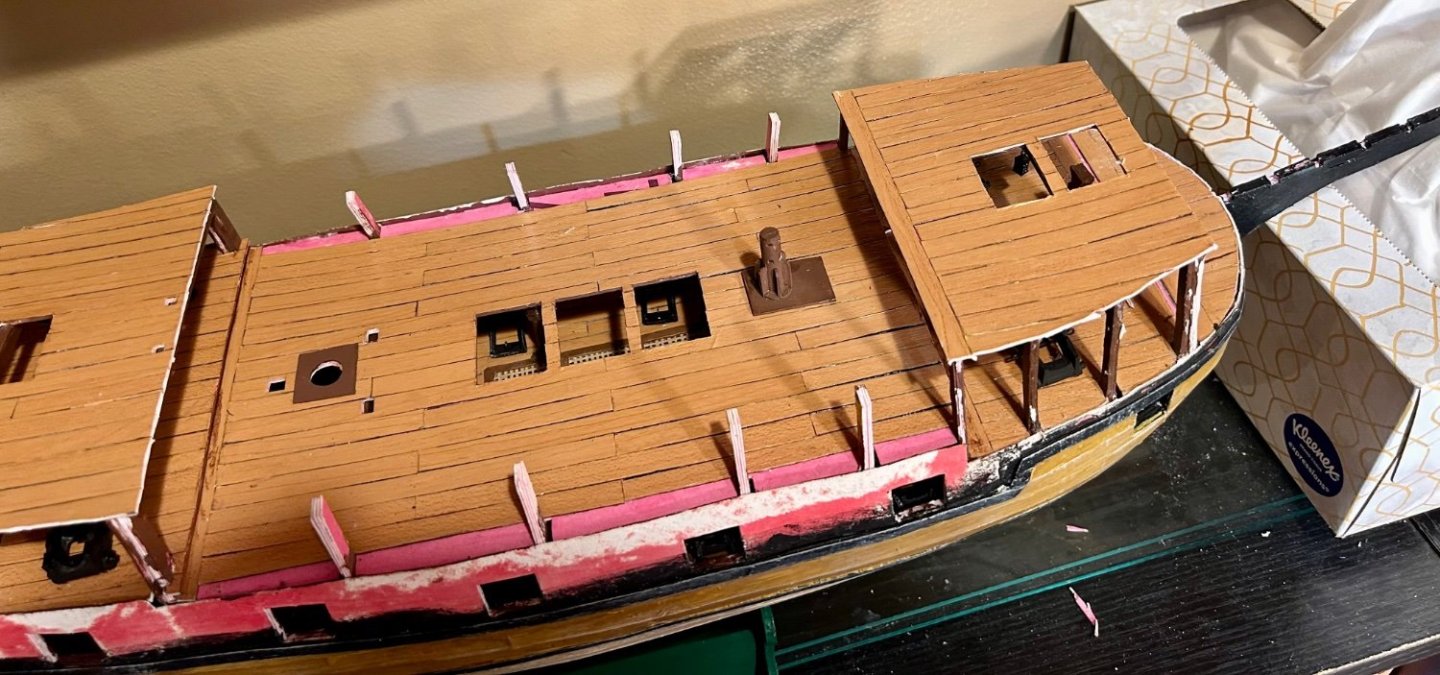
Here is the main deck with the beams for the next decks in place, with the lanterns:
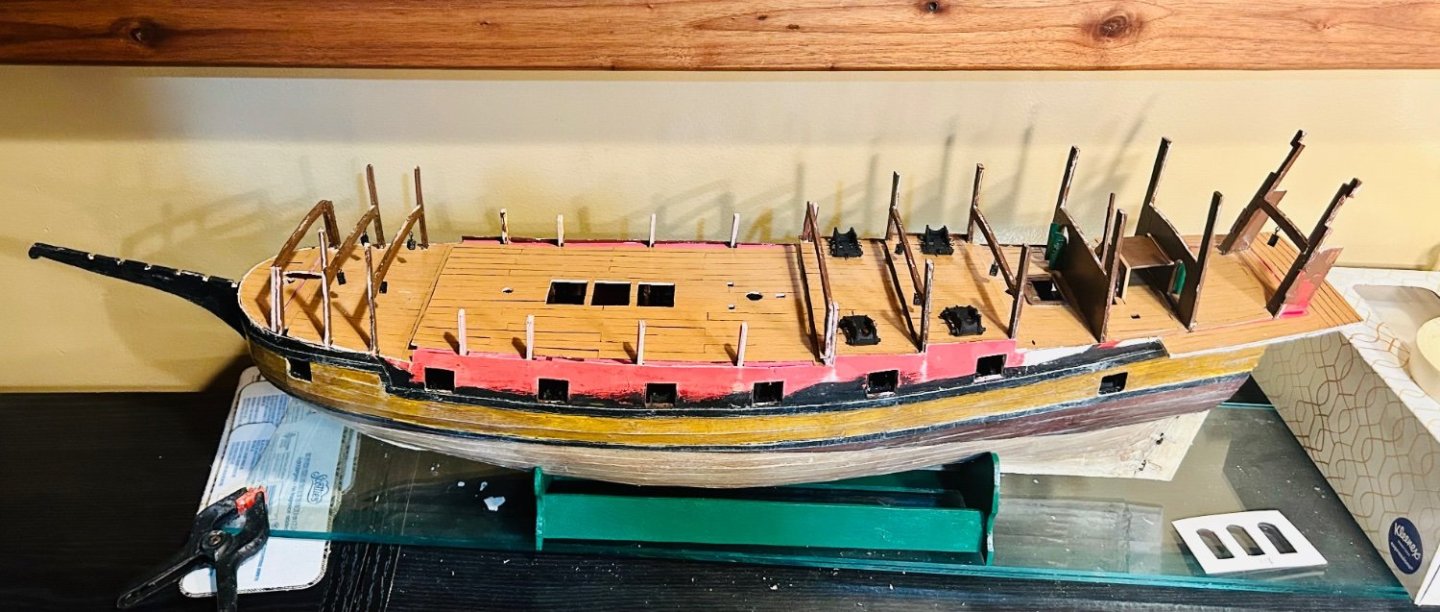
Here’s the quarterdeck glued in place:
I’ll finish the transom piece with the stern windows and add that shortly.
- John Fox III, Baker, mtaylor and 4 others
-
7
-


Light hearted reading ( if there is such a thing!)
in Book, Monograph and Magazine reviews and Downloads. Questions and Discussions for Books and Pubs
Posted
Anything by Herman Melville