DONATION DRIVE - SUPPORT MSW - DO YOUR PART TO KEEP THIS GREAT FORUM GOING!
×

.jpg.01e54eff8de6be562e7bc1146f40d40a.jpg)
Matt D
-
Posts
629 -
Joined
-
Last visited
Content Type
Profiles
Forums
Gallery
Events
Everything posted by Matt D
-
.thumb.jpg.6d6ee4bdbfaac2c58ecc77e7b80ae374.jpg)
Model Shipways USS Constitution Cross Section
Matt D replied to Jorge Hedges's topic in Wood ship model kits
I'm looking forward to seeing this kit come together, Jorge! -
Quality building jig
Matt D replied to PAnderson's topic in Building, Framing, Planking and plating a ships hull and deck
That's a terrible story, Paul. You must have been heartbroken. I hope it becomes an opportunity for you to pick a new set of models that you like even more than the ones lost to physics' foul musing. -
I'm not sure what you would consider "reasonably priced" but I was just reading about the Snapmaker 2.0. It's a 3 in 1 machine that does laser engraving/cutting, CNC milling, and 3d printing. The laser head has a camera built in for scanning that can be used to do exactly what you're asking for. Search for that and you might have just what you want.
-
That’s beautiful, Vlad! It looks like you had a great weekend working on her.
-
Your rudder fix is nice, because it’s different from what most of us did when we had the exact same problem. I like seeing a new idea. It’s definitely a flaw in either the kit or the instructions, but part of this hobby is problem solving.
-
That looks amazing, Ainars! Your precision is outstanding. I’m especially awe stricken by the dark brown scalloped edge on the top deck (I don’t know the correct name for that).
-
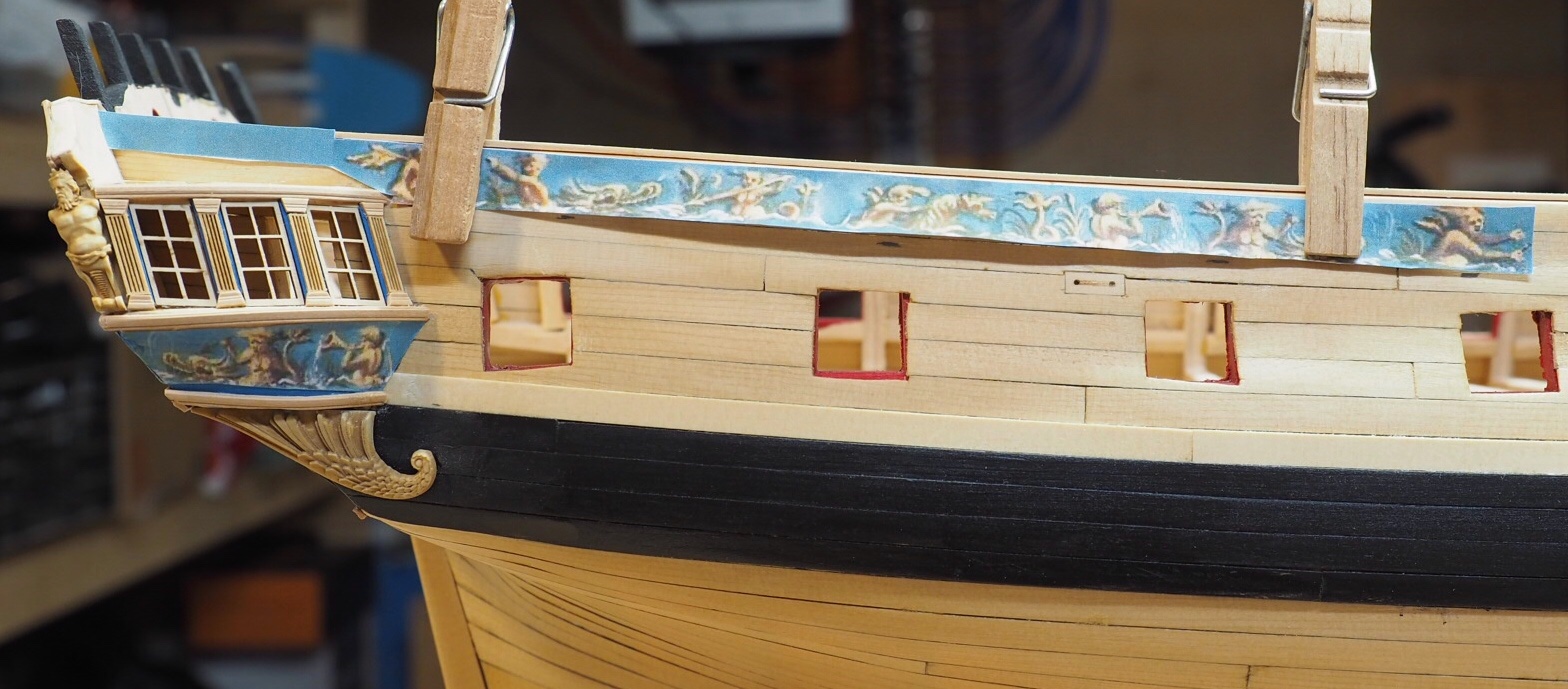
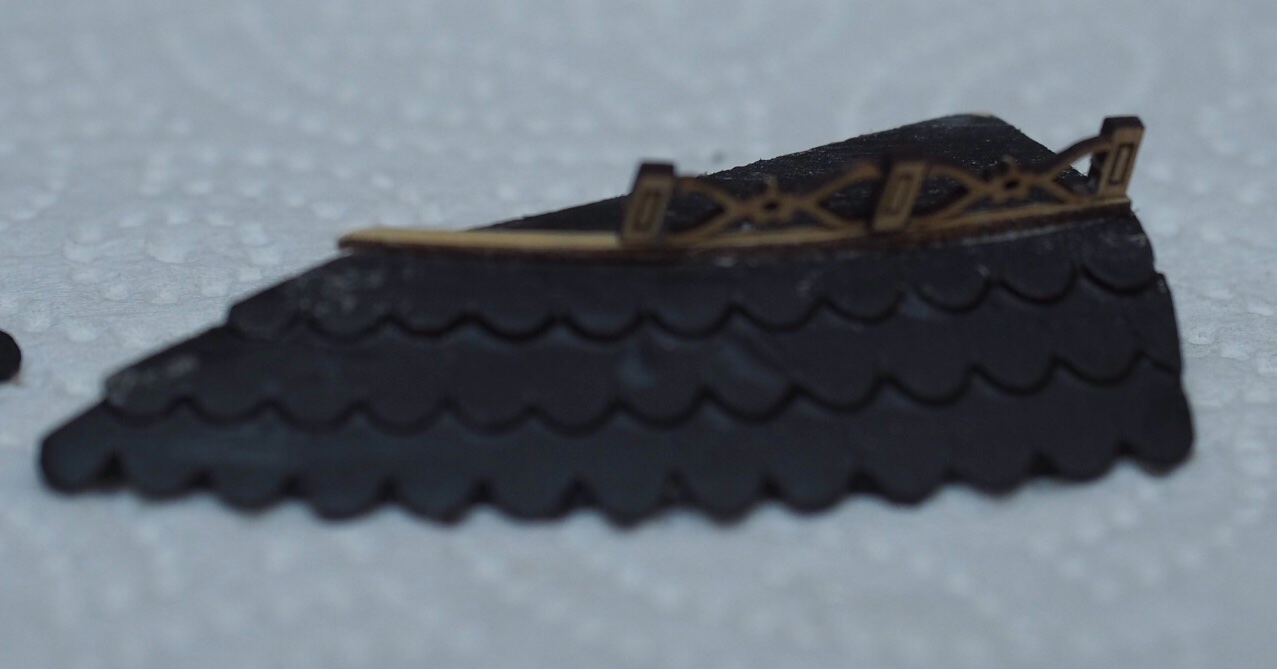
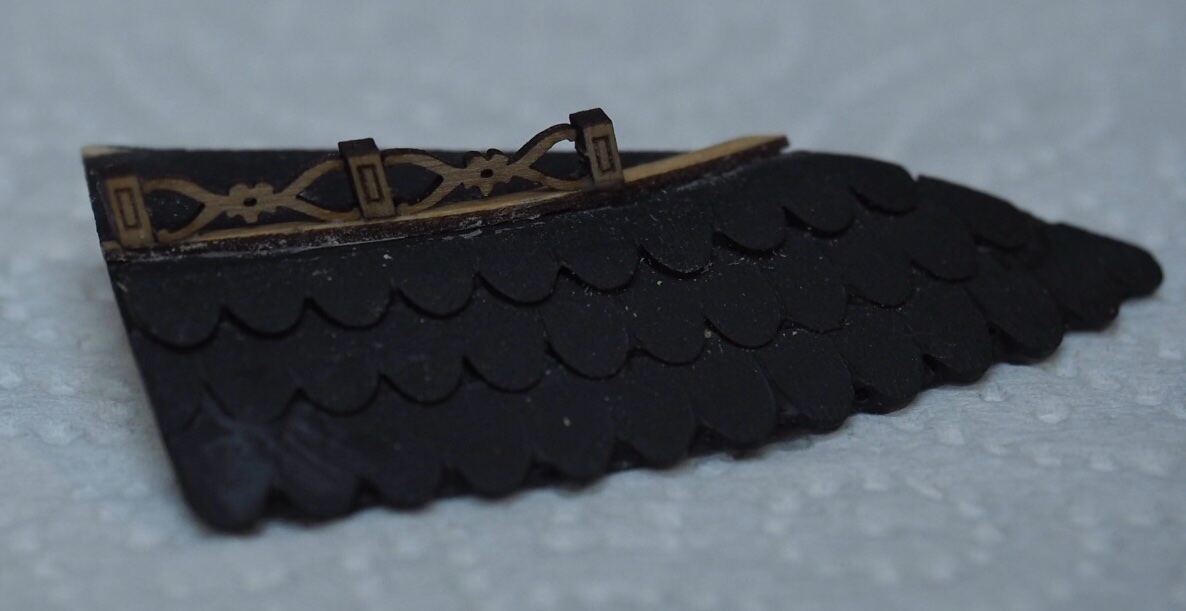
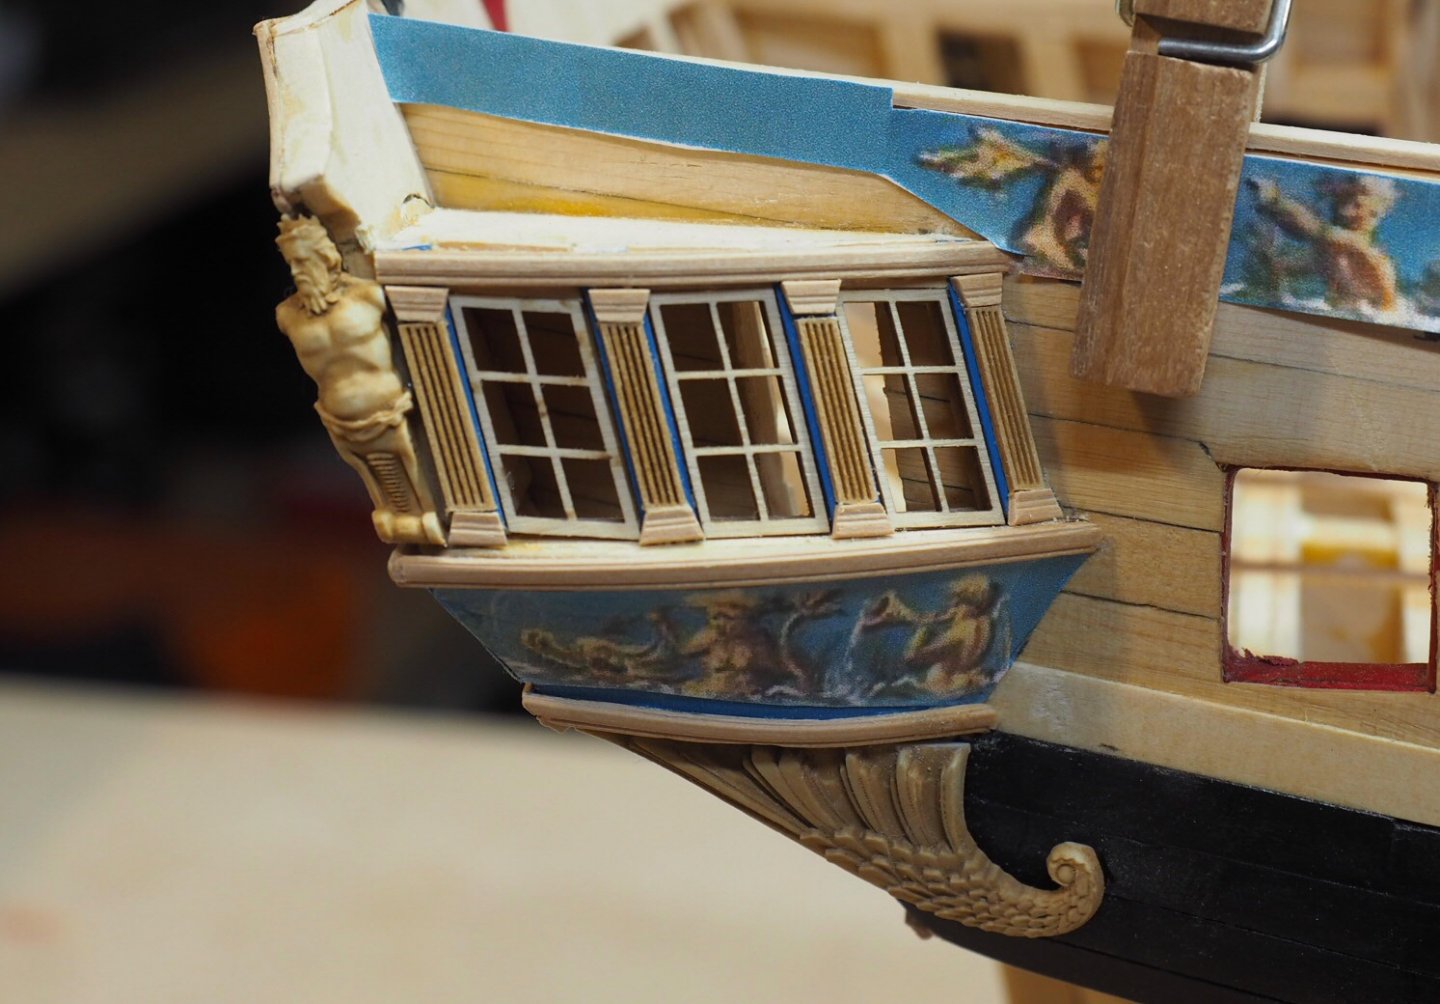
I’m working on the q gallery roof railing. These parts are small and delicate. I have found that I have to go slowly to get good results. I’m taking it one piece at a time (and it didn’t cost me a dime). I don’t have a picture of it, but that first post sure looked lonely all by itself. I’m also working on the friezes and moldings. Here’s my middle molding, which turned out to be the first profile I made. The more I looked at it, the more I liked it for this spot.
-
Artesenia Latina Virginia American Schooner
Matt D replied to Dougal Mack's topic in Wood ship model kits
Thanks, Dugal. There are several really good builds of that kit. Be sure to read several. Mine is certainly not the best, but it will help you avoid some pitfalls. As I recall, many of us had to modify the rudder, but someone figured out how to build the transom so the kit rudder would fit. When I see your log, I’ll follow it. Good luck, and have fun! -
Artesenia Latina Virginia American Schooner
Matt D replied to Dougal Mack's topic in Wood ship model kits
There are two AL Virginia models that I’m aware of. There’s an 1805 Virginia Pilot Schooner and the 1819 Virginia Schooner. I recommend looking in the build log index for kits from 1801-1850. You can also click on the link in my signature to see my 1819. It’s a great kit and makes a handsome model. -
That looks gorgeous, Vlad! You’ve done a terrific job on it. I started working on the railings today. It’s a fun little detail.
-
I believe it! One thing I've noticed in my own model is that the photography makes a lot of these pieces look bigger than they are. A 3mm deadeye sounds like a little speck of a thing. Some of this stuff is TINY!
- 382 replies
-
- 2
-

-
- Vanguard Models
- Duchess of Kingston
- (and 1 more)
-
That looks fantastic, Glenn! Nice work.
-
That looks great, Bob. All the deck furniture pieces look like a lot of fun to put together. Your bitts look really well done. I also like the bell assembly (I'm not sure of the proper name for that stanchion).
-
Excellent work, Rusty! I think the cannon with the breach rope looks good. It’s a nice, clean look. I also really like the look of your planked deck.
- 201 replies
-
- 2
-
-
- Duchess of Kingston
- Vanguard Models
- (and 1 more)
-
Hi Fred. It looks to me like you're past all of the problems associated with cutting out your own frames. I'm sure you've seen numerous posts where I was whining about my own. On mine, I can feel some imperfections in the hull, but it's very hard to see them. I am pretty sure you can't see them in my photos. Likewise, I can't see any in your photos. I think you and I are both reaching the end of problems that we can blame on cutting out our own bulkheads. My opinion is that you're in great shape.
-
That's a nice big box of goodness. Breath deep the cedar aroma! I hope you have a great time with this, Frank!
-
Those close-ups on the q-galleries really show my mistakes. I'm not sure I can make them much better, but I'm going to at the very minimum add some filler to the gaps.
-
Thank you guys for the feedback. I really appreciate it. It looks like the Swann Morton handle works quite a bit different from the Excel and Exacto style handles. That might solve the problem of them loosening up and wearing out. I'm perfectly happy with the Excel #11 blades, which are carried by my local hobby shop. Just not the handles.
-
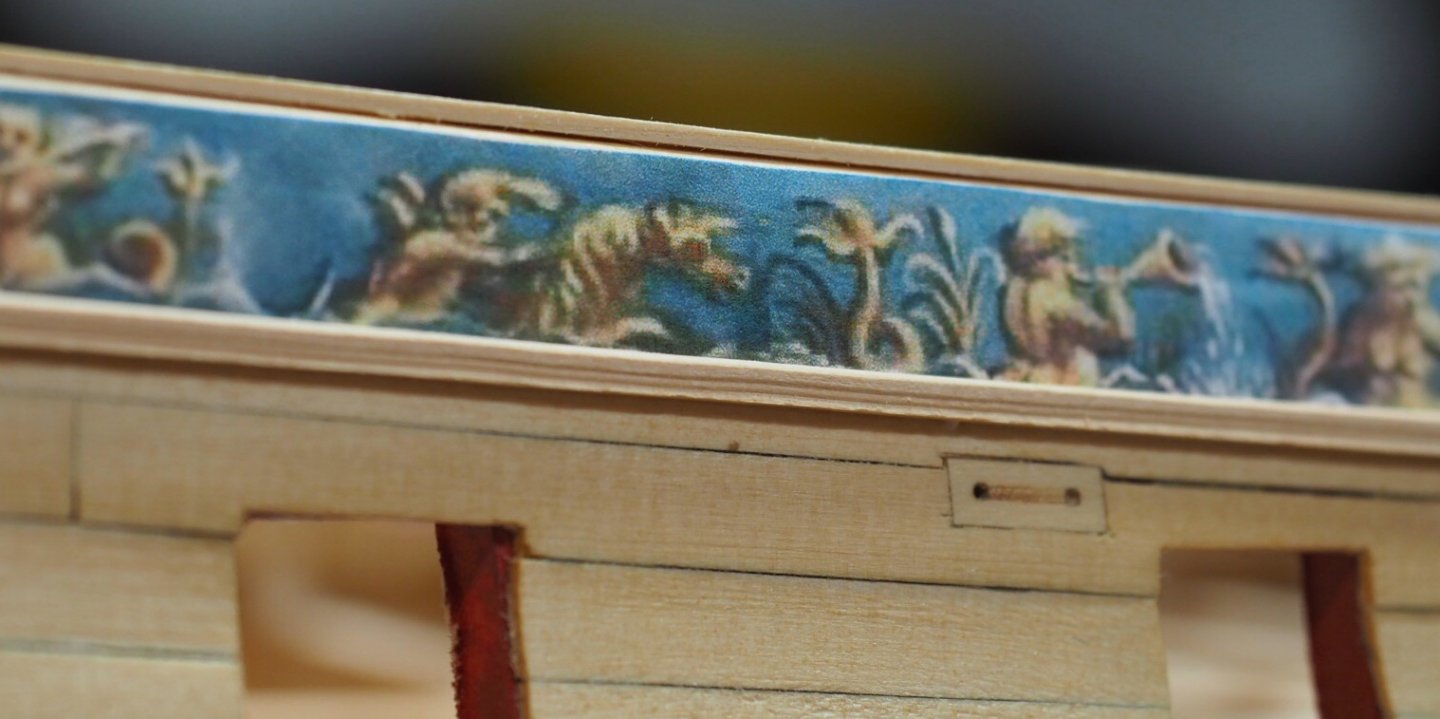
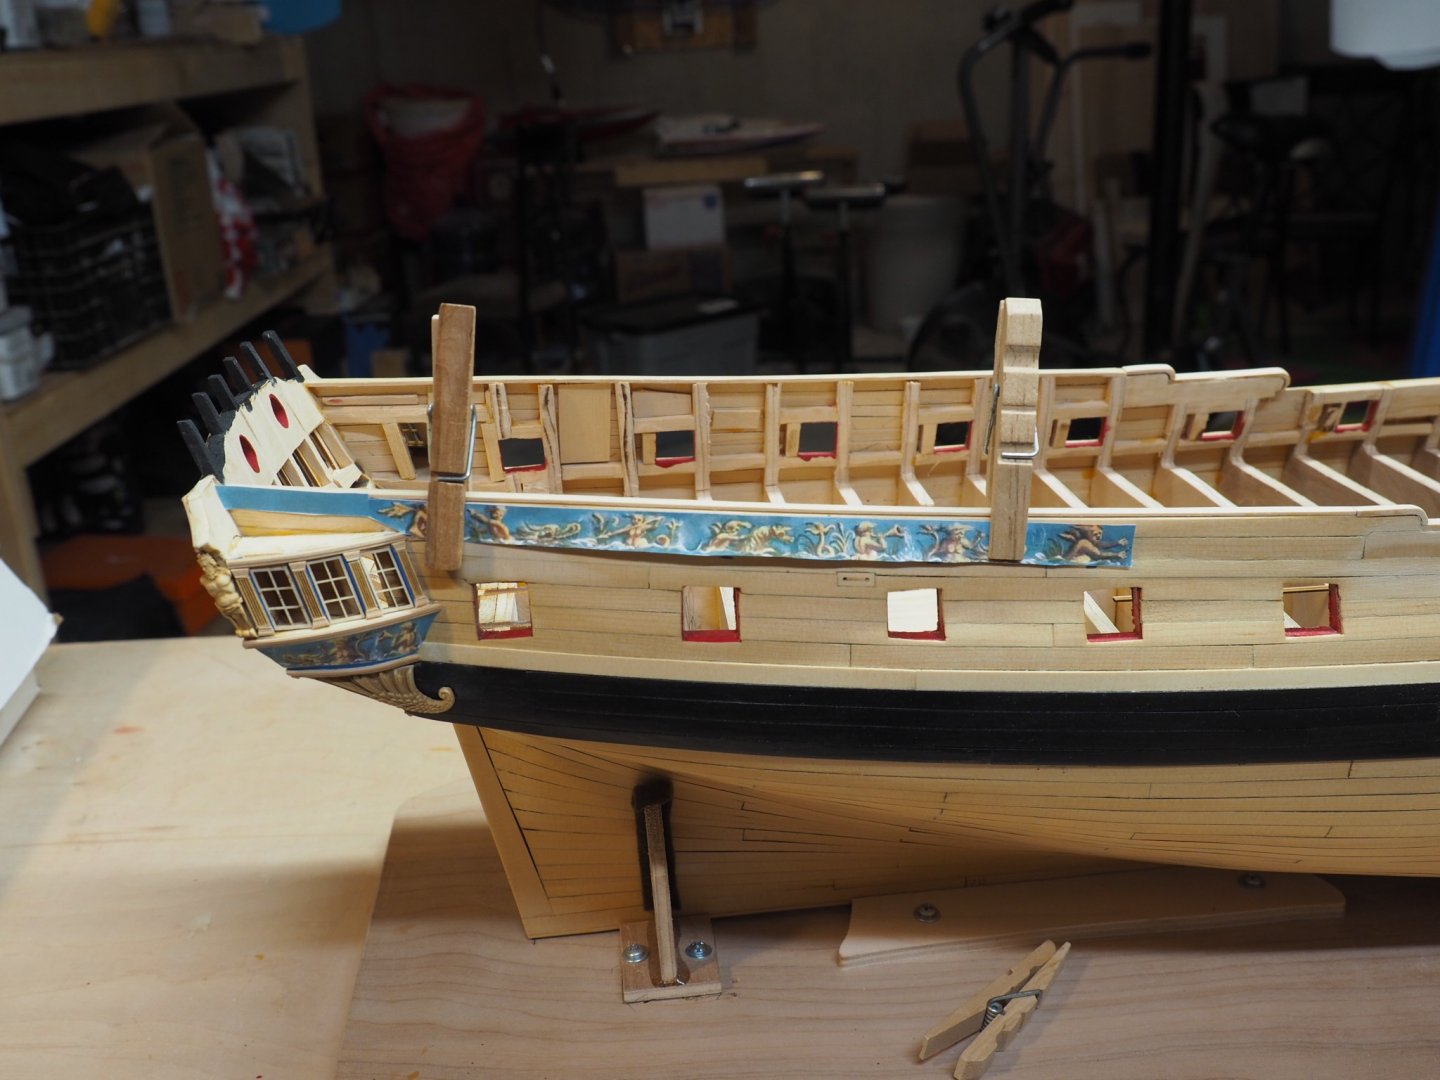
I made some progress this weekend. I completed the Q gallery columns on the starboard side. The port side has been done for a while, but it looks like I haven’t put any pictures of it in my log. I’m getting ready to add the friezes and moldings. The moldings are a struggle. I tried to make a shaper for the middle molding and thought I had a good profile. But what came out looks completely different. It might work for the bottom, but not the middle. My picture doesn’t really do it justice.


-
Ron, I’ve felt the same way for quite a while. But yours is in a lot better shape than mine. I think you’ll be able to compensate for any bulkhead related consequences very easily. One thing that keeps me optimistic about my own is the myriad of places where Chuck’s instructions point out that there will be variations from model to model and he has made allowances for you to adjust parts to mate up to your model.
-
Thank you Jaager, John, Ken, Tom, and Gaetan for your responses. This is very helpful.
-
Great post, Glenn. This is a really nice tutorial. Are these all parts that came with the kit, or did you replace any?
-
Wow! You’ve gotten a lot done and it looks great!
-
I would like to know from more experienced modelers which brand and model of hobby knife you prefer. I like the K1 aluminum model from Excel, but the threads give out after about three blade changes and it won’t tighten up anymore. I’m sorry if this was covered in an earlier thread, but I couldn’t find anything. Thanks for any advice you might have.
-
I’m really enjoying this build, Bob. You’re doing a wonderful job. The details in this kit are so nice.