
DONATION DRIVE - SUPPORT MSW - DO YOUR PART TO KEEP THIS GREAT FORUM GOING!
×

.jpg.01e54eff8de6be562e7bc1146f40d40a.jpg)
Matt D
-
Posts
629 -
Joined
-
Last visited
Content Type
Profiles
Forums
Gallery
Events
Everything posted by Matt D
-
.thumb.jpg.6d6ee4bdbfaac2c58ecc77e7b80ae374.jpg) She looks great, Chris! Thanks for sharing. I've checked out CLC's website in the past and they look like nice kits. It was a pleasure to watch yours come together. I'm looking forward to photos on the water.
She looks great, Chris! Thanks for sharing. I've checked out CLC's website in the past and they look like nice kits. It was a pleasure to watch yours come together. I'm looking forward to photos on the water. -
The gold painting looks so perfect, James. Well done, sir!
- 355 replies
-
- 3
-

-
- vanguard models
- Sphinx
- (and 1 more)
-
Your deck planking is looking great, JJ. I like the red paint on the deck framing, too. I don't think I've seen that on the others, but it looks sharp. Are your coamings still loose, allowing you to remove them for sanding? Or are you working with them glued in place?
-
That looks great, Will! Six weeks away from your model? That sounds terrible. Lastly, I'm very sorry about your friend who recently passed. Your positive tribute is uplifting.
-
Excellent job, Mark!
-
I agree wholeheartedly, Ron. When this group started, I knew it was above my ability and experience. But I really wanted to be a part of this group. It has been so much fun to build and share the experience here.
-
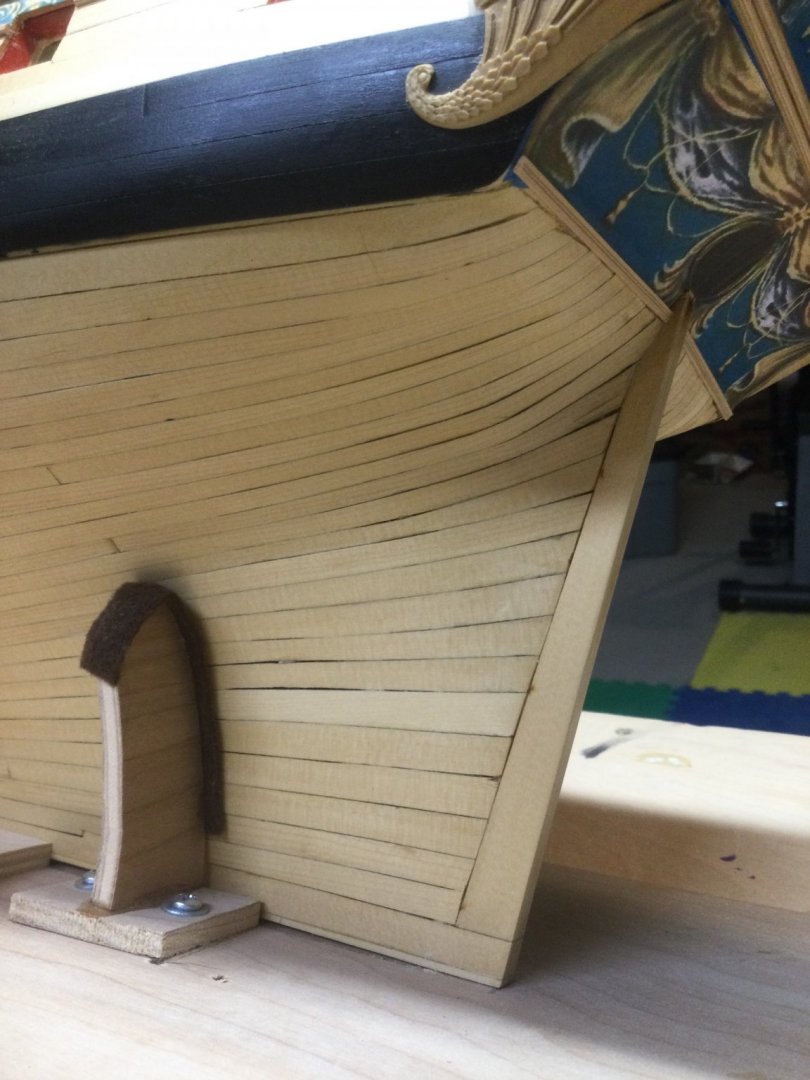
Hi Ron. Yes, they taper in at 27 and then flair out at the counter. It’s even more dramatic at the stern post. I think you can see that in pictures in some of the build logs. Mine is surely not the best example, but here’s a quick shot of mine so you can see what we’re talking about.
-
Your rings and eyes look perfect. On the eyes, I assume you wrap them around something several times and then cut to separate them. What do you use to cut them?
- 607 replies
-
- 1
-
-
- winchelsea
- Syren Ship Model Company
- (and 1 more)
-
You’ve done a brilliant job, Dan! Your modifications make this really something special. It looks like a contest winner to me for sure! Thanks for sharing all the details of your build.
-
There are some views of the moldings on the full size sheet "Winchelsea 4". This was my first time trying to scrape moldings - let alone create custom scrapers. So I just did the best I could to make something decent. But they're not very close to what's on the drawing. Read a lot of the logs because some in our group got terrific results and posted good pictures.
-
That’s looking very good, Tom. How well does the glue hold the gravel and barrels in place?
- 163 replies
-
- 1
-
-
- Model Shipways
- Constitution
- (and 2 more)
-
I agree with Justin. This is more of a minor screw-up that you can easily recover from. But you are right that the sills and lintels will help strengthen them going forward. Some people have also used binder clips to reinforce them while you are fairing. They can make the hypotenuse of a triangle between the flat top of the bulkhead and the upright.
-
That looks outstanding, Fred! I like that you used blue on the stem like the contemporary. I've been thinking about doing that also. It looks really nice.
-
That looks great, JJ! What did you use on your “bricks” for the stove base? It came out really nice. Was it some type of weathering powder?
-
This looks fantastic, Chuck! I don’t know how you get so much work done when you have your hands in your pockets every time I see you!
- 1,784 replies
-
- 7
-
-

-
- winchelsea
- Syren Ship Model Company
- (and 1 more)
-
That's a nice looking spread of model ship parts! I'm looking forward to following your progress, Will. This will be a great project!
-
I need these kinds of tricks in my life! Thanks for telling me about it.
-
That looks excellent, Justin! Your joints look very tight. Well done!
-
All of this update is amazing, but the part that really strikes me is the gun port lid. Your work in every step is so precise on it, Mike.
- 607 replies
-
- 3
-
-
- winchelsea
- Syren Ship Model Company
- (and 1 more)
-
If you’re just removing char, then sand paper is good. If you’re also beveling the edge, then a chisel works well. You've picked the model with the best instructions you’ll ever find. Plus, there are phenomenal build logs to study. I hope it goes well for you.
- 100 replies
-
- 2
-
-
- Syren
- Model Shipways
- (and 1 more)
-
I don’t know a lot about Maris Stella kits, but the HMS Ontario Great Lakes Snow is a really interesting subject to me. How many of these fantastic ships are still in tact today? It’s too bad there are no complete build logs for that kit. Overpriced or not, it might be on my list for some time down the road.
-
Brighter => smaller camera aperture => wider depth of field. Ergo, more depth appears to be in focus.
-
What a beautiful model and display! Congratulations on completing your project. It came out terrific!
-
Your planking looks like a museum piece to me, Greg. I looked back through your log and I think that posts #13-15 are critical to your success at this point. Future Winnie builders should take note. The time and effort you put in on aligning them is the foundation of how amazing your planking looks now. Excellent job!

