

.jpg.01e54eff8de6be562e7bc1146f40d40a.jpg)
Matt D
-
Posts
627 -
Joined
-
Last visited
Content Type
Profiles
Forums
Gallery
Events
Posts posted by Matt D
-
-
Hi Tom. From personal experience, save the baltic birch for something else, where fairing will not be required. It's a little like trying to sand granite or case hardened steel. If you read my log, you'll see that my first attempt was with baltic birch. That set is now hung up in my shop as a decoration because my printer defaulted to "fit to page" instead of "full size" and I had a 0.95 scaling factor on the prints. That's a different problem, but I could already see that fairing that set was going to be impossible. My second and current attempt is with the cheapo "birch plywood" from Home Depot. It's much softer than Baltic Birch. However, I've said several times in my log that cutting my own has been the source of most of my build problems. If I had it to do over, I'd shell out the dough and buy Chuck's laser cut set. If you're really good on the saw, have plenty of time to put into make sure everything is right, and double-check your final contours on each bulkhead, then that might be a good solution for you. But if you can spend the money easier than spending the time, then buy the laser cut set from Chuck. Just my 2 cents.
-
Tom, I'm sorry this happened. I've thrown out my back a few times and it's a surprise every time. I know how much it hurts and I hope you feel better soon.
-
23 hours ago, Vladimir_Wairoa said:
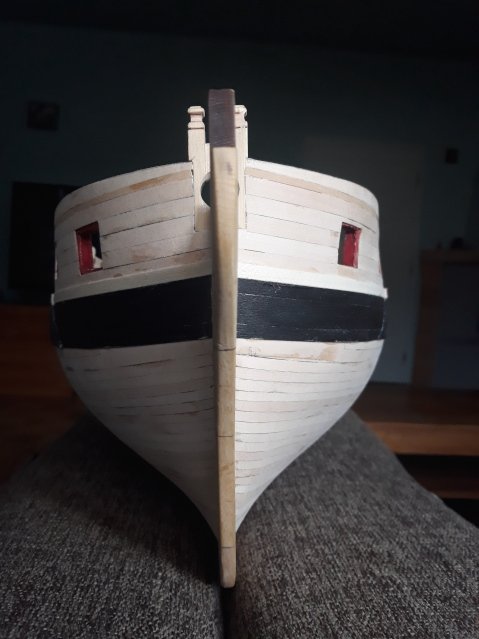
I see what Christian is saying. In this photo from Post #66, the stem does look a little too thick. It needs to be tapered as Chuck describes in Chapter 1. It's clearly not too late to take care of that and you have to be careful to not overdo it. If you have the figurehead, you'll see that she won't fit as you have it now.
- FrankWouts, wyz and Vladimir_Wairoa
-
 3
3
-
Siggi, your moldings look fantastic! I love how you finished the ends so they look like proper returns. I also just looked back at your photos from post 373 through the gunports. What great photos!
- Siggi52, Cathead, Keith Black and 1 other
-
4
-
I traced it and cut it out. It took me three tries before I got it right.
- Zarkon and FrankWouts
-
2
-
On 1/5/2021 at 2:29 PM, Chuck said:
He was like 100 back then though
Are you sure he wasn't a former crew member on the Winnie?
-
It’s looking really good! I have this kit on the shelf. It looks to me like a great subject, and the history of this model is interest to me. I’ll pull up a chair and follow your build log. Good luck with your build!
-
She looks so beautiful, Rusty. Your work on the stern and on the paint is amazing!
- FrankWouts and chris watton
-
2
-
What amazing work, Chuck! This is a phenomenal project you’re putting together and sharing with us!
- FrankWouts, Chuck and gjdale
-
3
-
-
Welcome aboard and happy New Year, Frank. Those oliebollen sound delicious. I wish I had some too! This is a fun project with lots of members to help and encourage you. There are Winnies being built all over the world right now. I hope you enjoy it as much as I do.
- FrankWouts and Chuck
-
2
-
Rusty, this is a beautiful kit, and you’re doing a fantastic job on it. How did you plot the waterline for your masking tape? It came out so perfectly.
-
-
Thanks for your kind comments, Joe, Kathy, and Wyz. I can’t wait to get back to work on Winnie. I’m tied up with a kitchen floor project for a little while right now.
-
-
It looks fantastic, Kathy! I’ve been to the National Maritime Museum in Greenwich and been on this beautiful ship.
-
Thanks for your nice comments, Chuck, Don, Dr. Per, Mike, and JJ. Thanks, also for the likes. I love working on this project with the Winnie group. I knew I was biting off a lot, but I really wanted to build a new model in a big group. It’s definitely paying off in both camaraderie and learning.
- FrankWouts, Saburo and Rustyj
-
3
-
You should see an “add files” button at the bottom of your new post window. That will let you pick your photos to add. Remember to click “done” after you pick them or they won’t get uploaded.
- FrankWouts and wyz
-
2
-
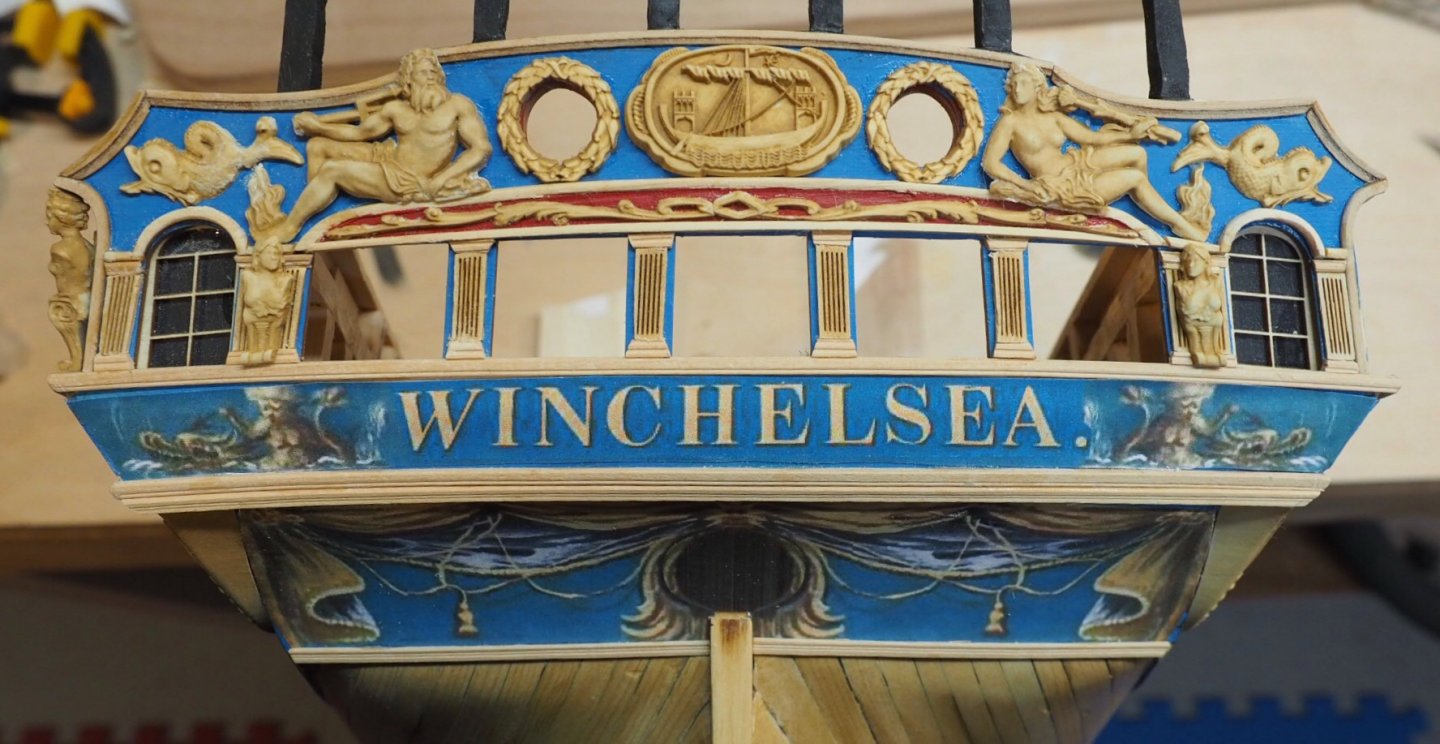
I’ve spent the past few weeks working slowly on the stern. I have several errors, but on the whole, I’m pretty happy with it. I don’t know how you guys make these columns look so perfect. Maybe I need to build a few more of these before I can get it. I know one issue is that my spacing is a little off, making the columns shorter than planned. I think that is also why the bottom molding on the counter is a little high, creating a gap that I had to cover with a second molding. I also broke Poseidon’s trident. I have an idea from Chuck on how to fix it using coarse wire, but I’m not ready to work on that yet.
- CaptMorgan, scrubbyj427, Saburo and 15 others
-
18
-
That looks really neat with the lights, JJ. It will look amazing with the interior done.
-
That’s a beautiful model and a beautiful display plaque. Merry Christmas to you, too!
- bruce d and modeller_masa
-
1
-
 1
1
-
47 minutes ago, Chuck said:
@scrubbyj427 .Just look at this headpiece - she says “Build me, JJ. Build me”
- scrubbyj427 and FrankWouts
-
1
-
 1
1
-
Your parts look beautiful. The display reminds me of an anatomy exhibit at a museum.
- Canute and captain_hook
-
2
-
It looks great, Peter! Your 3D printed dead-eye spacers did an excellent job helping you get those shrouds up with perfect spacing.
That’s funny - I put off rat lines too. But I did it by leaving a perfectly good kit on the shelf and building an admiralty style model instead. They look tedious for sure. I’m sure you’ve read dozens of build logs to find a good method, and I’m looking forward to seeing your winning approach to them.


HMS Triton by Justin P. - FINISHED - Scale 1:48 - Cross Section
in Cross Section Build Logs for HMS TRITON
Posted
Thanks for sharing the pics of you build jig. Your setup look very precise and your frames look perfect. This will be an excellent build!