HOLIDAY DONATION DRIVE - SUPPORT MSW - DO YOUR PART TO KEEP THIS GREAT FORUM GOING! (Only 24 donations so far out of 49,000 members - C'mon guys!)
×


Peter Cane
-
Posts
240 -
Joined
-
Last visited
Content Type
Profiles
Forums
Gallery
Events
Everything posted by Peter Cane
-
The very first warning on this thread by Chris is so true. I now find myself a victim of this. I am not ashamed but grateful that I have learnt from these words now and not persisted with something that I inwardly know is wrong from the start. Firstly I am an experienced modeller and have eye opening capabilites and have produced beautiful models and musical instruments. But not ships or boats... and that's the point!!! I have the skills but in order to know a skill we have to start to learn that new skill....for example planking a hull correctly!!! I bit off more than I can chew with making a huge 6Ft 6" long RC Sailing version of Bluenose. The challenge is too much for me. There are so many things that are likely to go wrong with this that the whole project is destined for disaster and it will take me a good deal of time in terms of years and a lot of money to prove that I I was right in thinking it's wrong to carry on....bin it now!. My 48 year old son is very keen for me to carry on with it but he does not fully understand the whole picture between the differences and adjustments to be made with a model verses the real thing. False keels for example but there are lists of other things that have to be thought about when choosing a working sailing model. I could harp on but I think I have made my point. I will feel better to dump Bluenose entirely. Now for the good bit which coincides with what Chris s said about making simpler models. For the past three weeks I have been busy making two Radio controlled simple hard China models called Brando. I have entered build logs on them on this forum. They are almost complete!!!!...You know what?...... I have had more peace of mind, less stress and a huge helping of satisfaction and enjoyment out of making these two charmingly simple models. They were supposed to be made from balsa wood for simplicity so I already pushed boundaries by making them from ply and beautiful hard woods. I have just started the preparations for another RC yacht sailing model designed by a wonderful guy called Gary Web. Gary has built his own full size yachts, is a sailor modeller and model boat designer. I have taken his mastery and skills on board, bought the plans for another simple hard Chine yacht ( but this time bigger than Brandi a footy ) from him a nd am already enjoying making all the patterns for it from card. I have seen this design " Emma" on several videos sailing beautifully so I know she works!!!! The fun in boat modelling is back!!! So to summarise..... I have learnt my lesson. I am taking heed of expert advise. I am modelling now within my bounds. The chances of success are very high. The build will not take forever and the light can be seen at the end of the tunnel even right now. I have learnt that KISS works. I do want to have a go at planking a hull properly and one day hope to make a small static model of a boat like one of our forum members are building. I now have the literature to help me and also his expertise to follow when I need help. But I will not in future go it alone on a massive project until I am fully conversant with what it takes. I am happy to be a humble copy cat. Perhaps that might be a good name for my new boat!!! Pete
-
Yes...a simple vessel like a rowing boat!!! I have often thought of doing just that and seen some nice longboat kits around just to keep my hand in with the planking. When I first looked at model long boats, rowing boats and the like, I naively thought " what's the point"?....why don't they make a proper boat? But it is only when one actually tries to clinker a boat one quickly realises where the point is!!!!! Pete
-
I had not thought about that but you have a valid point there. I would say the one with the more perpendicular mast will be faster as it should catch just that little bit more wind but I really don't know. Pete
-
Superb. Beautifully modelled. If you did not come up with an idea for the brass rub rail here's my two pence. Get some brass rod of the correct diameter and anneal it. Then clamp it at one end to the bench and draw file it away from the clamp until you have the section you want? Pete
-
Ab. You are an inspiration to me. Firstly in an earlier image on this thread there was a table full of unfinished boats. This has made me feel a lot better as I have side tracked myself to making two other little models when I should be doing the big one which will take years. Most of all...your card modelling and cannon builds using rolled and glued paper. It's brilliant to see modelers being resourceful. Who needs a lathe? It is nice to have a jewellers lathe with all the trimmings and even nicer to have the money to get that lot....but a good outfit is horribly expensive. Meanwhile you inspire me greatly using just basic things and a huge imagination. There is a lot to be said for card. I am a railway modeller also and have read articles and seen photos of exquisite modelling of steam locomotives made of........Yes......CARD! These are also all working running models. Even the chassis are of card. Trouble is nowadays it is expensive to get the type of card they use. Thanks for the education. Pete
-
I think you have done a wonderful job. Planking a hull is extremely difficult and I echo what you say about having respect for the old ship builders. They were artists in their own right. Love the centre board. Pete
-
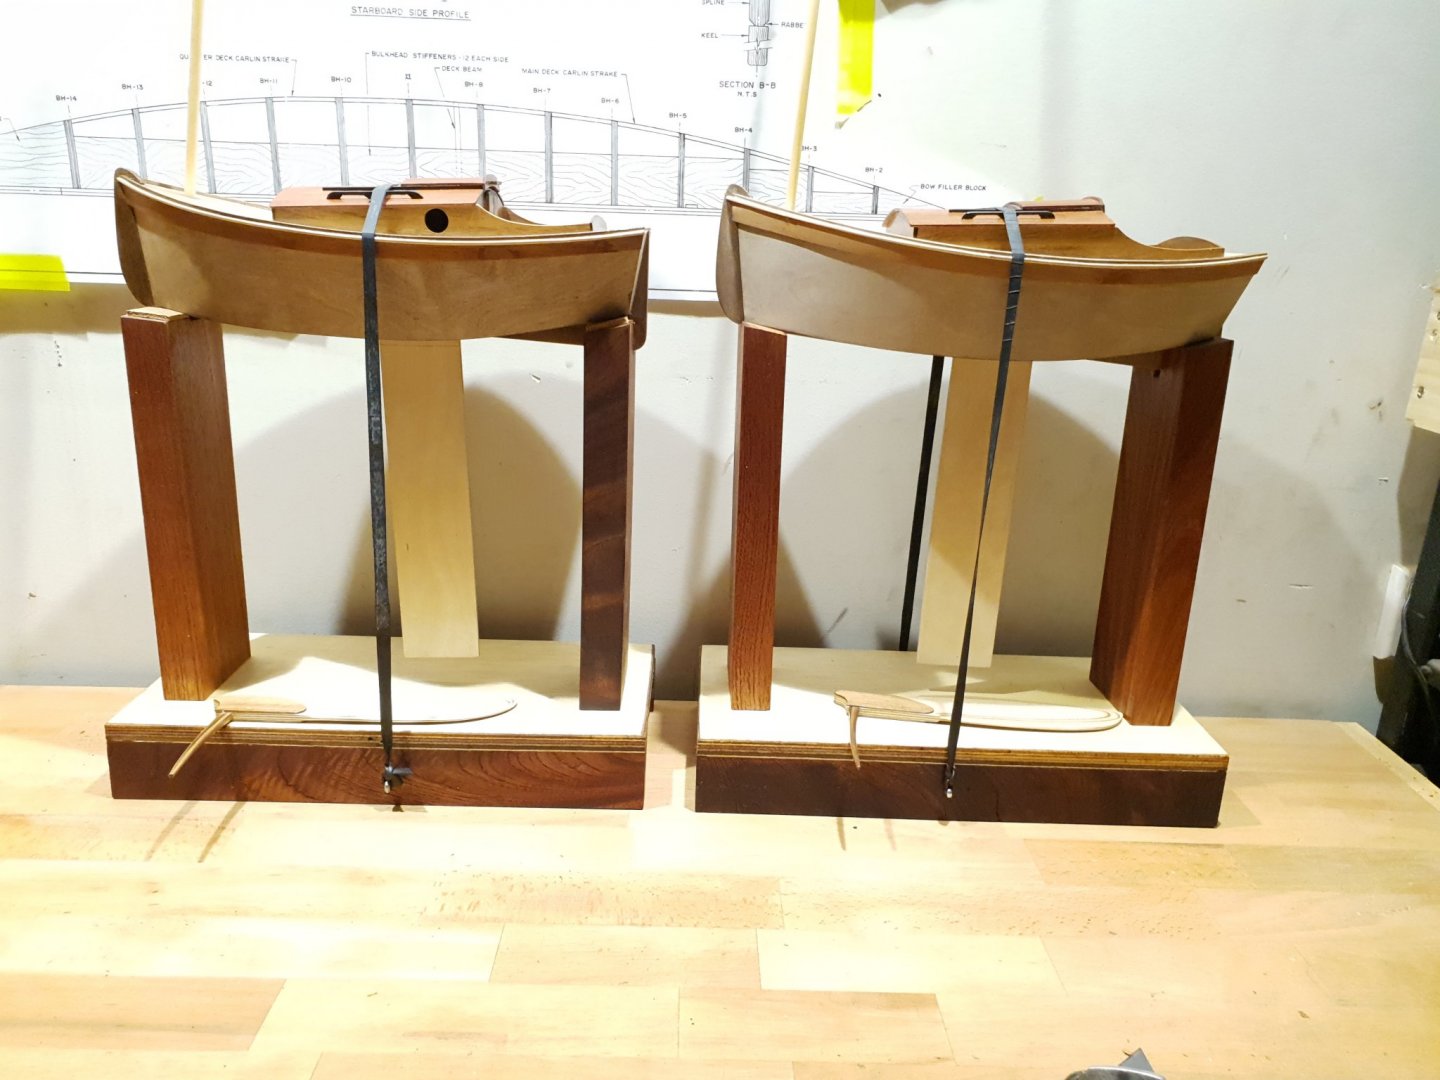
Both Brandos now with stands!. One mast cants back more than the other. Oh well c'est la vie. Or what ever it is in Italian as they are Italian designed. Pete
-
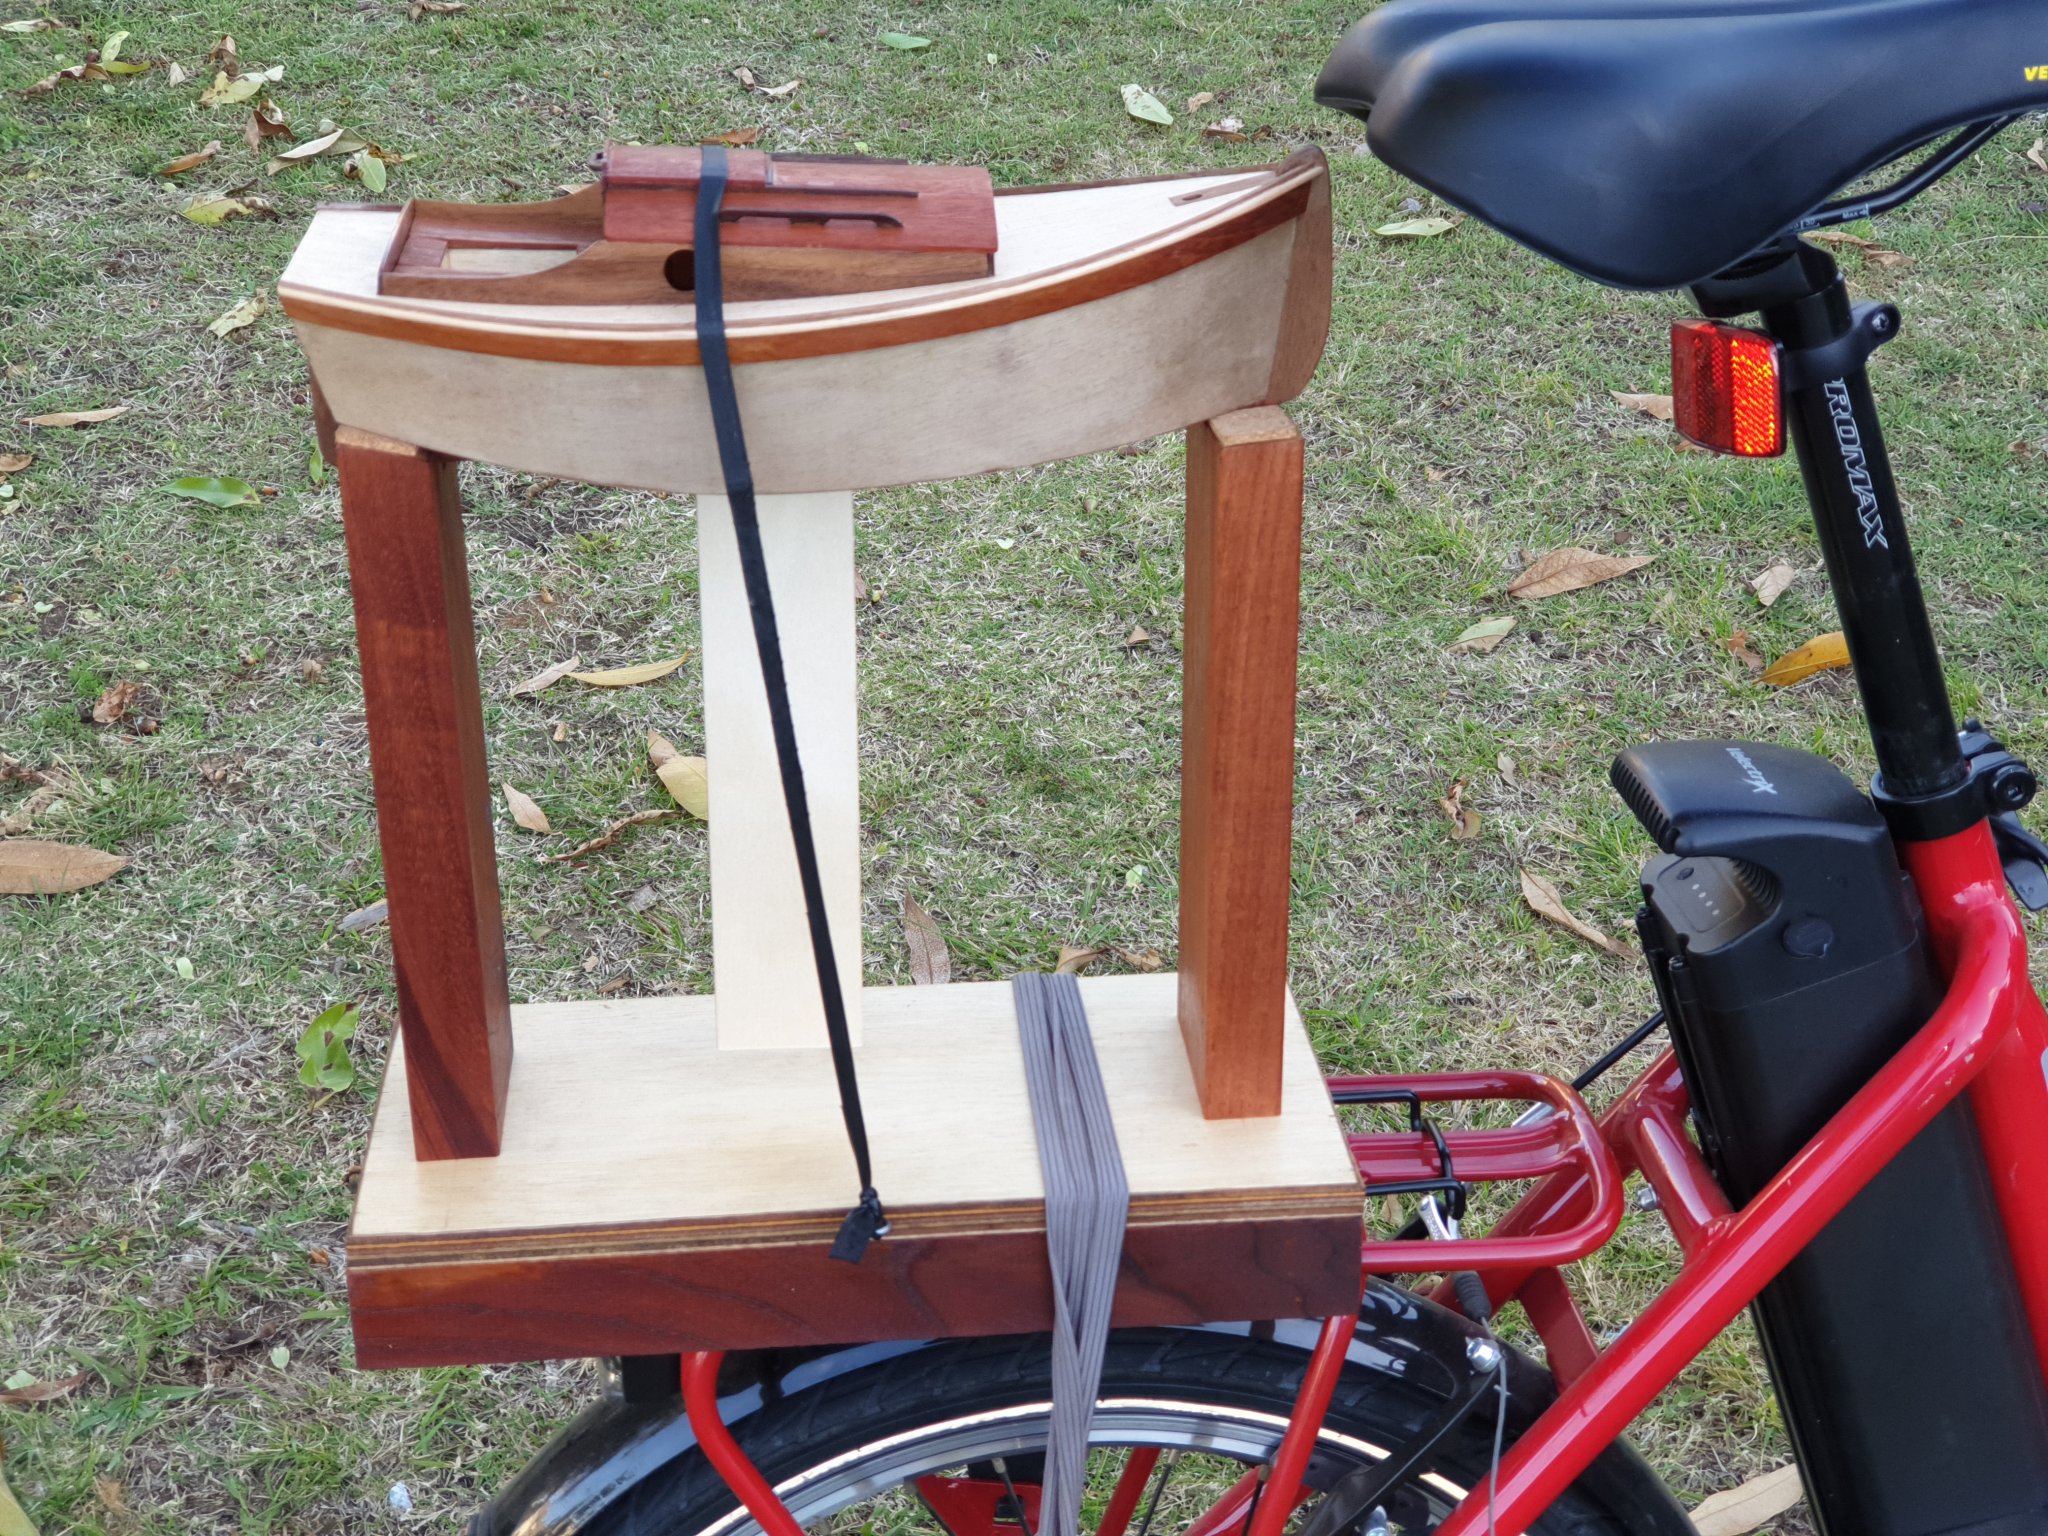
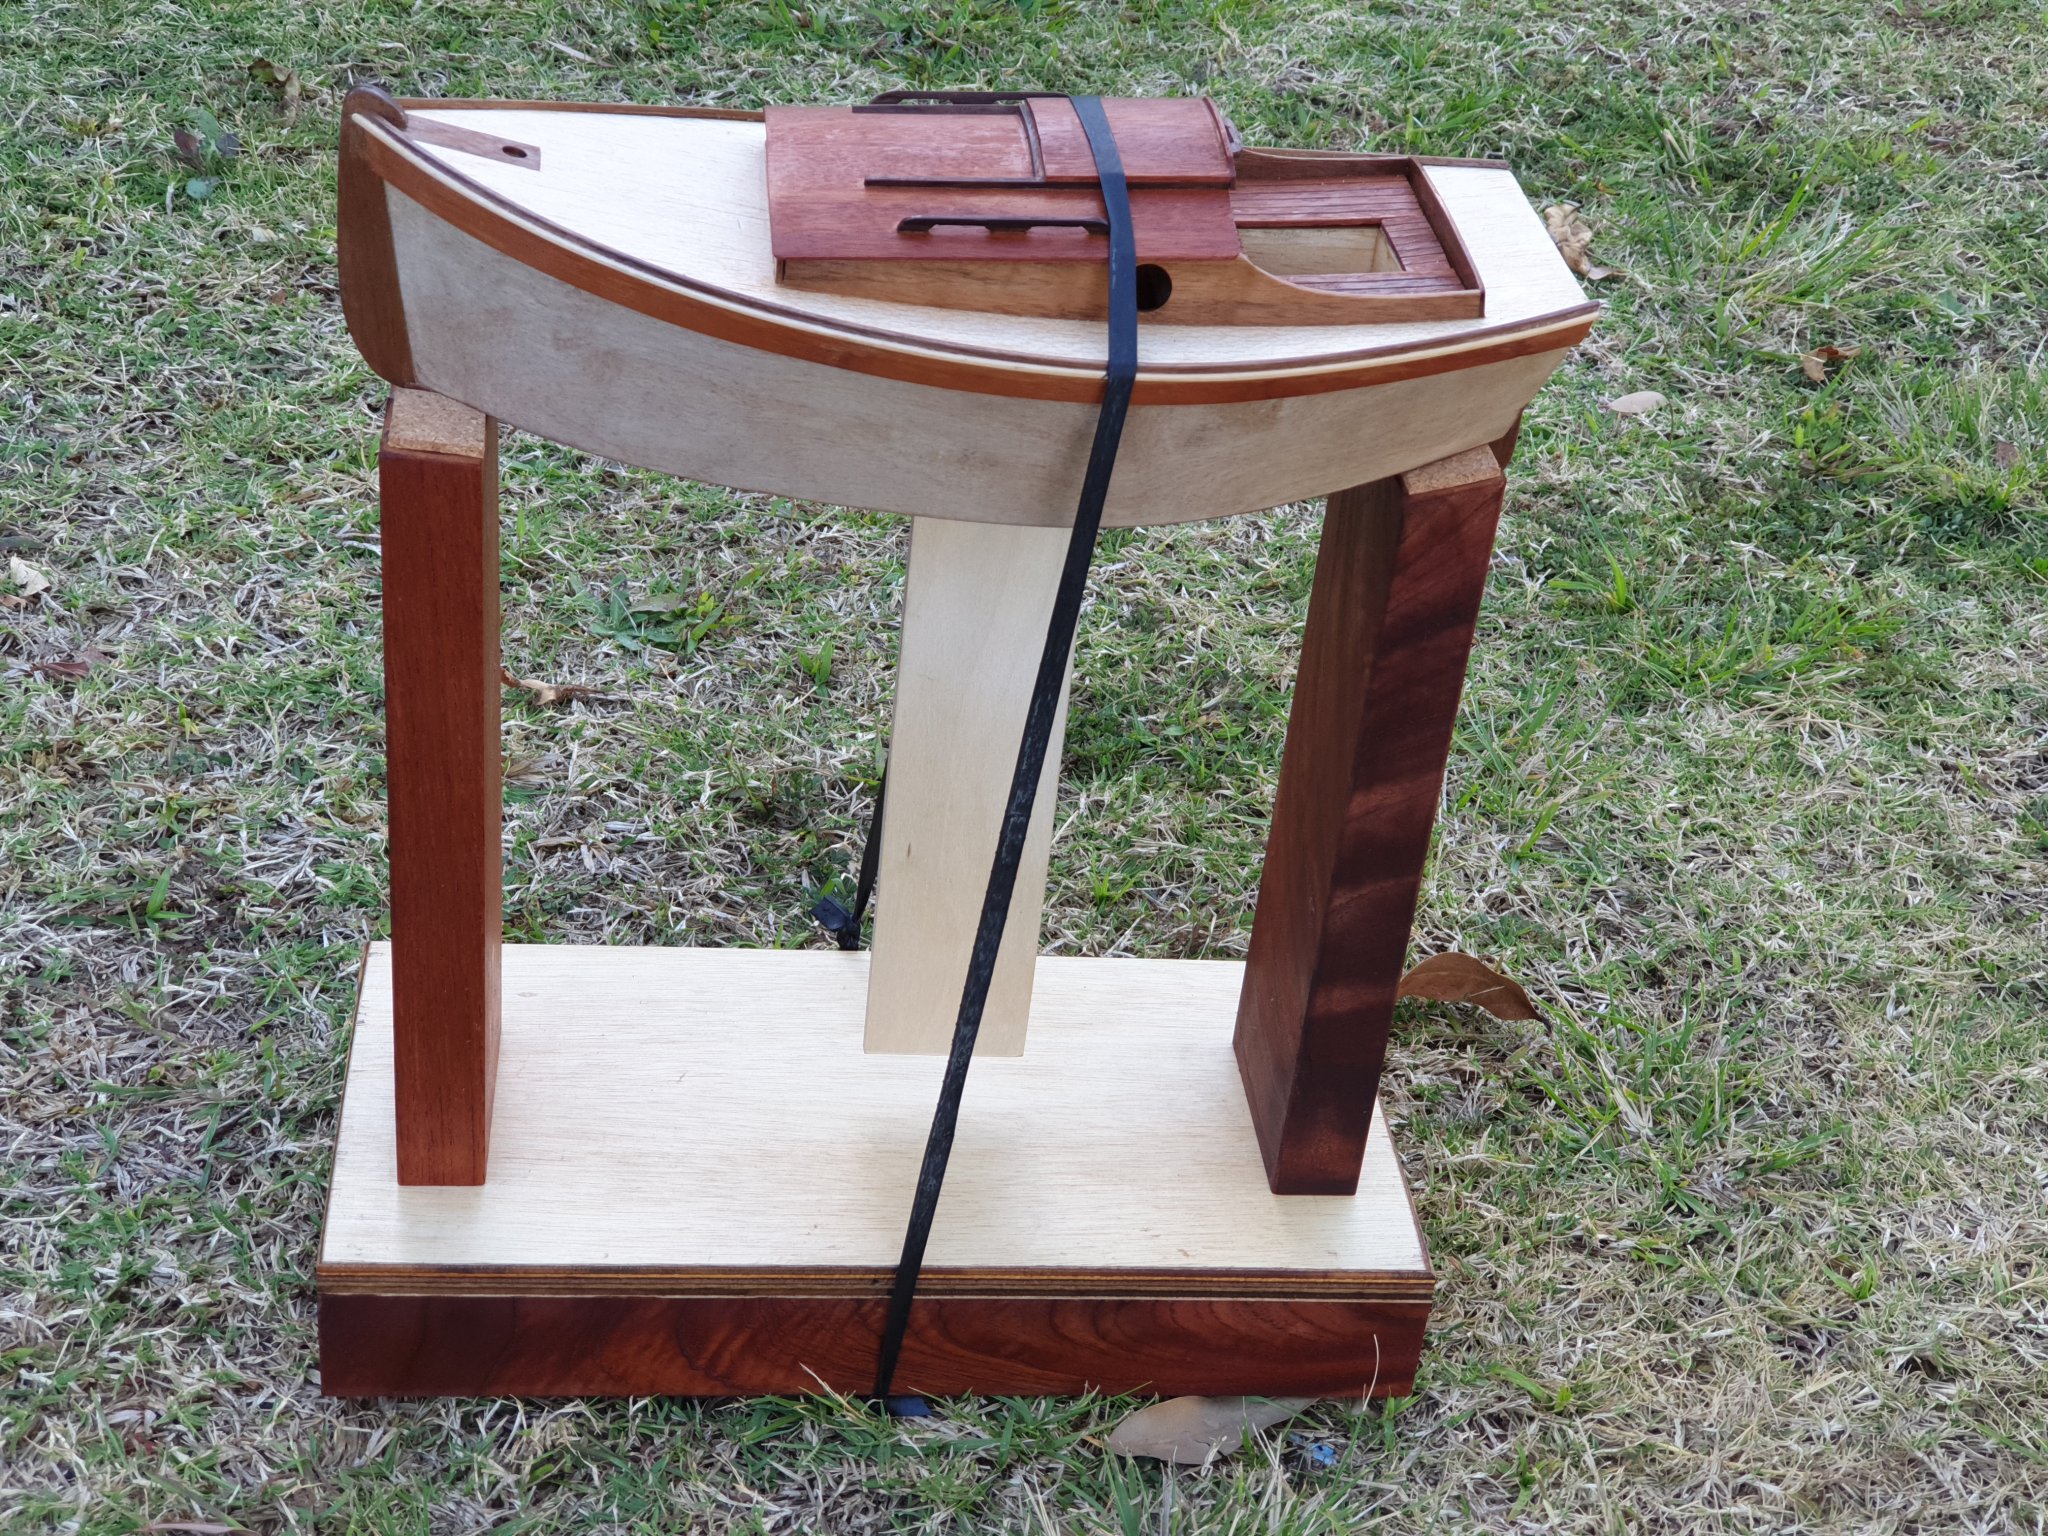
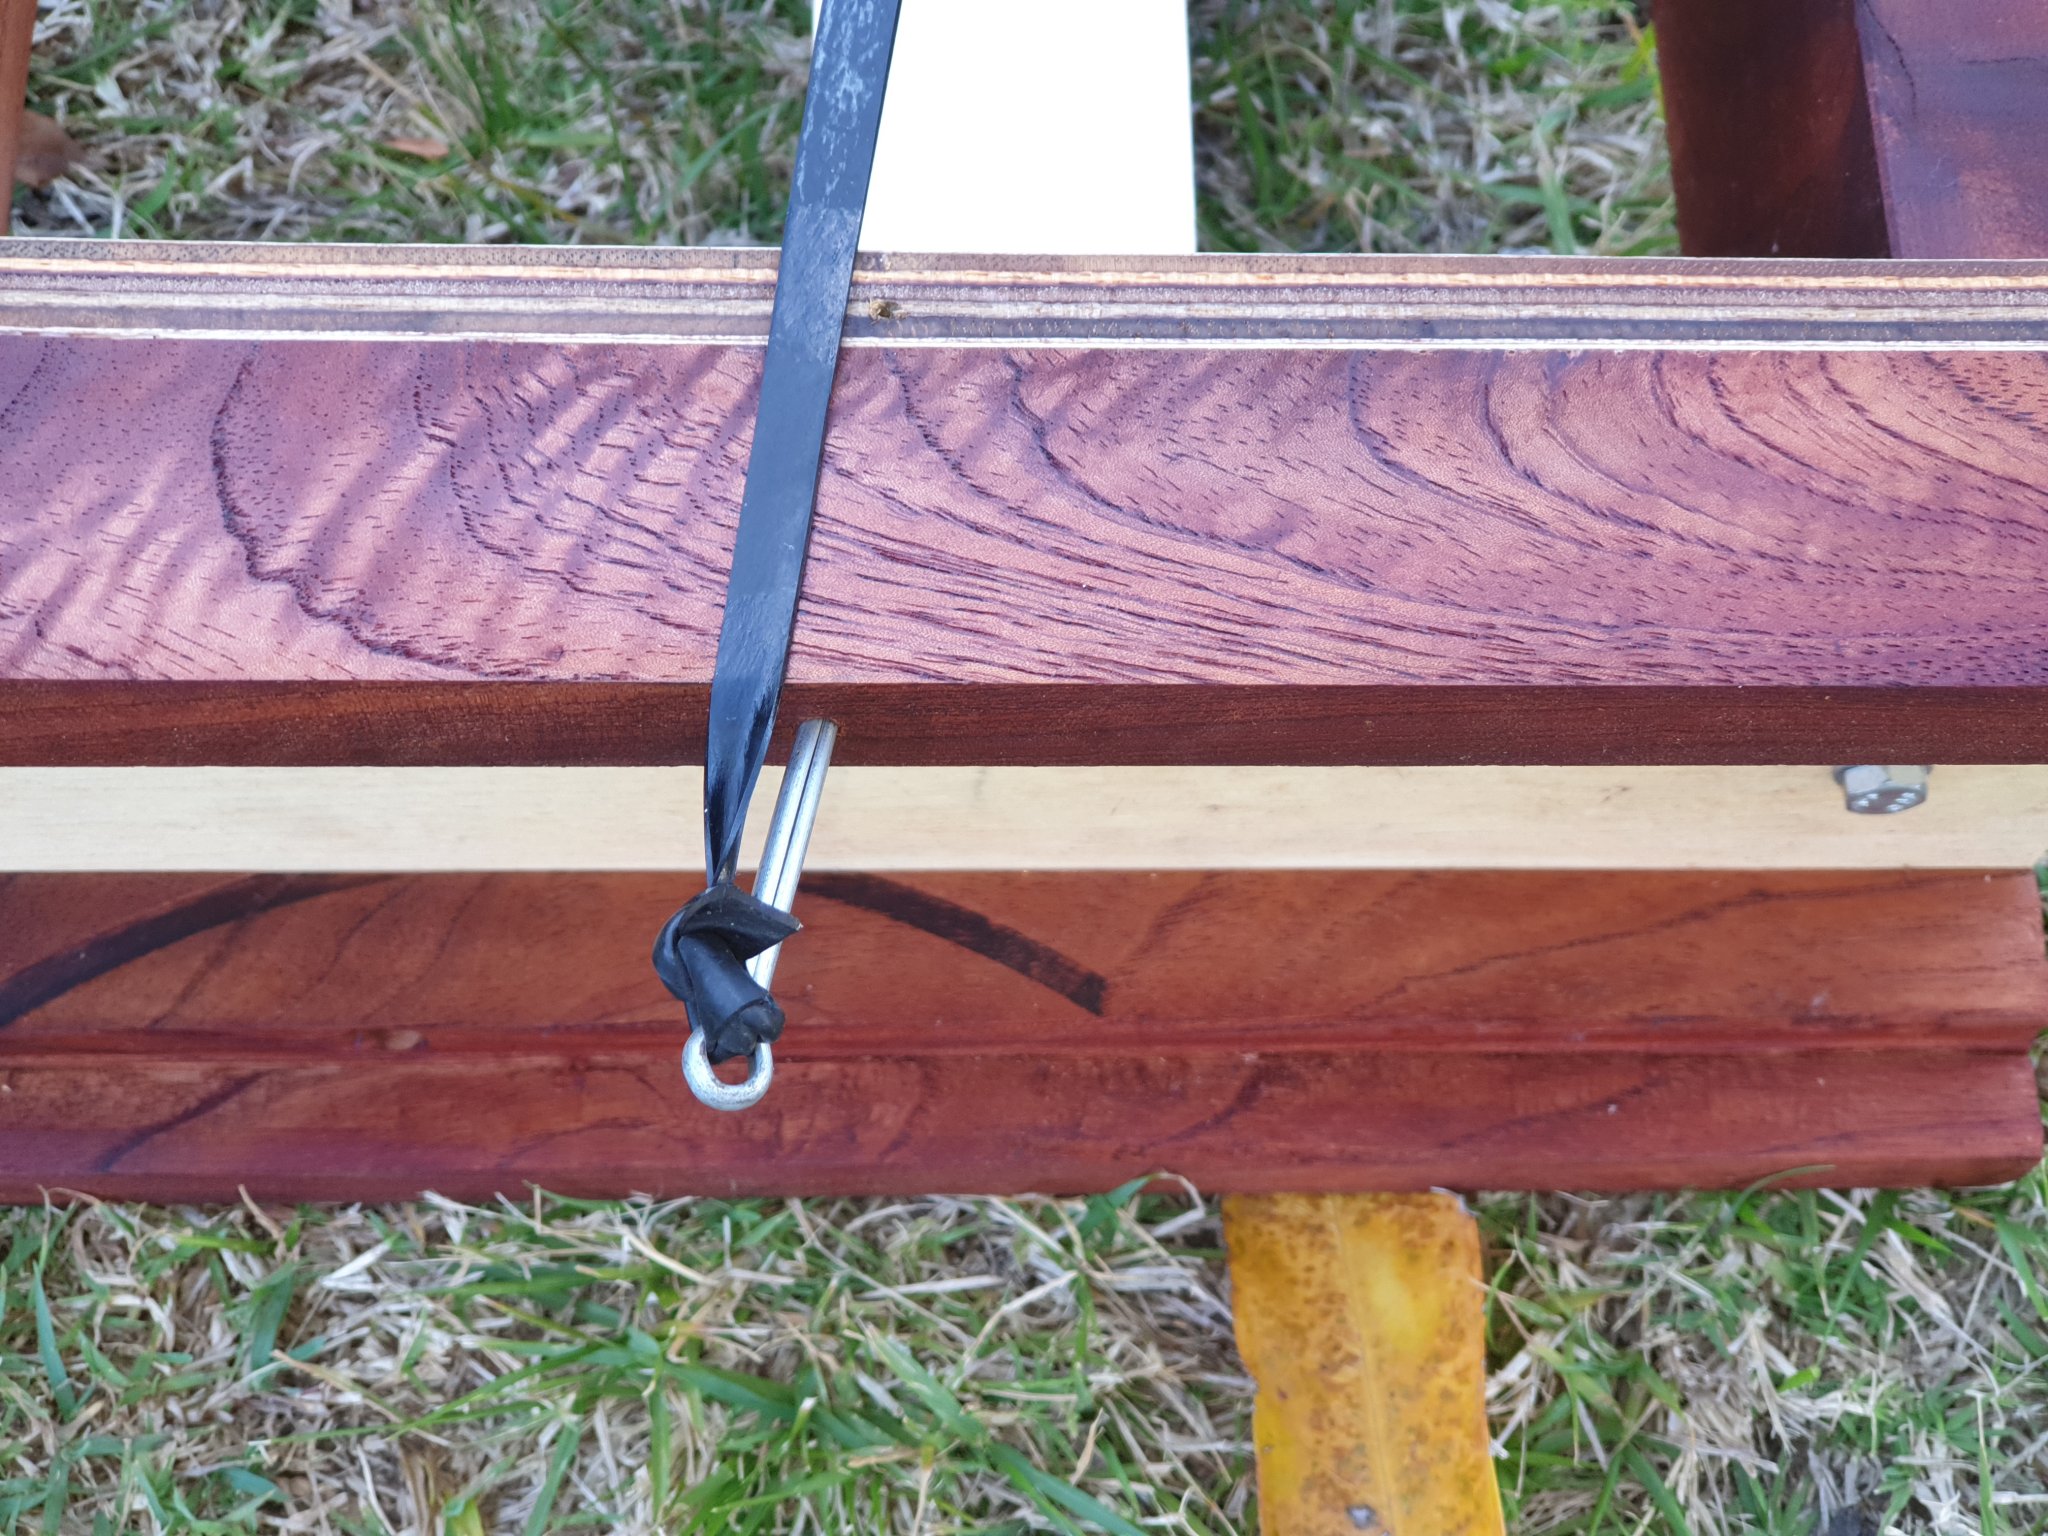
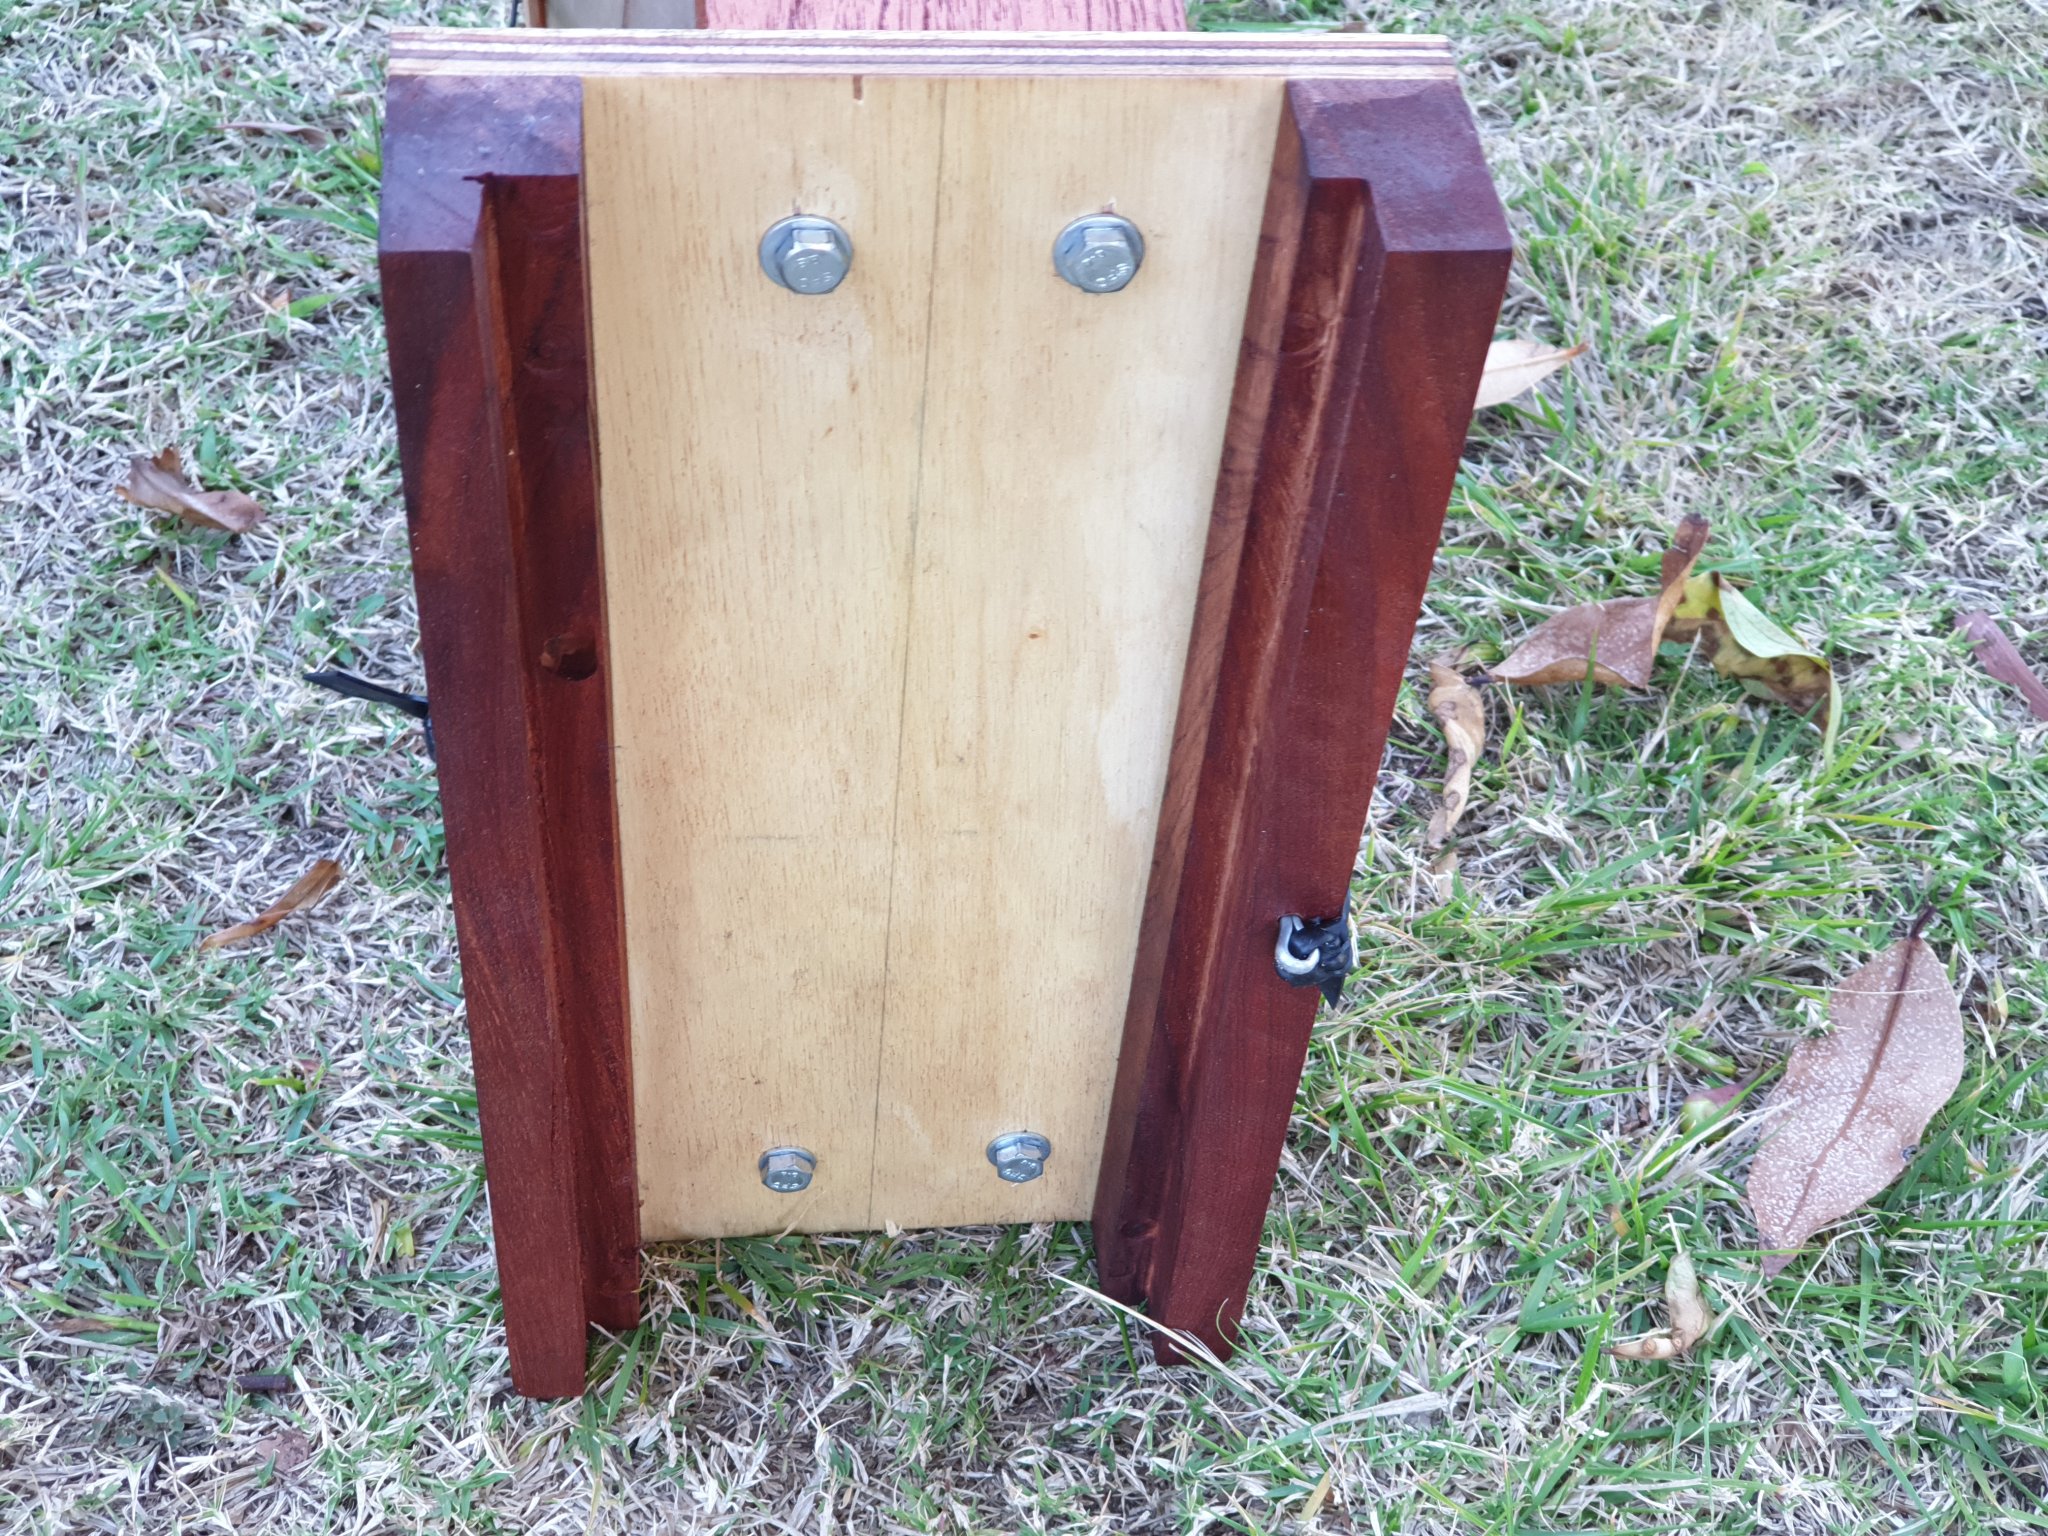
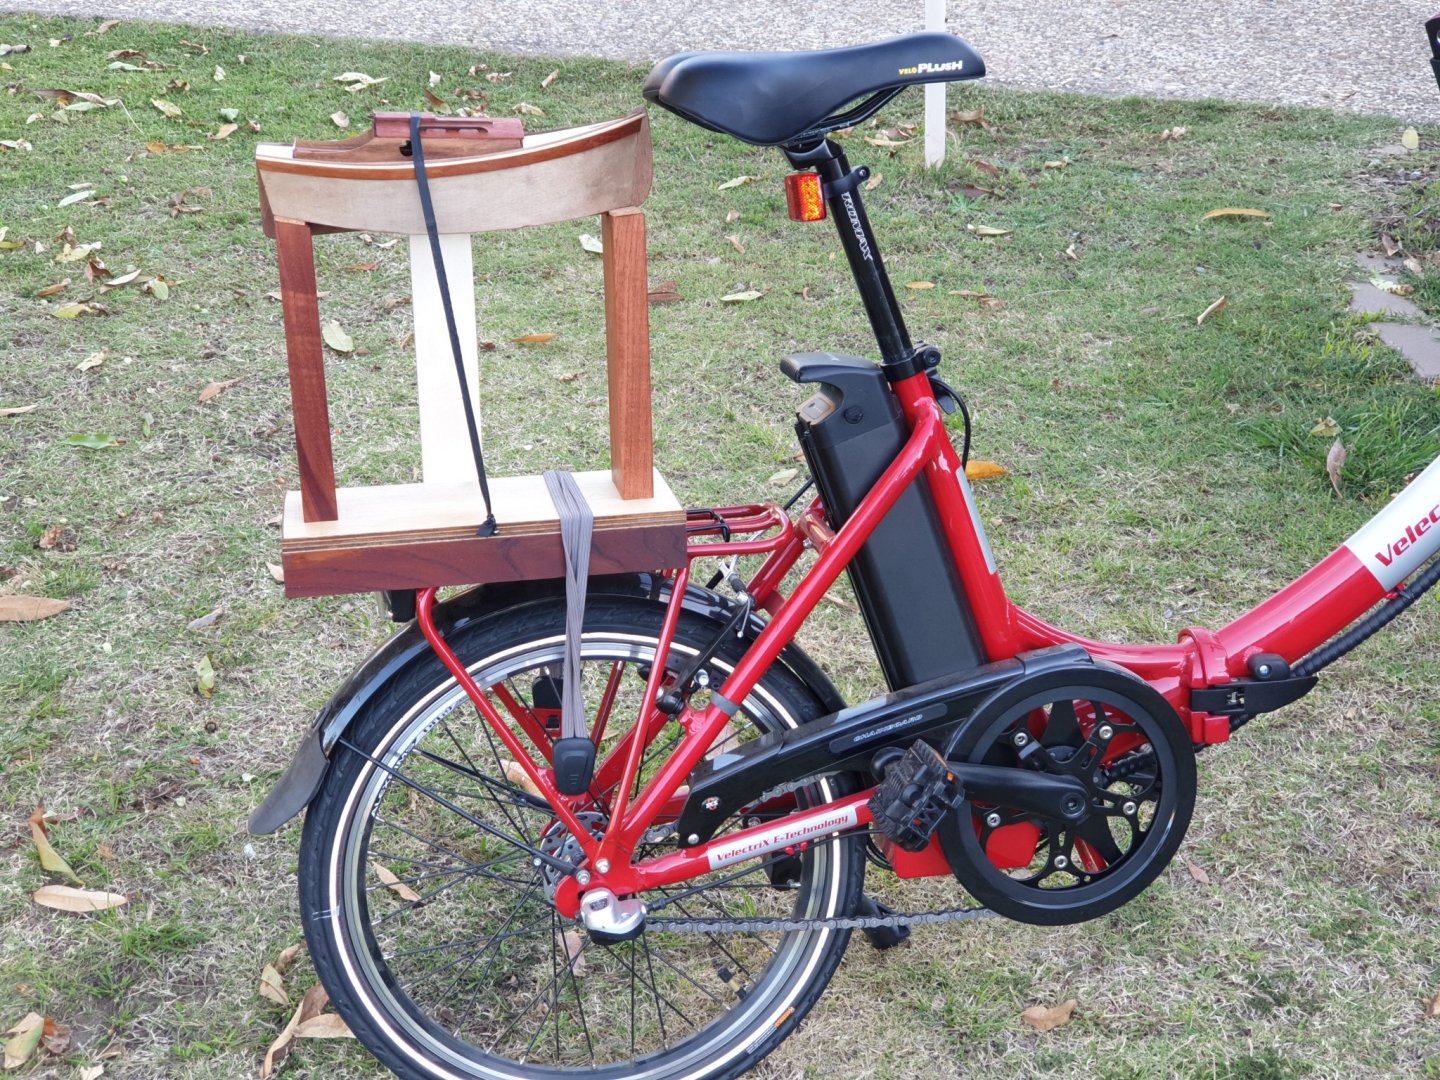
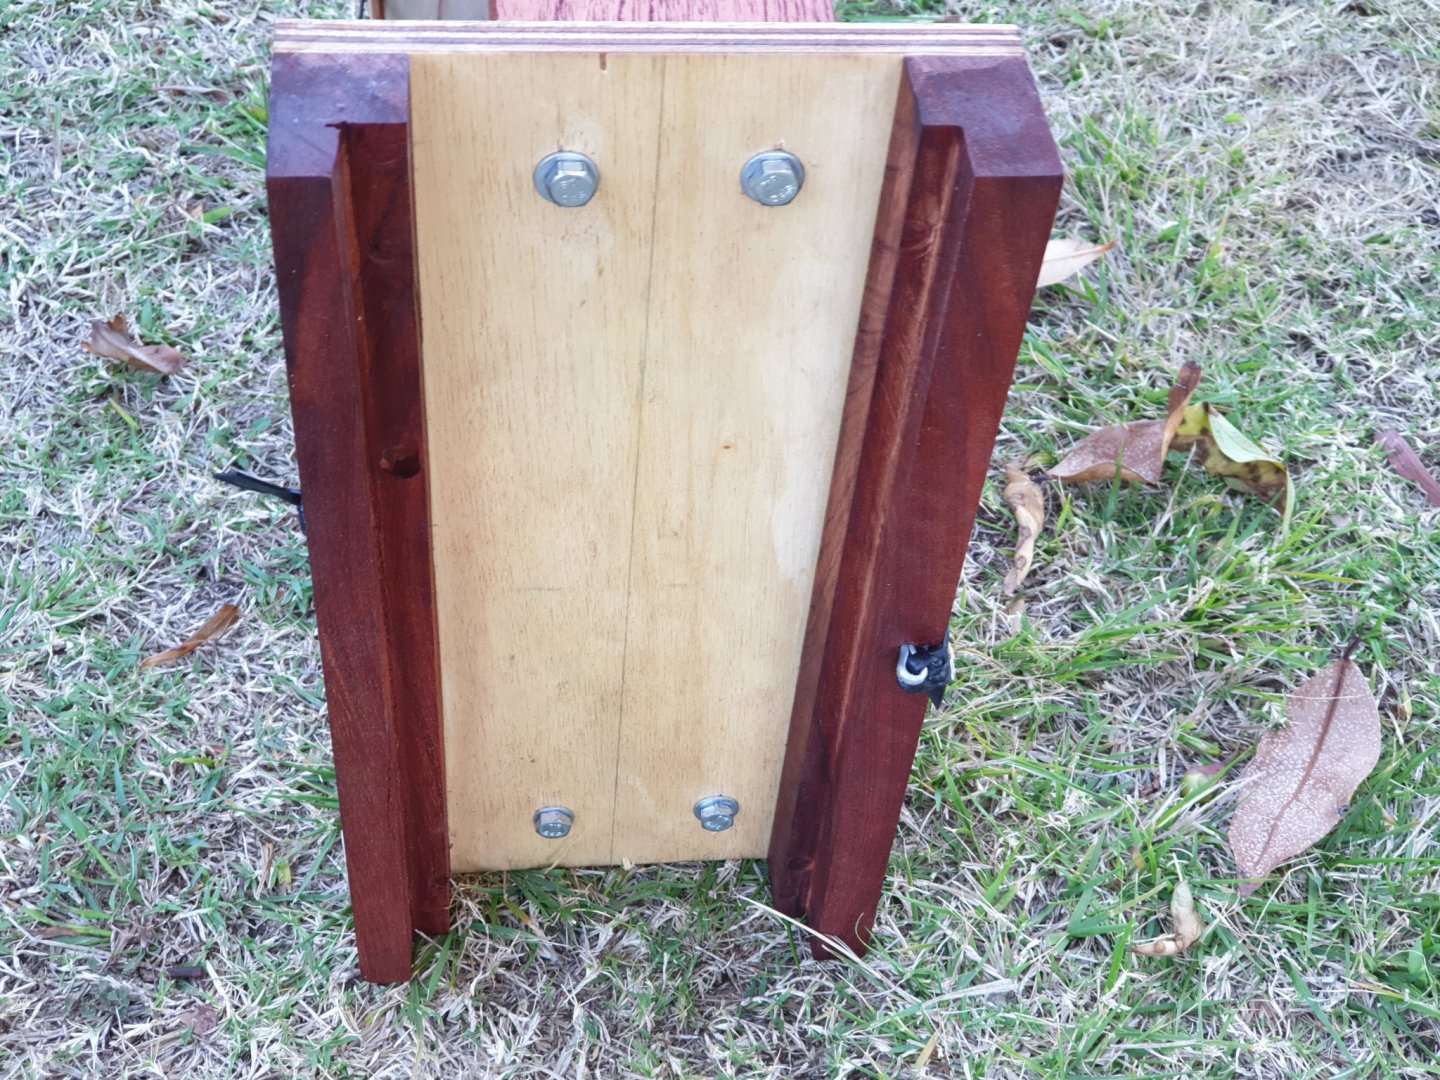
I am now at the stage whereas before I start fixing rudders and removable keels on , I need to make a stand for the boat. The stand serves four purposes. 1 To hold the model steady whilst working on the rudder and radio linkages. 2 To display the model. 3 To keep the boat safe whilst at the pond/ lake. 4 To transport it on my bicycle. I travel nearly everywhere on my super electric bike now and that will include a pleasant trip out with Brando for a few hours of sailing. I will figure a way of attaching the masts to the base of the stand with the furled sail. The boat is held to the stand by a strip if bicycle inner tube made fast one end by a U shaped staple and the other end is fastened to a split pin eye which locates in a hole underneath so when tensioned it cannot slip loose. I have adopted my normal finishing by giving the stand a good douse of linseed oil. Pete


-
Richard very much indeed I was joking!! I was trying to indicate that pirates and ships go together but it went the wrong way. My apologies. Pete
-
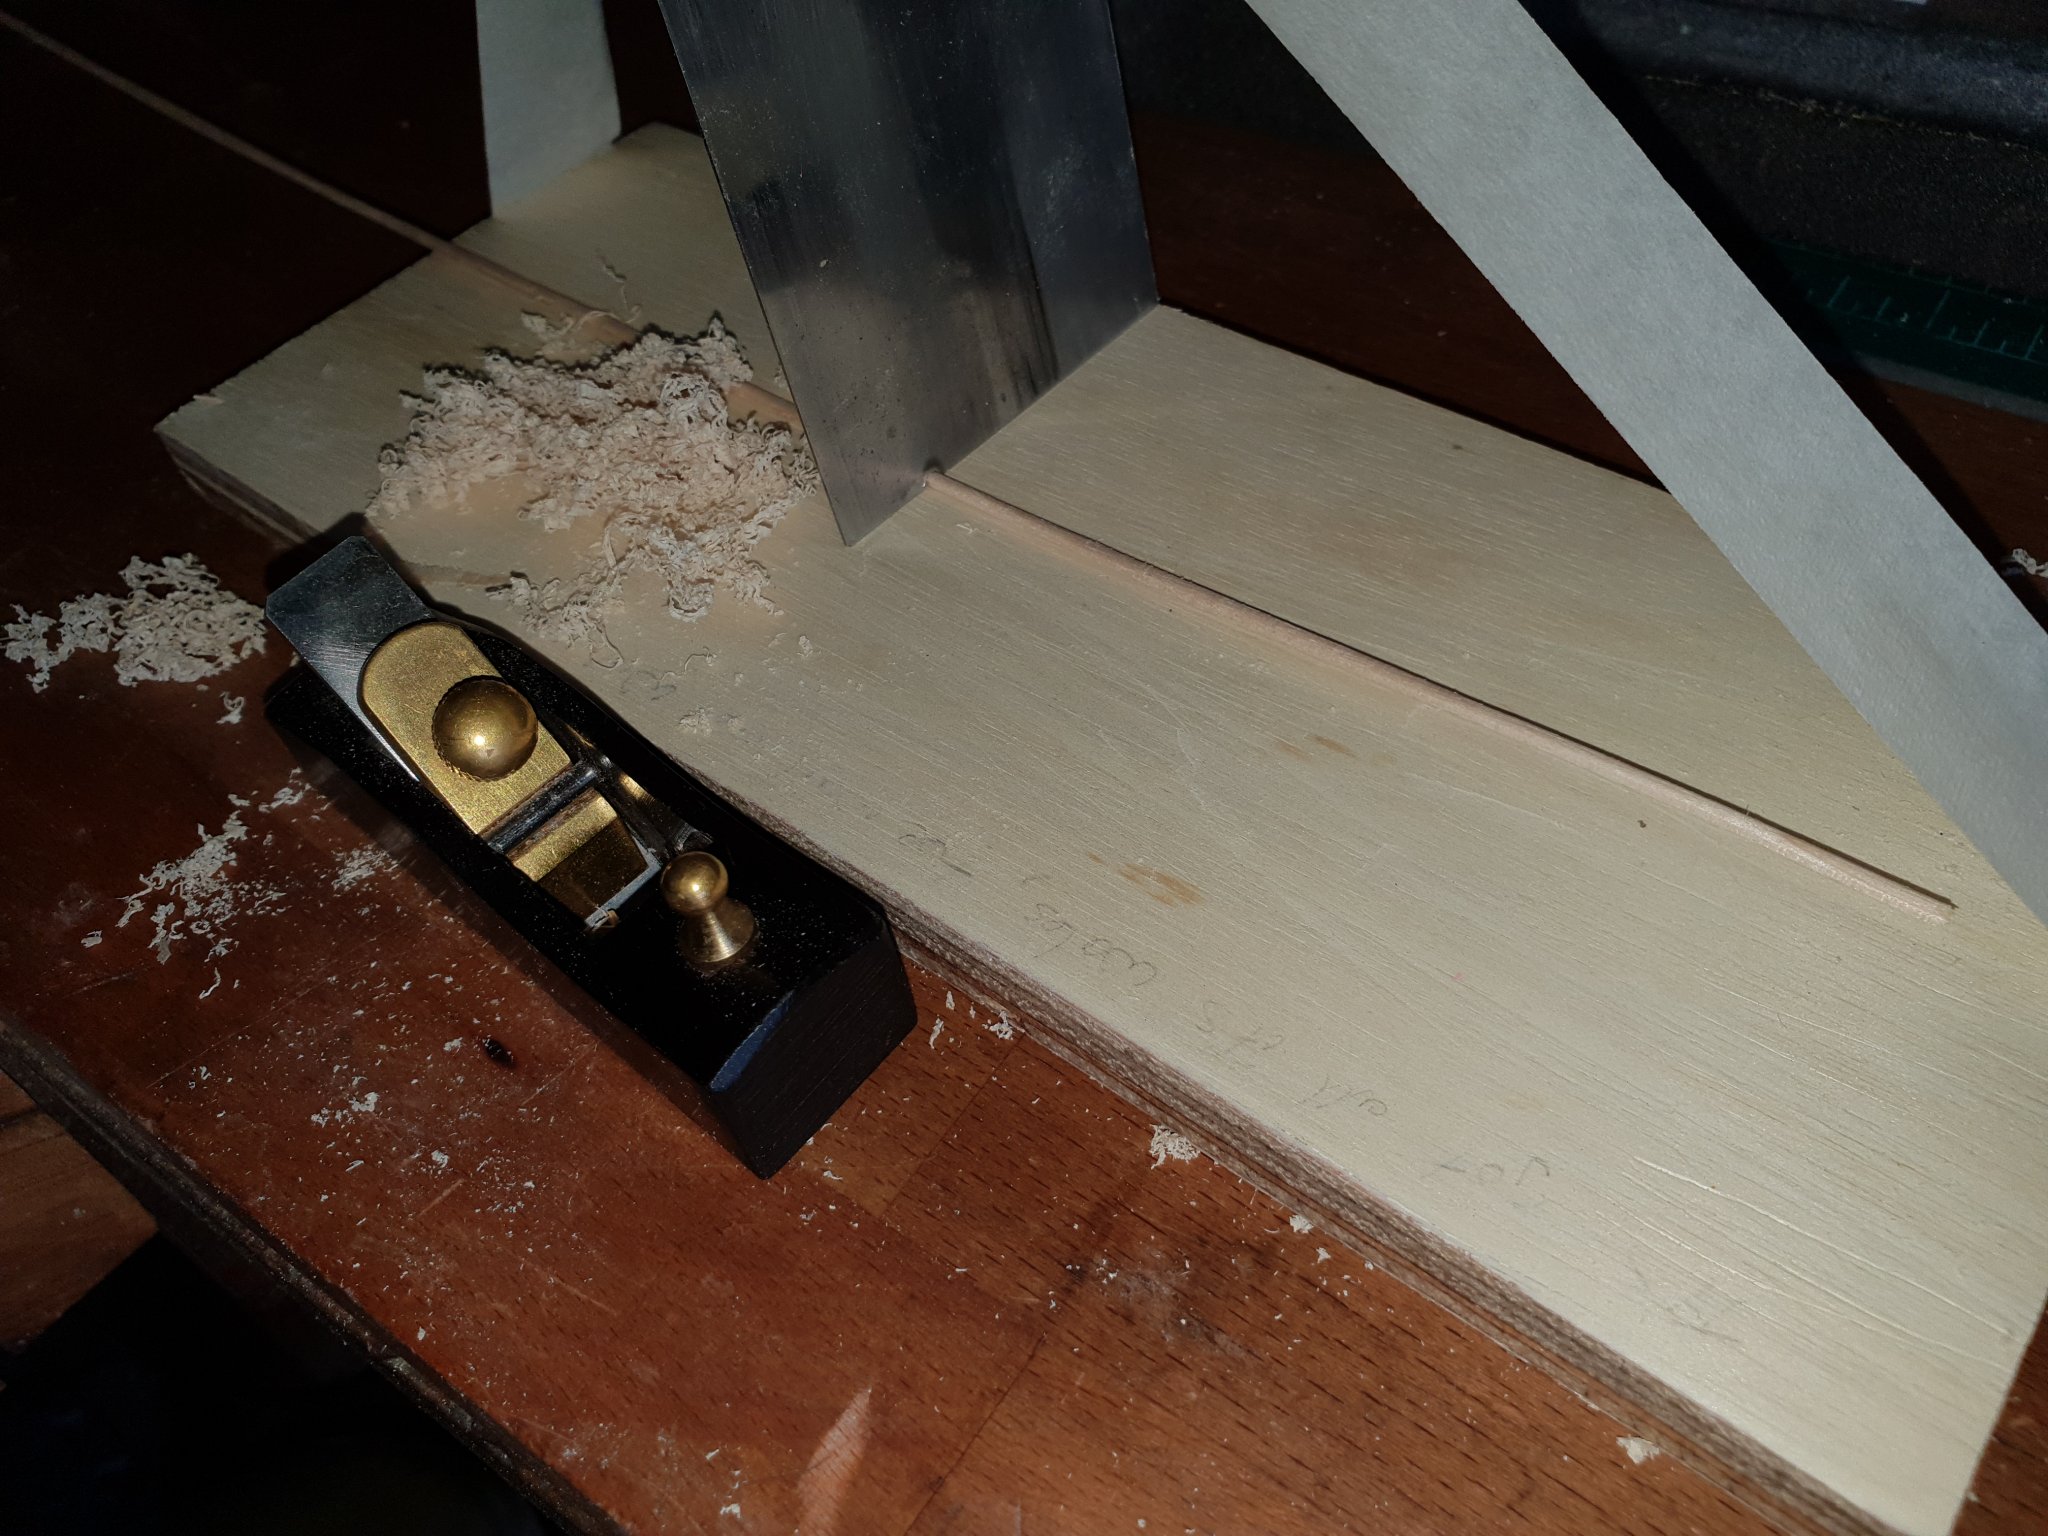
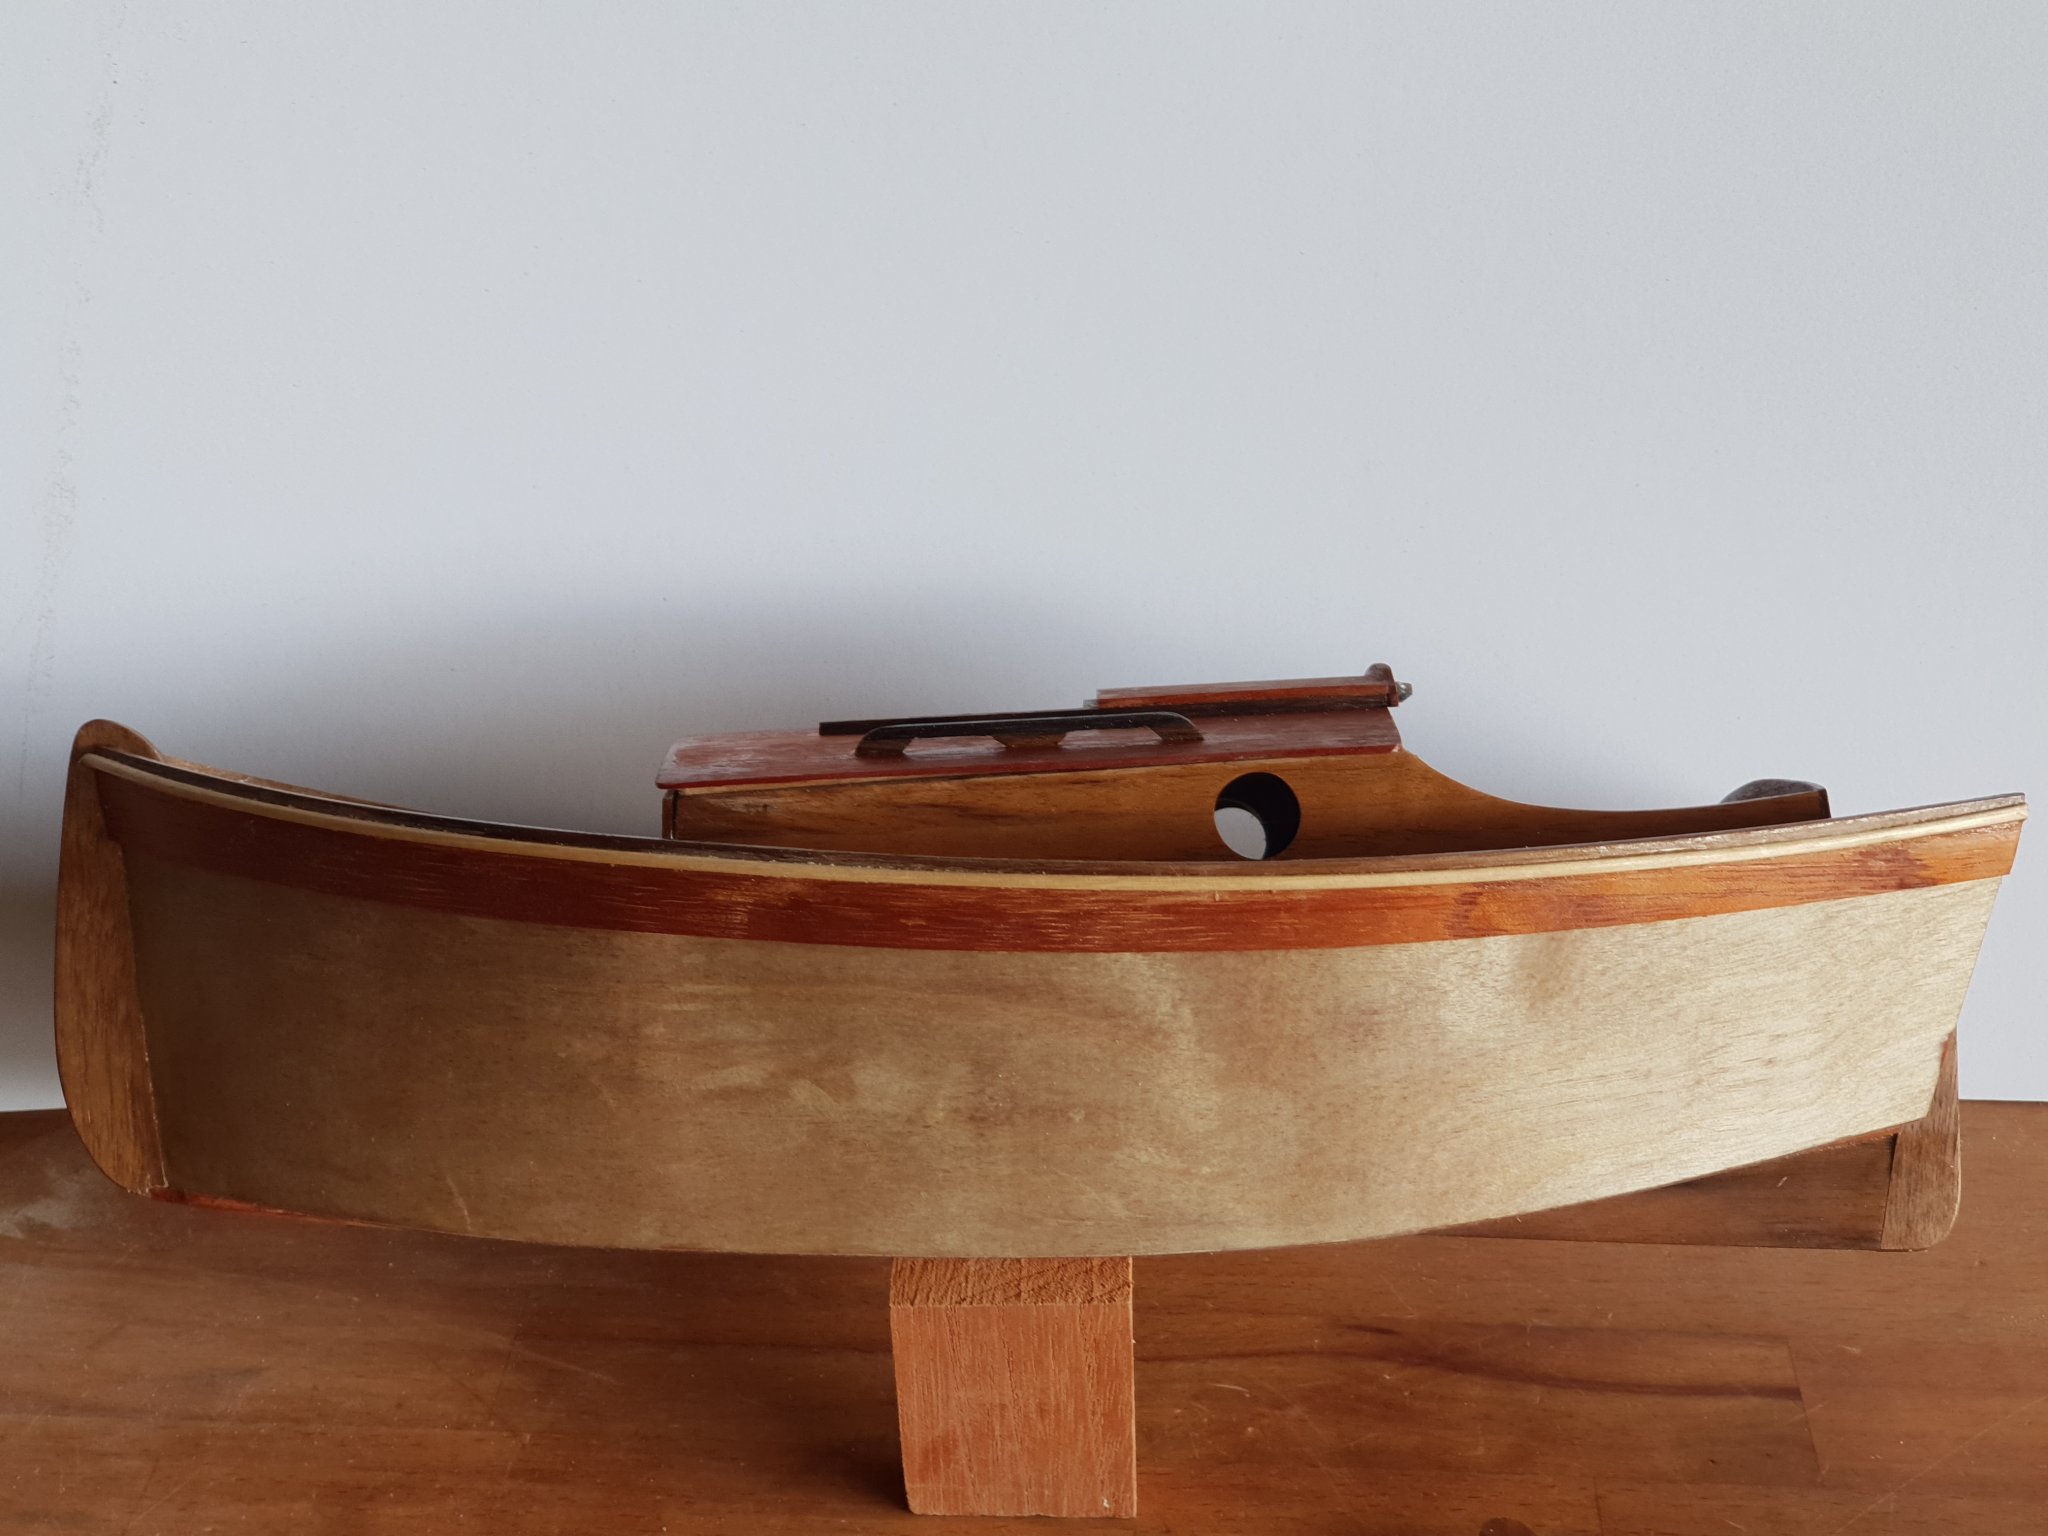
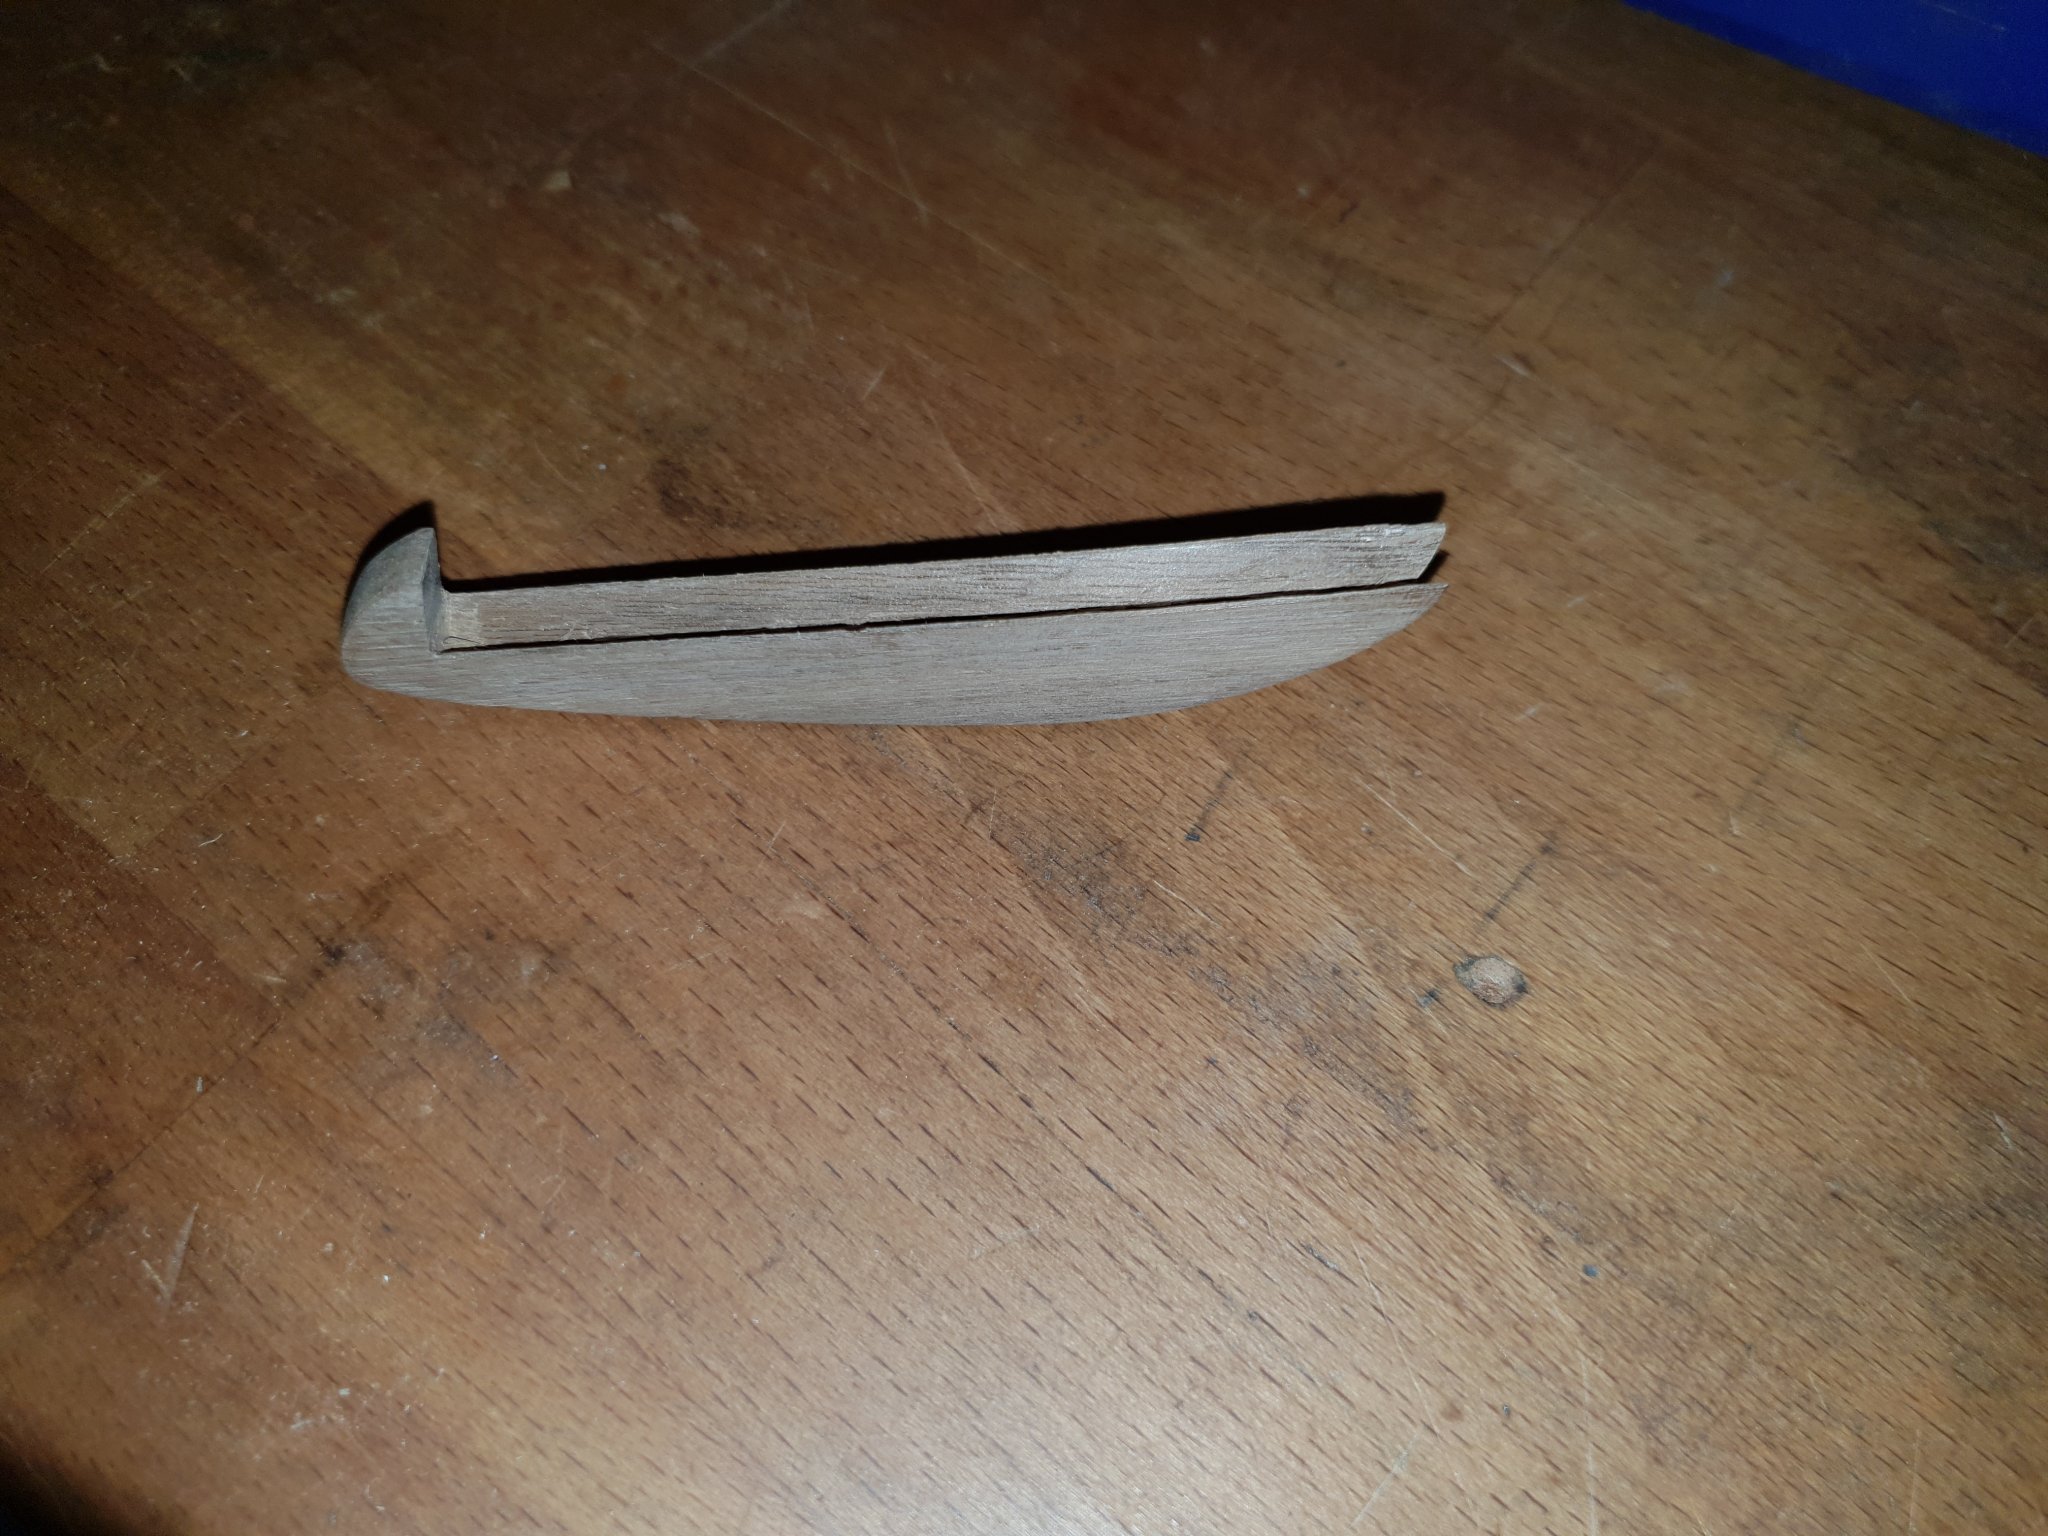
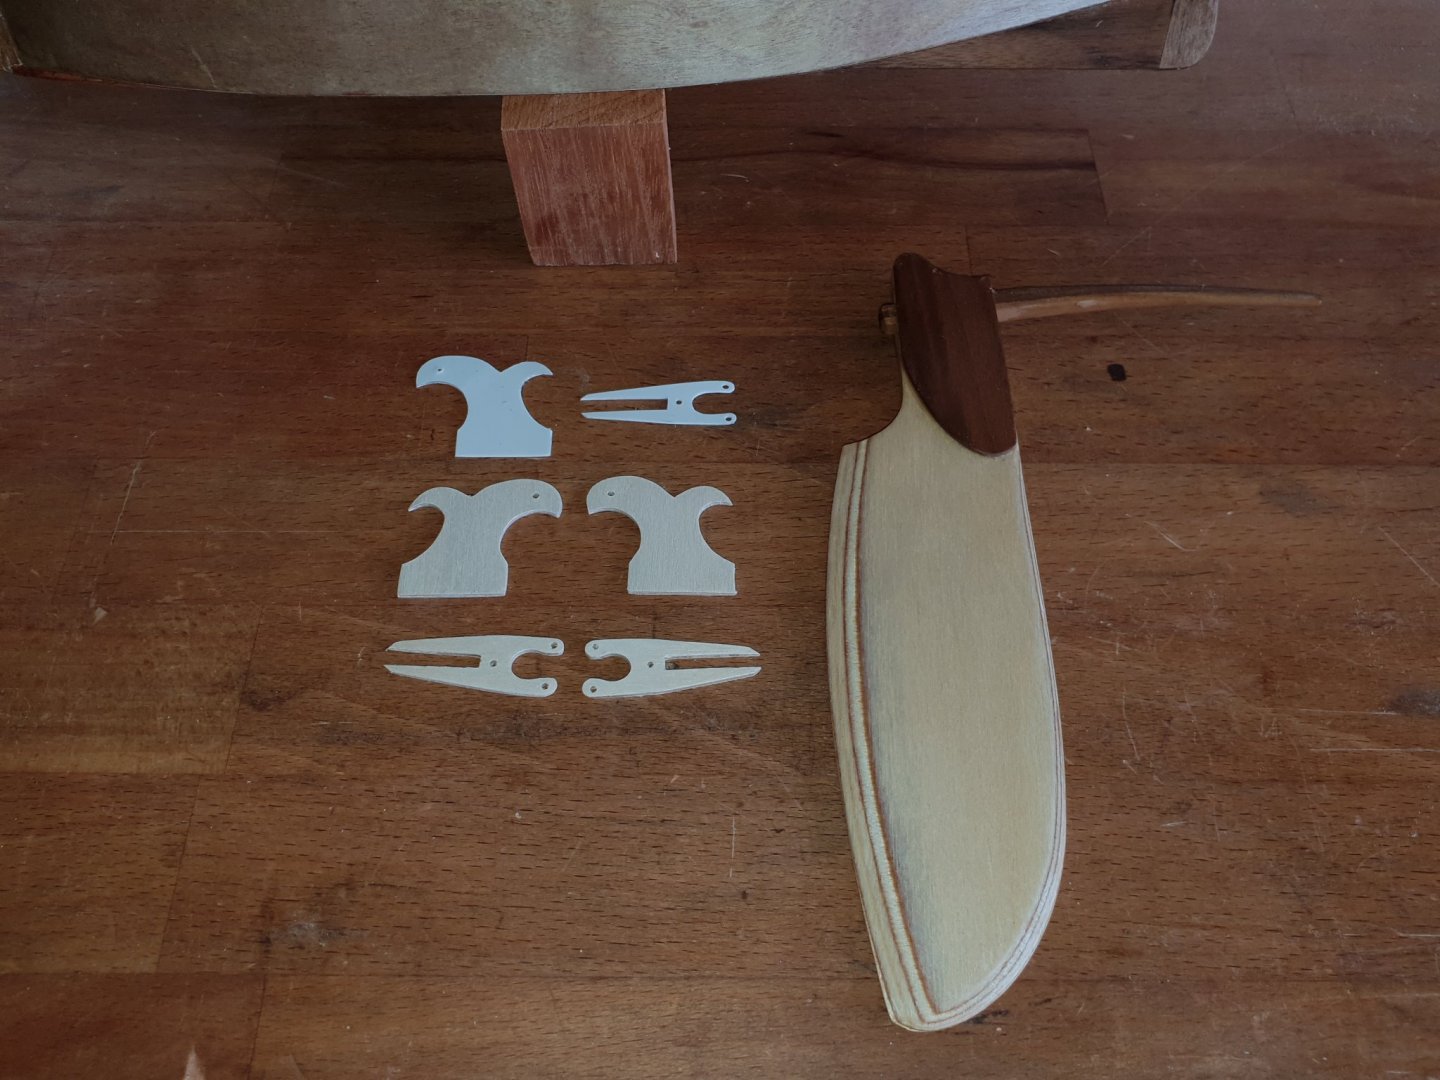
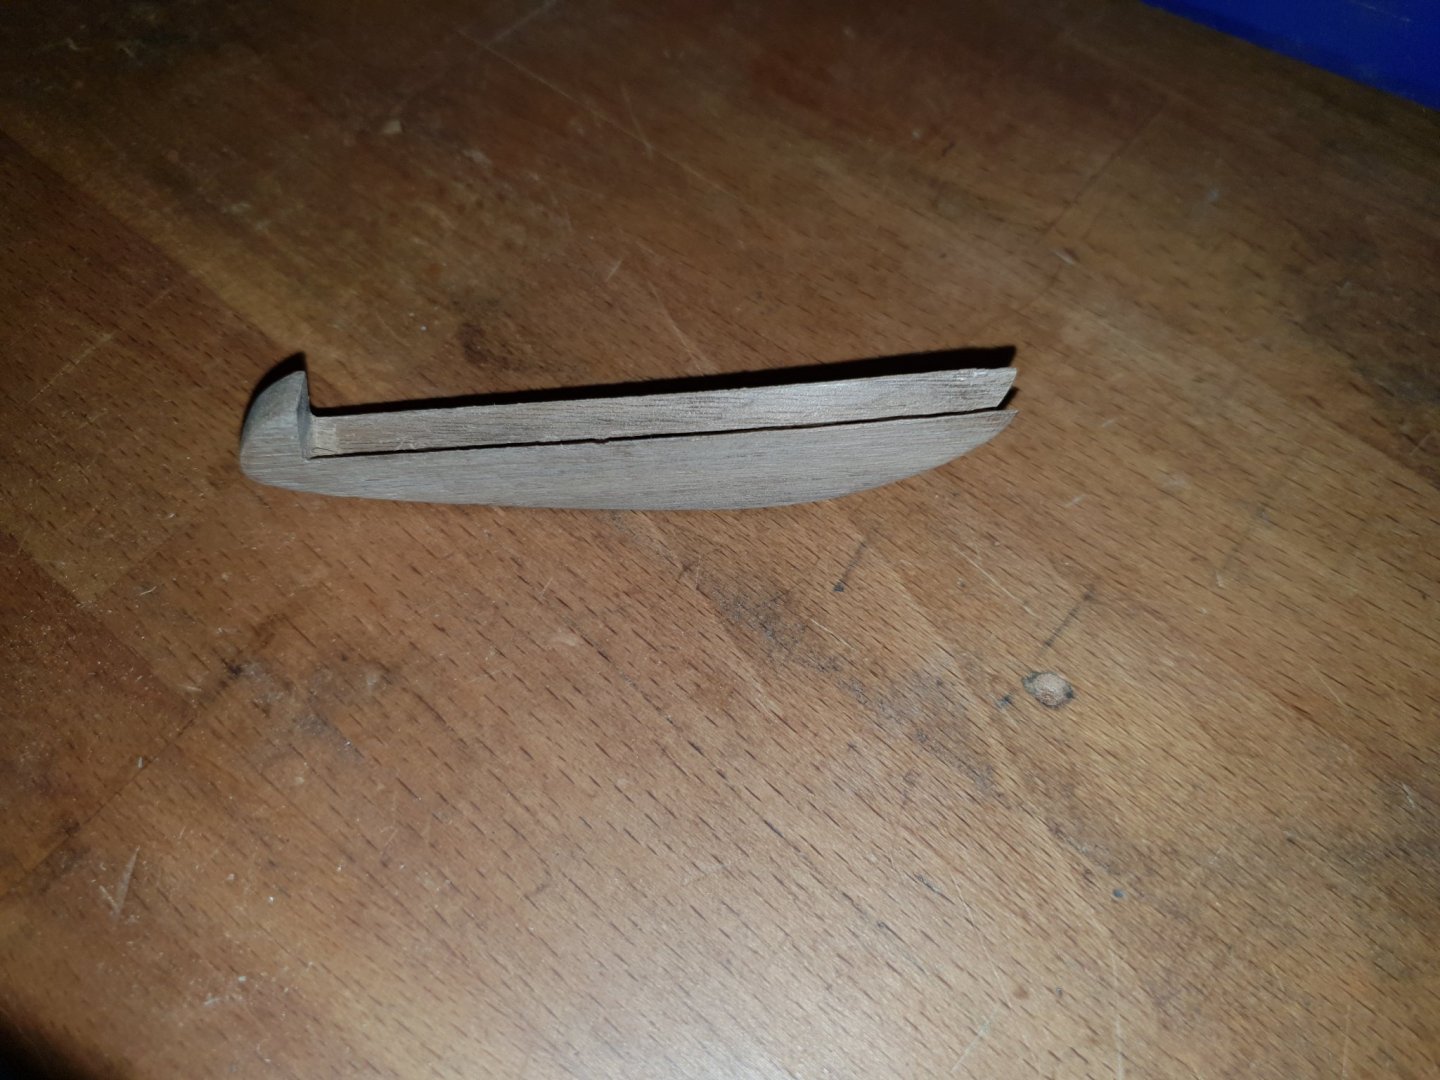
Both Brandos now have Wales, Toe Rails and Rub Rails fitted. If you are from UK you may appreciate my following silly humour..... If this were to be made by Jonafan Woss...it might weed...... Boaf Bwandos now have Wales, Toe Wails and Wub Wails fitted. All the Werrs and wubble yous all muxed up. Sorry!!!! Wales are from western red cedar toe rails from walnut and the rub rails from planed down and shaped birch which bends without heat needed. I show the little tool I made from a scraper steel to form the rub tail. The cabins now have a port and a starboard hole each!! I made patterns for everything on this model. Here you see the patterns from styrene sheet for the small detail like the tiller arms and mast and gaff claws adjacent to the actual ones from 1.5mm birch ply. Okay I know it is essentially a sailing toy but I have tried to make it pretty and in keeping with model ship building...that is....utilising nice and complimentary woods to make it look like a Victorian built toy. I will soon be mounting the Radio gear in it. You can see by the bottom image that I have not got things quite right. It does annoy me a bit but I am happy enough with the knowledge that I am totally imperfect as perfection must always be to strive for otherwise there is no point in it. Pete


-
I think I have got it Nils. So what I see when I look at picture is a completely glued up plug. That is to say the bulkheads / forms , are glued to the base board?. Thanks. Really sorry to be so stupid. Pete.
-
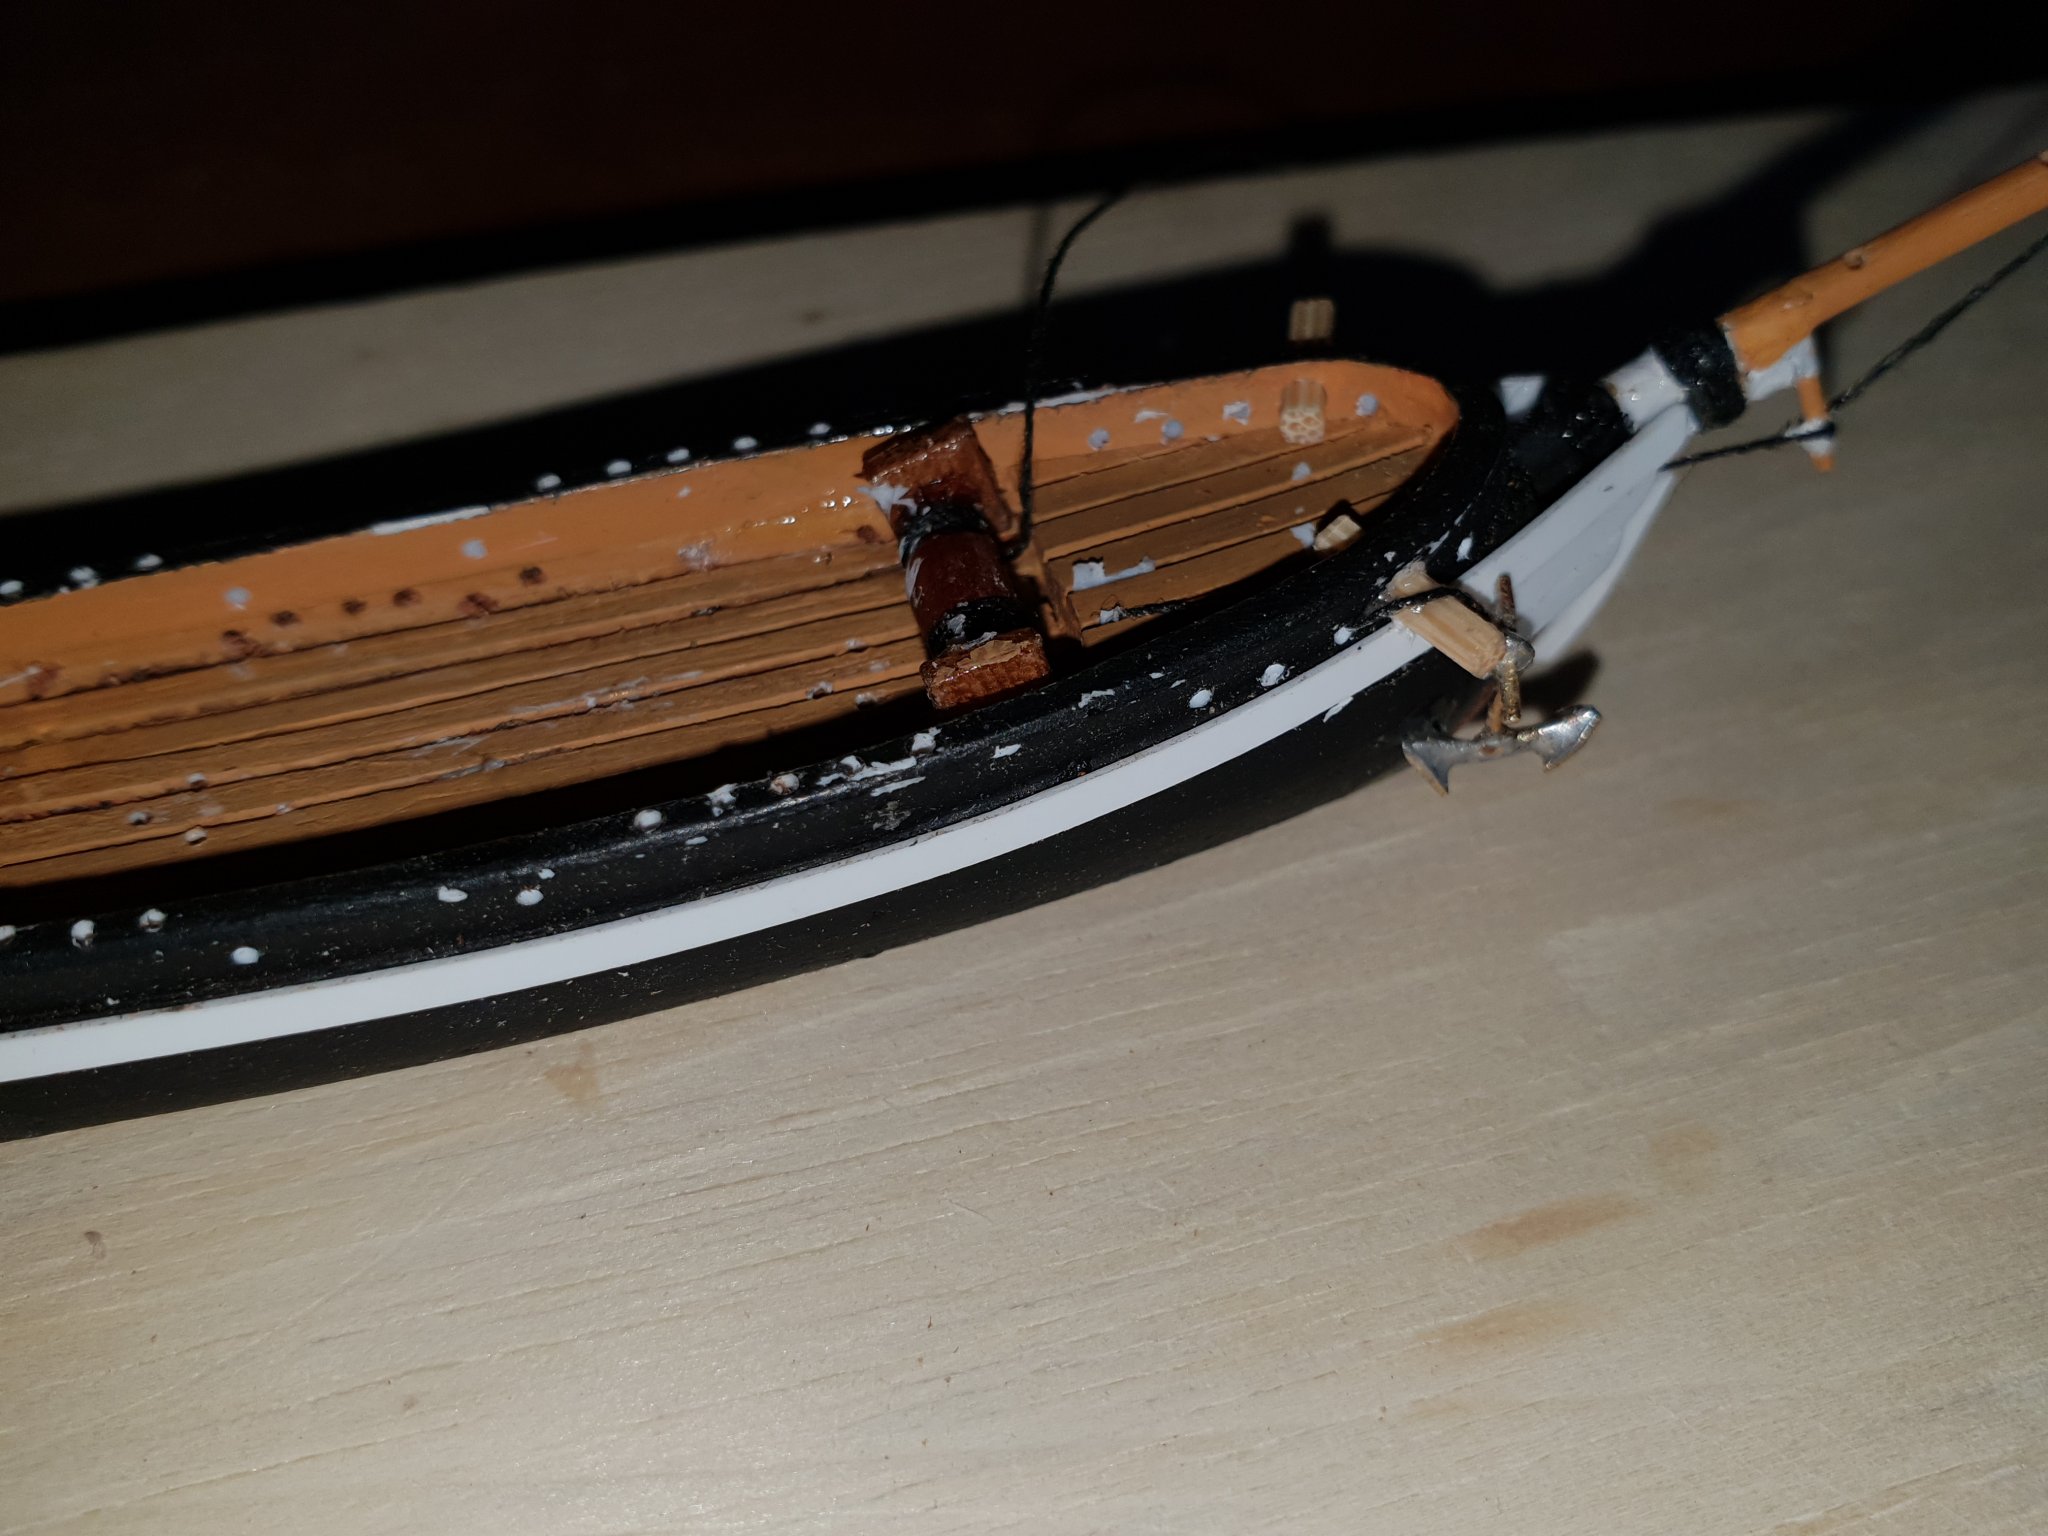
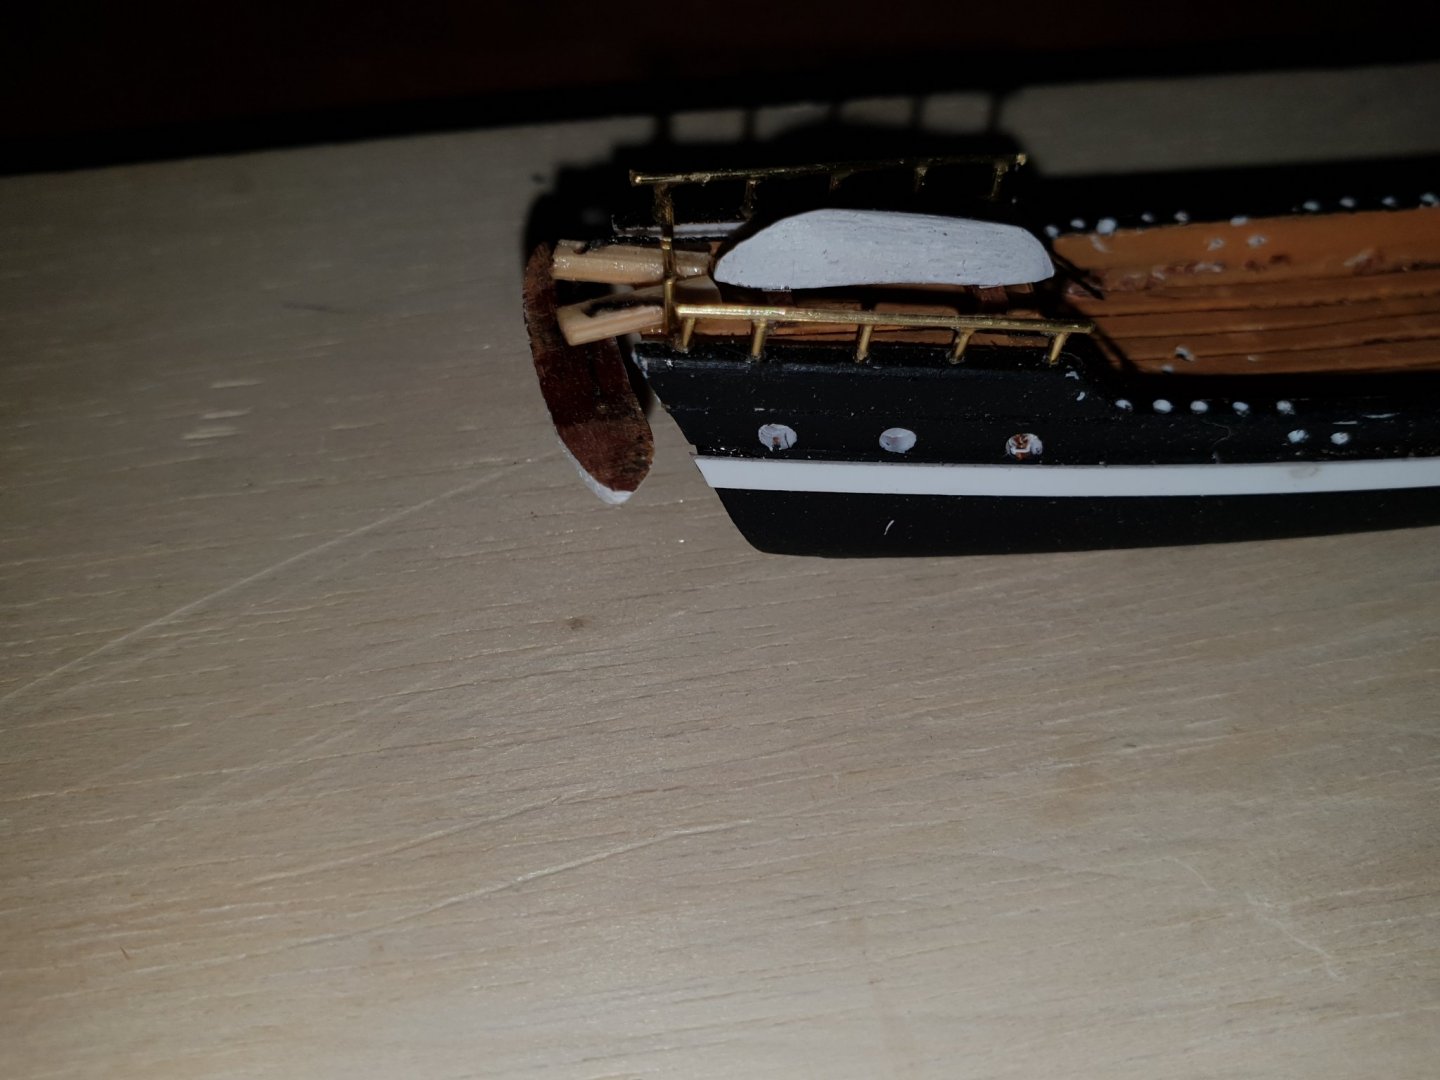
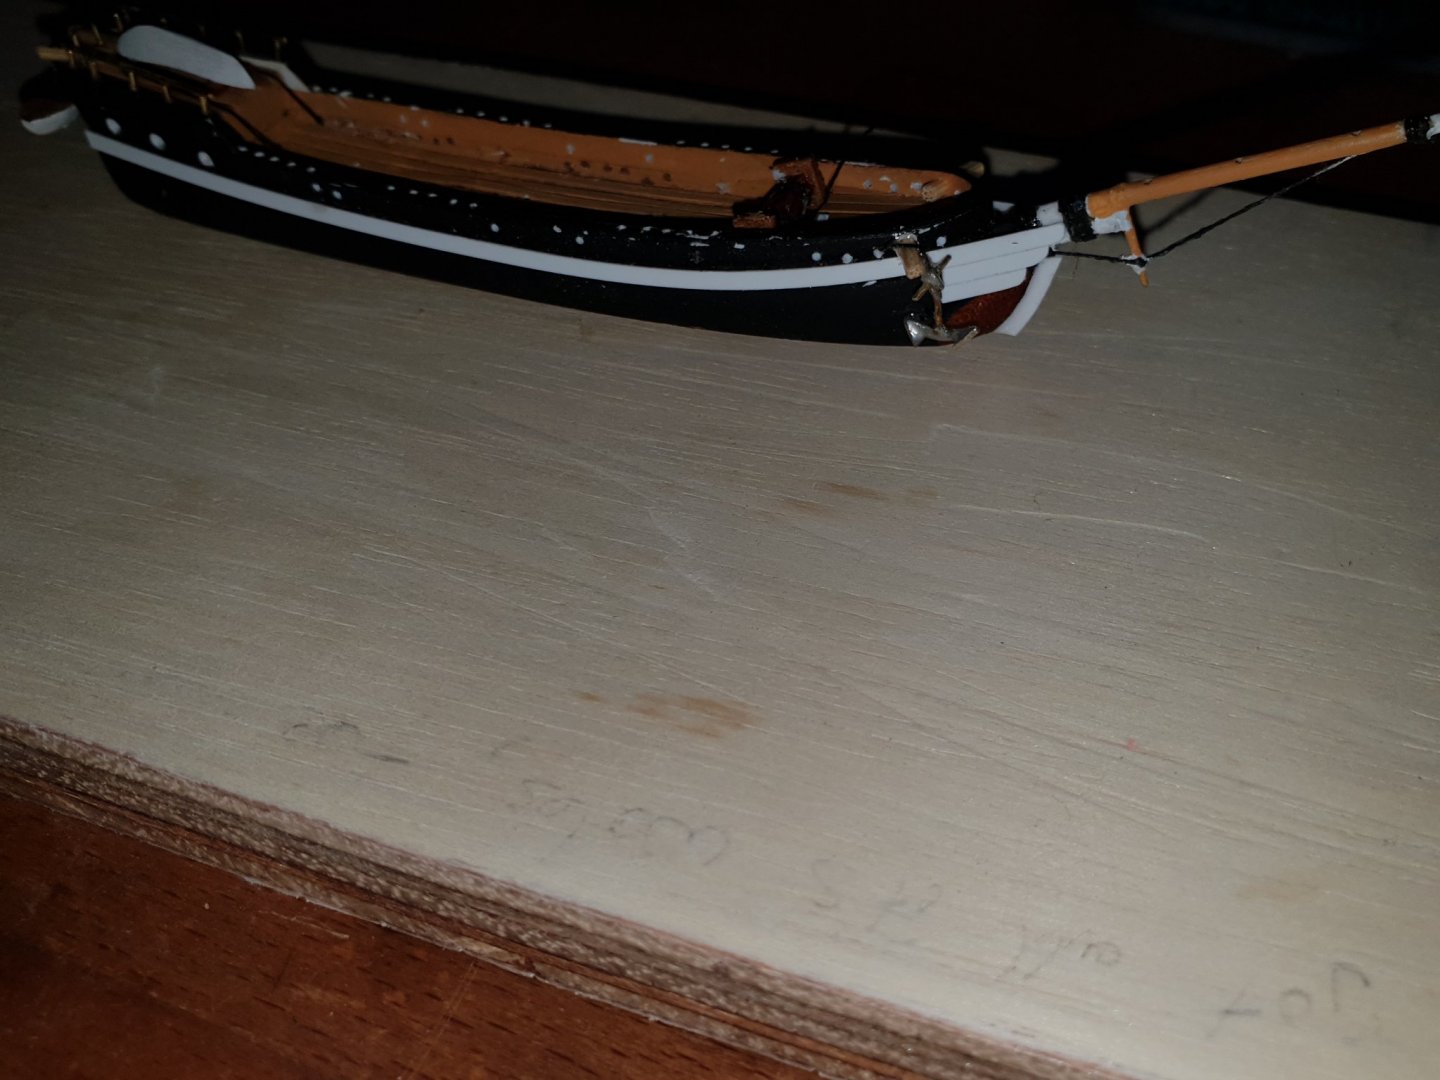
I decided that it was not looking Beaglish enough so I have added some pieces under the bow from styrene sheet which will be painted black, a capstan, cat heads and a tiny anchor made from brass. For me????... that is about as small as I can model. I also did not like the two pieces of bent brass wire forming Davits for the stern mounted longboat. So I replaced them for wooden planks and dangled the boat on ropes as in the real thing. The planks are a bit huge but they have got to be a certain size in order to drill the .5mm hole through. Pete.

-
Hey Richard. Great!! But Piracy is okay. Dont forget we make model ships!!!!!! Pete
-
Nils. I am trying to work out what you have glued to what and how the whole is released? I ask as I would advocate using your same technique. It has clearly all worked so good enough for me! Pete
-
Richard!. Just a thought that may make your scaling calculator even more useful. A facility to choose which scale we want and then a print off of that scale in ruler form. Stick said ruler on a piece of card with Prit Stick and presto....we have a scale rule!!! Pete
-
It's a very useful tool Richard and will be well used by myself. As you do software, here is one across your bows. When we photo copy plans and enlarge them to say three or four times their size then of course we are also enlarging the thin line it is drawn with as well so accuracy is difficult in this instance. What it needs is this..... Somebody to design software that can enlarge the plan x amount but at the same time reduce the drawing lines to minimum for accuracy. Hard call at the moment but someone will do it eventually. Dont lose sleep of it though Richard. Pete
-
This is just brilliant. I am a bit dumb when it comes to figures. This scaling calculator does everything I need at a touch of a few buttons. Thank you so much for this . You are a clever clogs!!!. Easy maths!!! My dream come true. I always knew maths was a waste of time at school. All you need is a mobile phone these days. Thanks. Pete
-
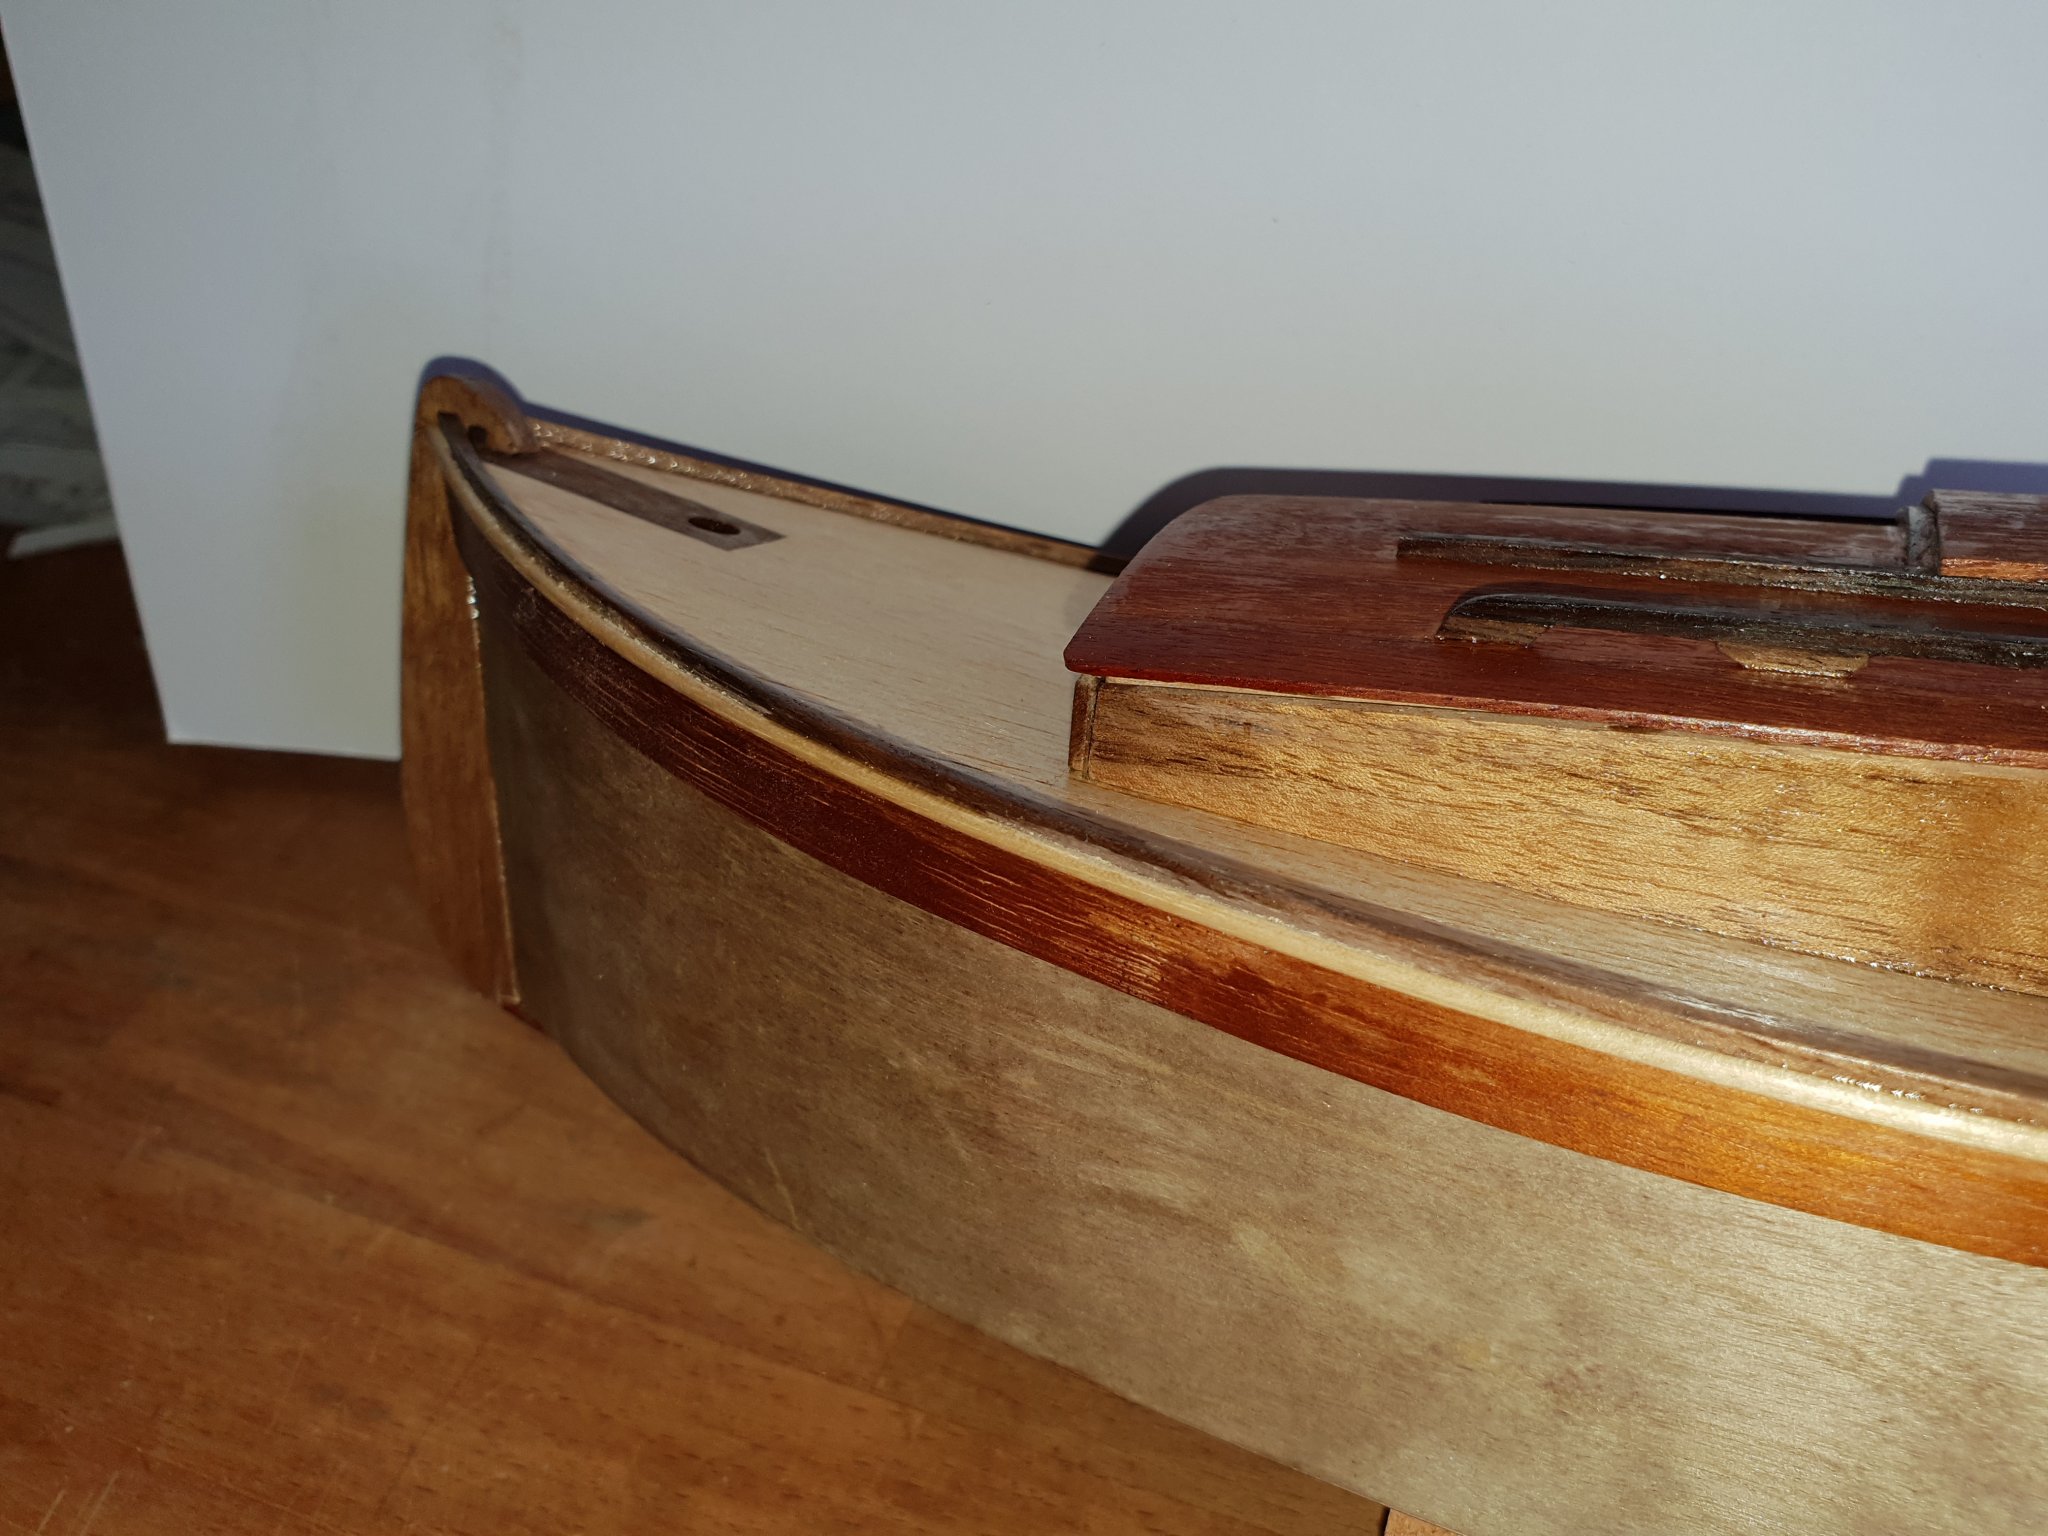
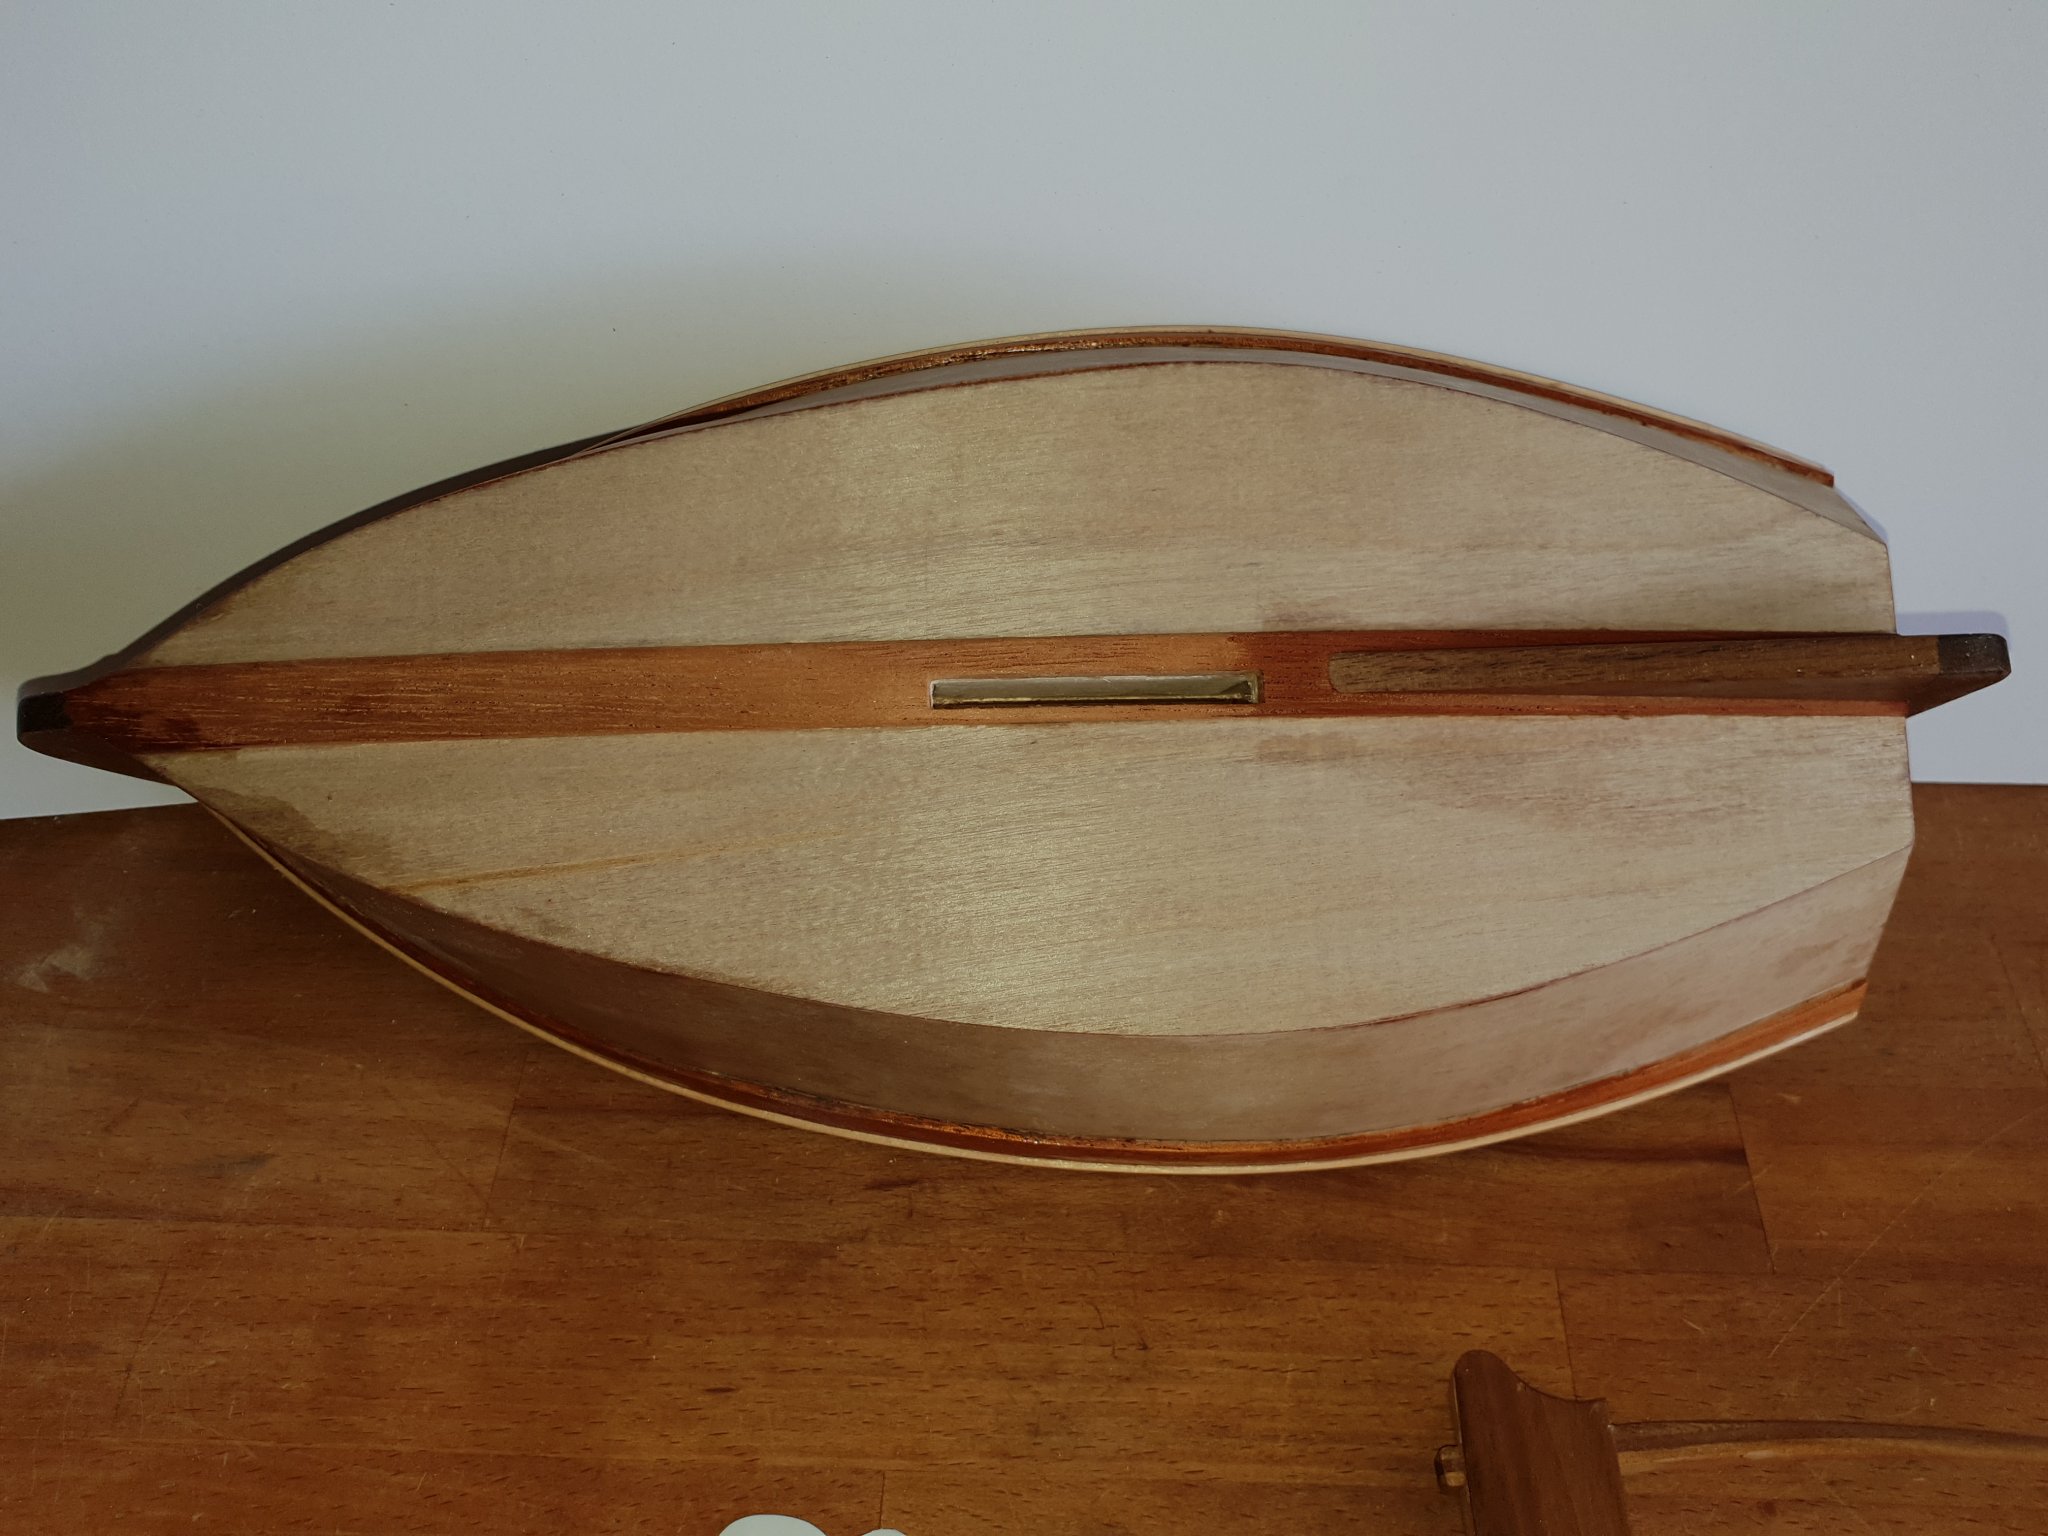
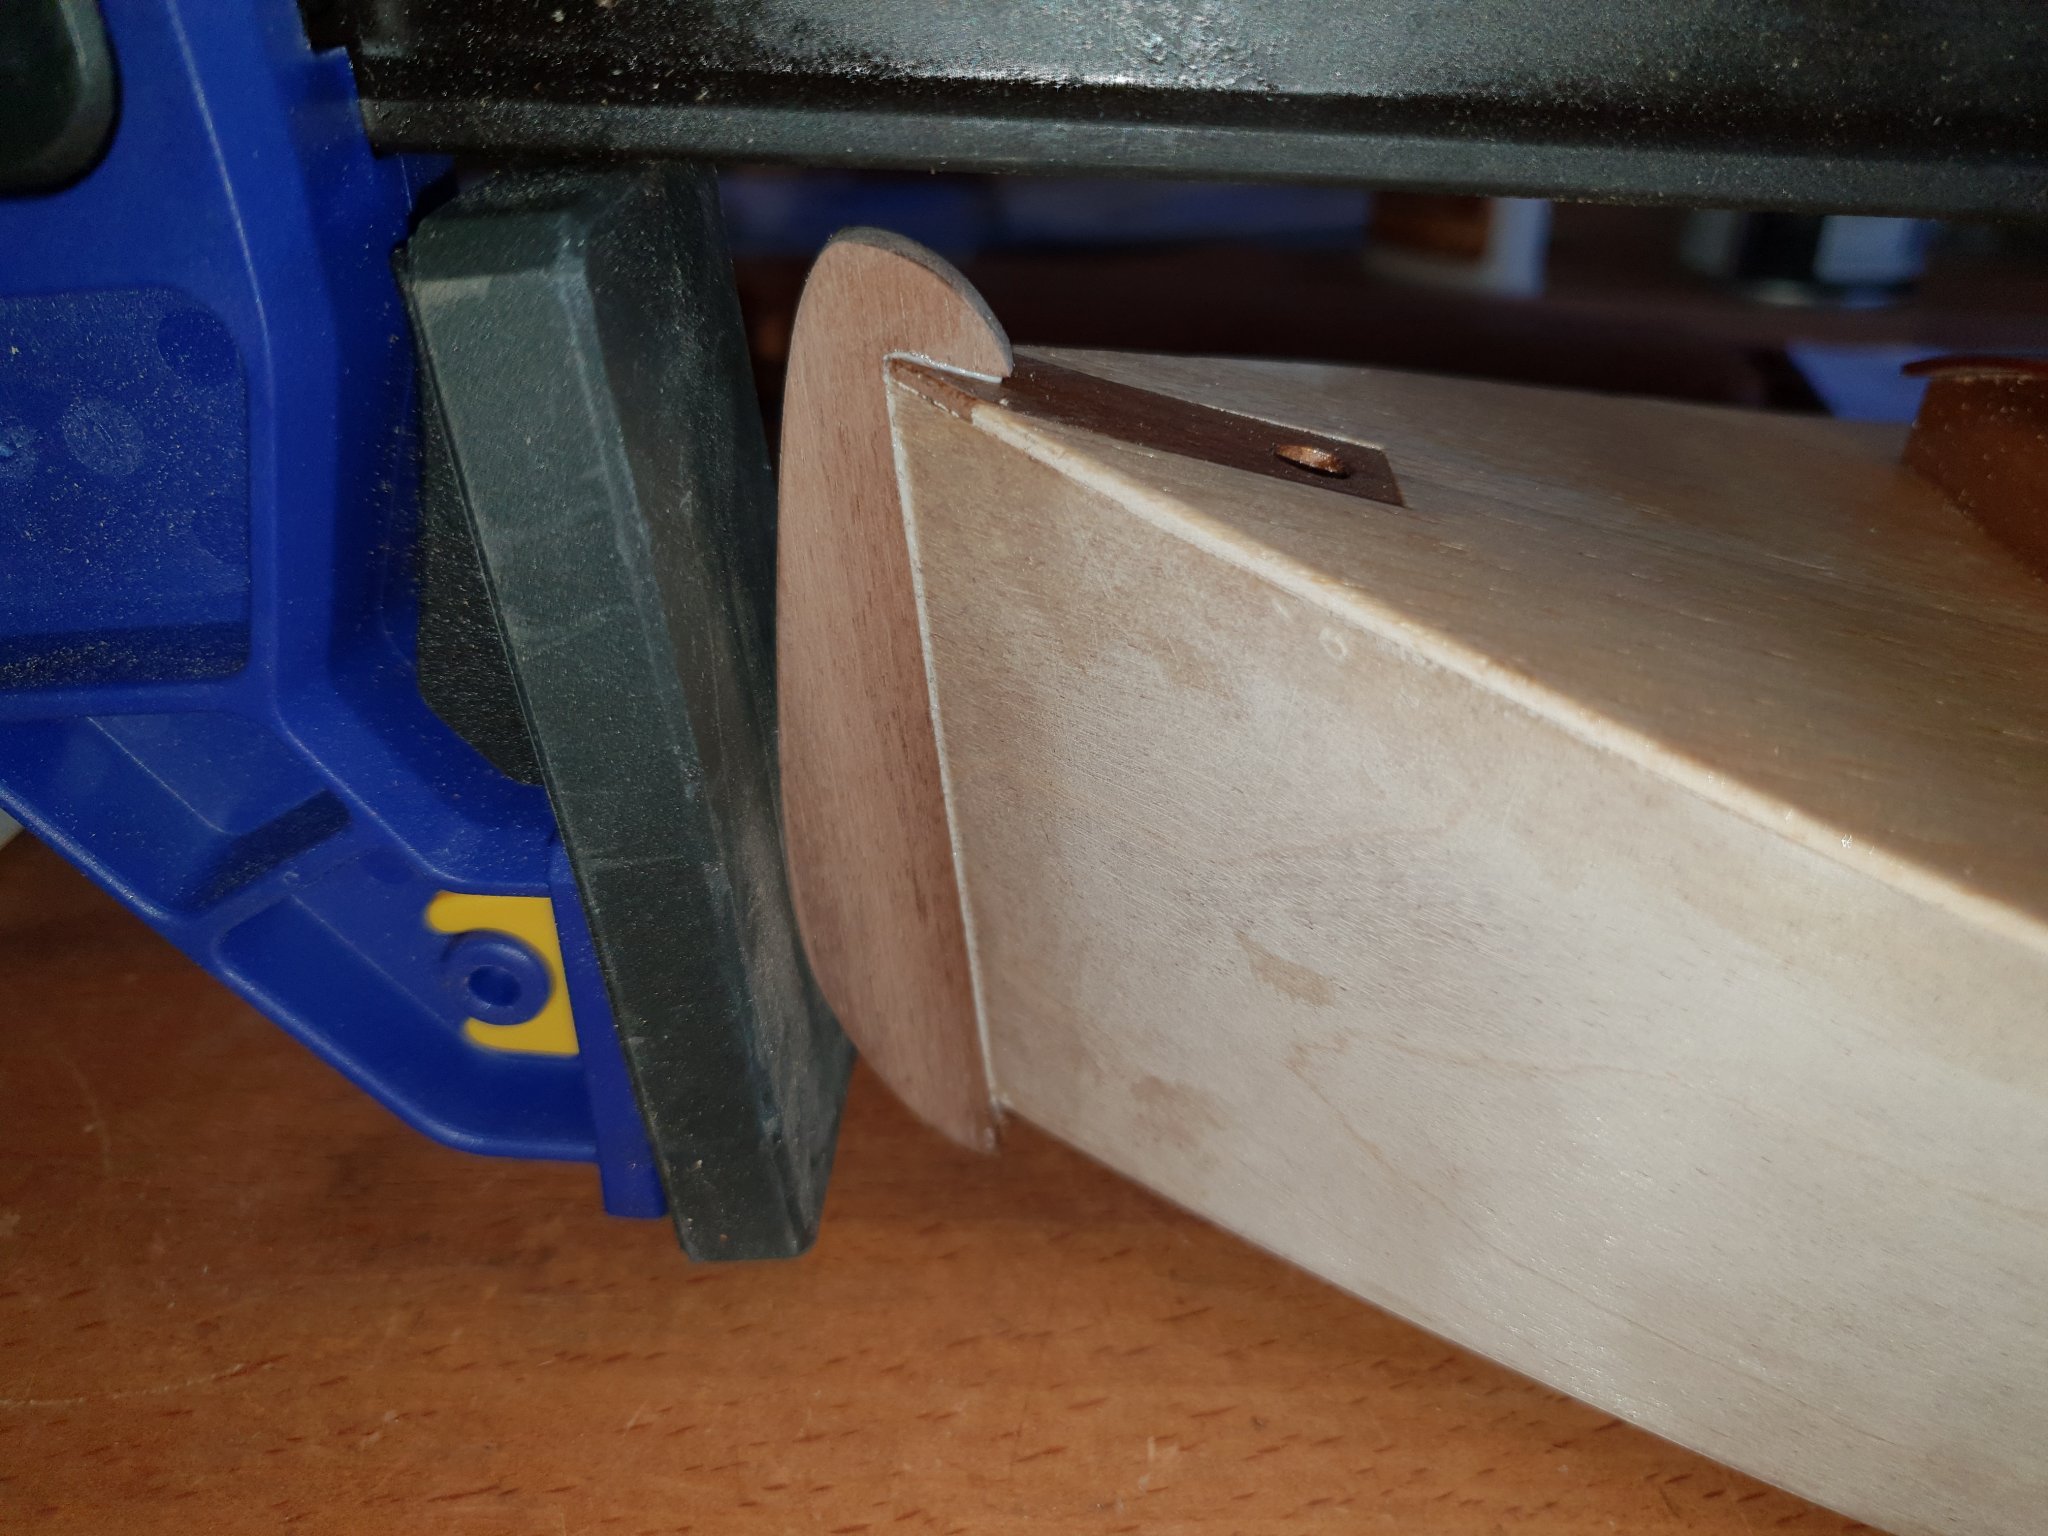
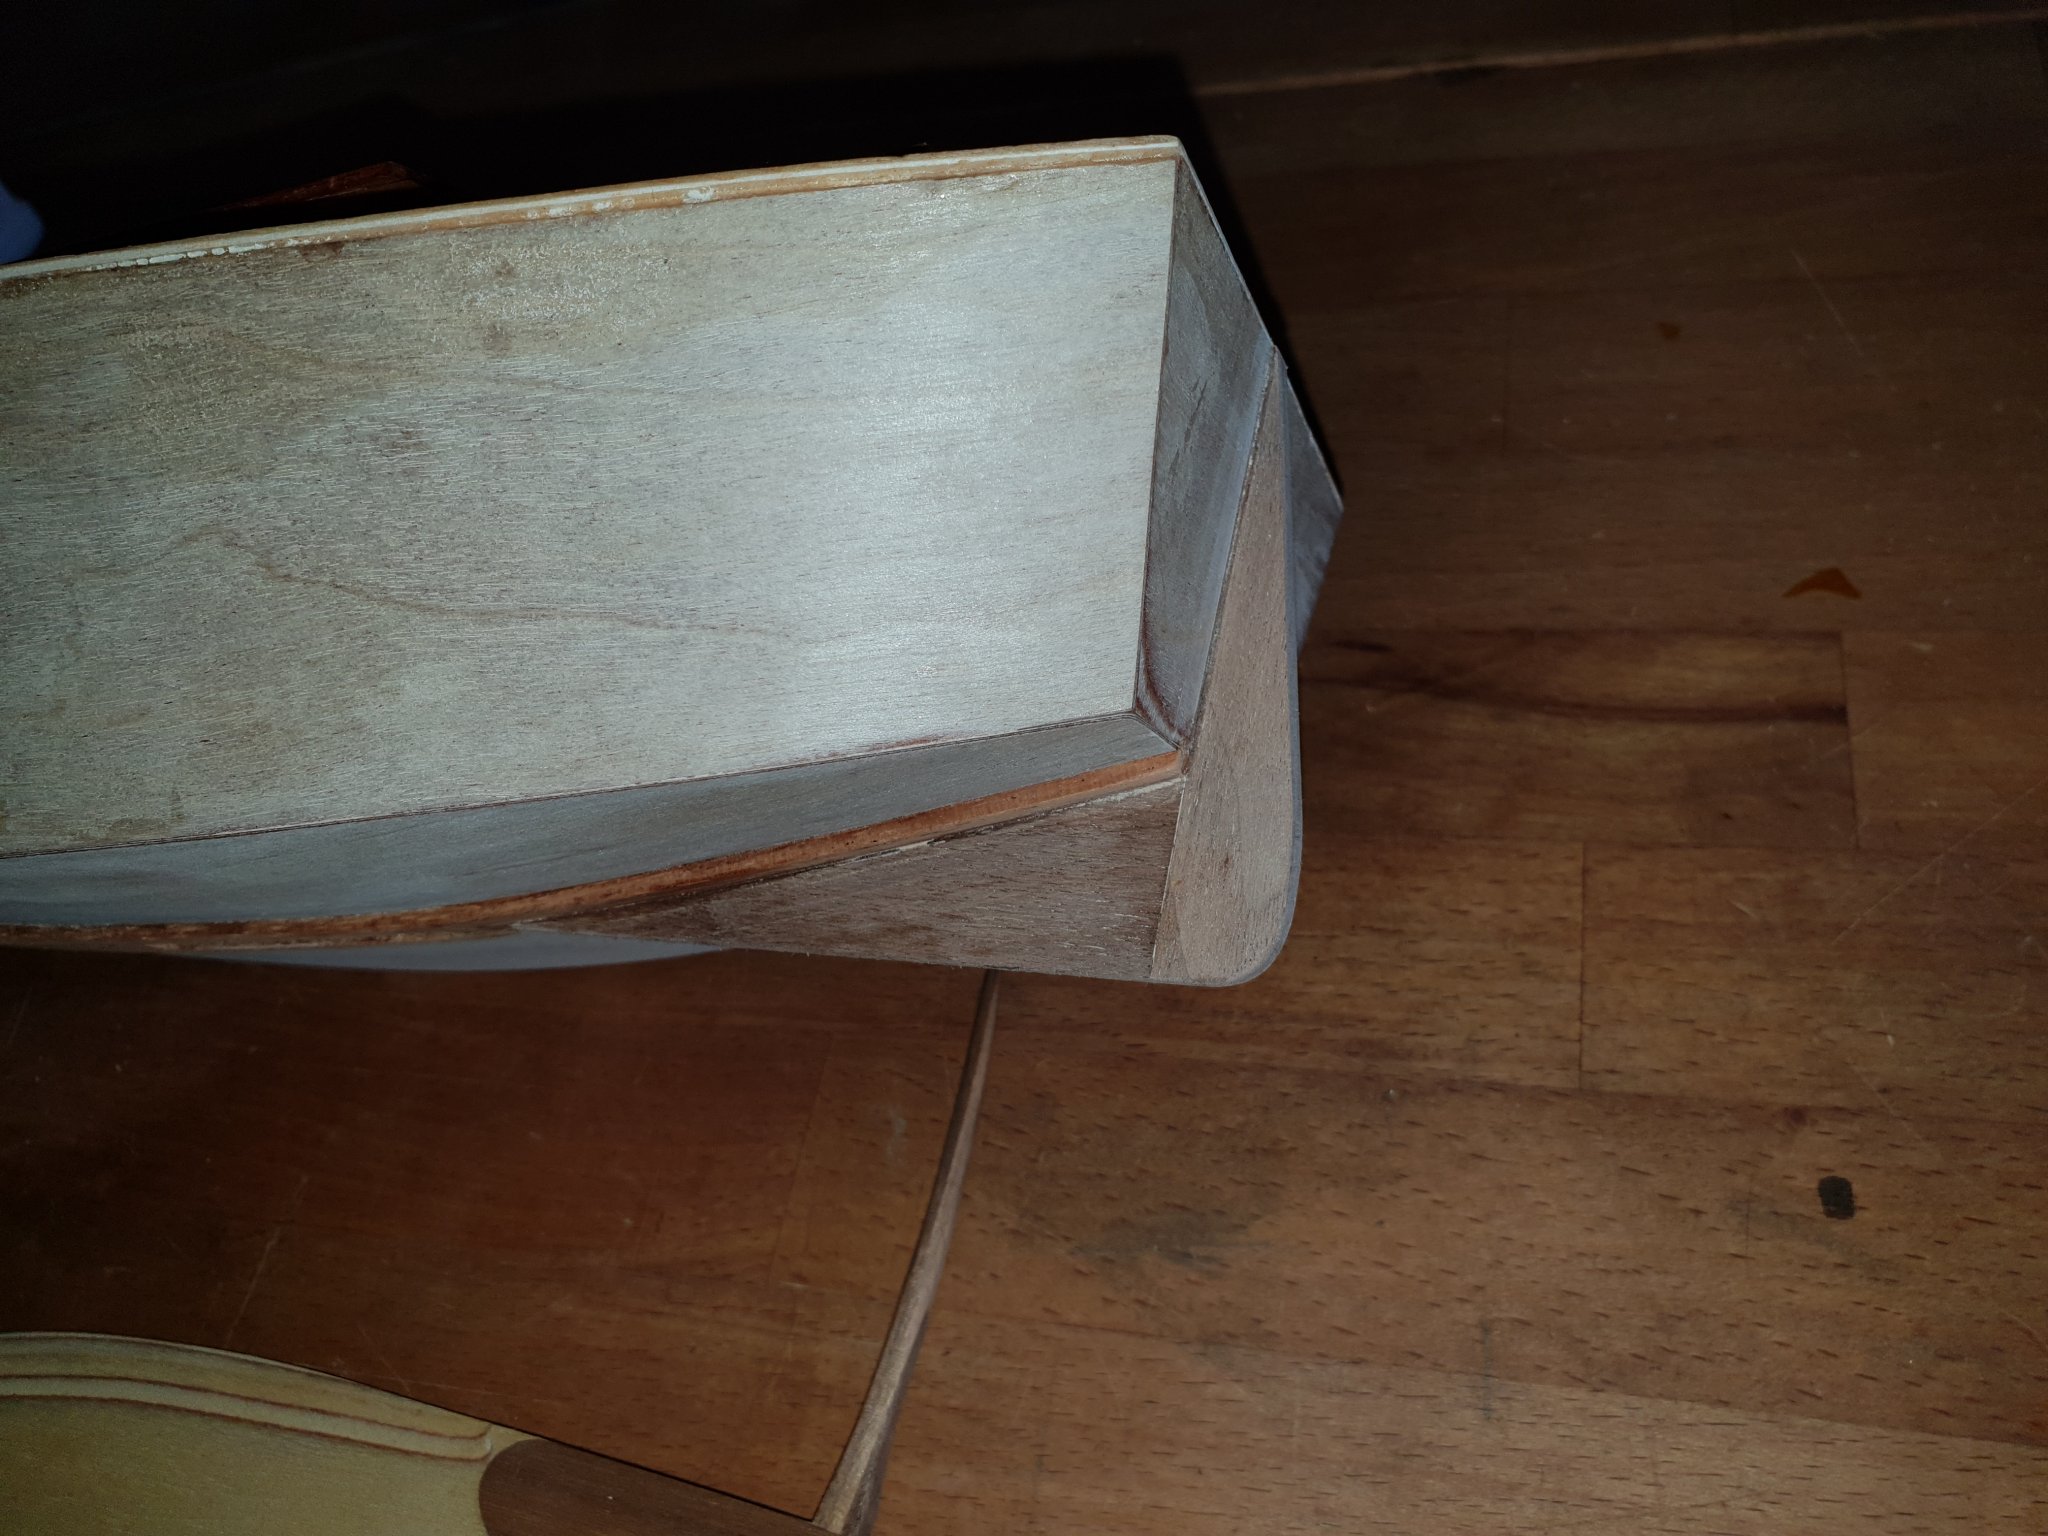
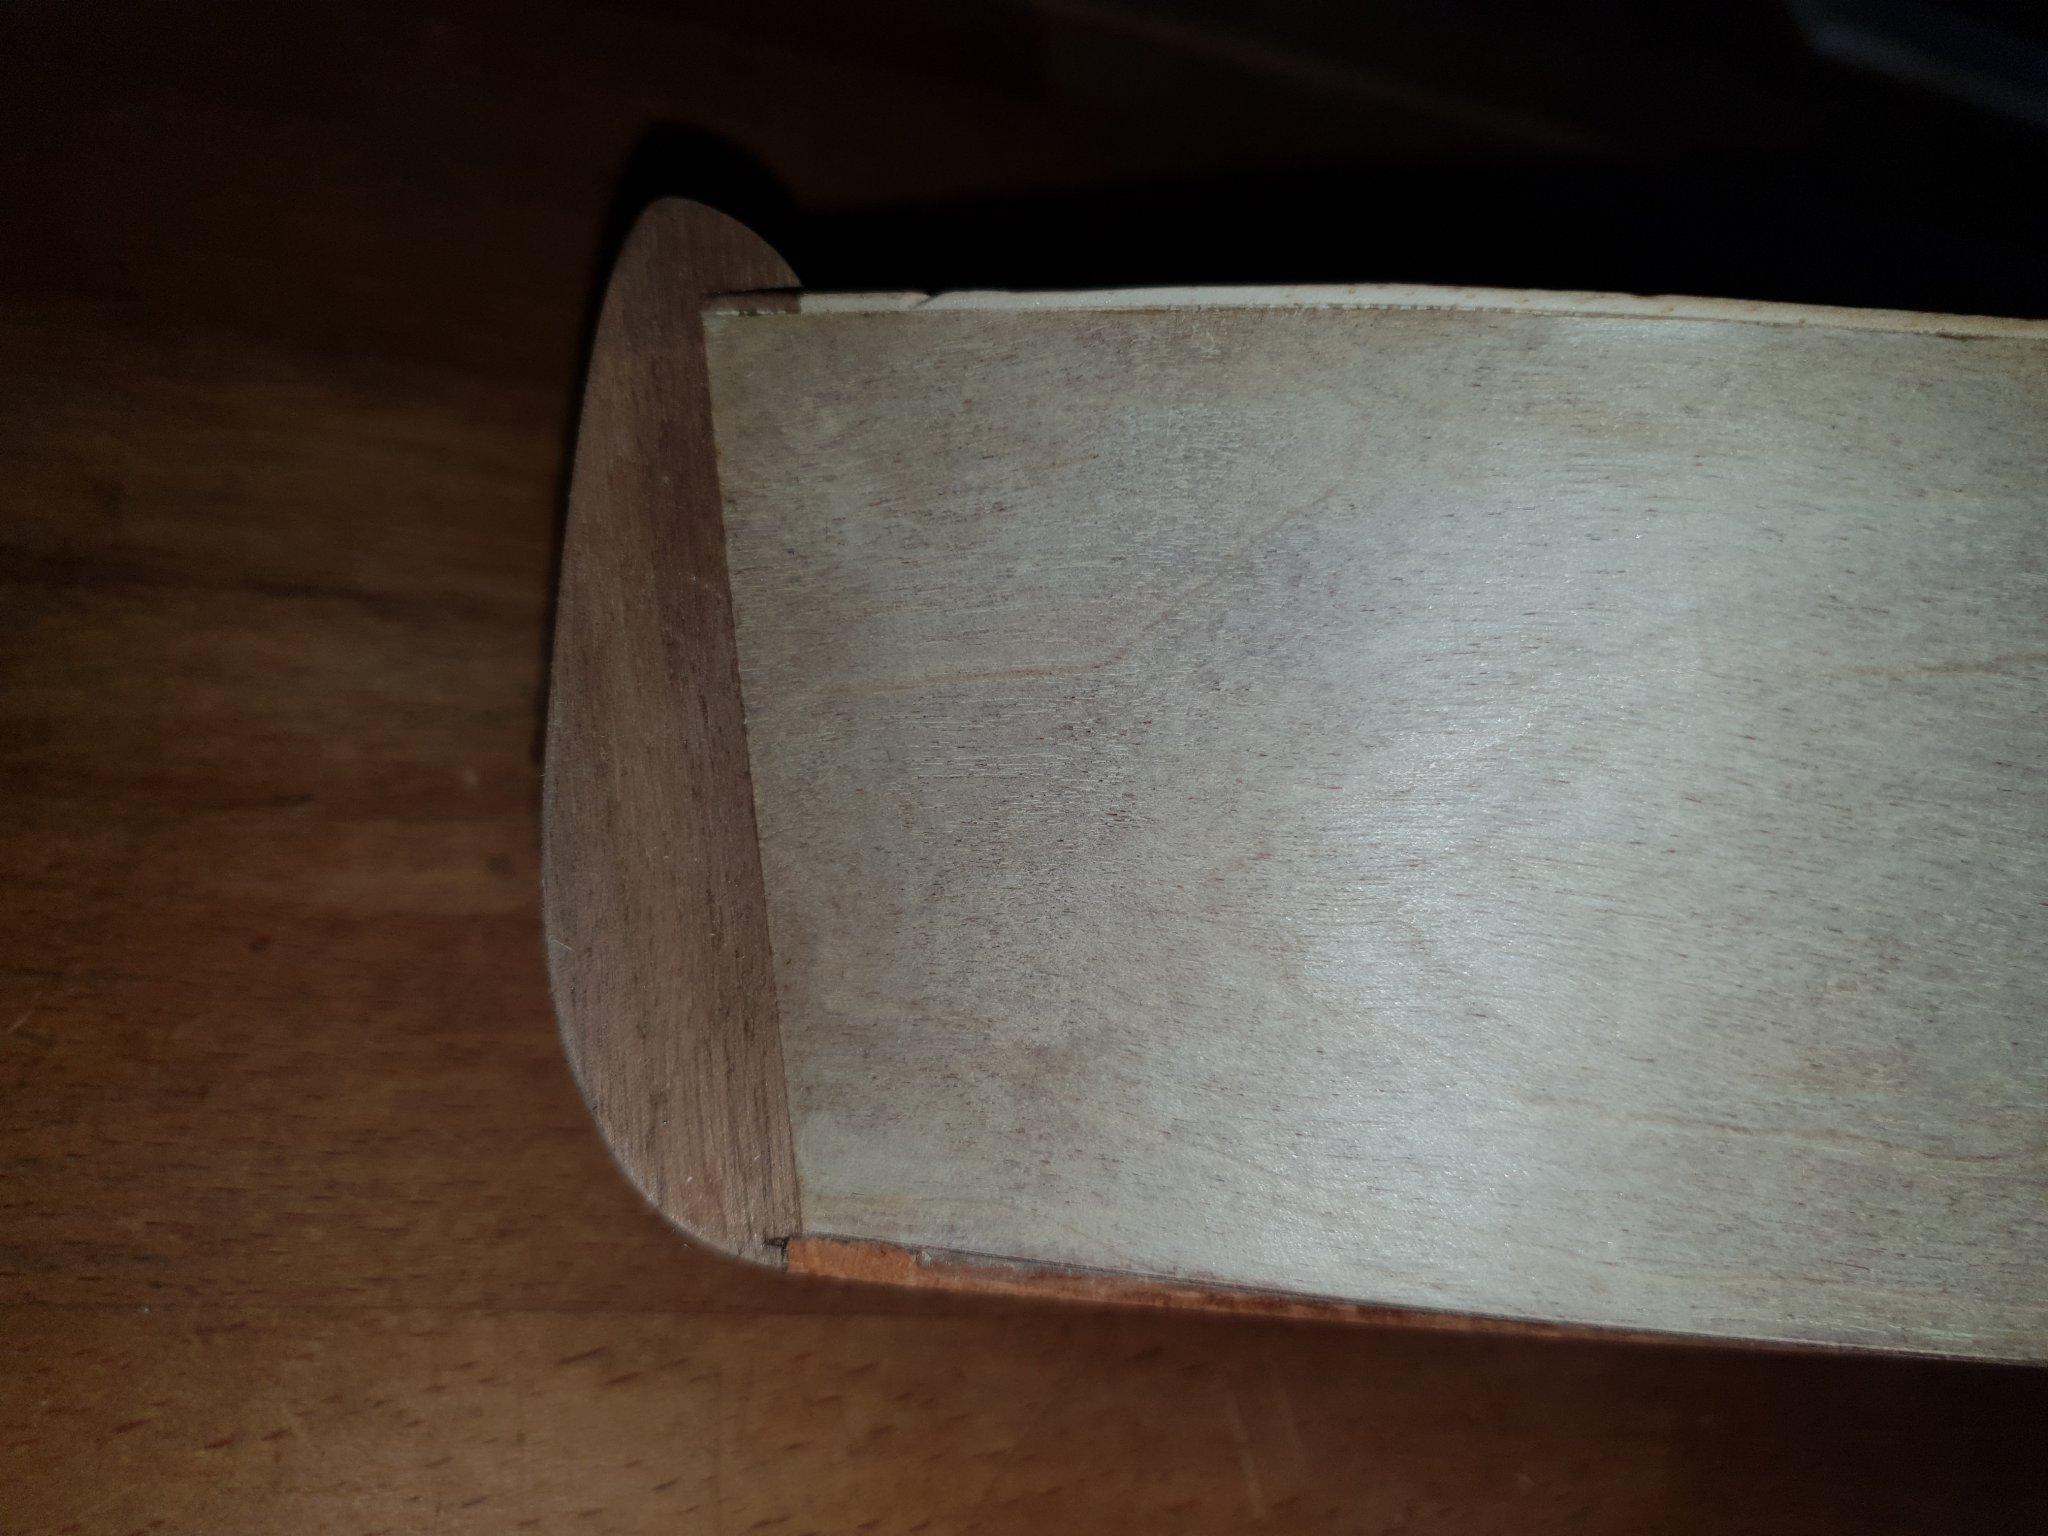
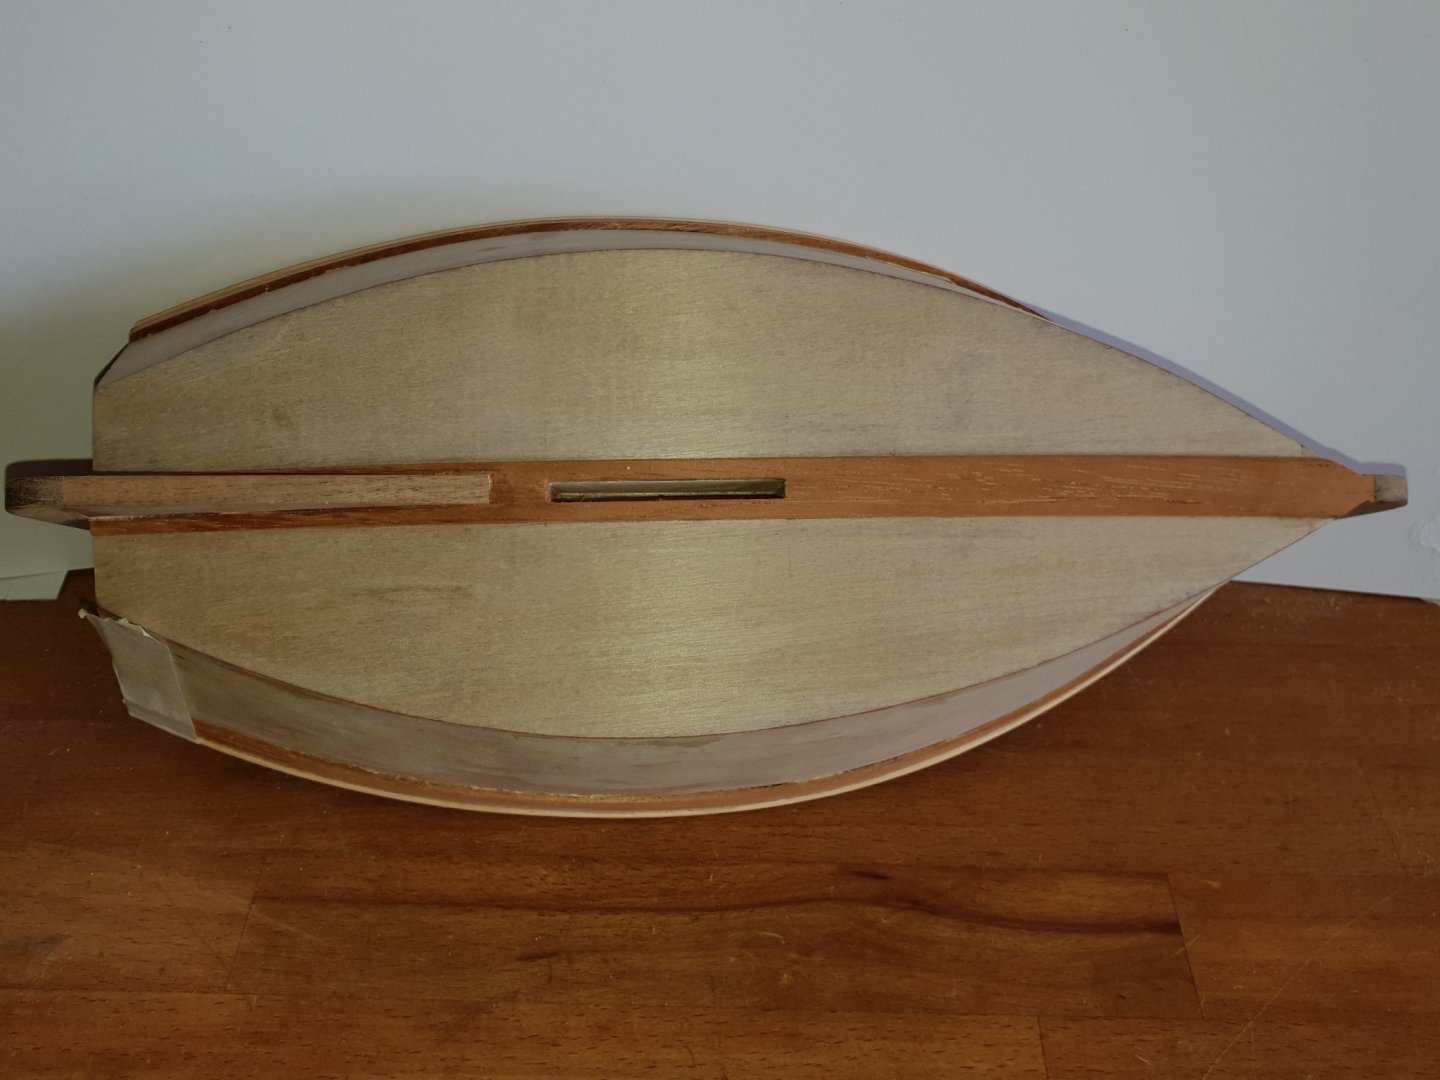
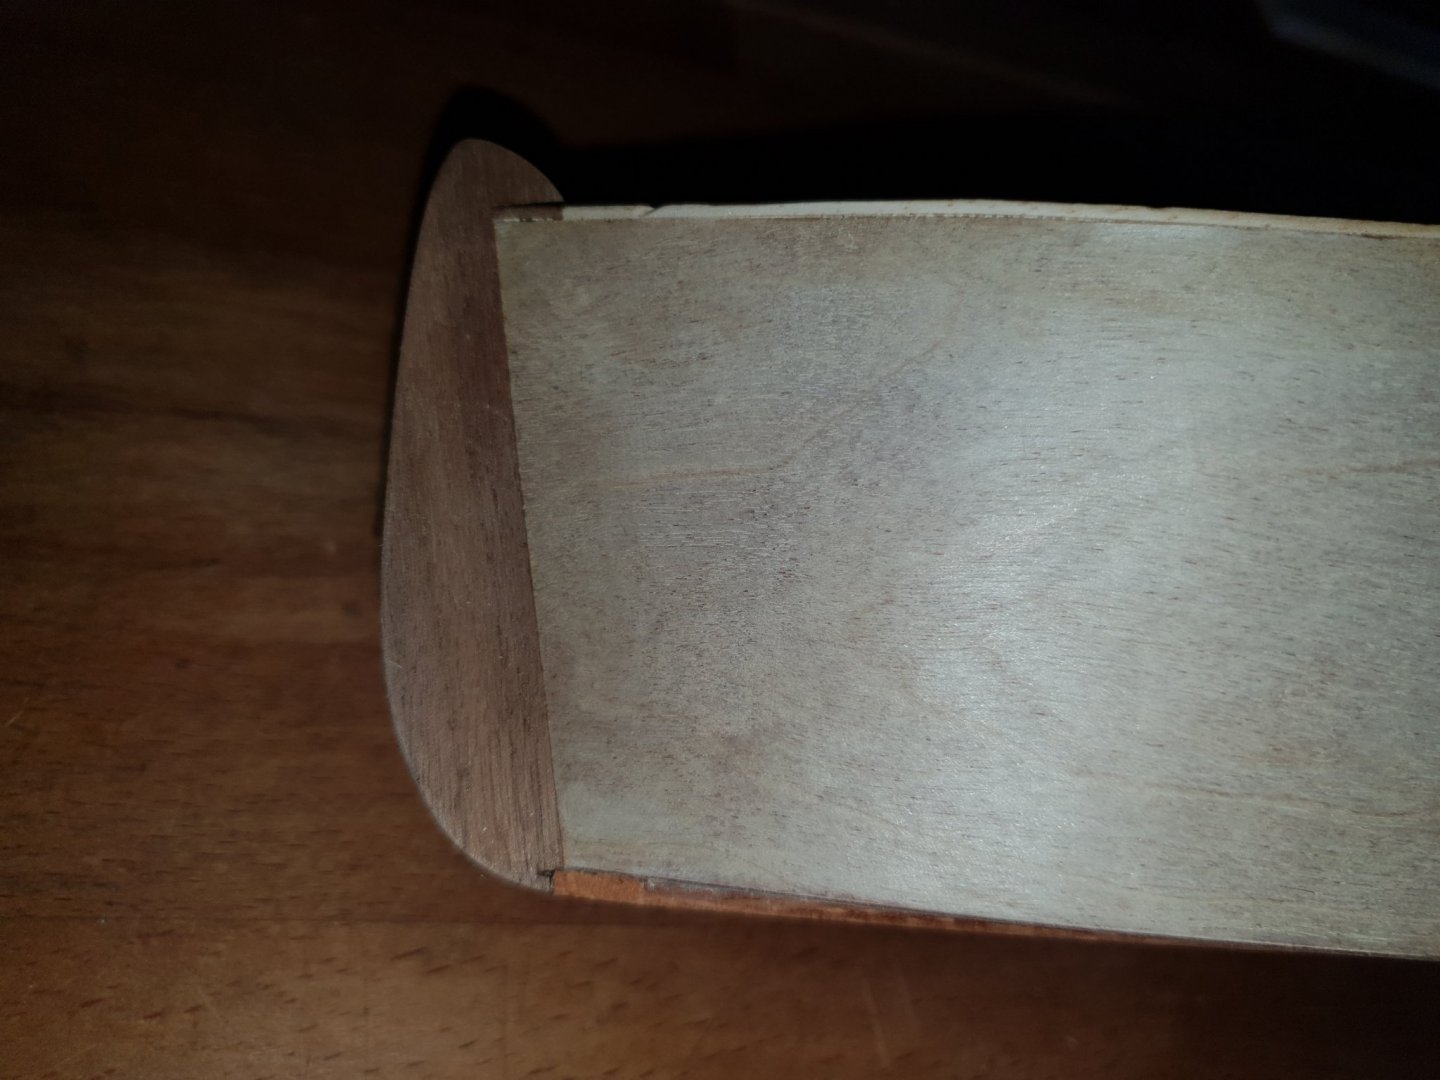
Thank you for the nice comment and all the likes. There were two pictures I forgot to post that of the bow stem being glued on with a massive Irwin clamp and the Vee having been carved out with a chisel. I found that quite challenging to get the vee the correct angle to make a nice fit. Although this boat looks simple I do not find it particularly a simple build but that may be because of my choice of woods instead of predominantly balsa wood. Ohh!! And that I am a mere amateur. Pete.

-
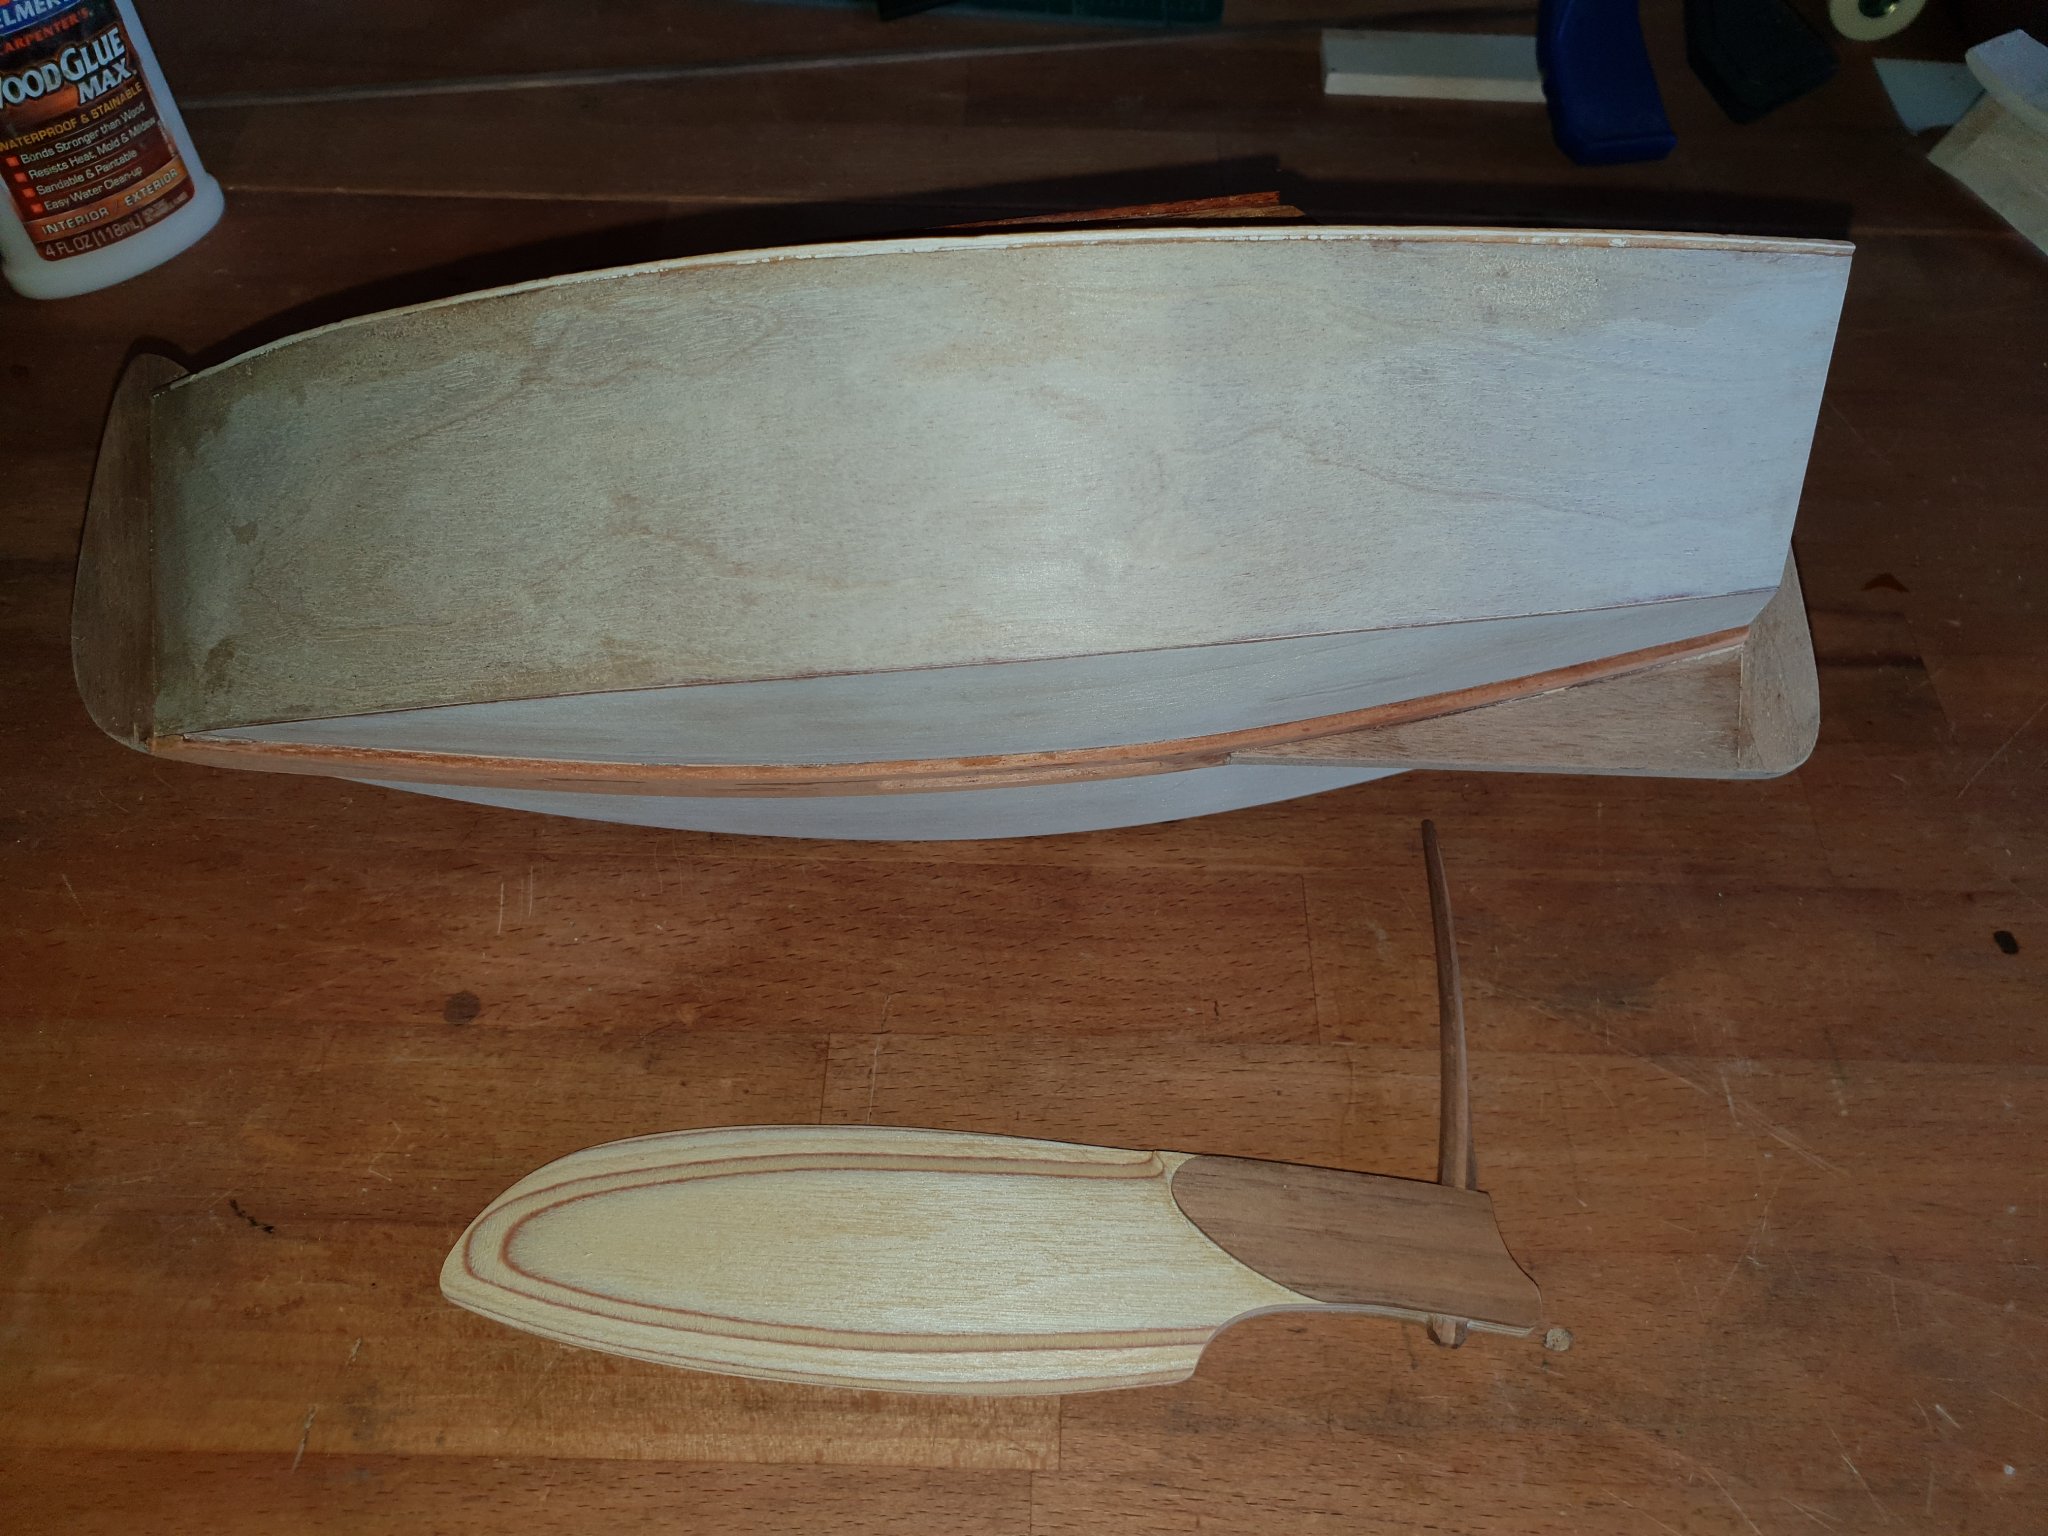
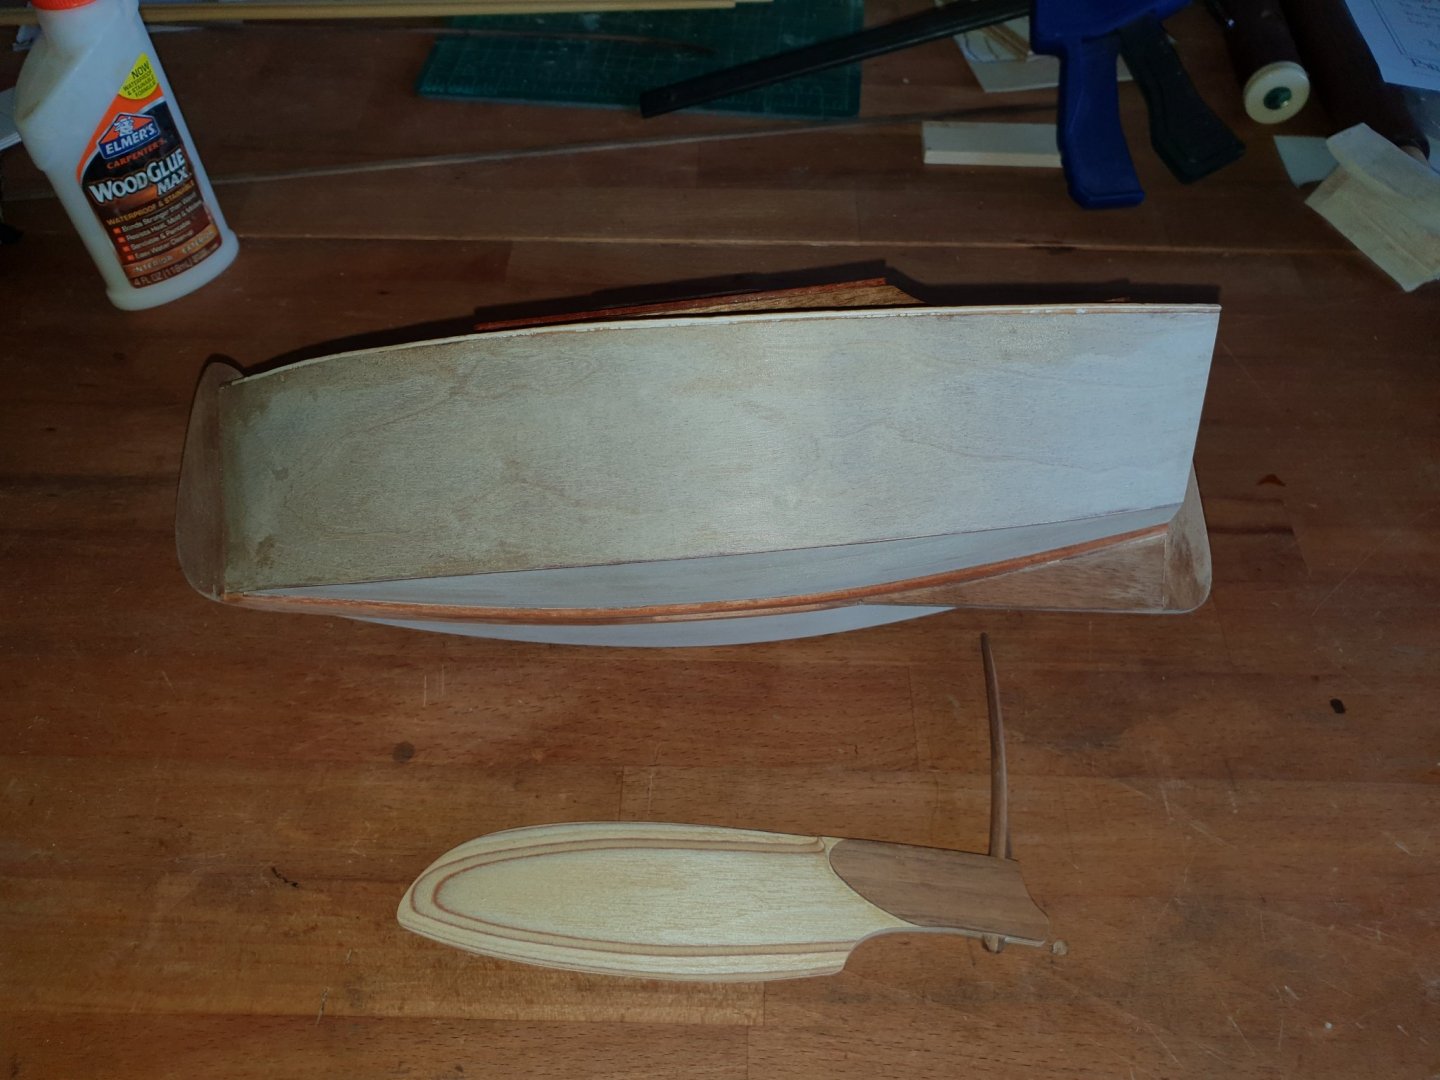
I have added the skegs, hull shoe and the front bumper bar!!!!....also made the rudder / tiller thingy. I have done the same for the other boat. Pete.


-
Nils I love your hand sketches. I could just imagine a complete book of hand sketches on how to build the Zeesboot. It would be a keepsake in itself. Just to let you know....finally after three weeks my Zeesbooten book arrived today with a huge dent and bend on one of the corners. Really annoying but I will not let it get me down. The book is wonderful. I was hoping the drawing would be larger but hey ho I can work around that. I dare not start straight away although tempted as I must finish the two Brandos first and then Bluenose. In between Bluenose though I may be tempted to plot out some bulkheads with my antique drawing instruments!!. Ha ha. Thanks again for the tip on which book to get. I really am a great lover of these little boats now. They have so much character and everything I could wish for from a static model. Pete
-
Nice work Doc. Attention to detail is precise. It will be superb when built. Will you perhaps put any lighting in it such as small LEDs hidden around giving off a shimmer here and there? Will look superb in the dark. Only an idea but I may have offended already. Sorry! Pete
-
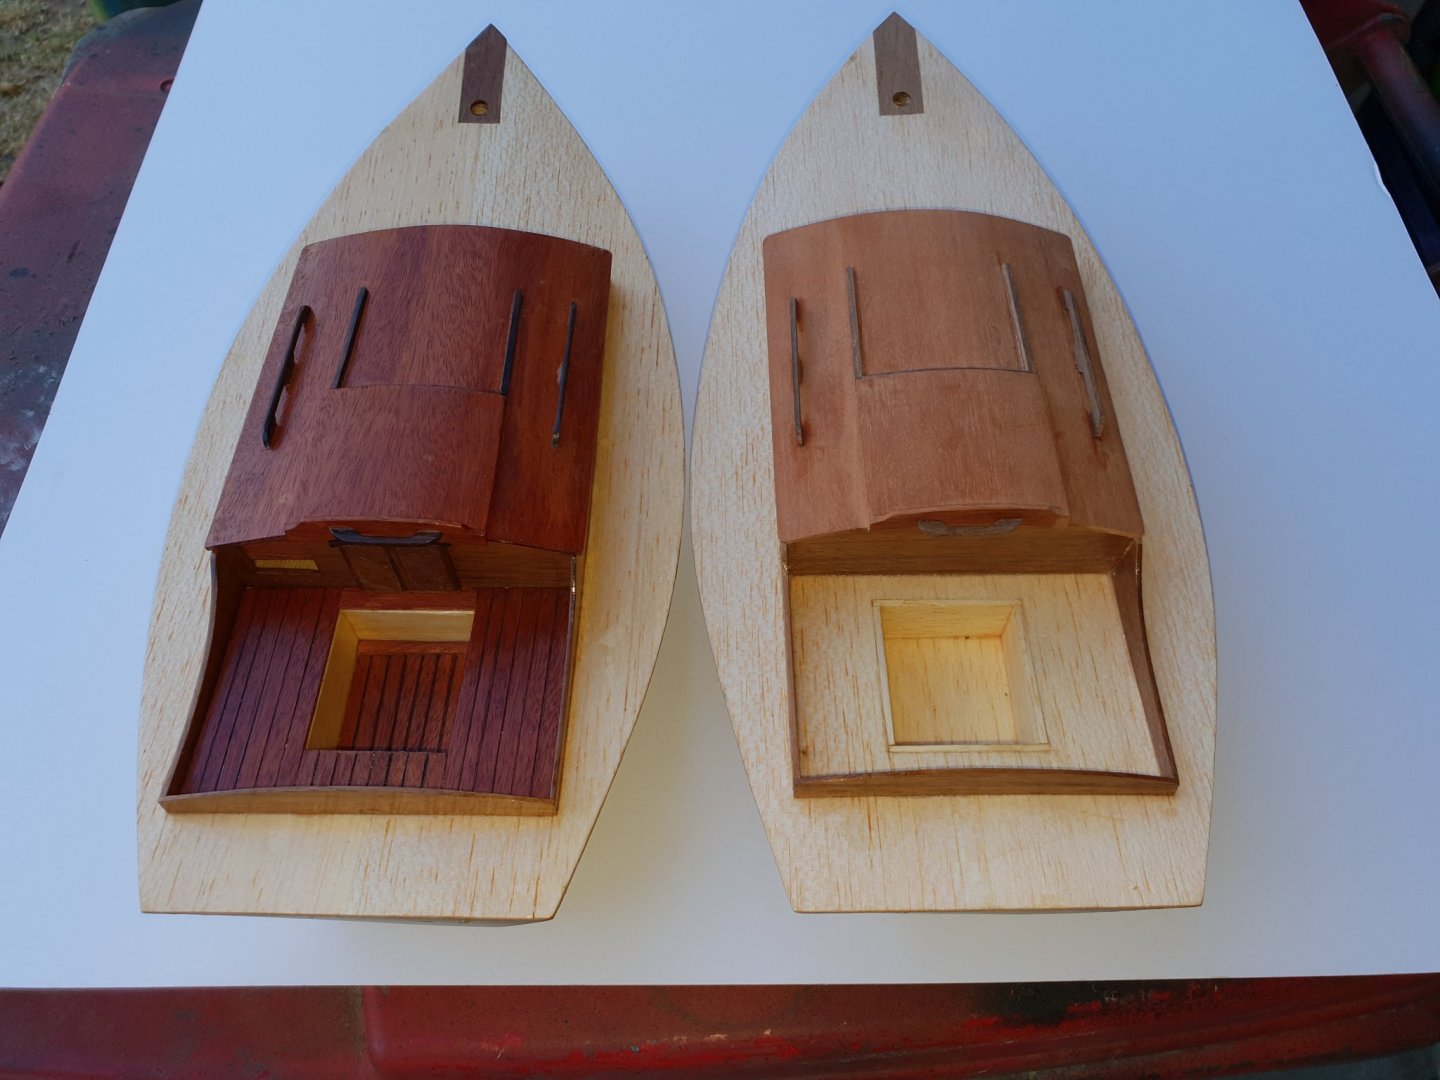
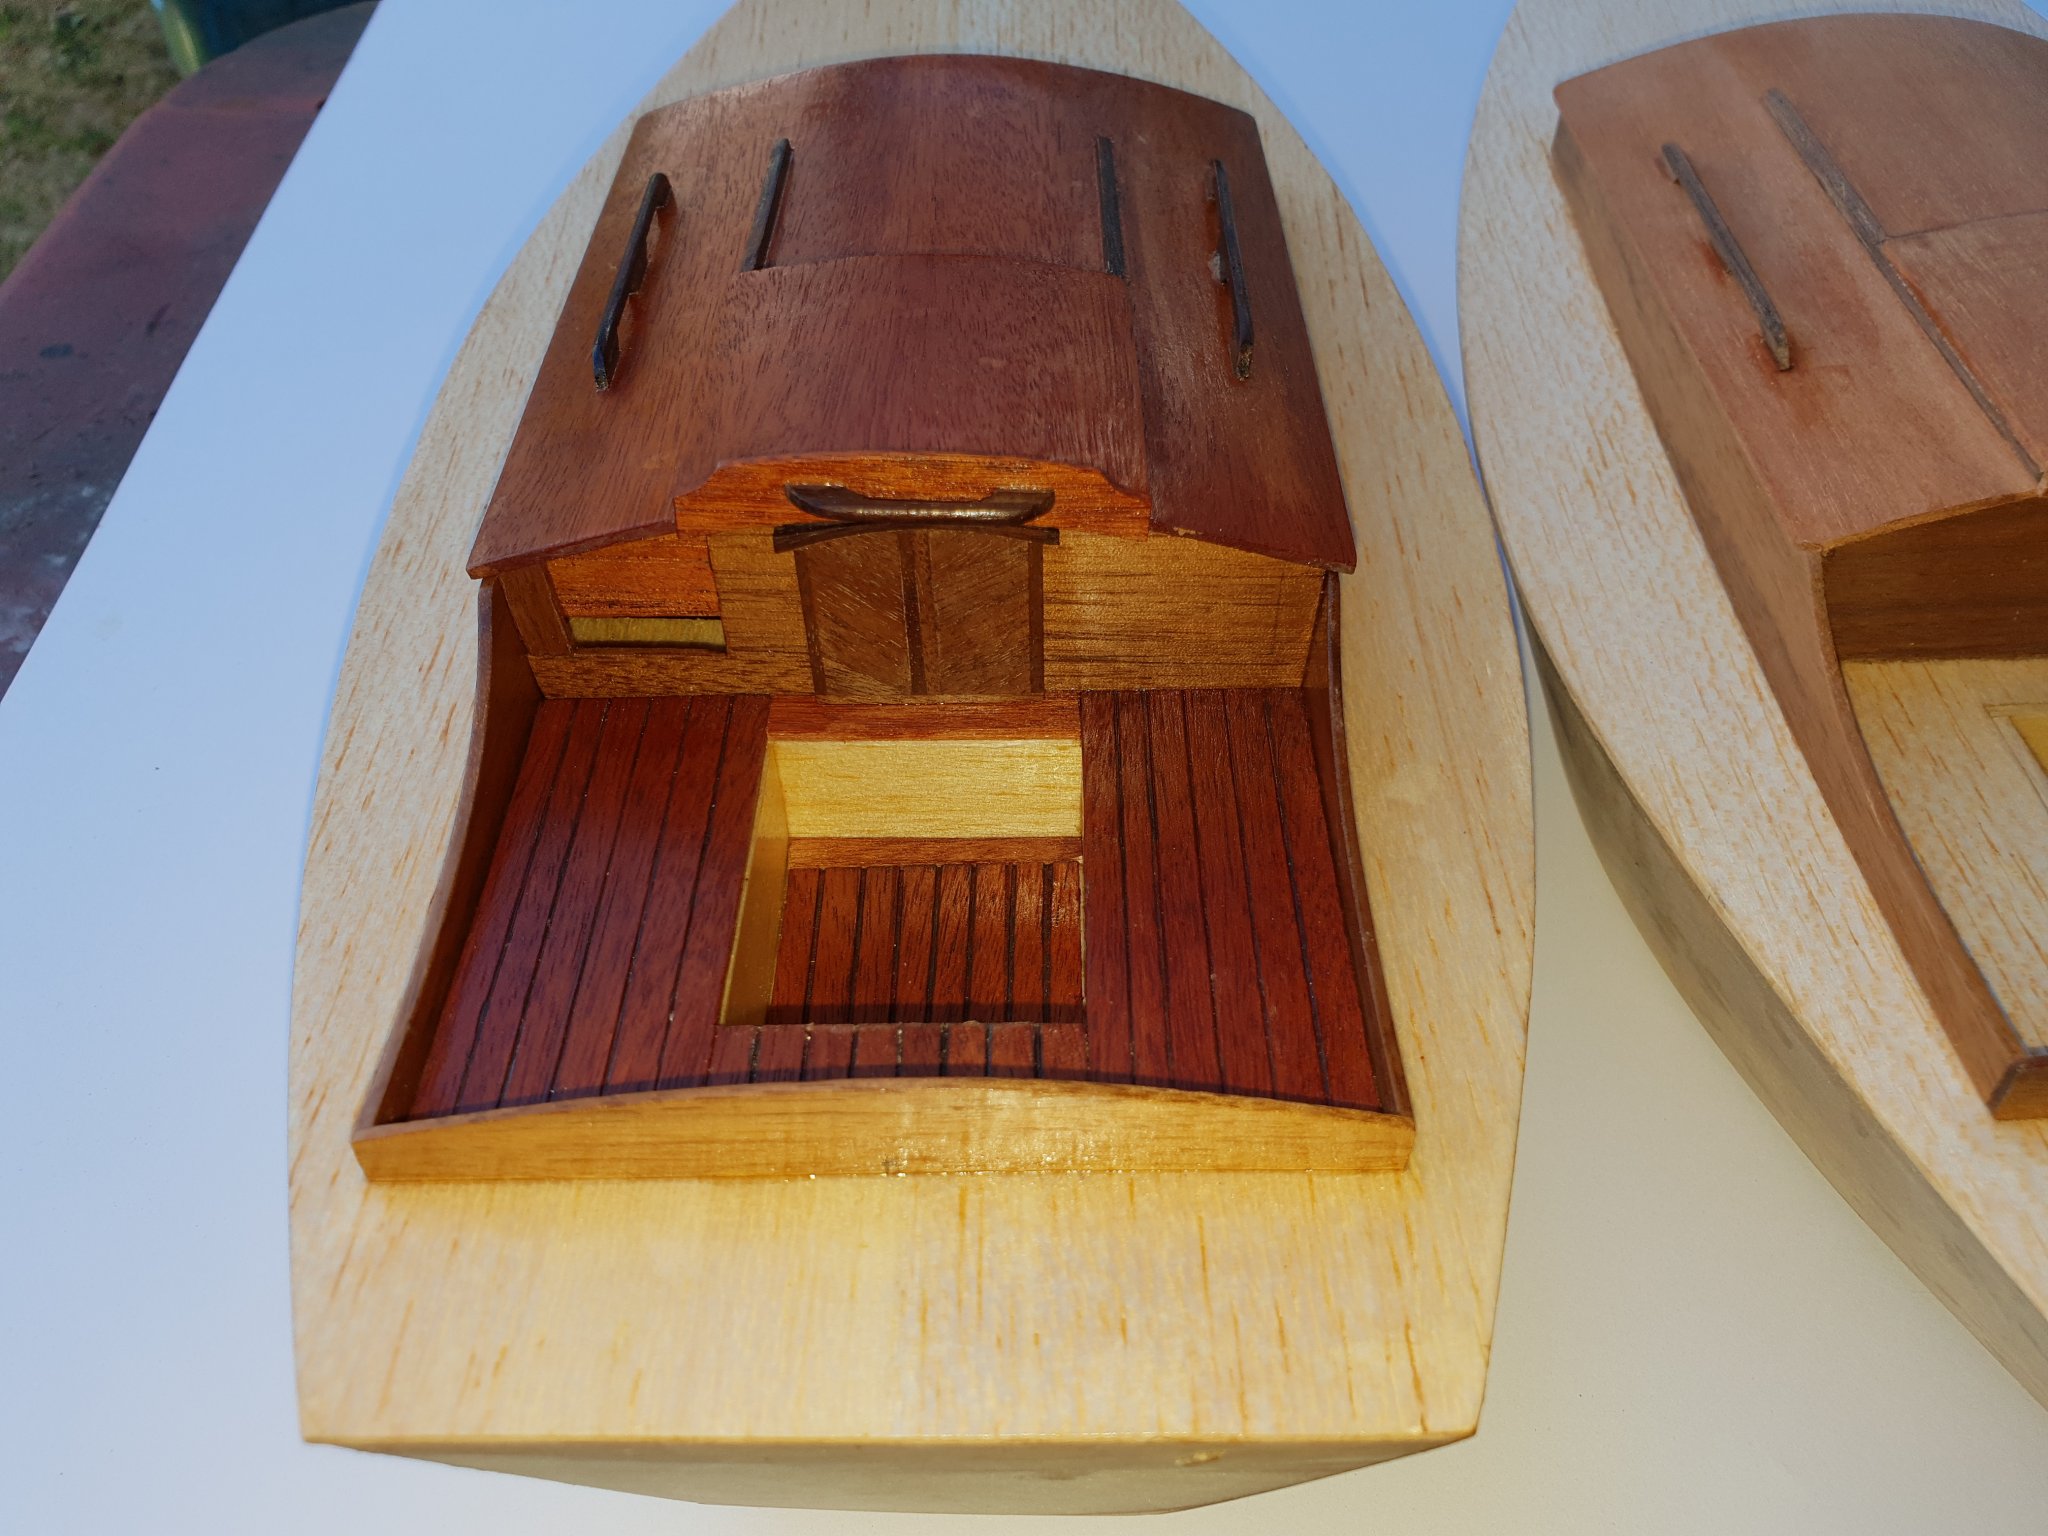
I have now completed the cabins all but the brass port holes which I shall order in. I have added grab rails and a Hatch handle from Rosewood . They were not on the plans but I thought for health and safety reasons they needed to go on. I have also added some Teak seats and floor to make a nice effect, or whatever they are called nautically. They now have futtocks to rest their sterns on!!!! One is without the adornments to compare. A coat of varnish added to see how it darkens. It has come to the shade I love. Pete