mikegr
-
Posts
827 -
Joined
-
Last visited
Content Type
Profiles
Forums
Gallery
Events
Everything posted by mikegr
-
I would rather worry about Aber itself than supper hobby. The 1/700 railings I bought was a joke, they could bent even with the touch of a brush. I expect in larger scales to be better. Got universal grills and other PE parts for larger scale, seemed ok.
-
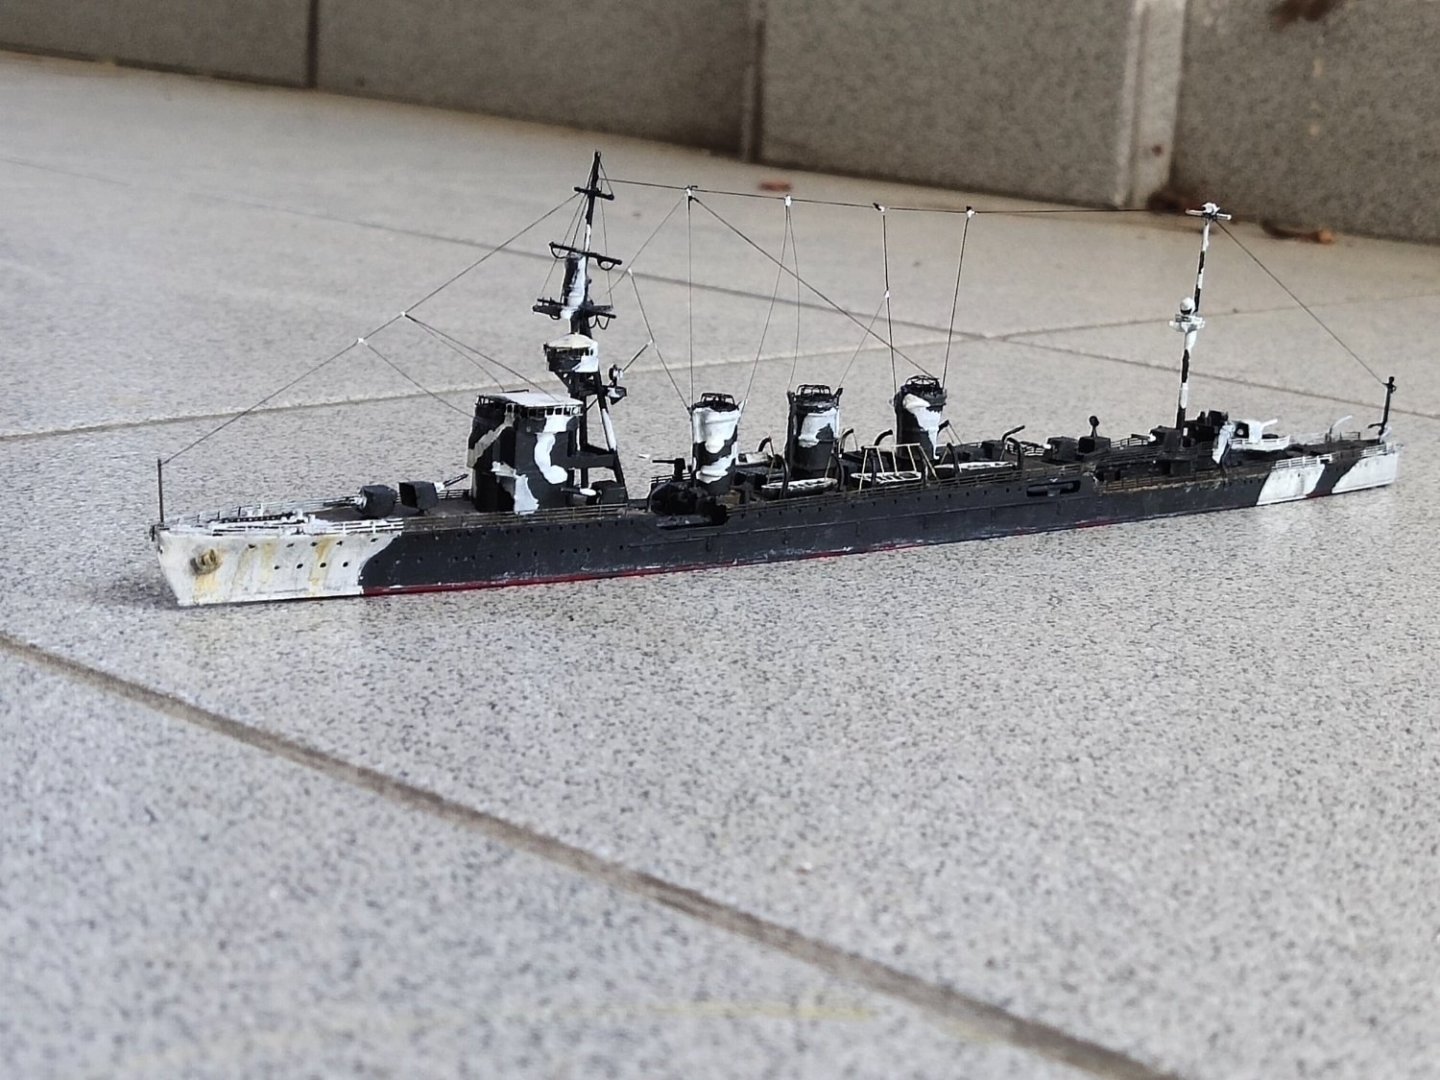
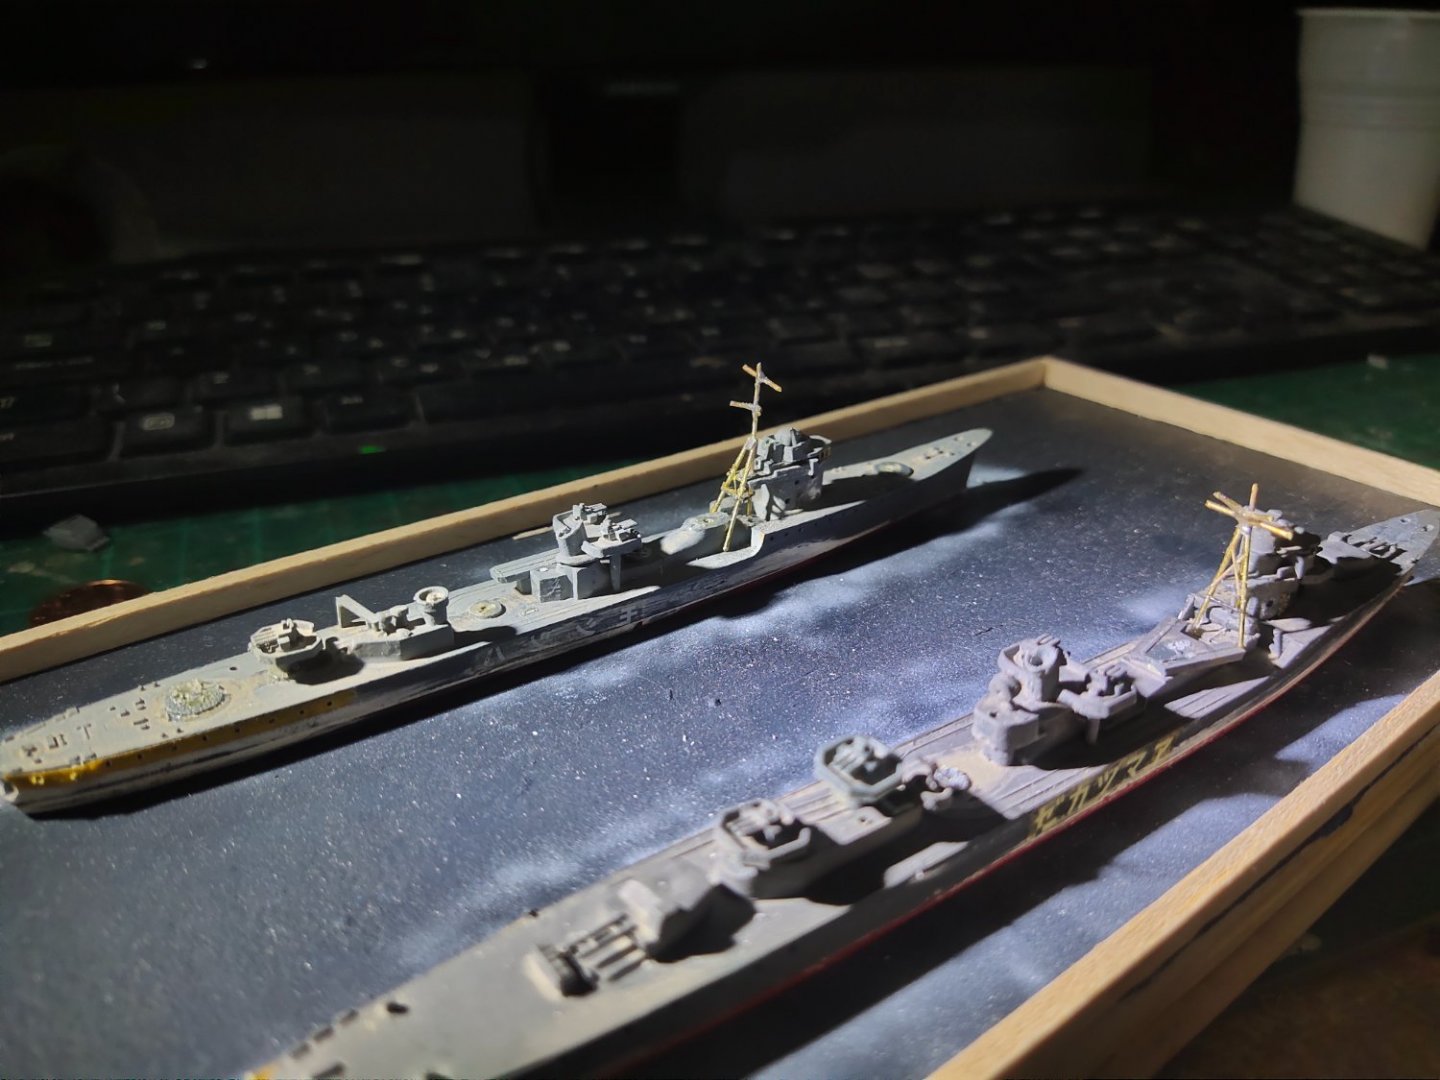
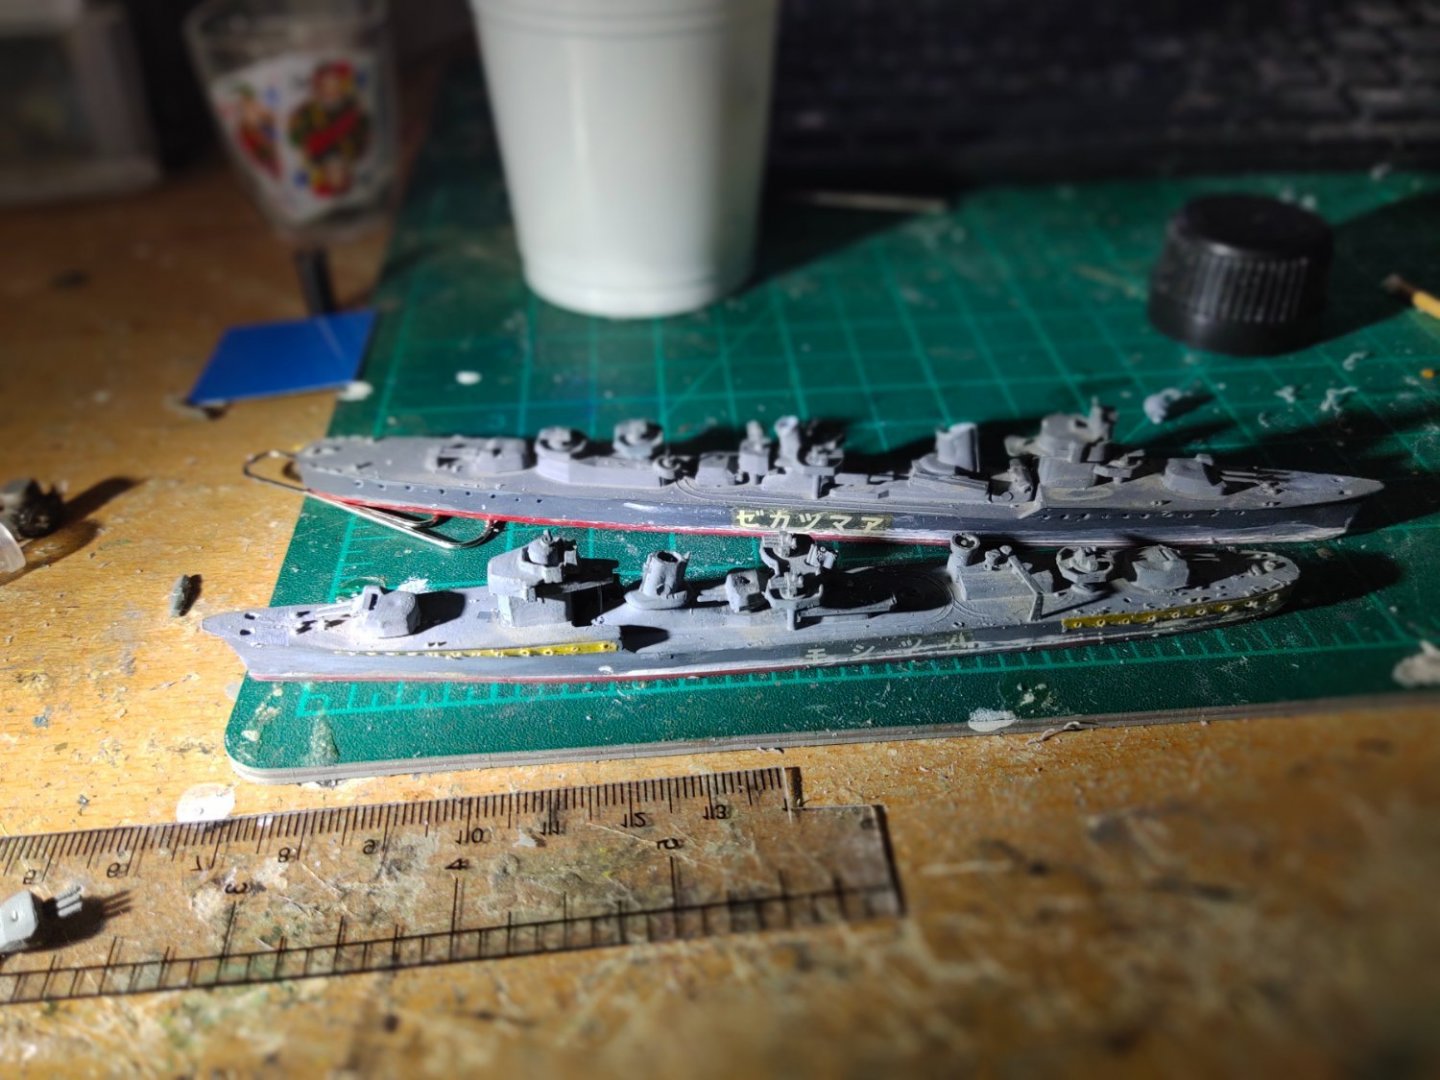
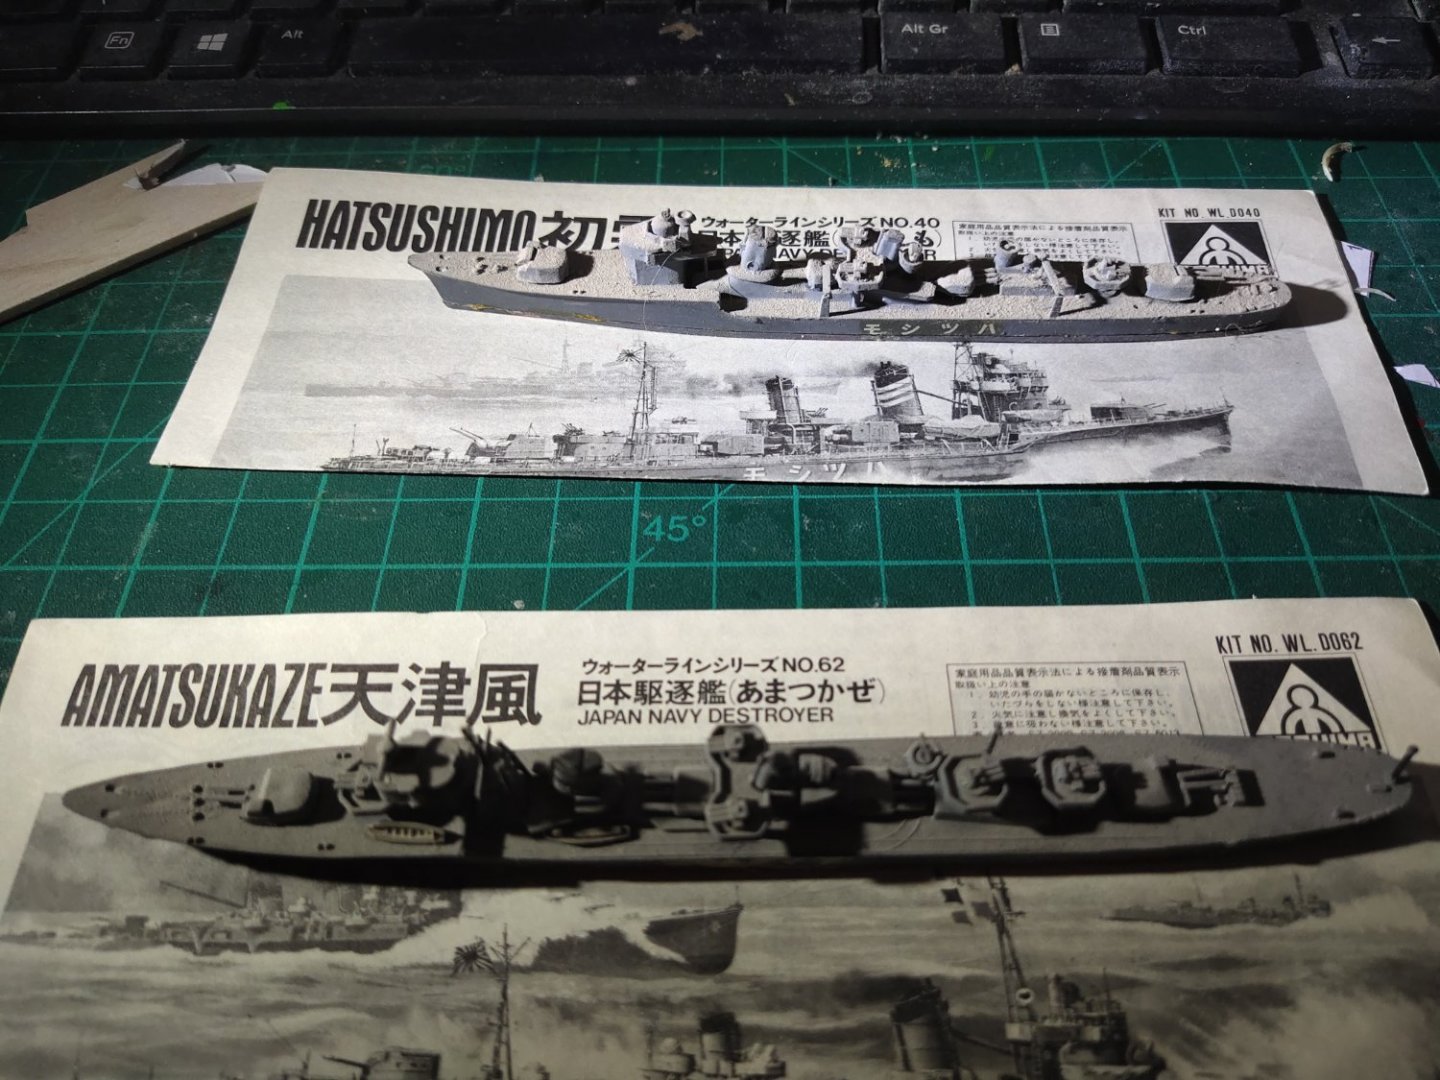
I checked drawingns and pictures of Amatsukaze only to find that mast is quite different. So I scratch built a new one using real 0.4 mm solid steel rods. A bit hard to cut but hold much better with CA glue comparing to brass maybe cause of less shiny surface. I added the secondary mast and a third 5" gun aft as seen also on box of kit but for a reason in plans there was a triple as gun instead which I replaced. Finally I added front funnel with some pipe details

- 360 replies
-
- 10
-

-
I restructured the bridge by cutting and adding windows, portholes and hatchdoors. Then I scratch built masts using soldering for the main frame and CA glue for the smaller parts around the tripod base


-
Cap San Diego by mikegr - 1/160
mikegr replied to mikegr's topic in - Build logs for subjects built 1901 - Present Day
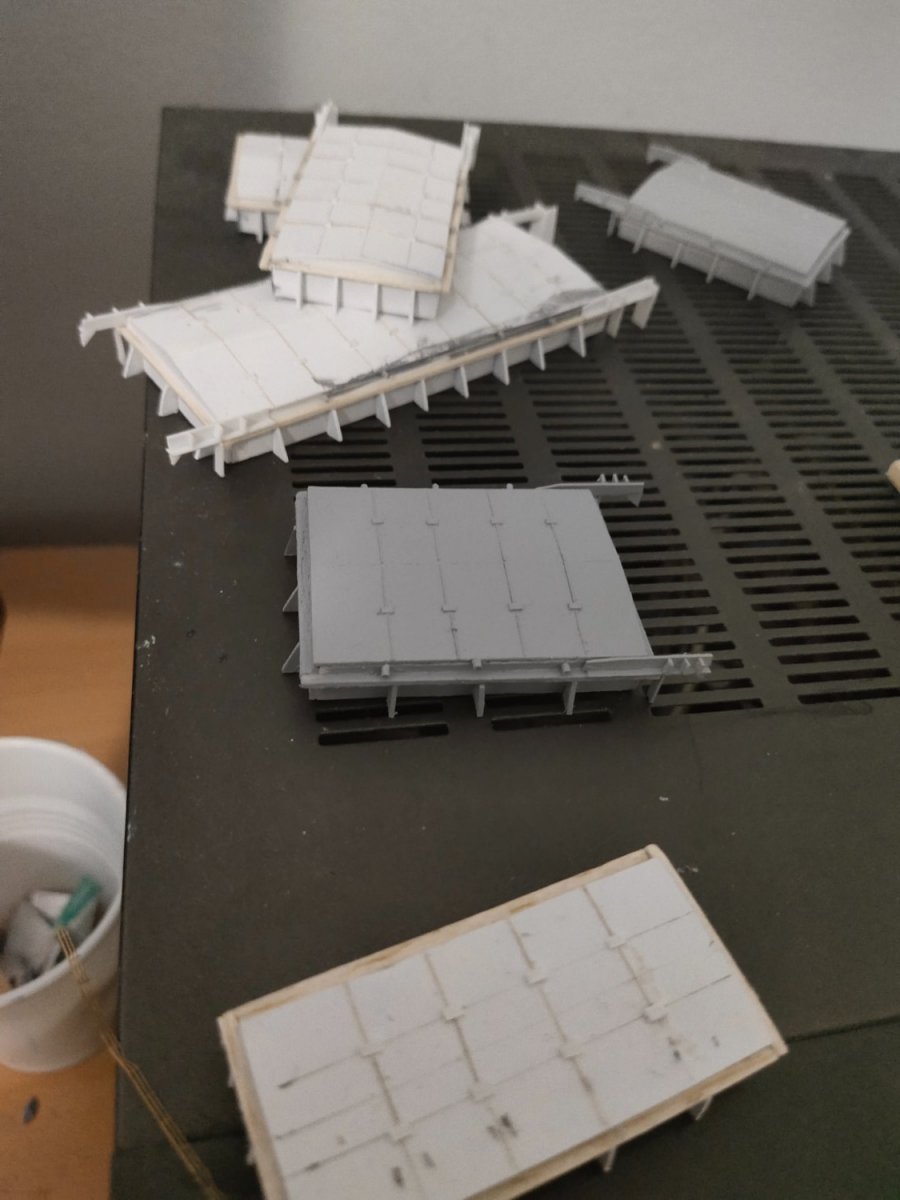
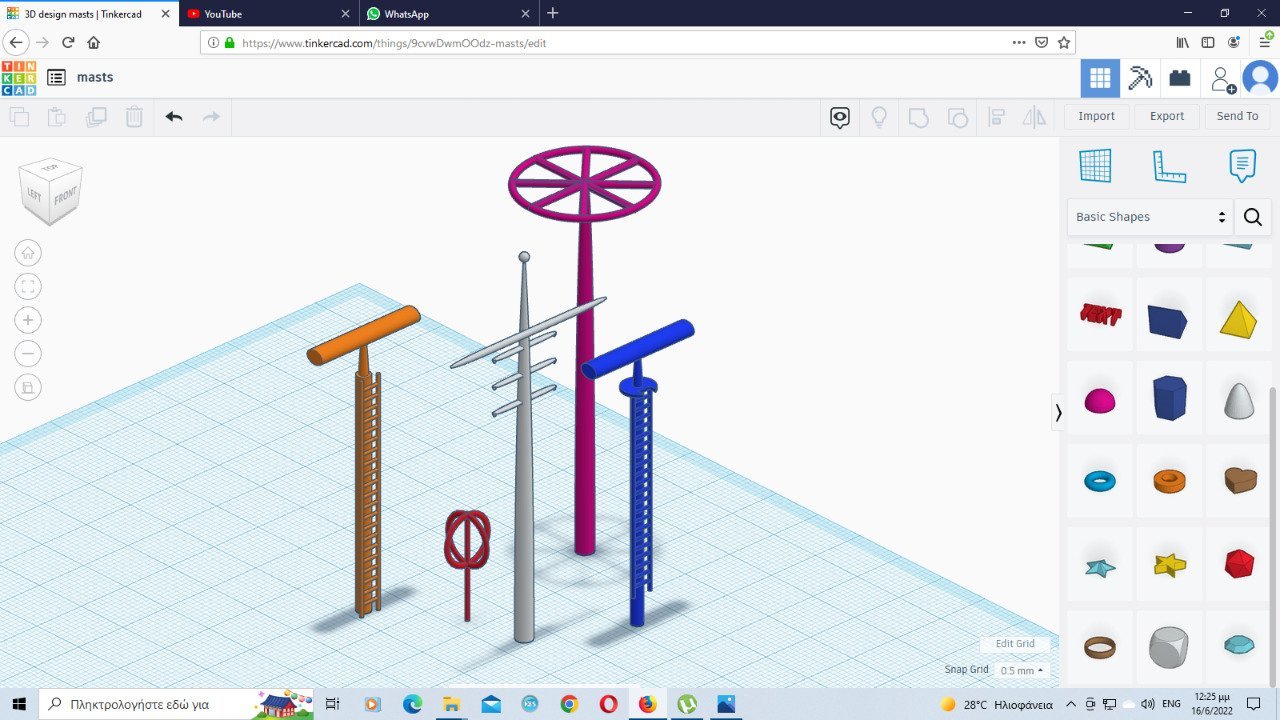
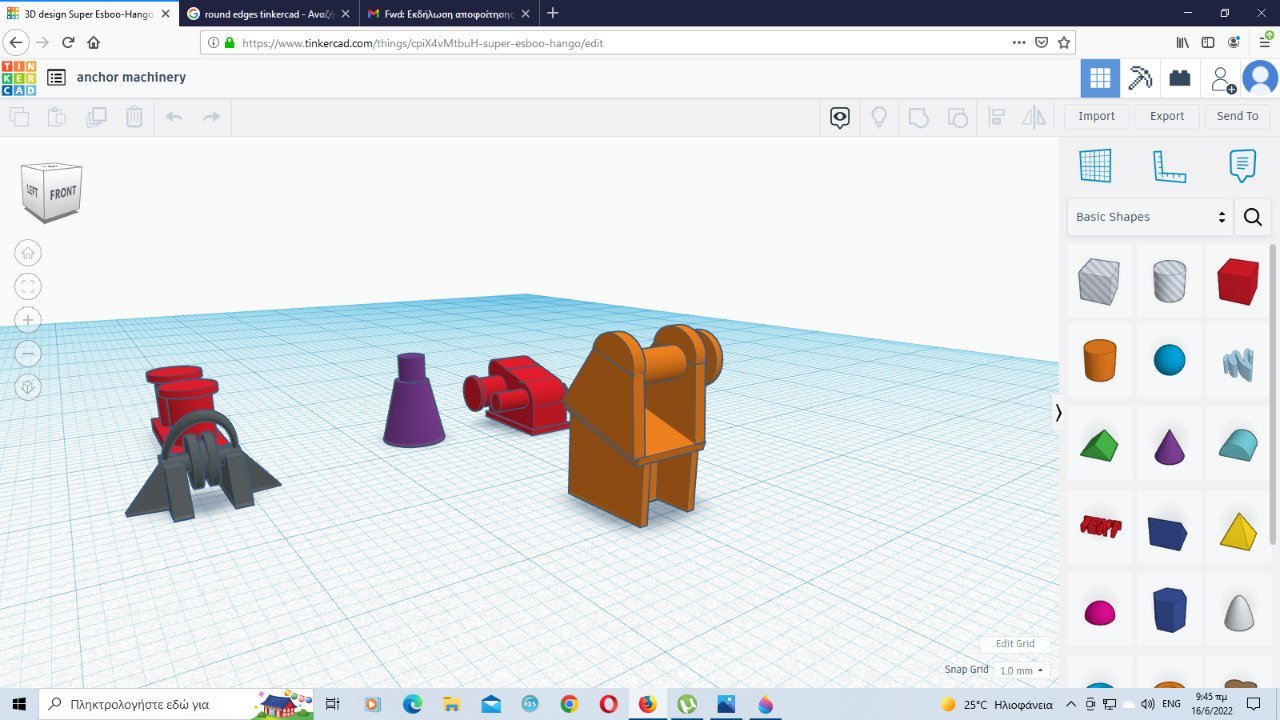
While I am almost done with the cargo holds, meantime I designed some parts for 3d printing
-
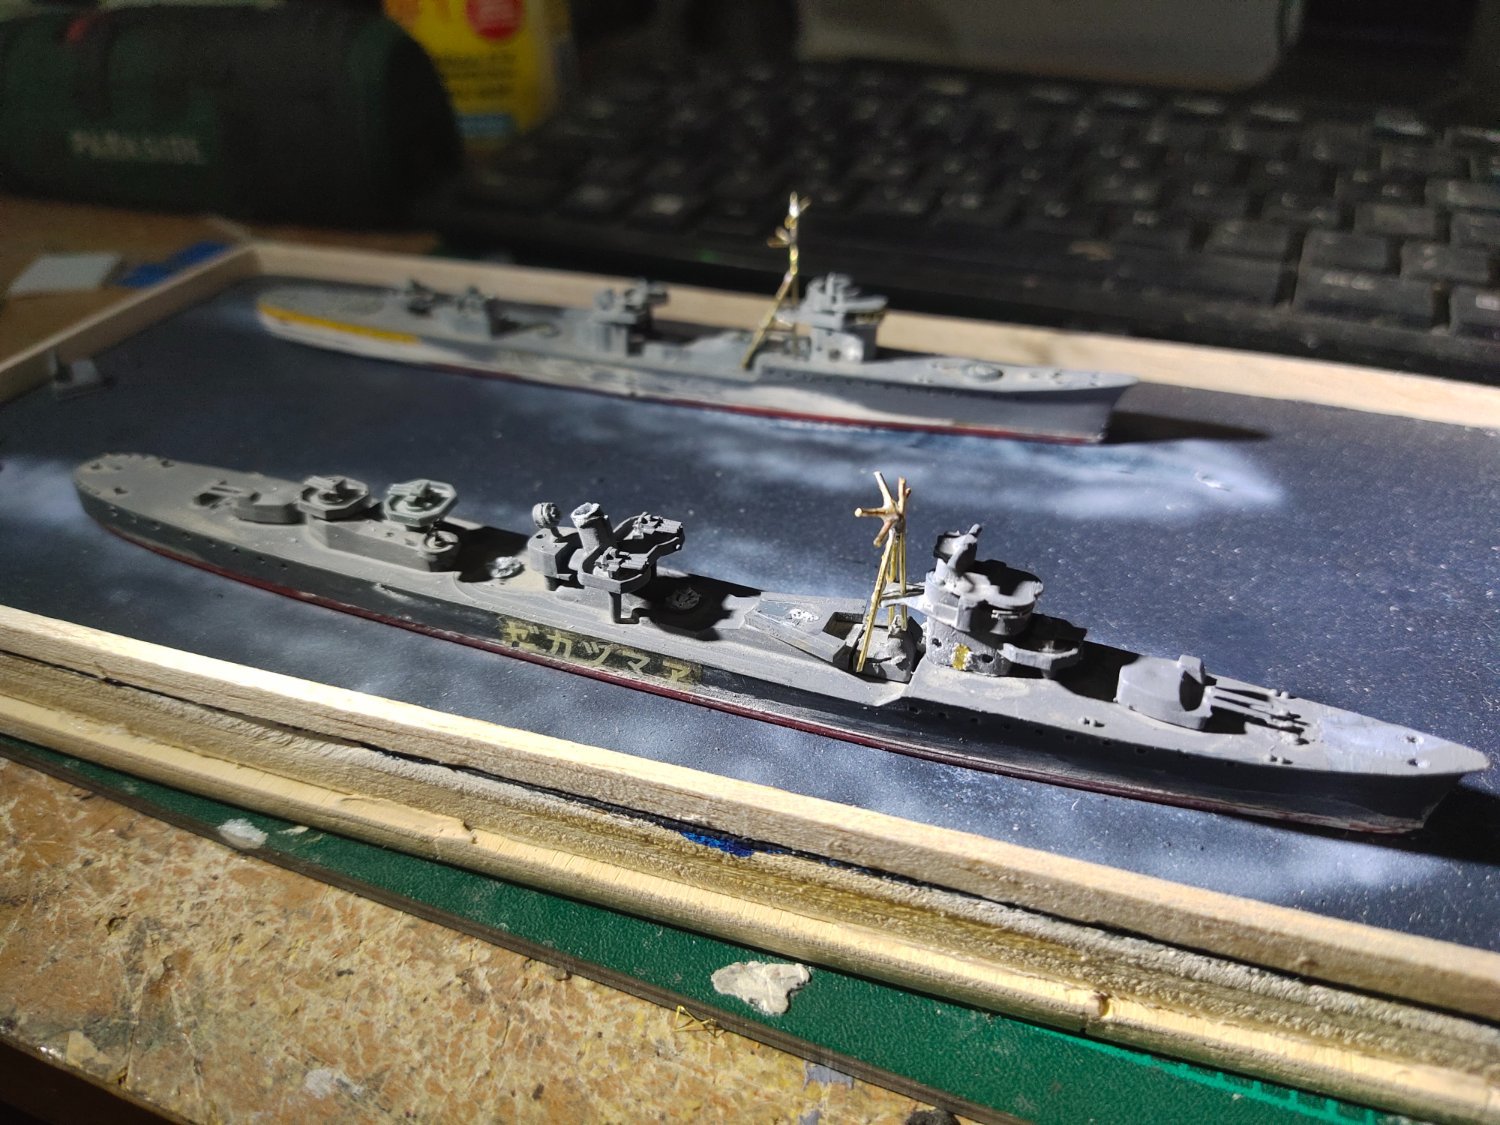
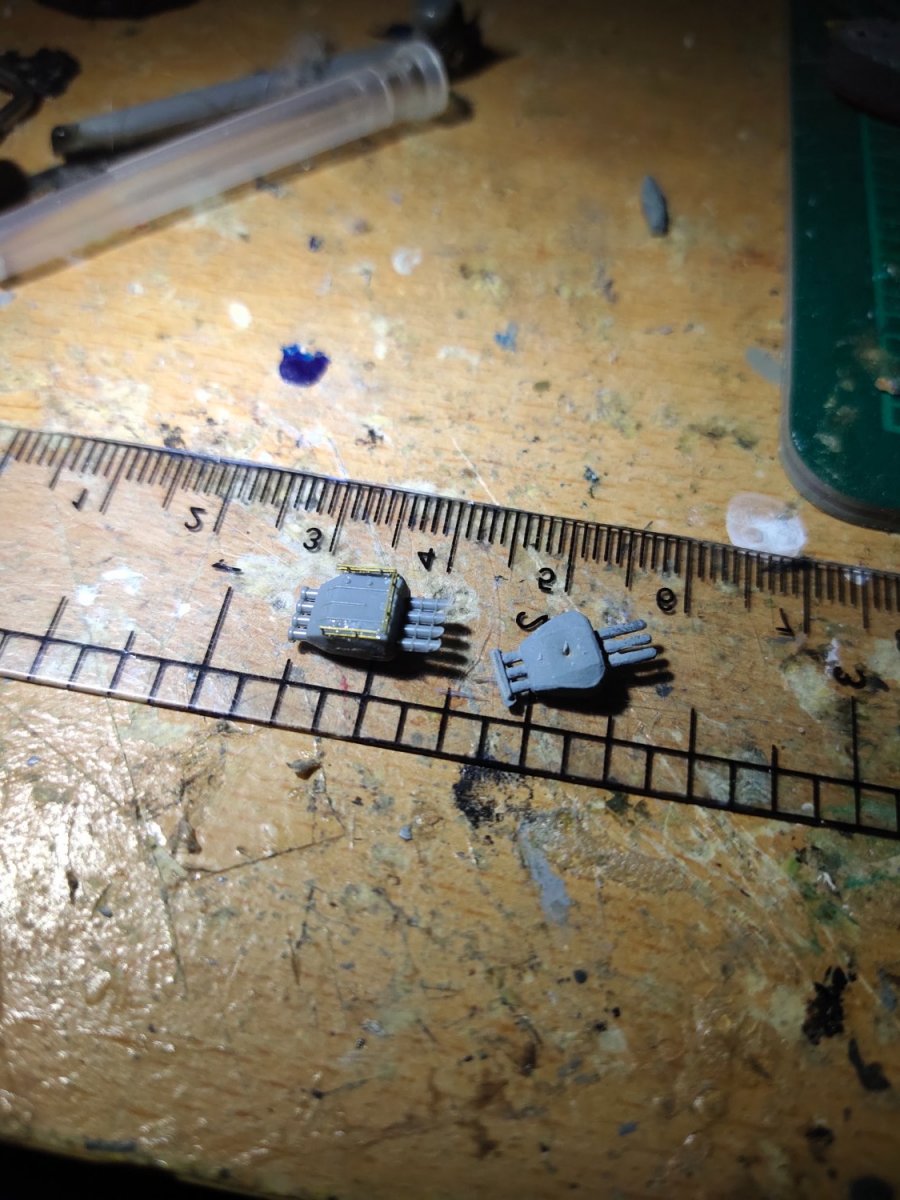
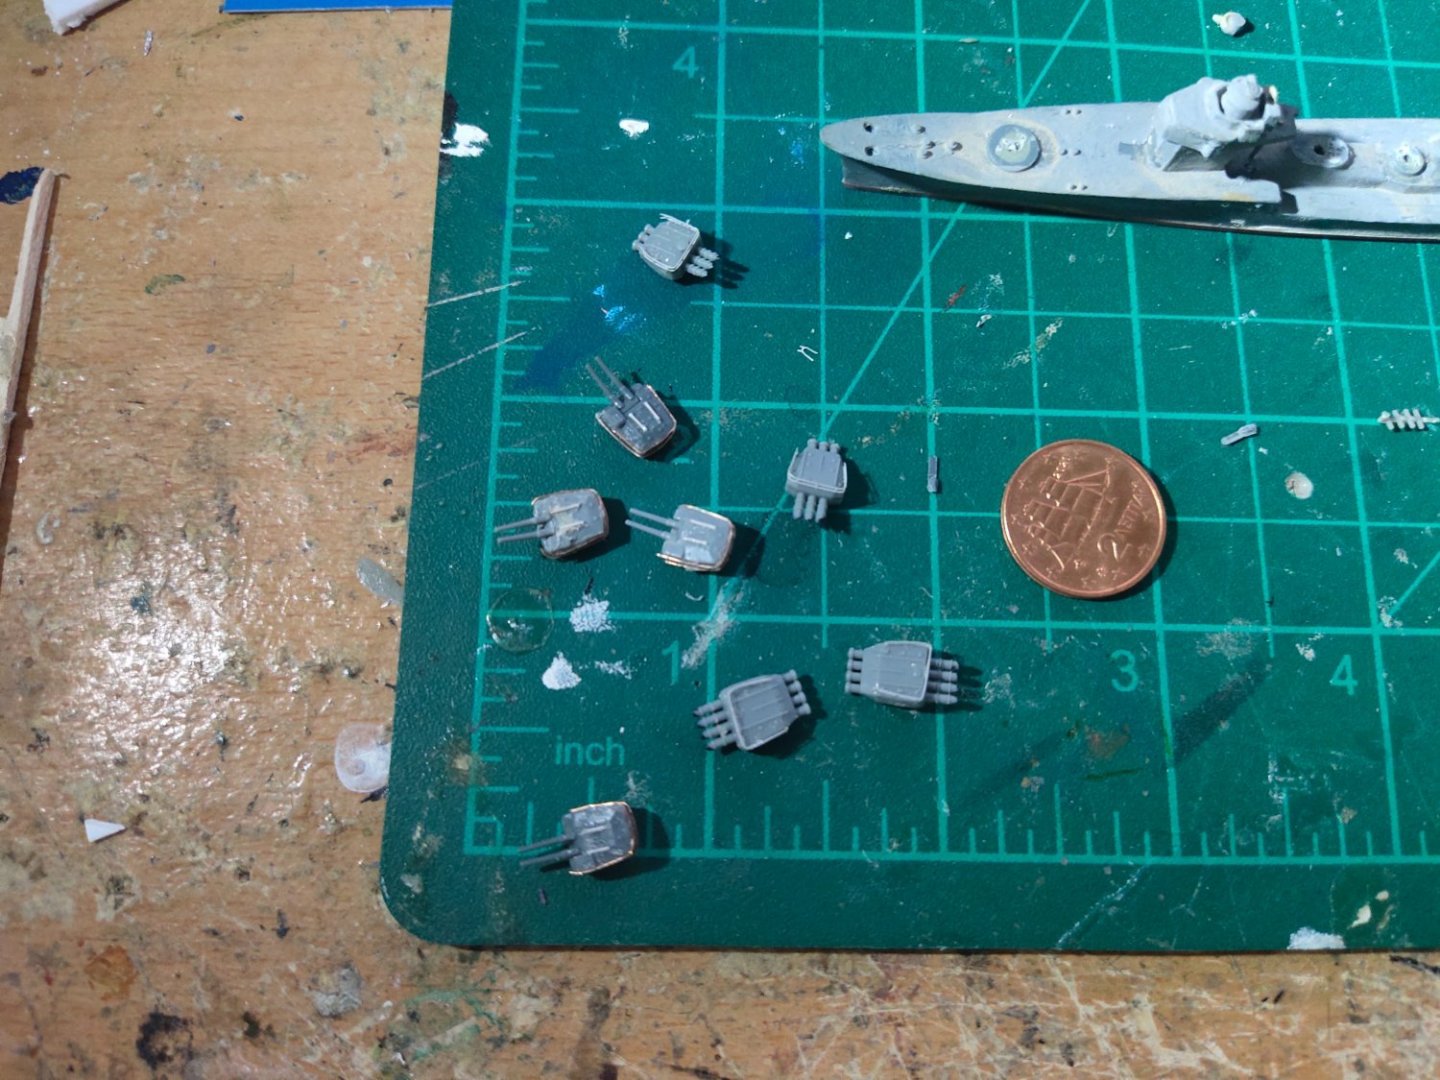
I did some work on torpedo tubes. Then replaced the 5" guns with some better ones and added some detail. These are from different manufacturer thought so they are not exactly the same. I will use some epoxy primer as copper is very resistant on paint especially acrylic.
-
First work was to drill portholes and funnel which were solid. I used a battery operated dremel tool to speed up work and 1 mm tape as a guide for straight line. It was a big problematic work as on high revs caused heat to melt the plastic and refill the hole! I have seen this in the past while cutting plexiglass with table saw, the temperature produced caused the pieces to be soldered together. Also I found some torpedo tubes from my stash with decent appearance to replace the ones in the kits.

-
Italian shipbuilders where always paid attention to design and luxury. Even at warships and merchant ships. Not to mention their luxury passenger liners and yachts where they can fit a 3 bedroom house In a 10 meter hull. The food also is of high standard. Comparing to Japanese and other Asian built vessels, which are modern with high automatization standards but with less comforts and deticated space for crew.
- 203 replies
-
- 5
-
-
- Roma
- Micromaster
- (and 4 more)
-
the greater the scale the greater the need for soldering as more metal parts involved. For R/C models is a one way.
-
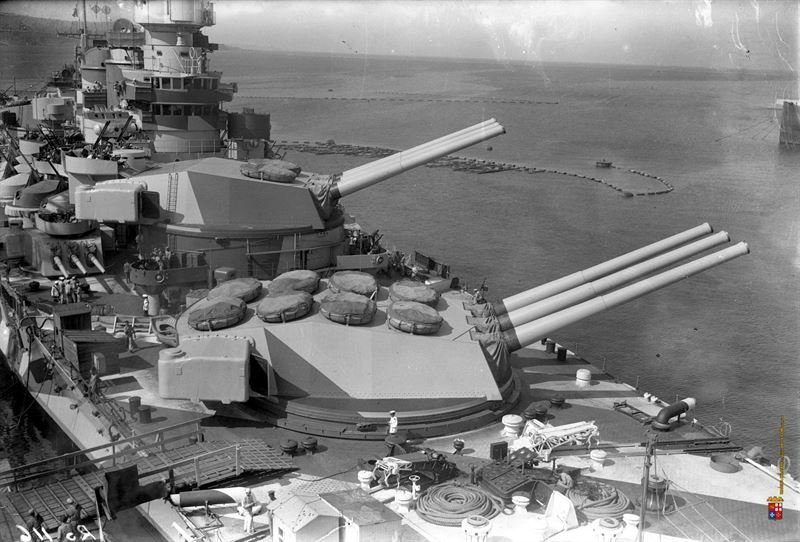
Roma guns were impressive because of the complex shape of the main turrets and the long barrels of the guns. They were designed to hit enemy at long range before he reacts. An object never accomplished cause of the radar absense and high dispersion of shells caused by barrels put closely together, a fact very noticeable on cruisers like Zara class etc. Some more close pics of armament and deck https://www.argunners.com/seldom-exterior-images-of-italys-wwii-battleship-roma/amp/
- 203 replies
-
- 9
-

-

-
-
- Roma
- Micromaster
- (and 4 more)
-
Tom modelworks has a 1/700 set Dornier - Fritz bombs https://www.tomsmodelworks.com/catalog/product_info.php?products_id=579
- 203 replies
-
- 5
-
-
- Roma
- Micromaster
- (and 4 more)
-
And USS Savannah as well which miraculously survived https://www.history.navy.mil/browse-by-topic/wars-conflicts-and-operations/world-war-ii/1943/salerno-landings/savannah-salerno.html
- 203 replies
-
- 4
-
-
- Roma
- Micromaster
- (and 4 more)
-
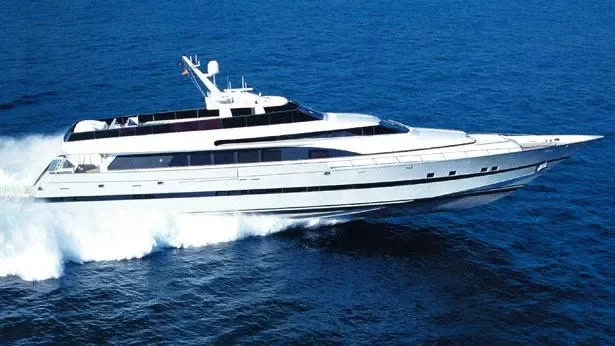
Motor Yacht FONERS was Spanish built but Italian designed by Tommaso Spadolini. People used to comment it as a Sea Rolls Royce cause of the 3 RR engines. Spandolini though, considred his design more close to Ferraris as despite being 40+ meters long it could reach 70 kts. It was the fastest yacht in the world when built in 2000 and remains so until today.
- 203 replies
-
- 6
-
-
-
- Roma
- Micromaster
- (and 4 more)
-
Cap San Diego by mikegr - 1/160
mikegr replied to mikegr's topic in - Build logs for subjects built 1901 - Present Day
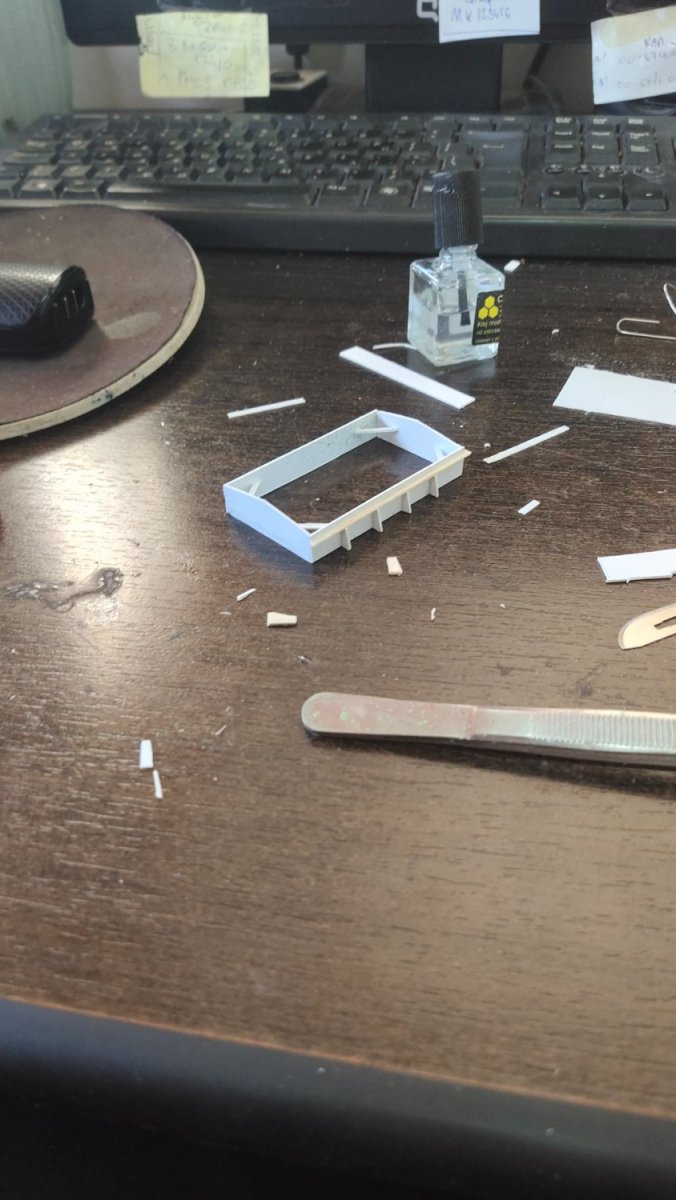
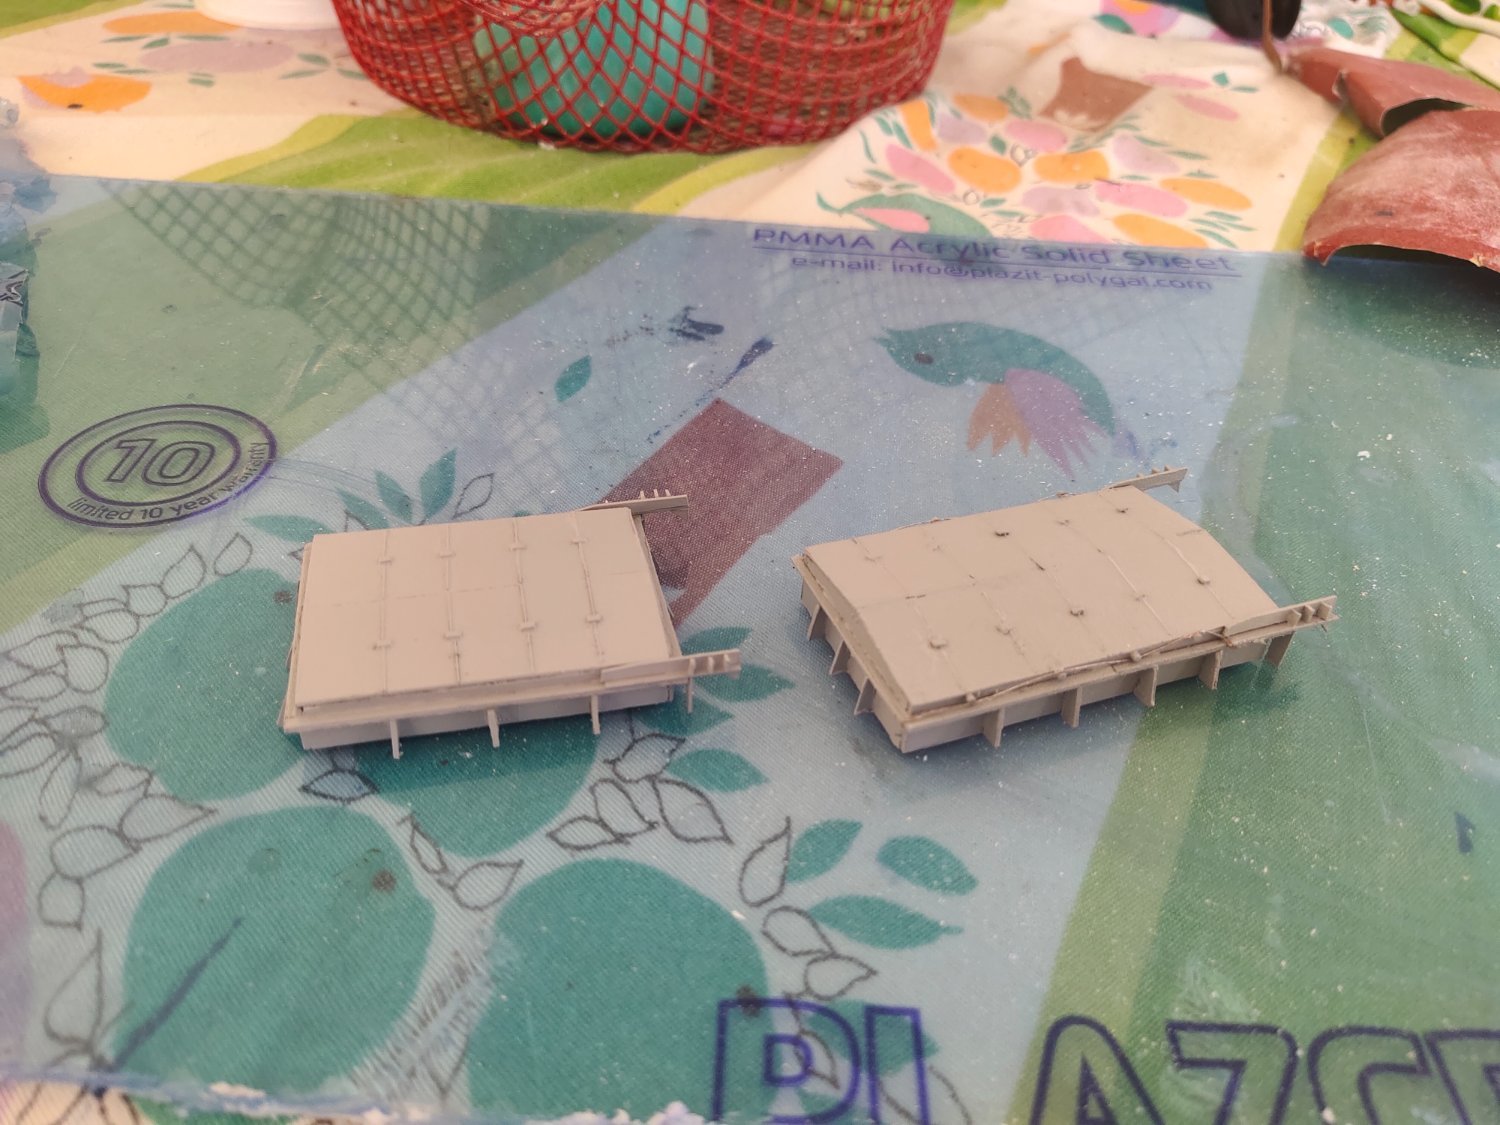
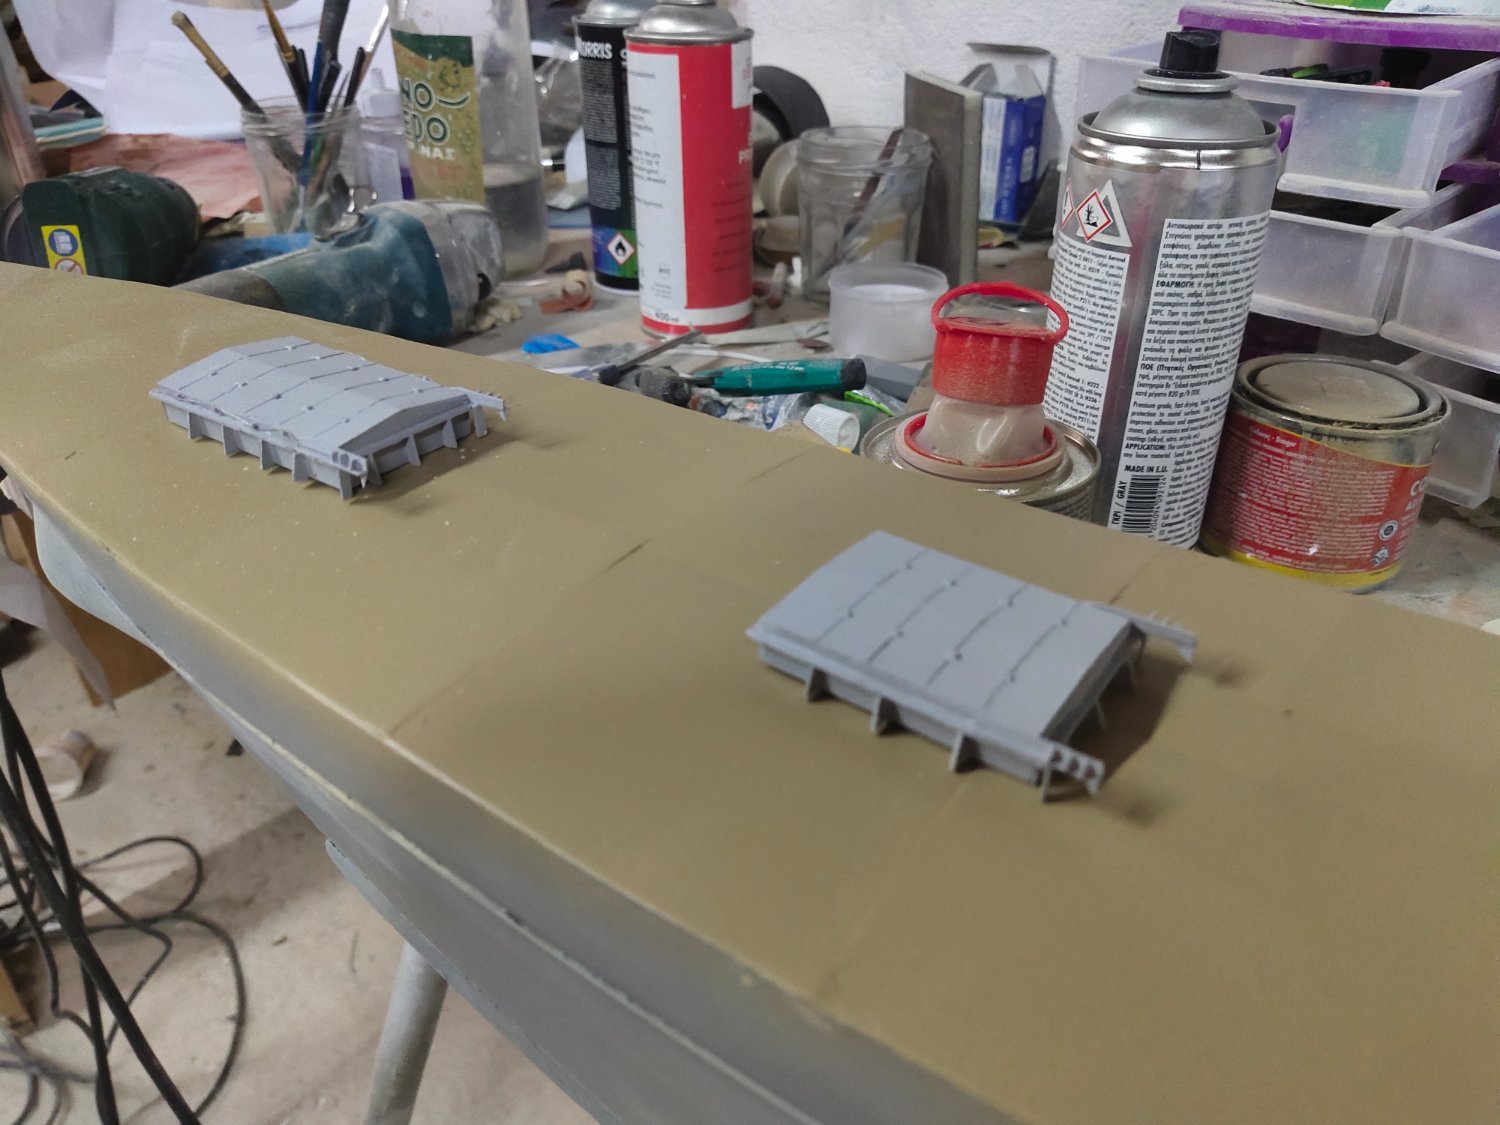
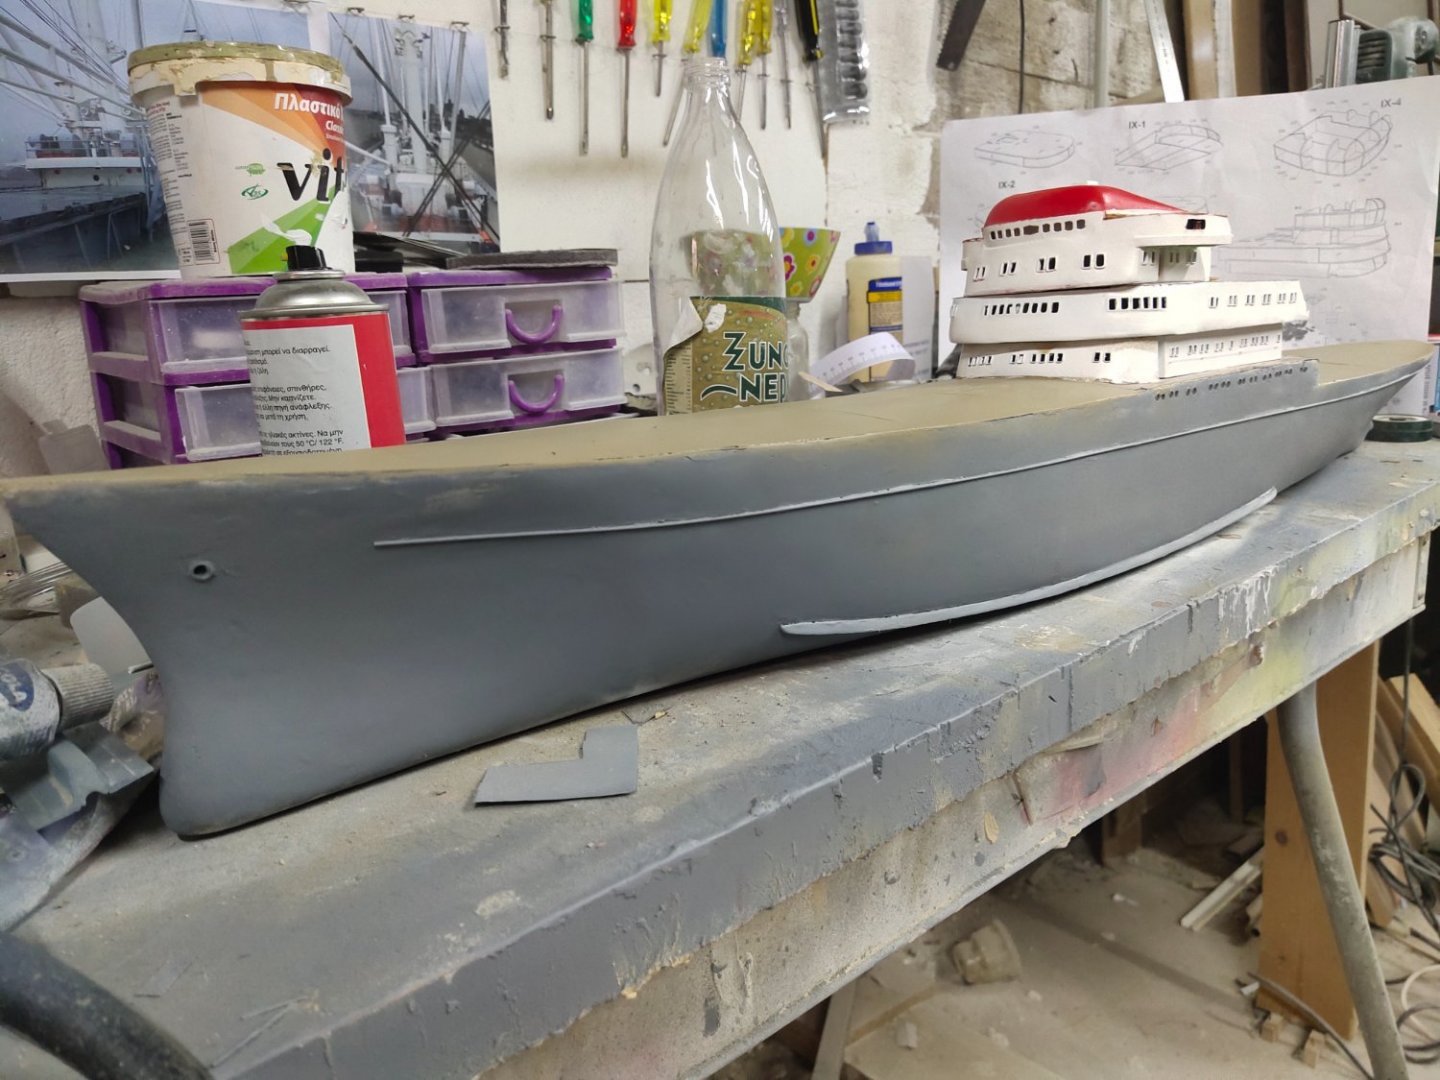
I am building the cargo holds. I use styrene and bit of balsa wood.


-
Ι made the sea bed and base. The raised frame is a resin guard preventing it from overspilling during process. Its made of balsa so if can't be removed at the final stage, can be easily trimmed down.

-
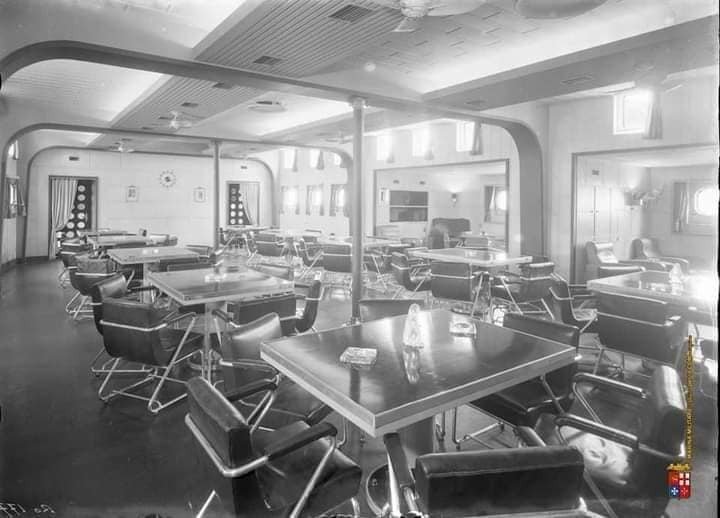
One of the most beloved battleships of all time. Too bad that beauty doesn't come along with performance always. But this does not prevent us to be romantic. Some pics of the interior

- 203 replies
-
- 14
-
-
- Roma
- Micromaster
- (and 4 more)
-
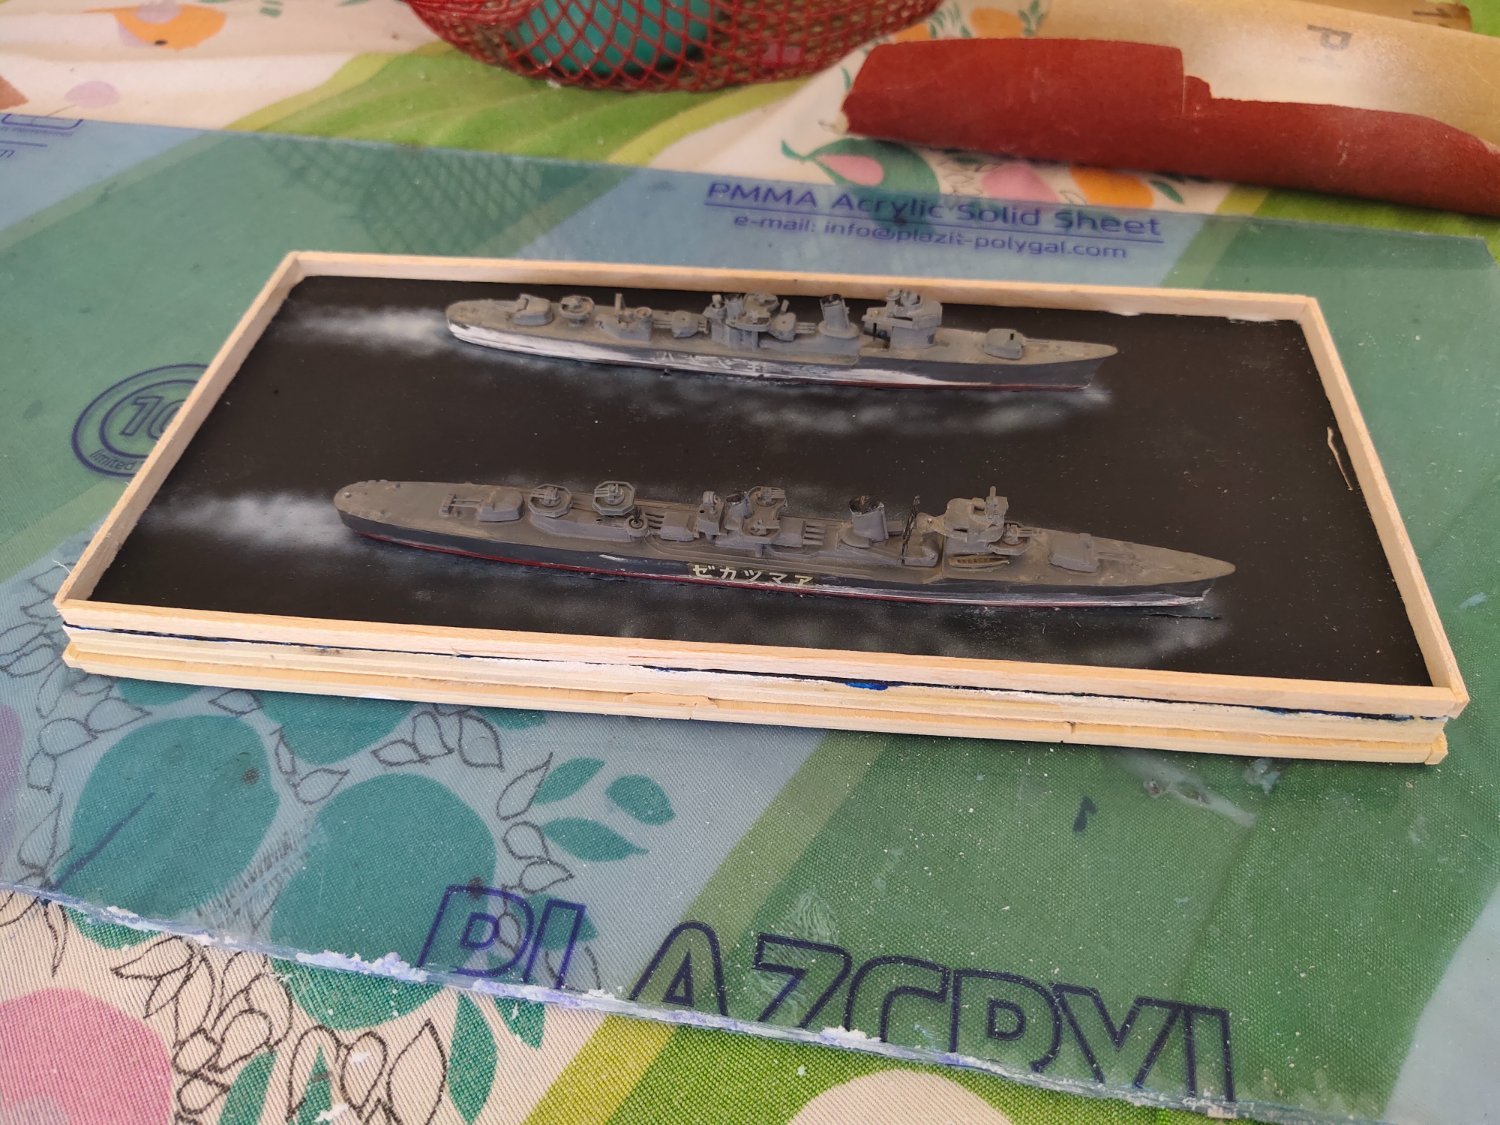
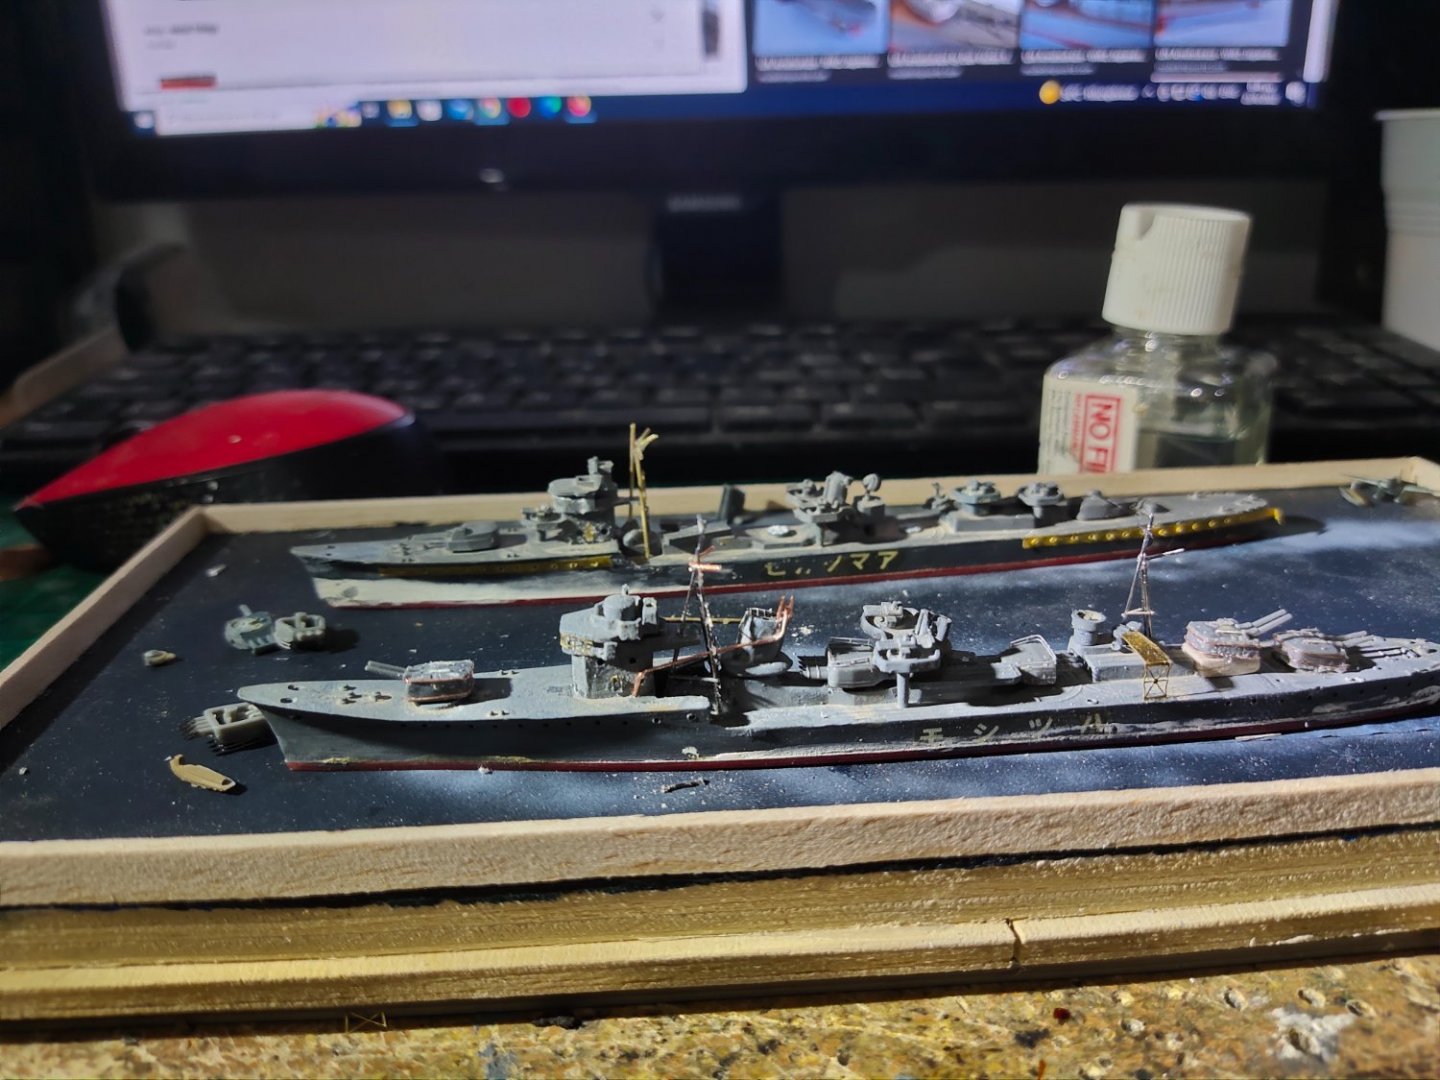
Νext project. I will put them in the same base as these are small enough
-
Not sure how you want to do it but making a hull deeping in resin without previous experience working with it , its a really tricky business.
-
I Would probably have to build several projects before become an expert but thanks for mentioning my name as a helpful hand to other members
-
thanks. I am also quite pleased . And it was easy too as it can be done in a single day without waiting layers to dry and spending hours of sculpting waves etc
-
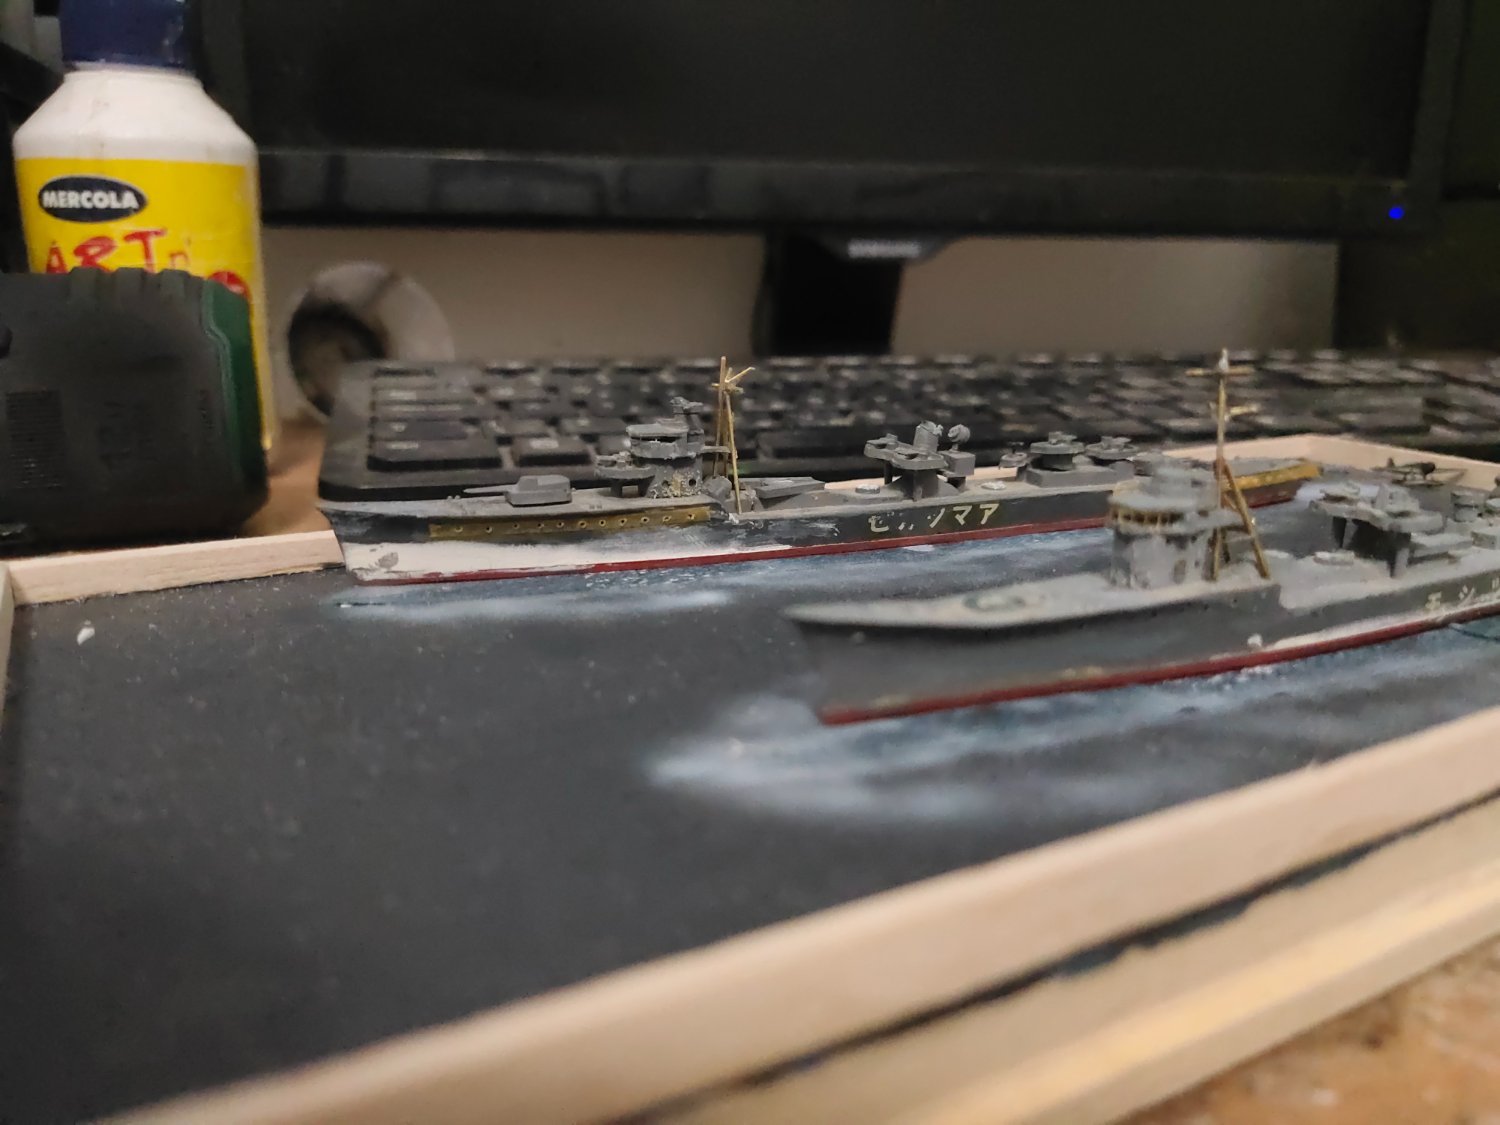
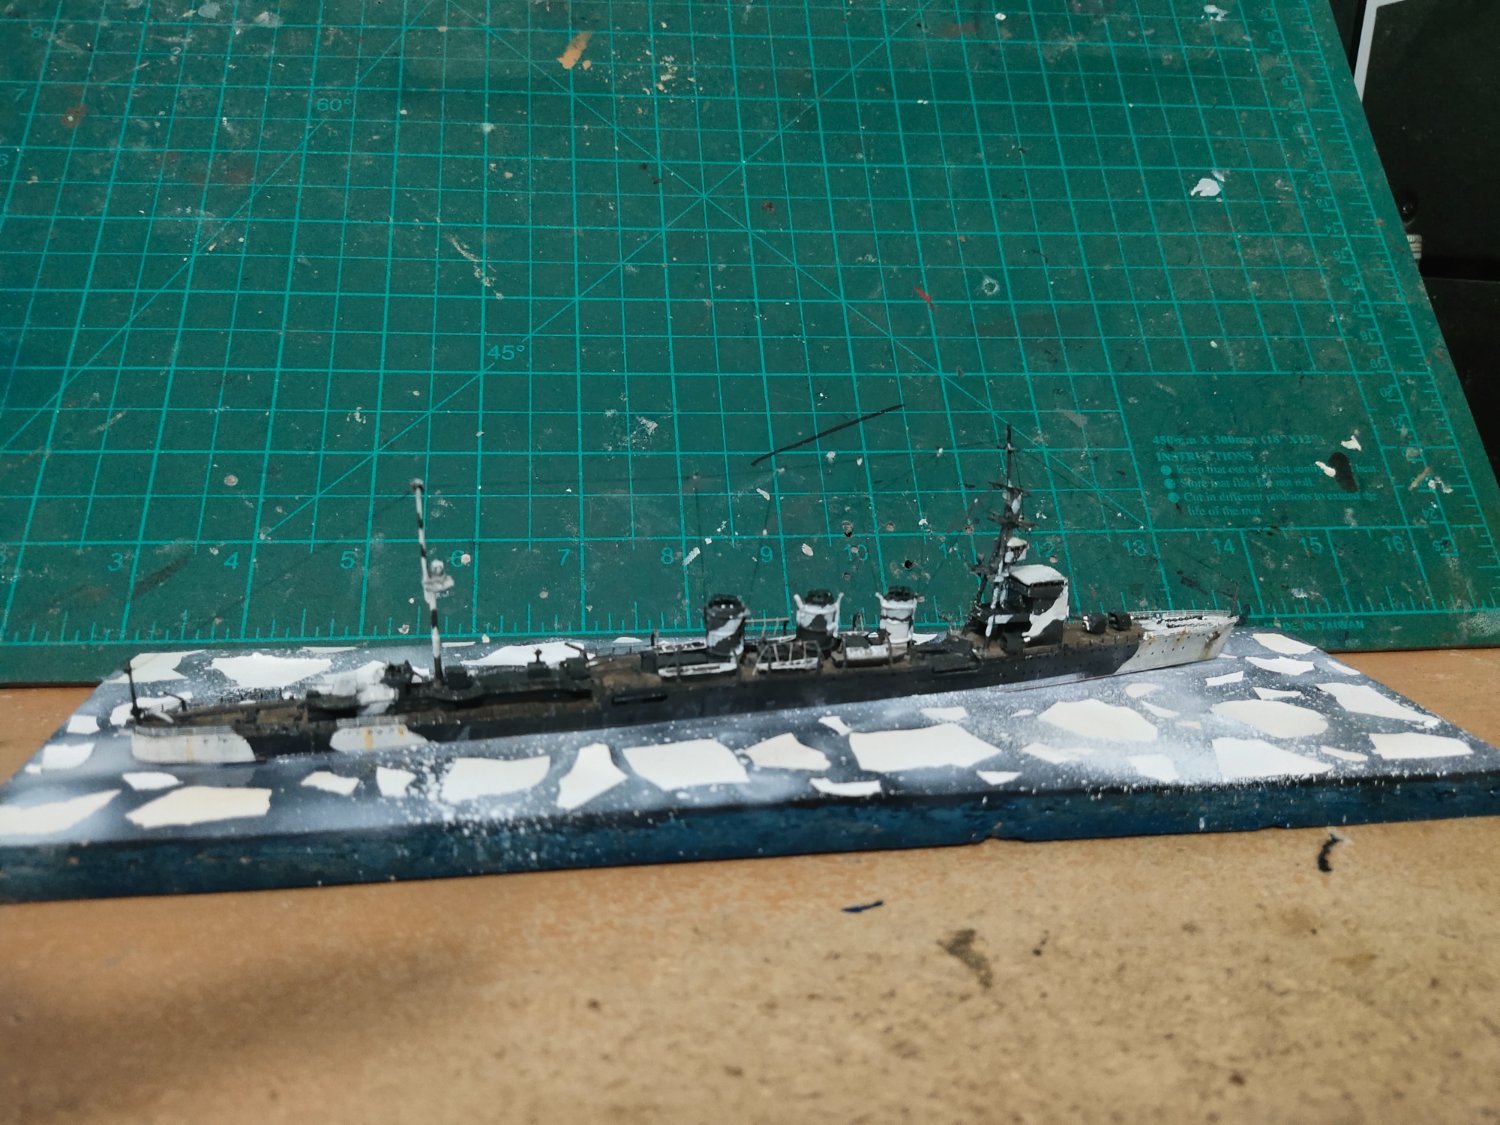
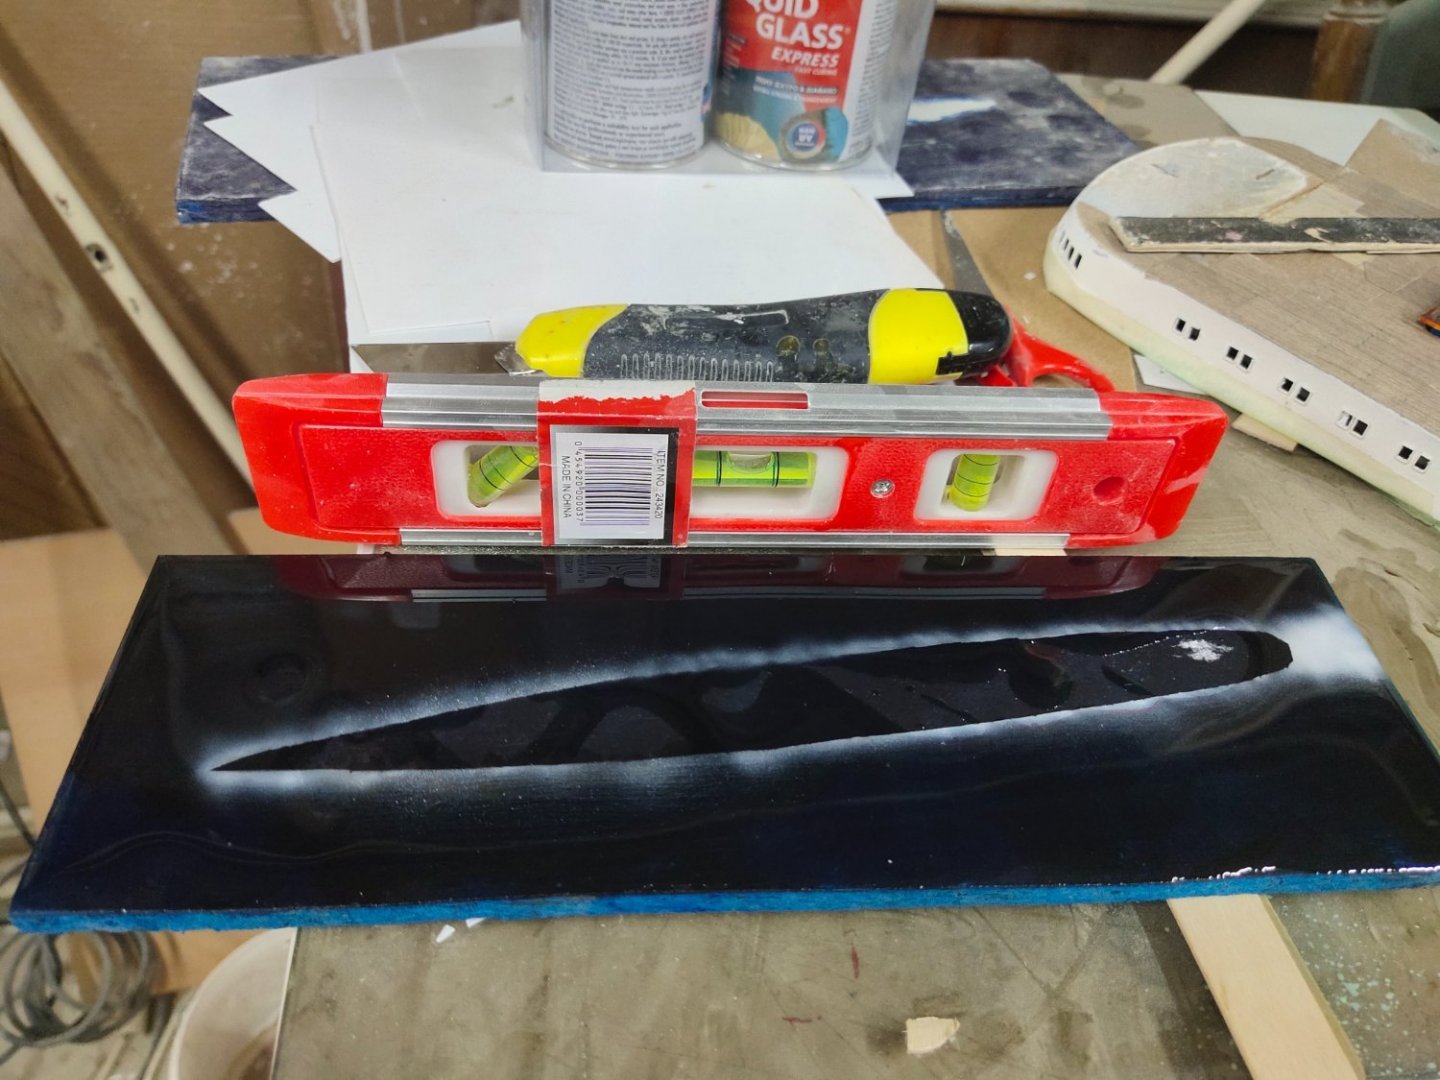
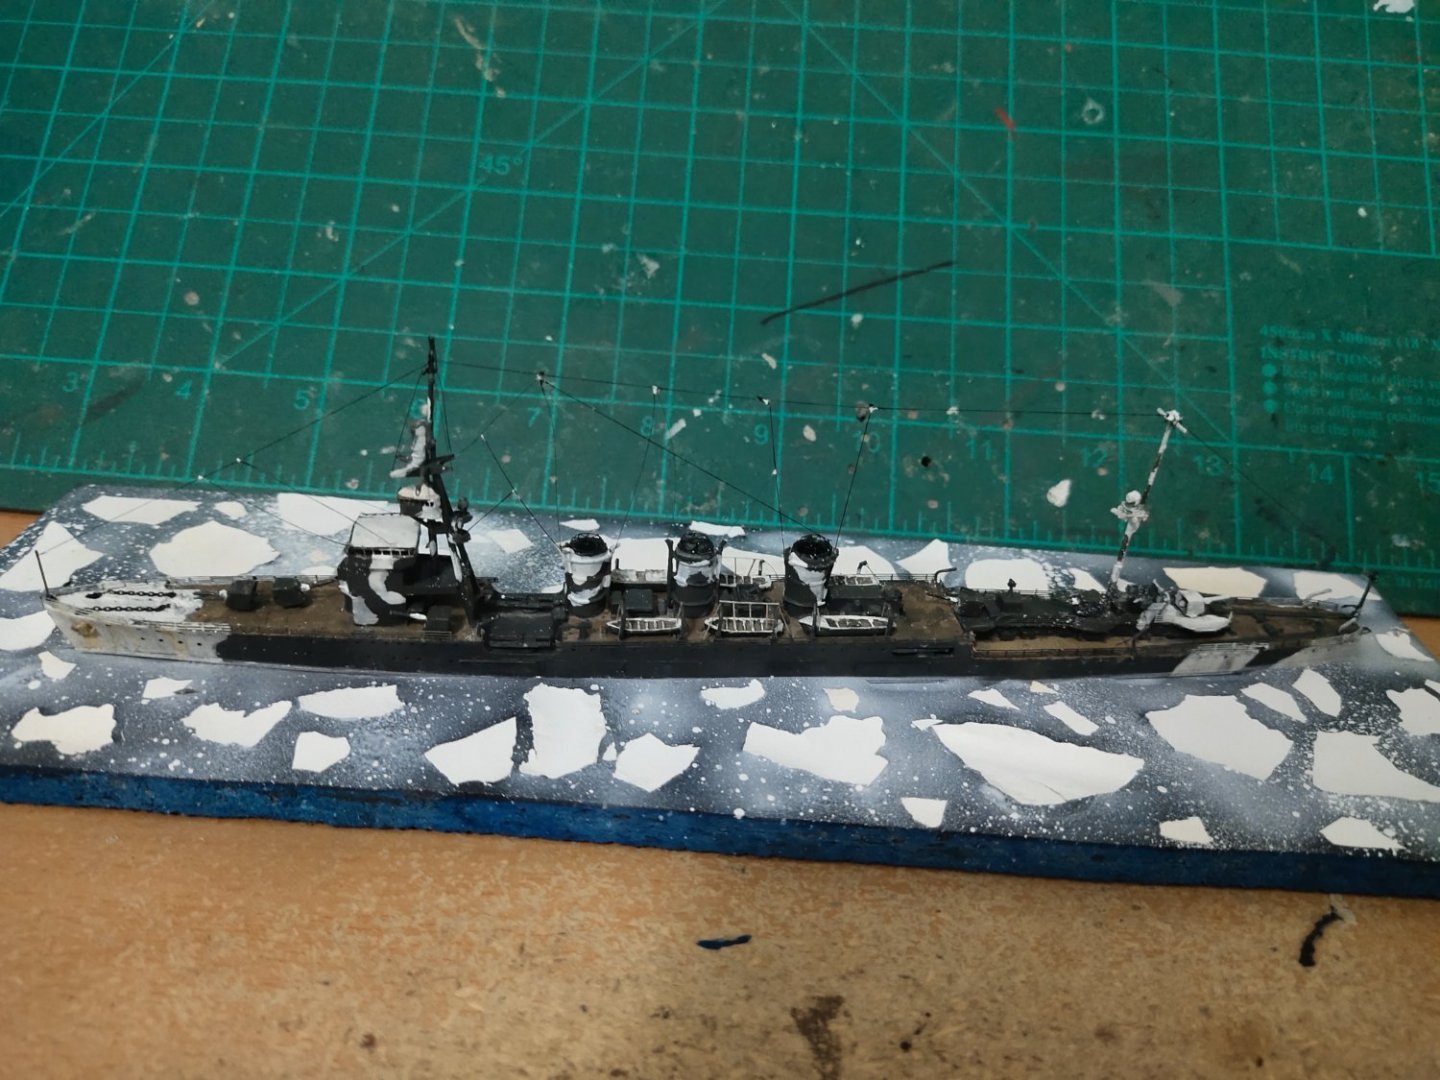
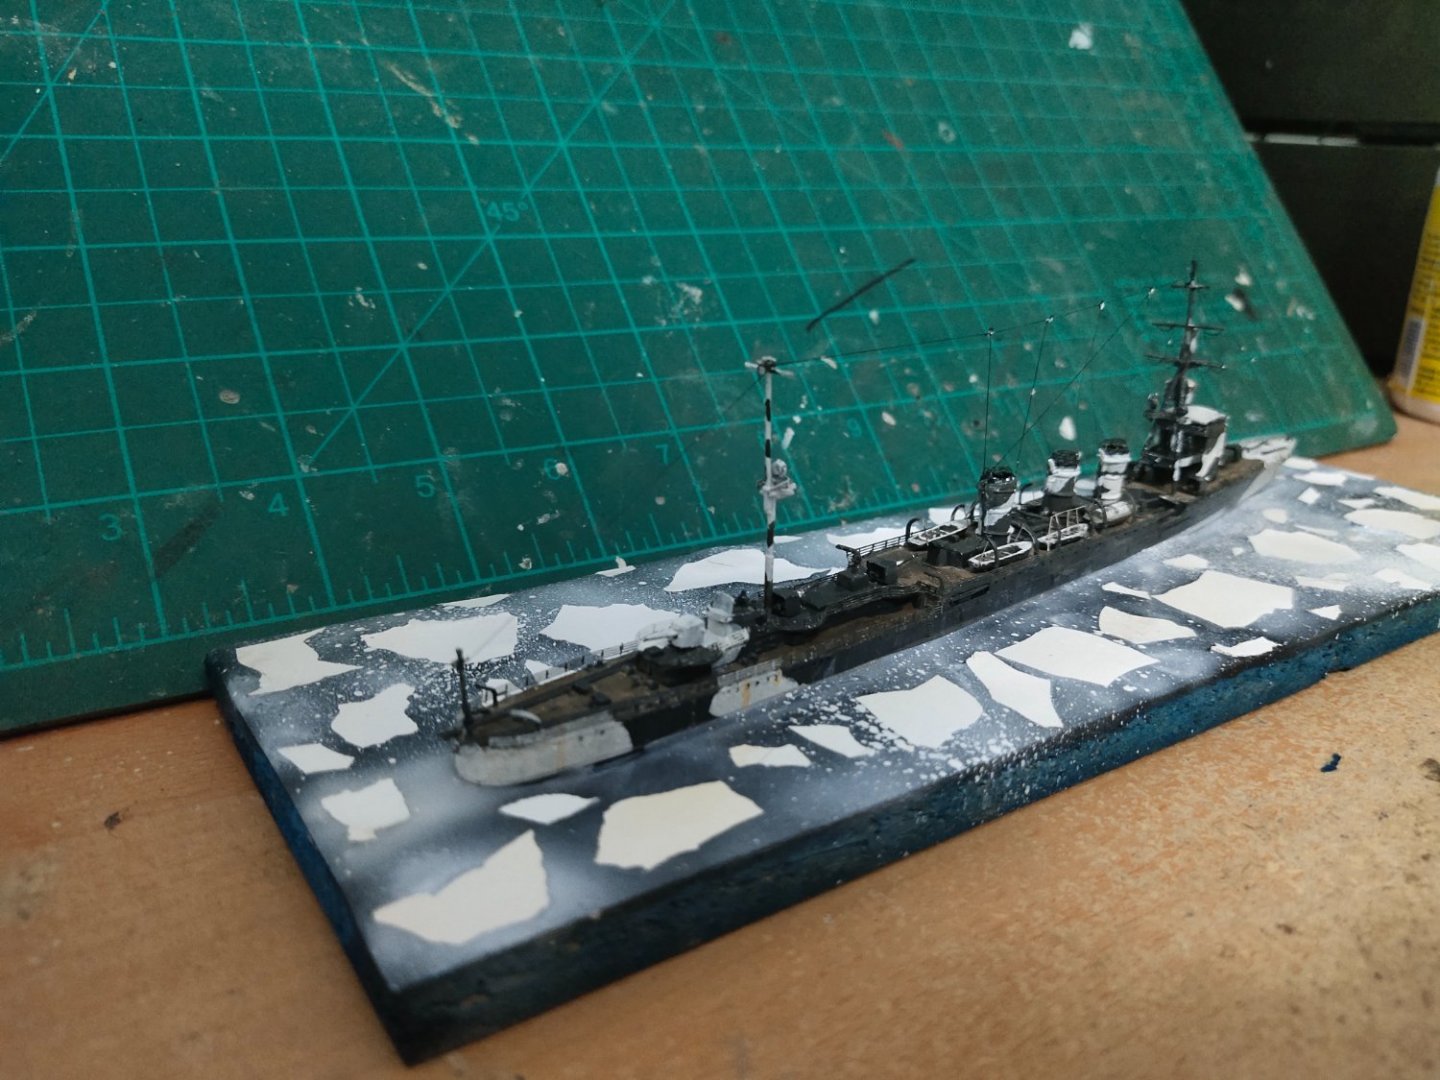
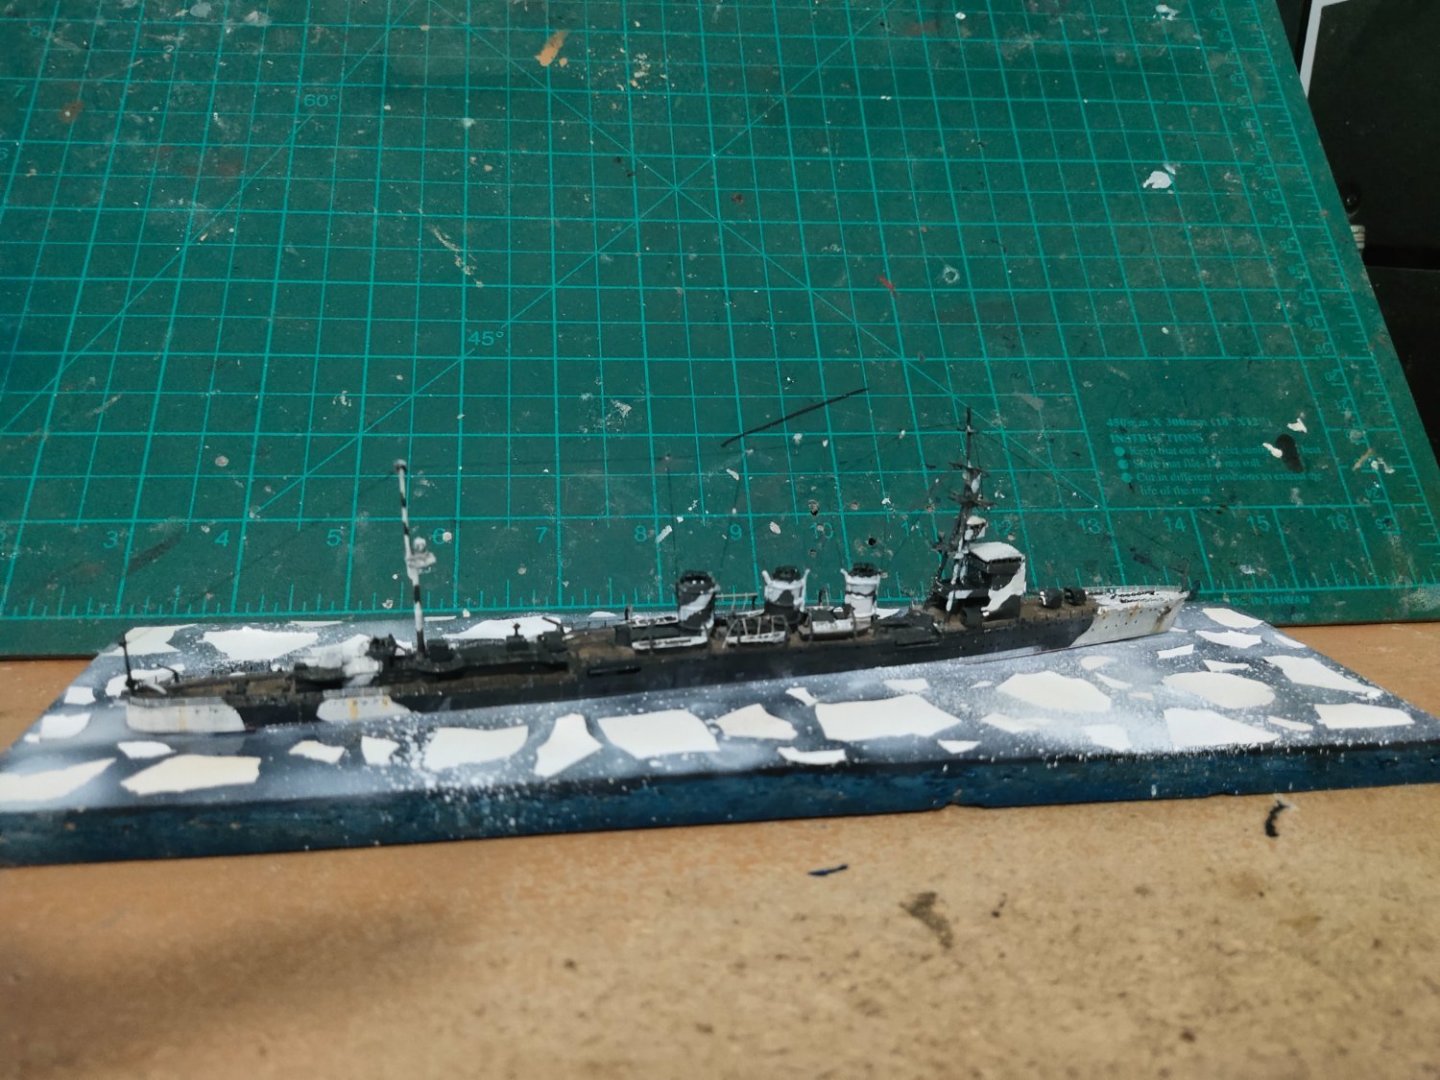
So time for the sea bed. Took a piece of wood, painted it accordingly and covered with a thin layer of express curing resin, just to get a shiny and sticky surface Then I added the snow packs. I simply scrapped off some old paint, crushed with hummer and added to the resin. Then I used airbrush to paint the white fog over water. Finally to make ice bits I came up with the idea of using white spray with "snow effect" cap on it. Unfortunately after almost resin cured some "ice pieces" were curled cause of the thermal effect. I tried to correct it but had limited success, a lesson learned for the next time. The cutting board set on background maybe help you spot Kiso with the stealth ice camouflage.😁
-
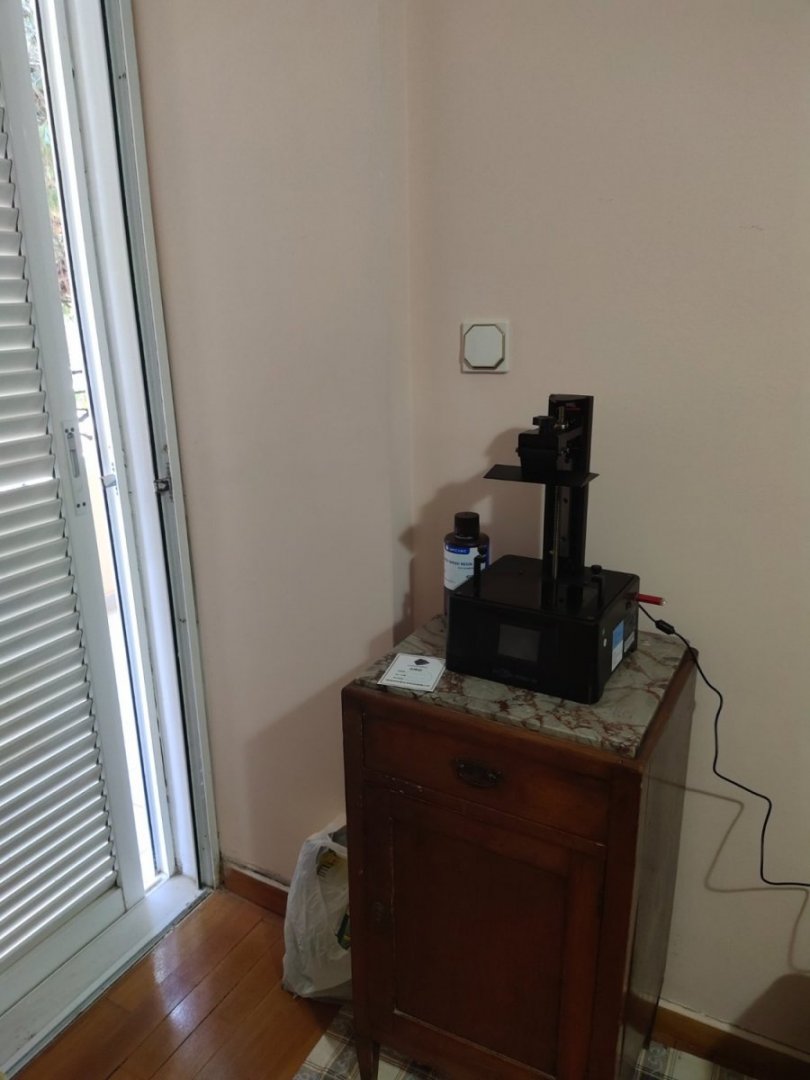
I tested my Anycubic Mono 4K today. In short its a budget version of the standard mono with more plastic and no fan but a 4K resolution. I only printed the sample file following the set up instructions. There was no smell at all with box on top. I have put the printer close to balcony , while aluminum window protecting it from the sun

-
Cap San Diego by mikegr - 1/160
mikegr replied to mikegr's topic in - Build logs for subjects built 1901 - Present Day
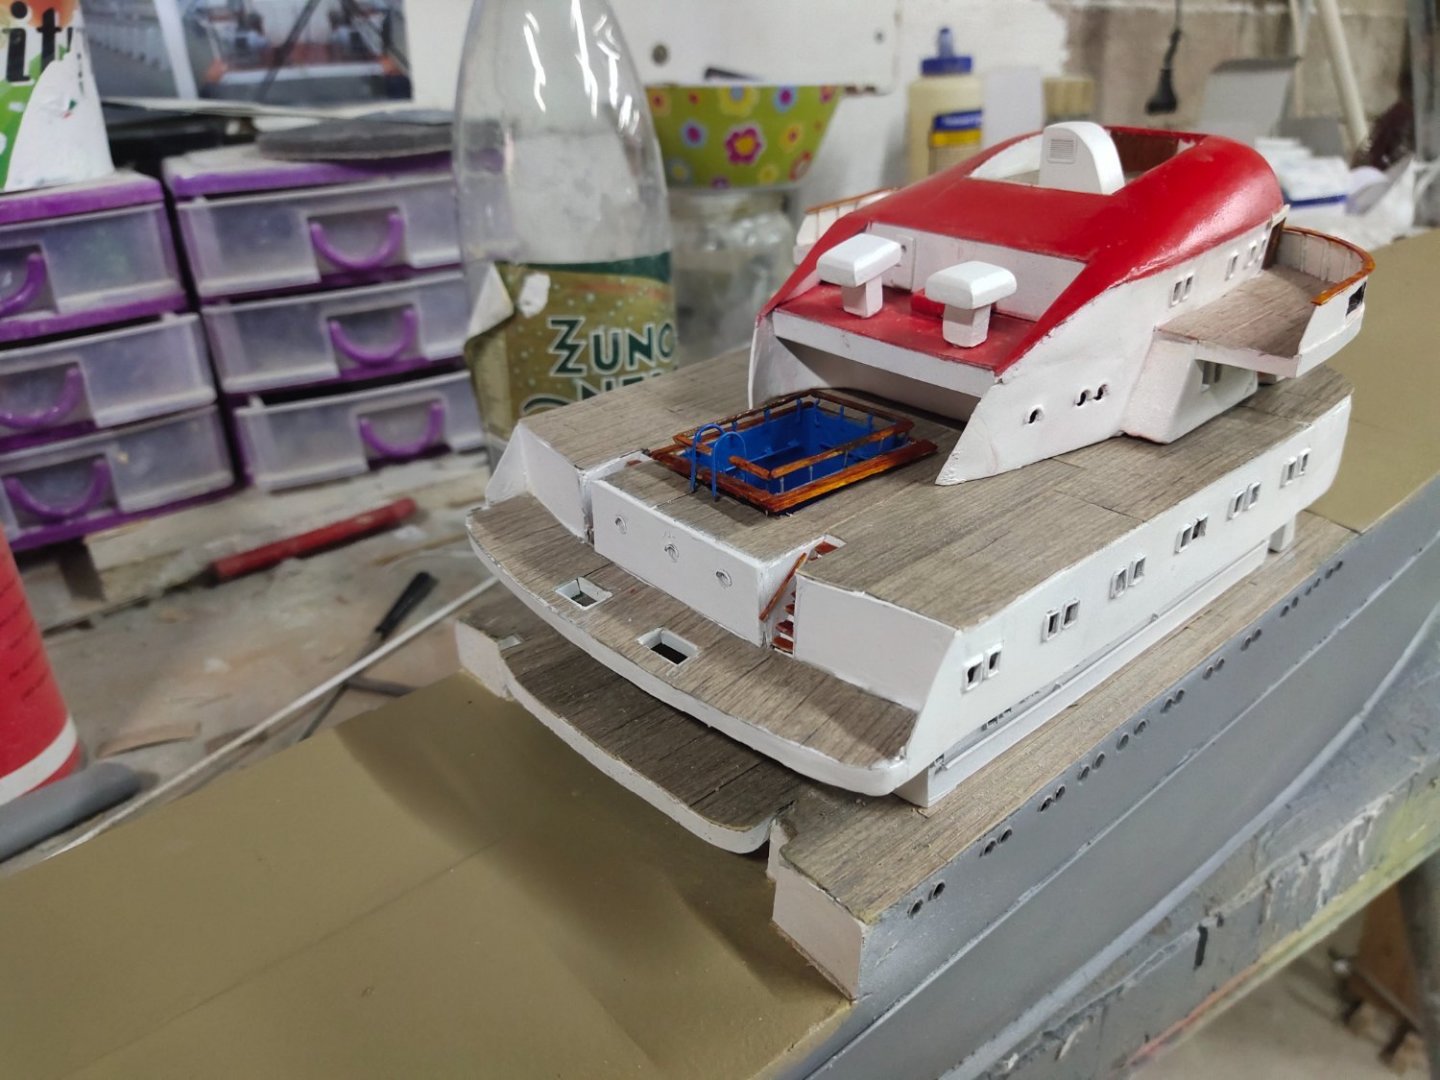
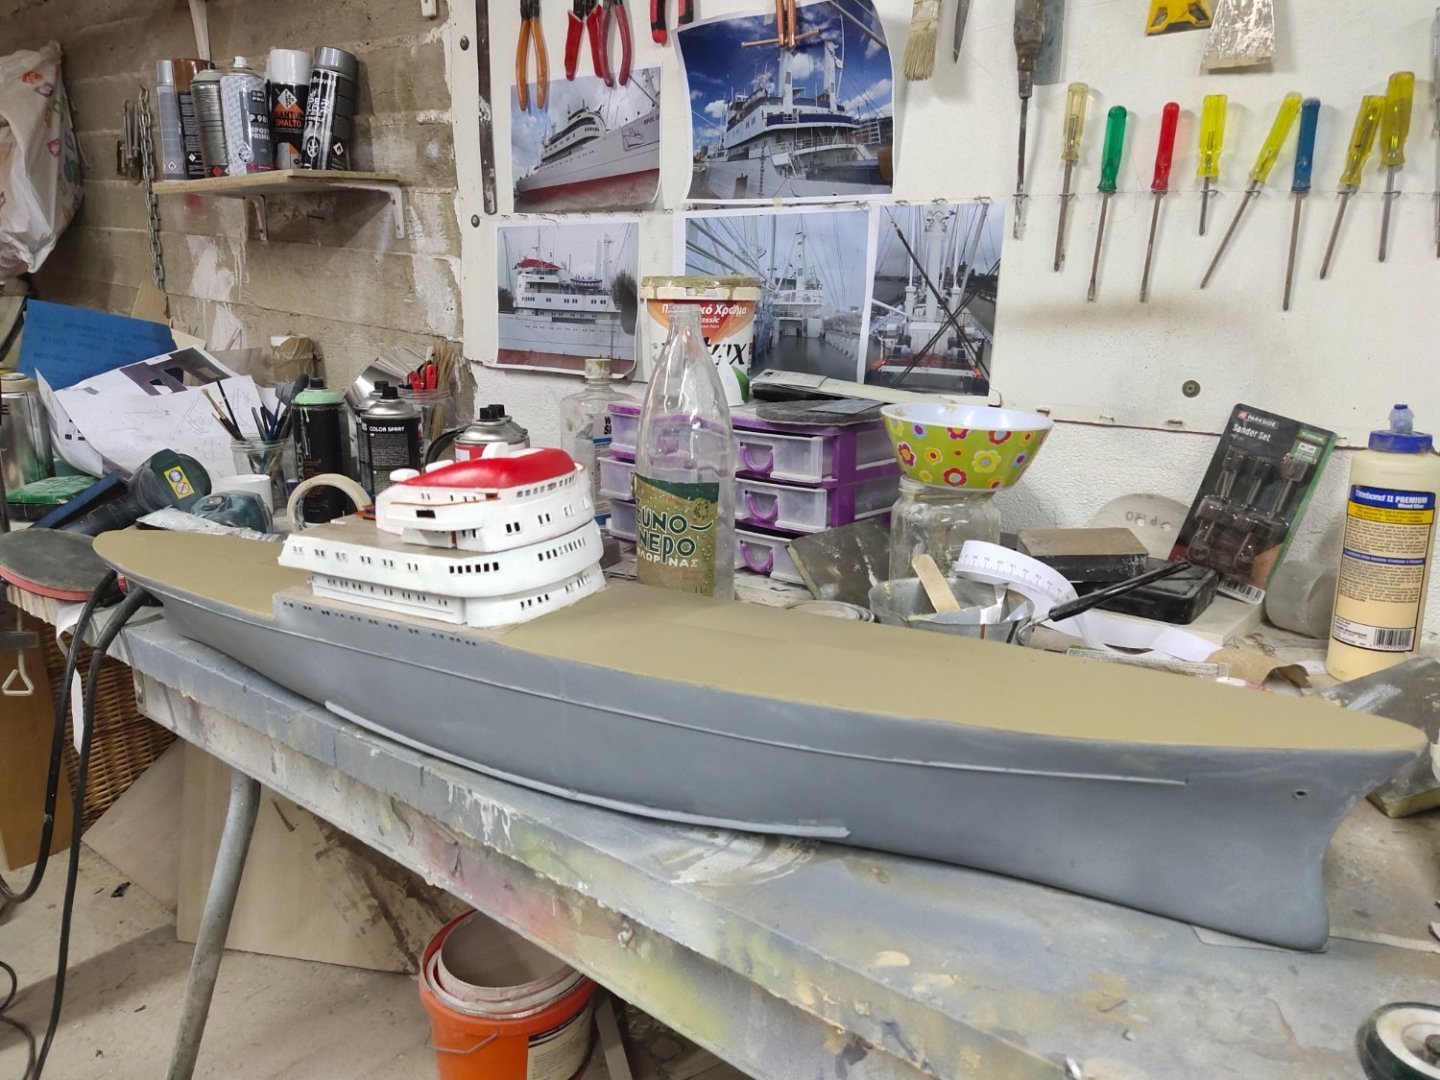
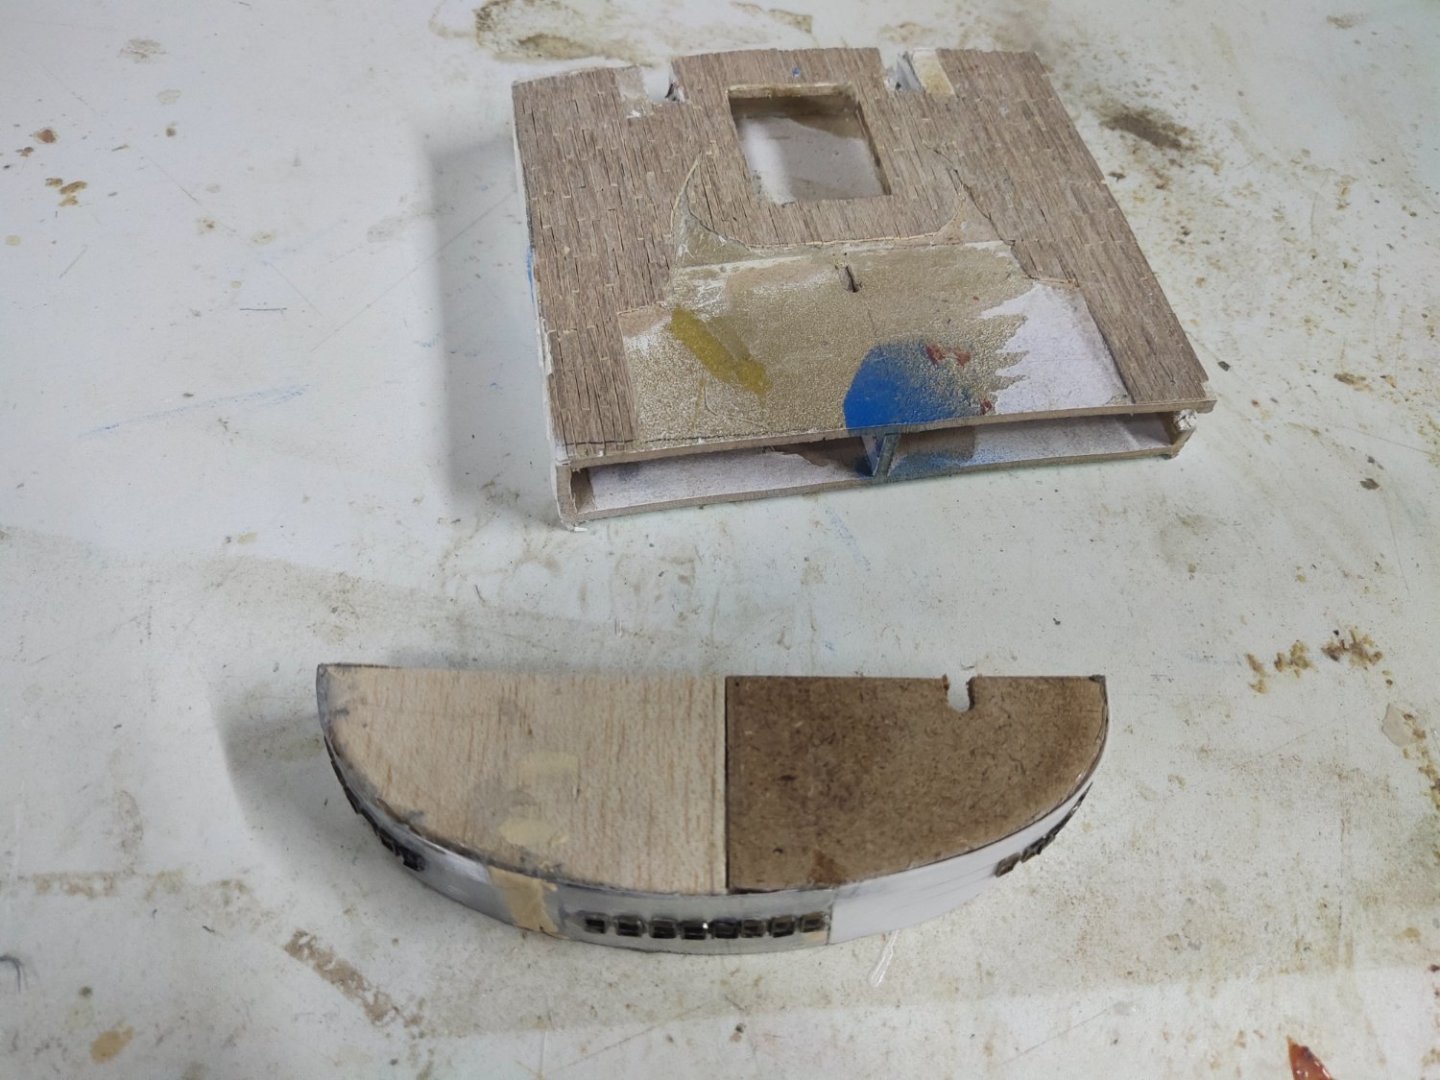
I was eager to post this weekend so spend most of the time working. Upper deck was restarted except from the front part which was cut from the old part and attached to the new one. Again the deck proved too long. That means there is an obvious error on plans. So I cut the piece in half, removed about a 1,5 cm long section and joined the remaining sections together. Seems I'm good on this task. Maybe I should try lengthen/shorten a hull in the future lol. After rebuilding the upper deck I have restarted the whole project by 90%. I need to make some improvement and fitting corrections but I wanted to shoot it today. It seems the model its getting in shape. More micro work will be involved in the future and the progress will be slower and painful. Thus I got a new friend.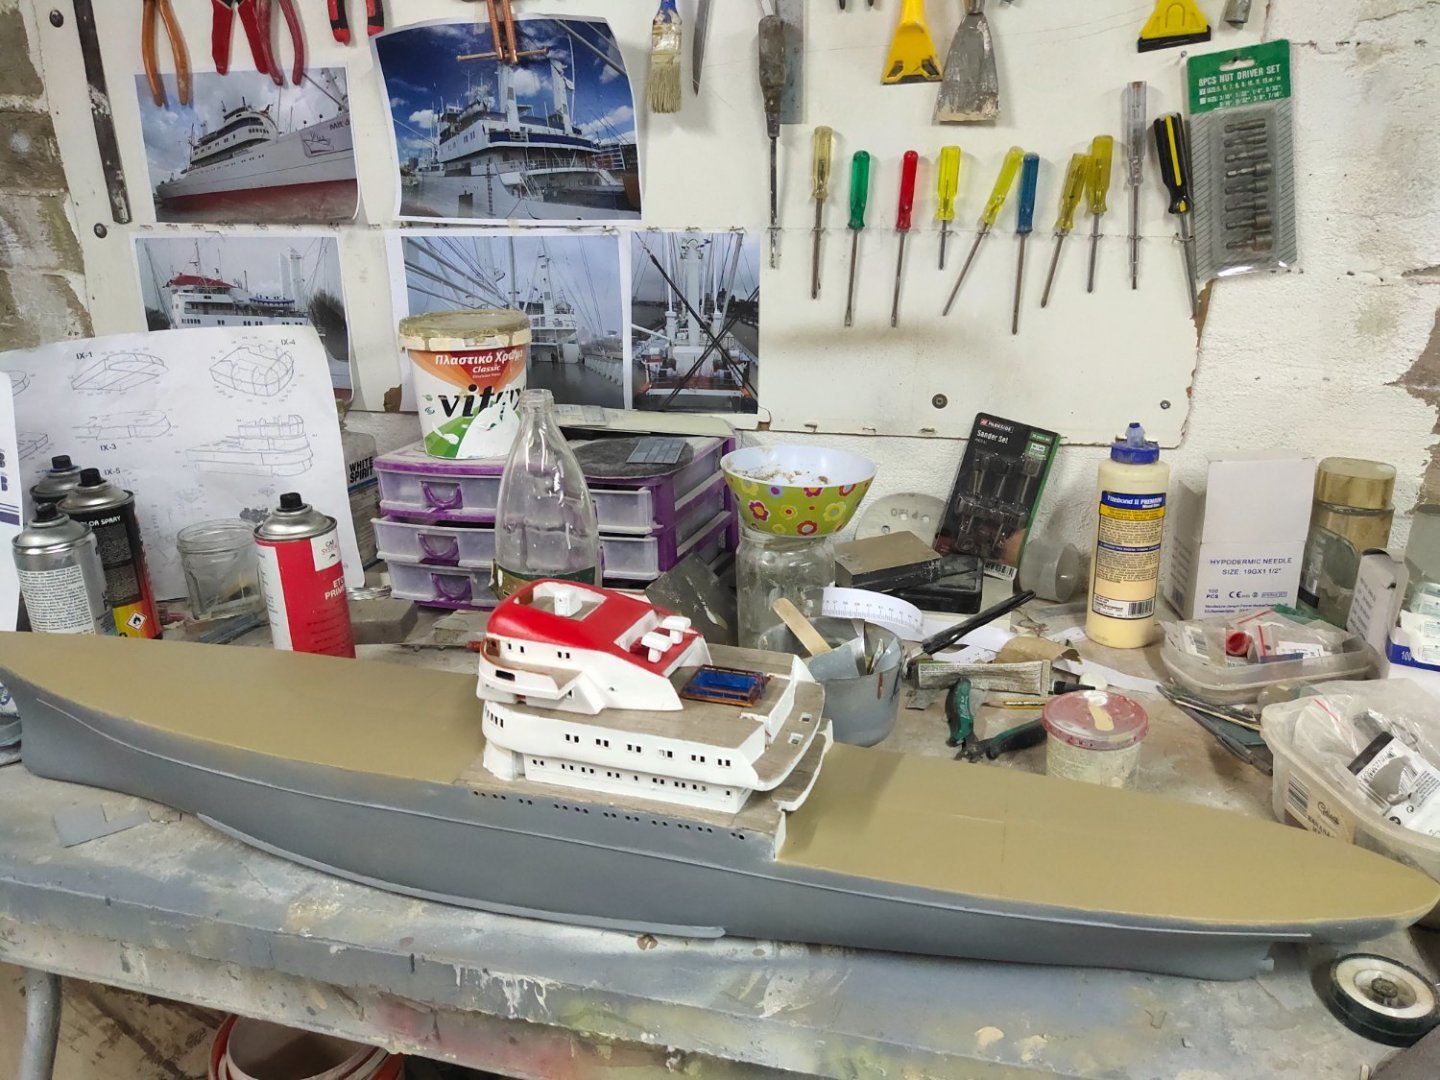
-
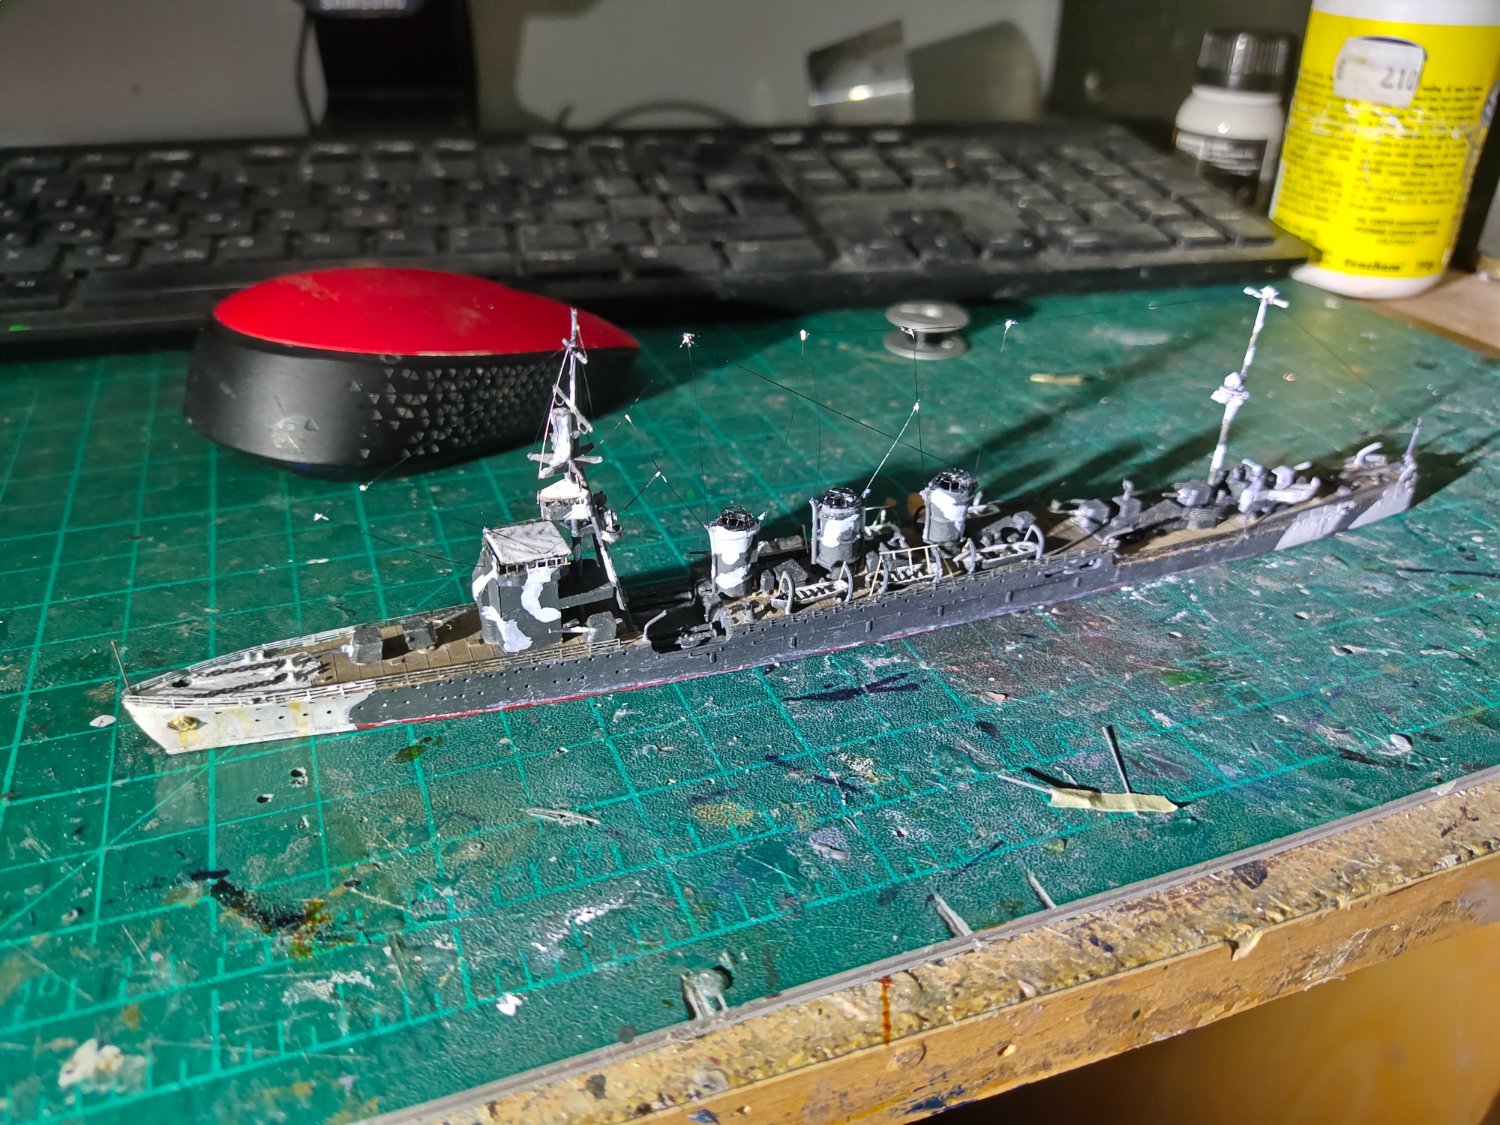
I finished rigging. I used mix of elastic line and melted sprue, for the shorter parts. Time for the seabase now