Mirabell61
-
Posts
7,418 -
Joined
-
Last visited
Content Type
Profiles
Forums
Gallery
Events
Everything posted by Mirabell61
-
 very nice work Mike, clean and accurate planking ! Nils
- 452 replies
-
- 2
-

-
- cheerful
- Syren Ship Model Company
- (and 1 more)
-
Batavia by *Hans* - FINISHED
Mirabell61 replied to *Hans*'s topic in - Build logs for subjects built 1501 - 1750
Hello Hans, I admire your ambition of doing These cast Trials with Silicone moulds and very much hope it will work out to your satisfaction. I cross fingers and will be watching you gain your experience in the hope I may be able to do alike in the future. Thanks for sharing ... Nils -
Thank you for your nice appreciation Mike, I`m waiting for some ordered 12mm wide one-side adhesive plastic tape to arrive, with which I`ll do some resembling trials for the plating pattern in metal at the more critical hull Areas. The plastic tape will be removed again and scrapped afterwards Nils
- 2,625 replies
-
- 5
-
-
- kaiser wilhelm der grosse
- passenger steamer
- (and 1 more)
-
Amazing work on the details Dan the funnel vent netting with help of the screws pitch is genious... Nils
- 108 replies
-
- 4
-
-
- andrea doria
- ocean liner
- (and 1 more)
-
Thank you very much Johann, your comment is much appreciated.. Nils
- 2,625 replies
-
- 2
-
-
- kaiser wilhelm der grosse
- passenger steamer
- (and 1 more)
-
lovely work Alex ! Nils
-
many thanks to Patick, Nigel, and Denis, and the "likes"... Patrick, you`re right, the 1380 mm long hull is very sleek for an ocean-liner. I`m very happy with the display stand geometry and the easy and secure way of fastening to the hull Nigel, no wonder she was so fast, for her slim and sharp lines to knife her way through the ocean...., but she was also known for her tendency to roll quite a bit in spite of the bilge keels, her nickname was "Rolling Billy", must have been many sea-sick per voyage Denis, Thanks, I know you are fond of the size of the hull, being scale 1:144. To my knowledge most museum models of the KWdG are 1:100, but that would be a hull as long as my bed. I`m planing the pattern for the plating now Nils
- 2,625 replies
-
- 8
-
-
- kaiser wilhelm der grosse
- passenger steamer
- (and 1 more)
-
Nice rudder stand and Name letters Peter, the barefoot helmsman finds that the tiller has just the right hight... Nils
- 293 replies
-
- 1
-
-
- pickle
- caldercraft
- (and 1 more)
-
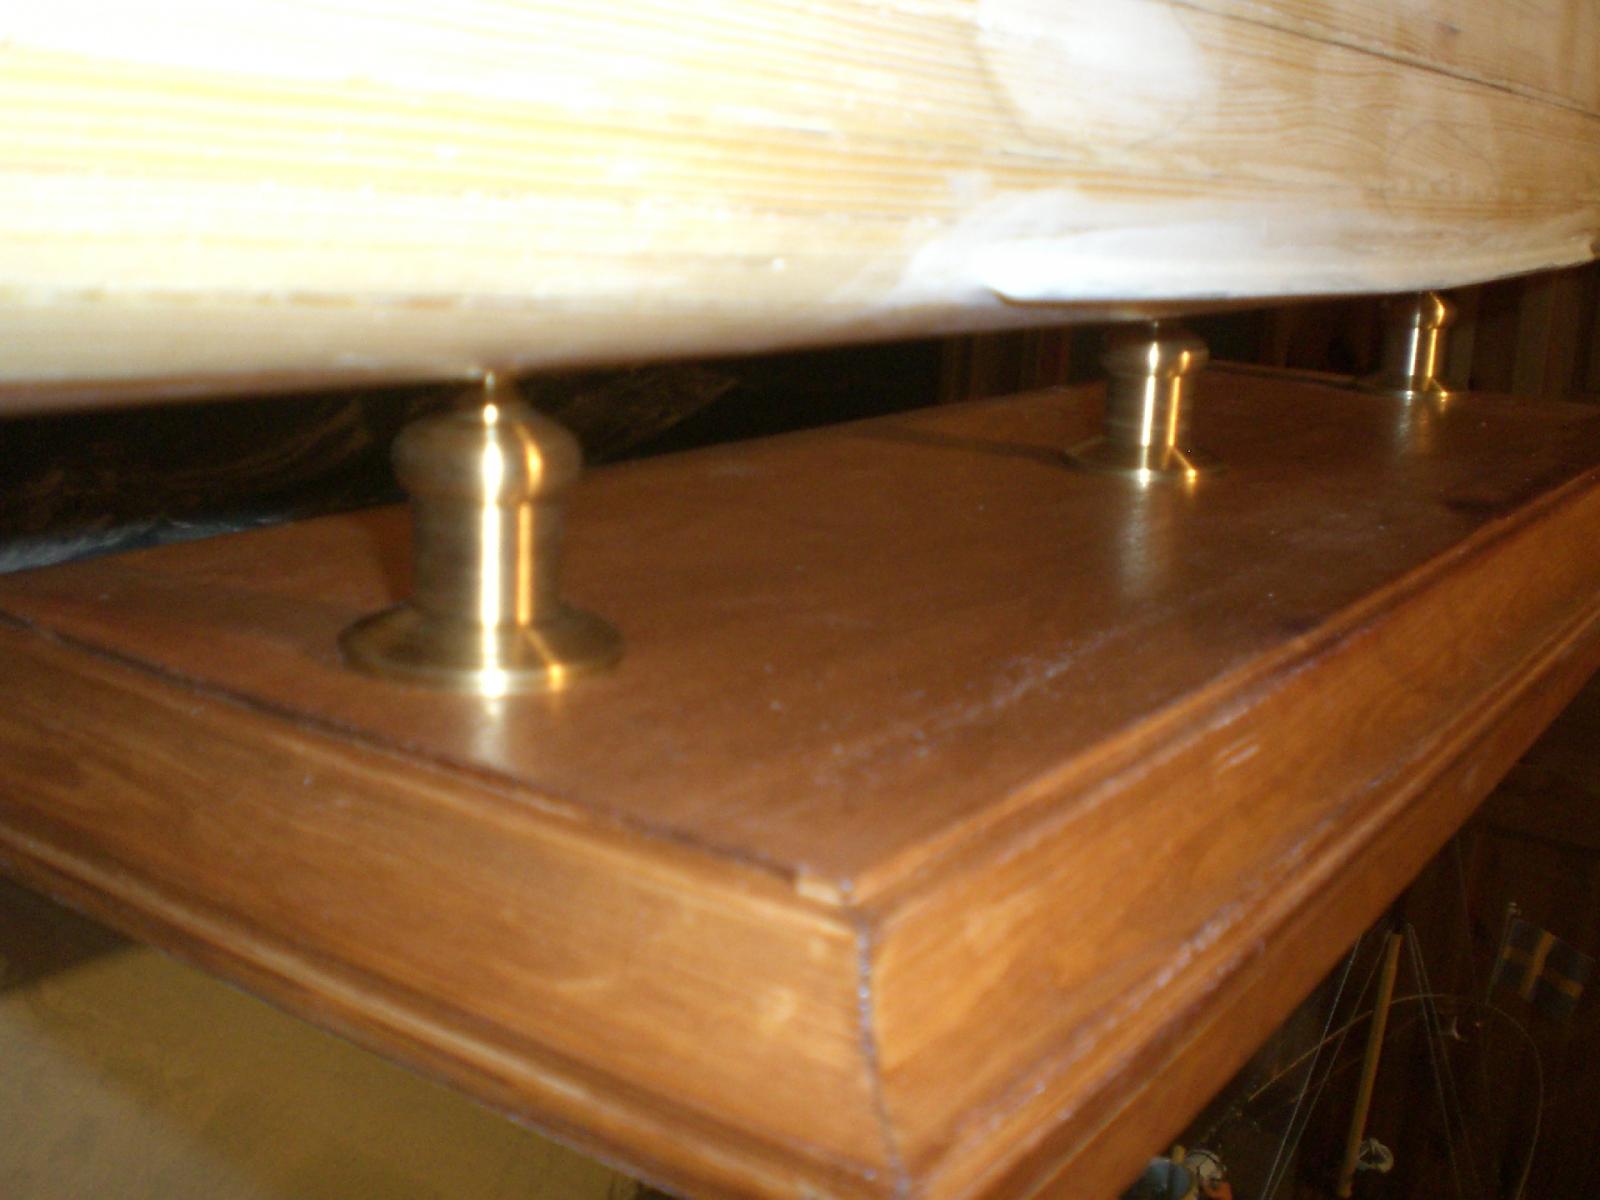
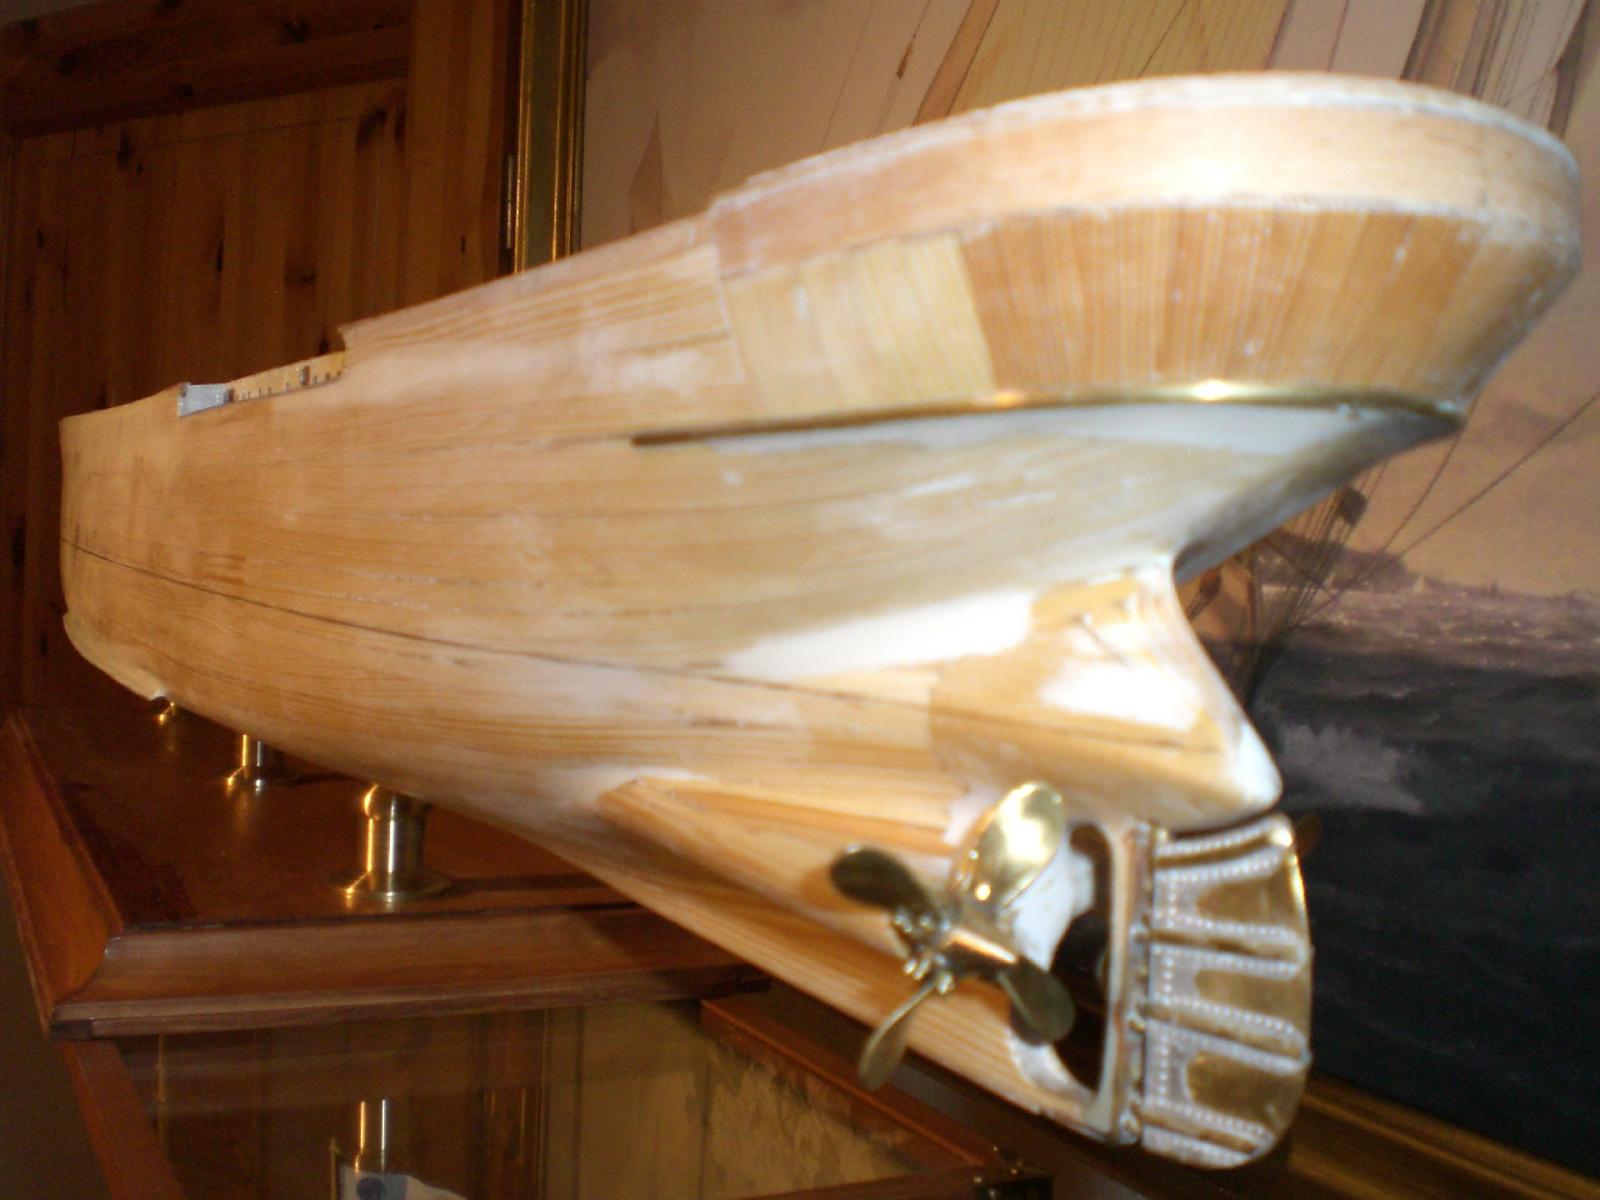
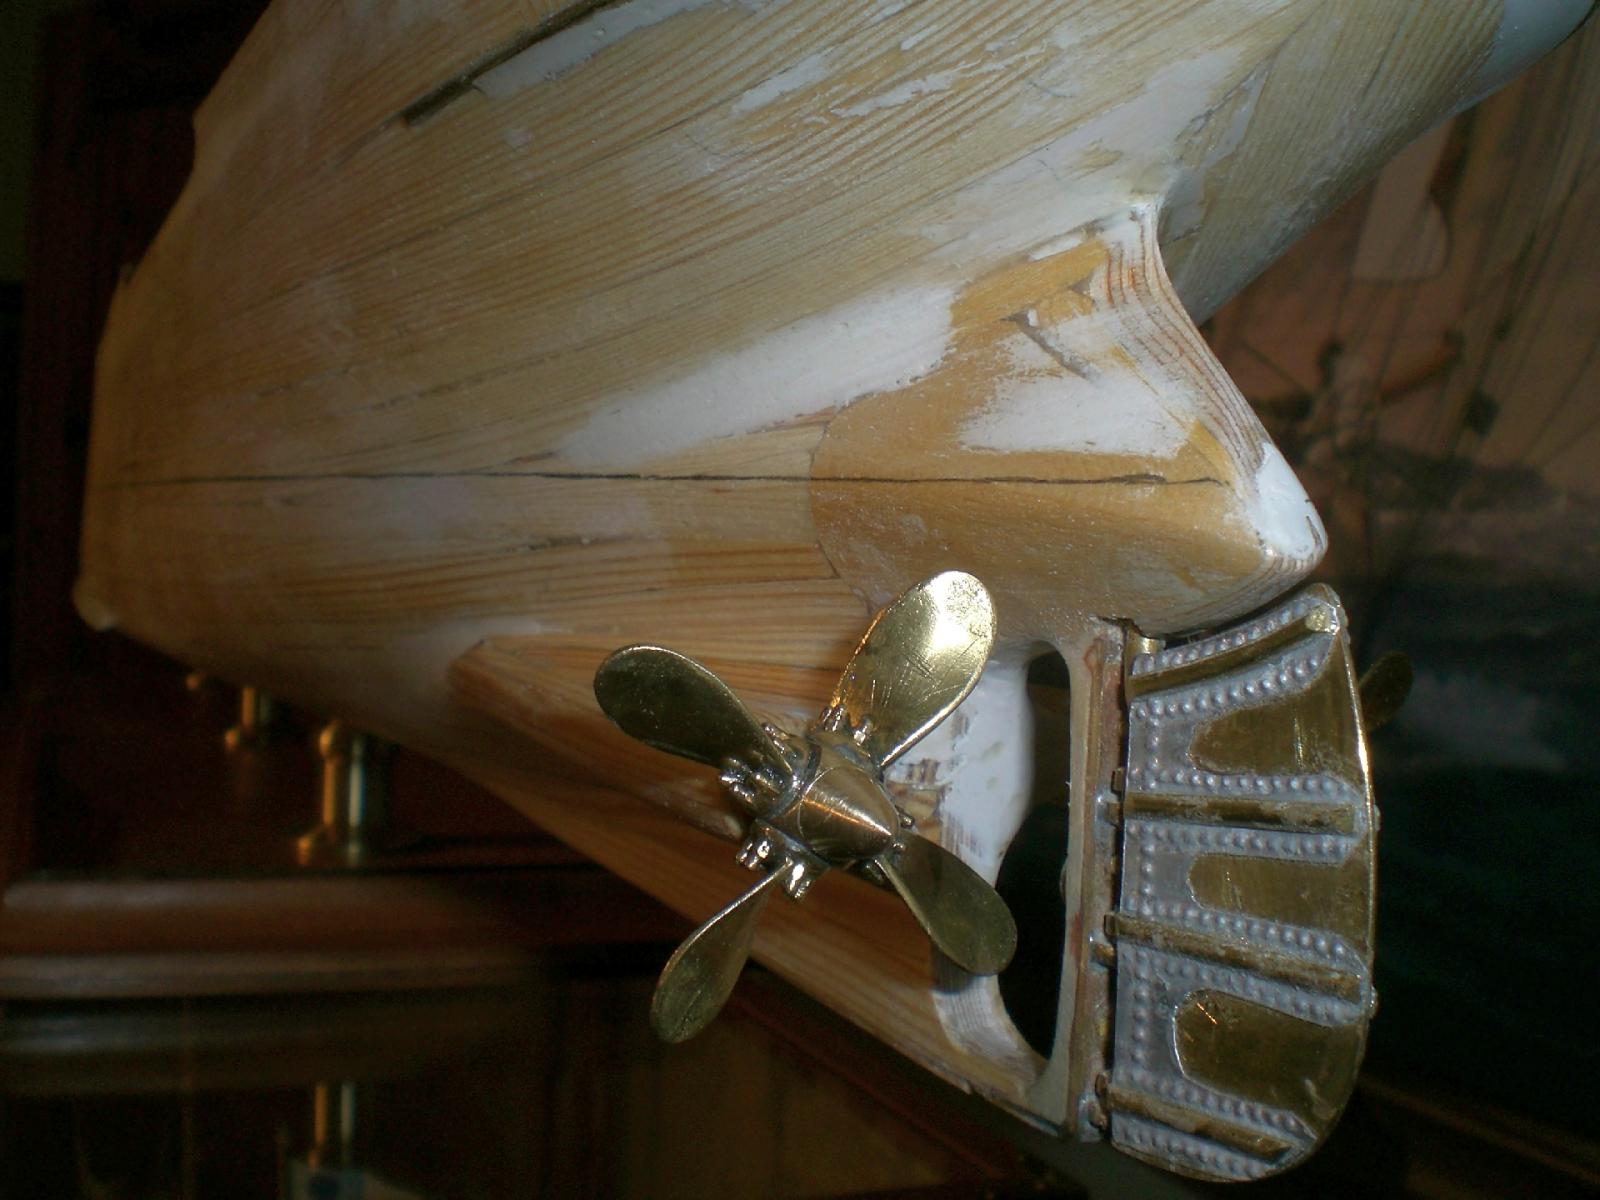
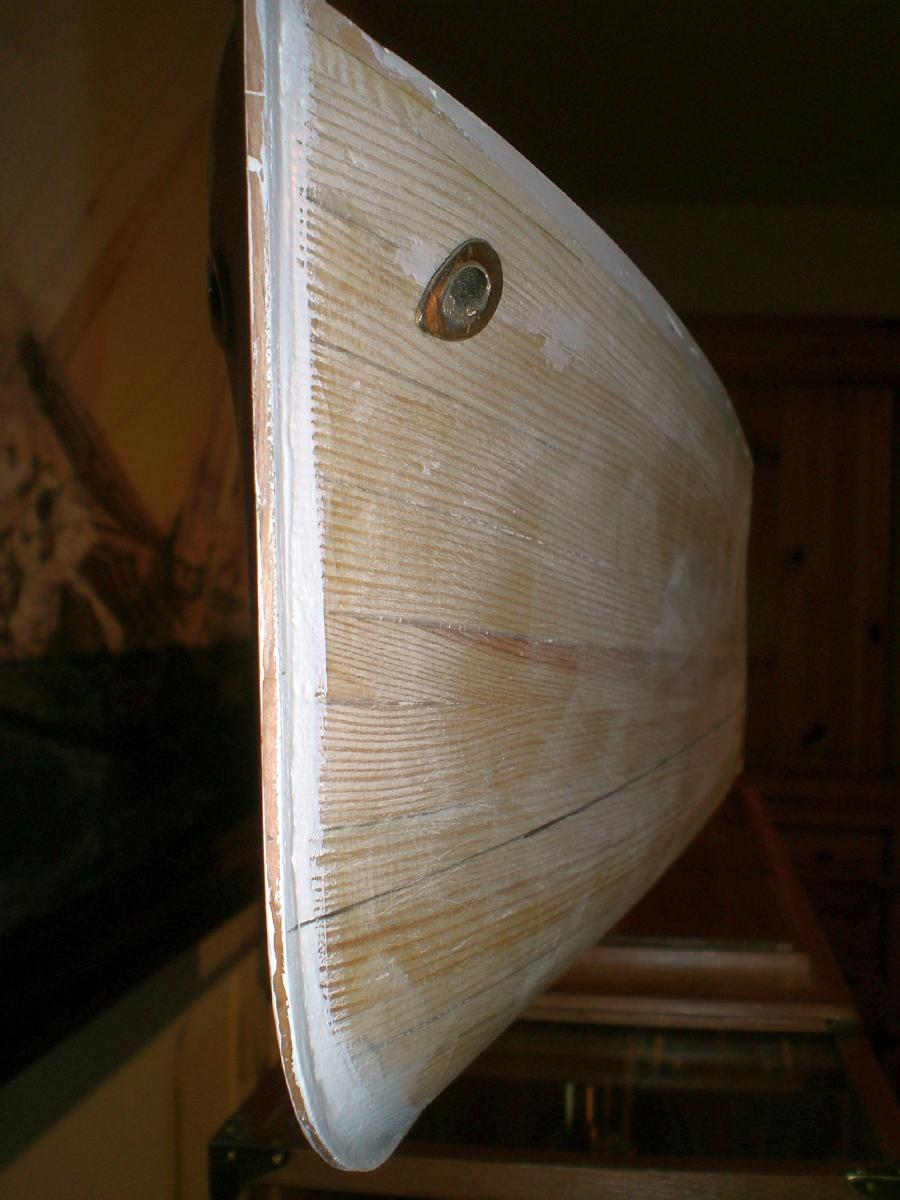
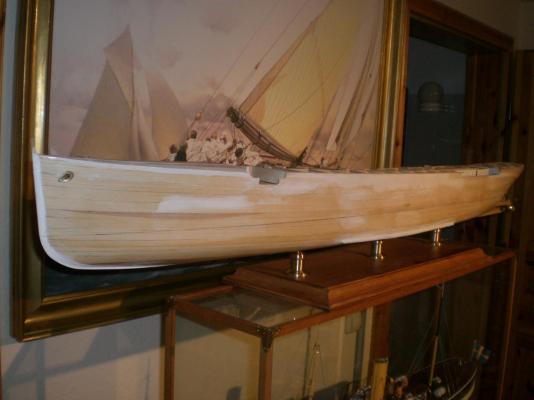
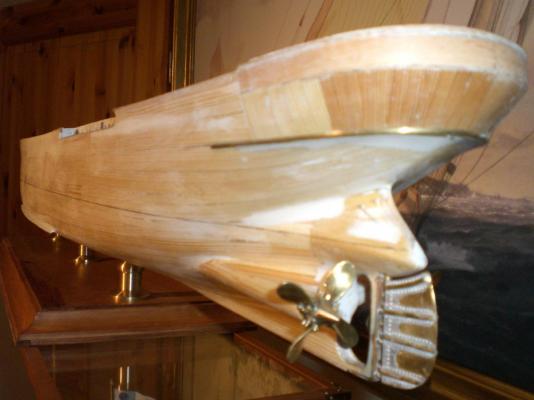
Build log part 20 putting the hull to the stand first time and marking / checking the waterline Nils due to the length a 3-pedestal stand is adequate the brass pedestals are from candle holders, drilled with 4 mm centerholes for the three M4 spindles that are anchored securely in the ship`s "backbone" the waterline has been marked with a soft pencil, all around


- 2,625 replies
-
- 37
-
-
- kaiser wilhelm der grosse
- passenger steamer
- (and 1 more)
-
Thank you very much Bob, Nils
-
Nice comments Jason, thank you very much, I`m glad you like it... Nils
- 2,625 replies
-
- 2
-
-
- kaiser wilhelm der grosse
- passenger steamer
- (and 1 more)
-
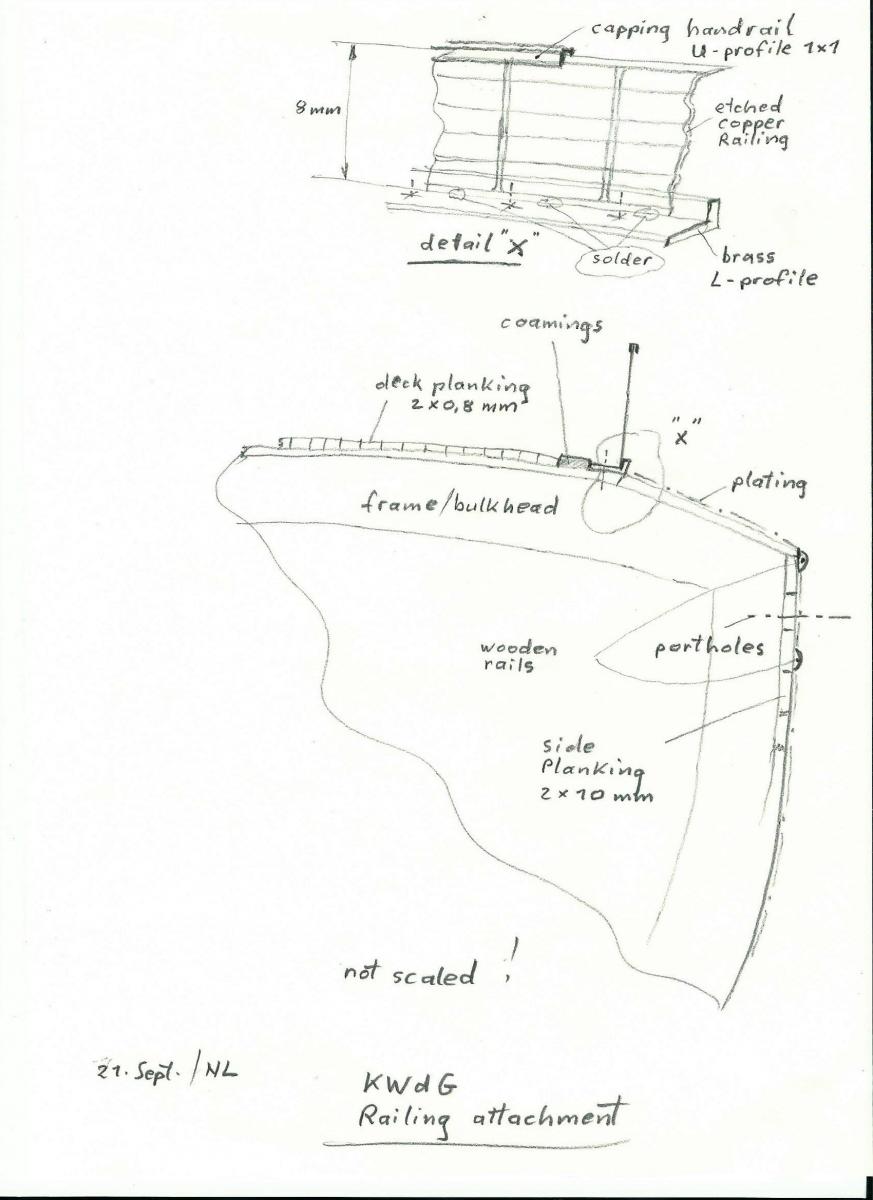
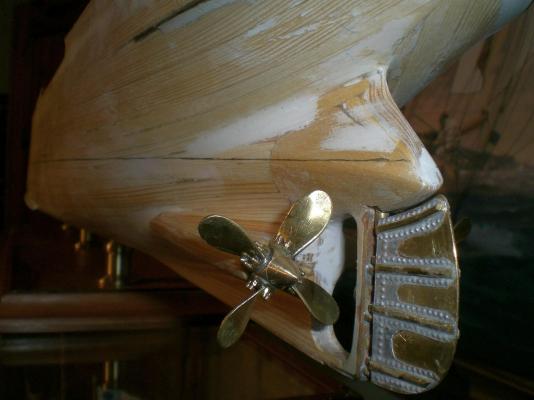
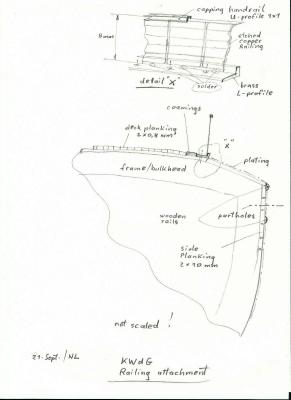
Thanks Boyd, it still will take some time before I can mount the railings........., but here, upfront, is a little hand scetch how I intend to do so. This is what my thoughts are circling about..... Probably I`ll have to solder the railing stripes to the brass L-profiles and the cap rails and final-paint them prior to mounting on the ship Nils scetch showing an outcut of the forecastle deck, the railing will be three or four wire only...
- 2,625 replies
-
- 6
-
-
- kaiser wilhelm der grosse
- passenger steamer
- (and 1 more)
-
Congrats Bob, to the completion of your good looking Dragon model.... Have you already given her a Name, other than Dragon Class II ? Nils
- 127 replies
-
- 4
-
-
- dragon class
- yacht
- (and 1 more)
-
thanks to Patrick and Piet, for the nice appreciations.... and all the "likes" Patrick, all portions where there is no Access to later on have to be fitted out for final Appeal... Piet, the decks work out quite well with the pencil caulking to the edges, and because the supplier of the "Planks" to my pleasure can cut them very precise Nils
- 2,625 replies
-
- 3
-
-
- kaiser wilhelm der grosse
- passenger steamer
- (and 1 more)
-
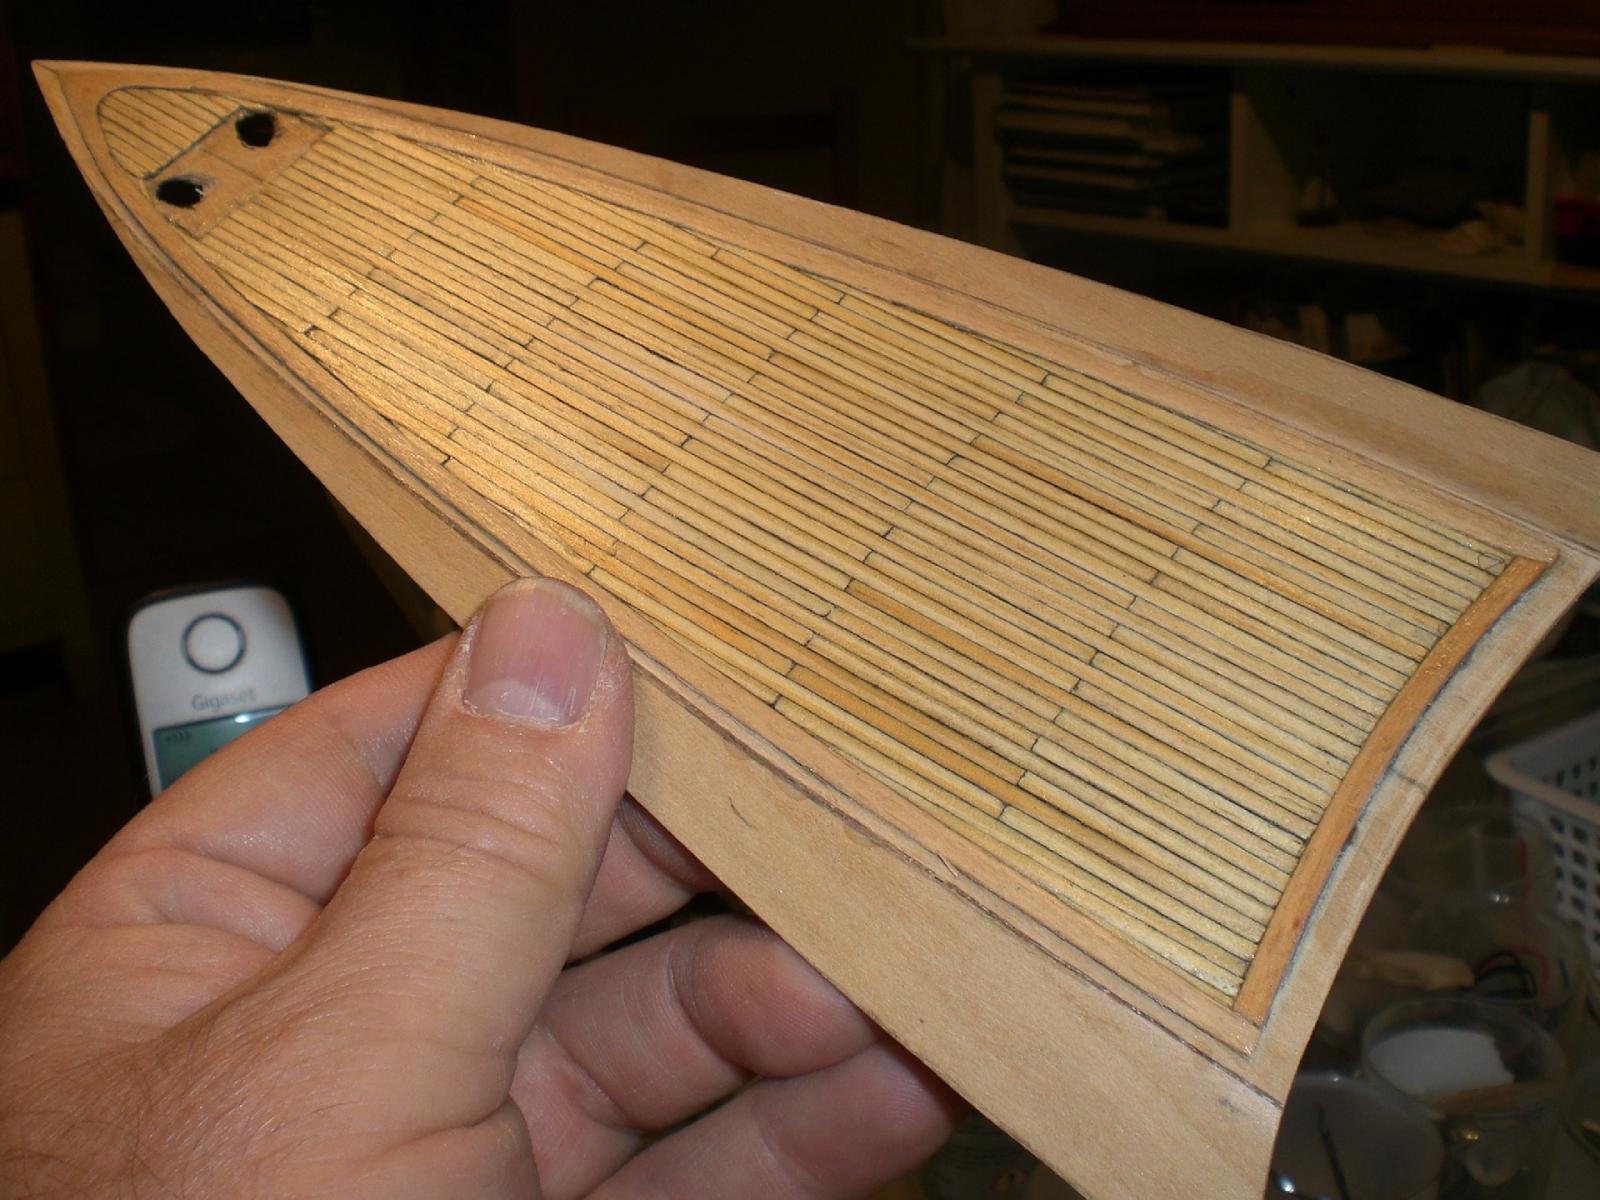
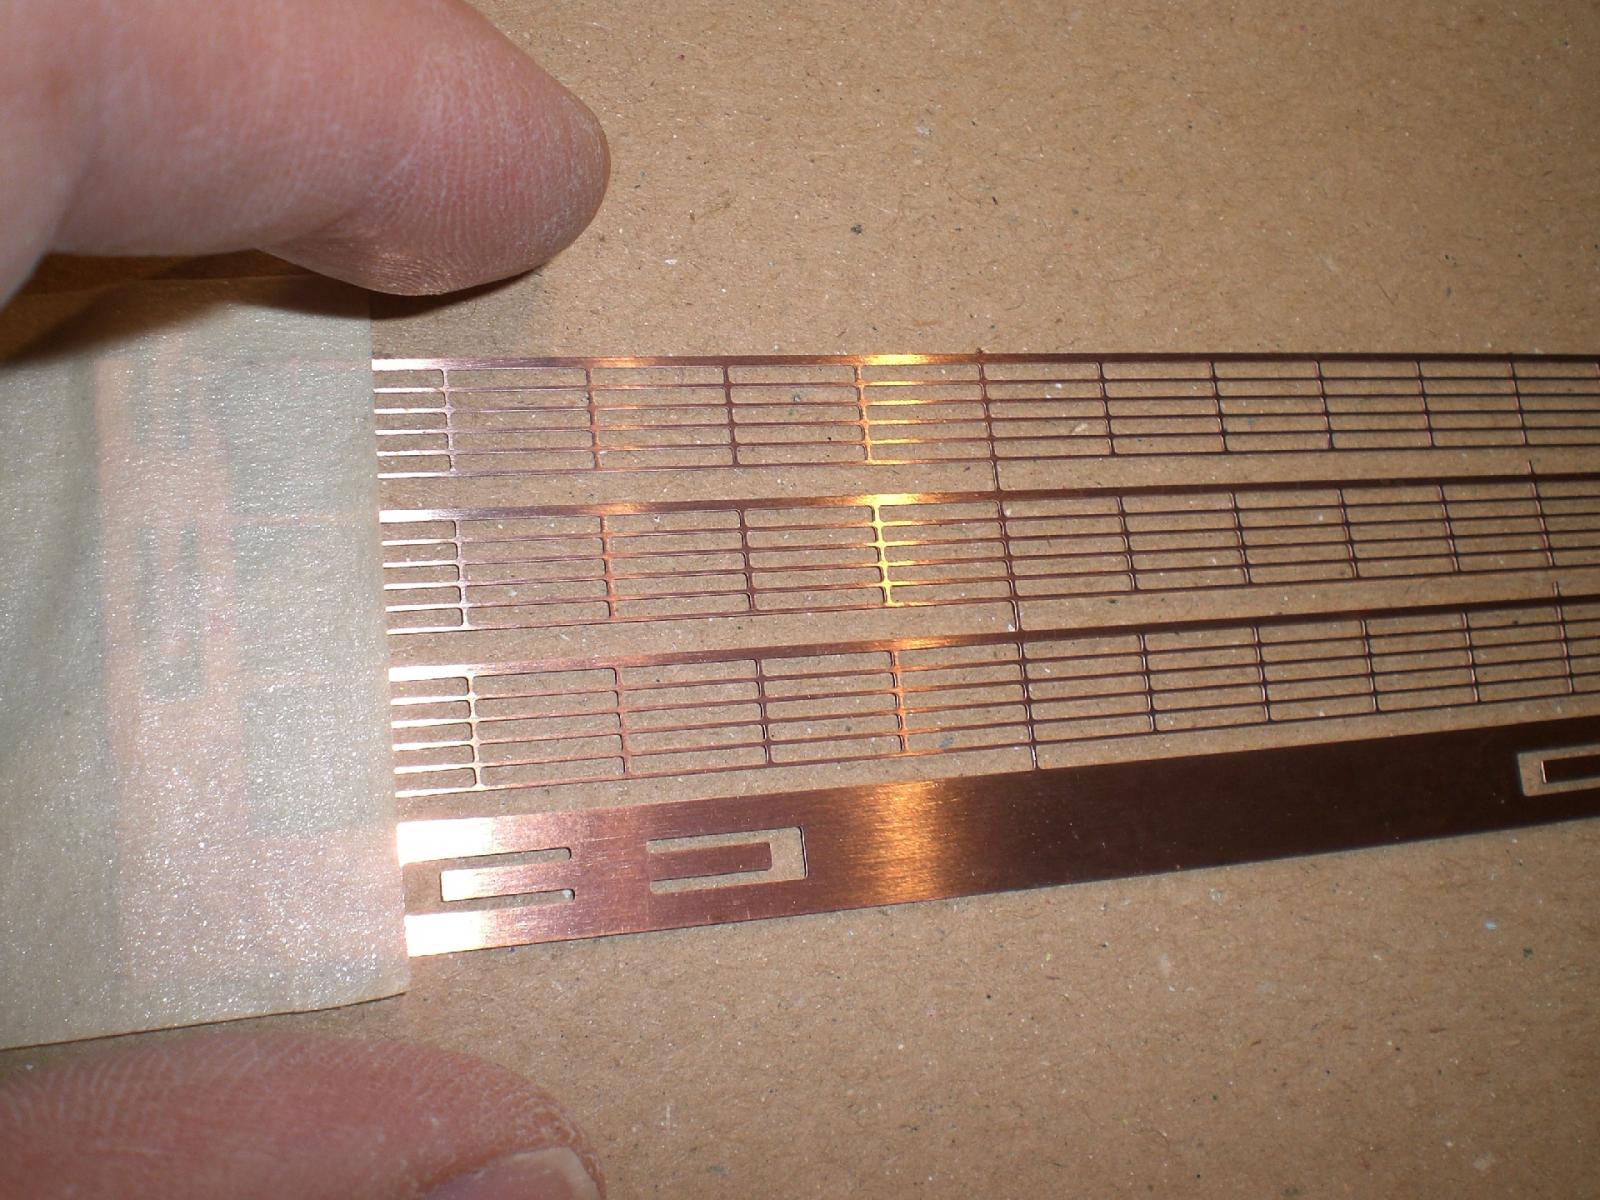
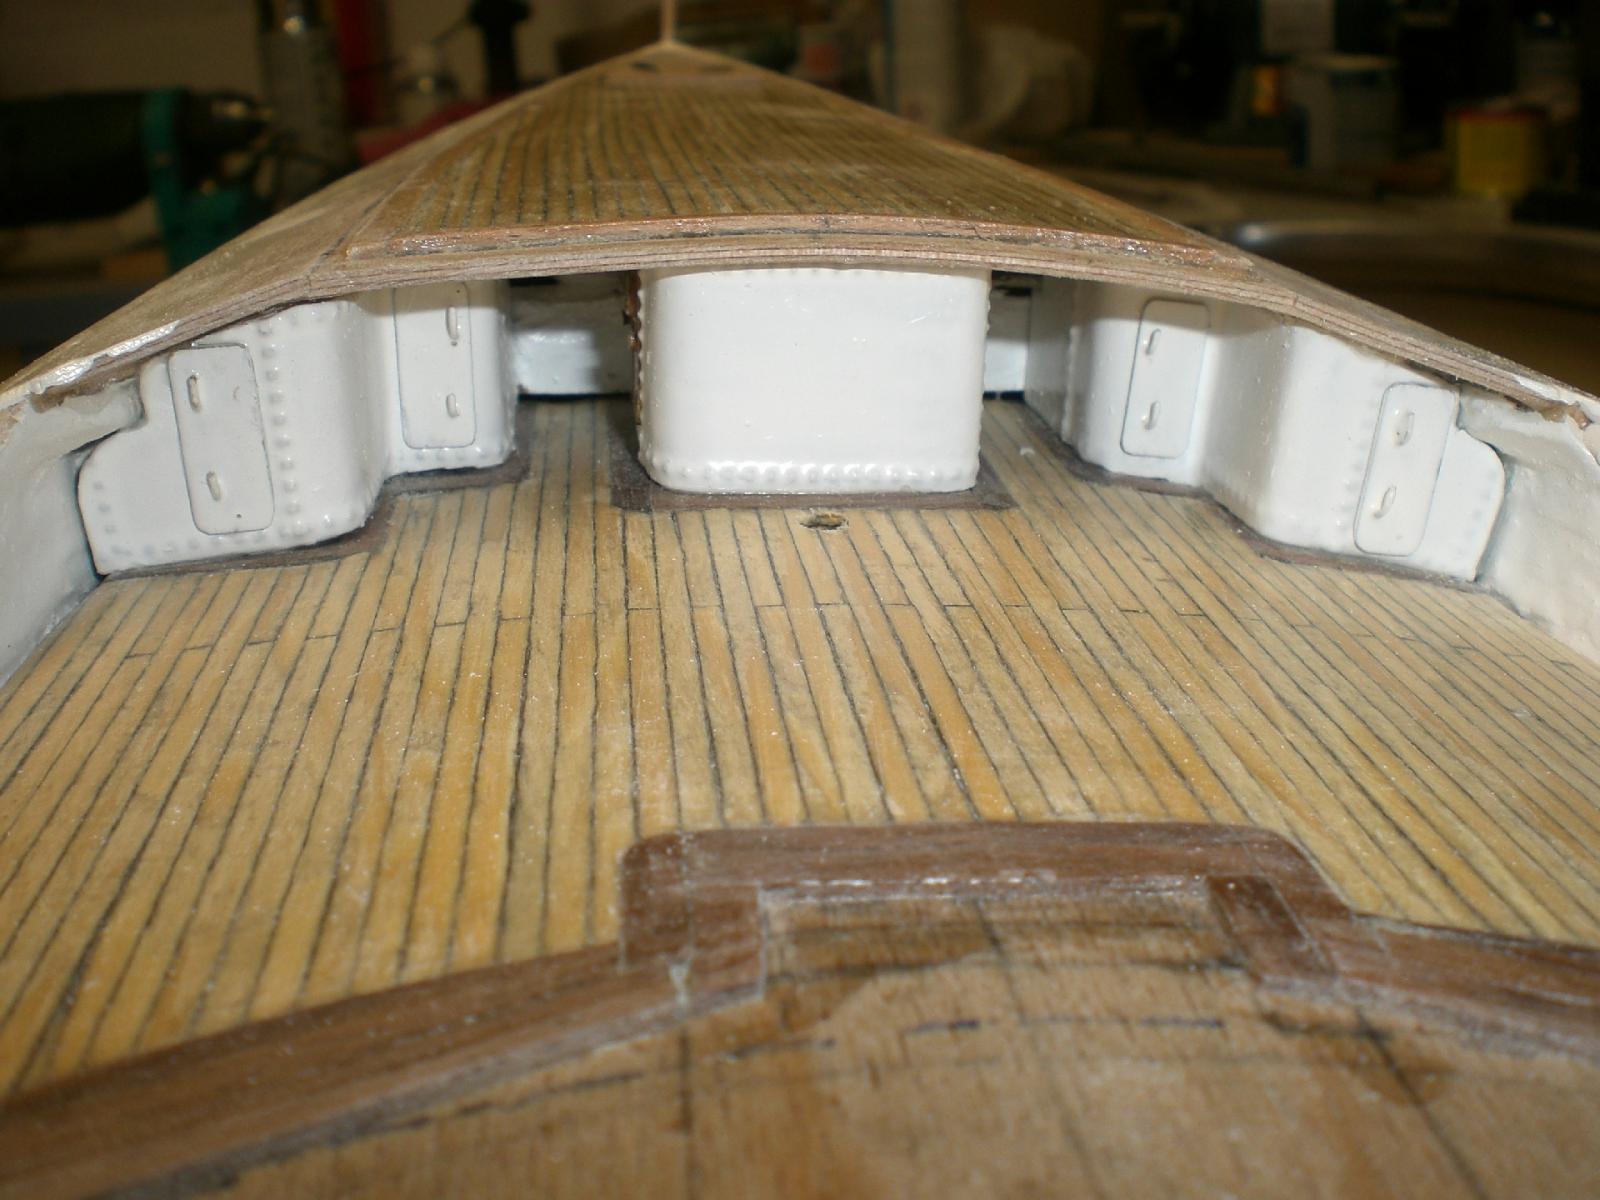
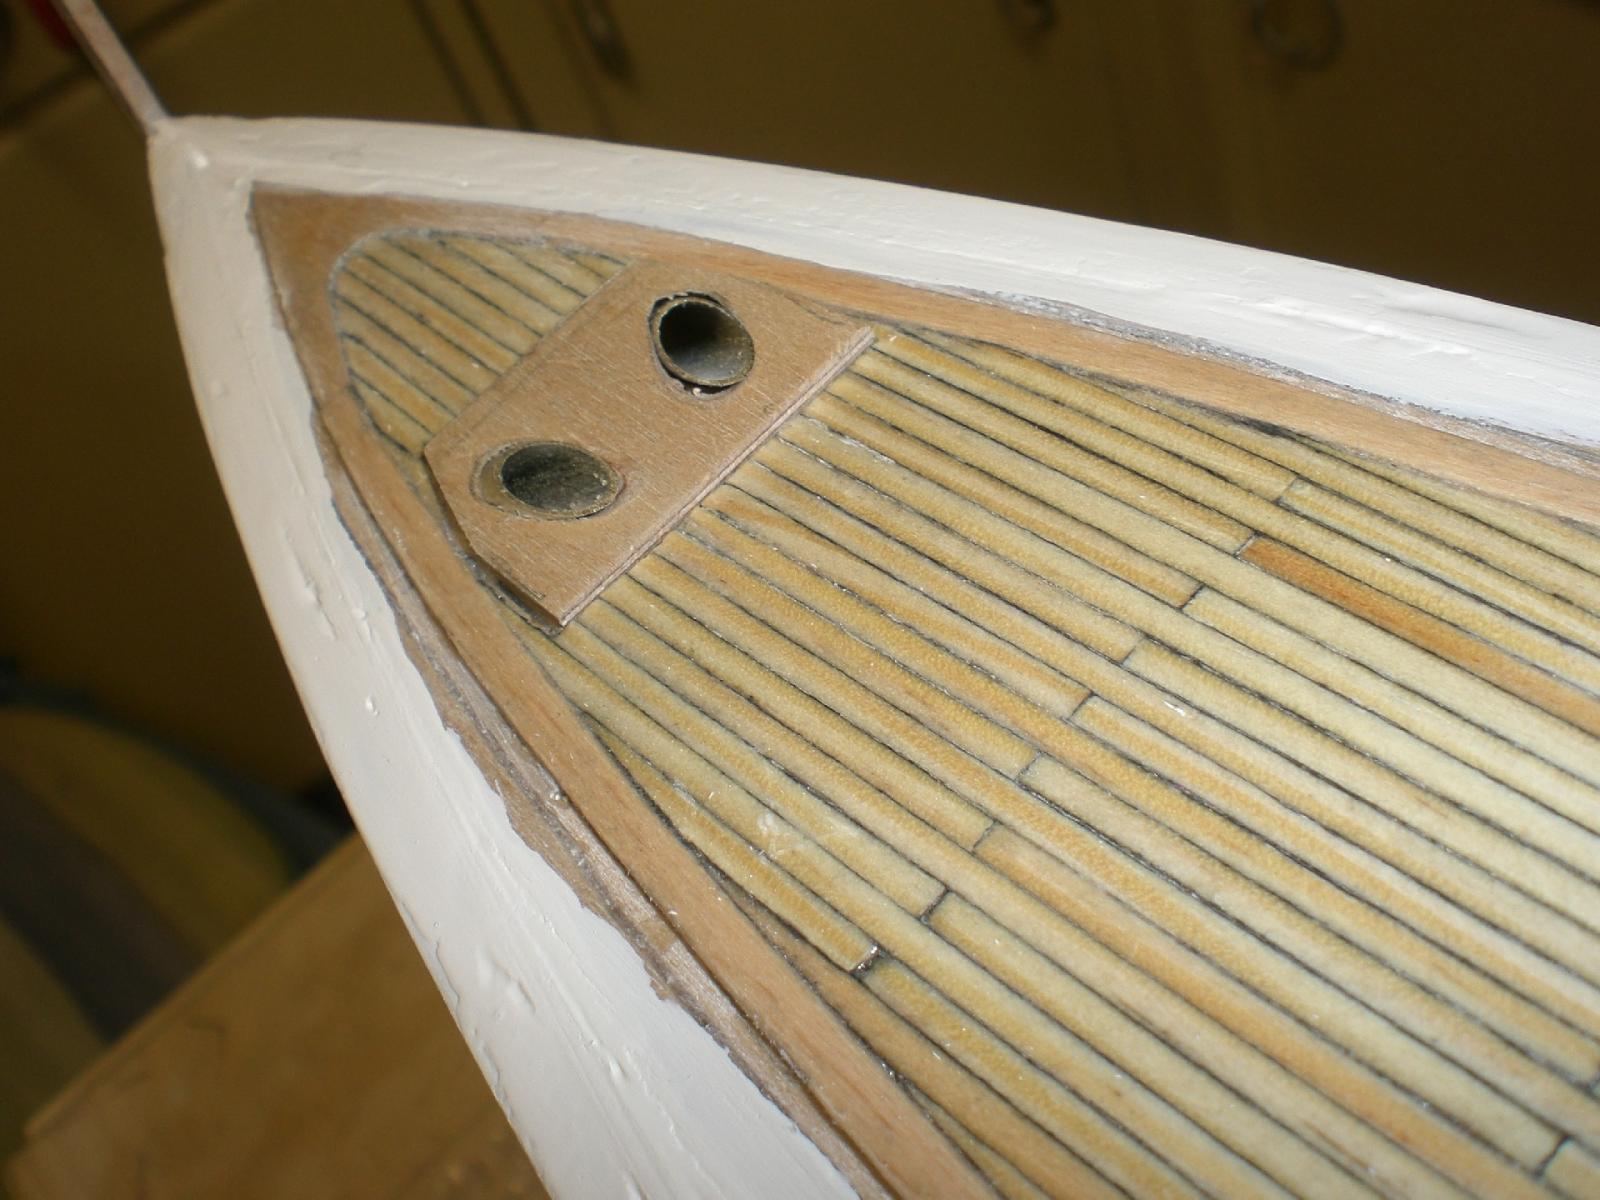
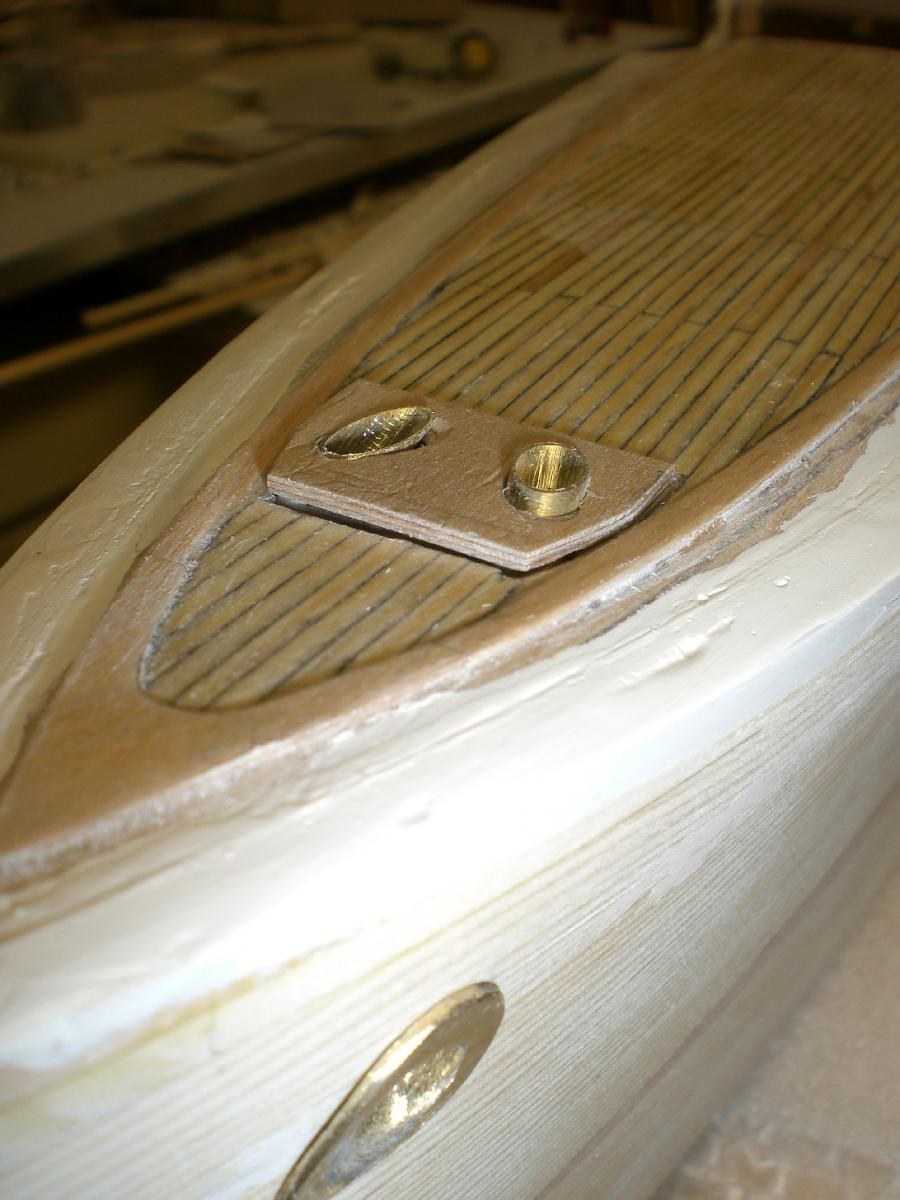
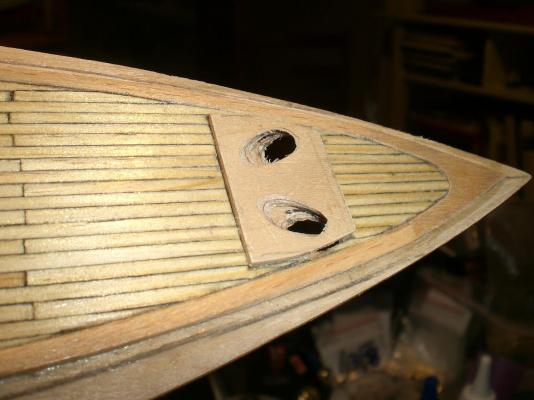
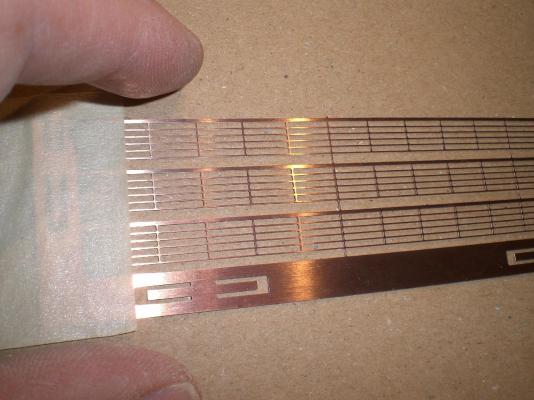
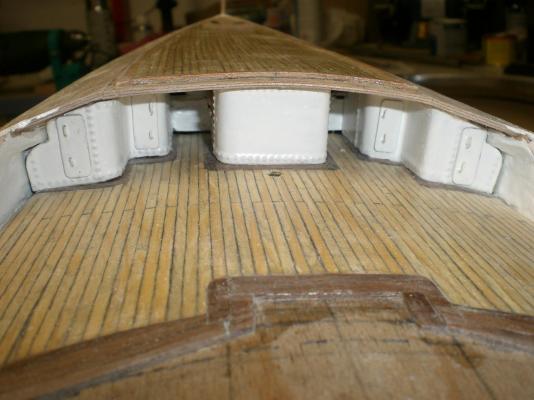
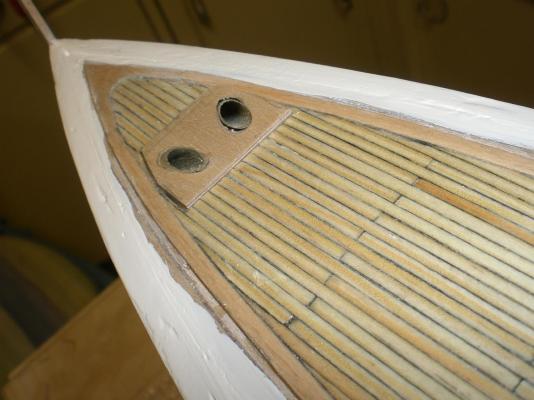
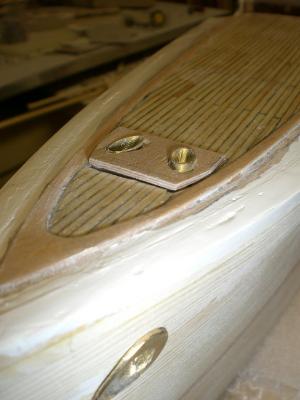
Thanks very much Martin, I have now made the forecastle deck, planked it and put it on permanently, further the anchor tubes dry fitted in with flanges on the sides. Some days ago I bought some photo etched copper railing stripes (5 wire plus handrail). Will need to do some trials how to fasten these best. The stripes are only 8mm high (scale 1:144) Nils the forecastle deck planked with 2mm wide and 0,8 mm thick stips of pinewood raw fit, the flange base for the deck side tube ends I think these stripes can be soldered to L-typ profiles and then fixed to the edges of the deck-planking a view under the forecastle deck....

- 2,625 replies
-
- 23
-
-
- kaiser wilhelm der grosse
- passenger steamer
- (and 1 more)
-
Nice build Don, Nils
-
fantastic micro J-Yacht Igor, How many SIB have you built to date, do you give them away afterwards ? That`s a beautiful Flacon also Nils
-
Nice build Jerry, the "Fair American" has beautiful lines.... Nils
-
congrats Danny, to your beautiful "HMS Vulture" and the well deserved prize at the show Nils
-
Hi Dan, thanks for your words and for looking in.... You`re alltimes very wellcome Nils
- 2,625 replies
-
- 2
-
-
- kaiser wilhelm der grosse
- passenger steamer
- (and 1 more)
-
excellent work Dan, amazing your use of printing Details of the superstructure and positioning These per decals, all Looks very precise and well thought over. The combination of Wood, styrene, printed Sheets, and etched parts really open fine mini-scale possibilities. These techniques may be tempting for others....., thanks for sharing Nils
- 108 replies
-
- 5
-
-
- andrea doria
- ocean liner
- (and 1 more)
-
Hello BNoah, your "Fram" is looking very nice, also all those lovely Fitting out Details... Nils
- 59 replies
-
- 5
-
-
- fram
- polar exploration
- (and 1 more)
-
Thank you very much Nenad, it does`nt happen too often, with those ideas but sometimes it helps.... Nils
- 2,625 replies
-
- 2
-
-
- kaiser wilhelm der grosse
- passenger steamer
- (and 1 more)
-
Cutter Cheerful 1806 by rafine - FINISHED
Mirabell61 replied to rafine's topic in - Build logs for subjects built 1801 - 1850
Super work as always Bob, Nils- 525 replies
-
- 3
-
-
- cheerful
- Syren Ship Model Company
- (and 1 more)