HOLIDAY DONATION DRIVE - SUPPORT MSW - DO YOUR PART TO KEEP THIS GREAT FORUM GOING! (Only 72 donations so far out of 49,000 members - Can we at least get 100? C'mon guys!)
×


Mirabell61
-
Posts
7,407 -
Joined
-
Last visited
Content Type
Profiles
Forums
Gallery
Events
Everything posted by Mirabell61
-
 Hi Antanas, Thanks for dropping in, you`re always welcome, and I`m glad you like it Nils
- 2,625 replies
-
- 1
-

-
- kaiser wilhelm der grosse
- passenger steamer
- (and 1 more)
-
beautiful build Antanas, you`ve done a very nice clean Job with the hull and deck..... I`m also delighted of this kit and it`s good Quality, the laser pre cut Planks are just wonderfull and precise in shape... This is going to be a real gem Nils
-
Beautiful ship Patrick, I`m looking foreward to your first pics..... That sure will be a challenge, but just as sure that you will tackle that masterly Nils
-
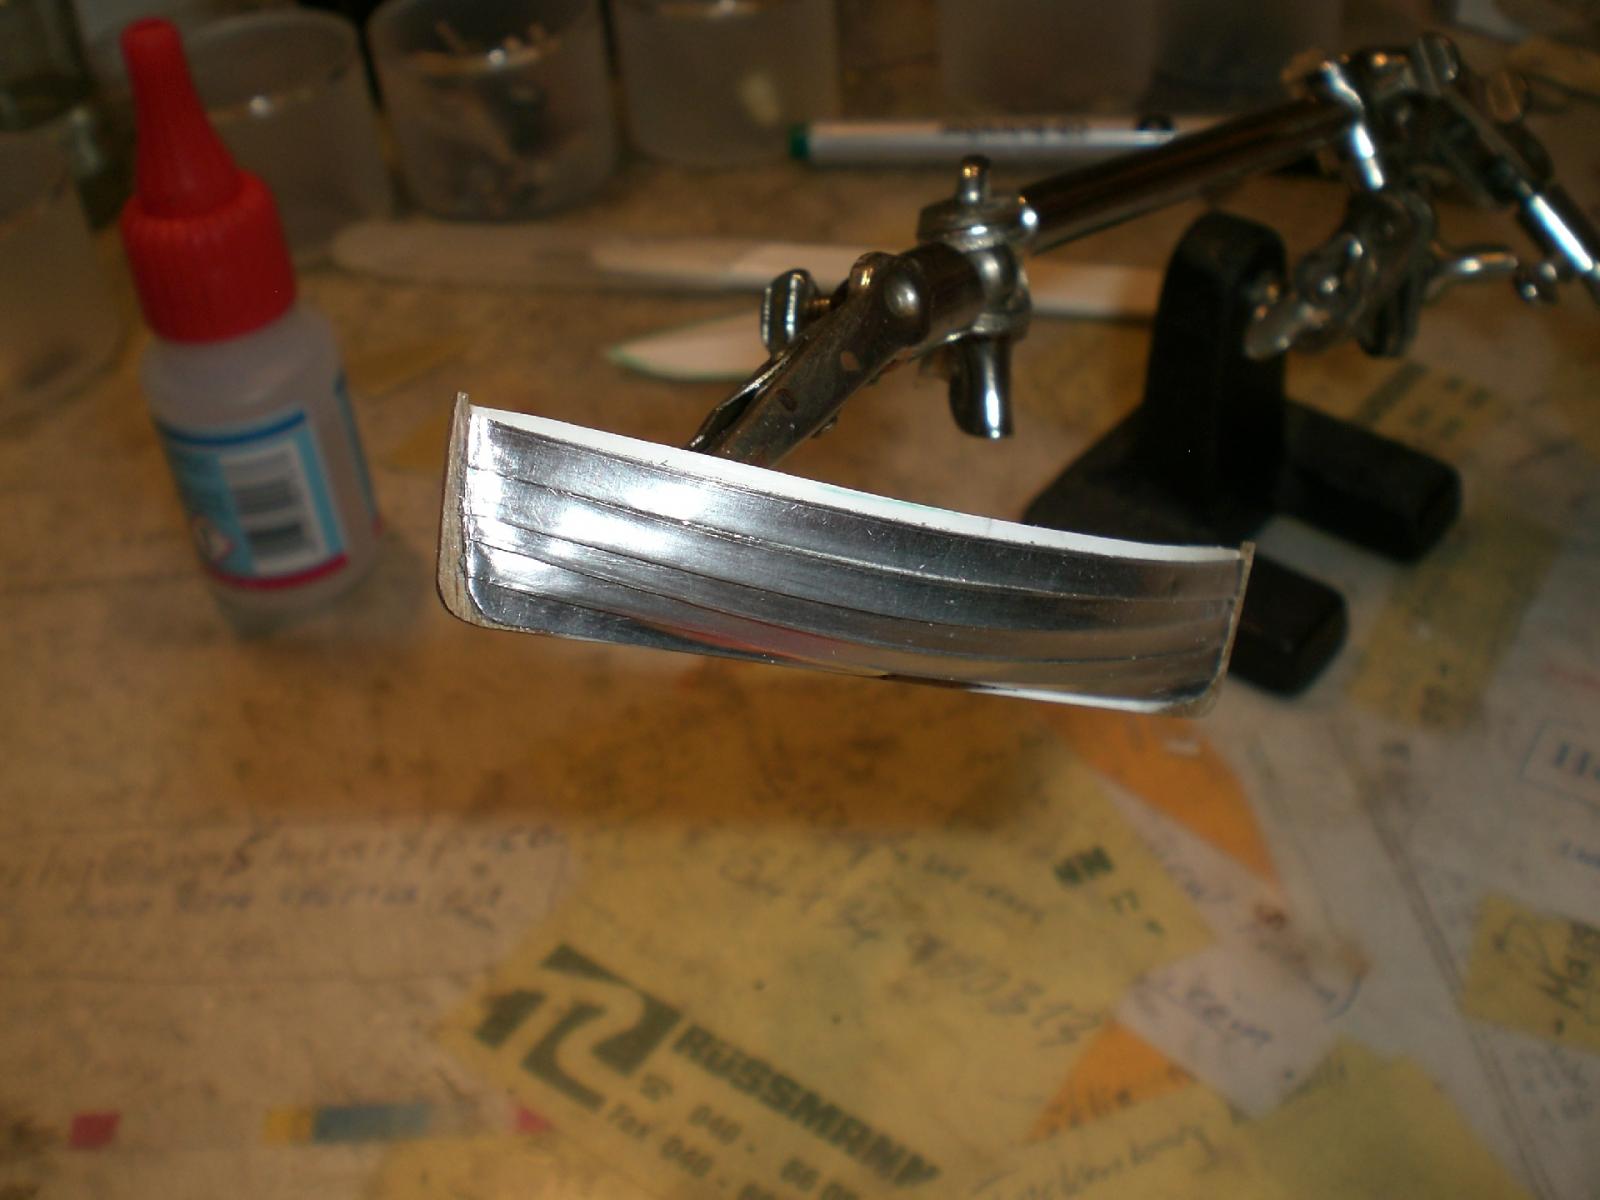
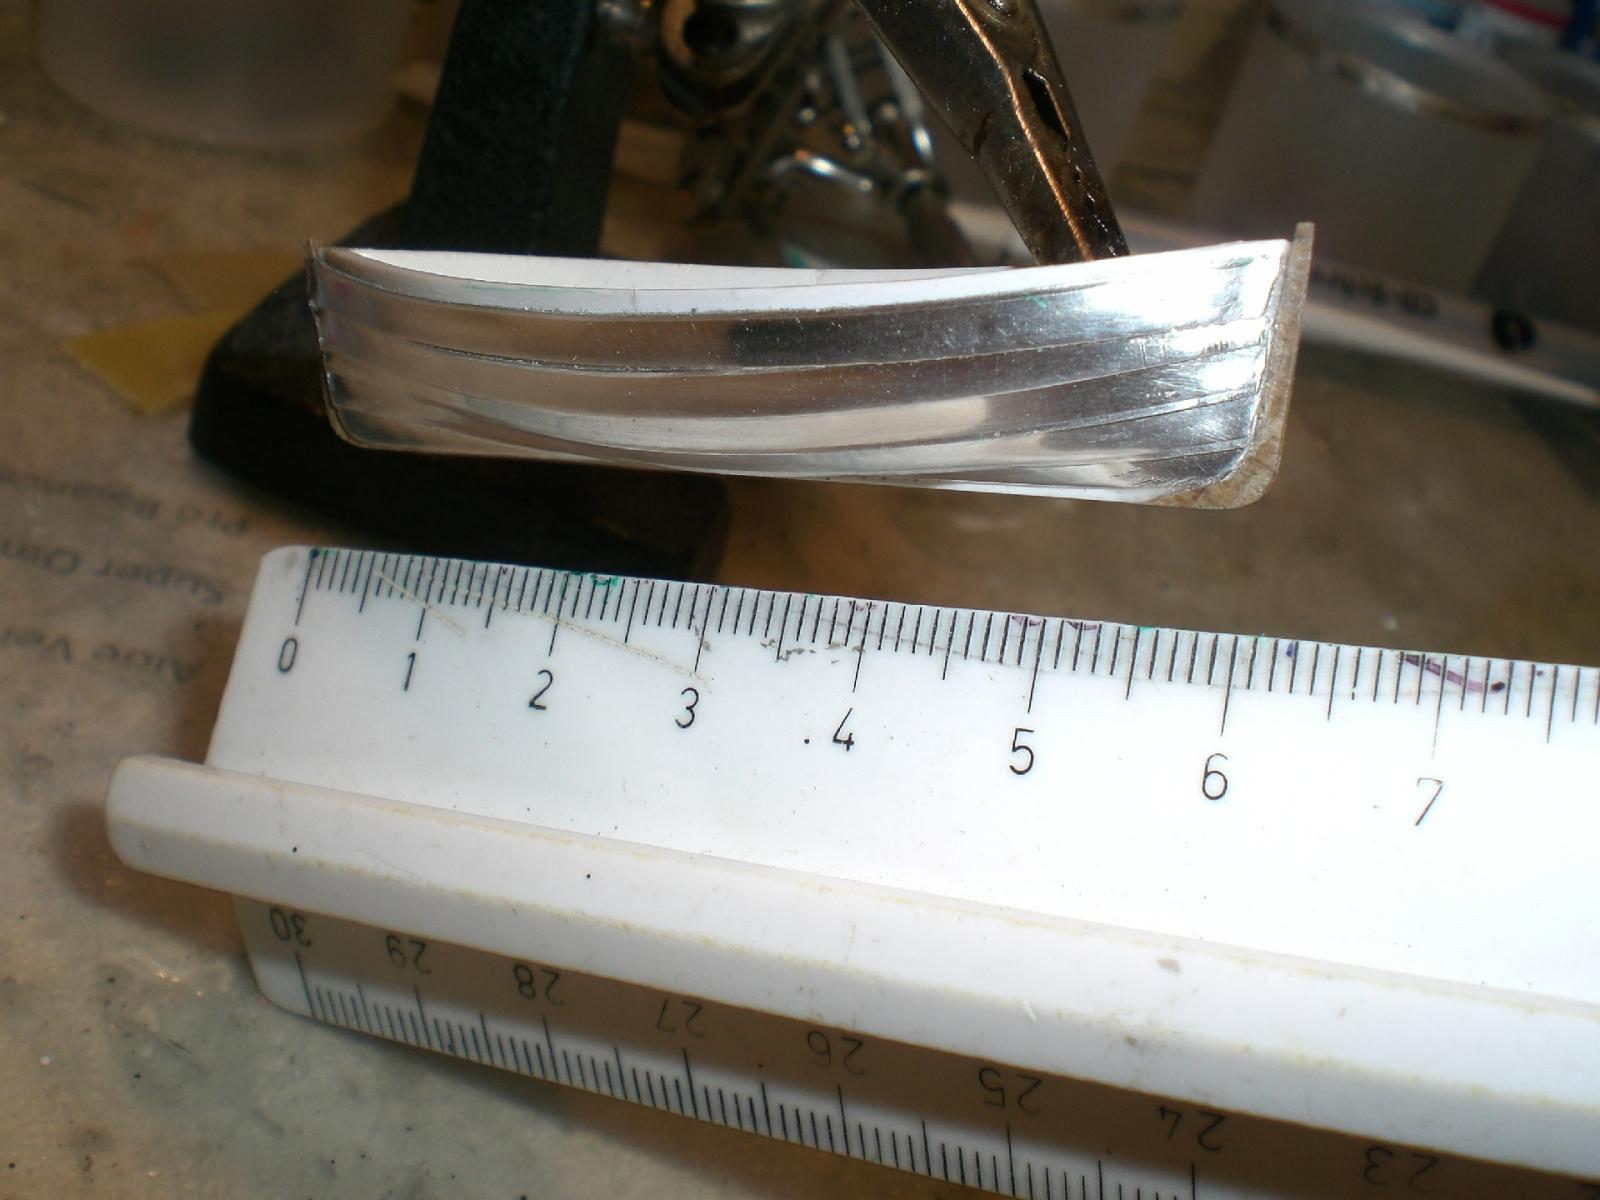
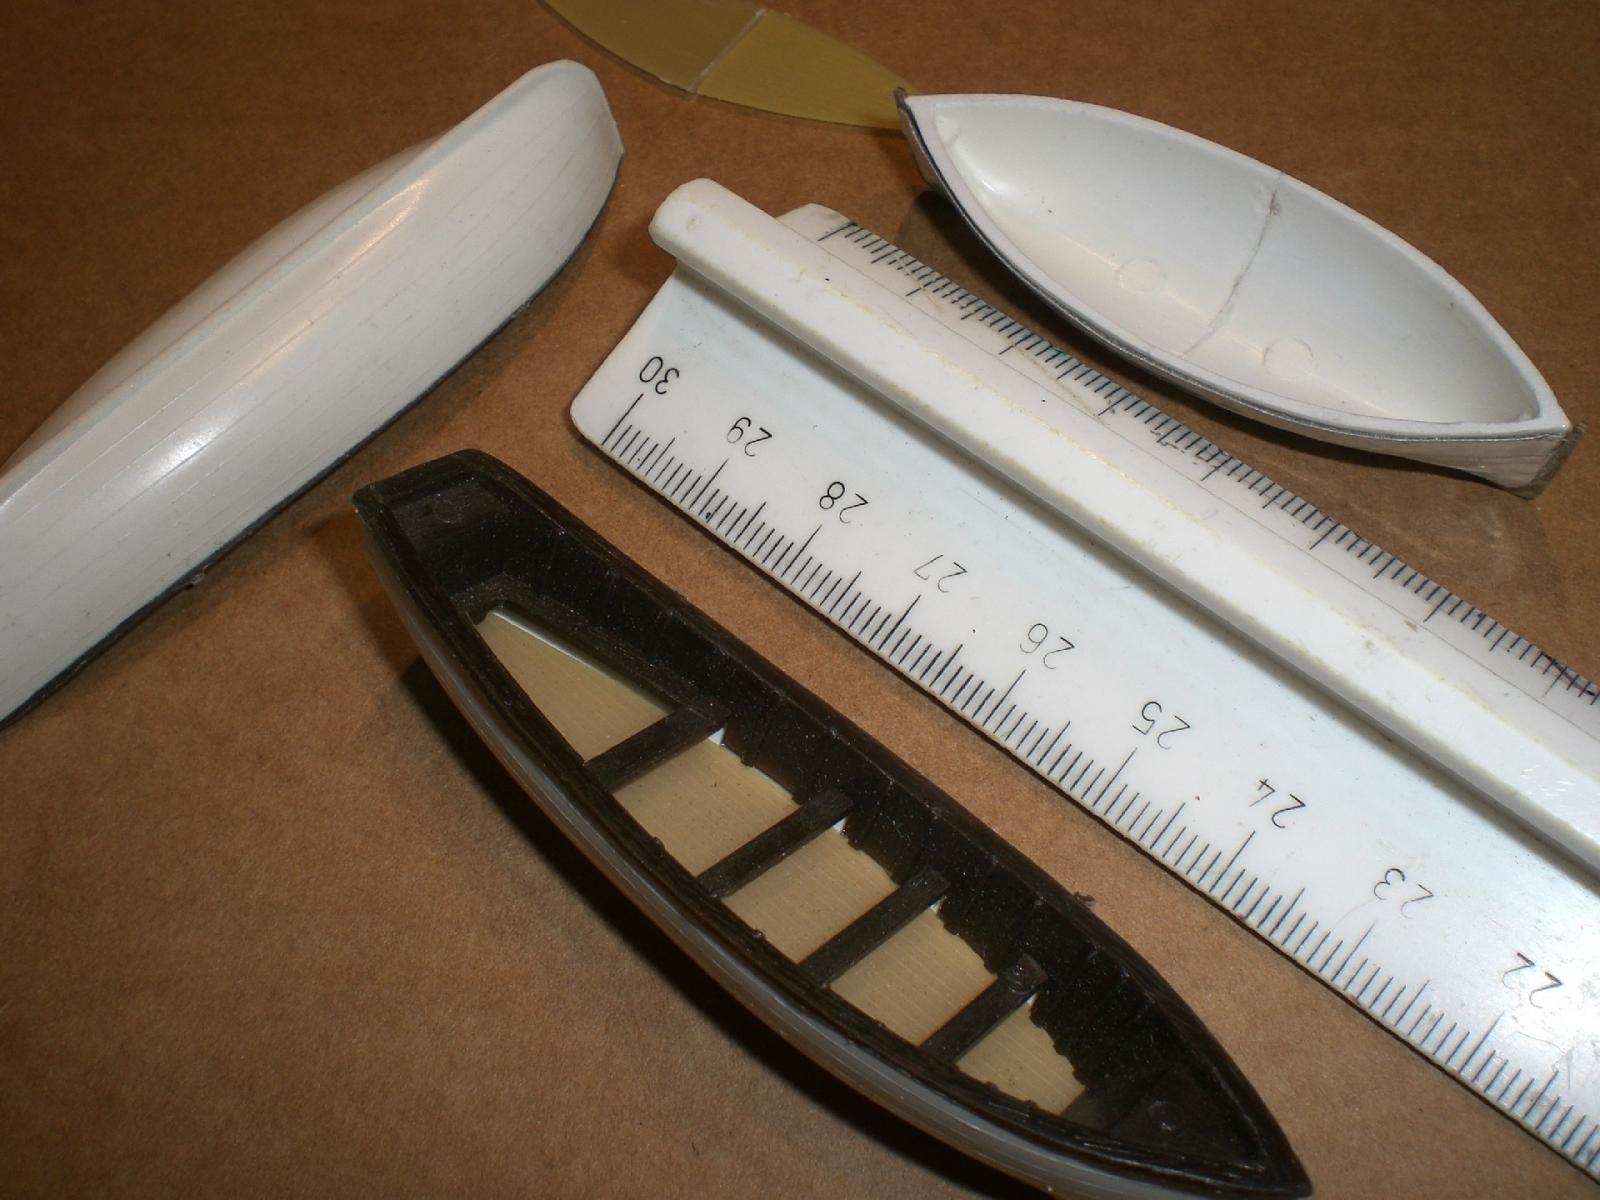
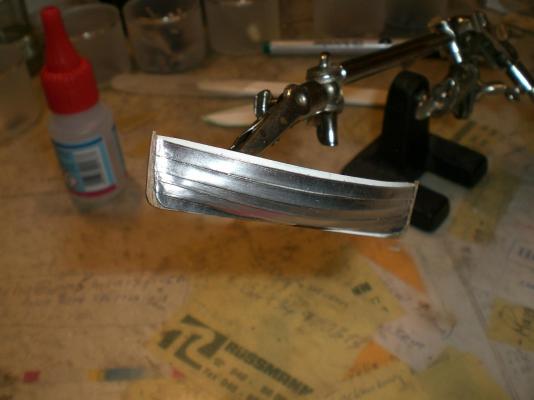
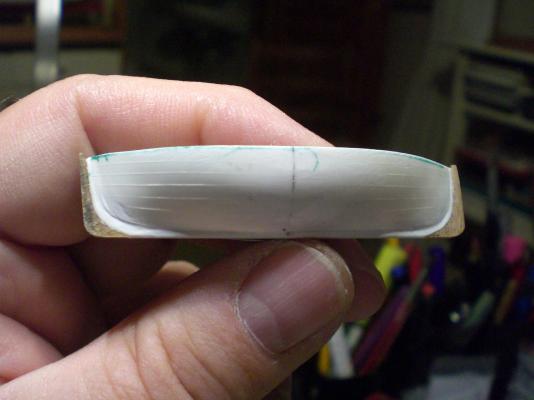
Thanks Patrick, in answer to your question..... in order to save time, and instead of making it from wood, I made the boat from two cut off (30 mm long) front portions of those odd plastic rowboats I still had, by glueing these face to face together. The resembled lapstrake planking is by stripes of self adhesive aluminium foil. Deck and interior of the small lifeboats will be done later. I would be happy if the "masterboat" will allow an appropriate and clean negative mould to be taken from it, for the resin casting of the "mass-production" Nils
- 2,625 replies
-
- 8
-
-
- kaiser wilhelm der grosse
- passenger steamer
- (and 1 more)
-
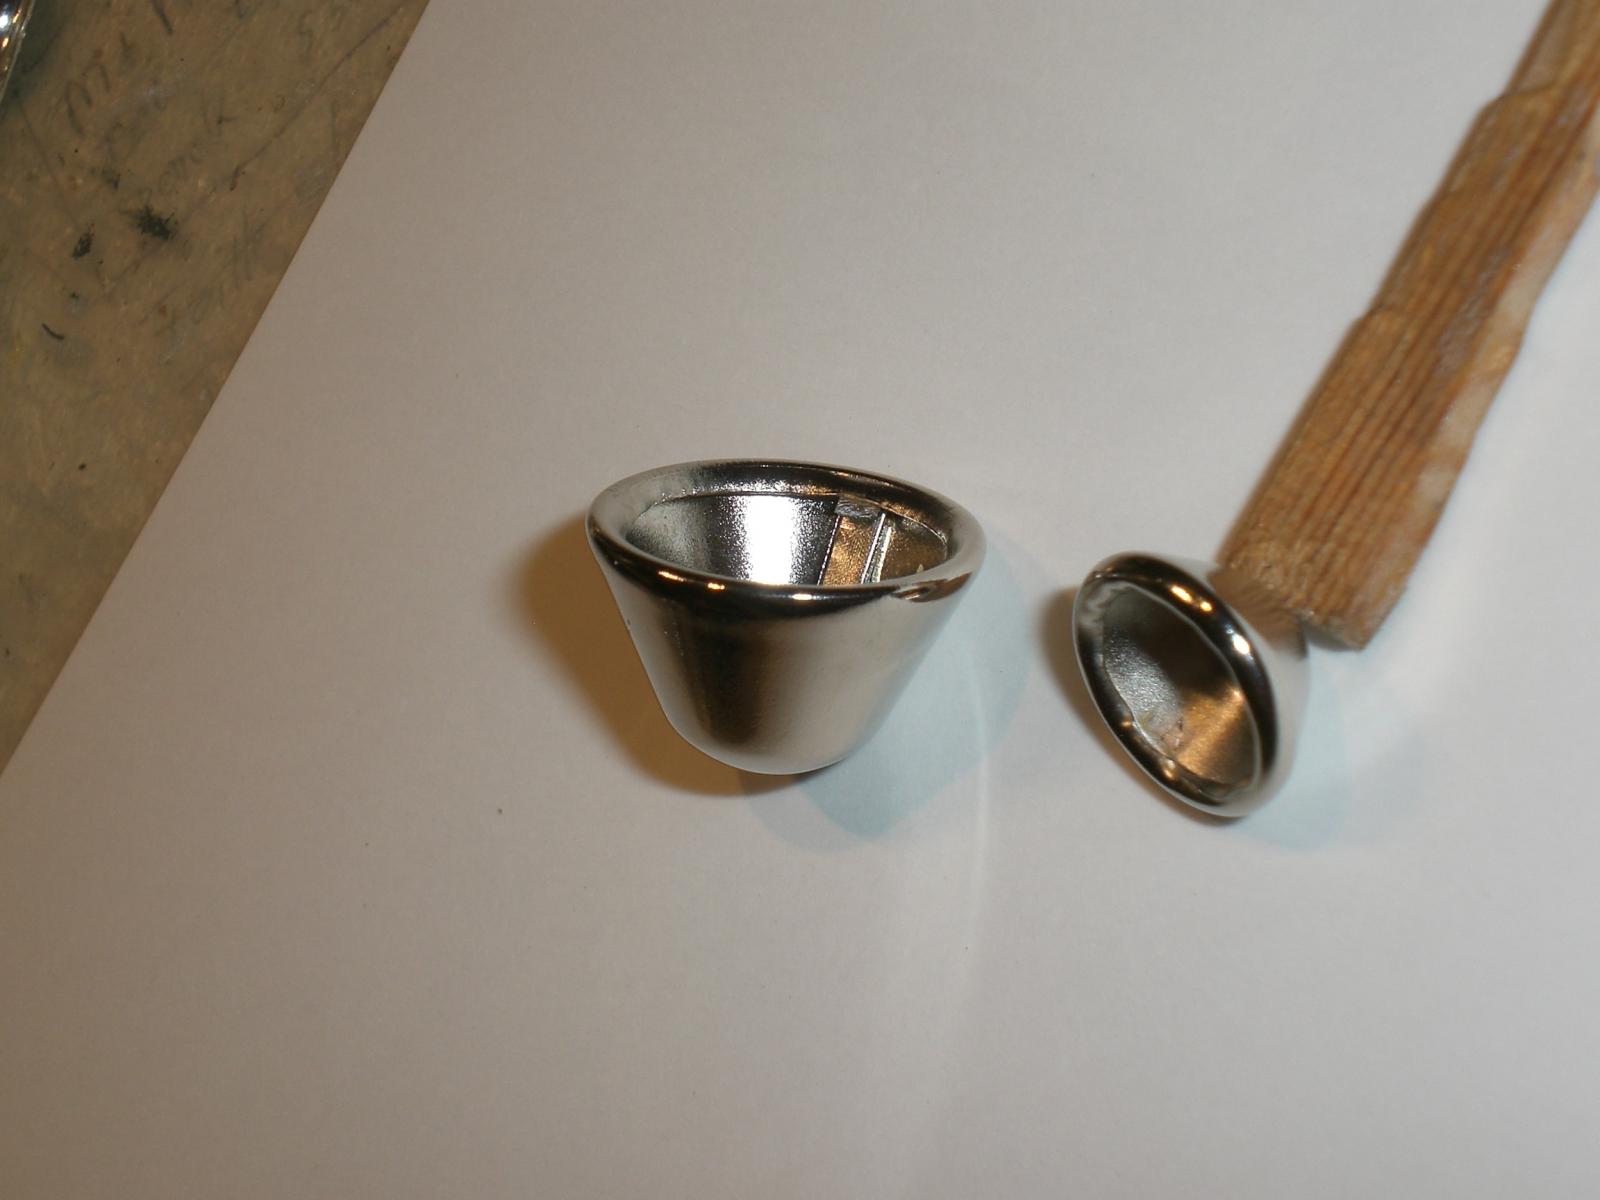
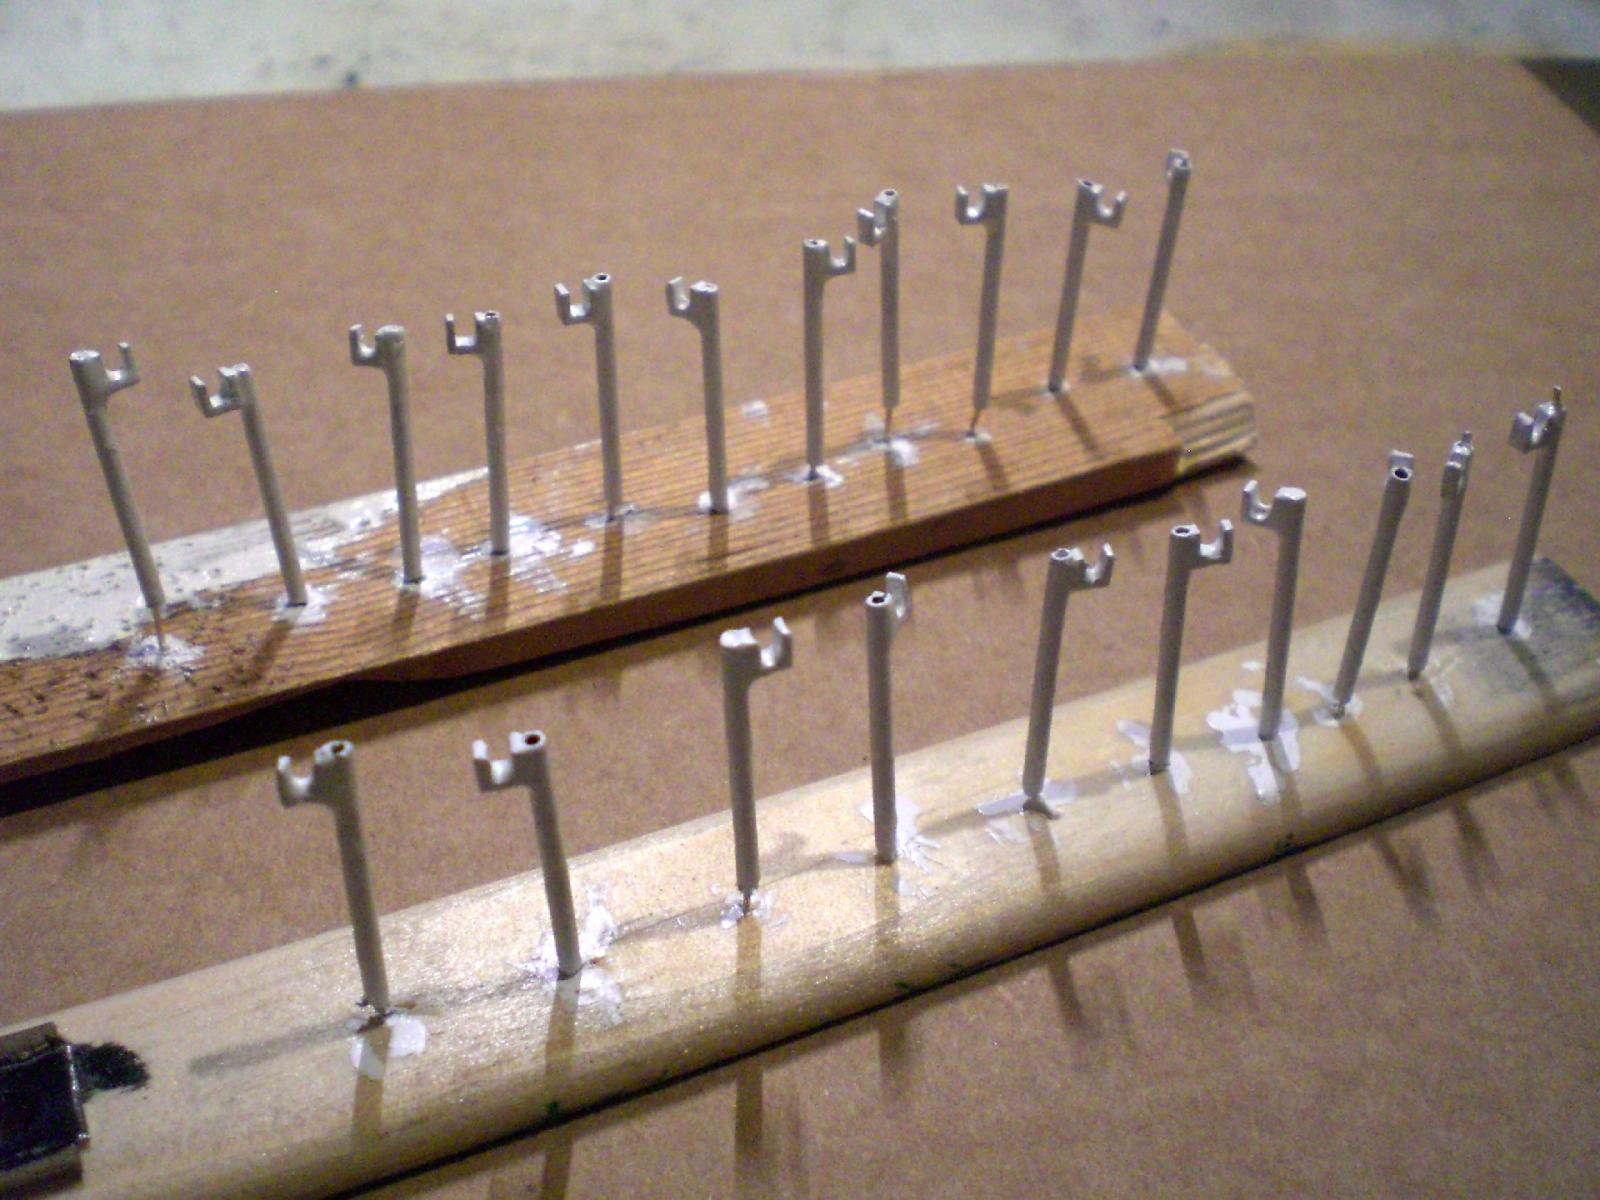
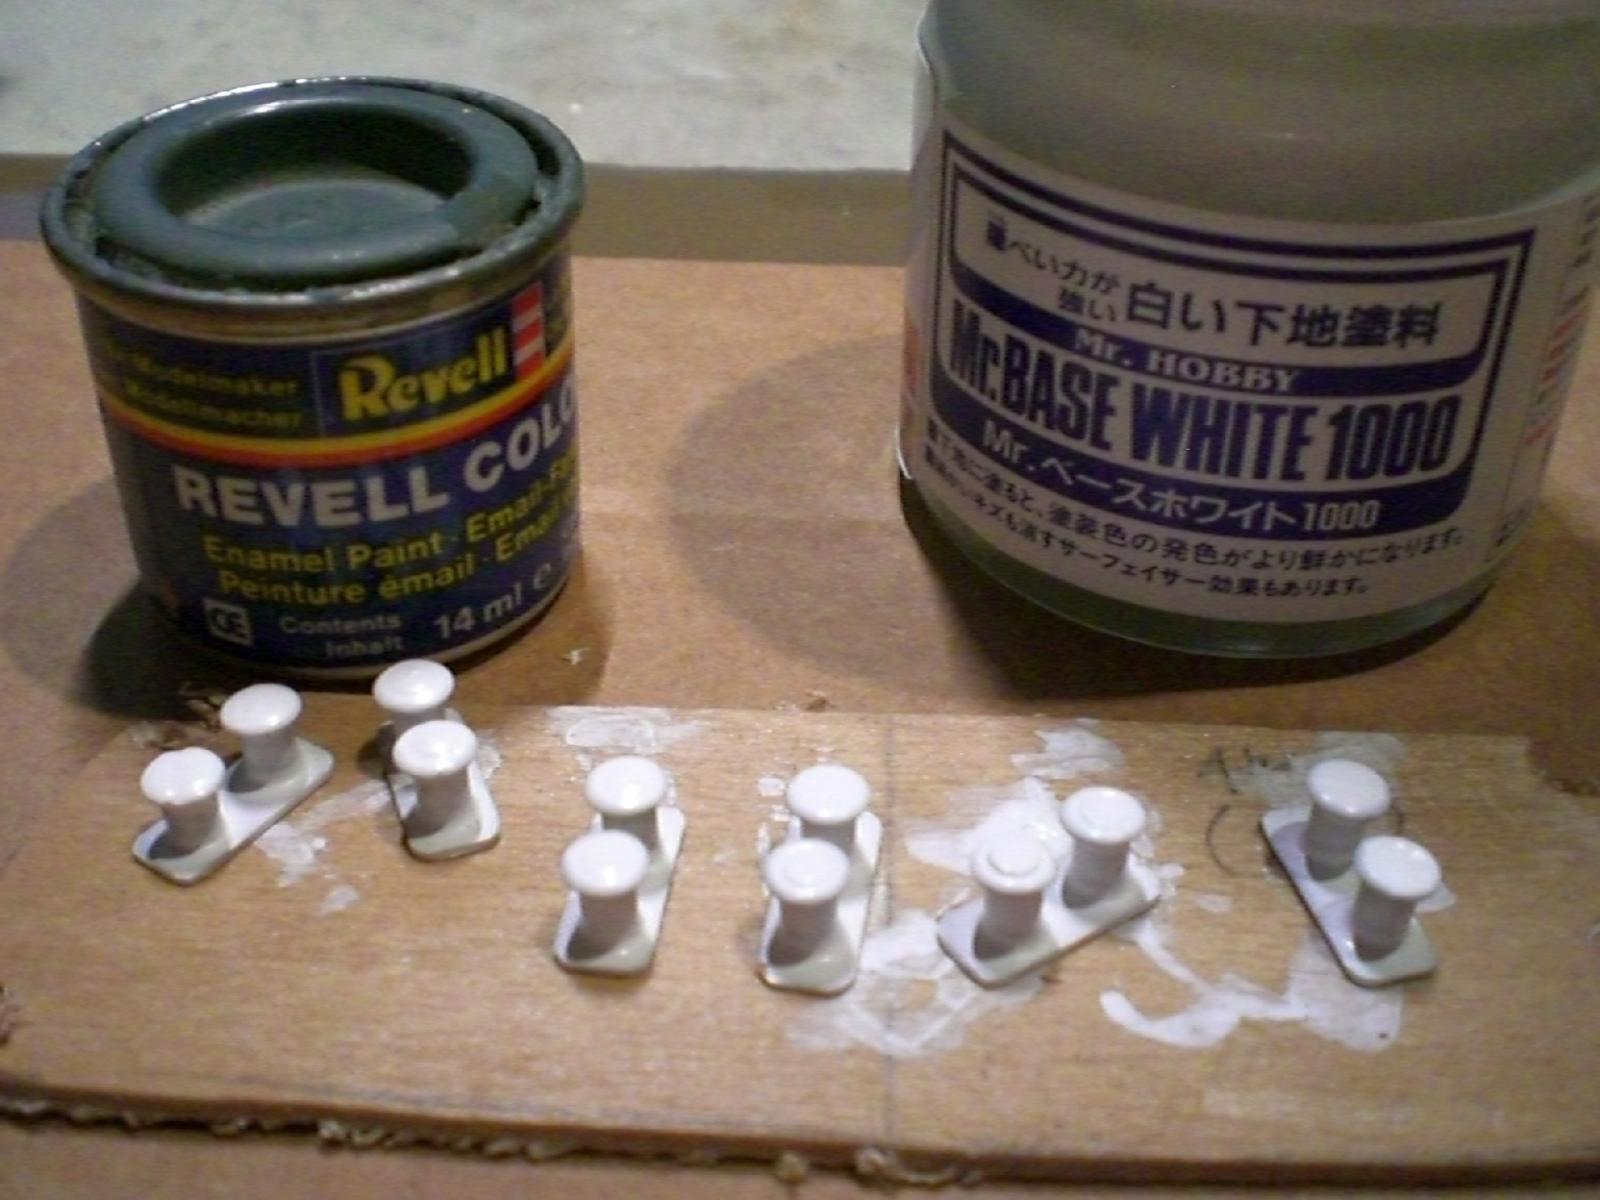
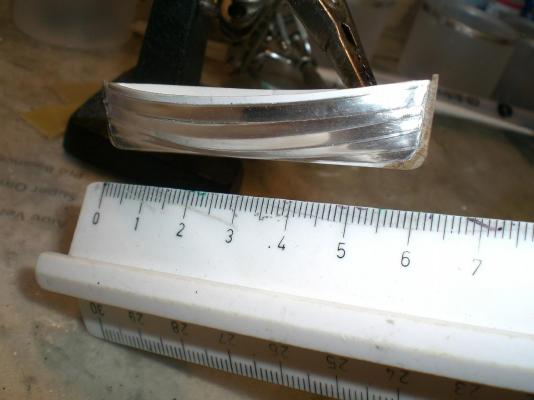
Part 2 of 2...... these tin, nickel plated feet for bags, will do for making the scoop bowls of some of the vents first trial for lifeboat production.... scale 1:144, 60 mm long supports for covering deck I still had some odd plastic dinghis, from which I cut off the first 30 mm with the bows, glued those together for total 60mm length added more year 1900 nostalgic (more straight) bow and sternpost (double-ender boats), and dd the lapstrake planking by means of self adhesive metal foil stripes Nils


- 2,625 replies
-
- 30
-
-
- kaiser wilhelm der grosse
- passenger steamer
- (and 1 more)
-
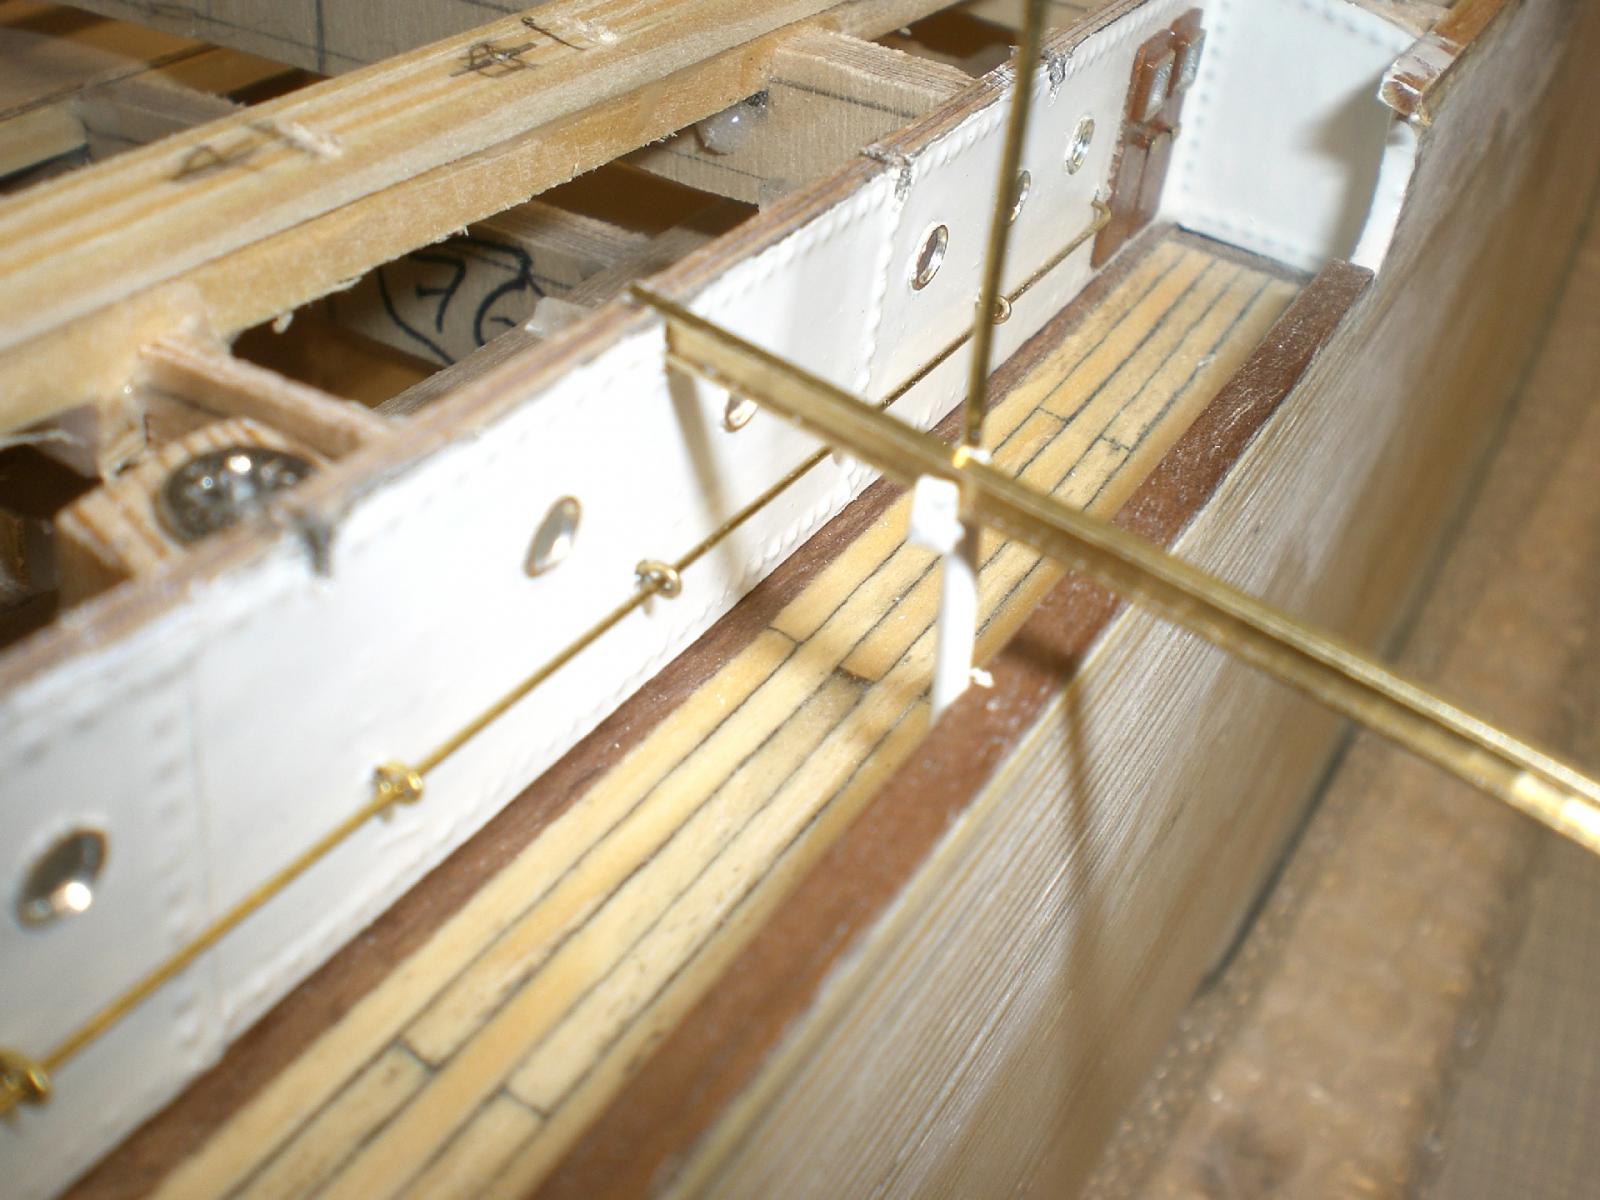
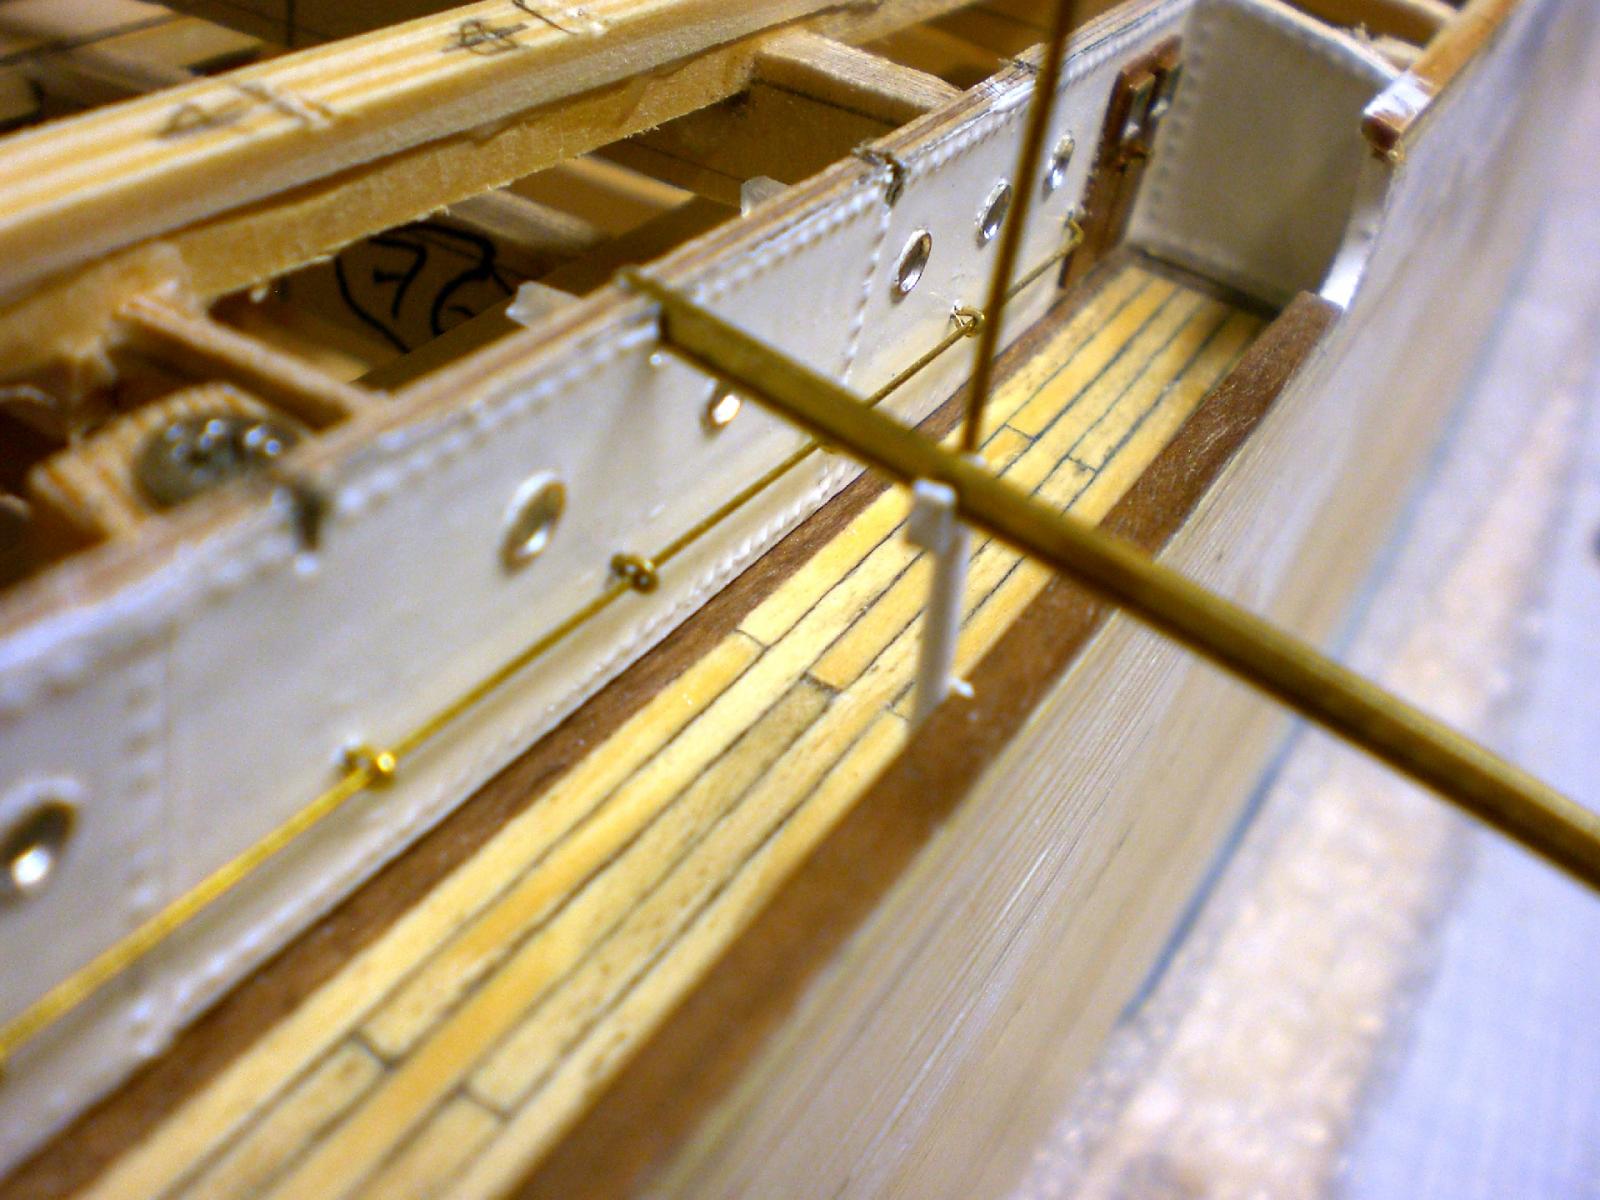
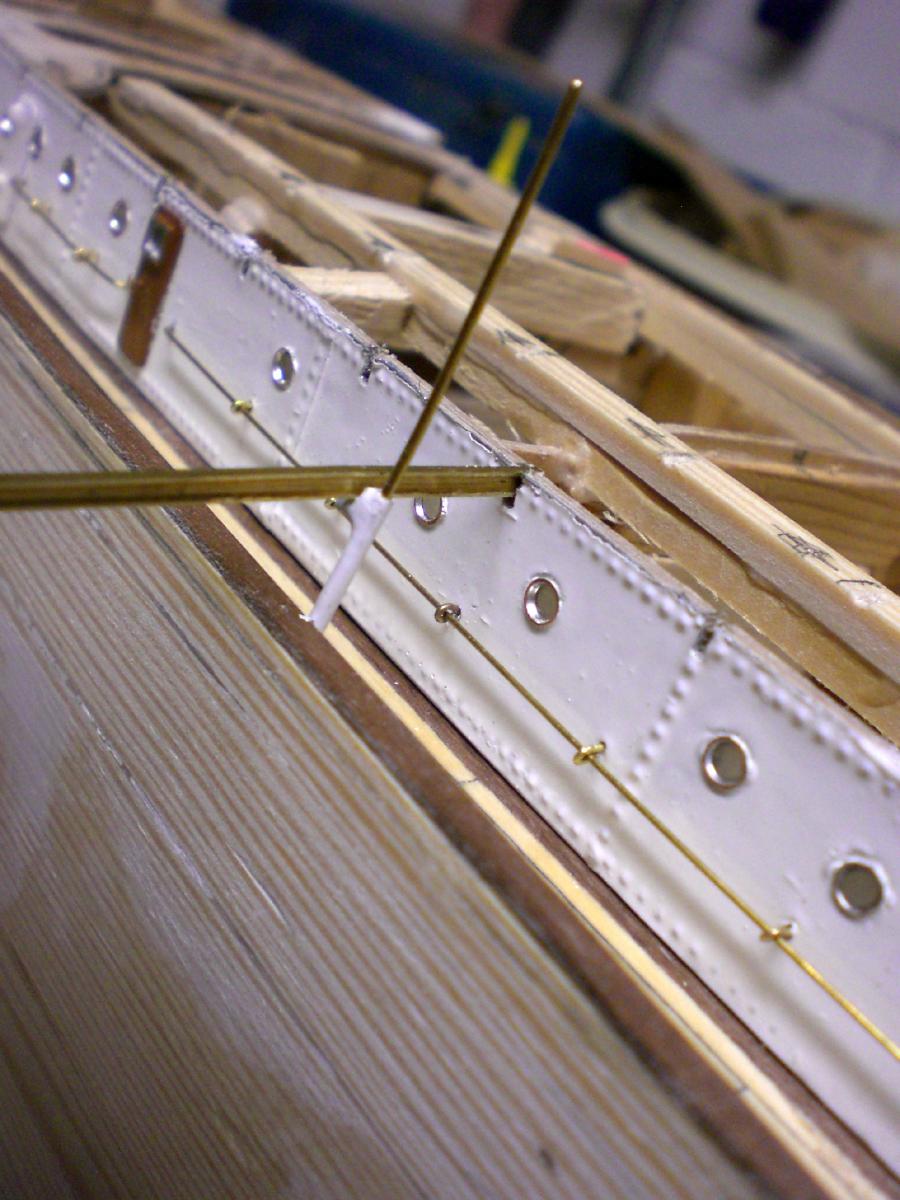
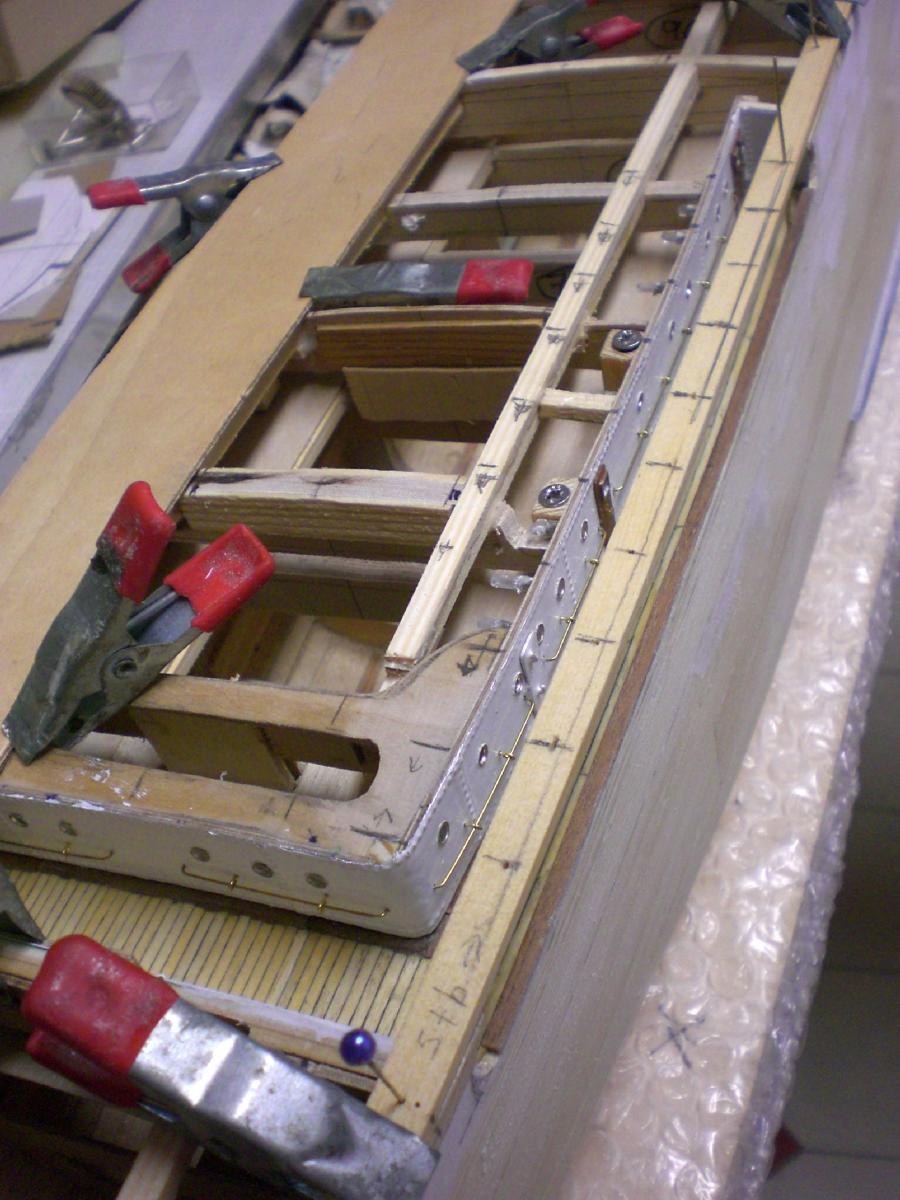
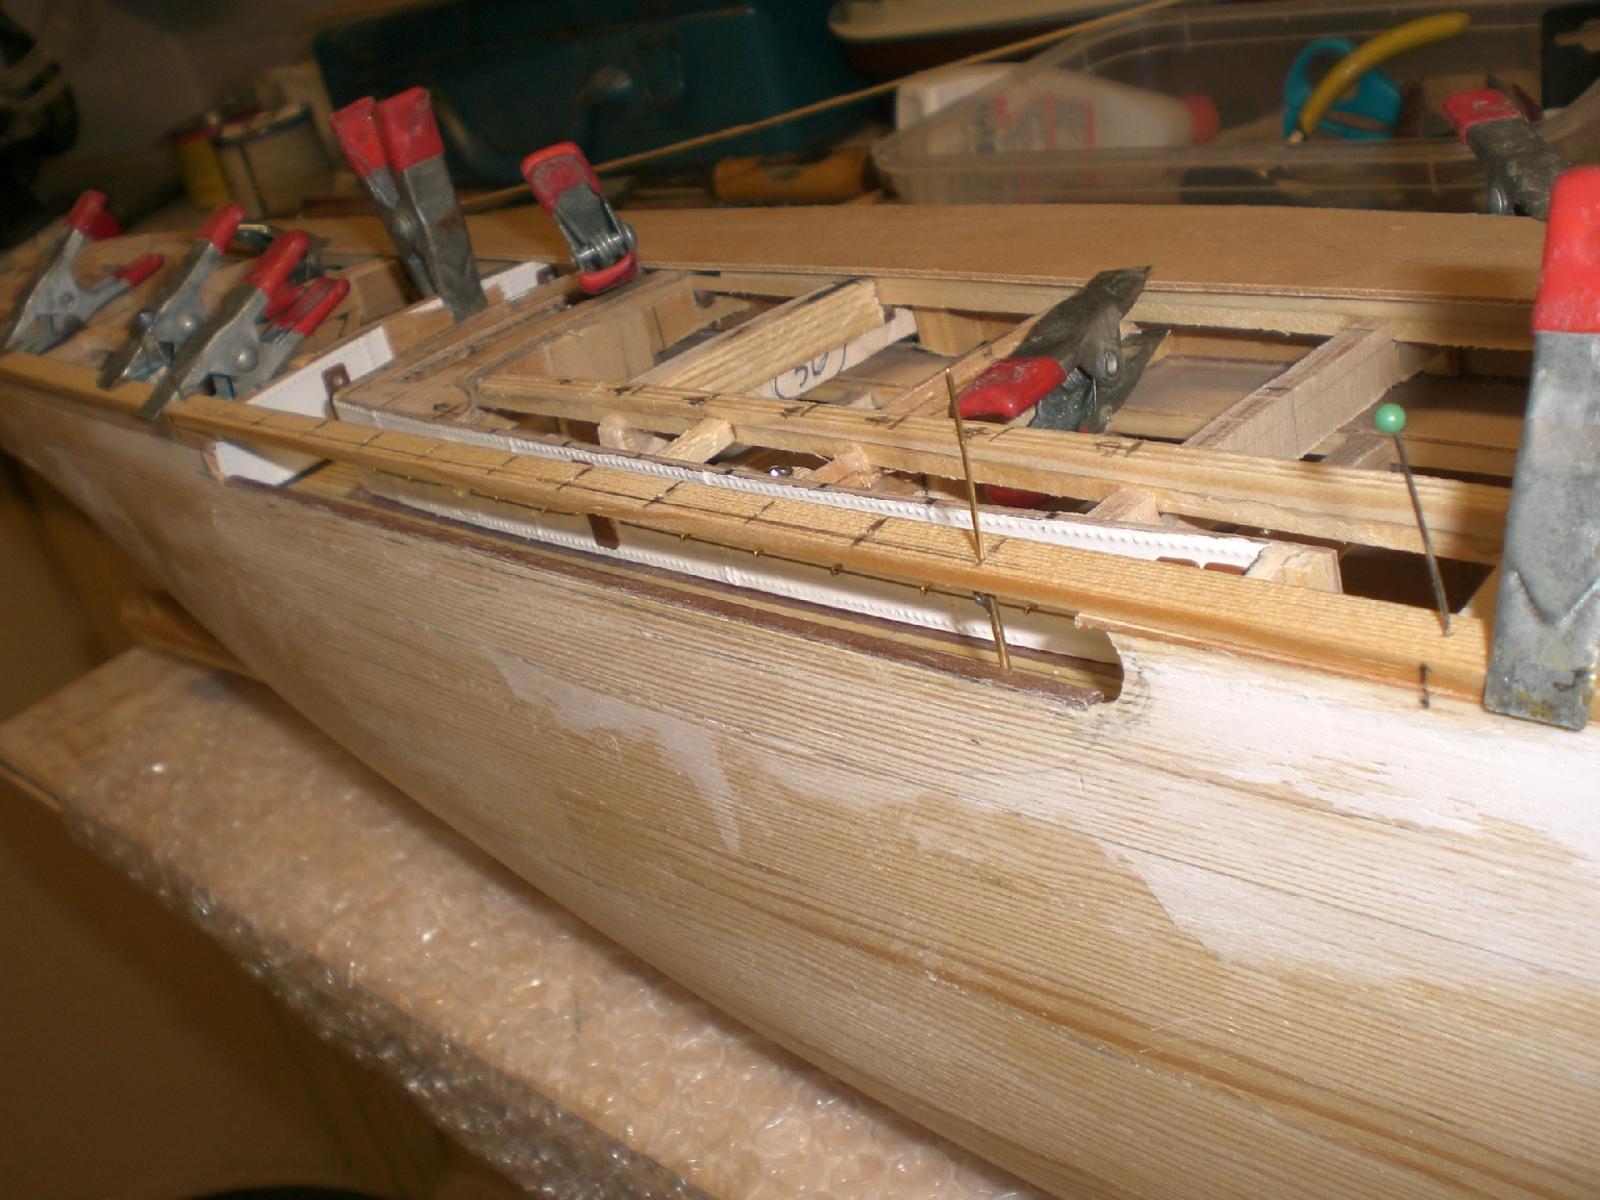
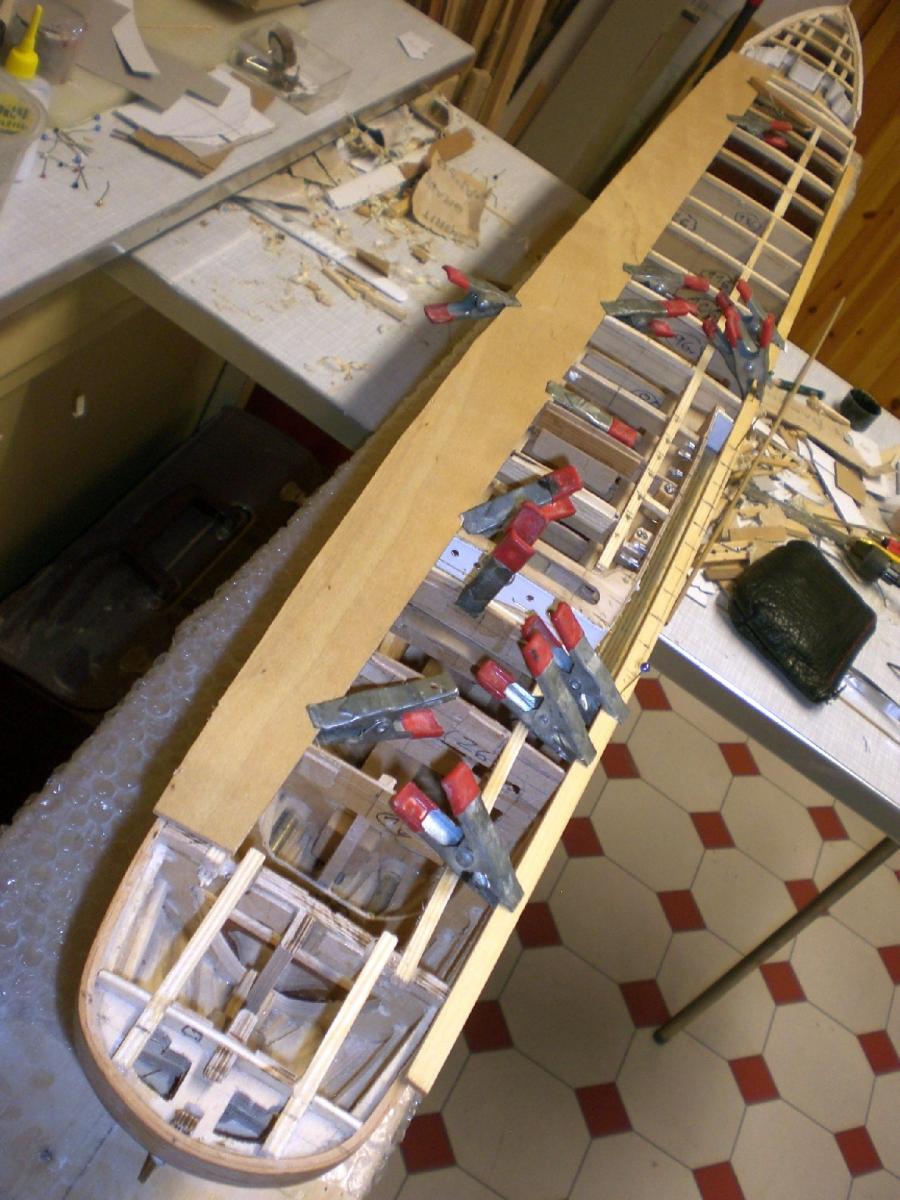
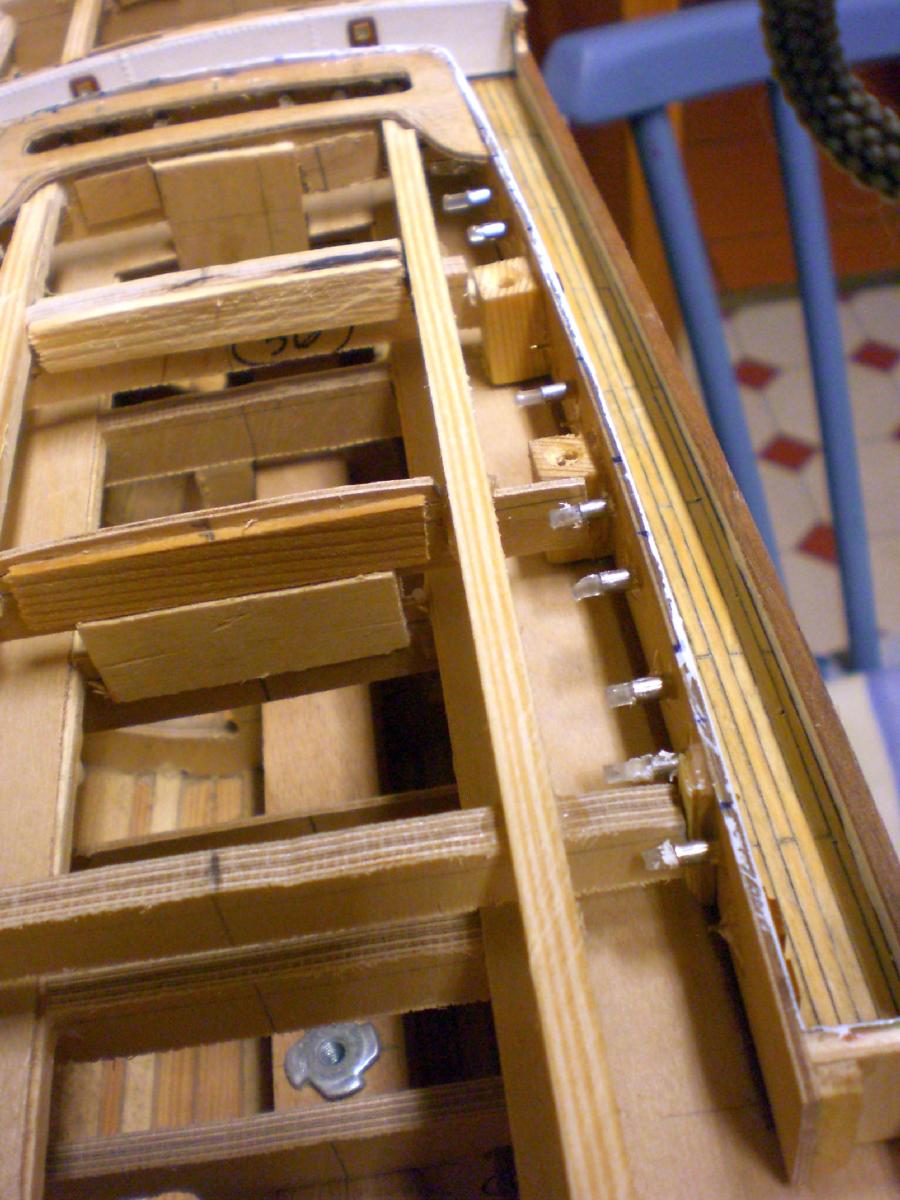
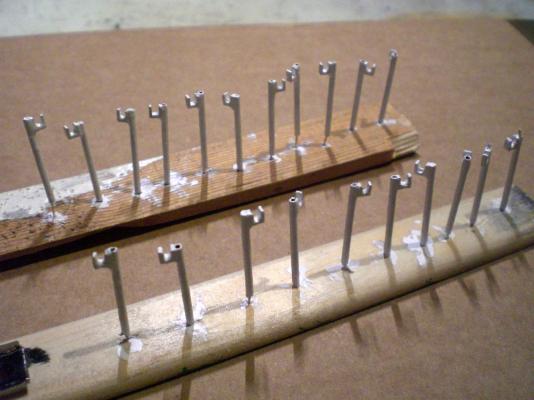
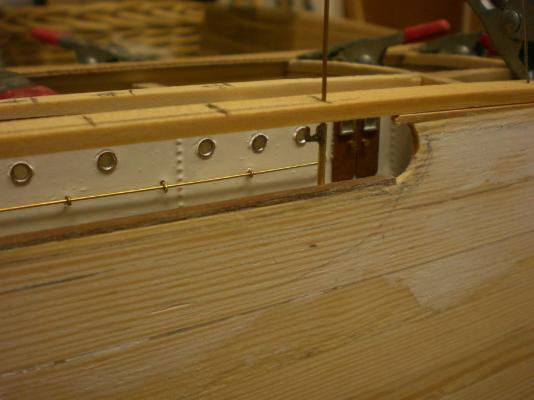
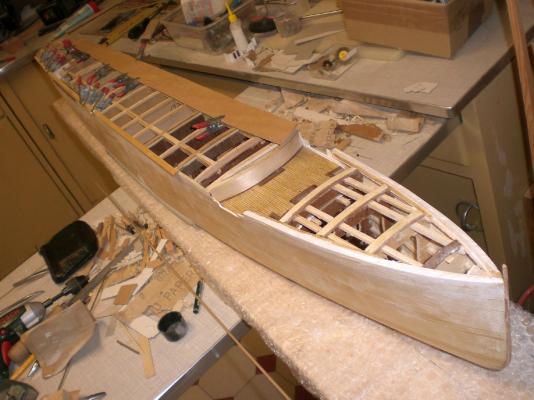
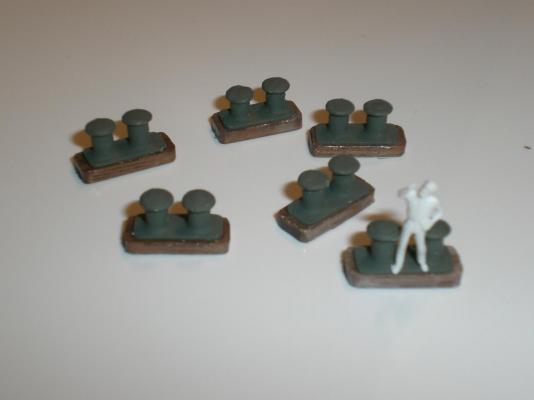
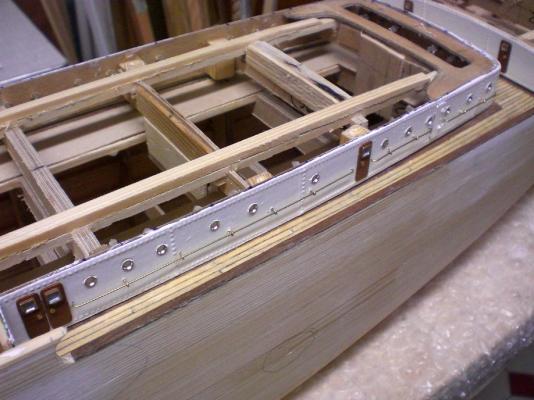
A little update.... Build log part 18 Part 1 of 2 the long promenade deck has to be roughly fitted, and to be supported with I-beams in the areas of the aft waist (one deck below). Although it`s a later building sequence I`ve been experimenting with the making of bollards, scoop bowls for the vents (there are so many different sizes !) And also the making of the small 60 mm long lifeboats....., here is a first trial in clinkered version, if it works out OK, that would be my master lifeboat-plug for doing the whole batch in resin cast afterwards, other solutions pending Nils here a preliminary adjustment gauge (distances, alignment and perpendicularity of stanchions) is created the markings will be transferred to the covering deck afterwards the promenade deck will be made of sections, whereby the center remains open and unplanked here some of the many bollards are made ( hollow rivets soldered into brass plates, and the center filled with a piece of round rod), then primered final mounting to a wooden base plate


- 2,625 replies
-
- 27
-
-
- kaiser wilhelm der grosse
- passenger steamer
- (and 1 more)
-
Very nice work Kees, as you once mentioned, you are always good for surprises, and I bet you will also have some amazing Solutions for this Project up your sleeve. Am looking Forward with great interest to the further sequences of the "Pelikaan" build. The split negative mould, and it`s make will be very interesting to see, I`m curious already.... Nils
- 434 replies
-
- 3
-
-
- pelikaan
- beamtrawler
- (and 2 more)
-
Wonderful built HMS Dragon Siggi, interior Fitting out of bulkheads and cabin walls are first class.. Nils
-
Cutty Sark by NenadM
Mirabell61 replied to NenadM's topic in - Build logs for subjects built 1851 - 1900
I like your drawings Nenad, it`s always a great help to have build steps on paper in front of you, in order to determine the next sequence steps... Nils- 4,152 replies
-
- 2
-
-
- cutty sark
- tehnodidakta
- (and 1 more)
-
wonderful precise metal work Johann, boat and rudder are beautifully made Nils
-
Just found your log Steve, very nice engine room details, all those steam auxilliary machines... Nils
- 208 replies
-
- 2
-
-
- john cudahy
- finished
- (and 1 more)
-
Cutter Cheerful 1806 by rafine - FINISHED
Mirabell61 replied to rafine's topic in - Build logs for subjects built 1801 - 1850
excellent work Bob, beautiful planking, clean and accurate... Nils- 525 replies
-
- 2
-
-
- cheerful
- Syren Ship Model Company
- (and 1 more)
-
Hi Mike, that diagram with the sail sheet guidence Looks great, I wish you so much that it will work as planed... is there any slight "backpull" intended with rubber band or so, in order to Keep the Sheets from sagging and getting hooked up somewhere when going through the wind with the Stern ? Nils
-
thank you very much for your Kind comments B.E. and Mauro, and all the "like this" button appreciations... B.E., yes, I was already evaluating which side would be the best to display. The "open" side would allow a better view to the rigging (weather side), when the sails are sharply braced, (not done yet). The closed side would give more of her approaching view under full sails from the leeward side. Agree with you, that a display view from all sides would be best. Unfortunately have not found a suitable place in my home yet Mauro, thanks for your word, I`m glad you like it... Nils
-
Thats a beautiful ship Hamilton, I could`nt withstand in scratch-building it myself once, but had to give away the hull, because it was concipated for RC control and getting too large... Wish you much fun and success with the build Nils
-
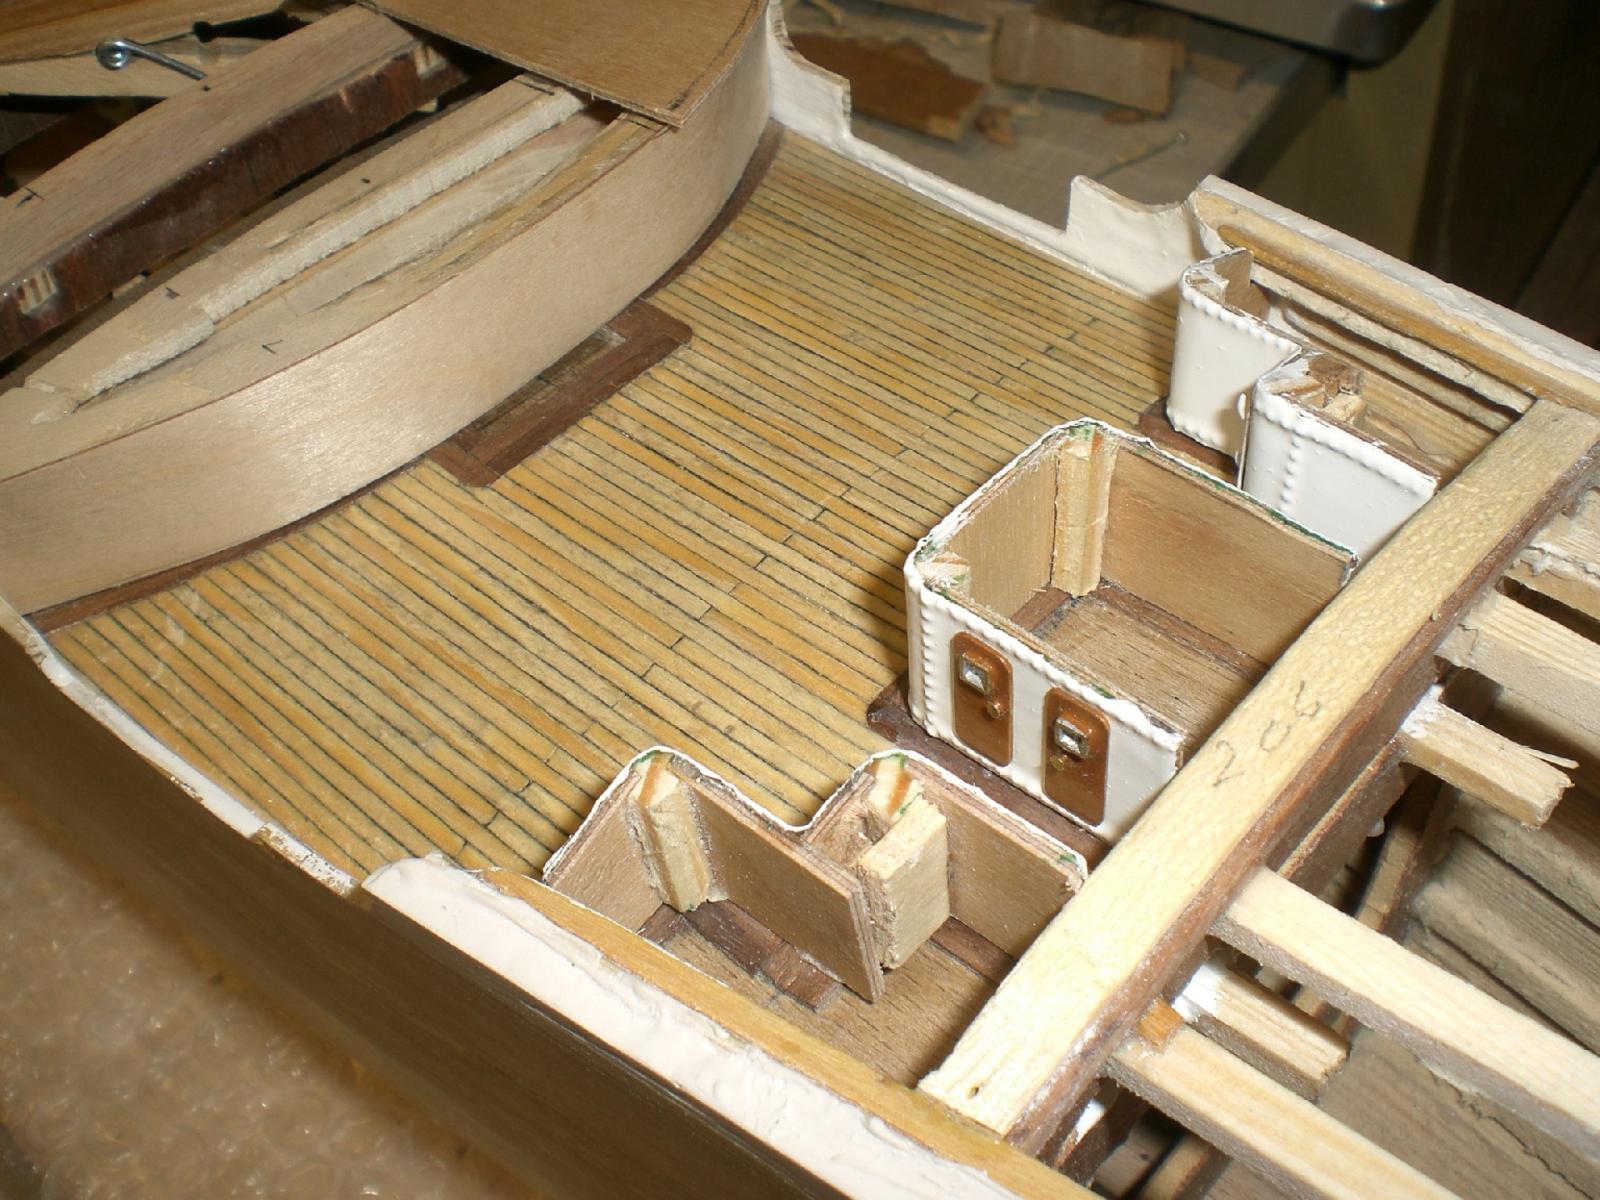
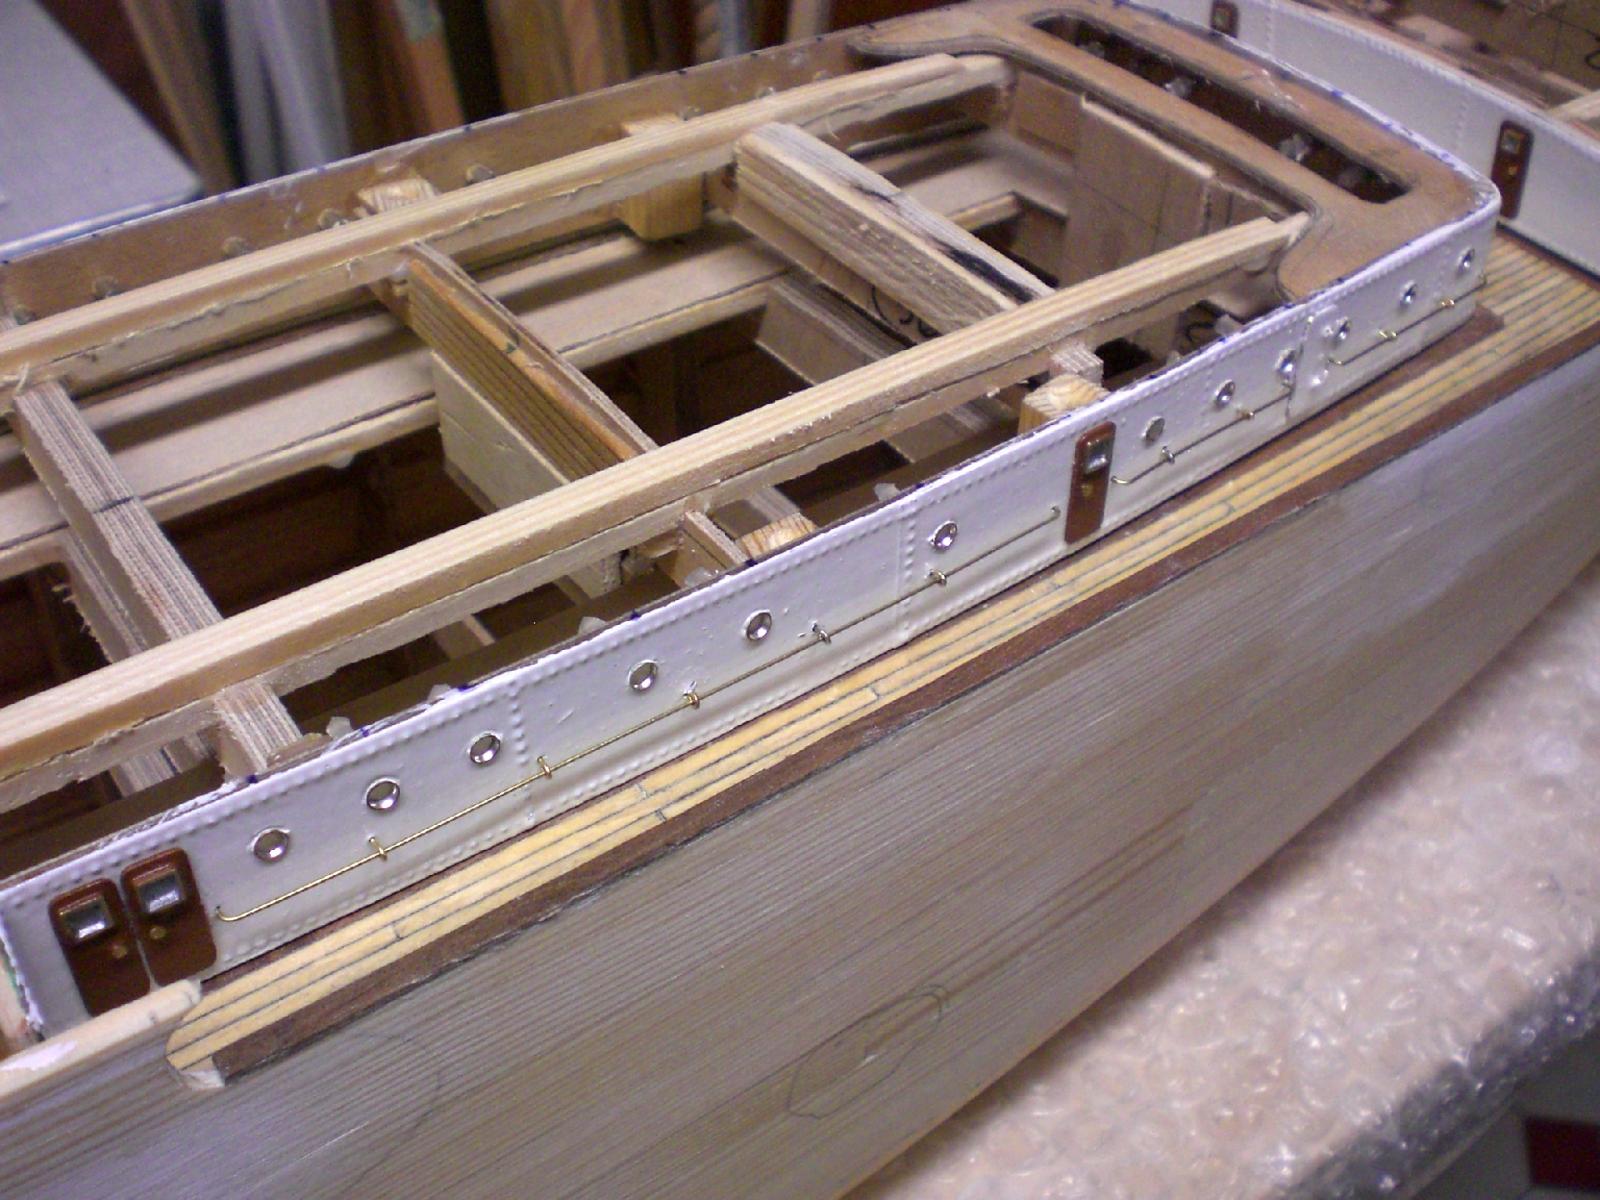
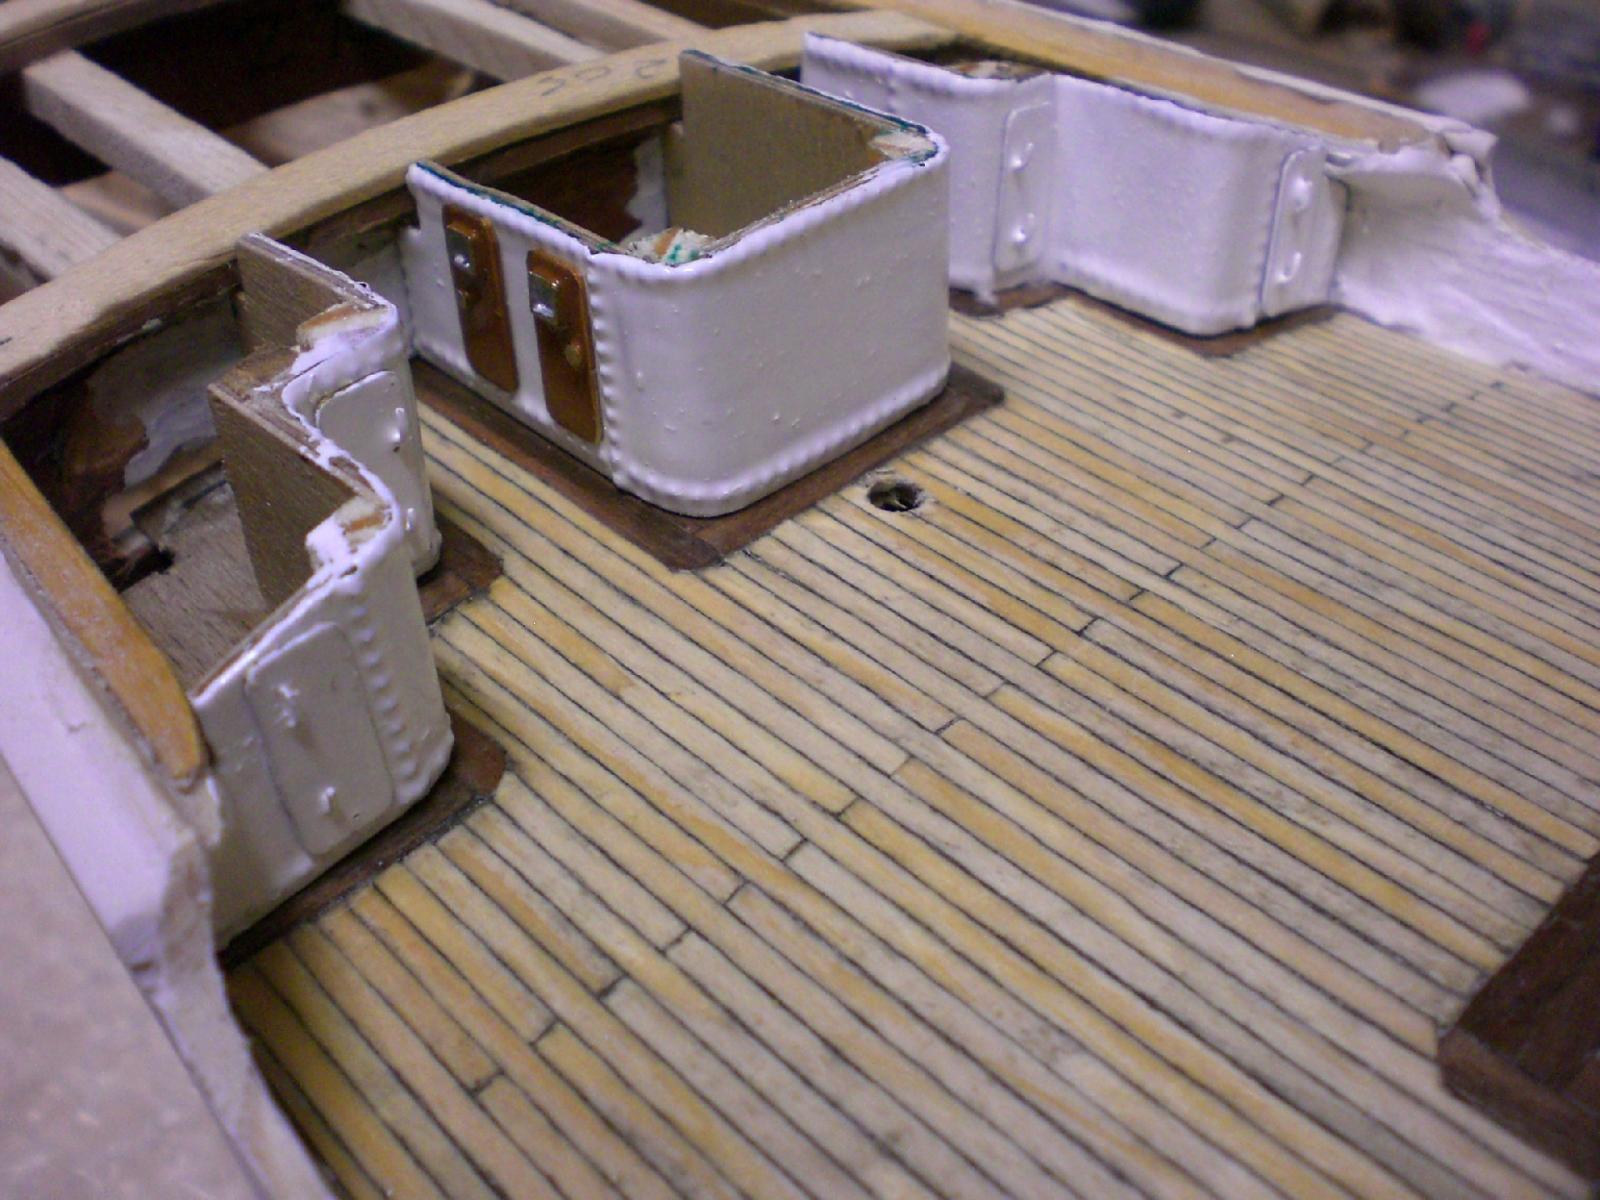
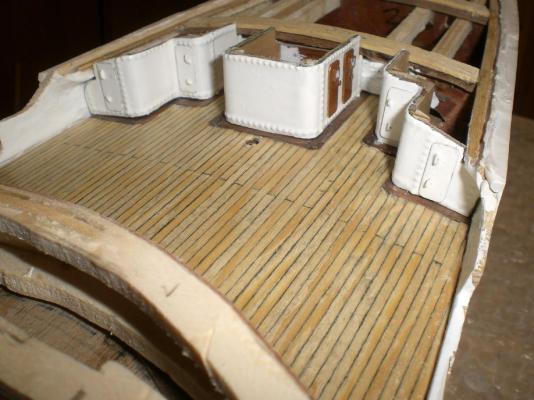
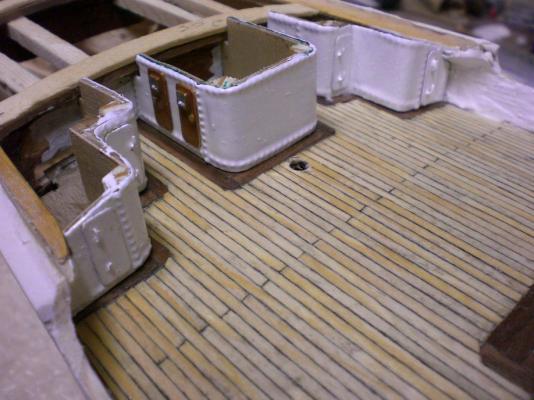
Hi Denis, Thank you, glad you like it,.... I`m not familiar with HO scale metal siding, would be curious to see the result, provided you give it a try.. Nils I`m quite happy with the results so far cabin walls painted white working rooms under forecastle deck the rear side of the walls with hollow rivets and "glassing ends" sticking out will be hidden under the deck afterwards

- 2,625 replies
-
- 28
-
-
- kaiser wilhelm der grosse
- passenger steamer
- (and 1 more)