


John Ruy
-
Posts
1,250 -
Joined
-
Last visited
Content Type
Profiles
Forums
Gallery
Events
Posts posted by John Ruy
-
-
1 hour ago, GGibson said:
Thanks, John. Appreciate the encouragement! It's fellas like you whom I have learned so much from in this journey. Thanks for letting me tag along on your own journey. 👍
You are welcome Greg…. We all have those that inspire us and those we hope to inspire here on MSW. MSW is a great place to grow and thrive in this hobby. It’s a great community no matter the skill level, beginner to master. 😎
Cheers 🍻 -
-
Eric, I like the canvas decking made with masking tape. Looks great. 👍
- mtaylor, Canute, Keith Black and 3 others
-
 6
6
-
She looks Great, Bob. Nice work…
- Glen McGuire, Keith Black, Gabek and 1 other
-
4
-
-
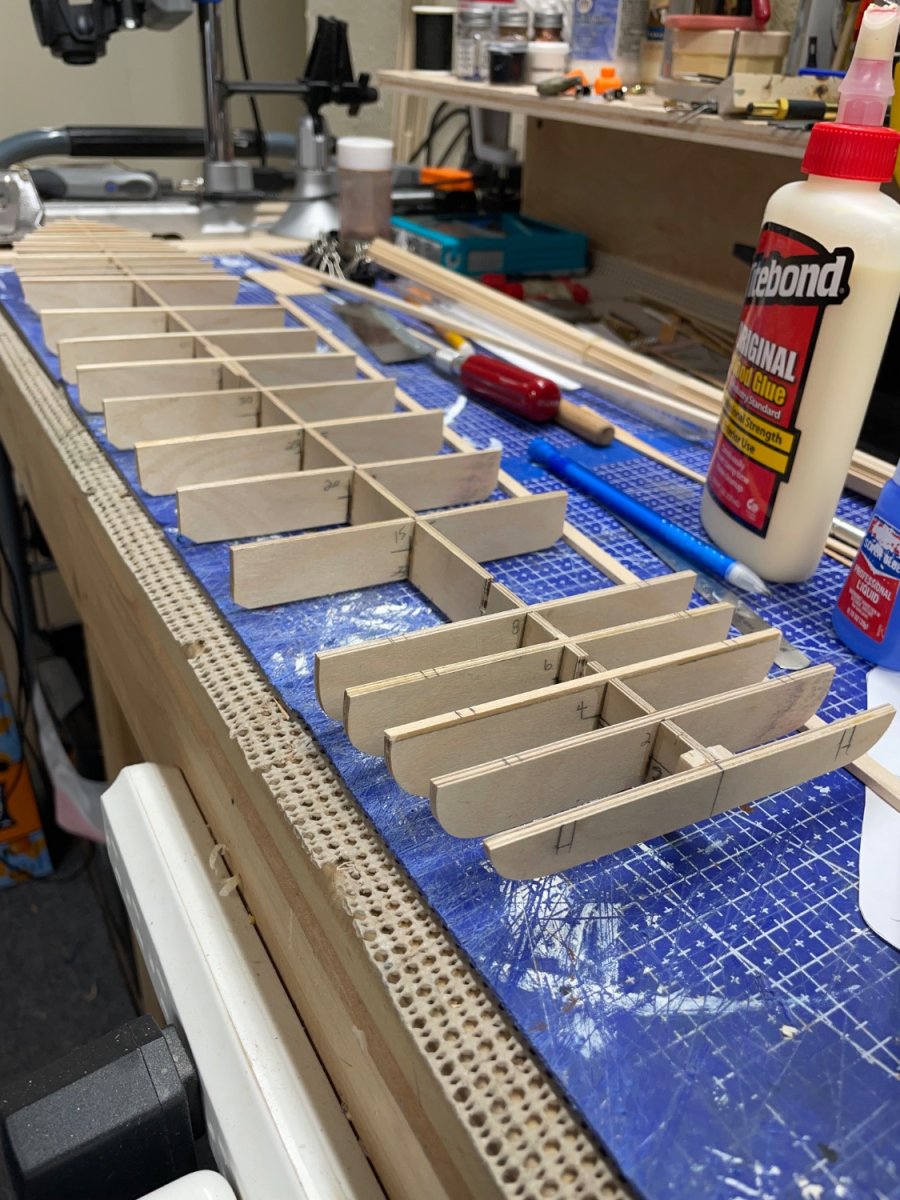
The Hull continued…
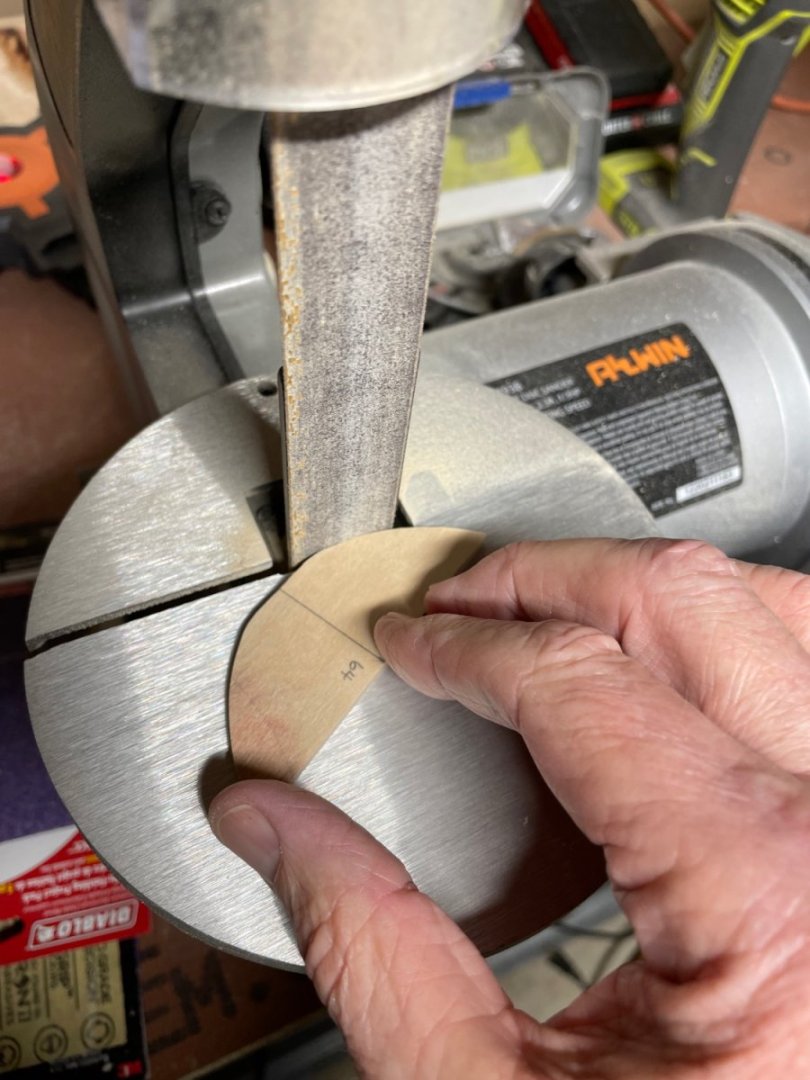
Completed cutting out 26 Bulkheads for the hull framing.
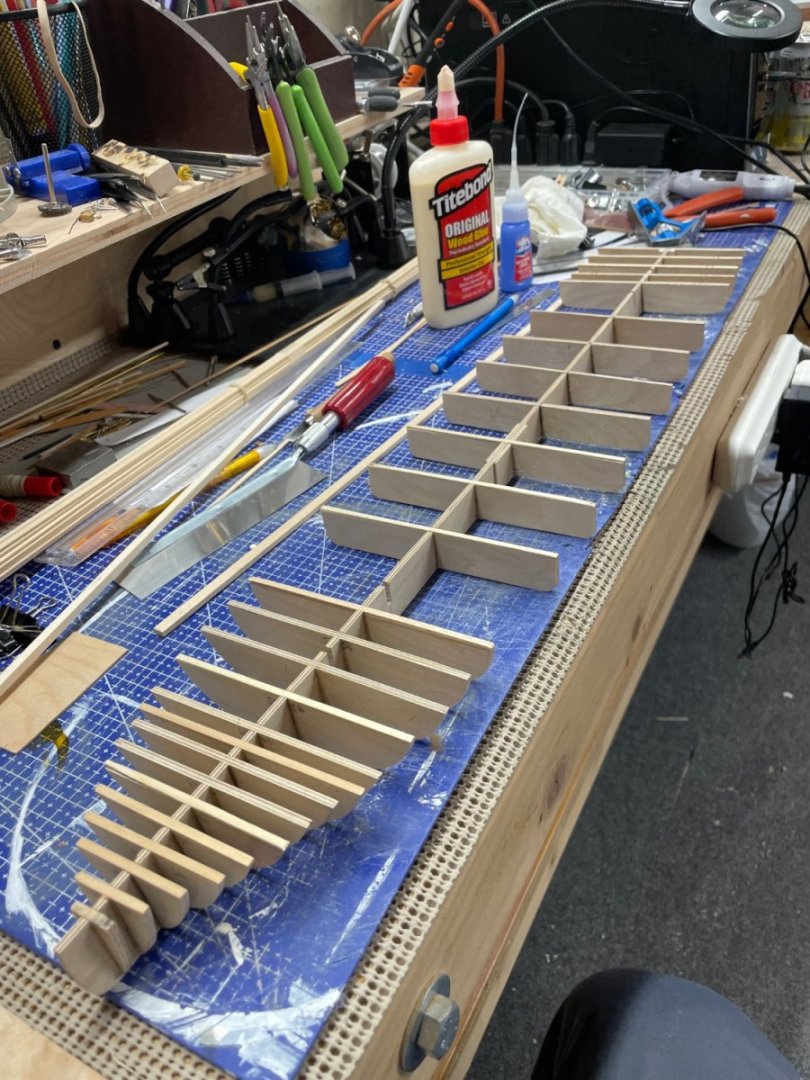
Bow bulkheads will need some serious faring prior to hull planking.

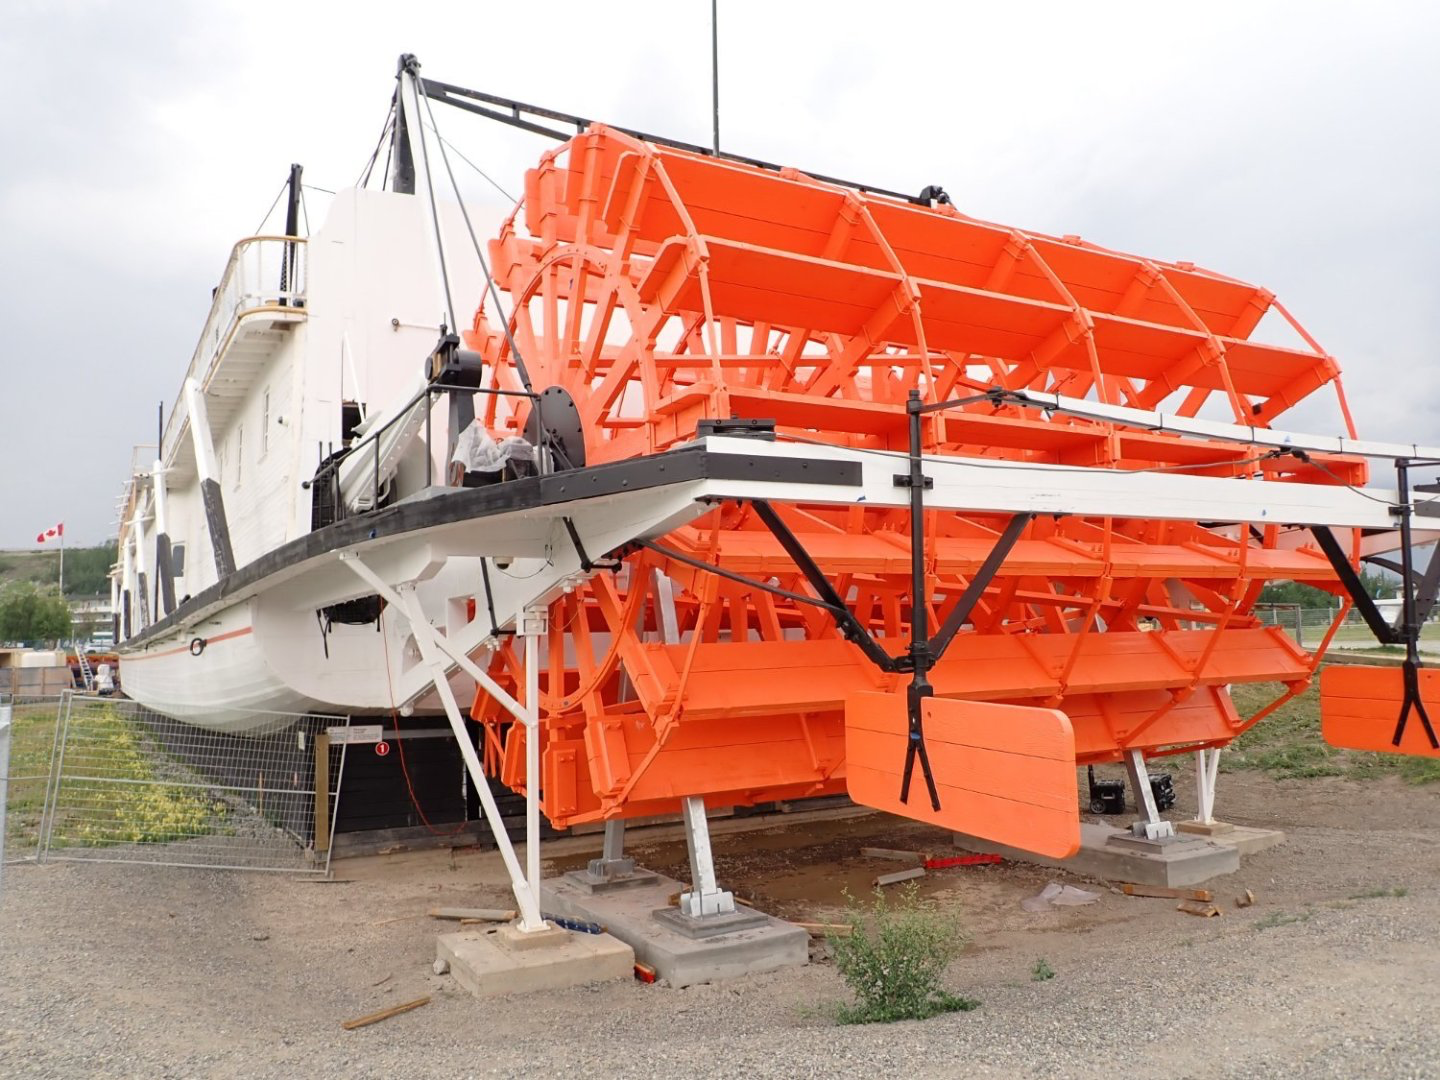
Before planking I will need to install two cantilevered Beams through the transom. These will support the Paddel Wheel.
Just getting started…Cheers 🍻
- Kusawa2000, LJP, GrandpaPhil and 7 others
-
10
-
Agreed… POF is the way to go, I still have some spot filling and sanding to do here. Many more coats of paint. 😜

- Knocklouder and KurtH
-
2
-
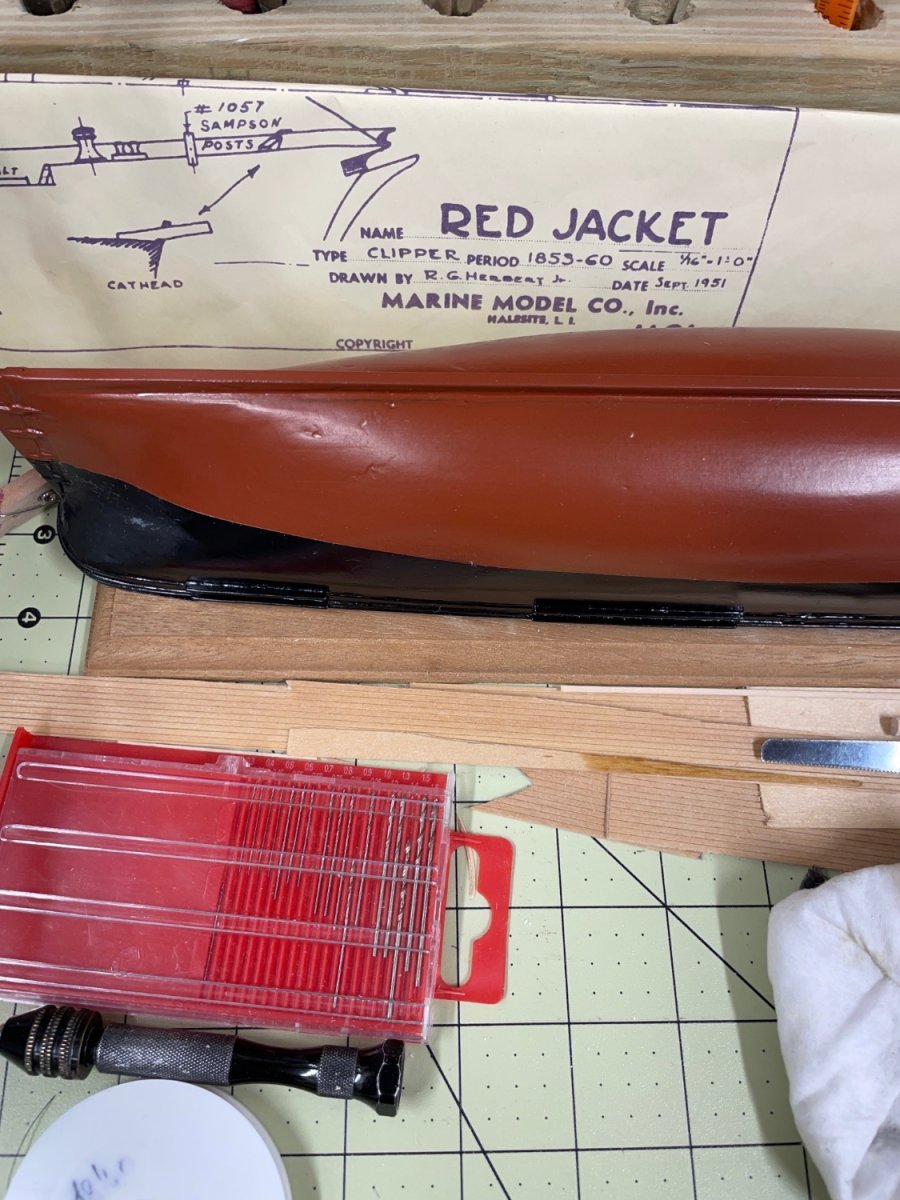
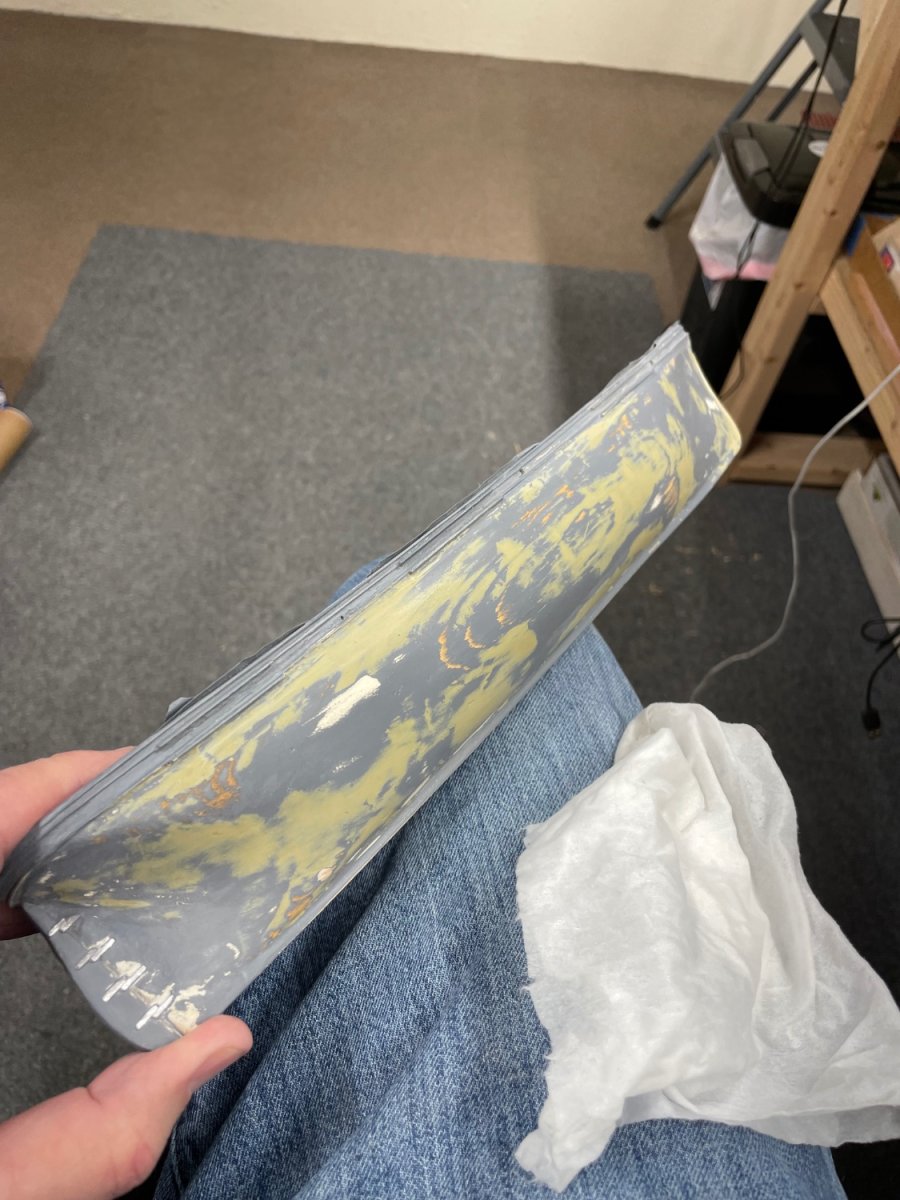
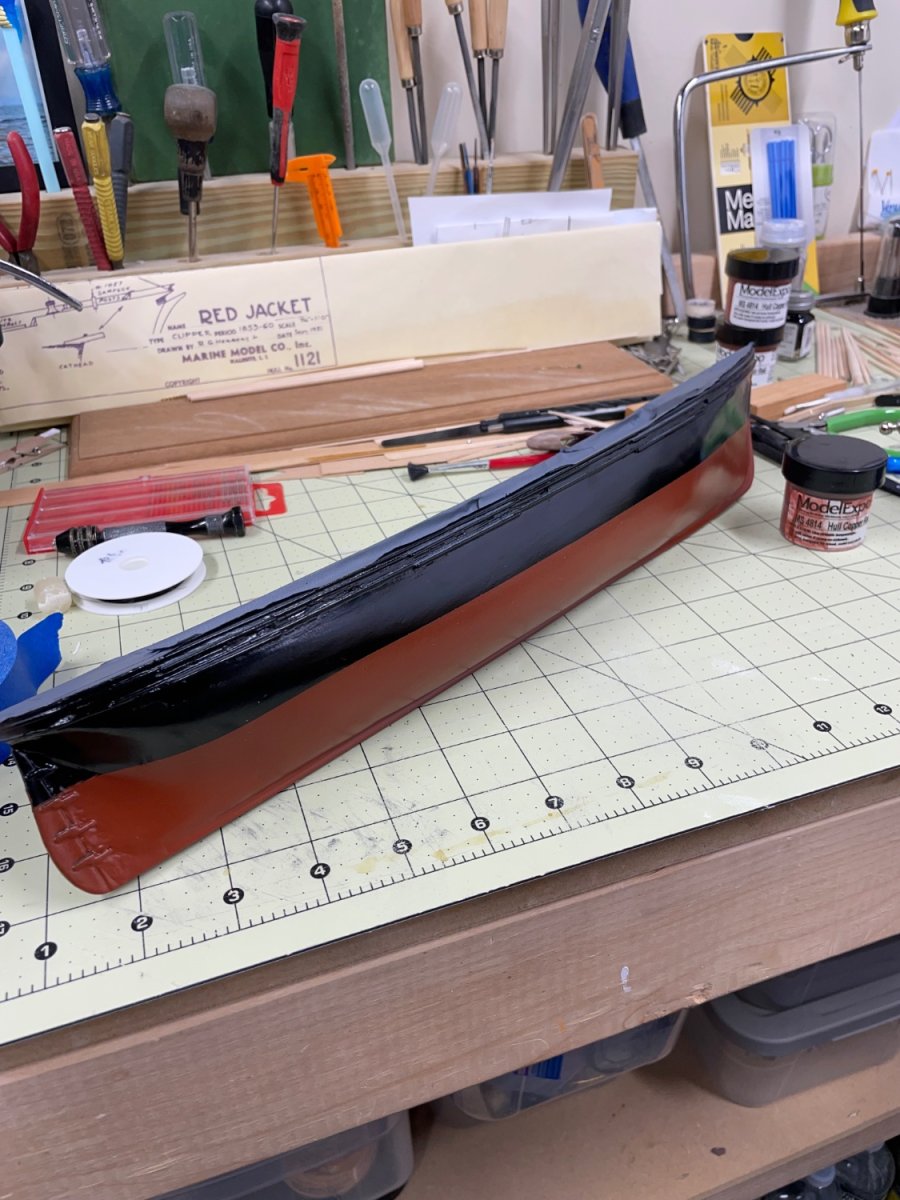
Painting the hull continues…
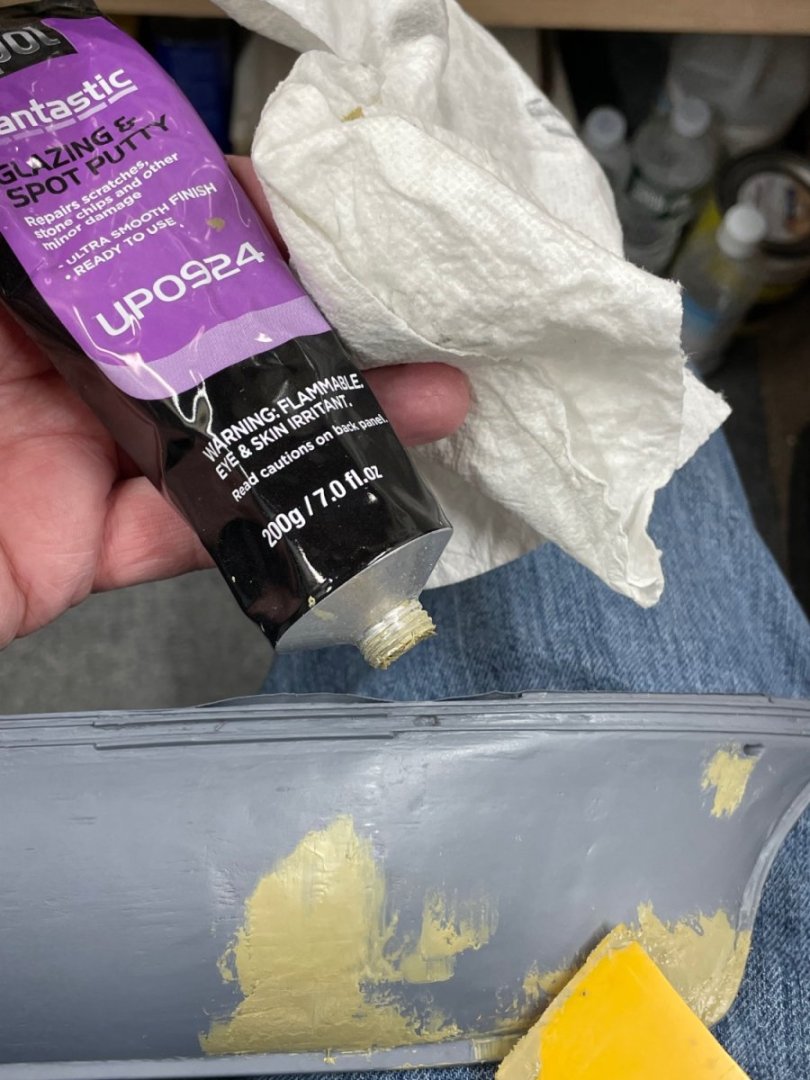
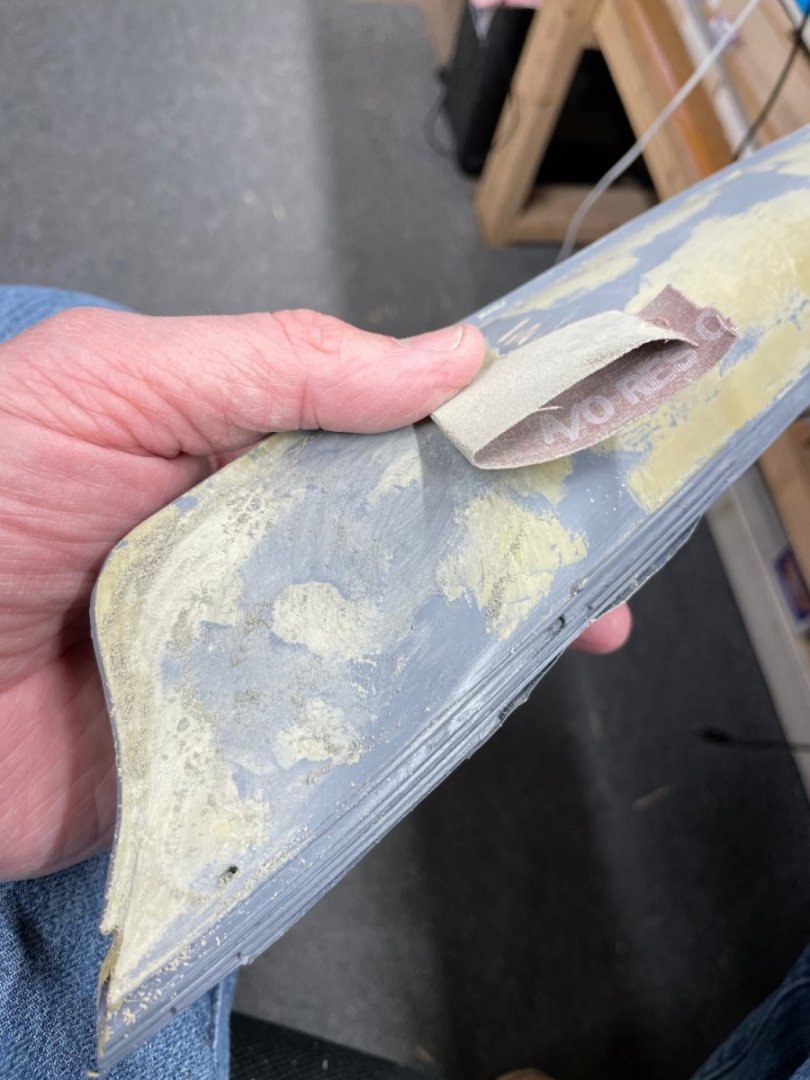

Spot putty and sanding prior to color coats…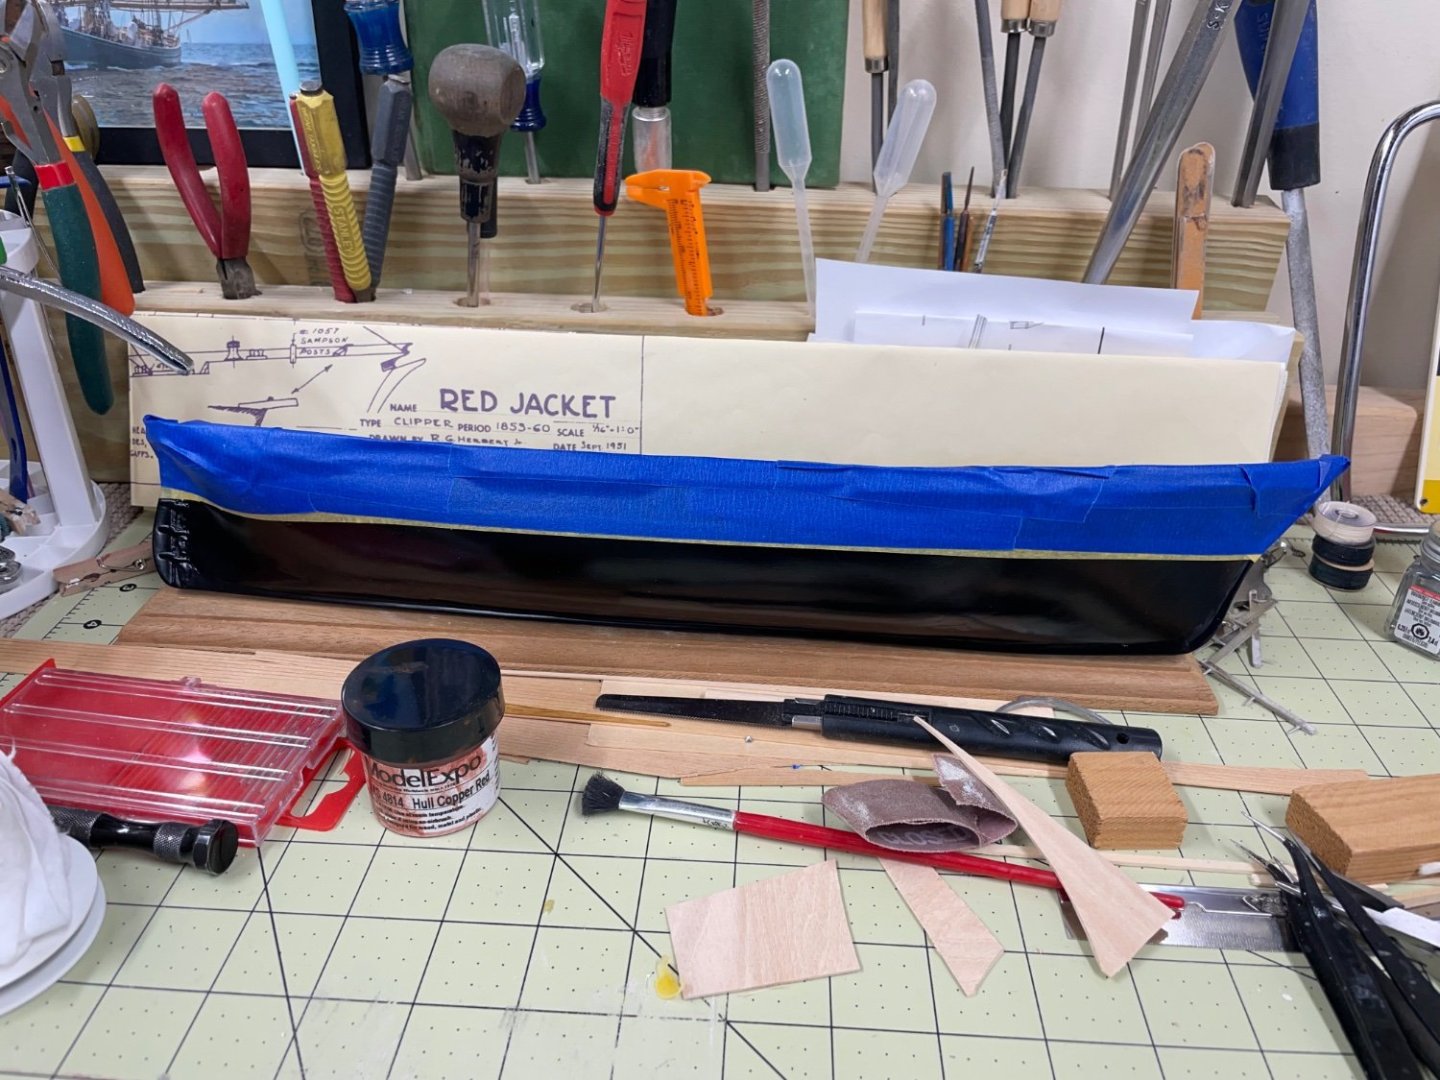
Painted hull semi gloss black and masked off water line in preparation for Hull Copper Red below the Water line.

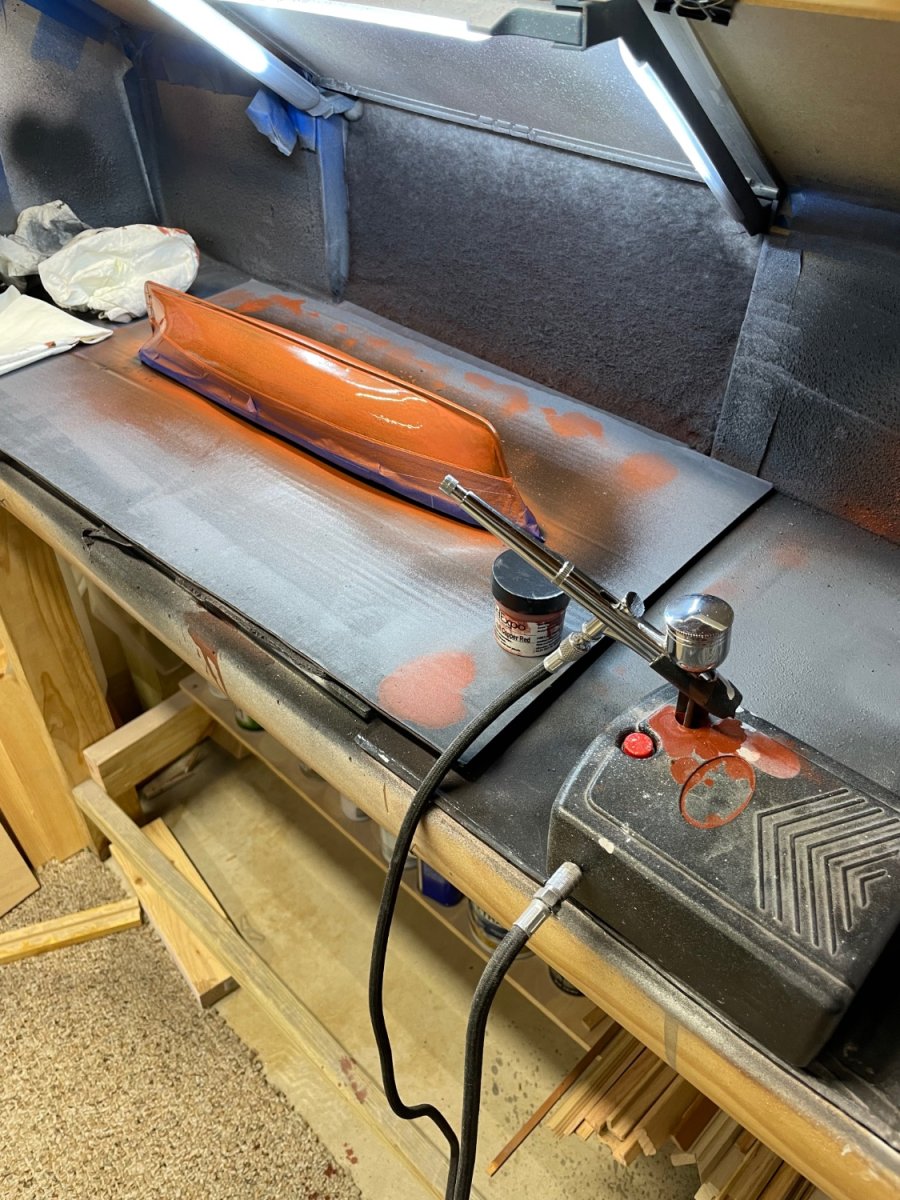
Air Brushed the Hull Copper Red…
Color coats complete, still needs some touch up prior to finishing with Semi Gloss Clear Coat.
Cheers 🍻
-
Good progress Bob… You will be ready for Pegasus, before you know it. Nice work. 🍻
- Glen McGuire, Keith Black, Mr Whippy and 2 others
-
4
-
 1
1
-
Excellent… 👏 Nice work Ron, your hard work has paid off. It’s been quite the journey, Job well done. 👍
John
-
-
-
-
Bob M,
You are in my prayers as well, friend. 🙏
John
- bobandlucy, Glen McGuire, Ryland Craze and 5 others
-
7
-
1
-
Glad to see you back at it, Bob…
She’s looking good, onwards one line at a time. 🍻
So much to do and so little time left. LOL 😂 I hear you…
Don’t let those Rats get in your rat lines.
John
- mtaylor, Keith Black, Knocklouder and 1 other
-
1
-
 3
3
-
Congratulations 👏
Soldering requires lots of practice as well as technique and the right equipment. Can’t wait to see your success displayed on your bluenose.
I’m sure we all struggle to get it right and continue relearning as we go. I know I do… 😆
John
-
-
34 minutes ago, GGibson said:
Just did another quick scan of Sheet 6 - Rigging Details, and I was probably thinking of the numerous shackles, not turnbuckles.
Continued great work, John! 👍
Thanks again Greg, I did the same, looks like 6 total all on the Bow Sprit rigging. I also looked up Galvanizing, invented in the late 1800s, so I’m pretty sure the turnbuckles would be galvanized to deter rusting. I’ll dab a bit of aluminum paint on the copper eyelets and I’ll be all set. I probably need to paint all of the belaying pins as well. 😆
-
21 minutes ago, GGibson said:
Excellent work on the turnbuckles, John! My $0.02 would be either aluminum or a brass-like gold. For my bowsprit turnbuckles, I purchased some "pre-made" ones that turned out... ok. But, now that I have a mill machine, I believe I could make some even better like yours here. And all of the tubing that I have is brass. Hmmm... I think there are some more turnbuckles higher in the rigging, isn't there?
Yep… I believe the 1921 Bluenose would have had galvanized steel. At 1/16” OD it might be a bit over scale, but I think it looks good. I’ll have to search out the detail to find out how many more I will need to make up.
John
- Glen McGuire and ERS Rich
-
2
-
33 minutes ago, hamilton said:
Nice work on the turnbuckles!
hamilton
Thanks….
Should they be painted black or aluminum to represent Galvanized Steel?
-
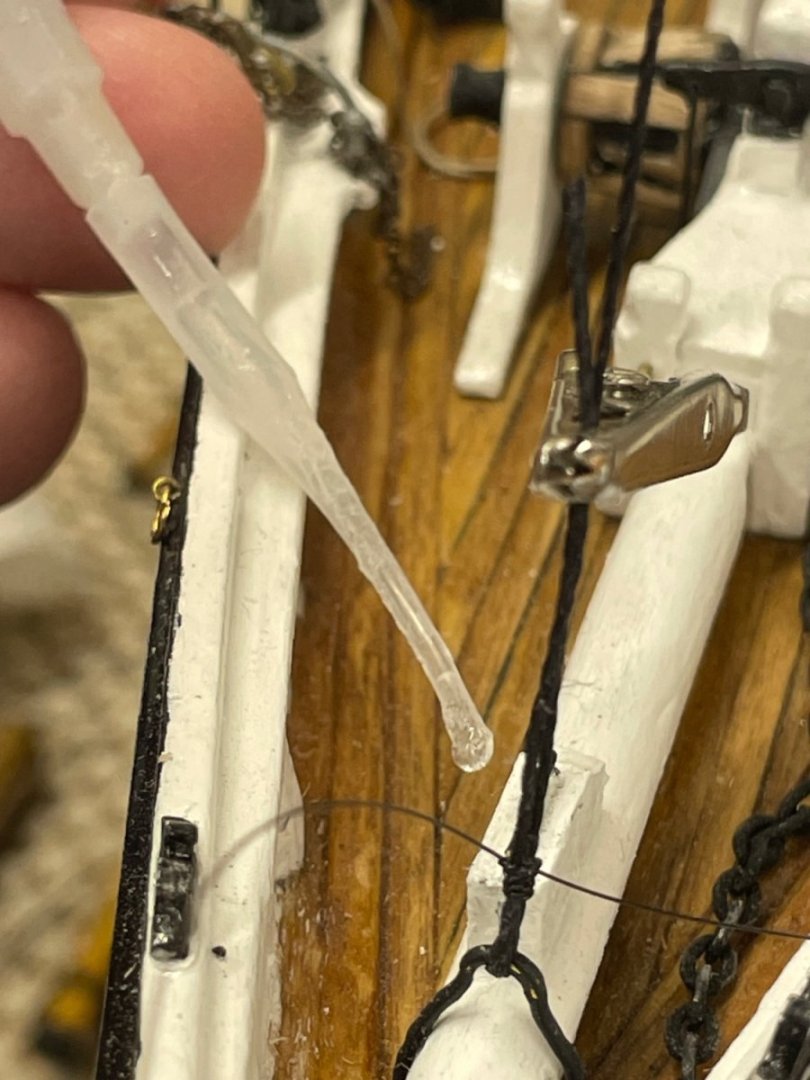
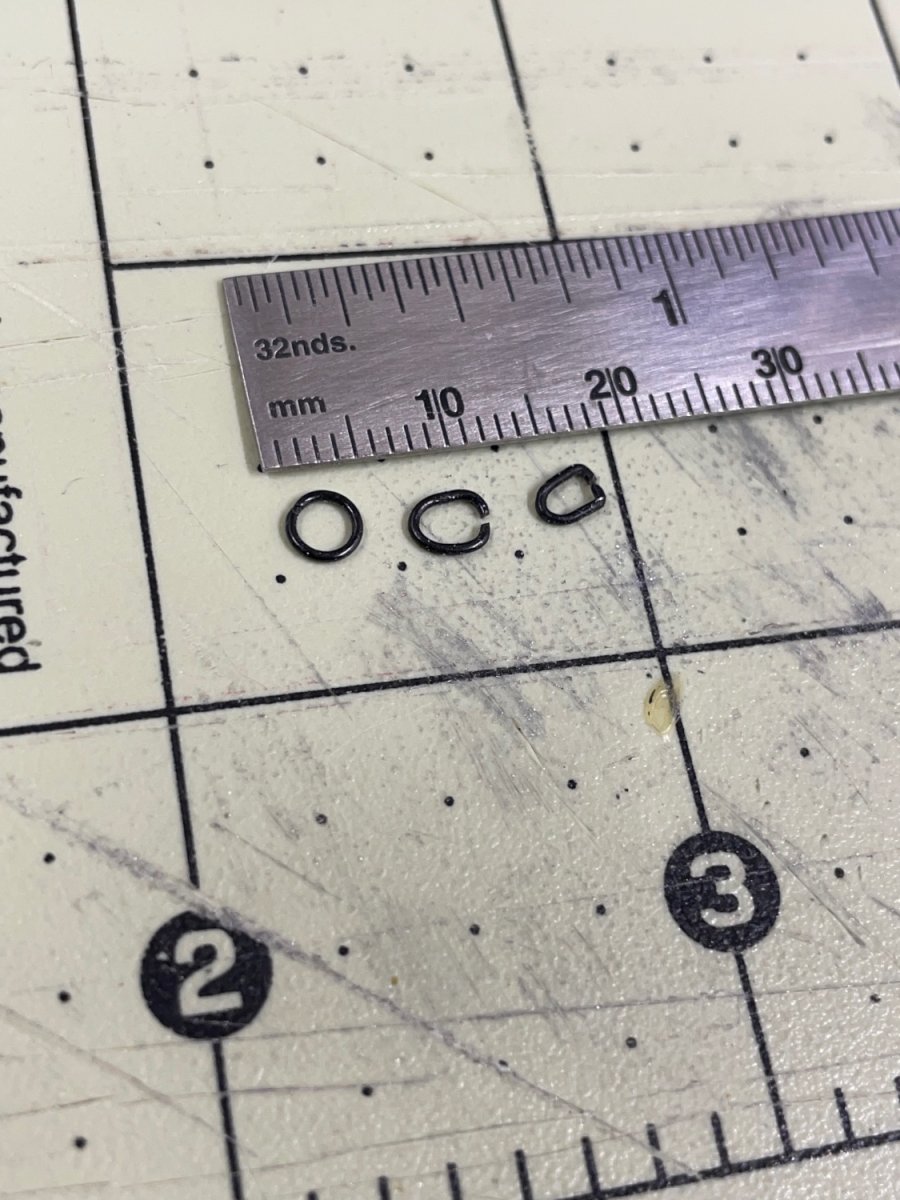
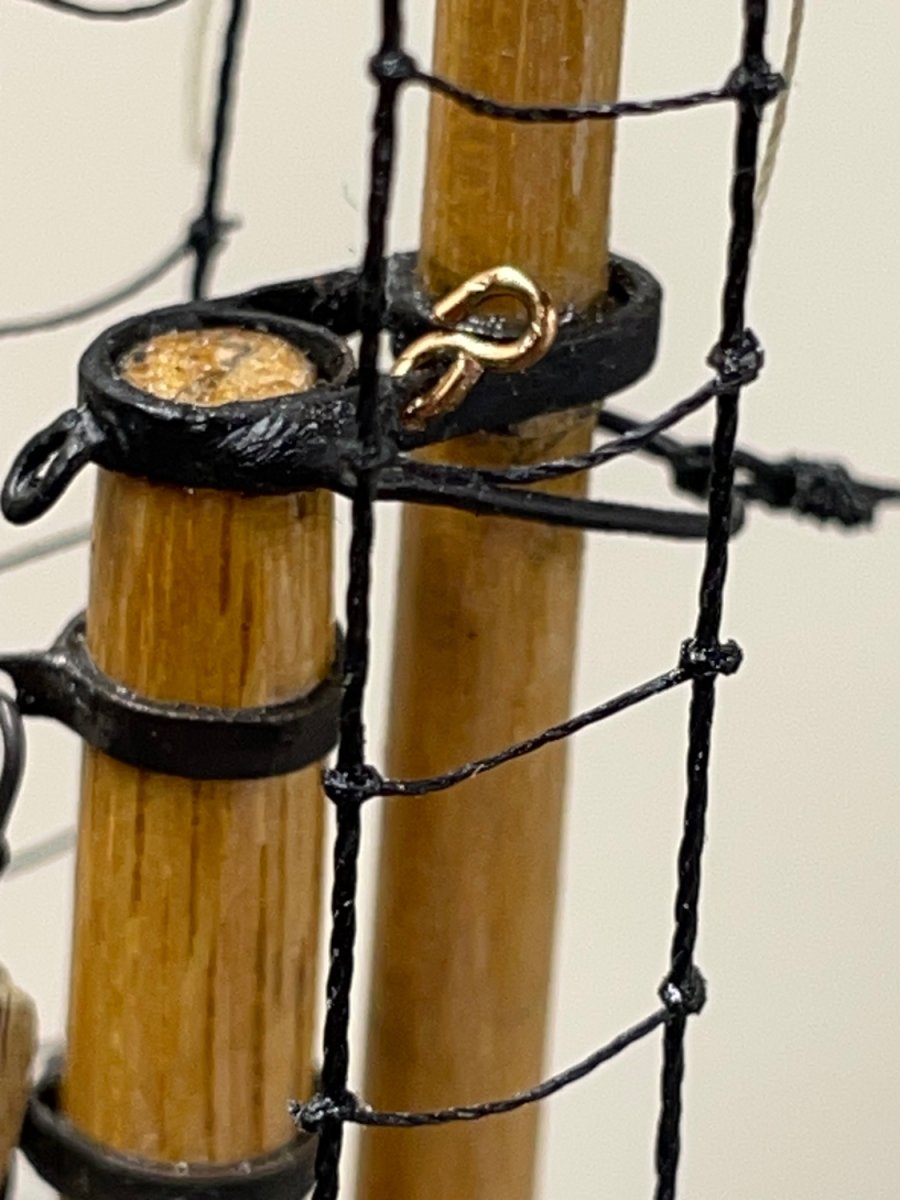
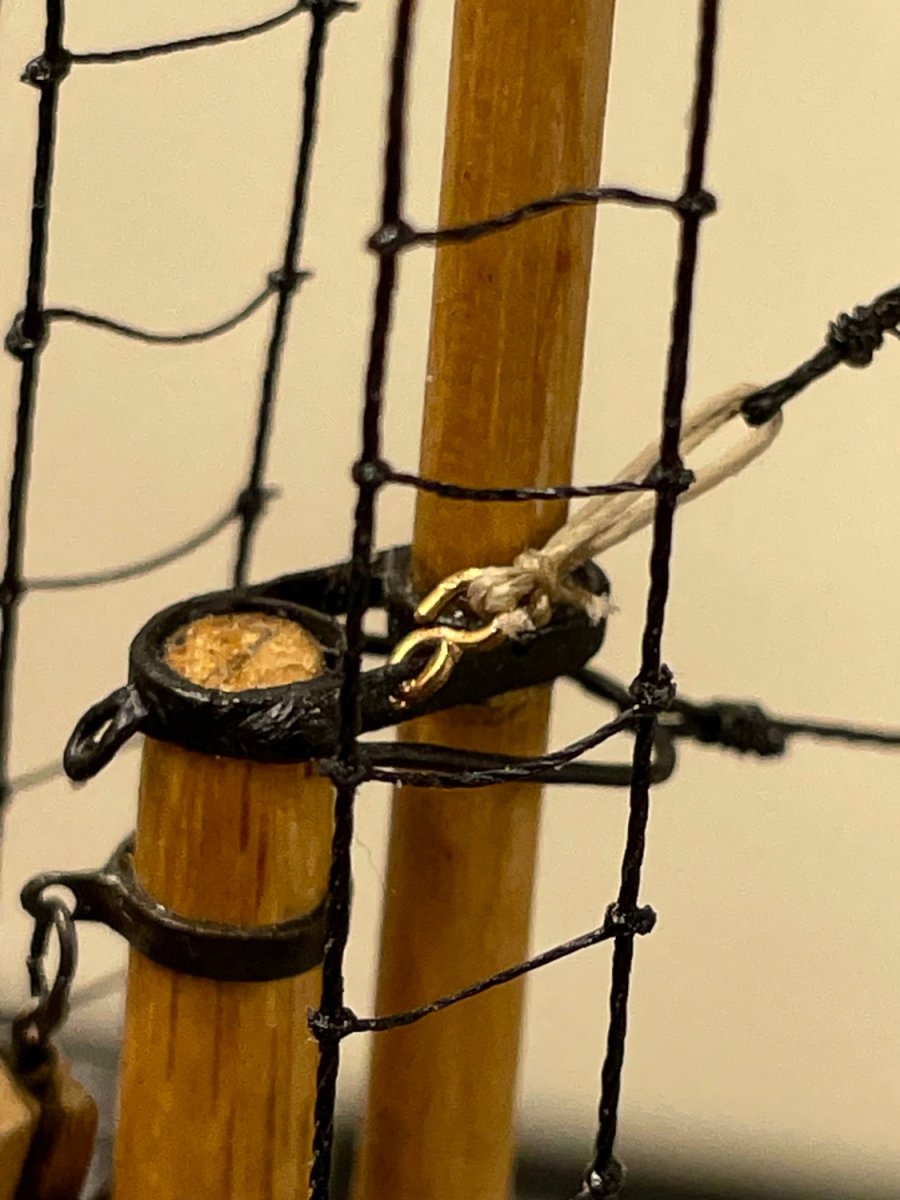
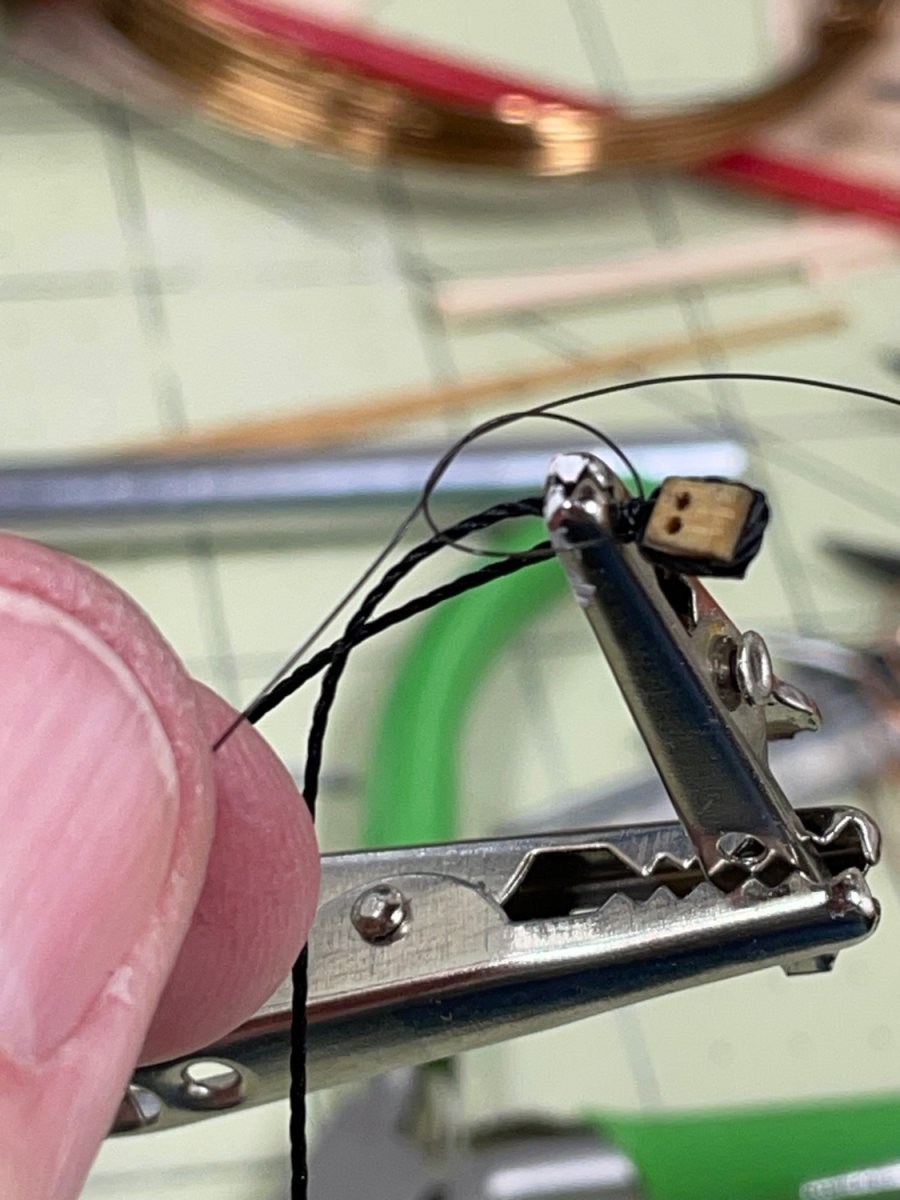
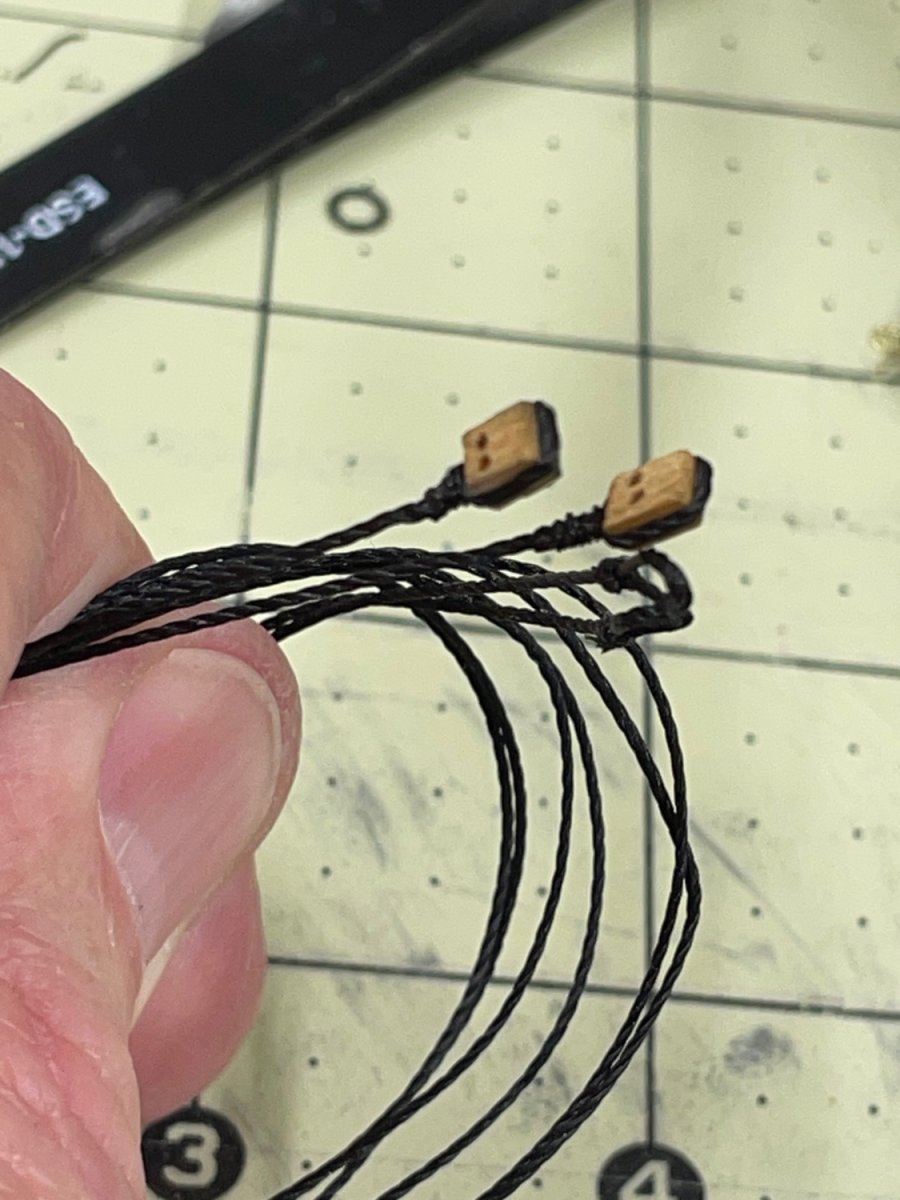
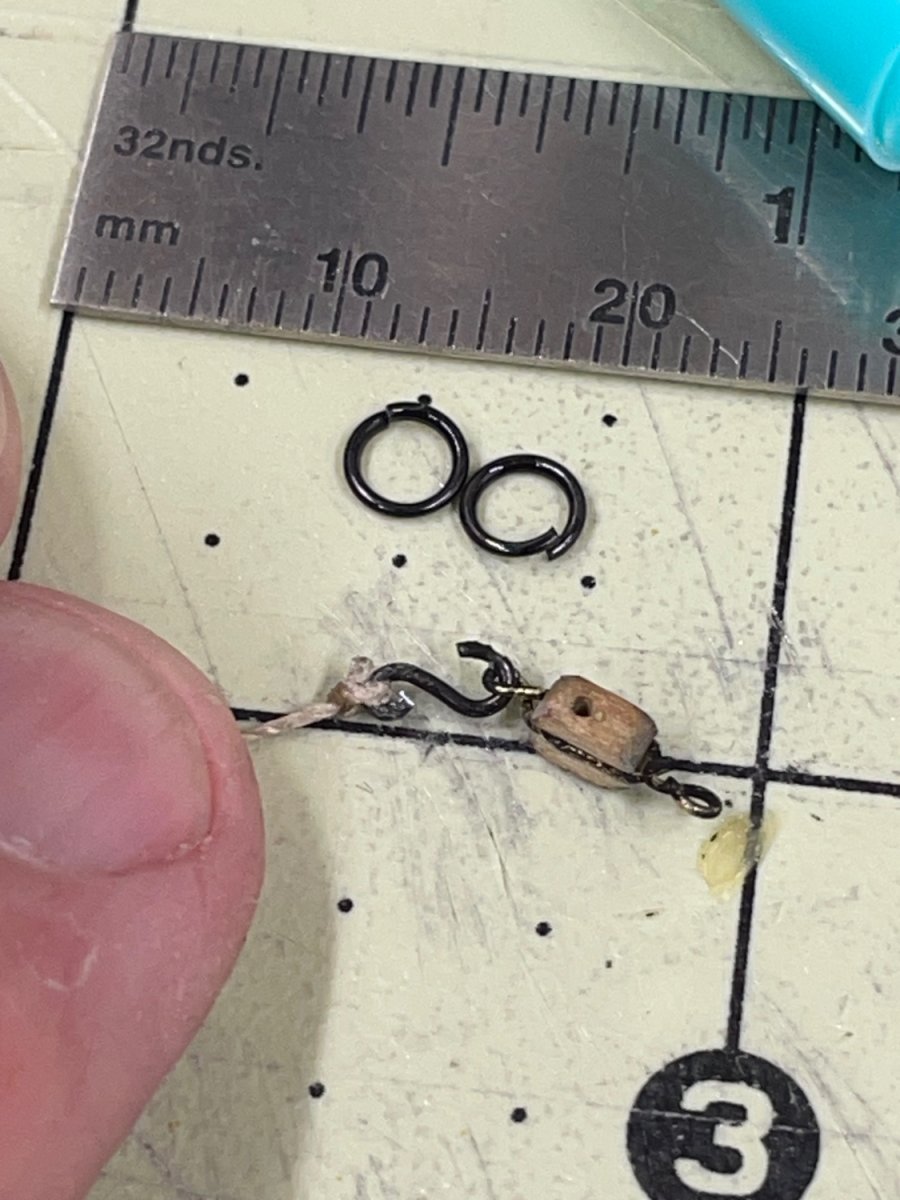
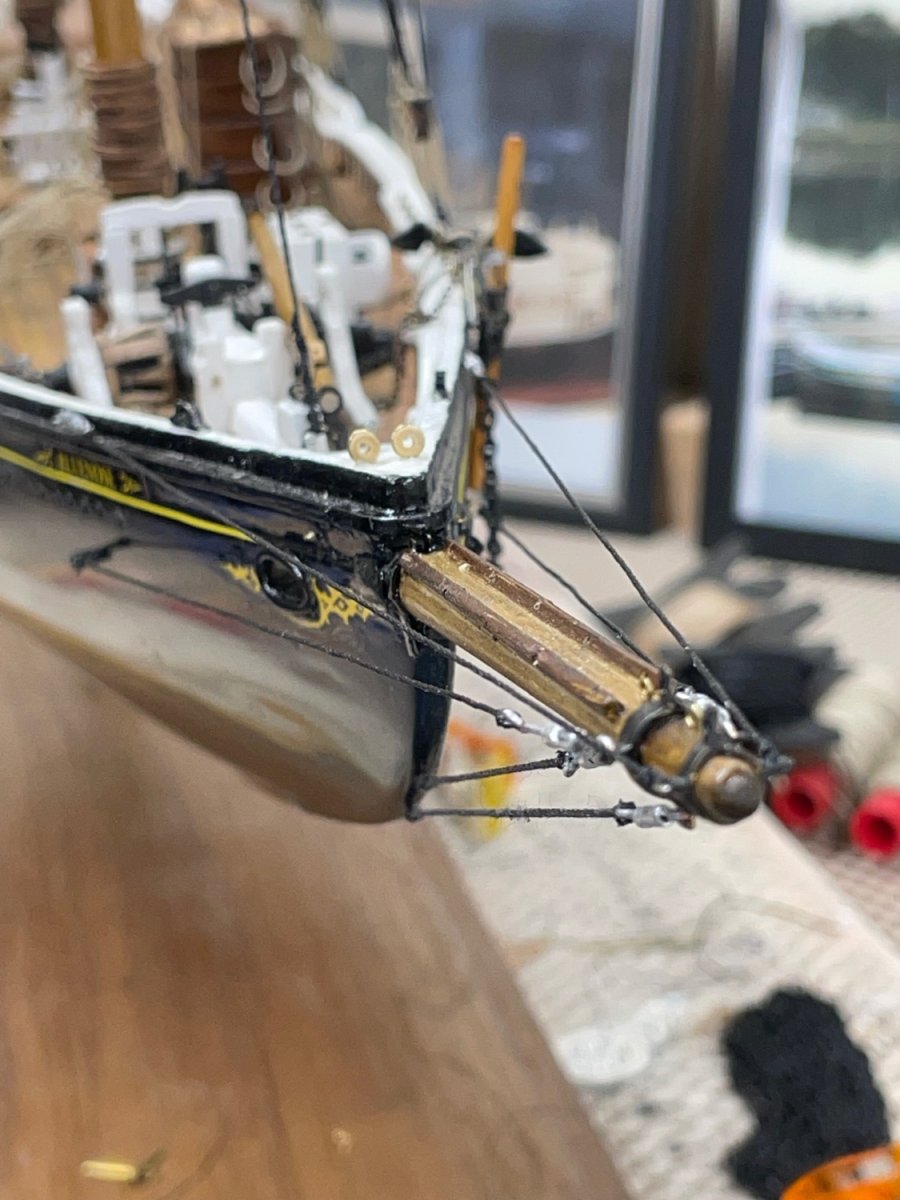
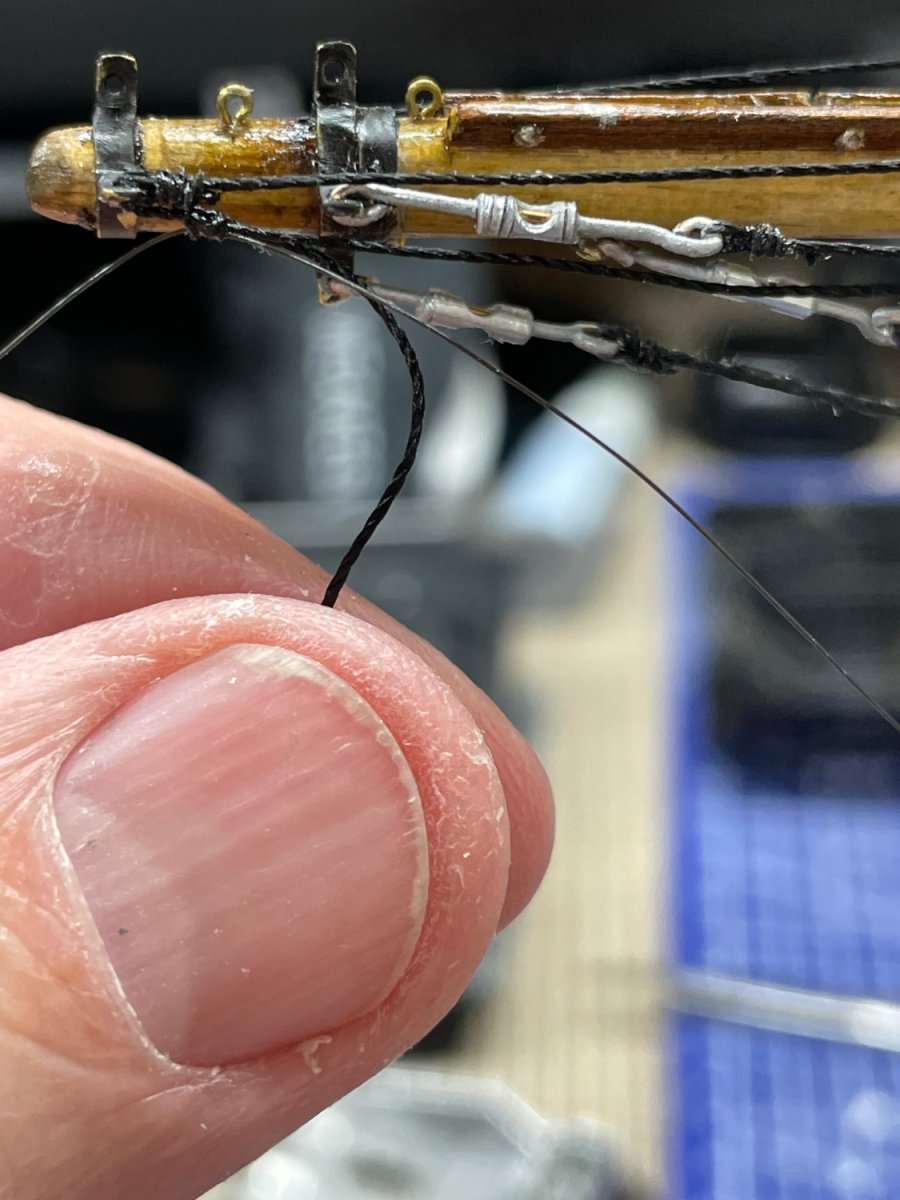
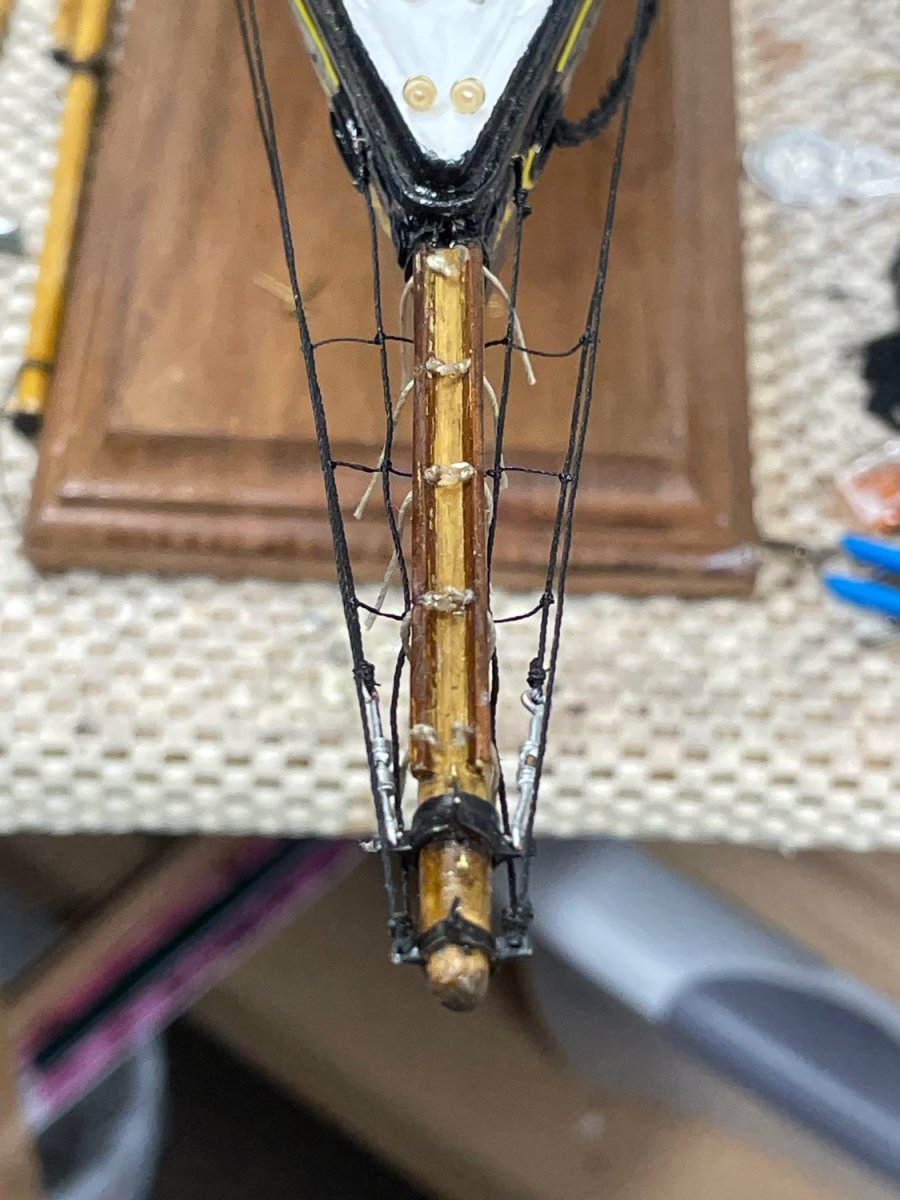
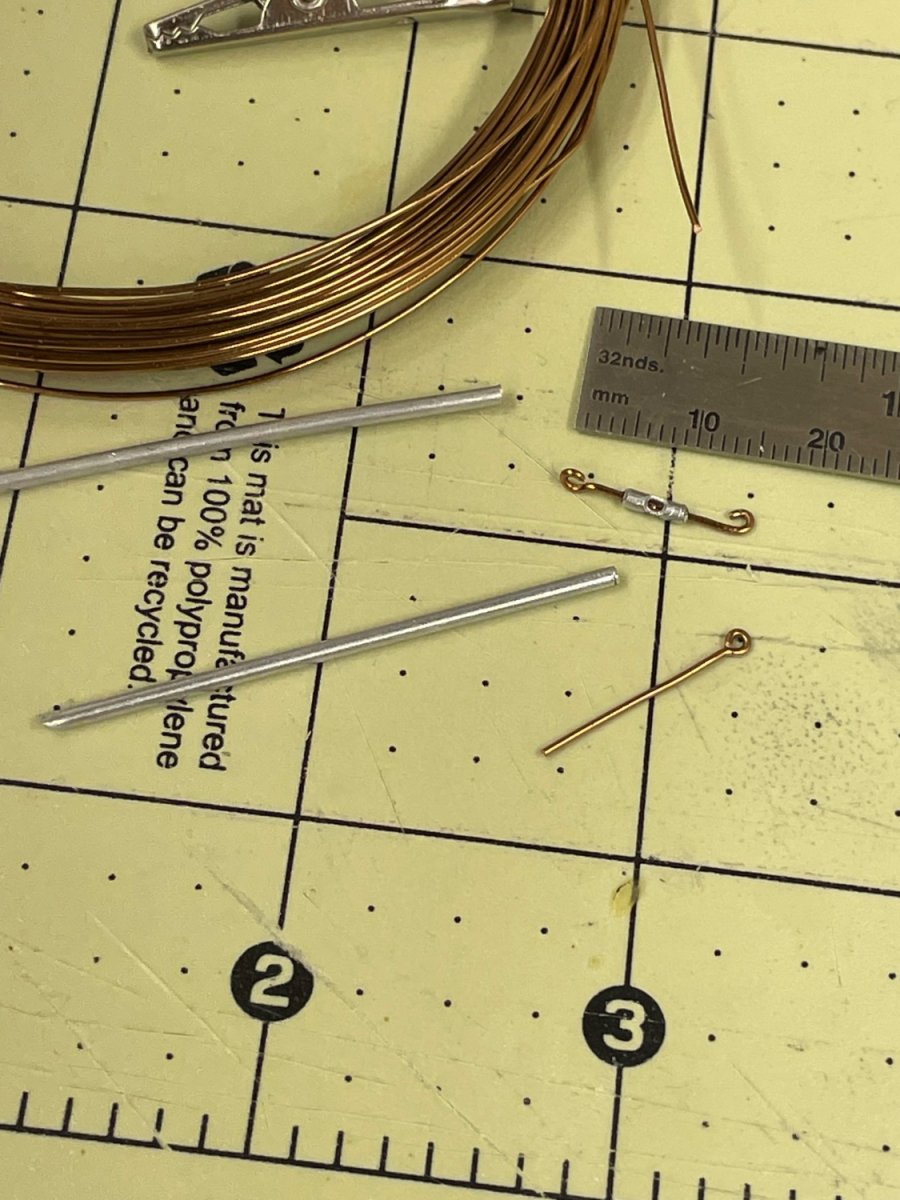
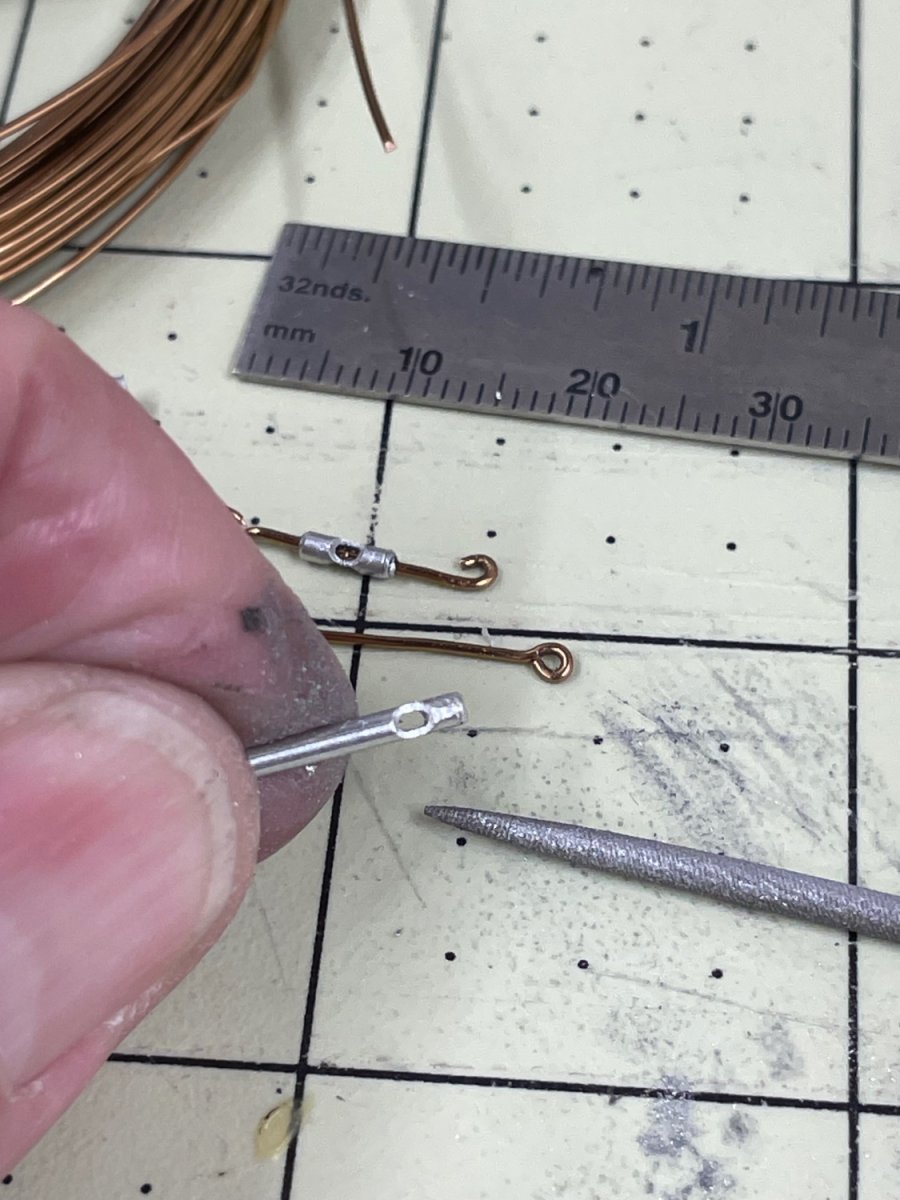
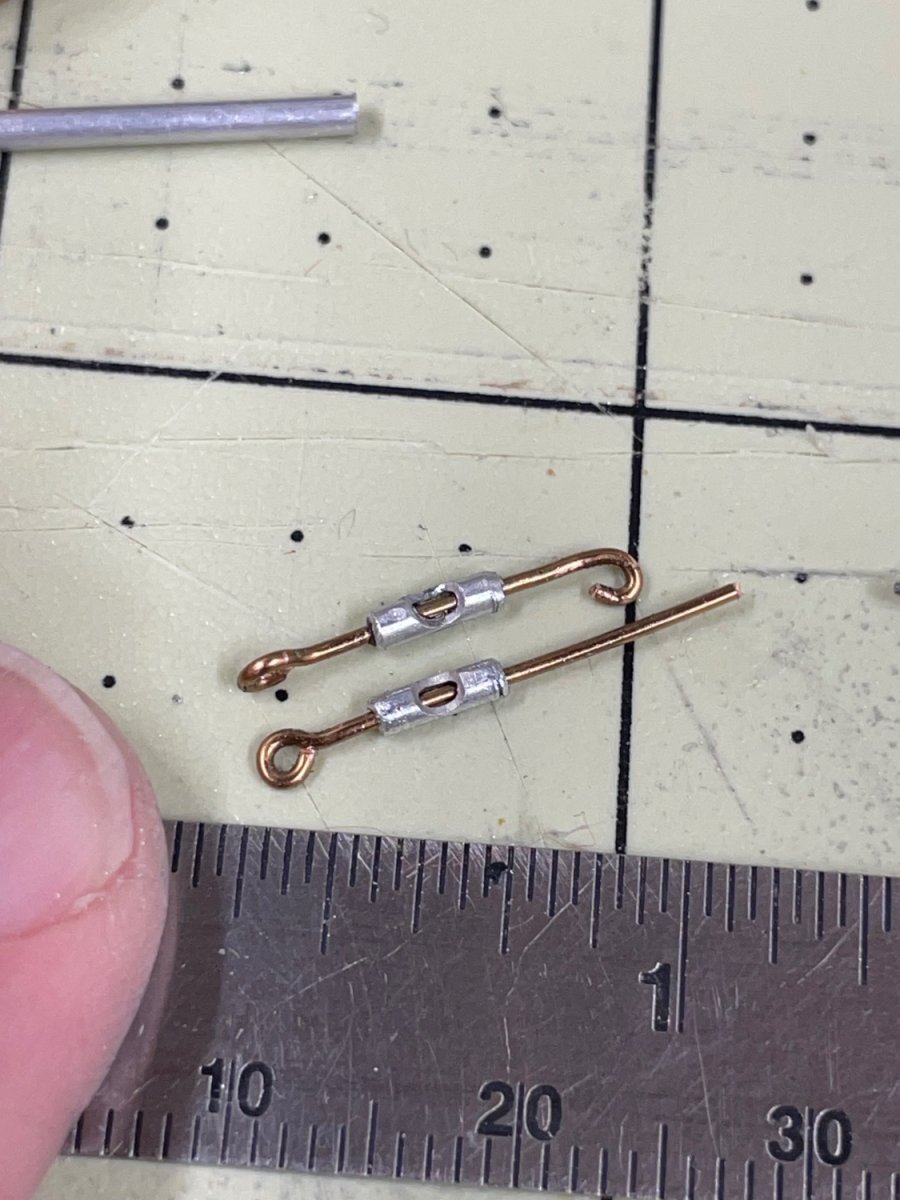
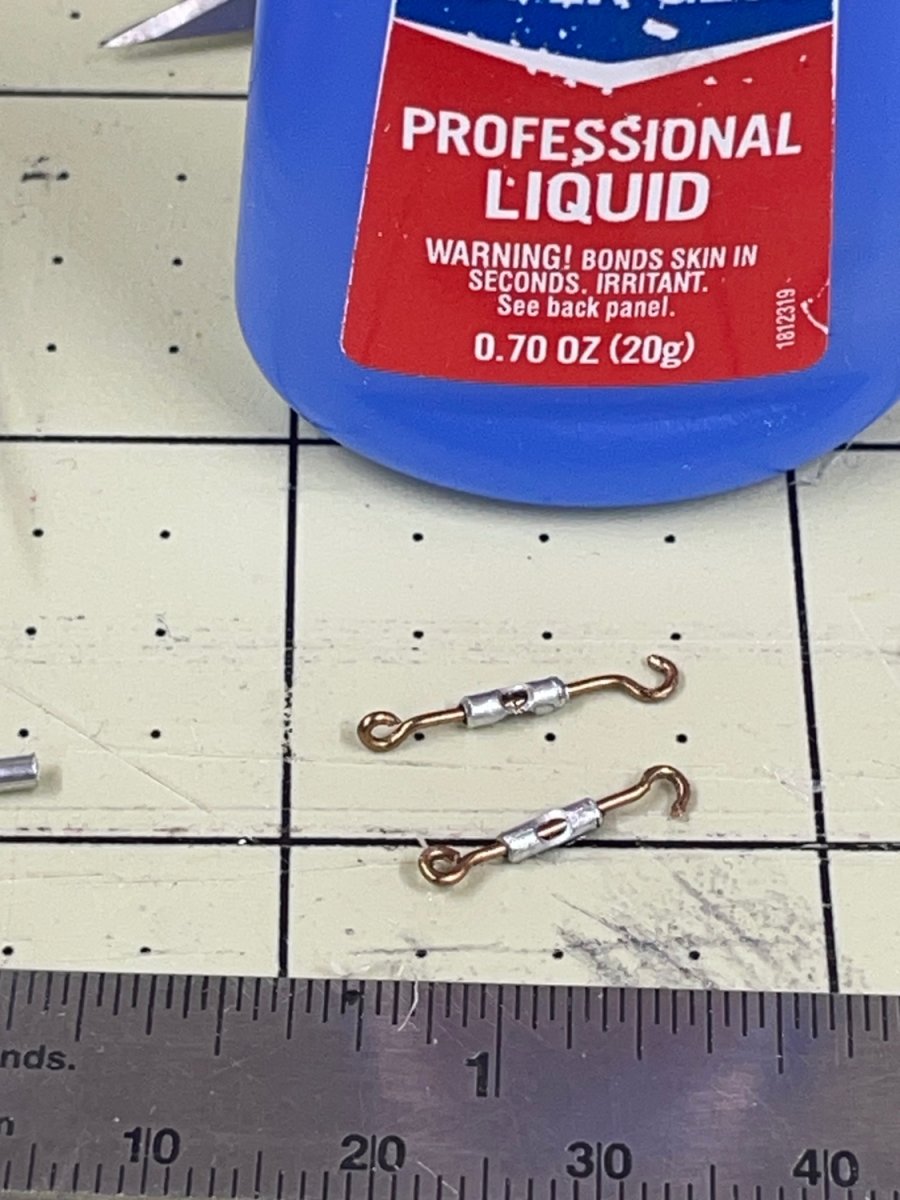
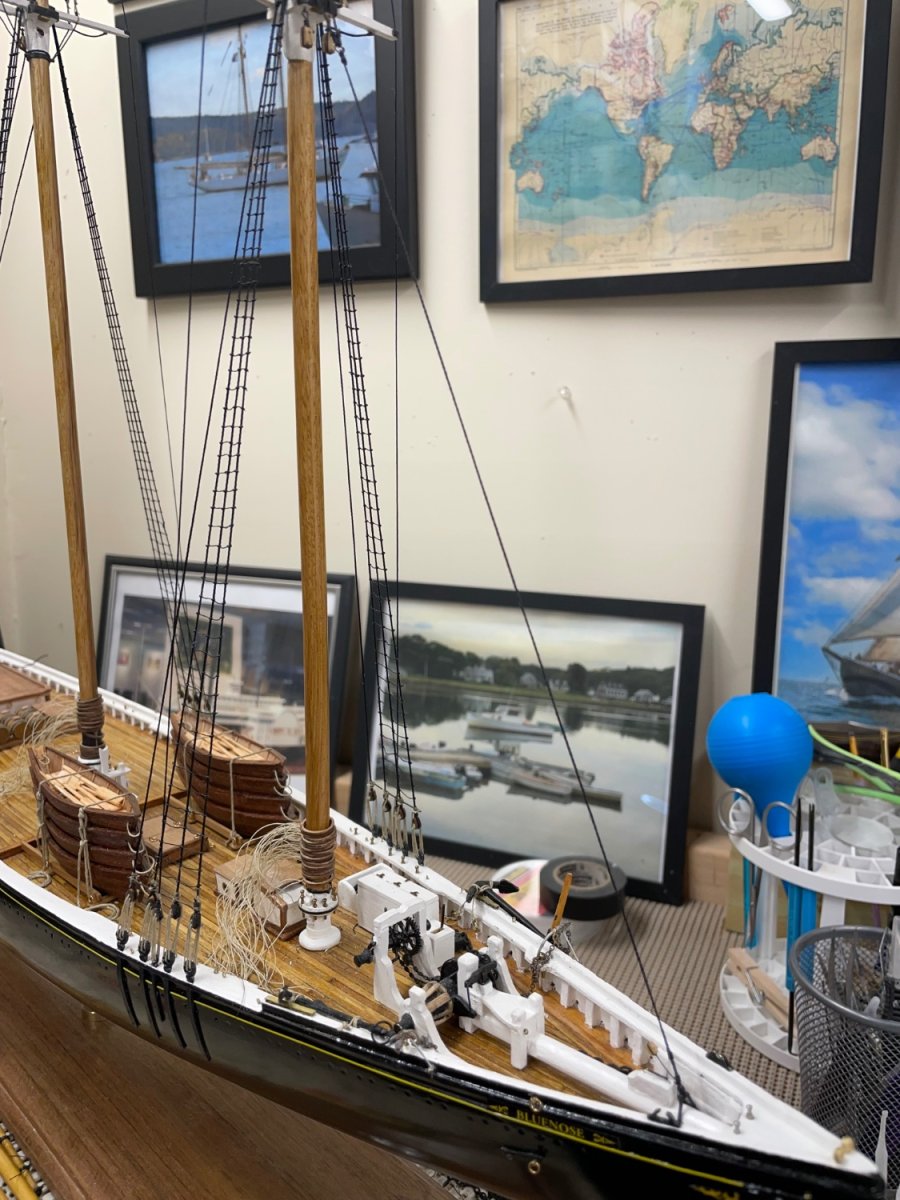
Turnbuckles…
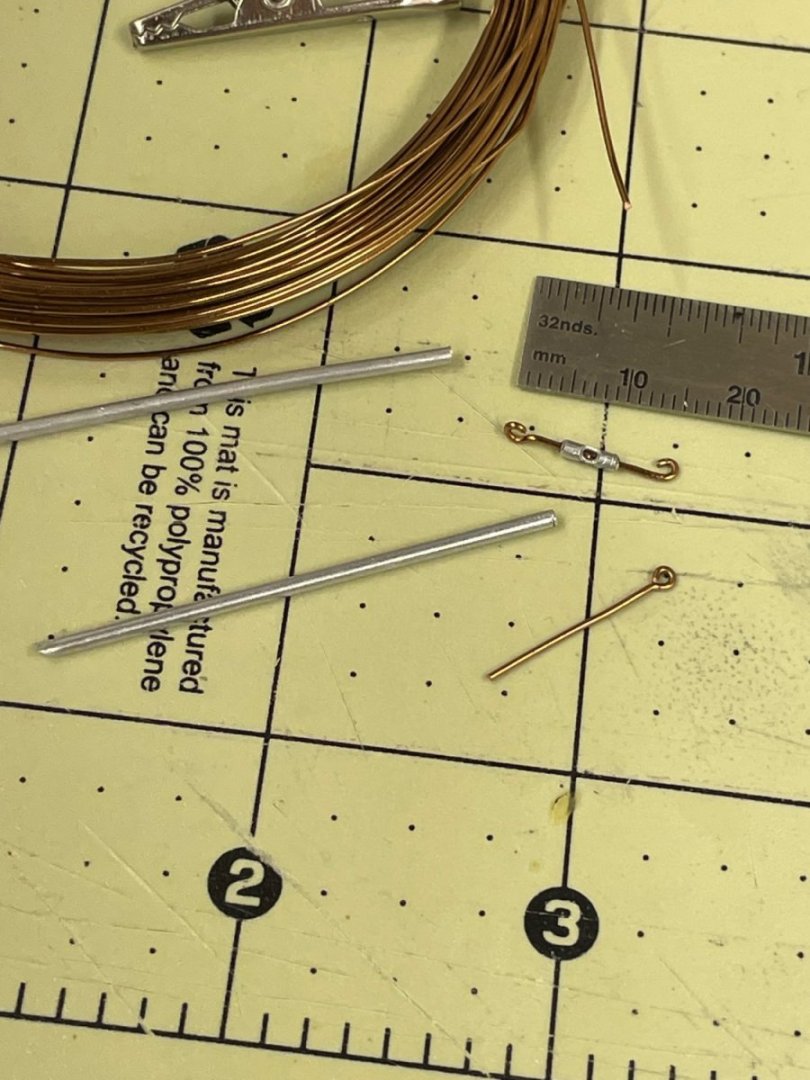
I used 1/16” OD Aluminum tubing and copper wire to build dummy turnbuckles. There is no mention of turnbuckles in the instructions. I wanted to try to add this detail and tried to get them small enough to be of proper scale. 😆

Used needle file to cut both sides of tubing.
Used Copper wire to fit through the tubing.
Turnbuckle body is held in place with a touch of CA glue.
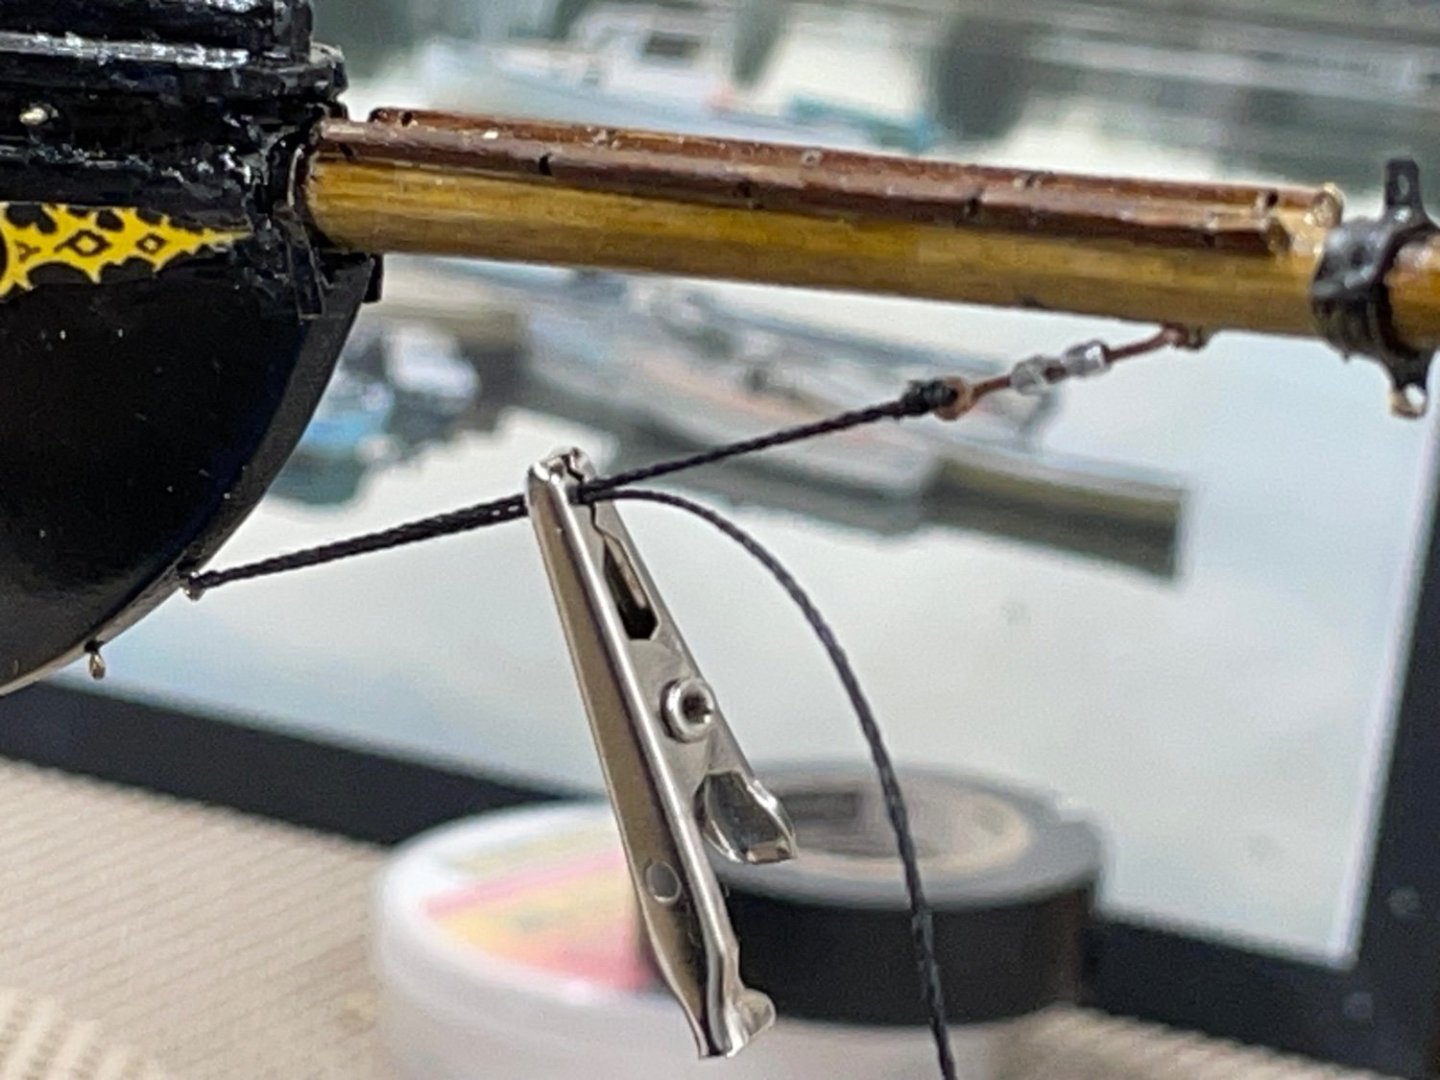
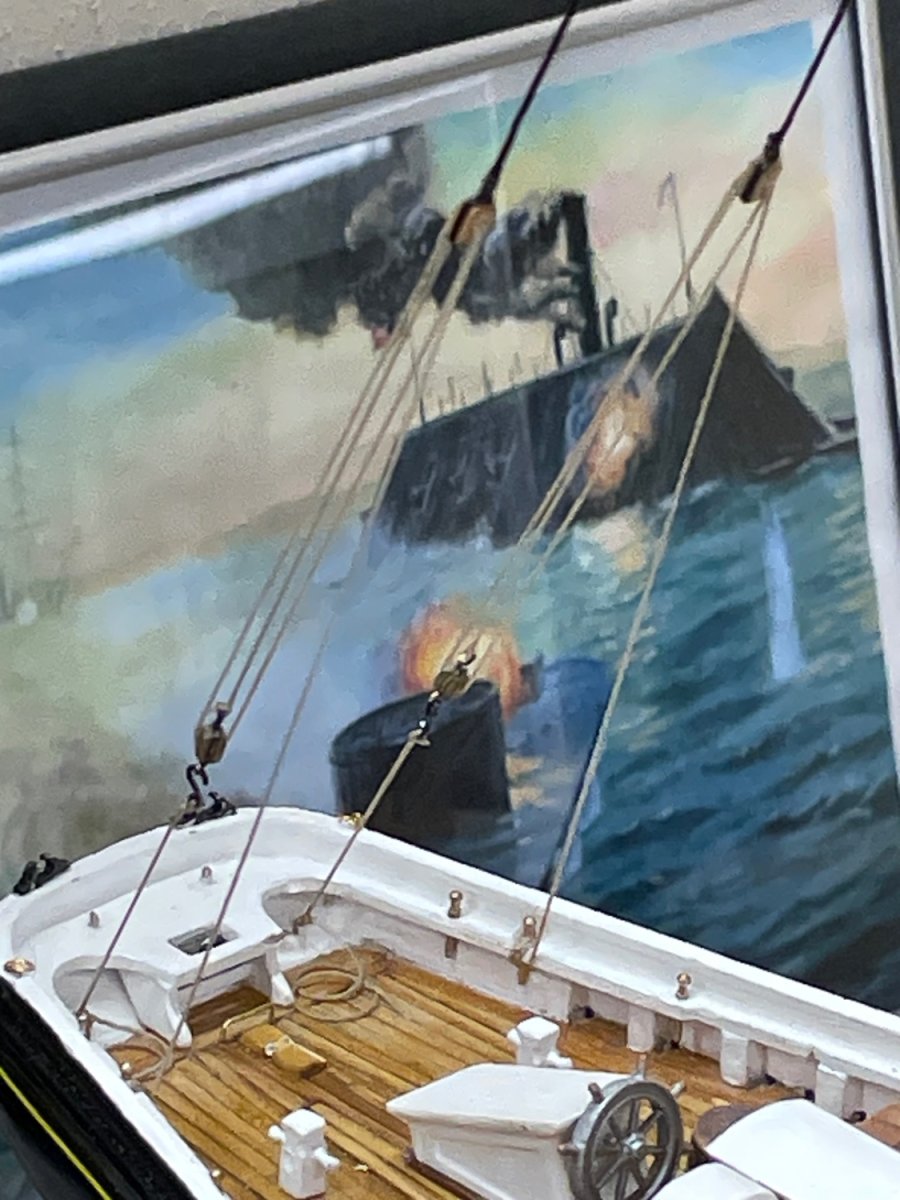
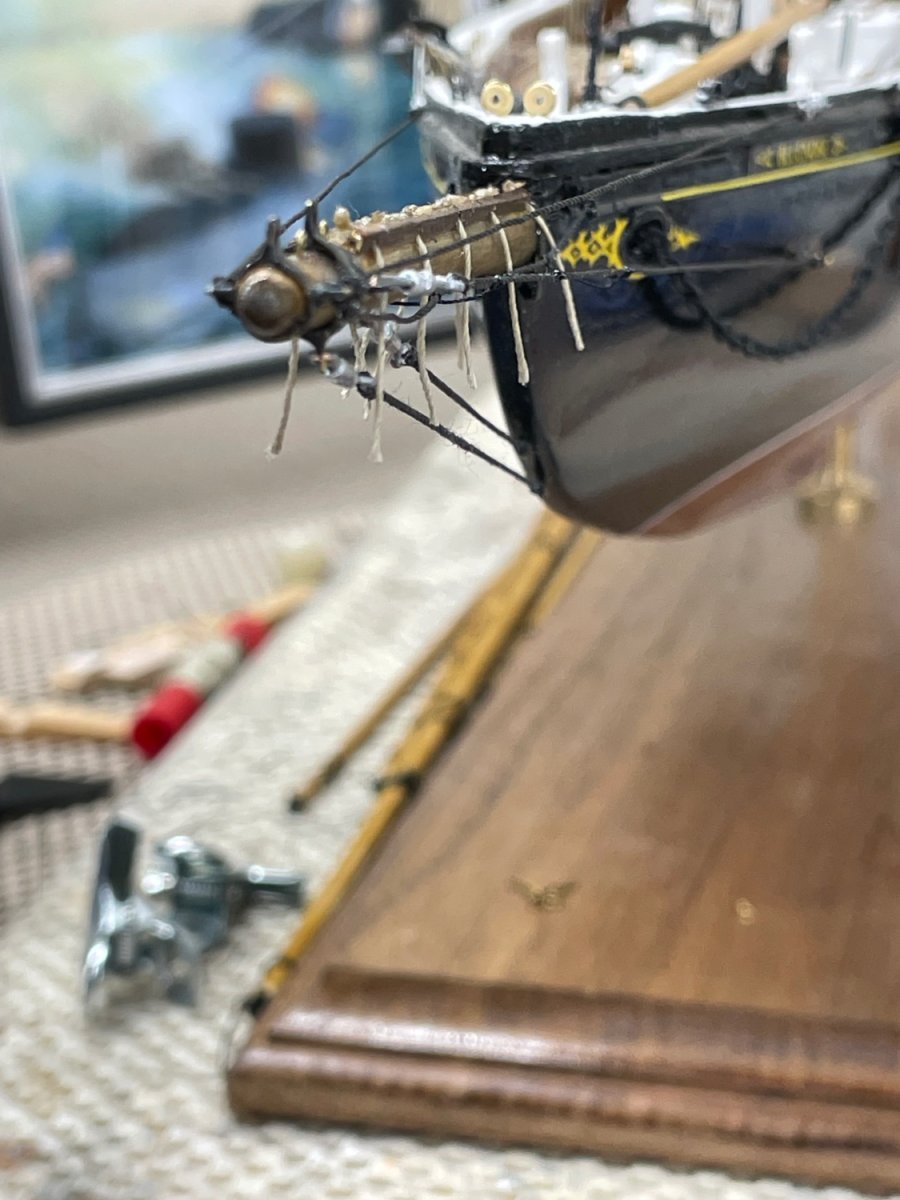
Bobstays placedCheers 🍻
-
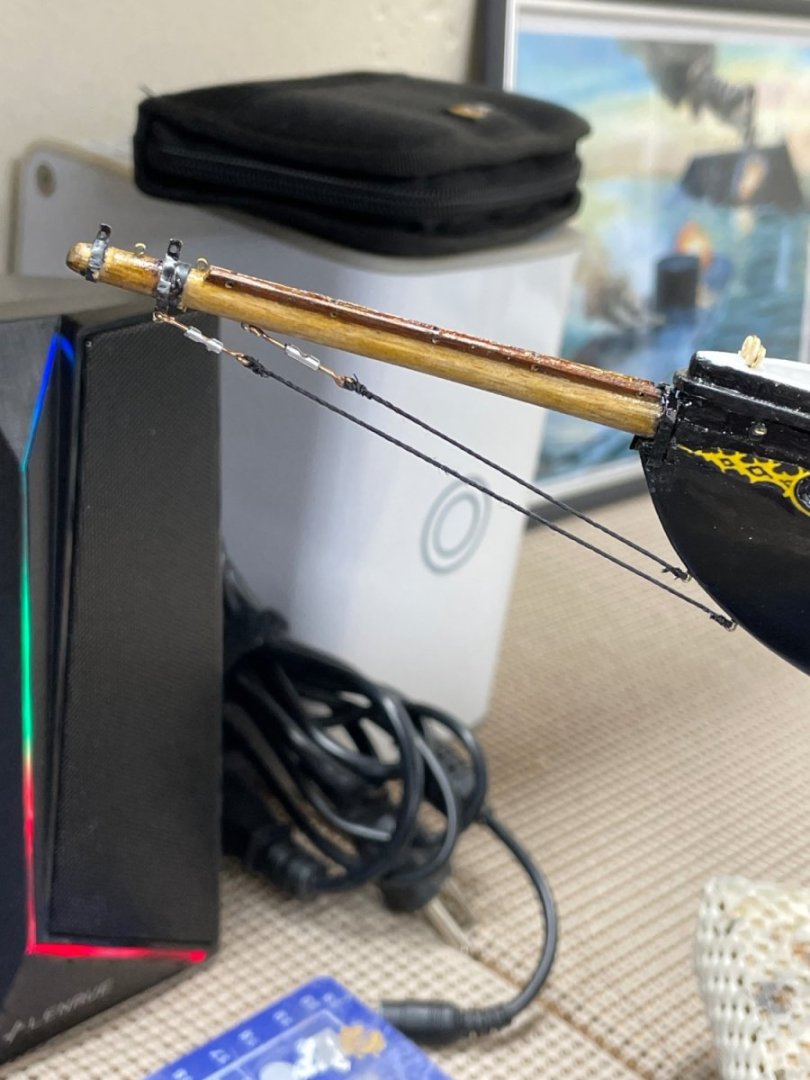
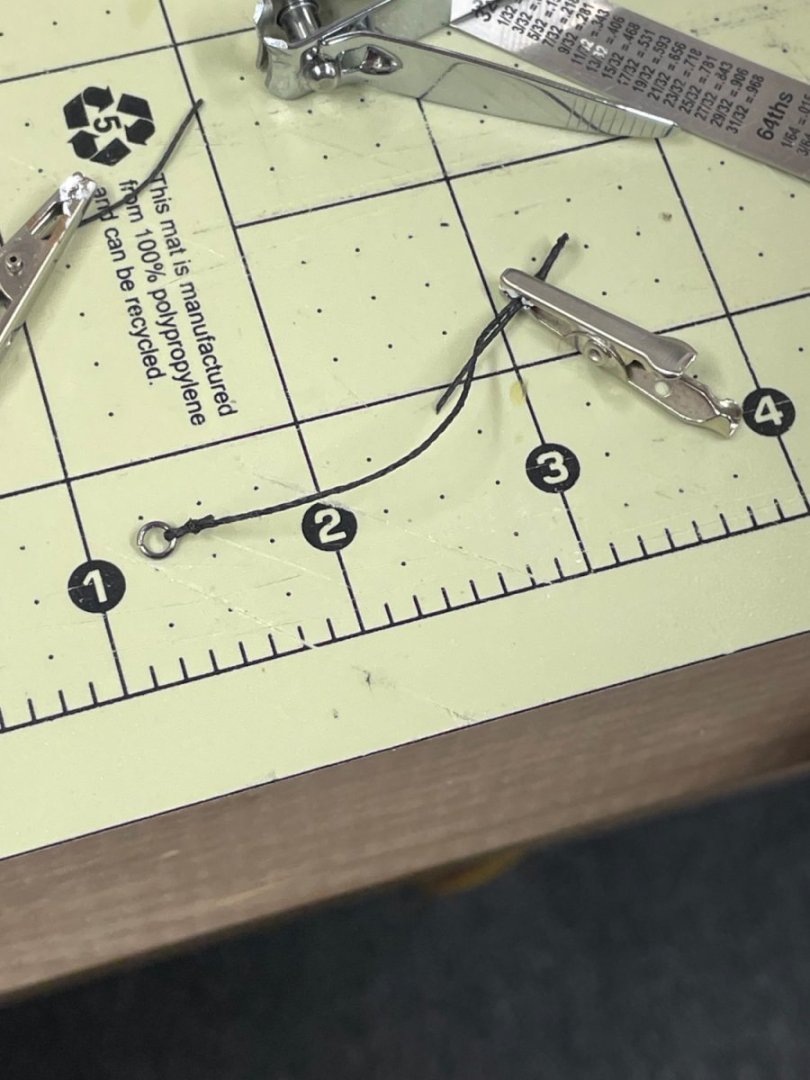
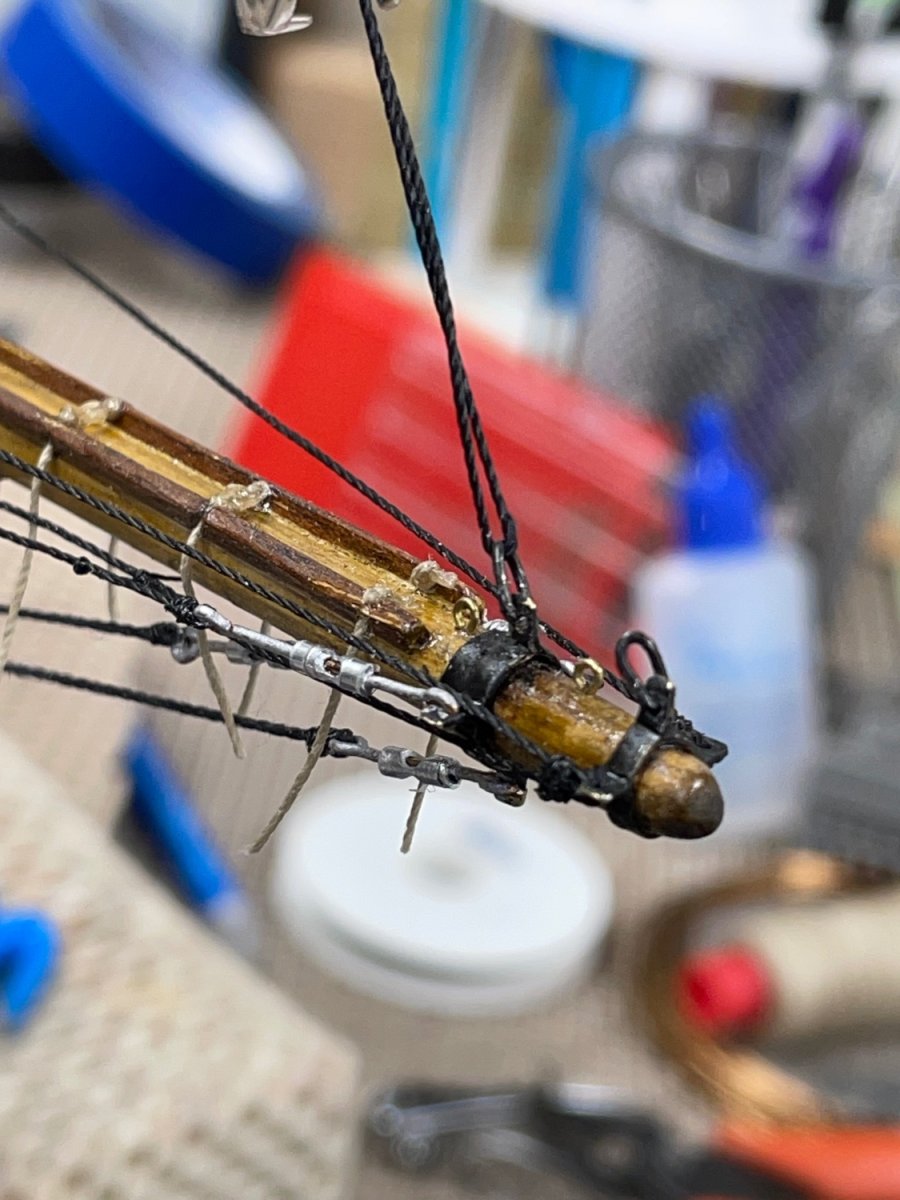
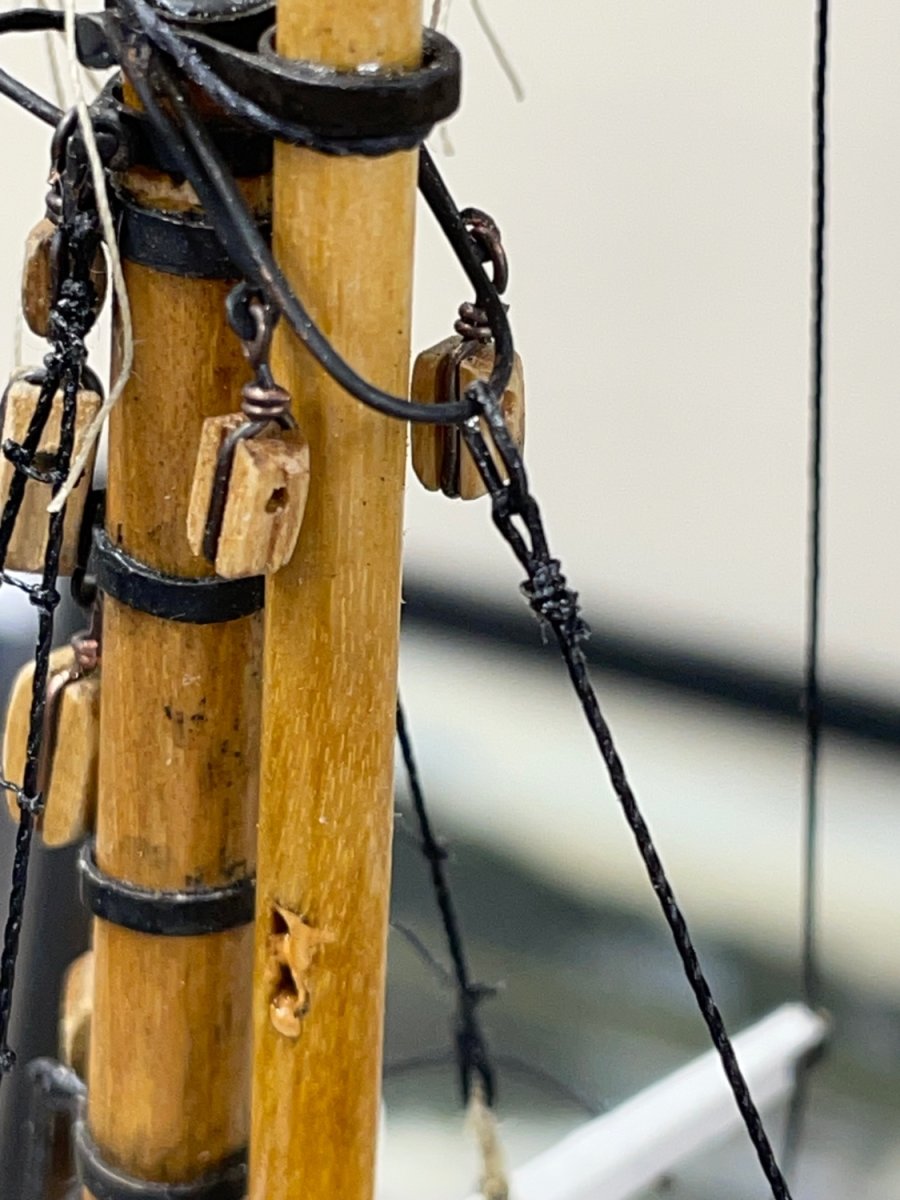
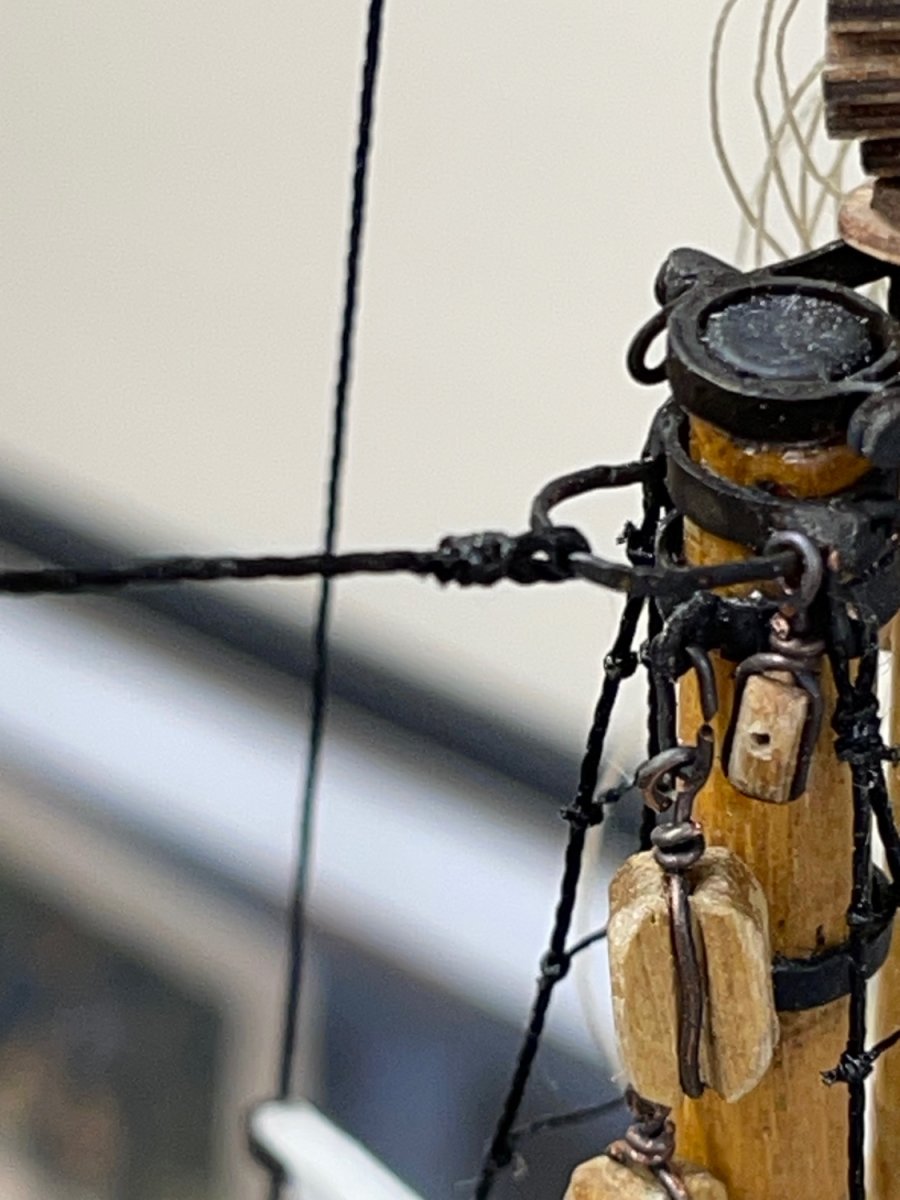
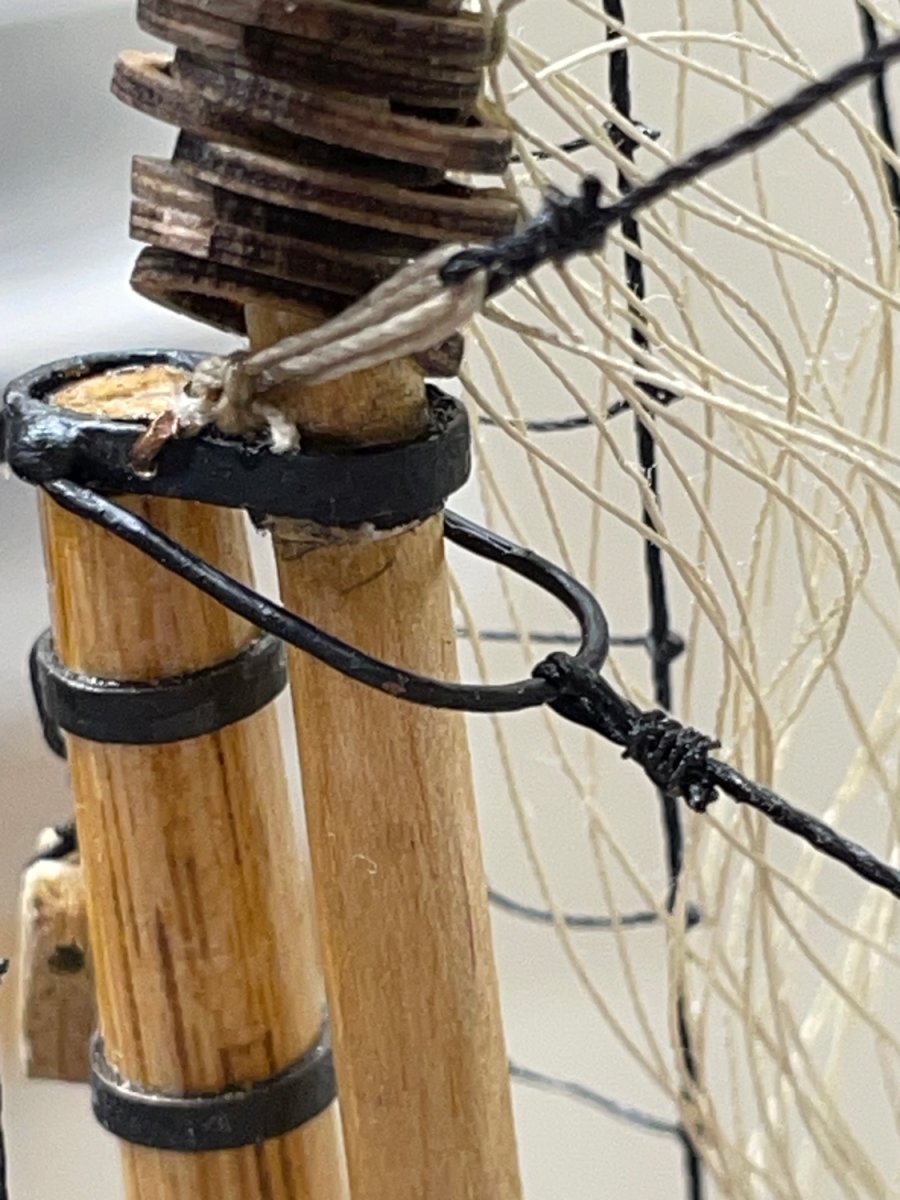
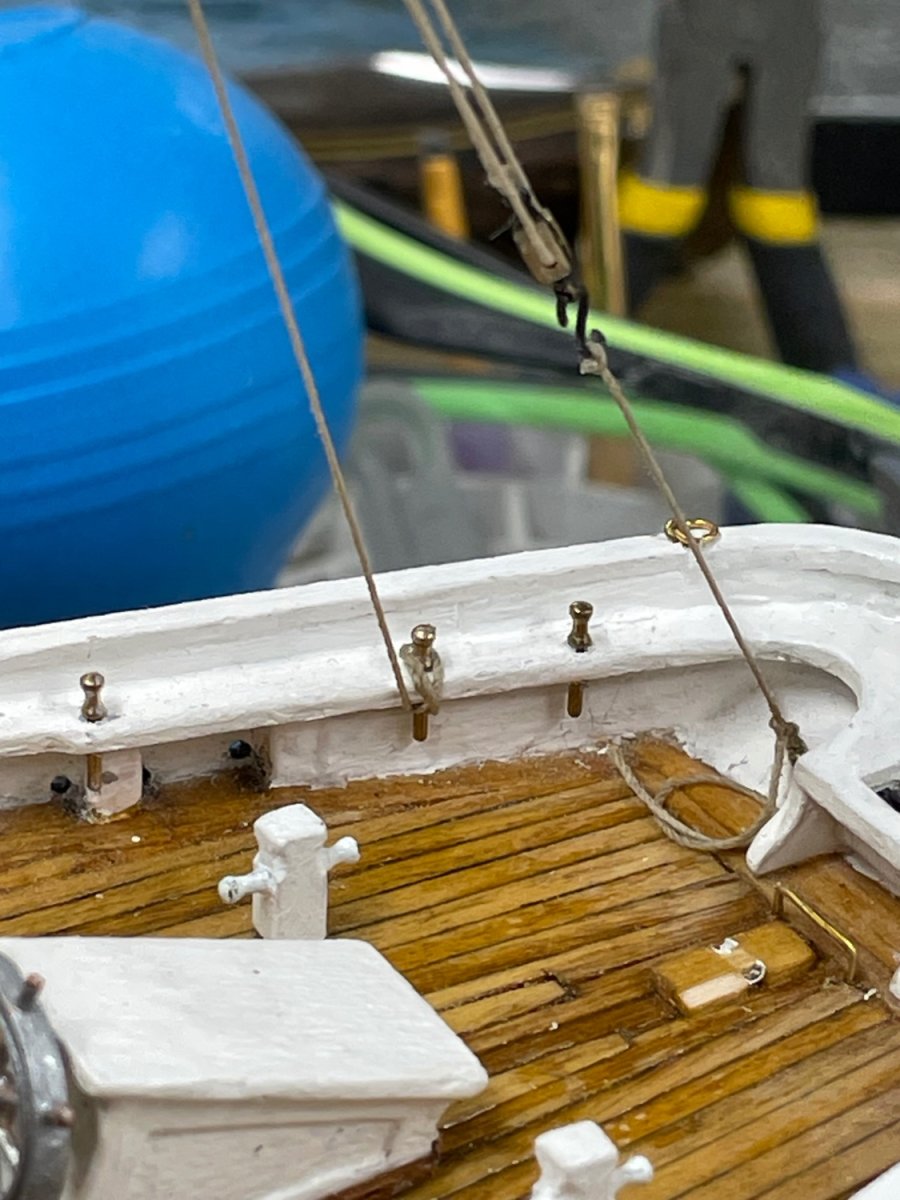
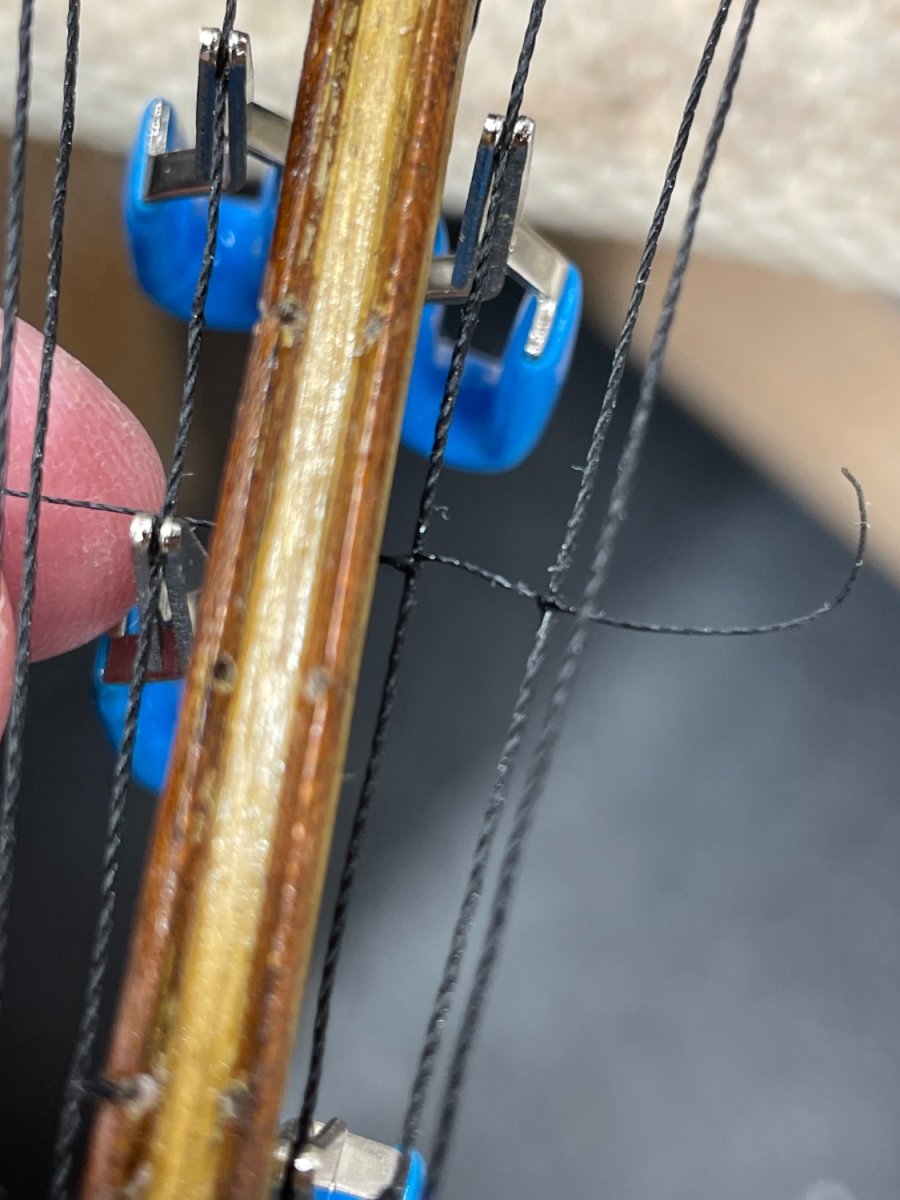
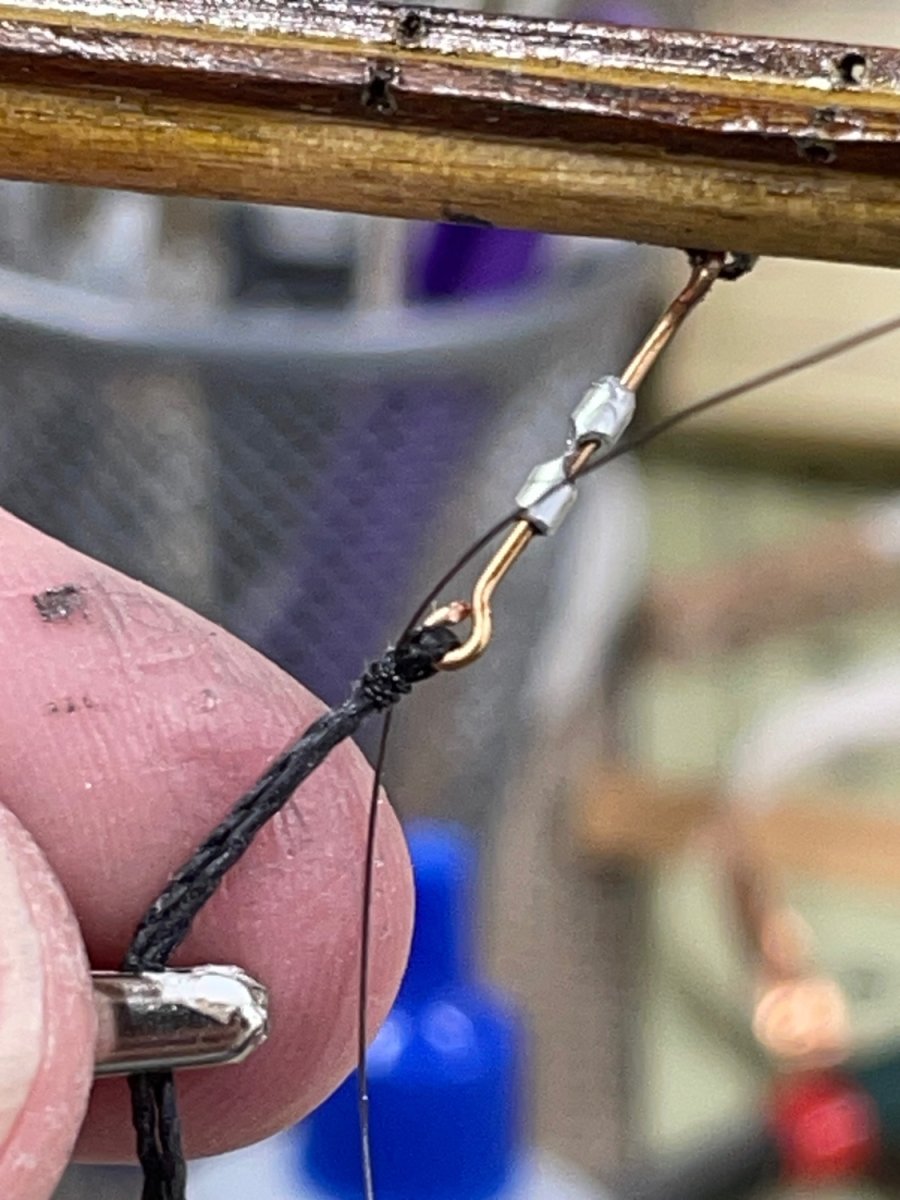
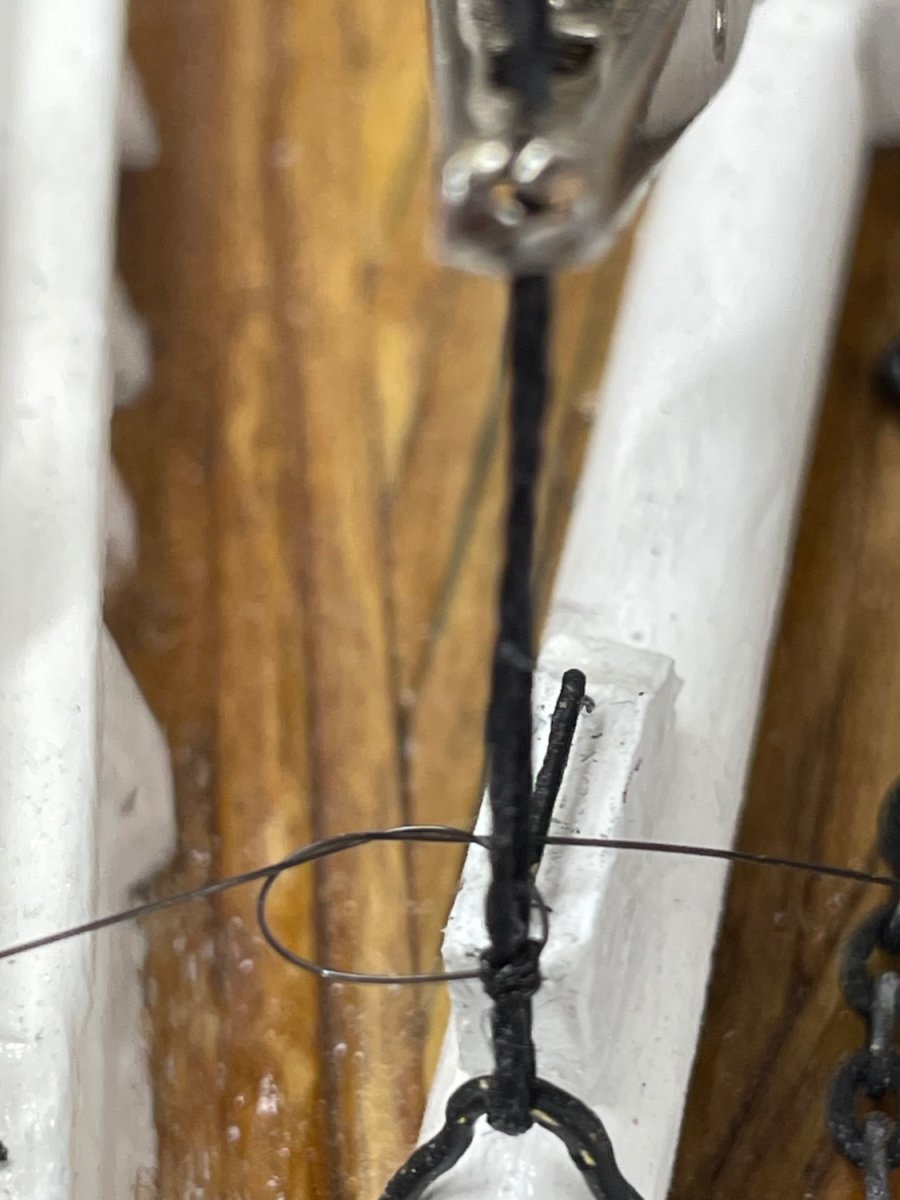
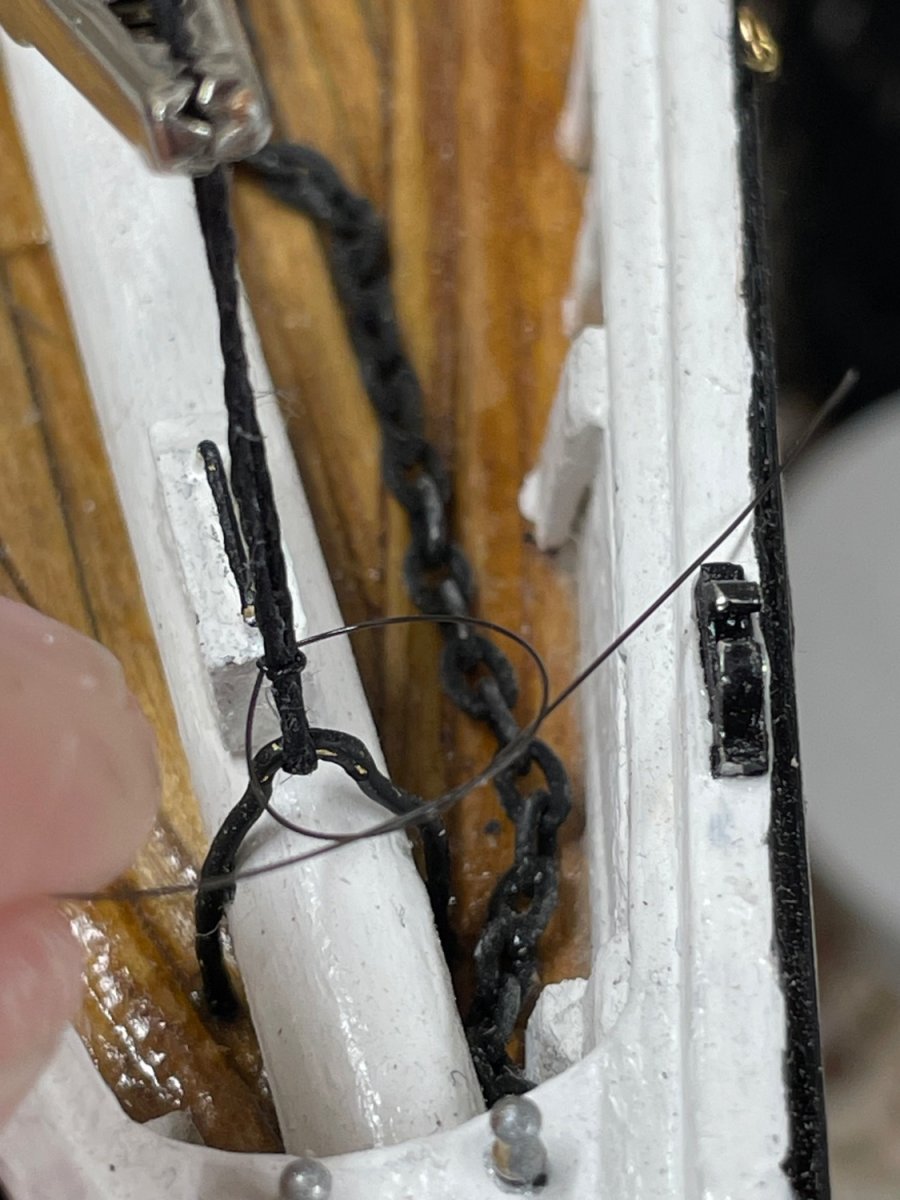
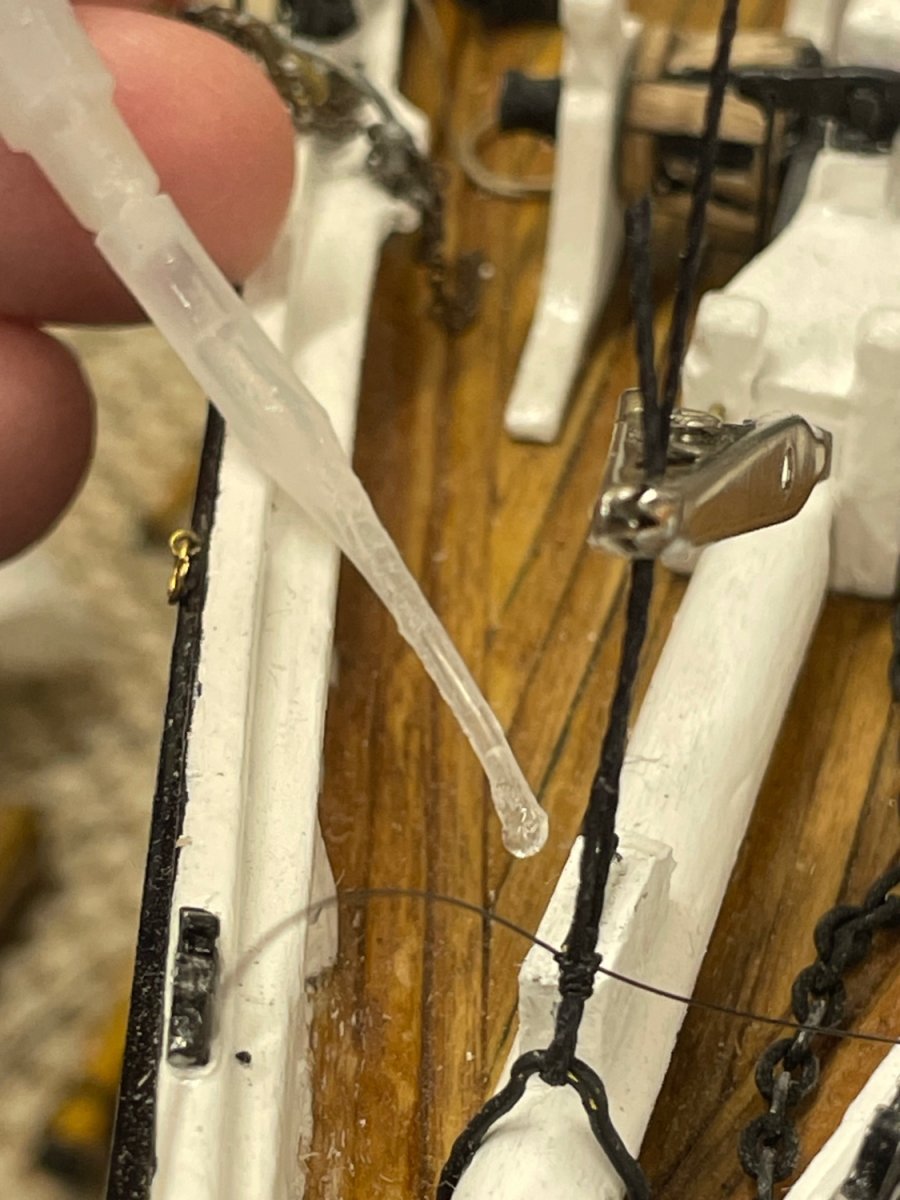
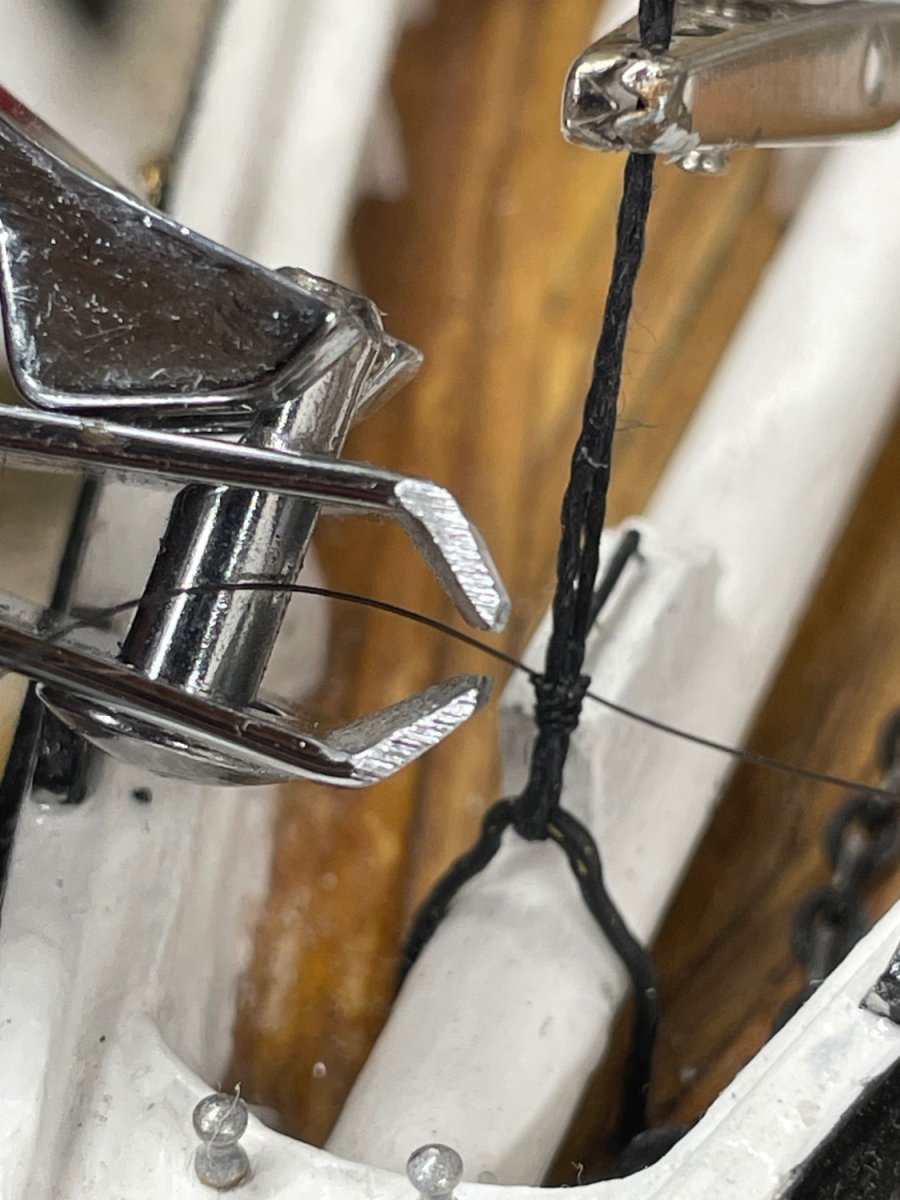
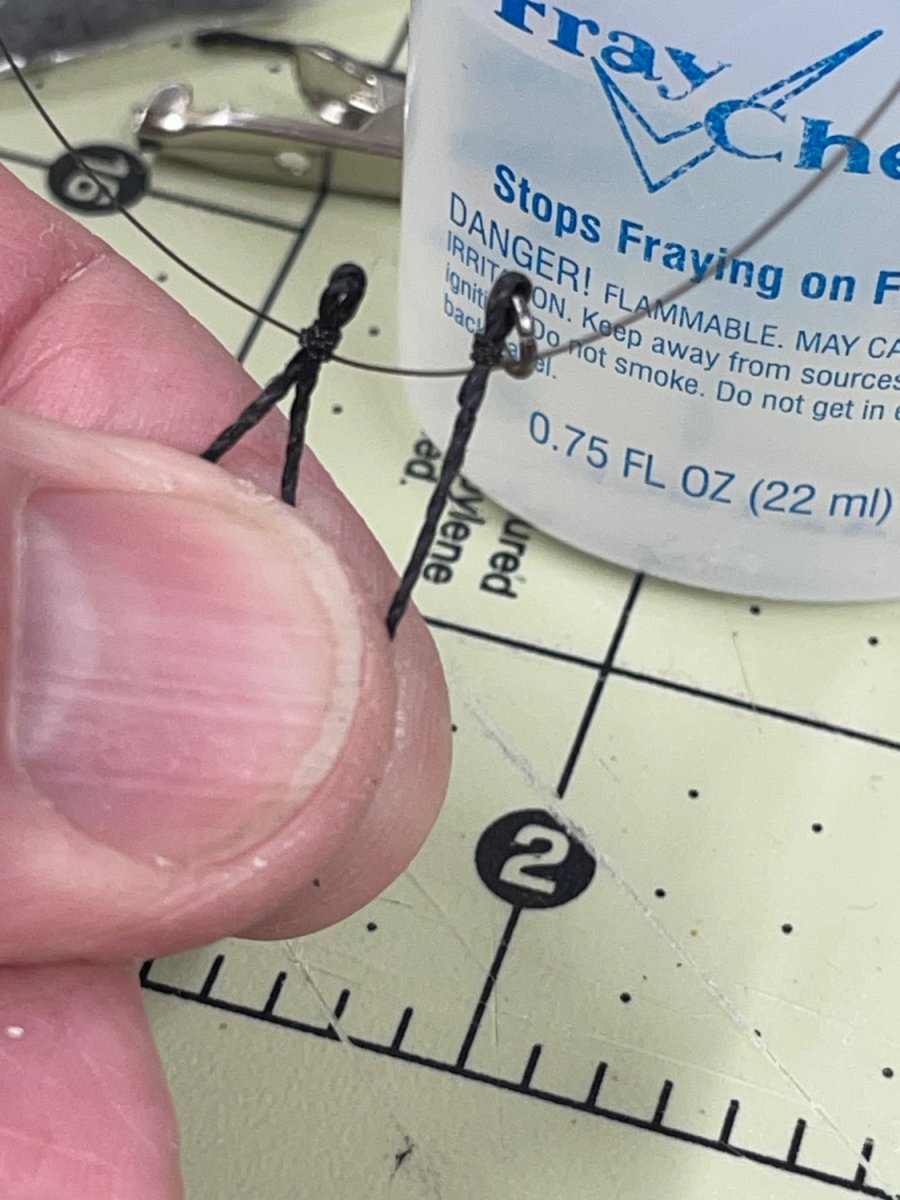
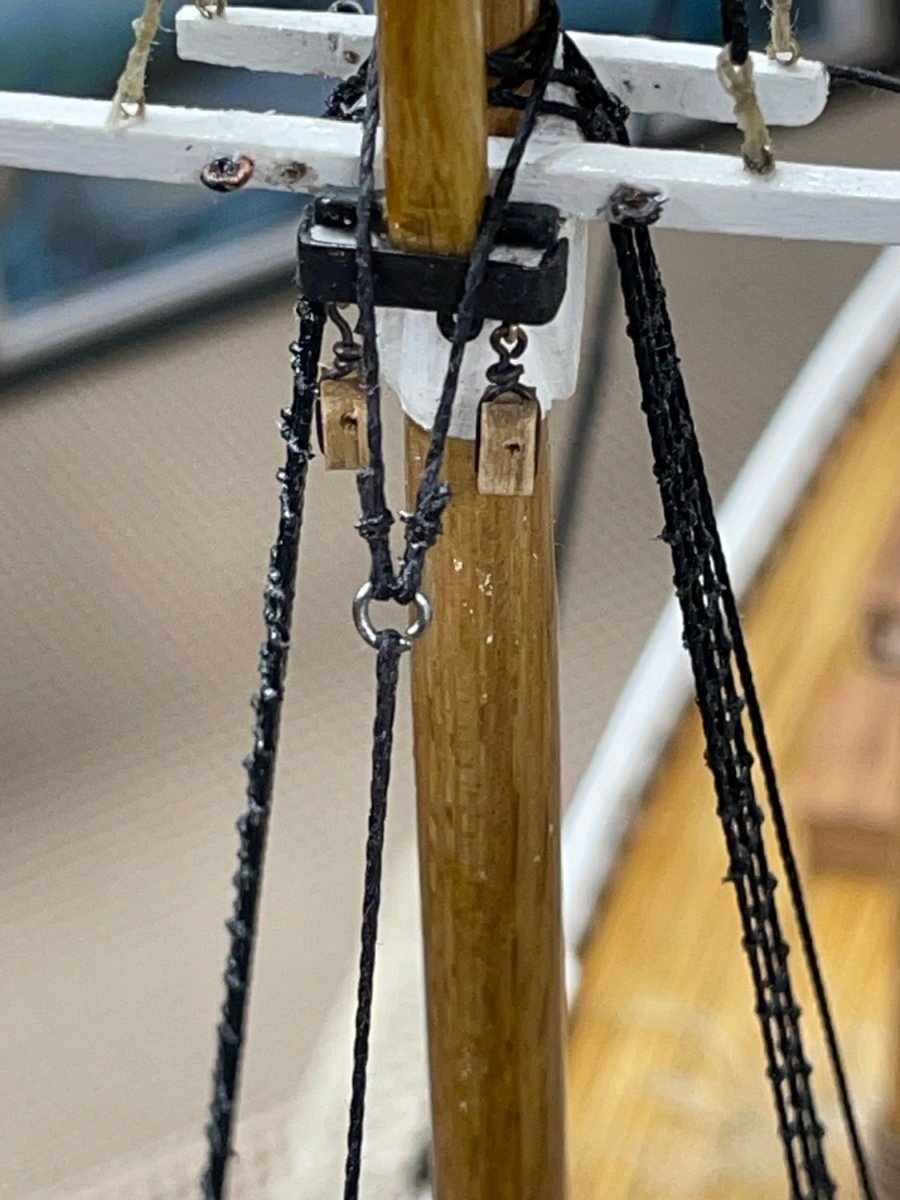
Jumbo Jib Stay…
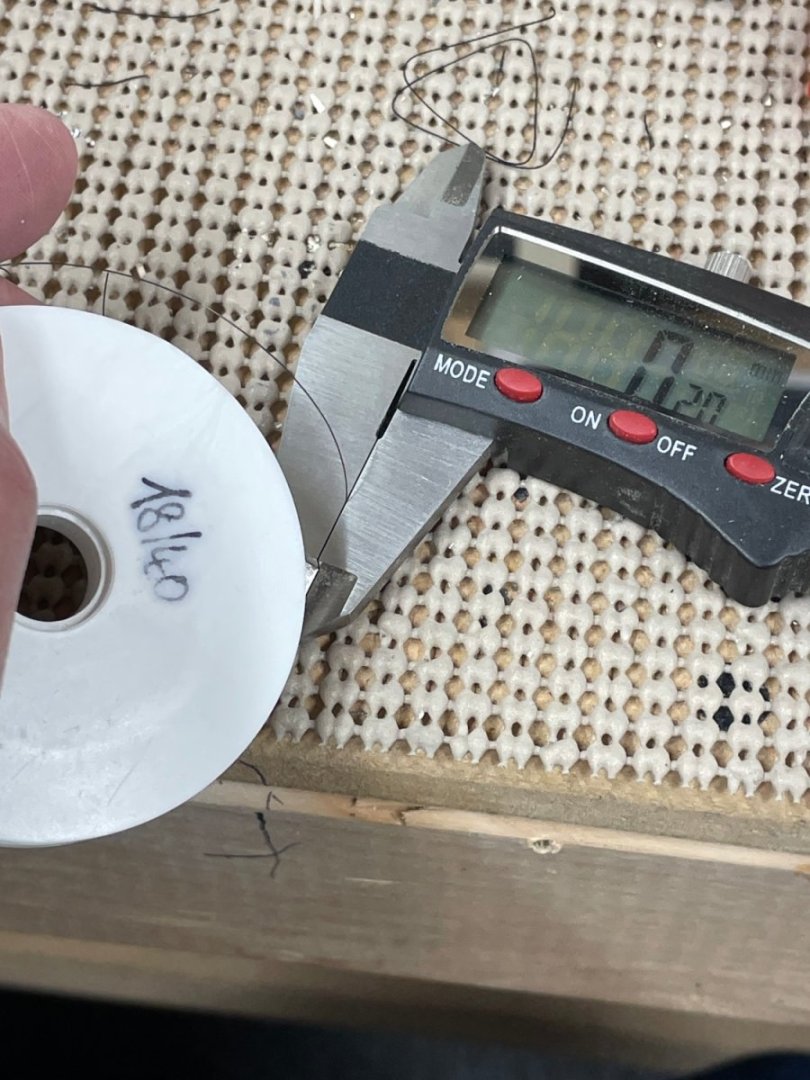
For all stays I am using the kit supplied .021” cotton/ploy line (WP1210)
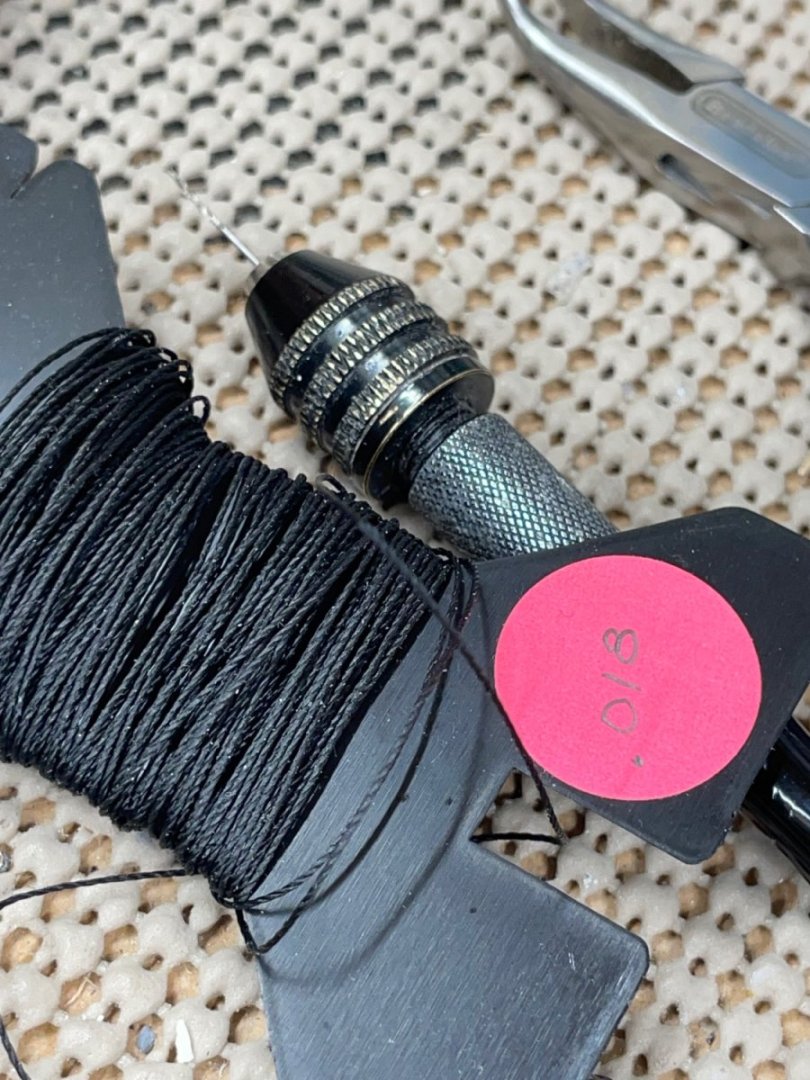
For the lashing I am using .18 monofilament line purchased from HiSModel.com.


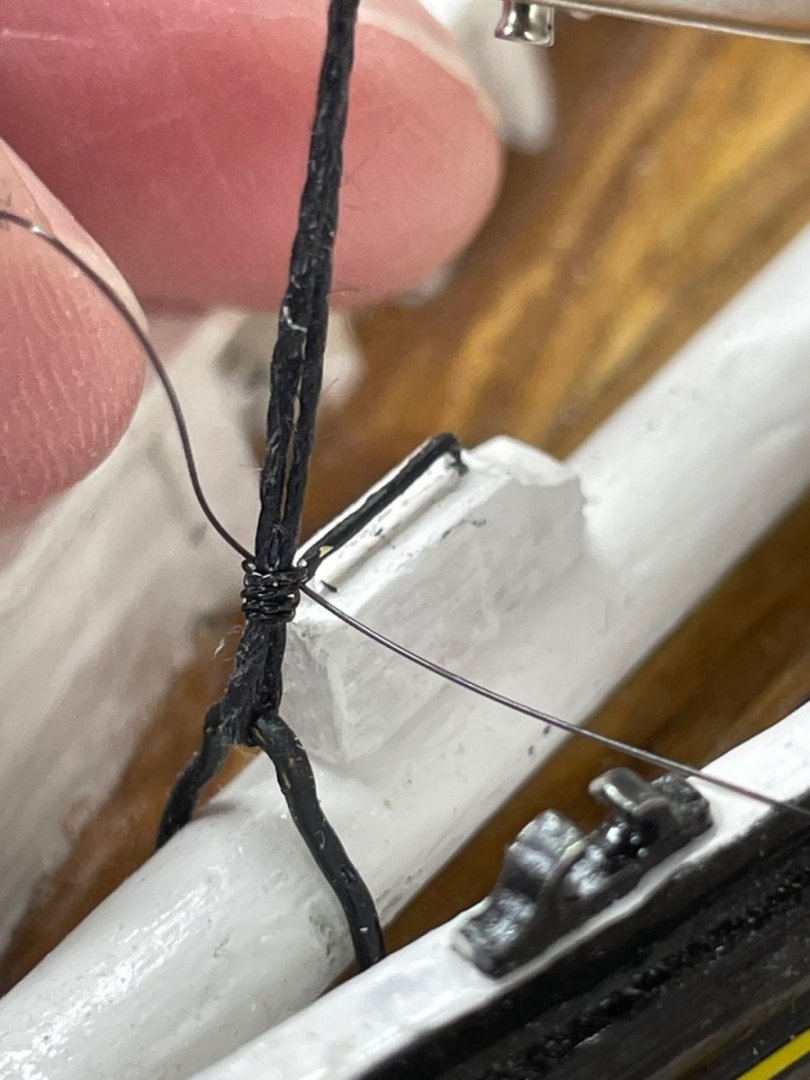

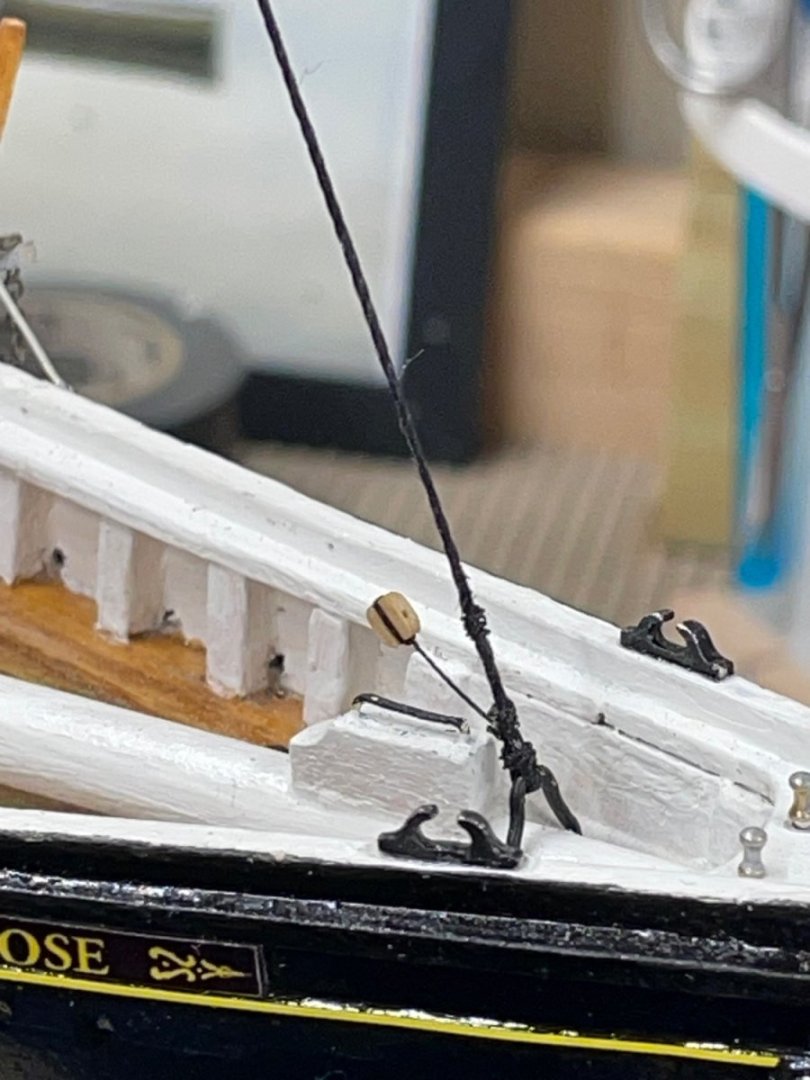
Lashed up the Stay (including downhaul block to the Jumbo Jib Stay Bail previously placed.


Completed rigging the Jumbo Job Stay Bridle to attach the Stay to the Fore Mast.
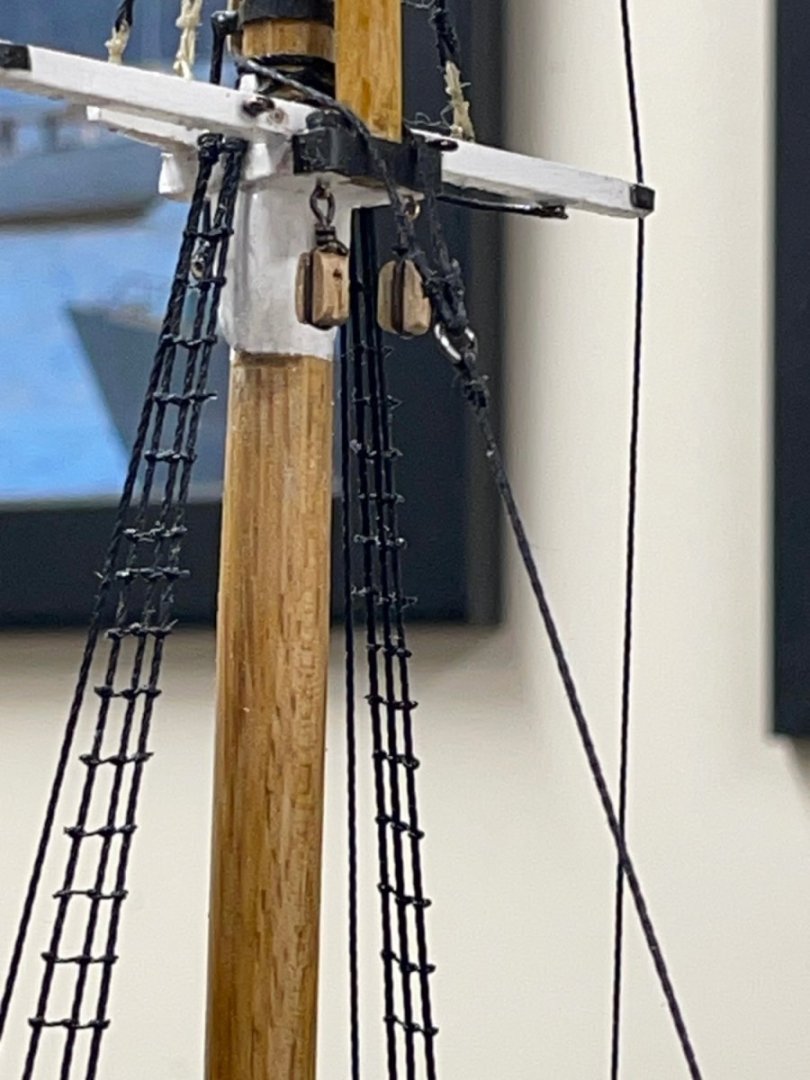

Jumbo Jib Stay completed.
Next up is the Bow Sprit rigging, so I can continue placement of the Forward Stays.
Cheers 🍻
- Cathead, Glen McGuire, Knocklouder and 3 others
-
6
-
-
24 minutes ago, Knocklouder said:
Here is what I got and with luck and a lot of guidance it should look similar to yours. How does that saying go The highest form of flatter or praise is mimicking which I intend to copy yours its so cool. Thanks again

That looks good, I’d say you have got a good start there. 🍻


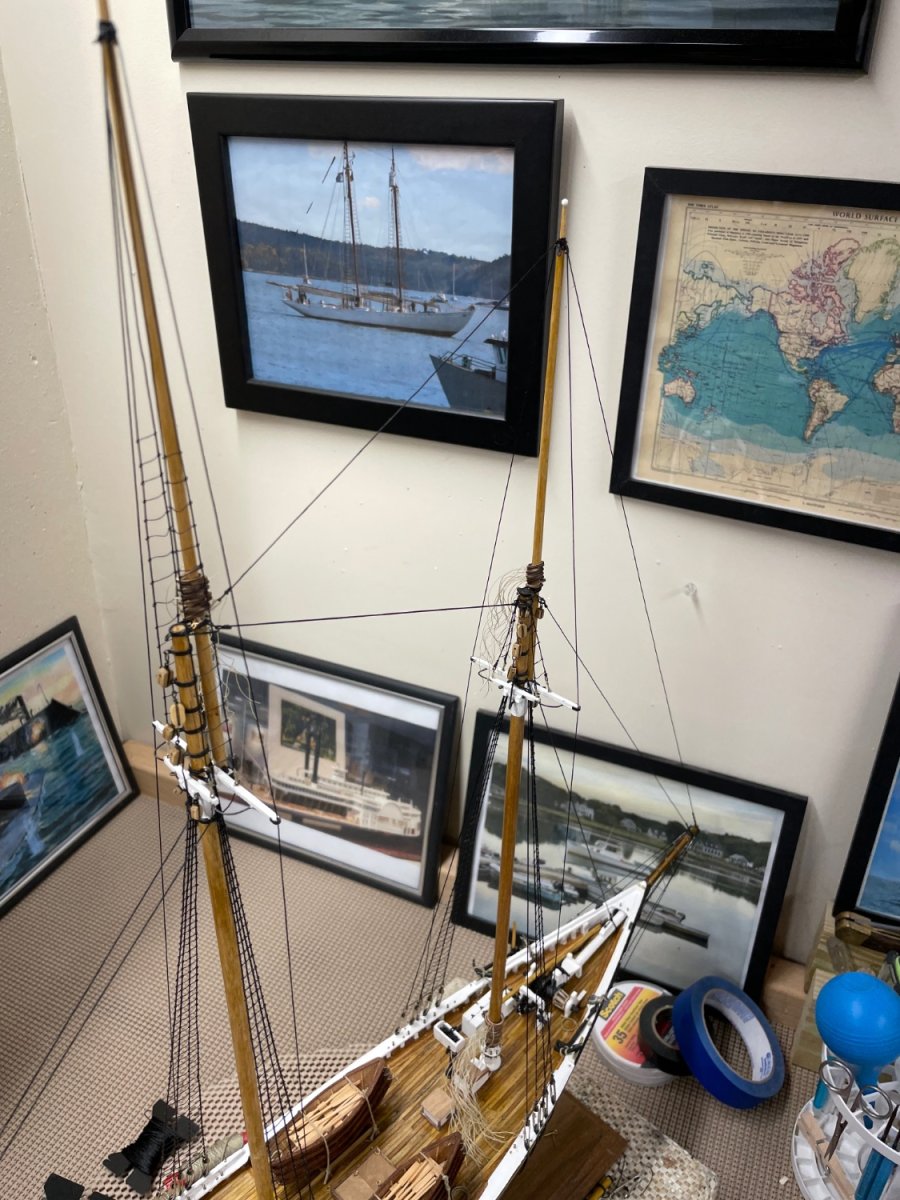
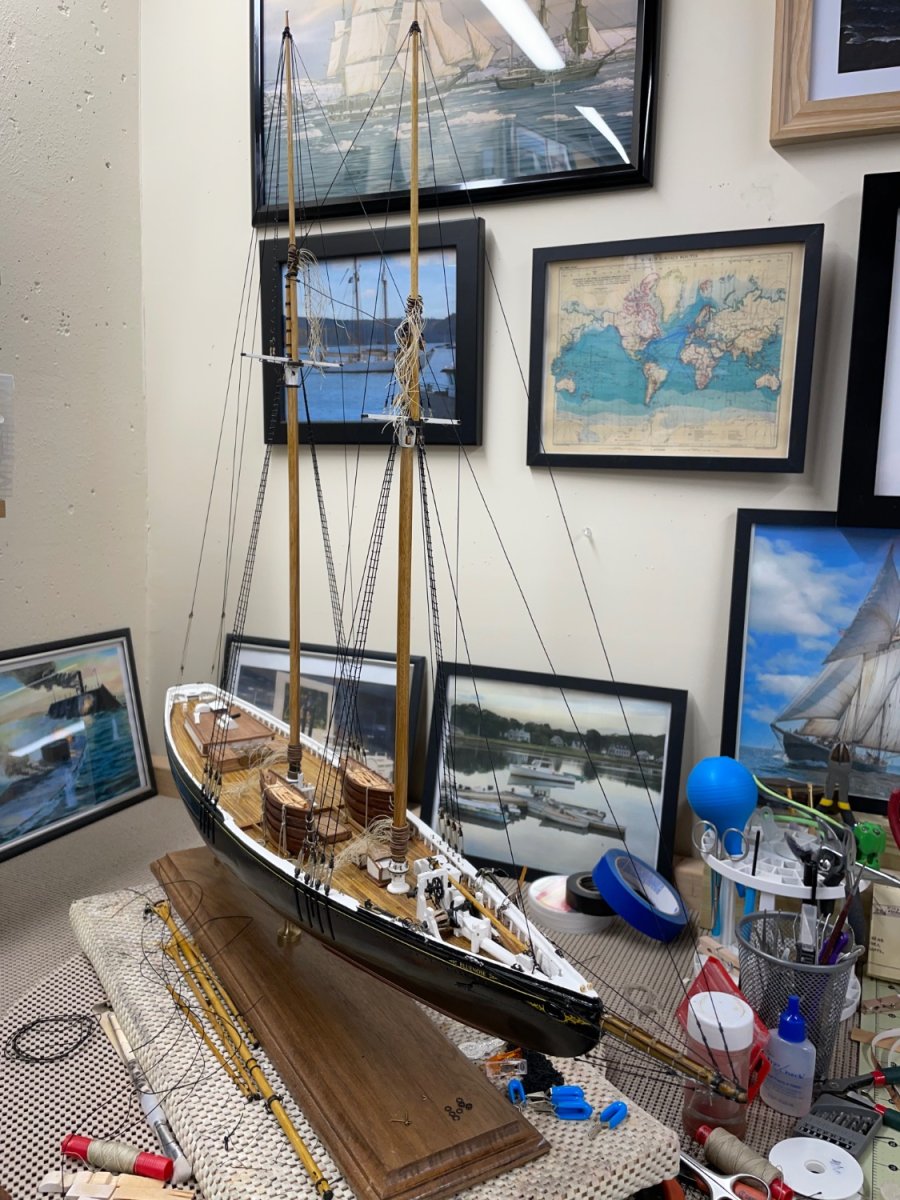


1921 Bluenose by John Ruy - Model Shipways Kit No. MS2130 - 1/64 scale - Canadian Fishing Schooner
in - Kit build logs for subjects built from 1901 - Present Day
Posted
Sails…
Carefully trace all sails from drawings.
Cut out sail leaving 1/4” to fold over the edge. I use a muslin material purchased at a fabric store. The Kit supplied sail cloth is usually too heavy.
Fold the 1/4” edge seam and iron it flat for sewing.
Trim corner to lay flat before sewing.
Edge seams sewn 1/8” from the edge.
Trim the under side, fray check the fabric edges and iron out flat.
Mark up seams with water soluble ink pen. (fine point)
Sew seams including those for reef points.
Main Sail sewn and ready for additional details. Bolt rope, reef point ropes and corner rings.
Remaining sails cut out ready for sewing.
Fore Sail
Stay Sail
Main Top Sail
Fore Top Sail
Jumbo Jib
Jib Sail
Balloon Jib
All Sails sewn and ready for details to be added.
Cheers 🍻