


DocBlake
-
Posts
1,811 -
Joined
-
Last visited
Content Type
Profiles
Forums
Gallery
Events
Posts posted by DocBlake
-
-
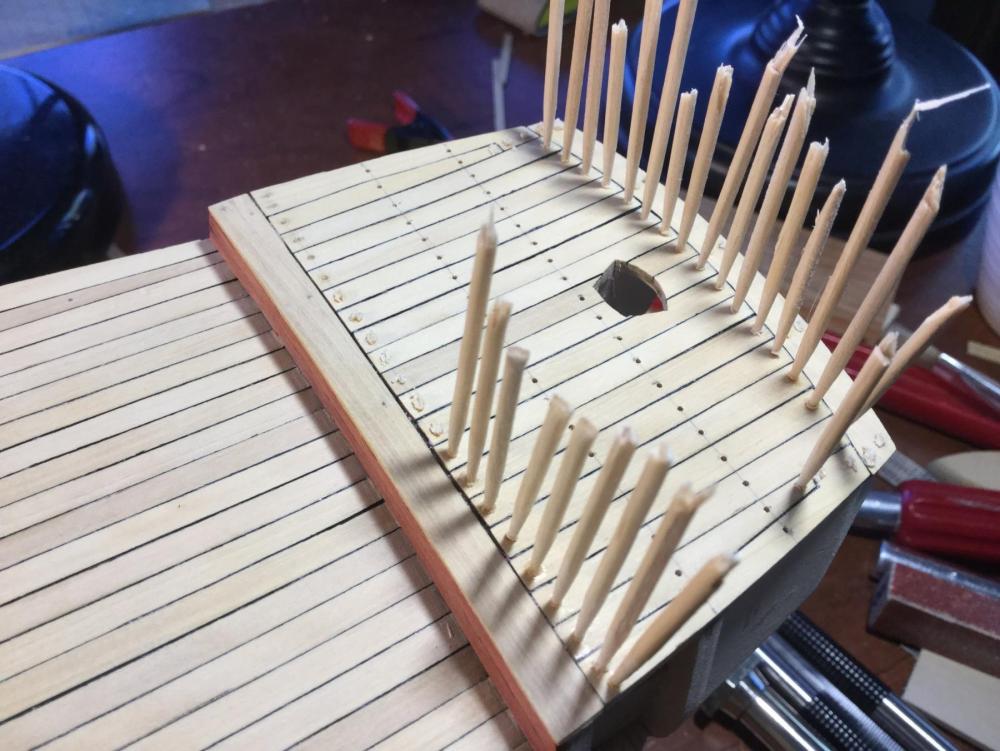
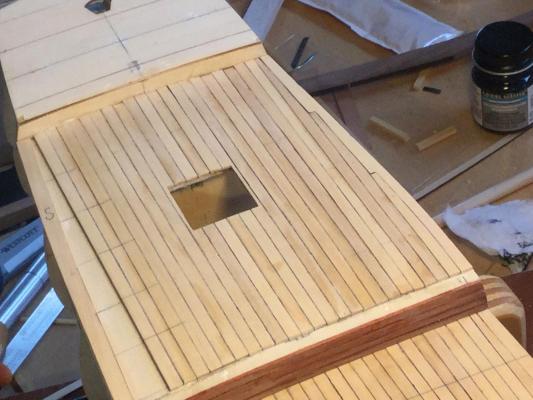
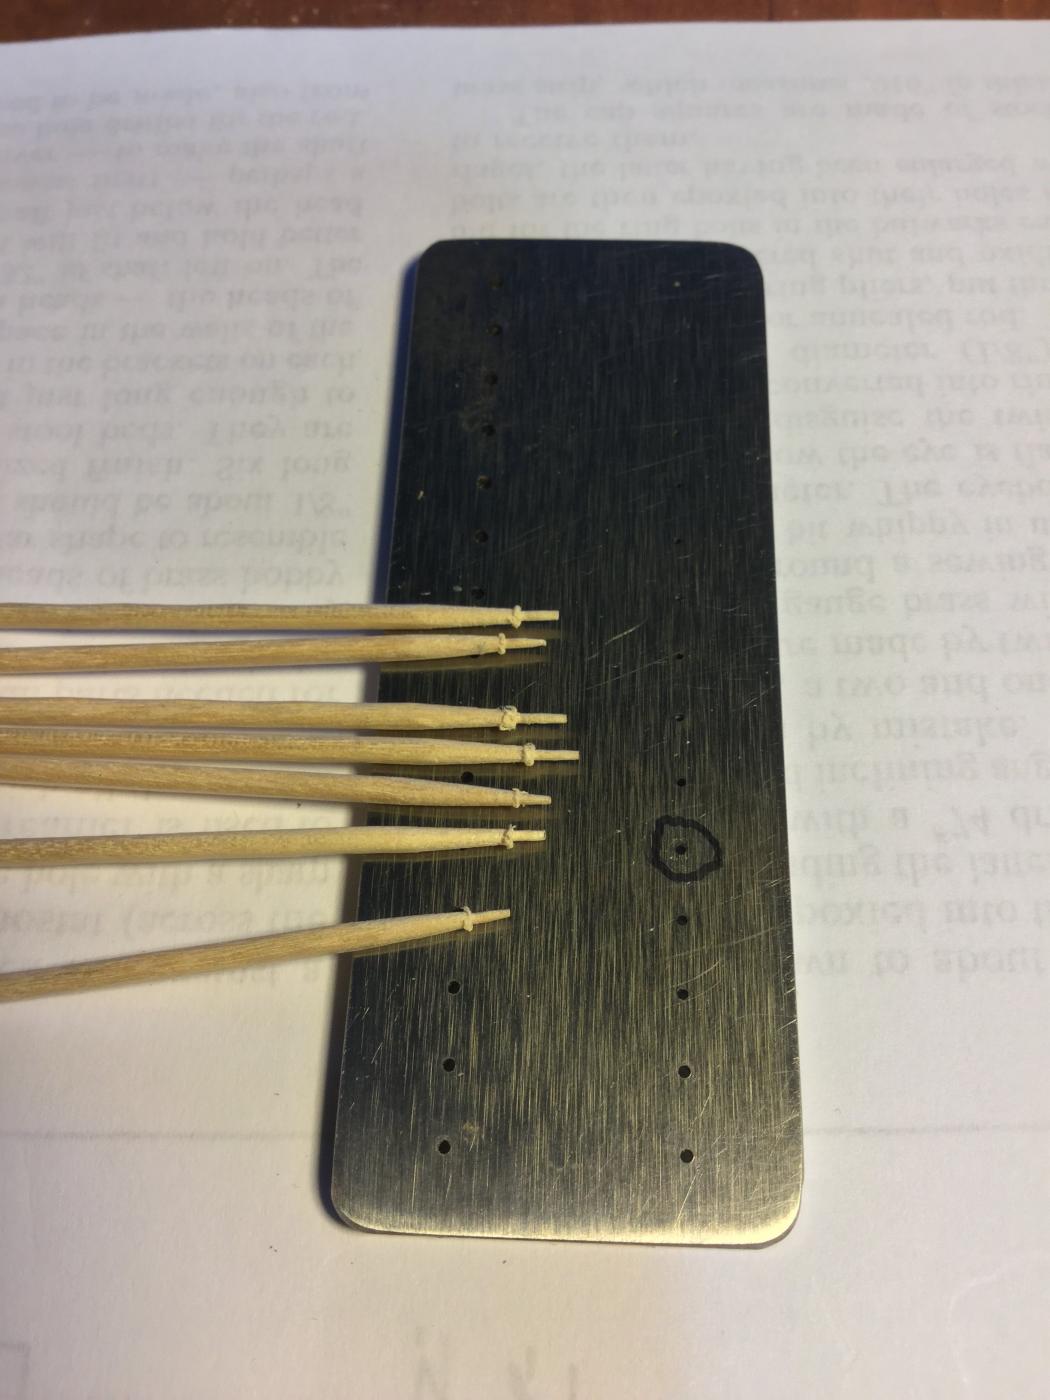
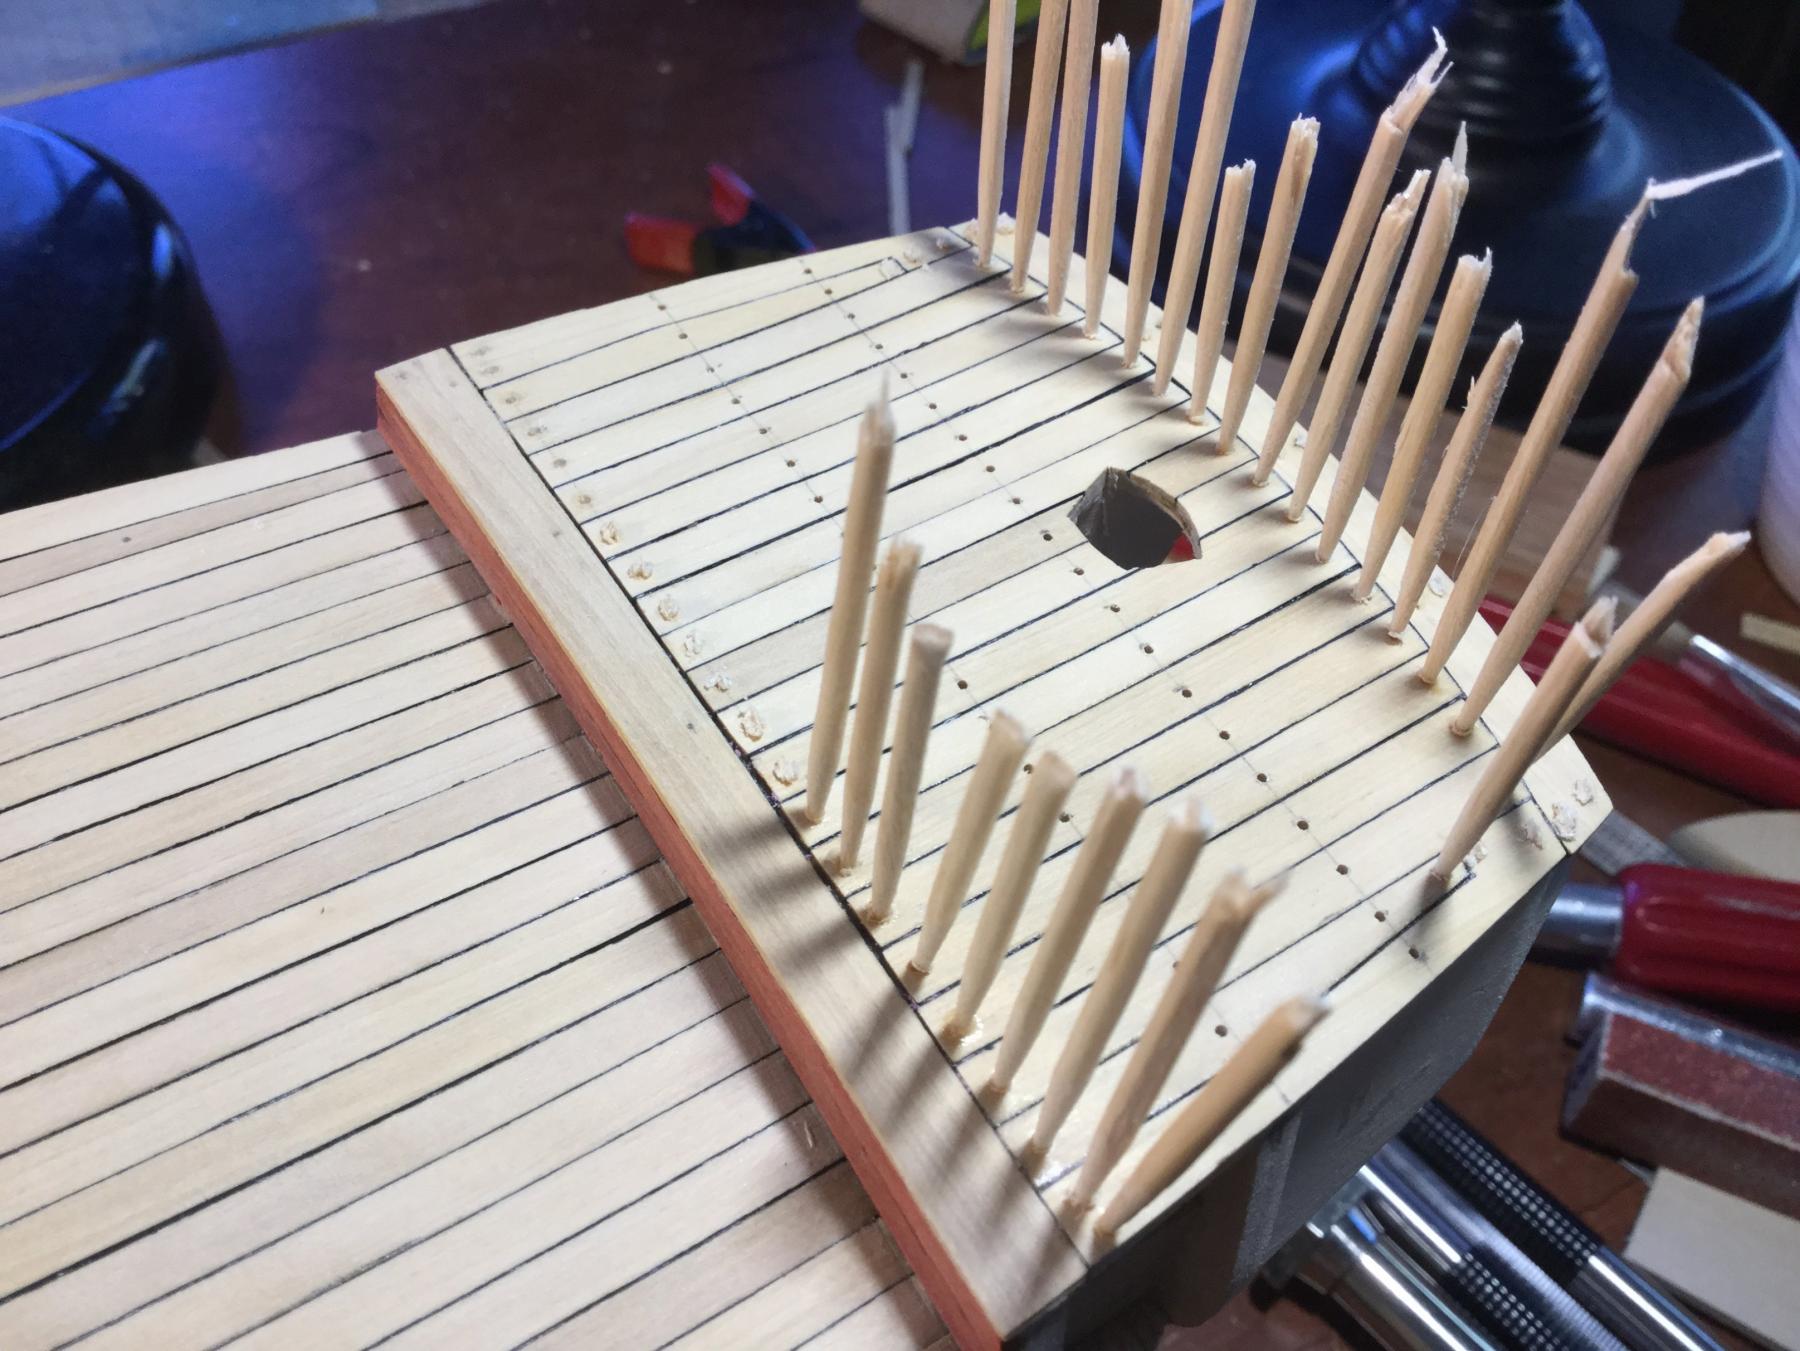
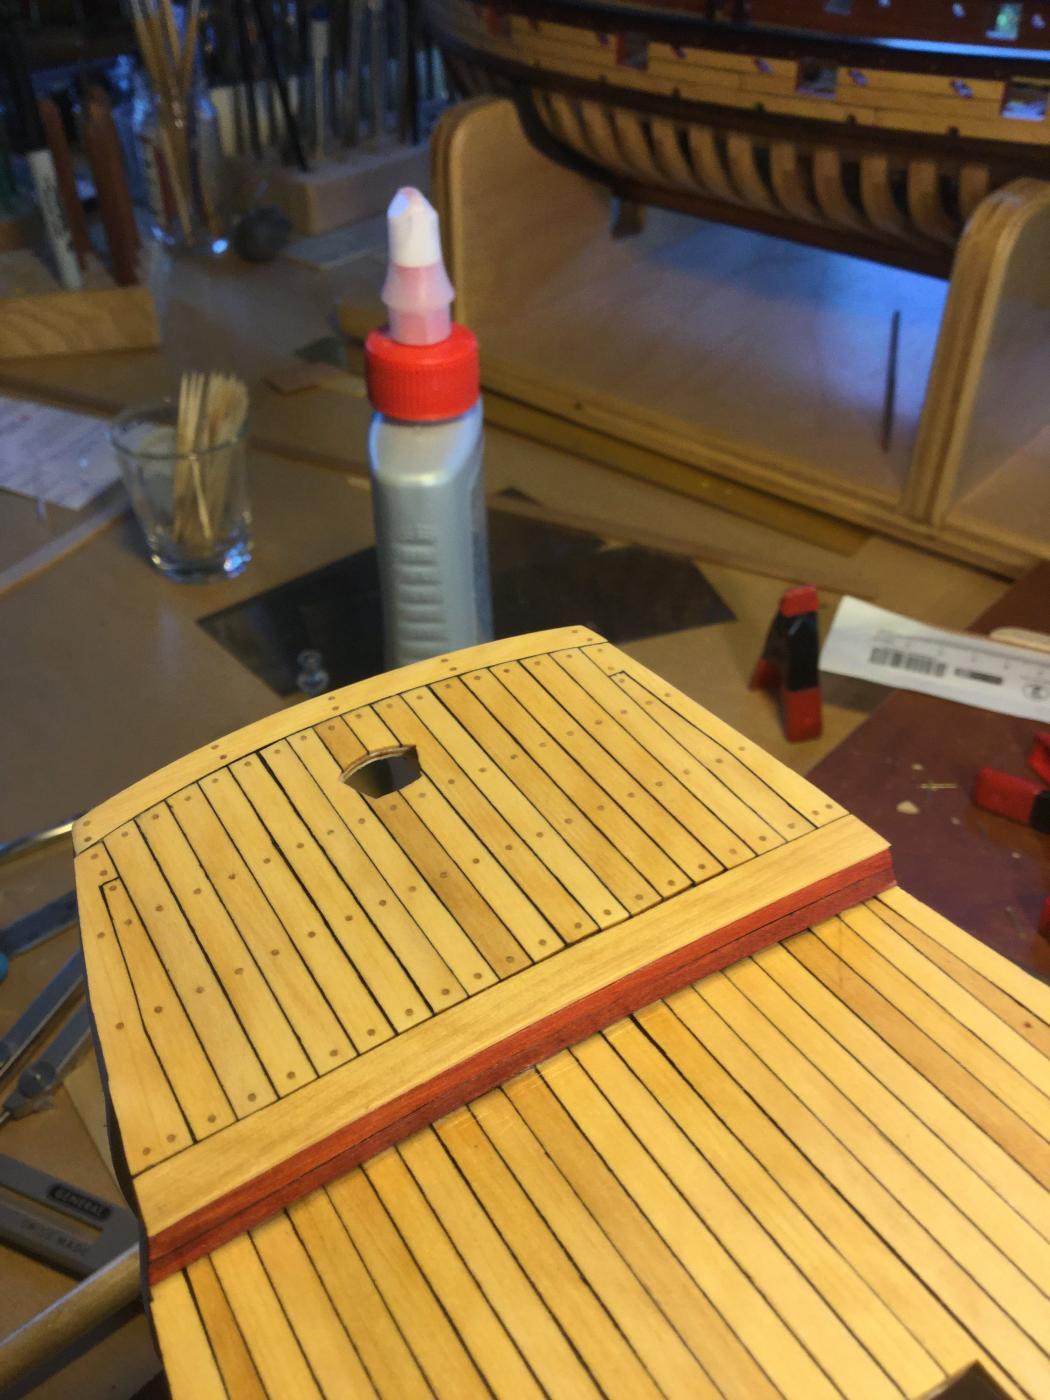
I've completed the deck planking, including the fo'c'sle. Now it's on to treenailing. I've had problems using the Byrnes drawplate in the past, so I'm using a little different technique. I wanted the treenails to be in proper scale: about 1 scale inch in diameter or slightly larger. That translates to about .031" - a #68 drill hole would work. The problem is that if I use a toothpick as a treenail, very little of the tip will fit into that small a hole and I'd run the risk of the treenails not holding. My answer was to take a toothpick and using some pressure and twisting, force it into the 31 hole on the Byrnes draw plate, The result was a longer treenail that penetrates through the planking and false deck underneath it. Each birch toothpick gives 2 treenails. They're glued in by touching the tip in some CA and pushing firmly in the hole. The third picture shows the finished poop deck with some mineral spirits wiped on to show how it will look when poly is applied. I really like the look of the boxwood for the decking! Maybe better than holly.


- Elijah, mrshanks, zoly99sask and 6 others
-
 9
9
-
-
-
-
-
-
David: Excellent job on that mast top. Your Constitution is shaping up very nicely. What kind of wood is the mast top made of? It looks like boxwood in the photo. Did you stain basswood to get the look?
Another question: What kind of camera are you using for your photos? I use my IPad, which is the best camera I've ever owned! I'd love to see your photos in a larger format. Yours are about 70 KB. The MSW maximum is 2.0 MB per photo.
-
-
Hi Mario and David!
Mario: I'm building the Lauck Street AVS right now. It uses the exact same construction technique for the frames as your Hannah. The bow and stern cant frames are by far the most difficult frames to fit. Go slow and make small changes. Mike Shanks and I have logs that document the AVS build.
David: I have the Lauck Street practicum for Hannah. Another modeler and I were planning to build one in 1/24 scale! He passed away before we got to that point. Bob Hunt's plans for Hannah have been redone in CAD and are the basis for this framing kit. He may make those plans available to me as a .pdf, allowing me to increase them to 1/24 scale. Lots of great detailing possible in that scale. Food for thought?
-
-
Don: Great job on those filler blocks. They look spot-on. $100 for balsa wood? Yikes!
David: Post a photo of your tuteur ...er... trellis, please.
- Seventynet, Elijah, Eddie and 2 others
-
5
-
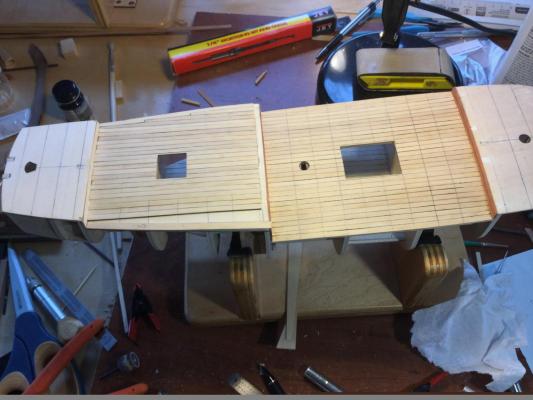
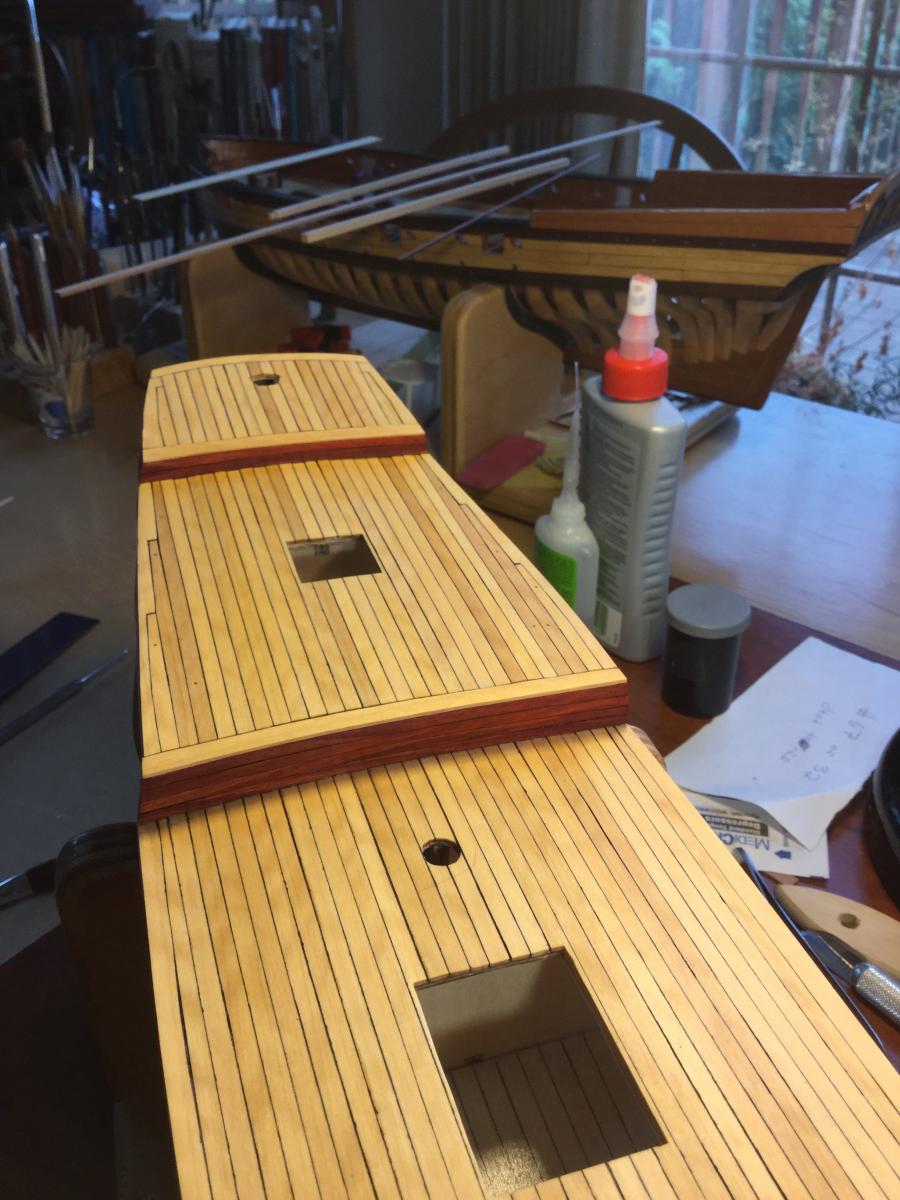
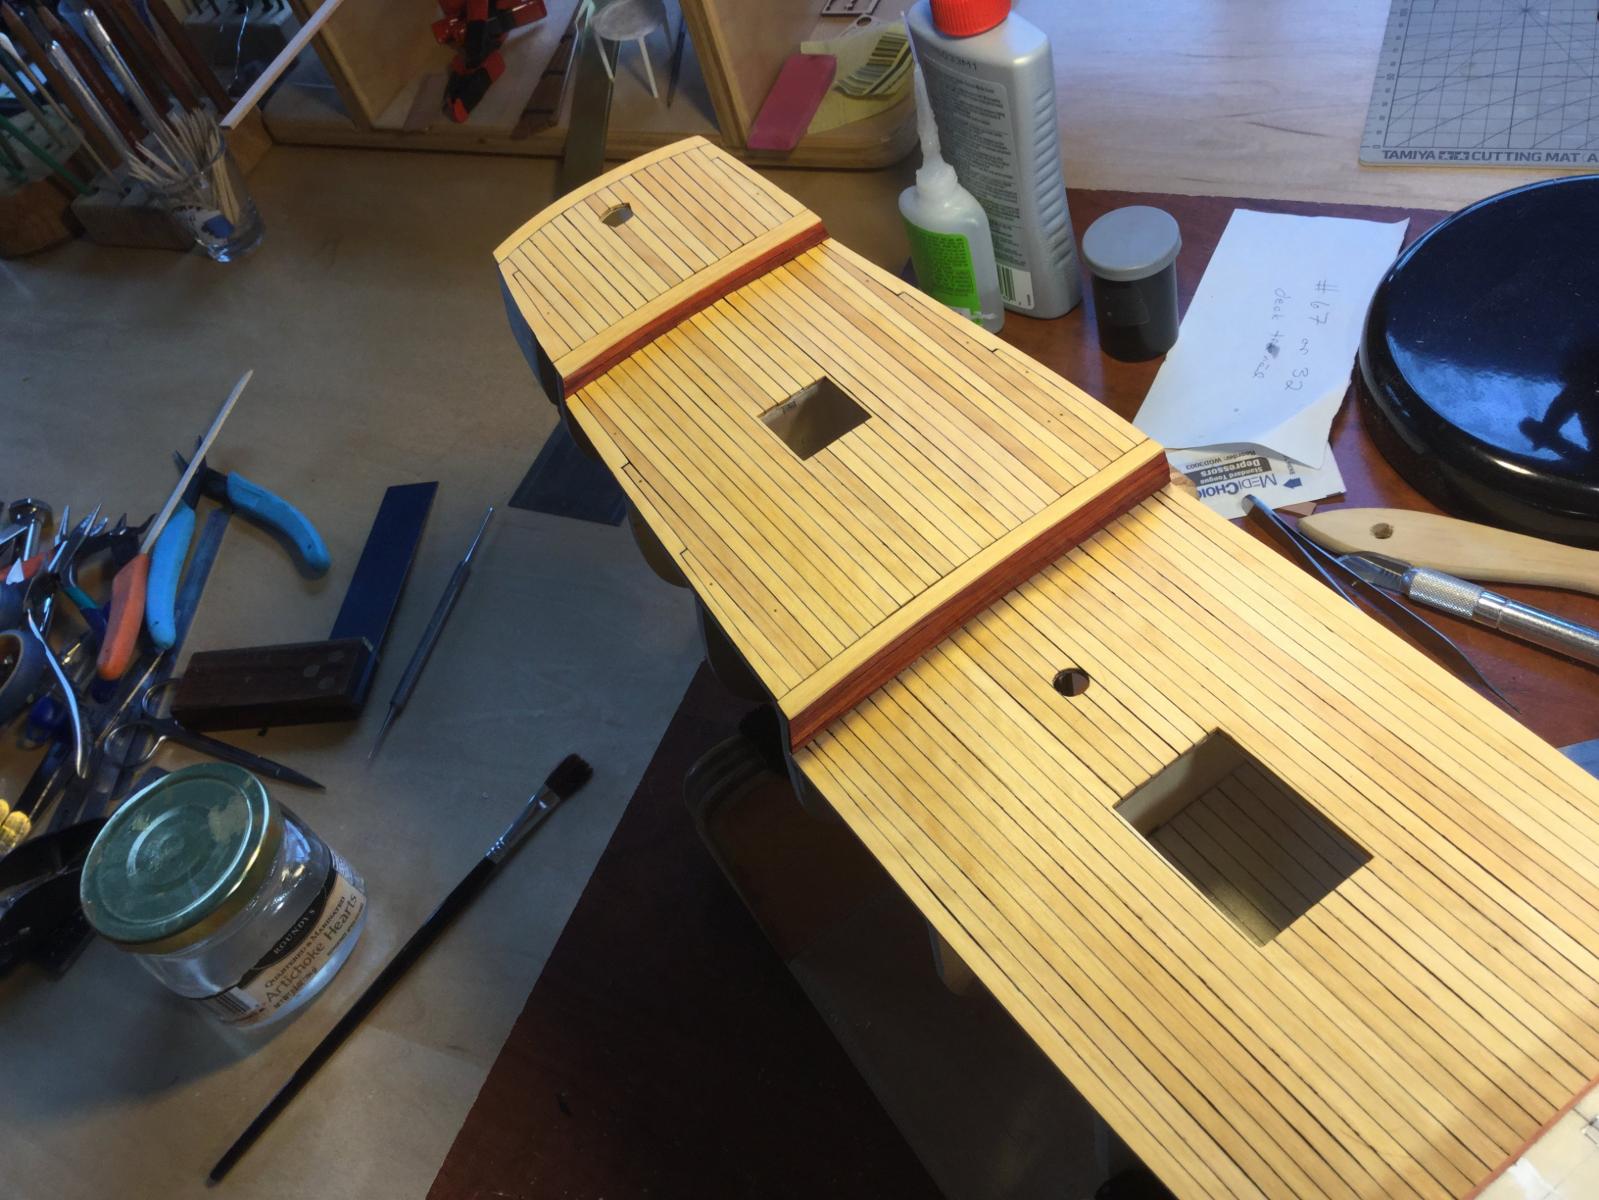
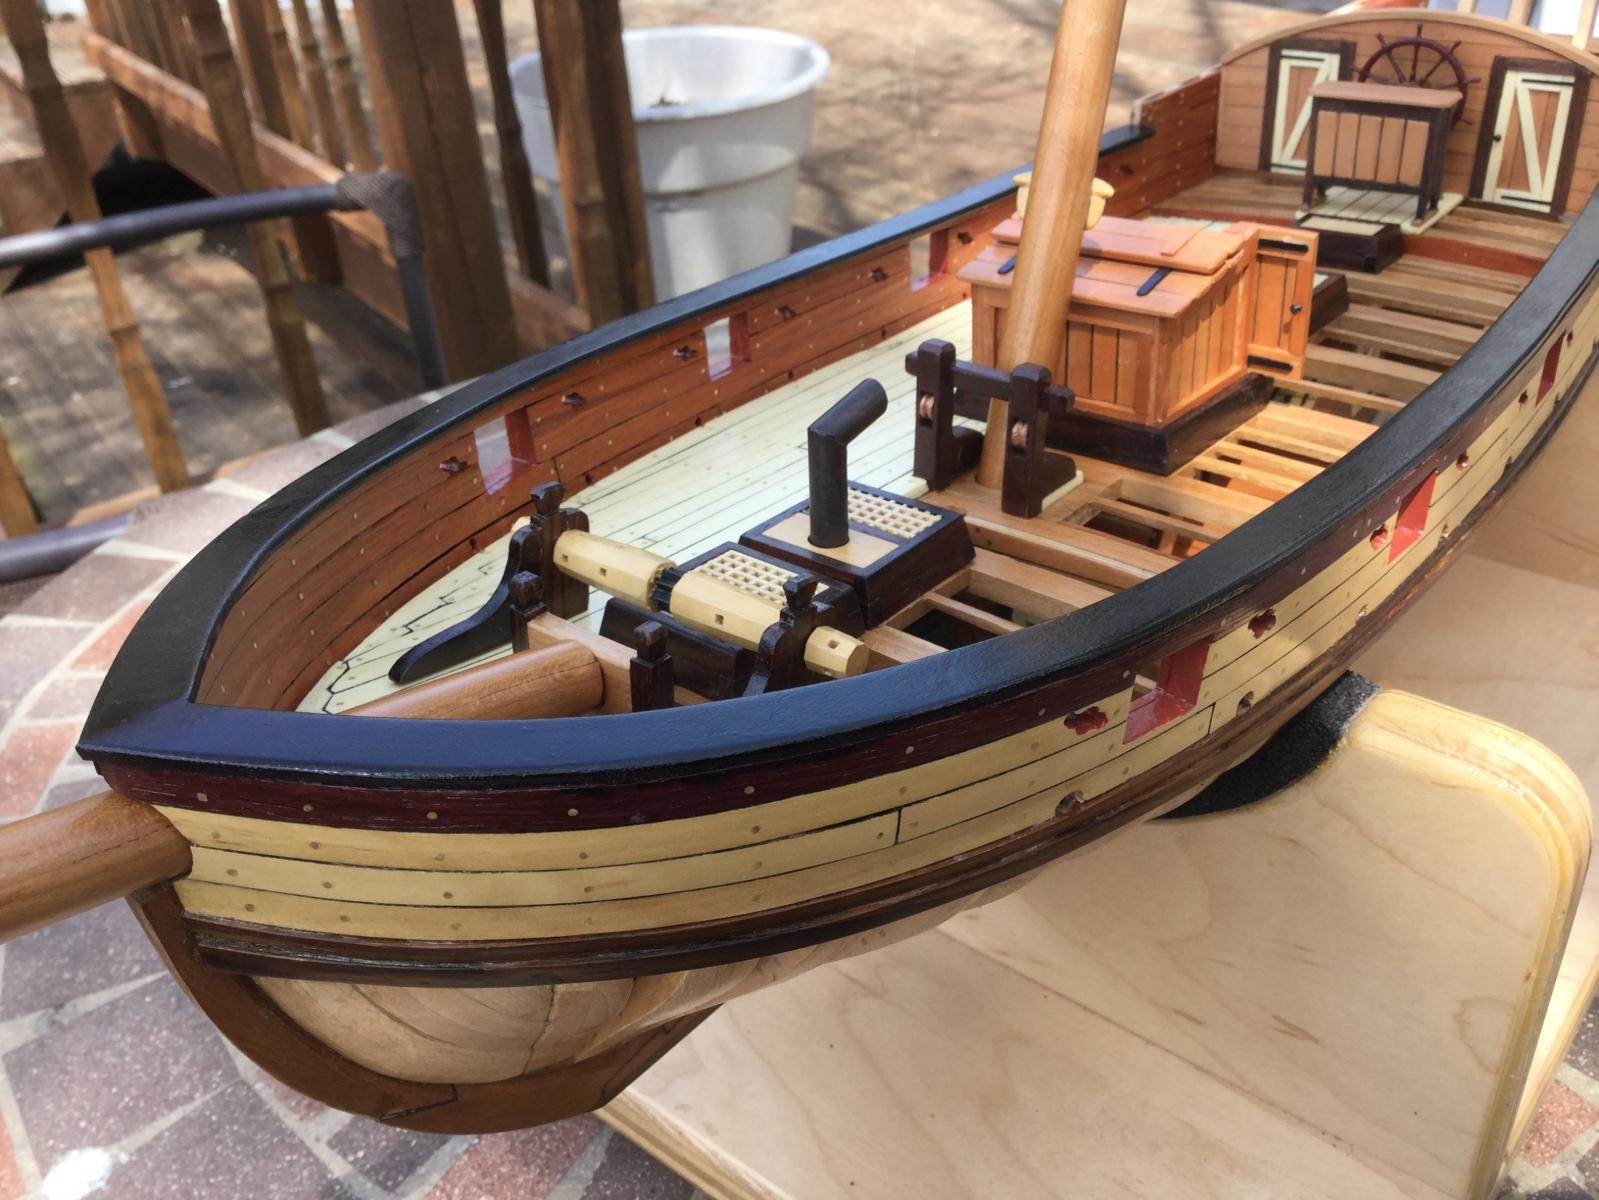
I've been spending time on my POF AVS, so I've neglected "Independence". I'm just finishing up the quarterdeck planking. The margin plank and nibbed planking is installed on the port side. Not yet on the starboard side.
This is a small vessel and the main deck is only 20 feet long; the others are shorter. Full planks would have been used, so there are no butt joints in the deck planking. Treenails need to be placed and the deck sanded well before installing the bulwark support plywood that is then planked, inboard and outboard.
- Bill Hime, zoly99sask, GuntherMT and 6 others
-
9
-
Thanks for the kind comments and "likes"!
- mtaylor, zoly99sask, Canute and 1 other
-
4
-
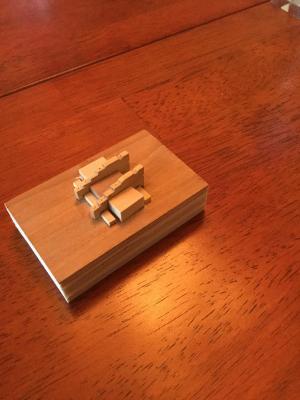
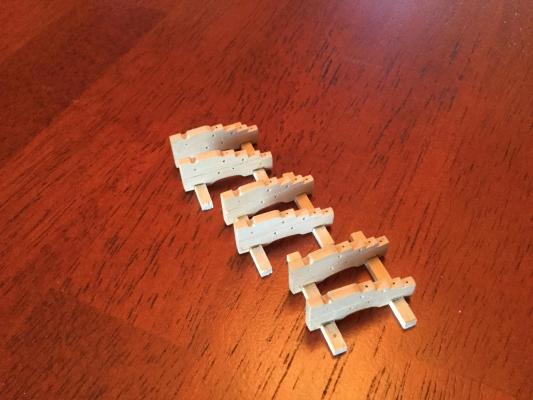
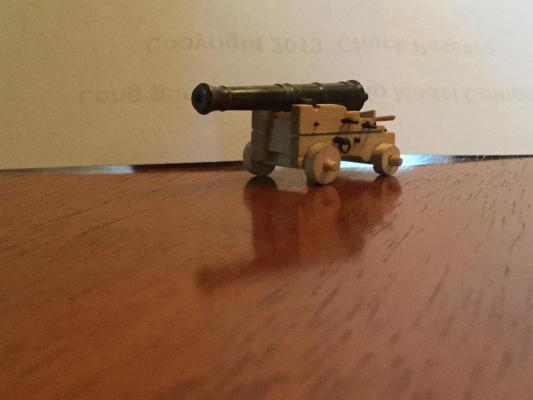
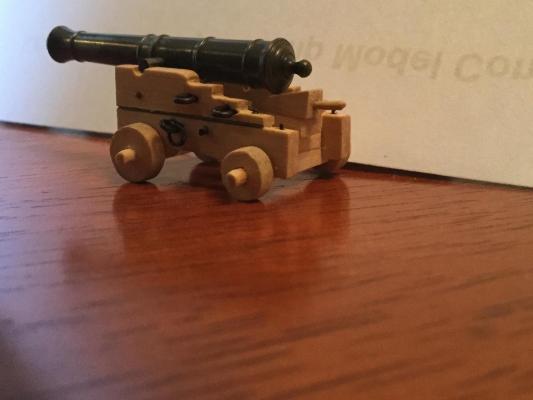
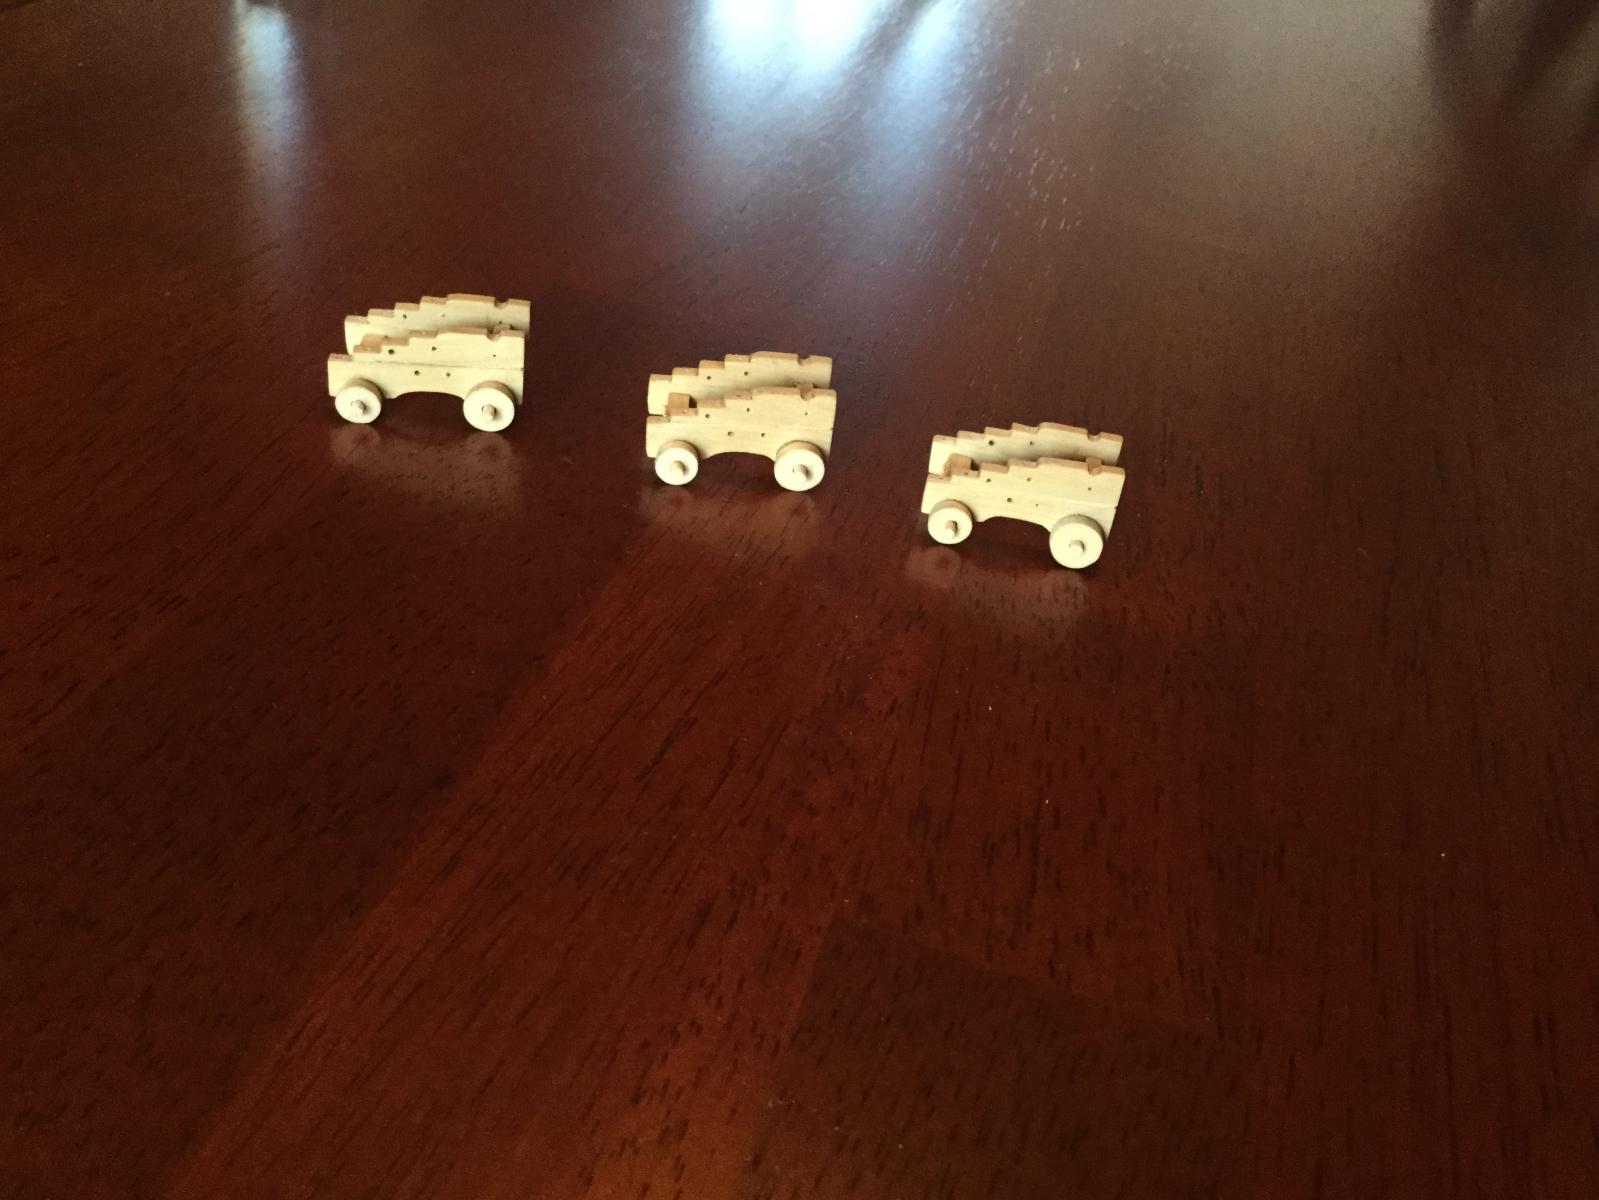
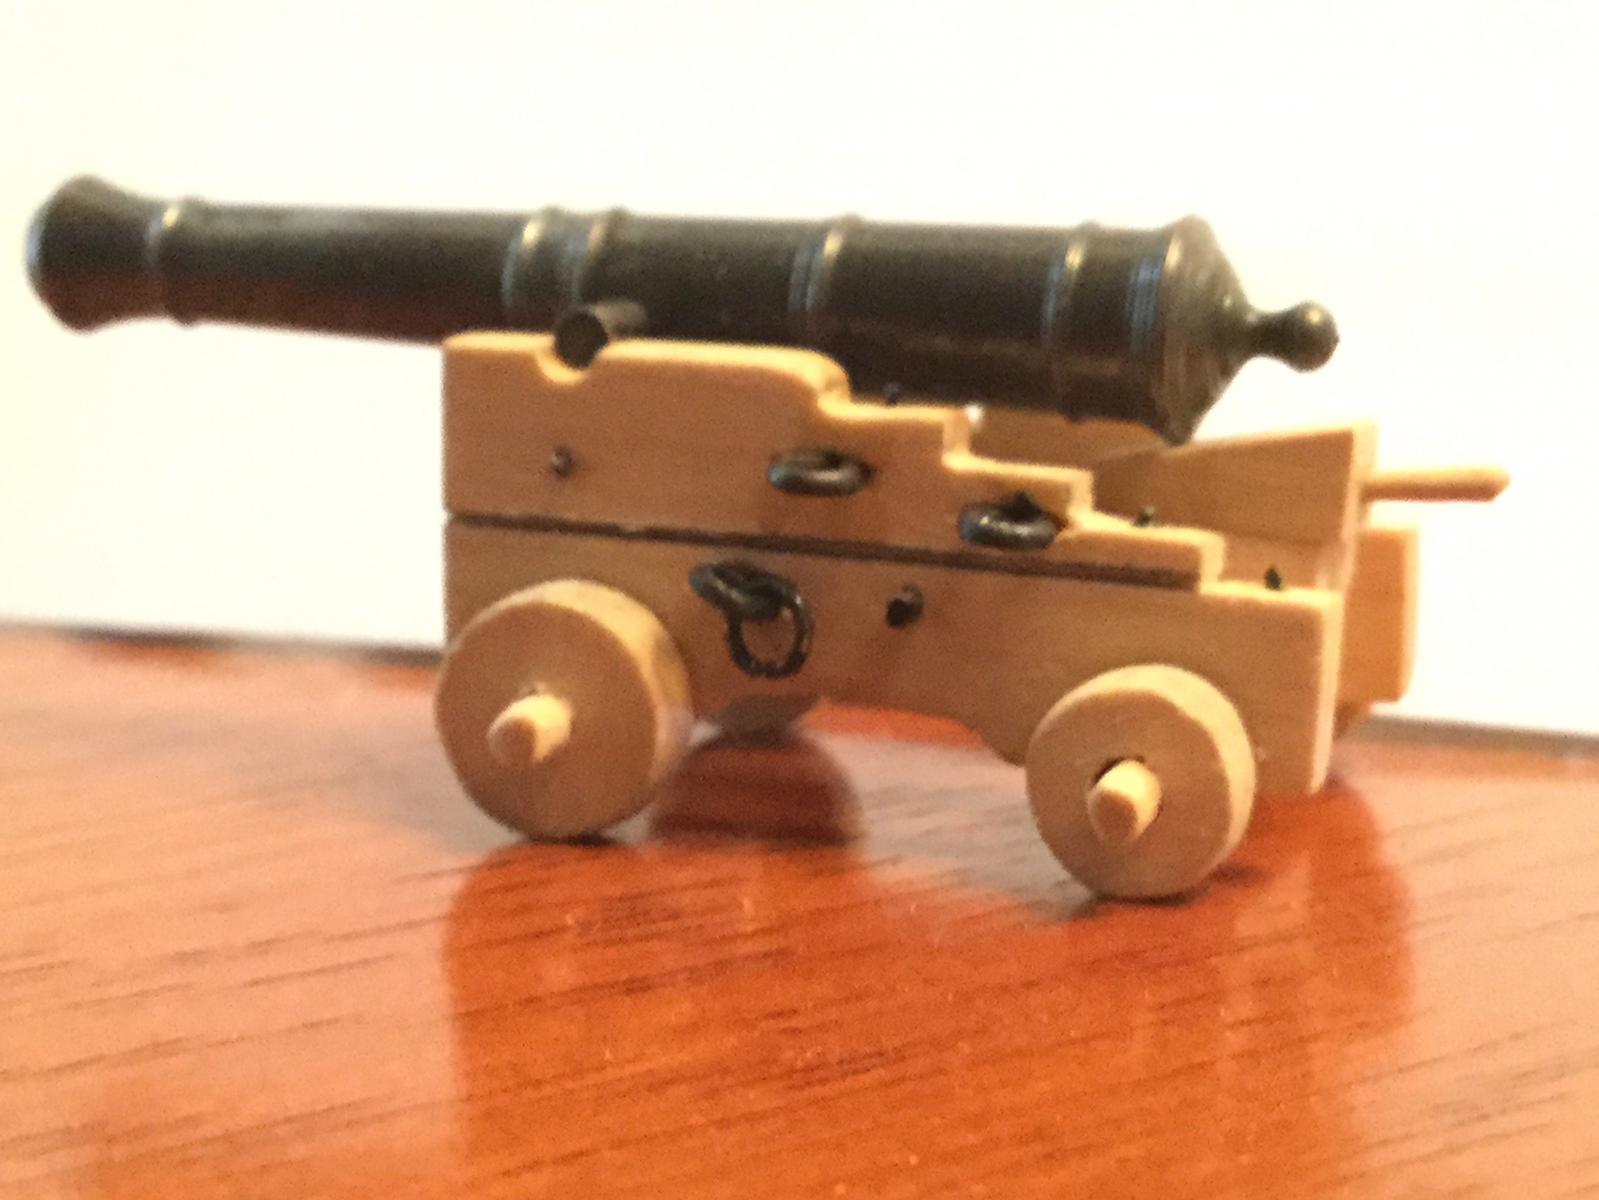
I'm working on the 3-pounder carriage guns. The kit provides parts to build the carriages made of cherry. They are perfectly fine, but I wanted some contrast between the carriage wood and the black hardware. I chose to use Chuck's boxwood carriages. In my kit, the cannons are brass and came from Syren.
I built a little jig to support the brackets while gluing up the axles. I added the transom and bolster, and rounded the axles to fit the trucks. lastly, I added the hardware and the quoin.
The trunions for the cannons are too short to span across the full distance between the brackets, so I'll have to get some 5/64" brass rod and replace them. The cap square isn't fitted yet.


- Geoff Matson, gjdale, mrshanks and 13 others
-
16
-
Elijah, you are certainly not the first of us to make a mistake. E.J is right: Use it as a learning moment. If you want to see a few colossal mistakes, all in a row, read my build log of the "Rattlesnake". The transom debacle is what put that build on hold!
- Gerhardvienna, Canute, dgbot and 3 others
-
6
-
WOW! That was a really momentous decision and a ton and a half of work. You're a better (and braver) man than I am, David. I can't wait to see the photos.
- mtaylor, CaptainSteve, mrshanks and 1 other
-
4
-
-
-
Beautiful, Ken. Nice workmanship.
-
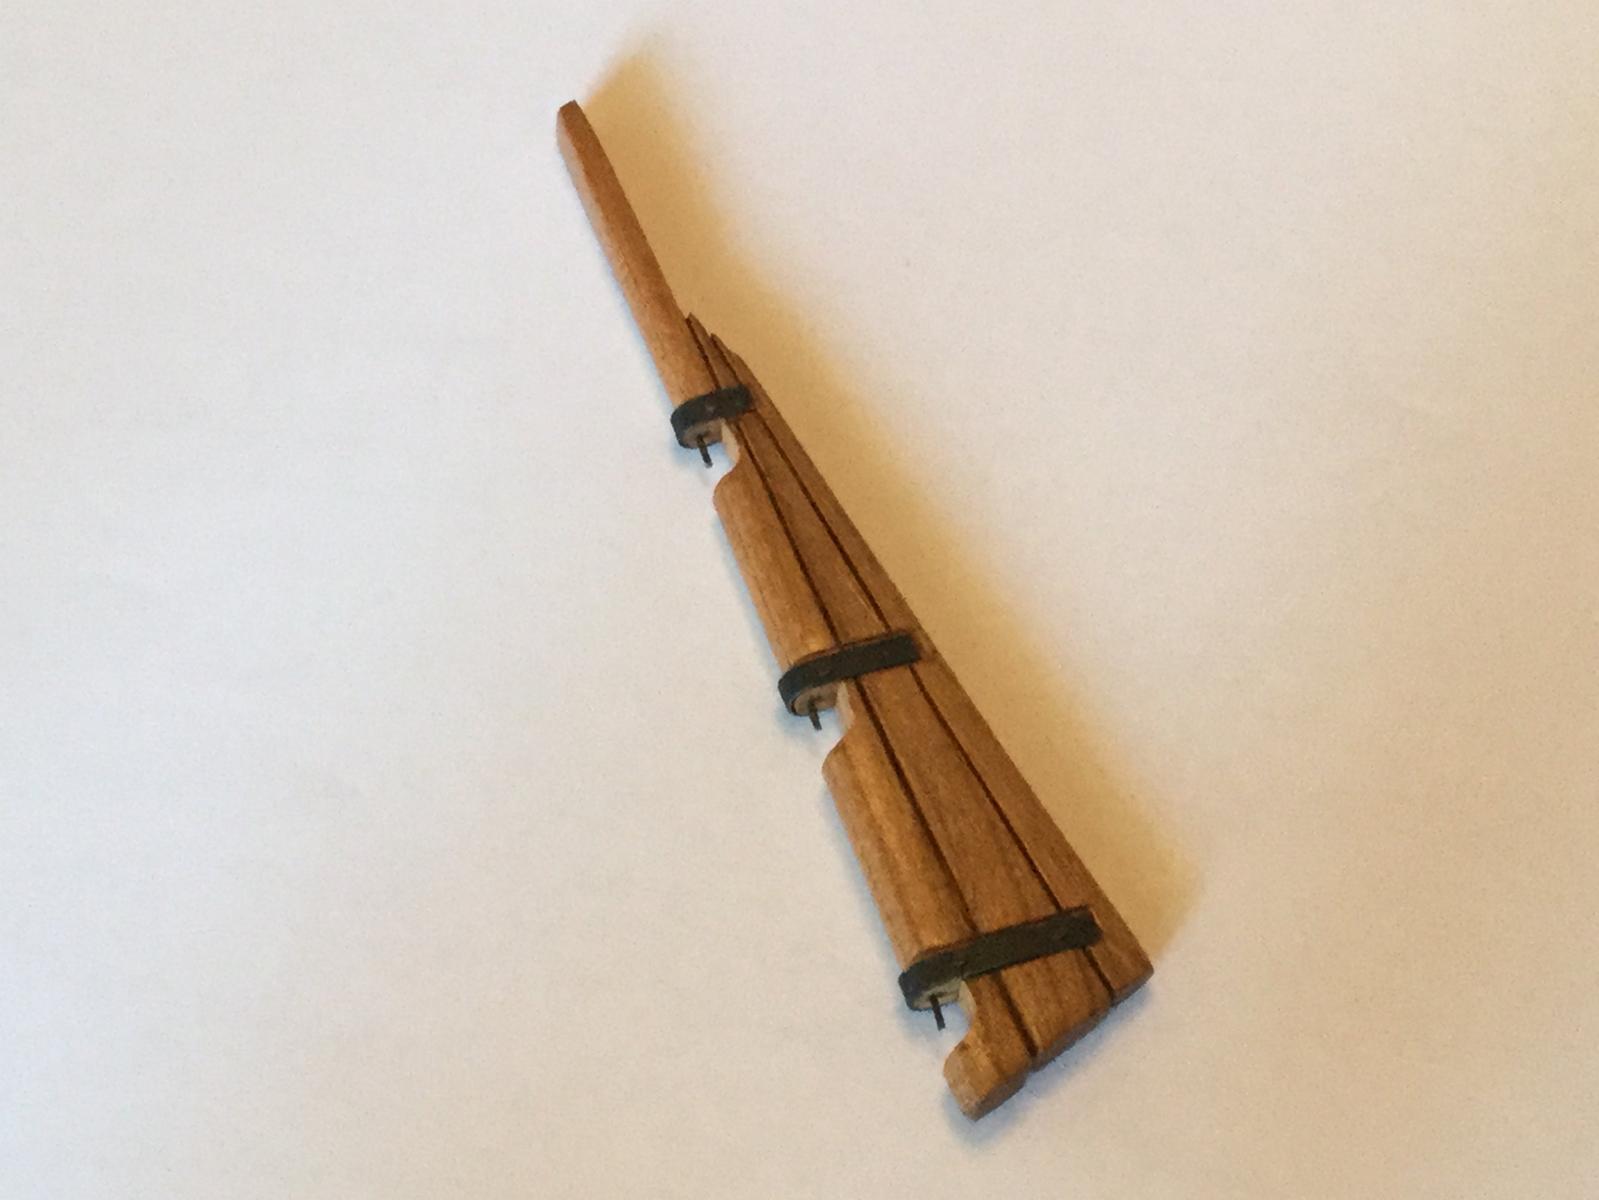
I'm working on the gun carriages, but as a diversion I did complete the rudder. I really hate cutting the rabbets for the straps!. I'll fit the rudder to the ship today, and continue to work on finishing up the carriages.

- mtaylor, Canute, Cap'n Rat Fink and 9 others
-
12
-
-
-
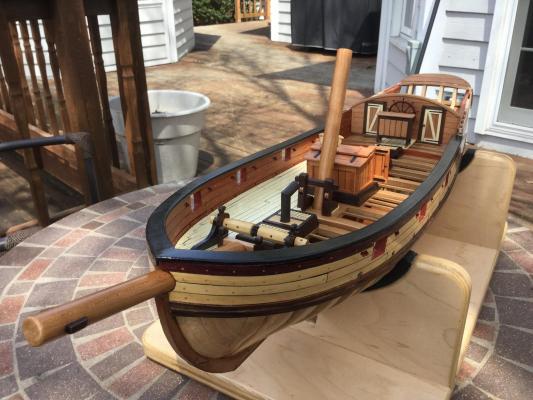
I formed the main rails out of basswood sheets and stained them with Fiebing's black leather dye. They got 3 coats of poly and I epoxied them in place.

- zoly99sask, KenW, gjdale and 11 others
-
14
-
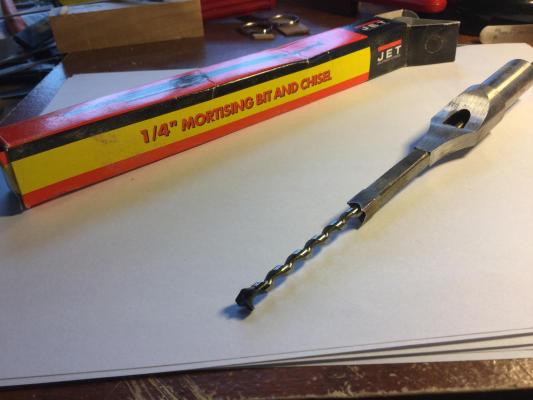
There is always more than one way to skin a cat.
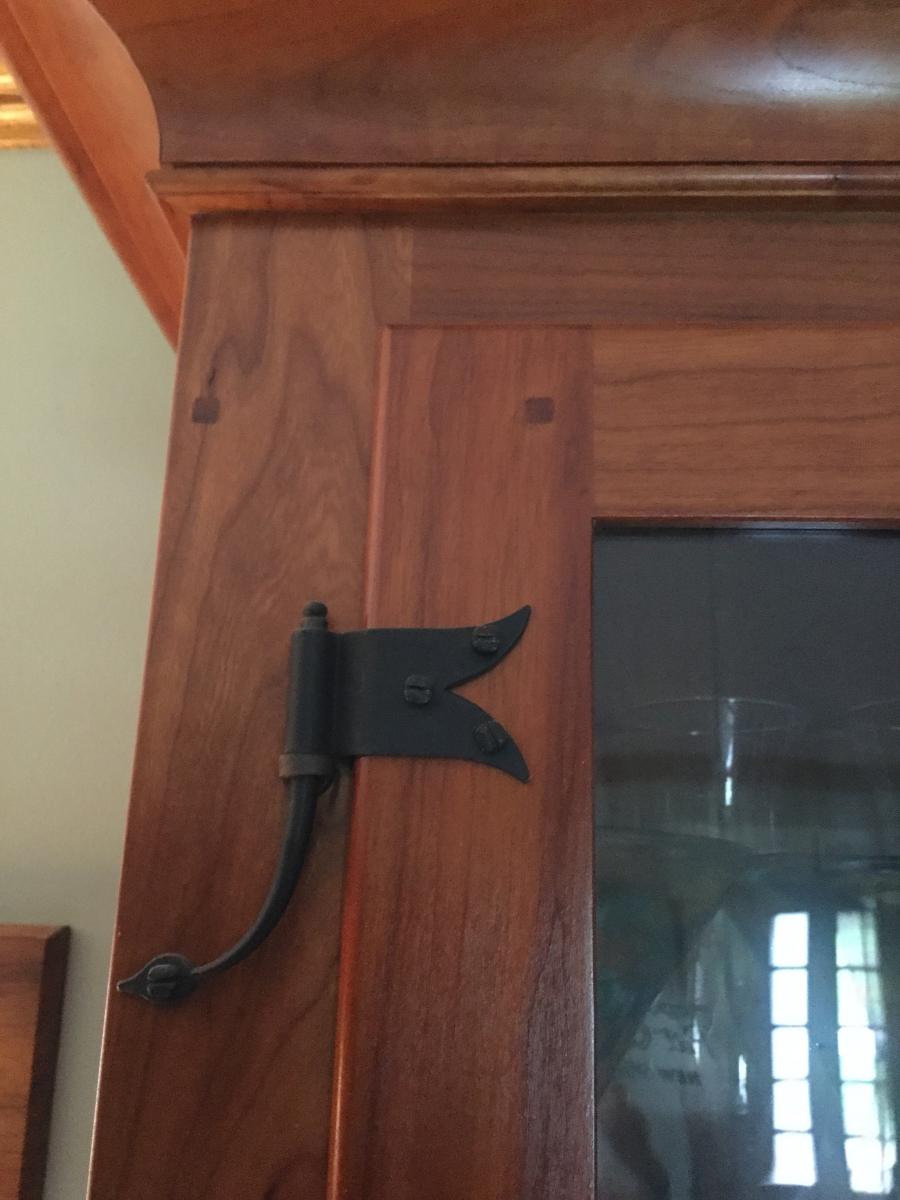
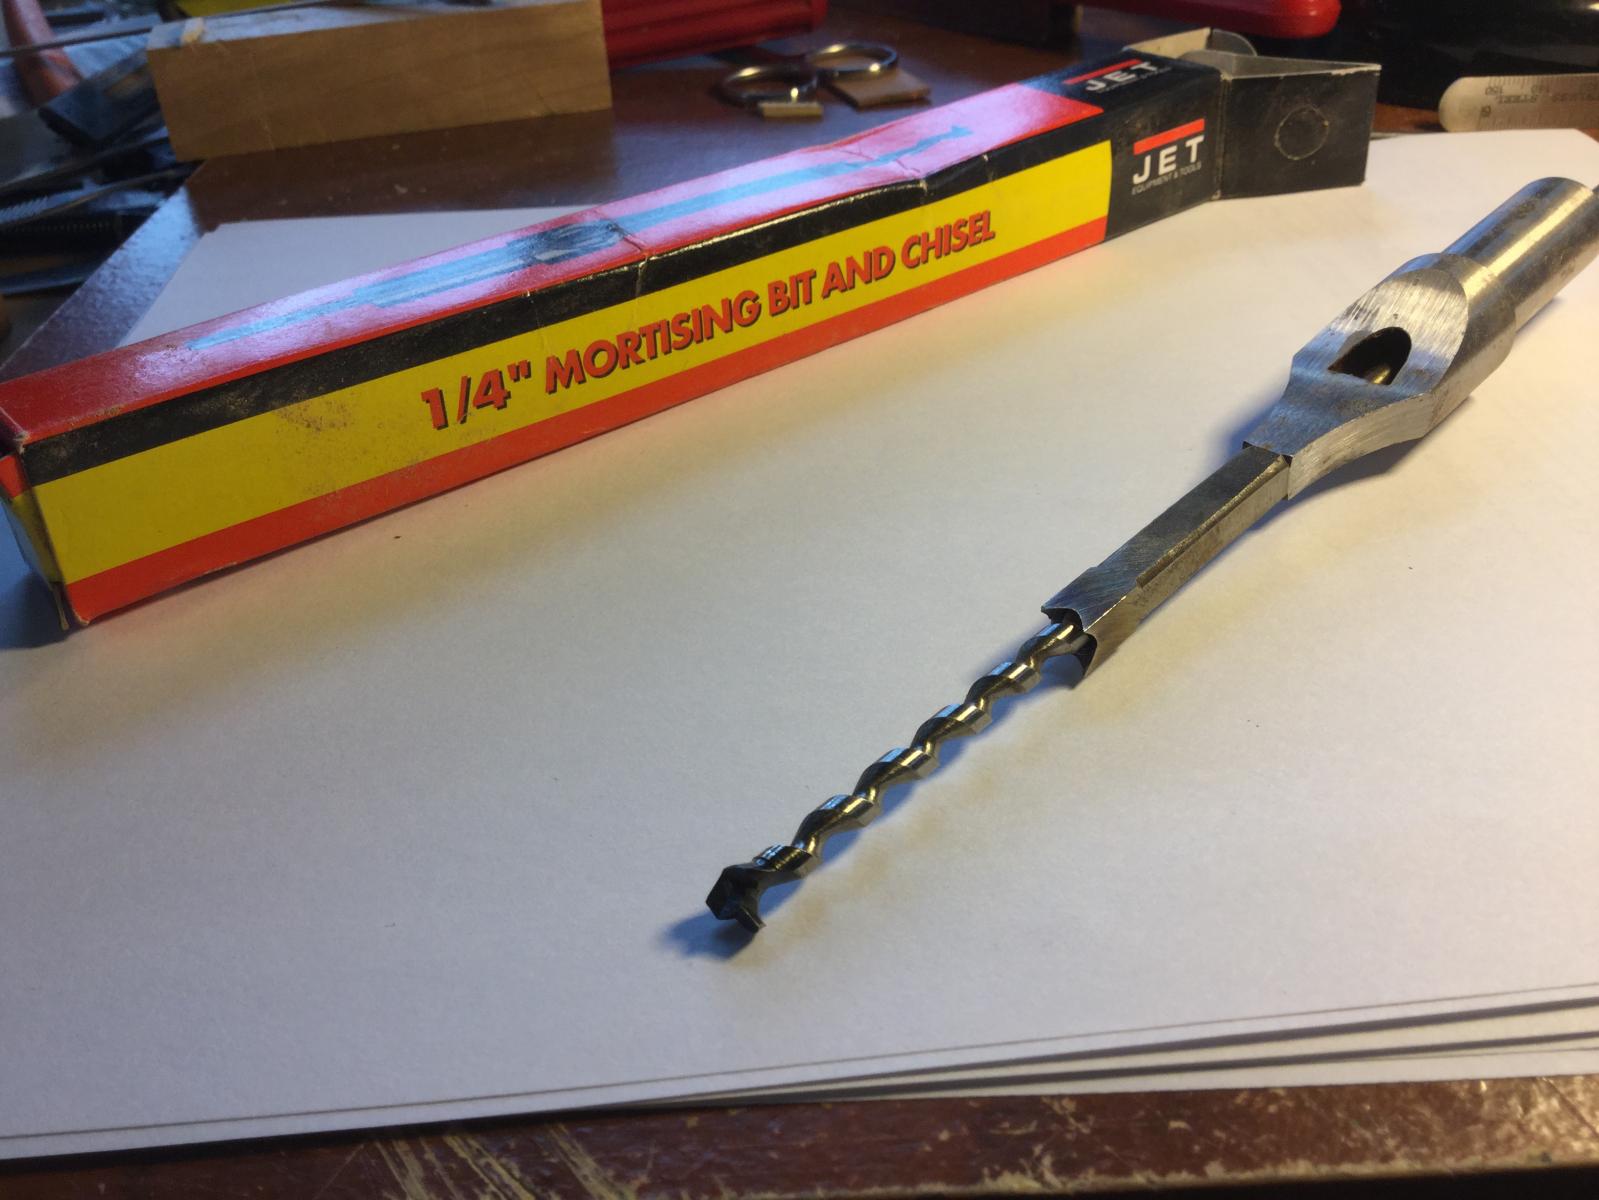
I build period furniture as a hobby also. 18th century cabinetry often had "pegged" mortise and tenon joints to strengthen construction. They were also frequently square instead of round. How to easily fit a square peg into a round hole? You could use a mortising machine with a drill and square chisel, but since furniture parts can be very large, many times the part wouldn't fit on the mortiser's work surface. I came up with an easy solution.
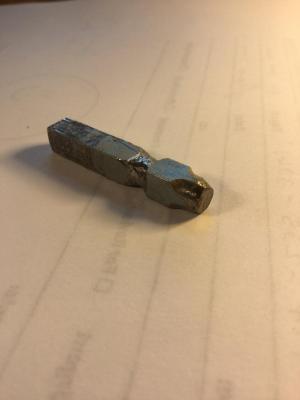
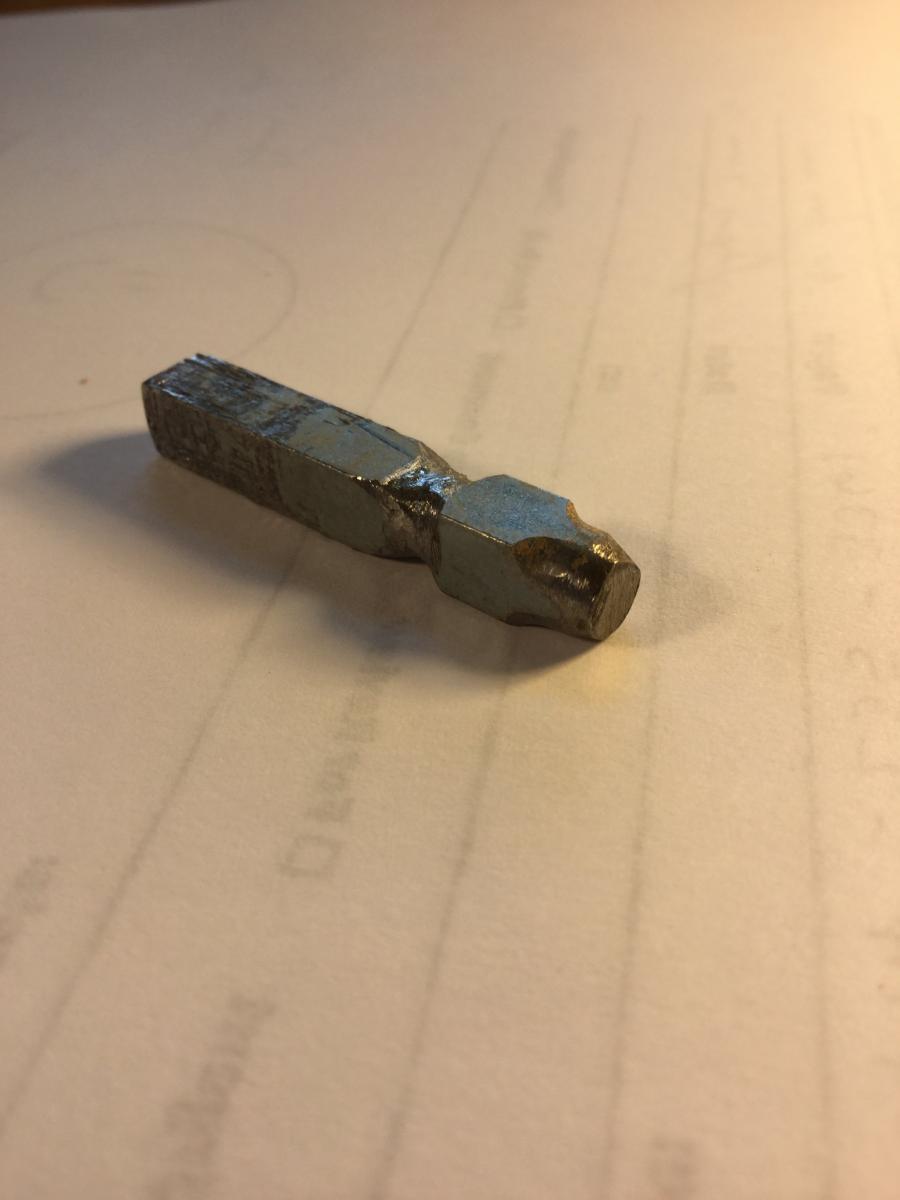
I took a 1/4" square piece of steel bar and grinded the bottom into a 1/4" diameter round. I left the bulk of the bar square. I drill a 1/4" hole where the peg will be and insert the rounded bottom into the hole. Than brings the squared "shoulders" of the bar right to the wood's surface. A couple of raps with a hammer and the round hole is now square. it has to be deep enough to hold a piece of peg material 1/4" square, so the steel bar is pretty deep into the wood and the fit is very tight. It takes a pair of pliers and some rapping with a hammer to free the bar. A 1/4" peg is glued into the hole and cut with a flush cutting saw when the glue dried. The result is a nice clean square peg in what was once a round hole. The pegs aren't really structural, but they look good. When I needed to make round holes square on the windlass, I used the same principle in miniature.
I've actually adapted a few techniques I use building full size furniture to model work. The principles are the same; only the scale is different!


Independence 1775 by DocBlake - Artesania Latina - 5/16" scale.
in - Kit build logs for subjects built from 1751 - 1800
Posted
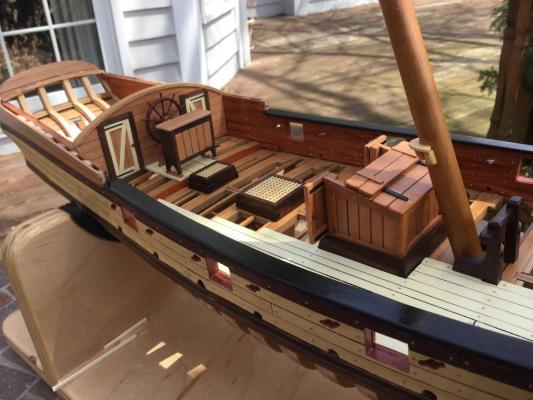
The quarterdeck treenailing is complete.