Thukydides
-
Posts
1,363 -
Joined
-
Last visited
Content Type
Profiles
Forums
Gallery
Events
Everything posted by Thukydides
-
 Not really, th only thing I have is the contemporary model of bellona which shows a very narrow batton. https://www.rmg.co.uk/collections/objects/rmgc-object-66299 Apart from that it is just what I see most people doing. It is one of those things I never bothered to ask if it was done another way.
 -
Your batten is much wider than what I normally see (it is basically another plank on top). Normally people only use a thin strip. Did you find something in your research suggesting they should be wider?
-
A bunch of the contracts from the late 18th century mention the lead as well. Fore example here is the wording for Perseus 1776: I am still considering if I want to show the lead or not. We will see. I may just wait till the time comes and see how it matches the aesthetic I am going for. What did you use for the lead, actual lead foil?
-
Looking good. I am also finding courage to start on parts can be a problem. You put all this time into them and practice, but taking the step to start on a finished part feels very dangerous :).
-
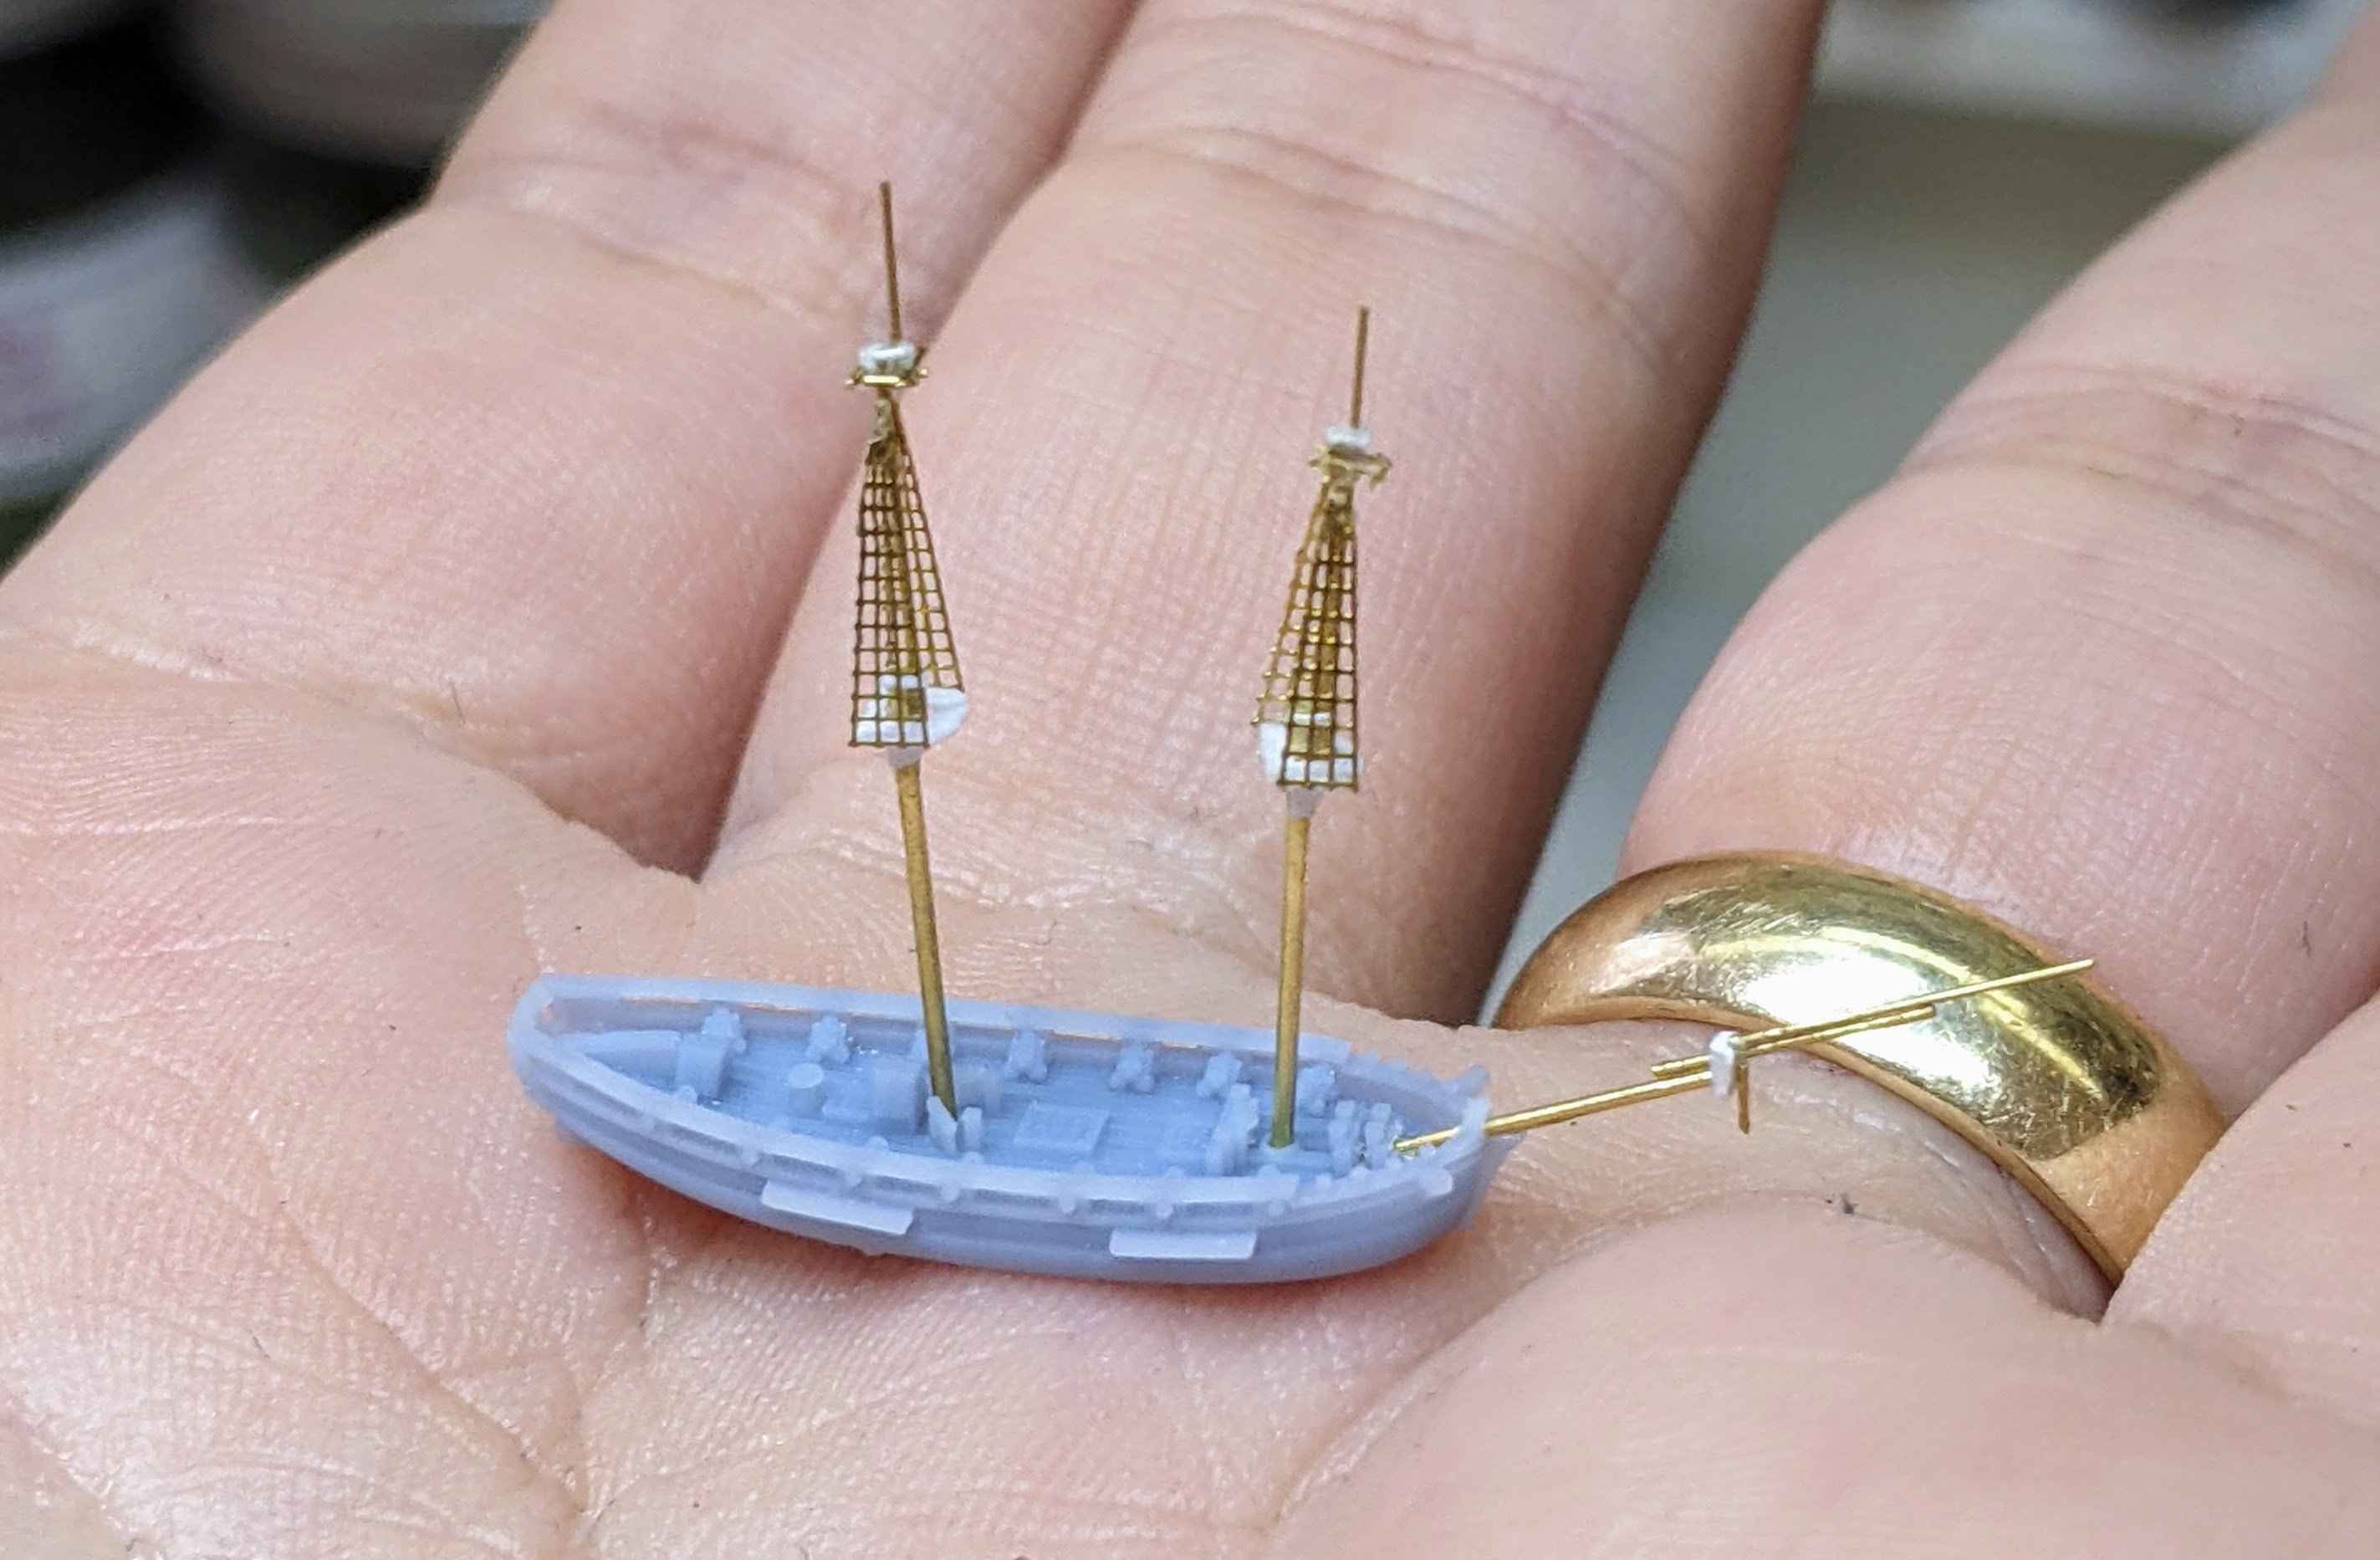
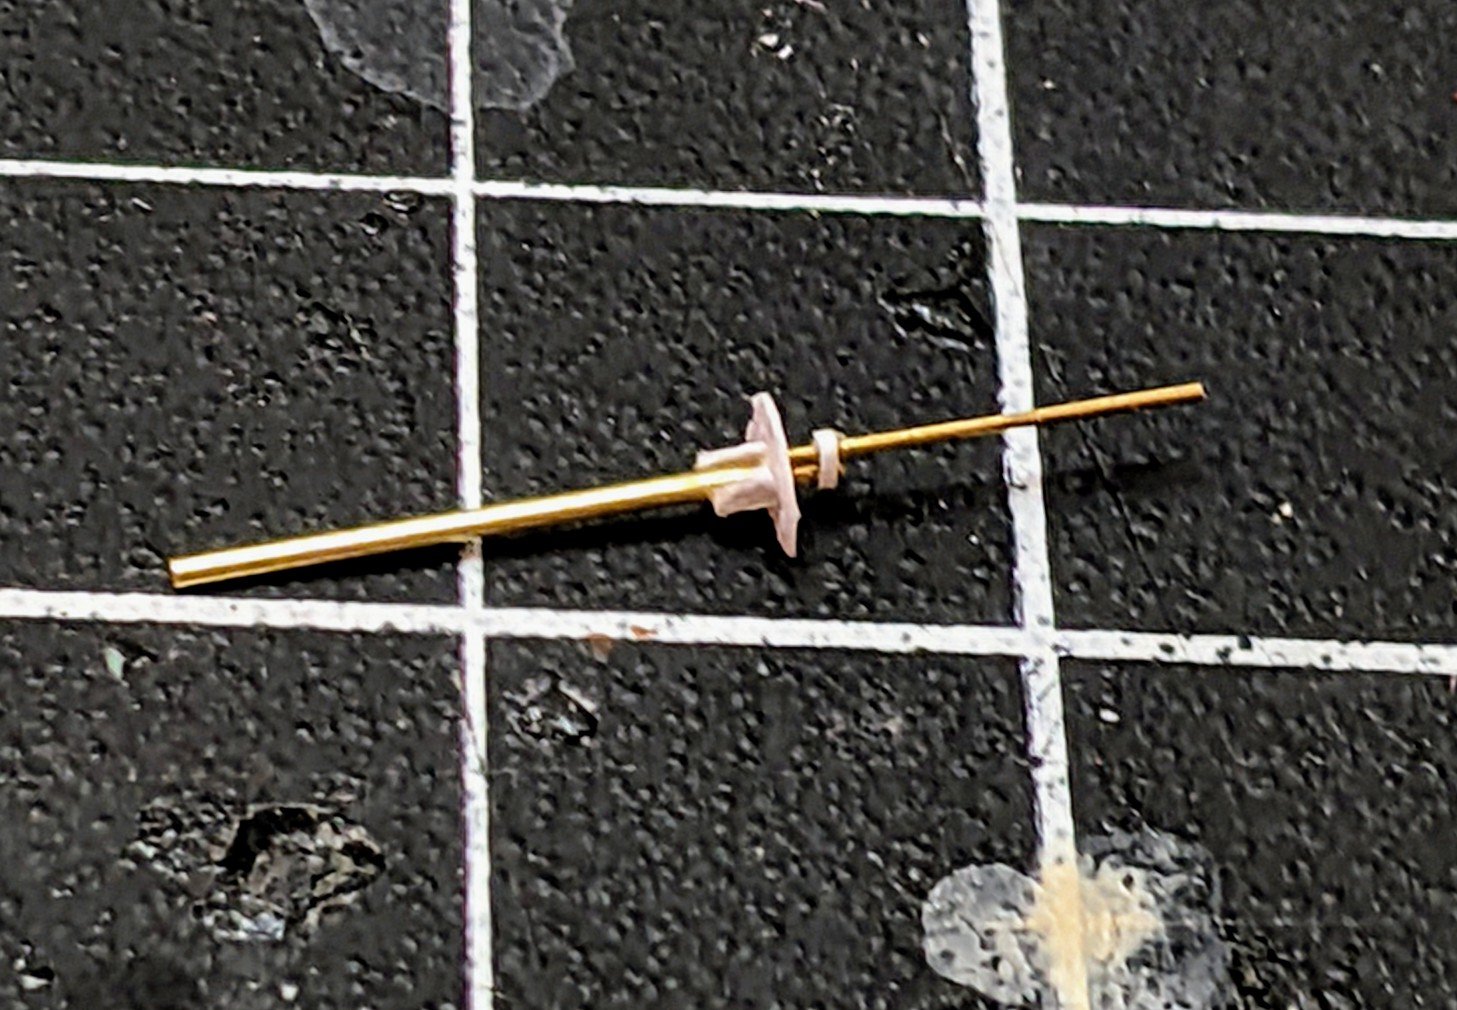
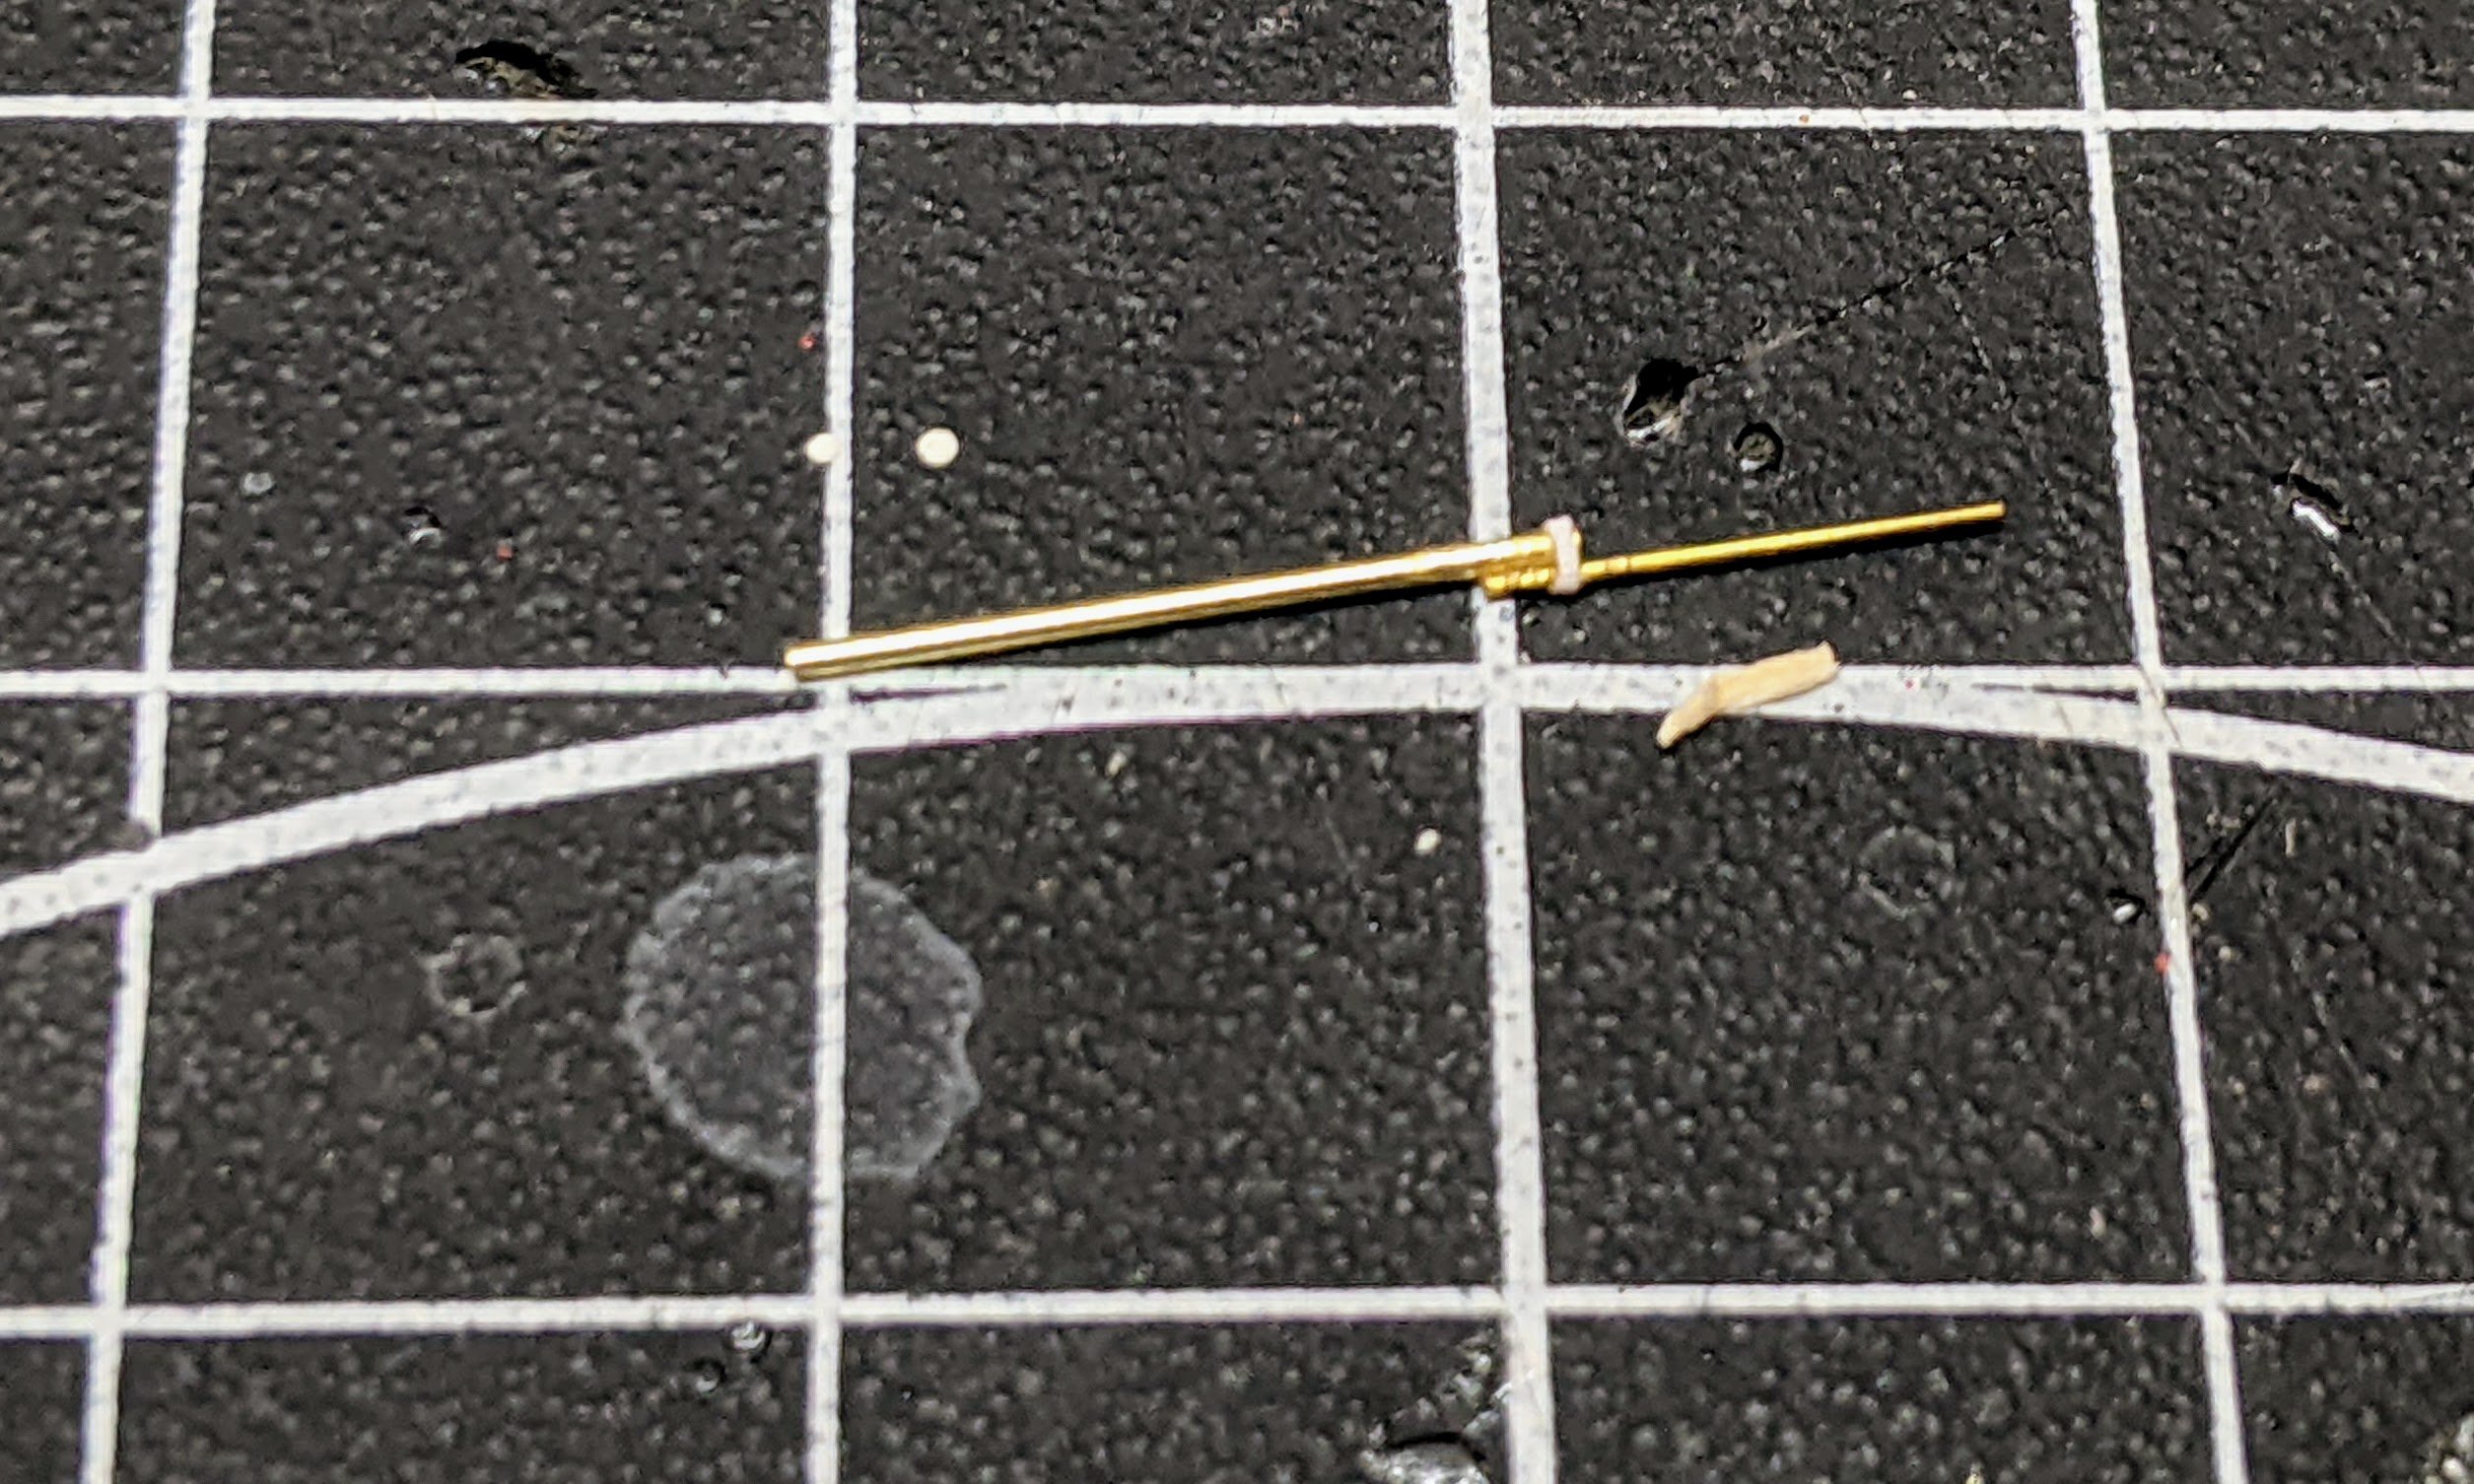
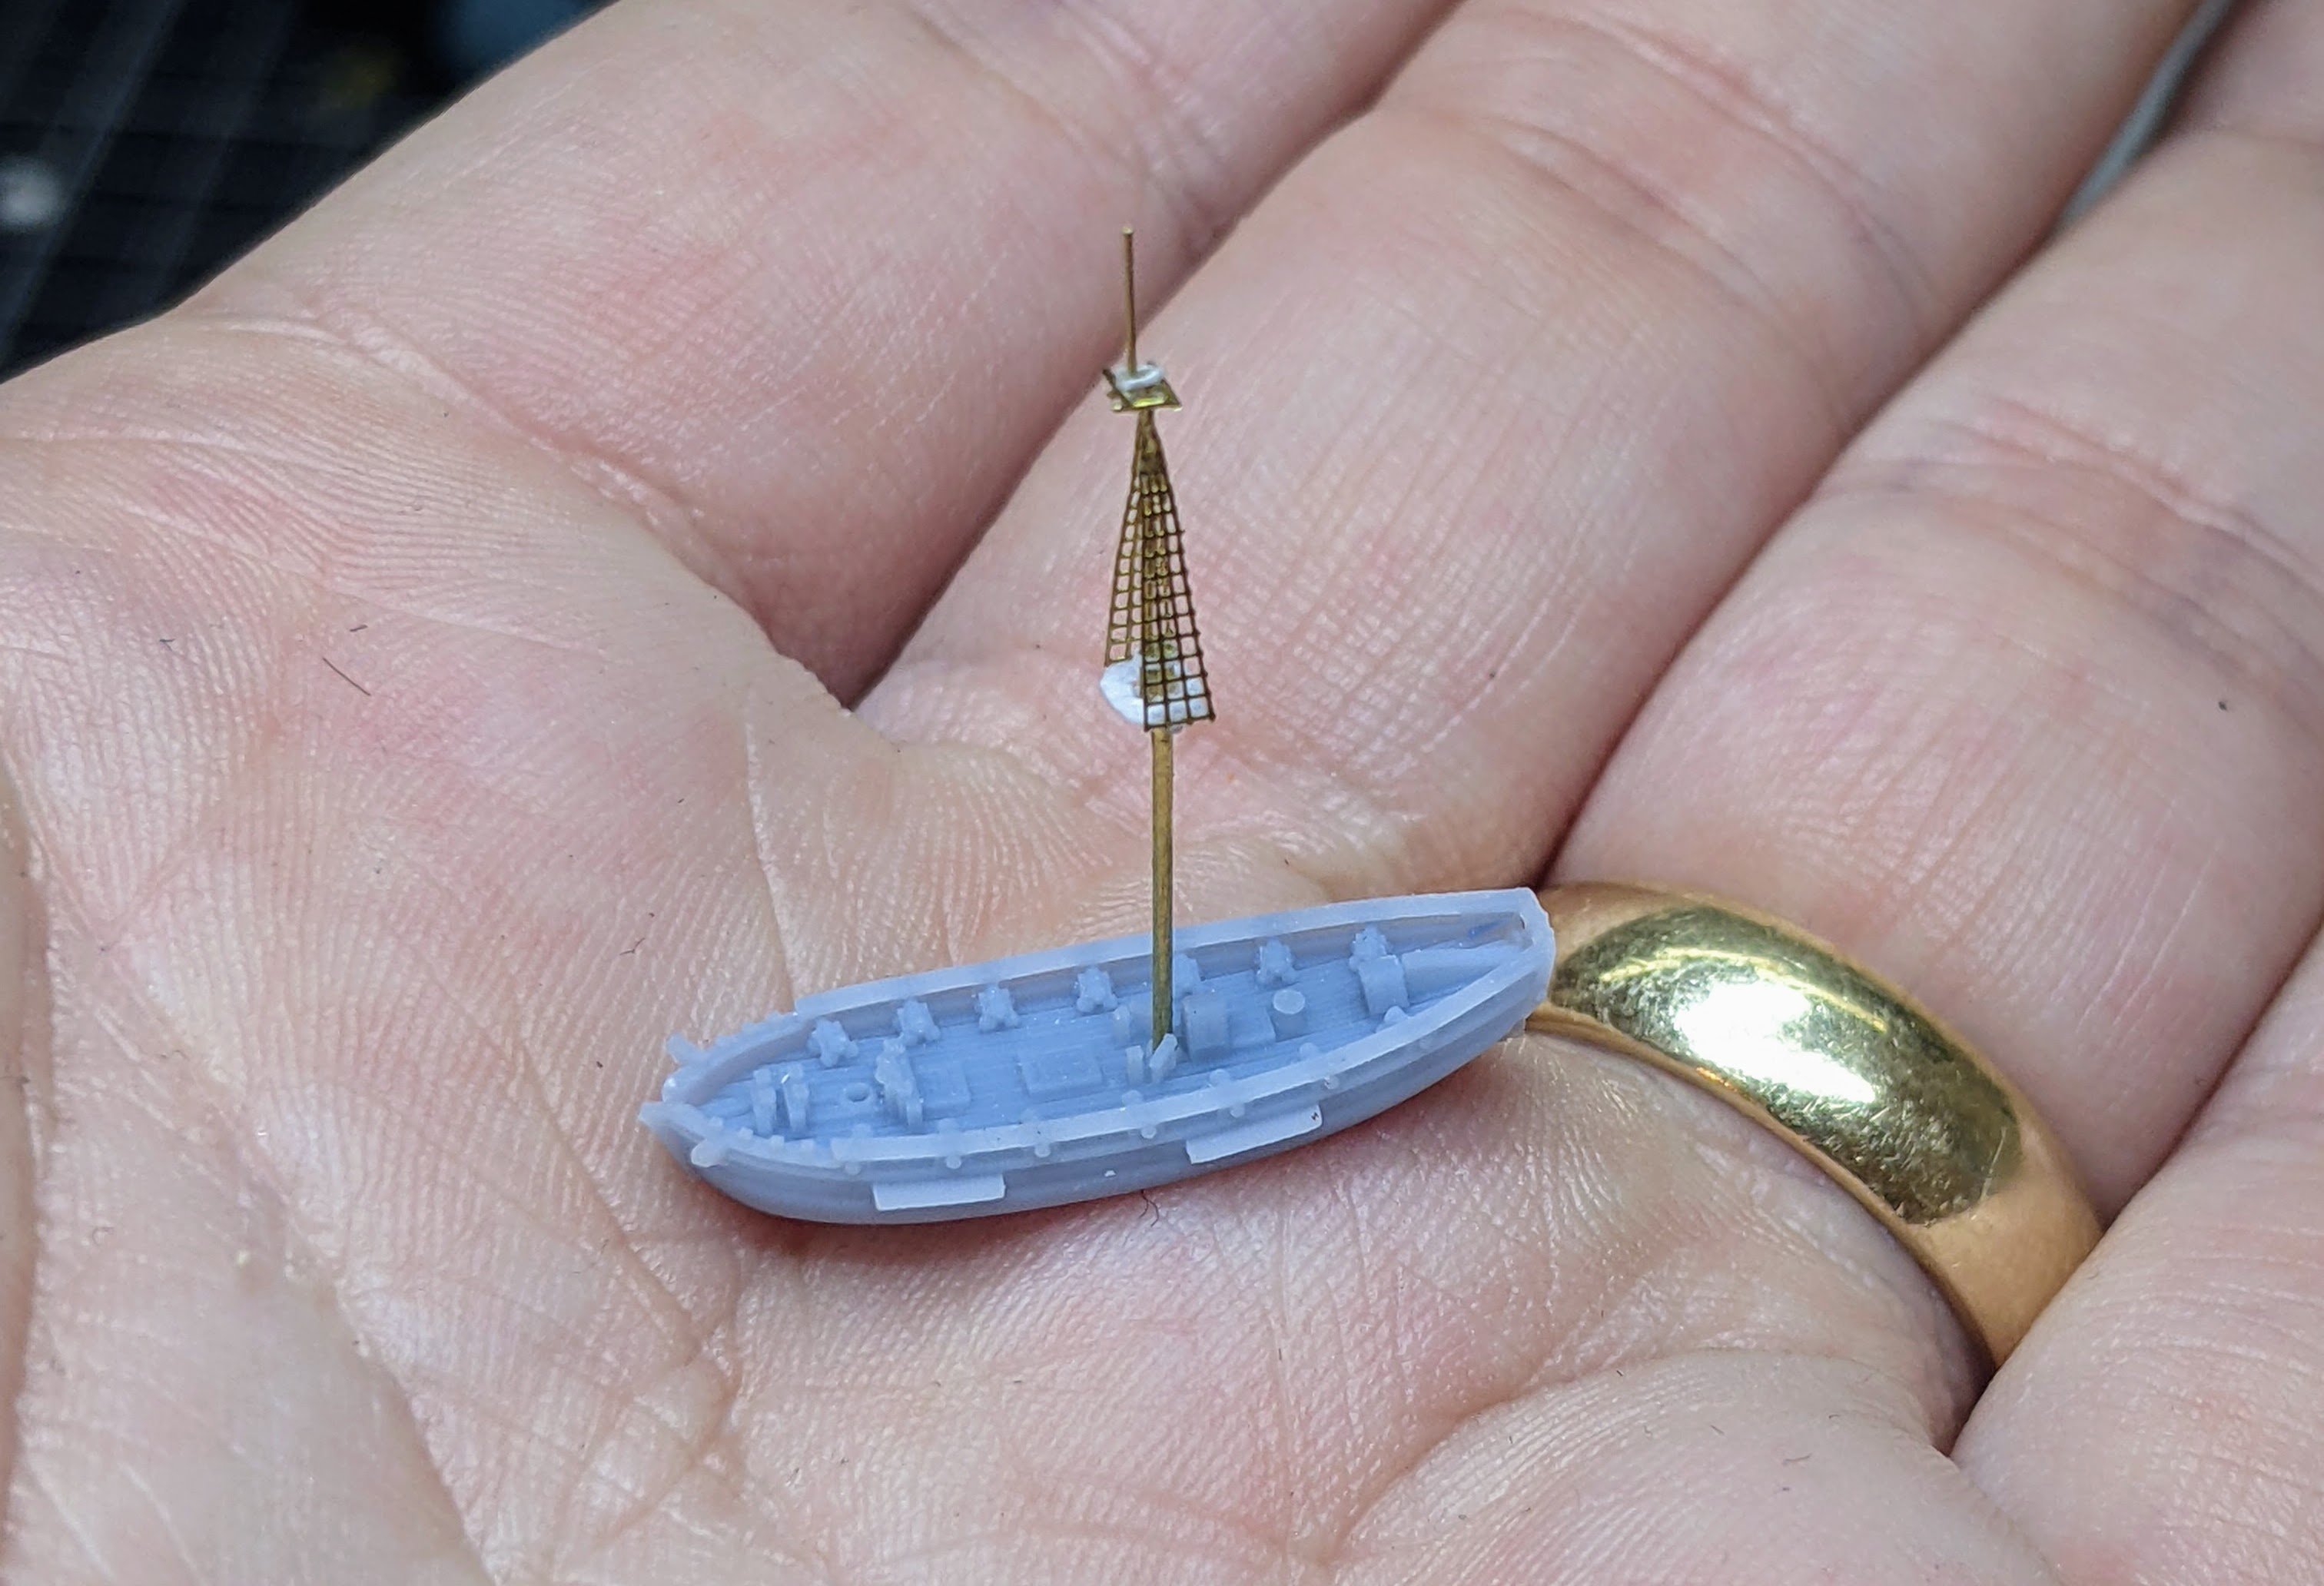
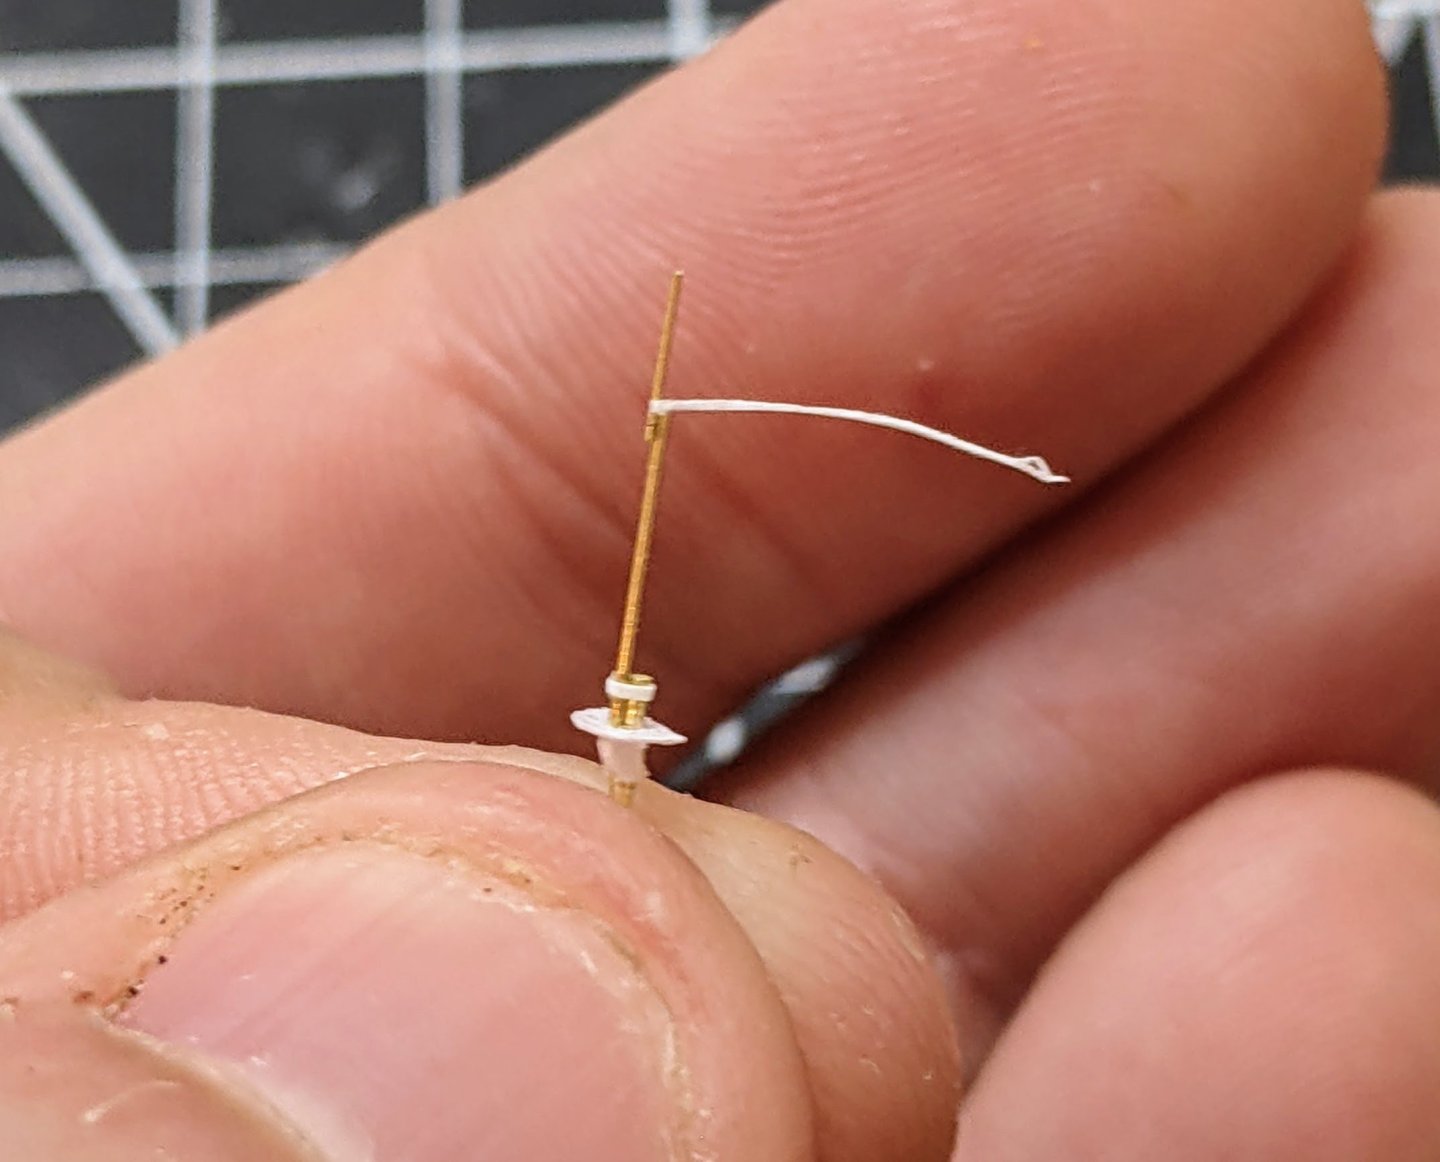
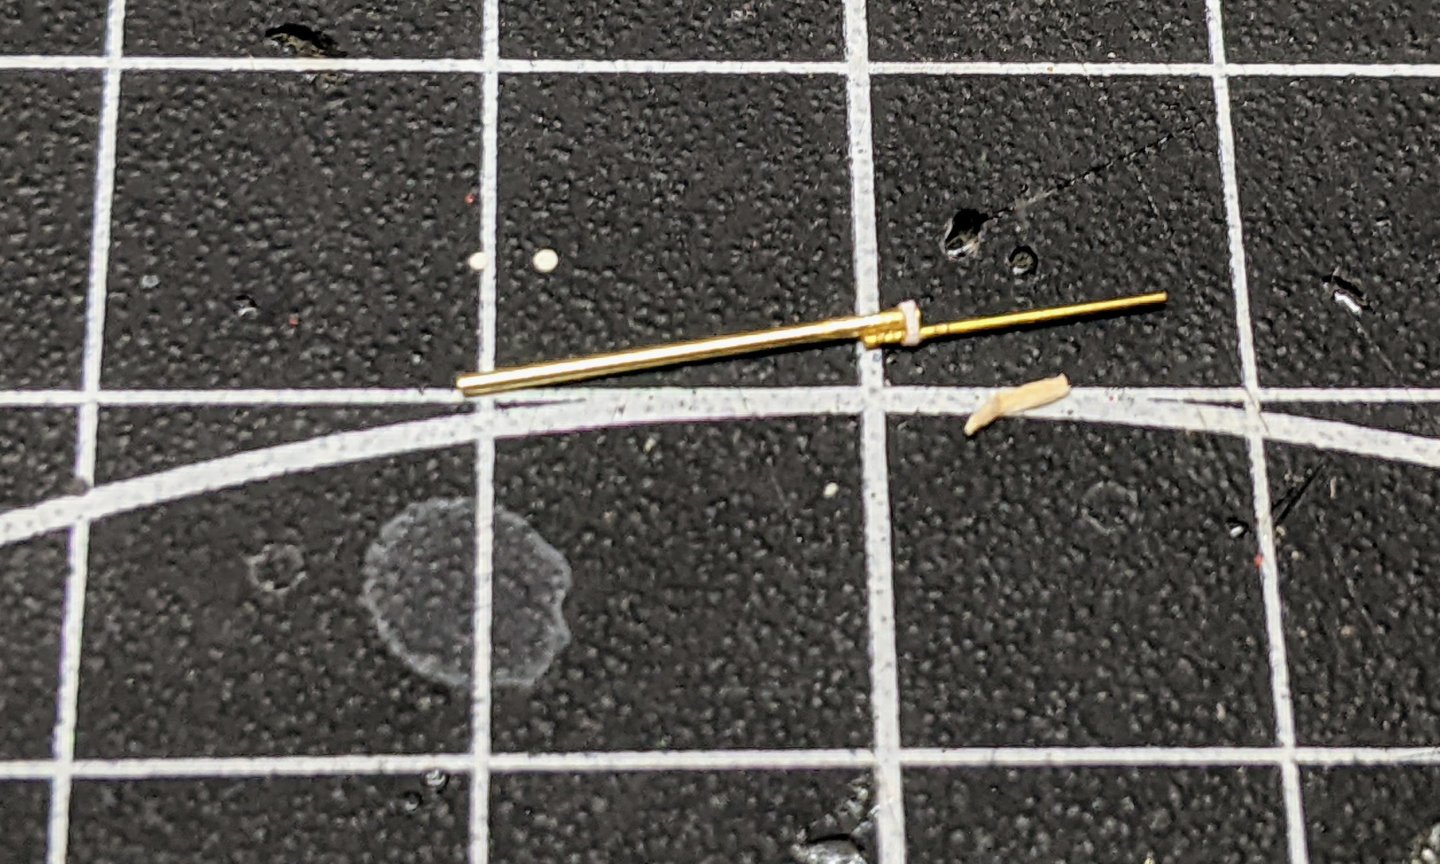
1/1200 Vigilant Class Brigs - Masts Continued I have managed to finish the masts and so figured I would try to show a little more of the construction method. I apologize in advance for the not very good pictures, but it is actually harder to get good in progress pictures at this scale than it is to actually construct the masts. I am going through the fore mast in this particular case, but the process is pretty much the same for the main and the bowsprit. For scale reference, the squares on my mat are 1cm. Step 1 is to cut the necessary lengths from the various brass rods. The lower mast and the topmast are glued together then a thin strip of printing paper was cut and glued around the joint to simulate the mast cap. This also has the effect of greatly strengthening the joint. Next I took some slightly thicker drawing paper I found and cut out the fighting top. This was tacked in place with glue and then the the support structures (I don’t know what they are called) also glued below. Once everything is in the right place I cover all the paper pieces with a thin layer of super glue to strengthen it. Then I move on to the topgallant and glue it onto the topmast. I should note that I find at these small scales that you have to be a bit flexible with the sizes. I only have so many sizes of rod to work with and it is more important that thicker masts look thicker than that they are the exact correct size. So in many cases I adjust the sizes to allow for example the bowsprit to be thicker than the jib which in turn is thicker than the flying jib even if that means scaling up the thickness a bit. The below picture also shows the process of wrapping the paper round the joint to simulate the cap. First I tack then end to the joint and once it has dried I cover the area with glue and wrap the paper around. And here is the current state of affairs. All the masts are done and now I need to move on to the yards. For the fore mast I found a way to get the trestletree to have three pieces sticking out. I just used an off cut piece of the shrouds to simulate the structure. I think it turned out good and will probably use this method going forward.


- 39 replies
-
- 6
-

-
- Black Seas
- wargaming
- (and 1 more)
-
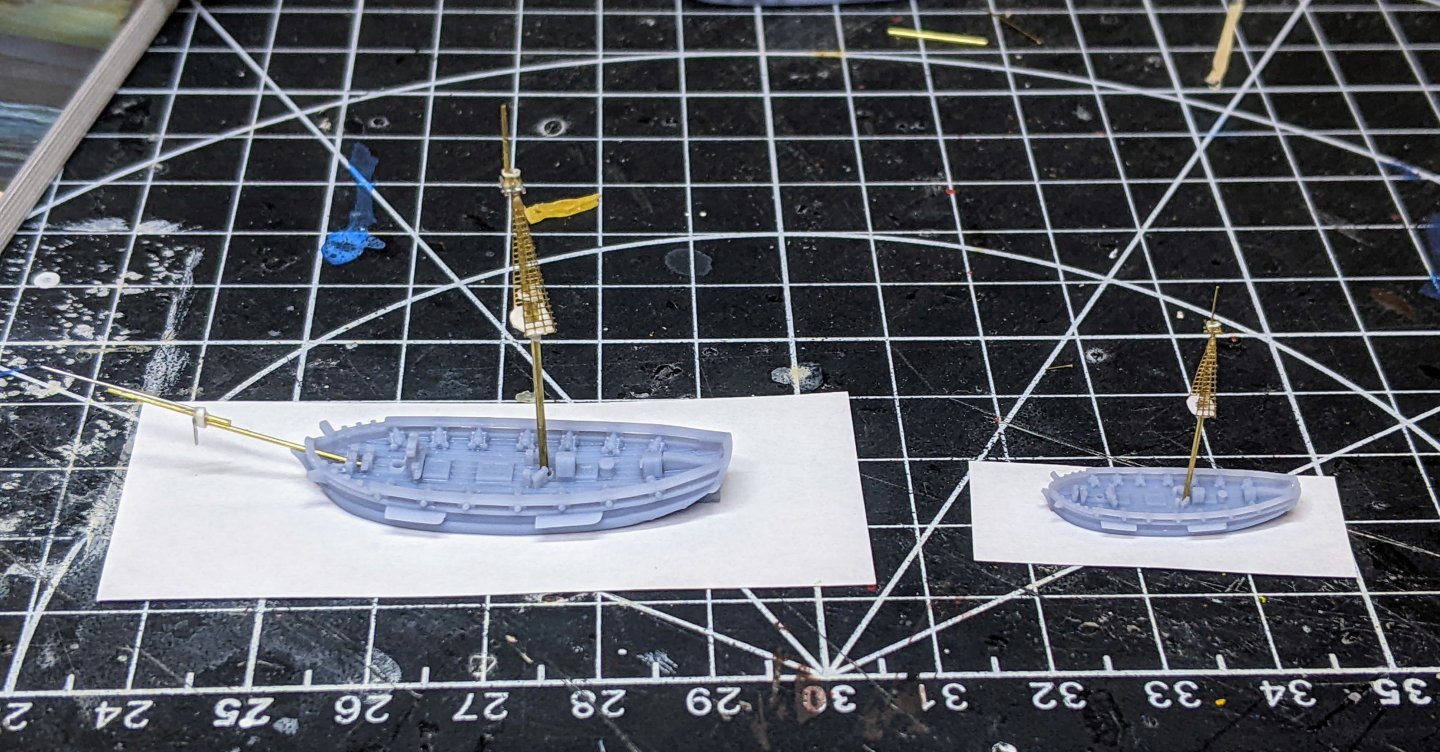
1/1200 Vigilant Class Brigs - Masts I have not posted here in a while as I have been wrestling with a problem I have with my 1/700 models. The issue is that they are probably too big. I have been looking at various rulesets and playing around with the cutter models and have come to the conclusion that ideally I would like to play at a smaller scale to allow for more maneuvering space (given my play area is limited to my dining room table). So this has sent me down a rabbit hole of experimenting at smaller scales. Having got my friend to print a few of the brigs at 1/1200, I have been playing around with how I would go about modelling them. The issues are mostly with the masting and rigging. I am confident that I can handle painting at this scale, but the masting and rigging is less certain. When you go smaller there are some advantages. You can omit some details or approximate them a bit as no-one is going to be able to look closely enough to notice. So after playing around a bit I cot some more sizes of brass rod and made a test mainmast. You can see here that the model has printed well and that all the detail is visible. The mainmast is made with 0.5mm brass rod. It really should be 0.4mm given the scale, but I wanted to give it a bit more strength and accentuate the size difference between the lower mast and the topmast. I used paper for the fighting top strengthened with superglue to hold it rigid. The mast caps were again wrapped with paper as I couldn’t think of a better approximation at scale. Though they are probably a bit oversized this will accentuate them when we come time to paint. The trestletree had to be approximated with only 2 cross pieces (as opposed the the three it should have). The shrouds gave me a fair bit of pause. There are no good aftermarket versions available for 1/1200 scale and I did also consider simply using thread and omitting the ratlins. But in the end for both structural reasons (this holds everything rigid) and also ease (trying to get thread in the right place felt like it would be too difficult), I decided to go with my 1/600 shrouds I have. Though they are oversized, from normal viewing distances they actually look fine. In some ways the oversized nature helps to see the detail. I also have some plans when it comes to painting to simulate the deadeyes and lanyards. You can see below how much smaller this scale is compared to 1/700. Though it is about half the size in length, in terms of area is is about 1/4 of the size. You can also see how much smaller a potential base size is giving much more room to maneuver on the table. The 1/700 version is about the size of a large frigate at 1/1200 scale. So that is all I have for the moment. I am going to build the foremast and the bowsprit next and once that is done I will move on to the yards.

- 39 replies
-
- 7
-
-

-
- Black Seas
- wargaming
- (and 1 more)
-
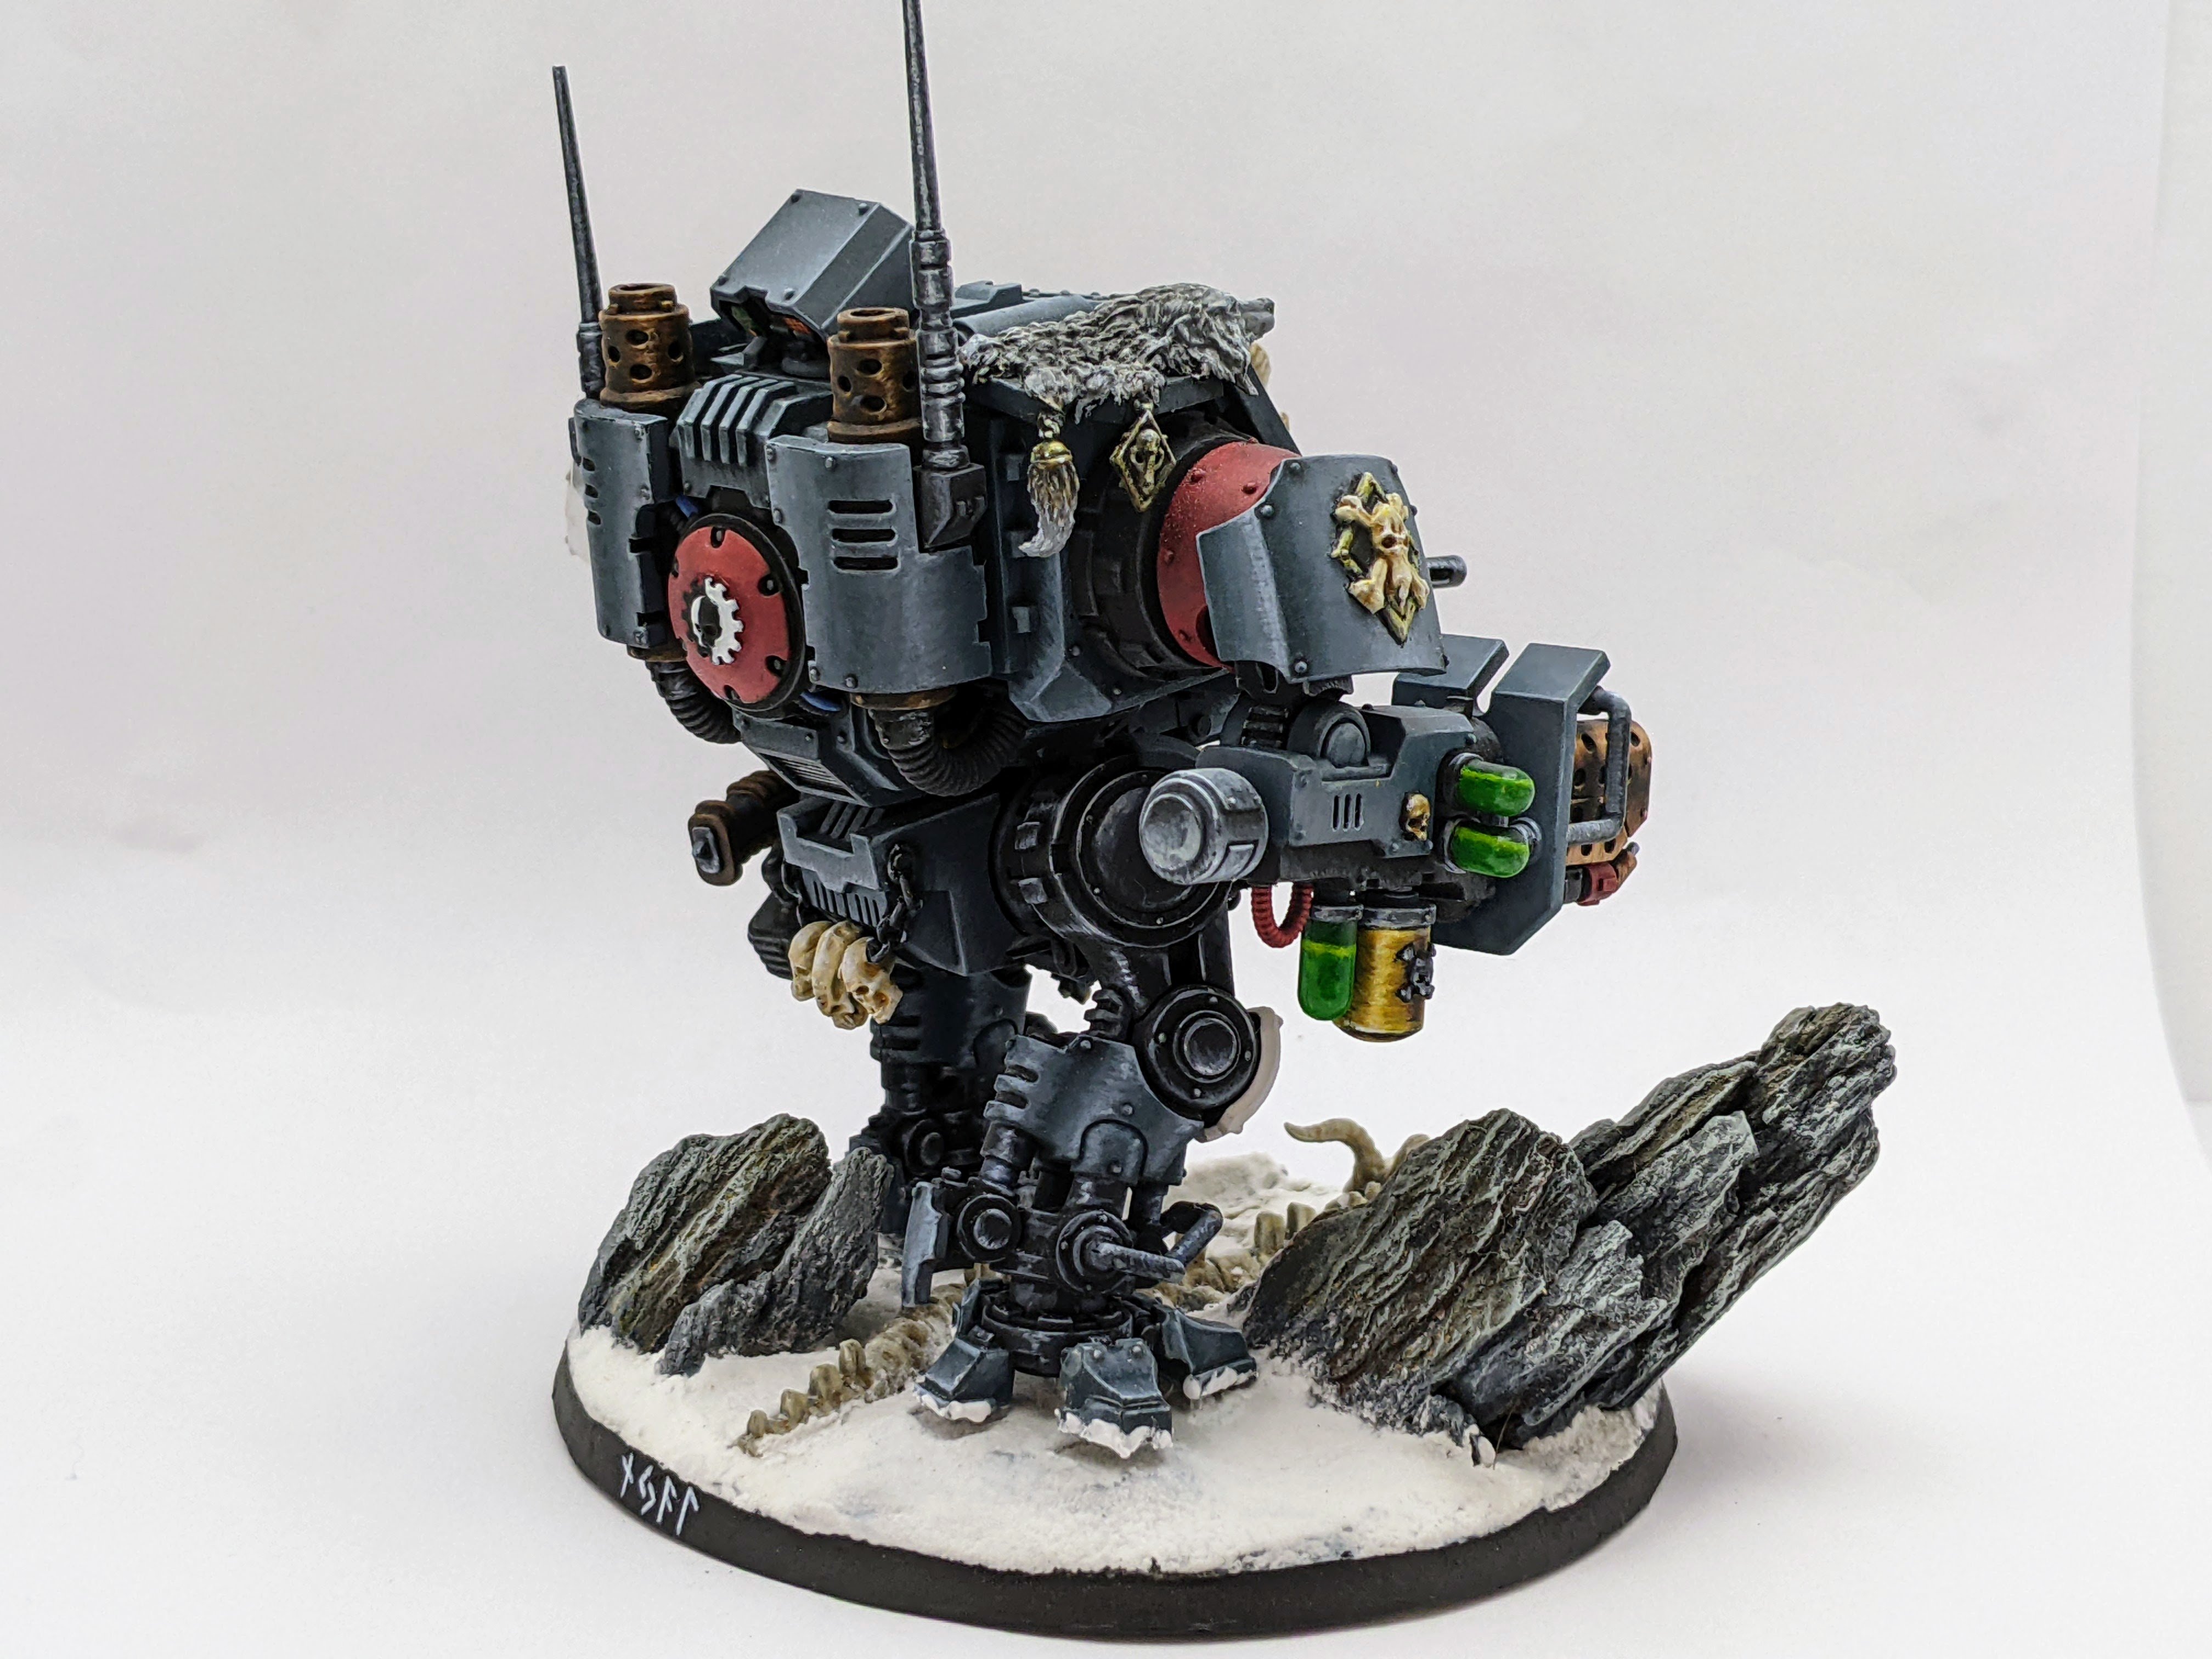
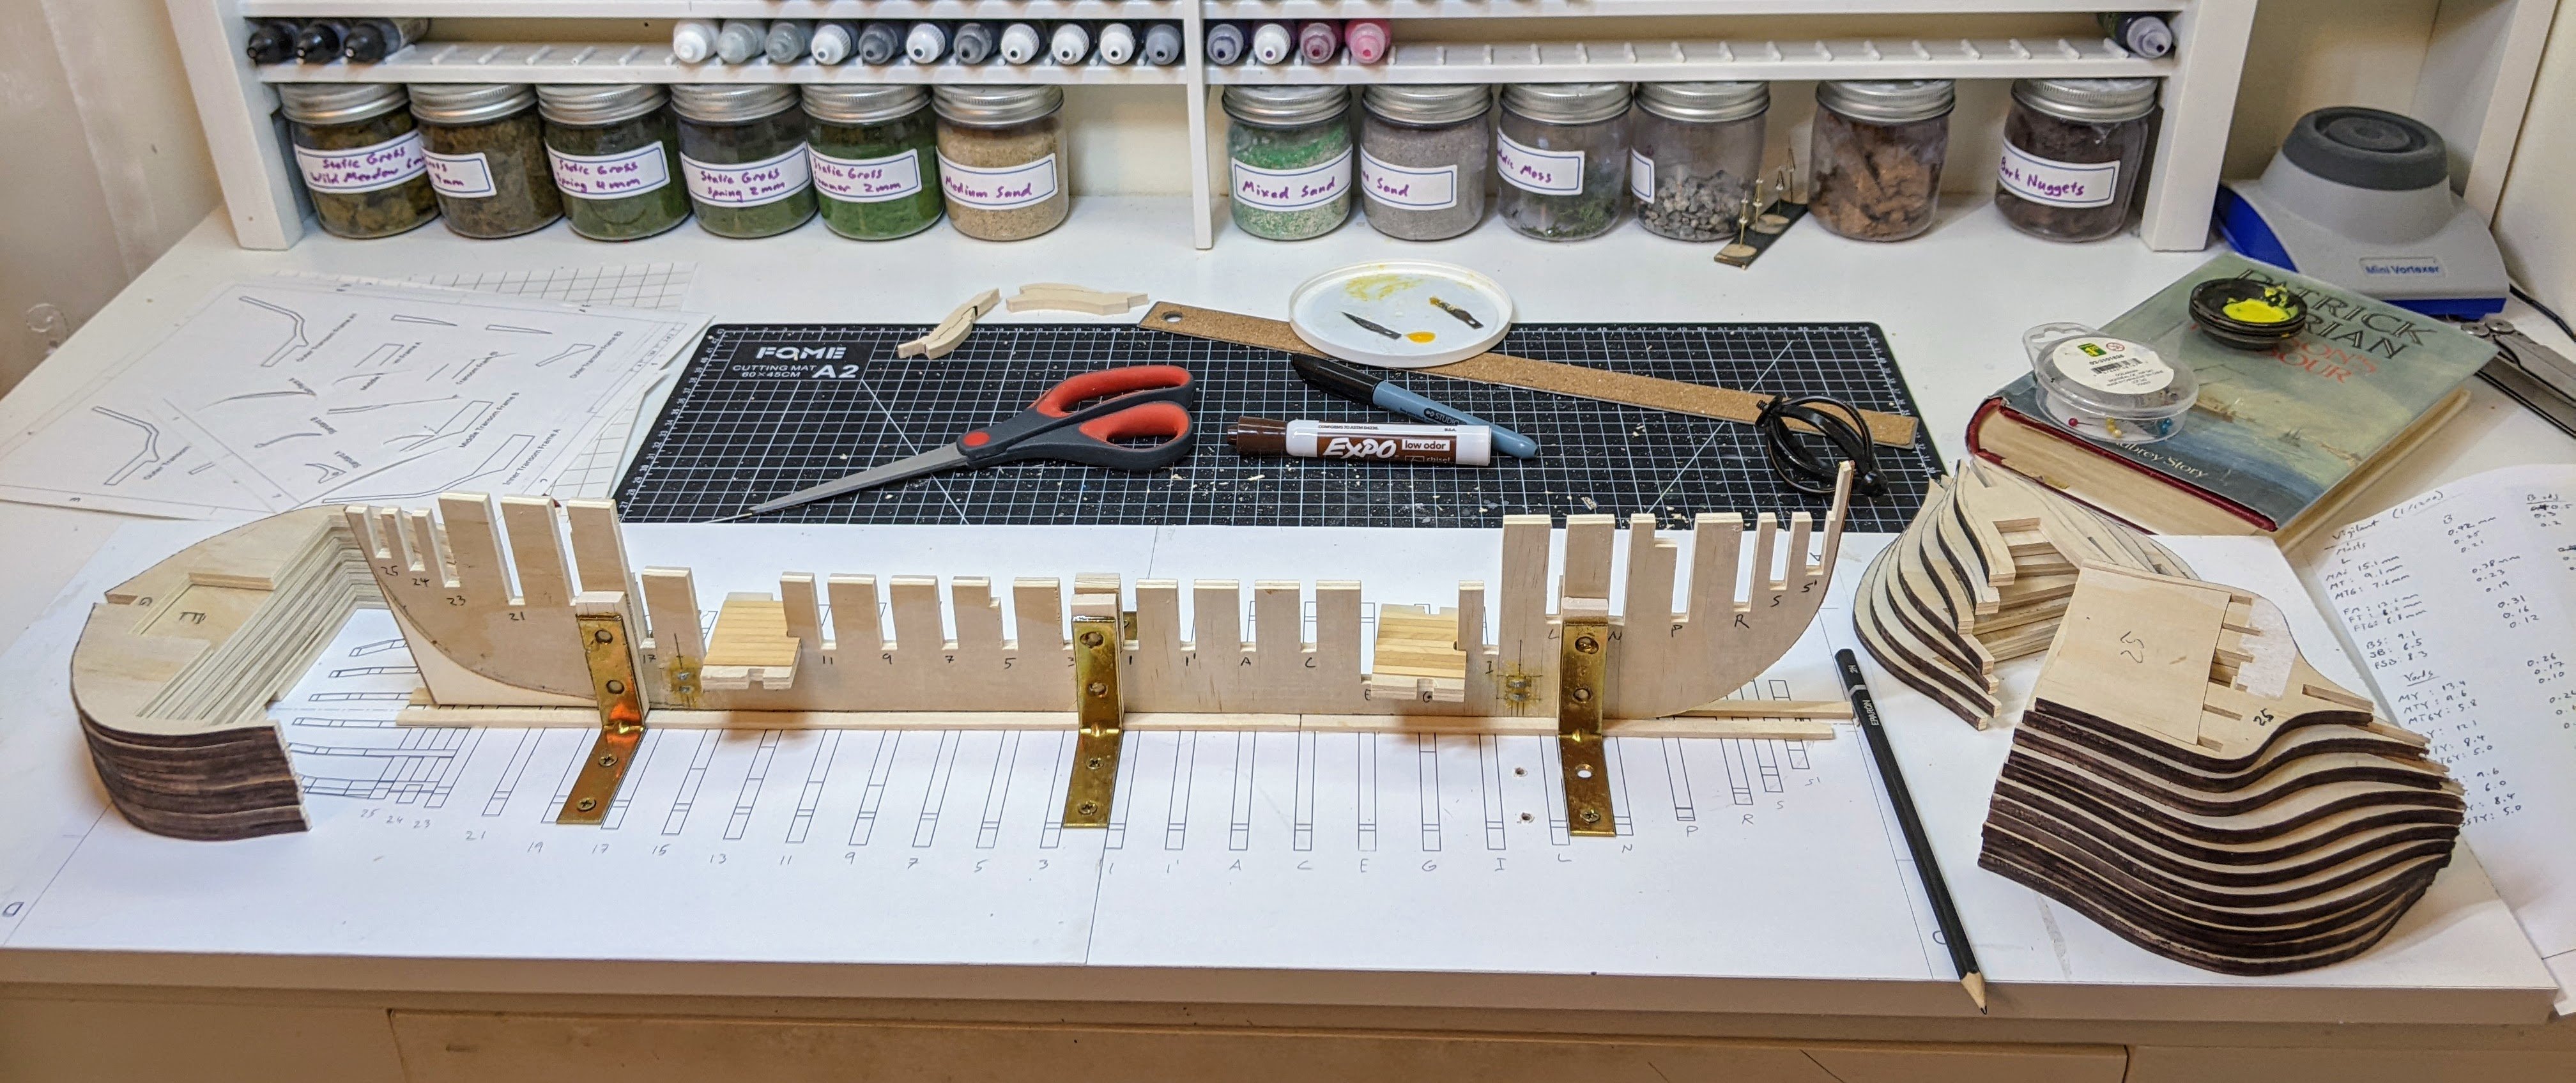
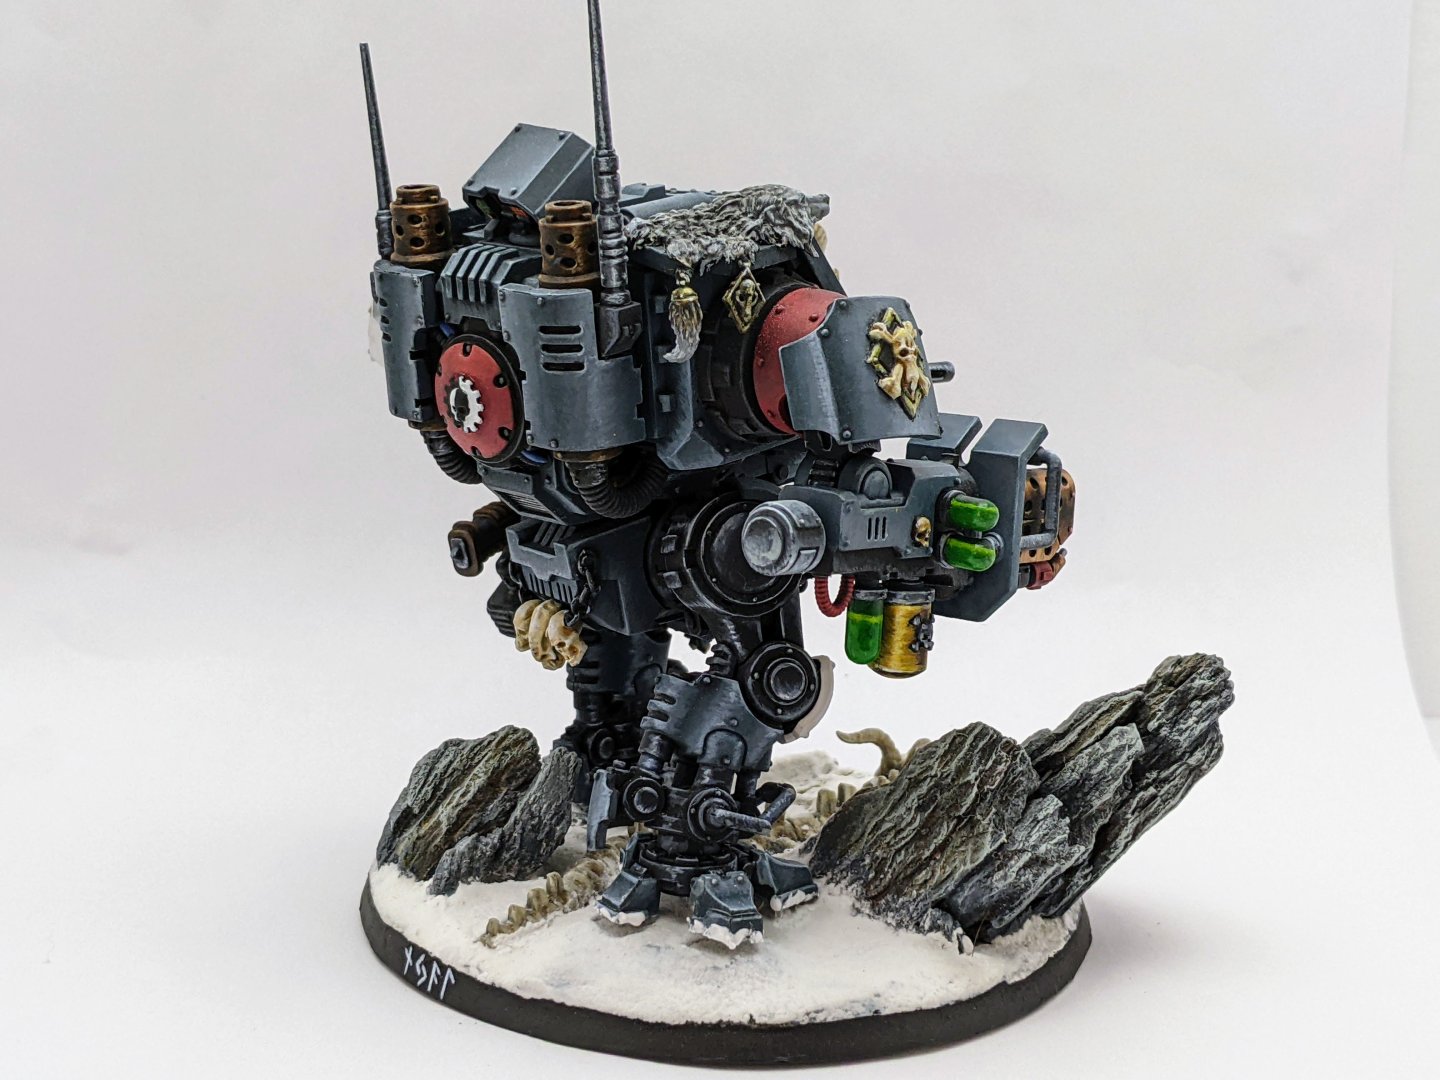
Thanks, Not much to see with the materials. From left to right they are various static grass, various sands (light to course), rocks and fake moss, cork, bark. The bark does a good job of simulating rocks for miniature bases. For example see the below model. The model pieces you can see in the background are masts for my small scale Napoleonic ship miniatures project. You can find a link to a build log in my signature.
-
HMS ANSON 1781 by albert - 1/48 - 64 guns
Thukydides replied to albert's topic in - Build logs for subjects built 1751 - 1800
Amazing work. -
I enjoy these SIB builds. It is a very striking subject.
- 106 replies
-
- 3
-
-
-
- Kentoshi-Sen
- bottle
- (and 1 more)
-
Awesome work, she looks so good. For a first time painting a figure you did very well. White is a hard colour to paint. Also congrats on becoming a father. Treasure the moments, even the ones you are tempted to wish away, they grow up fast.
-
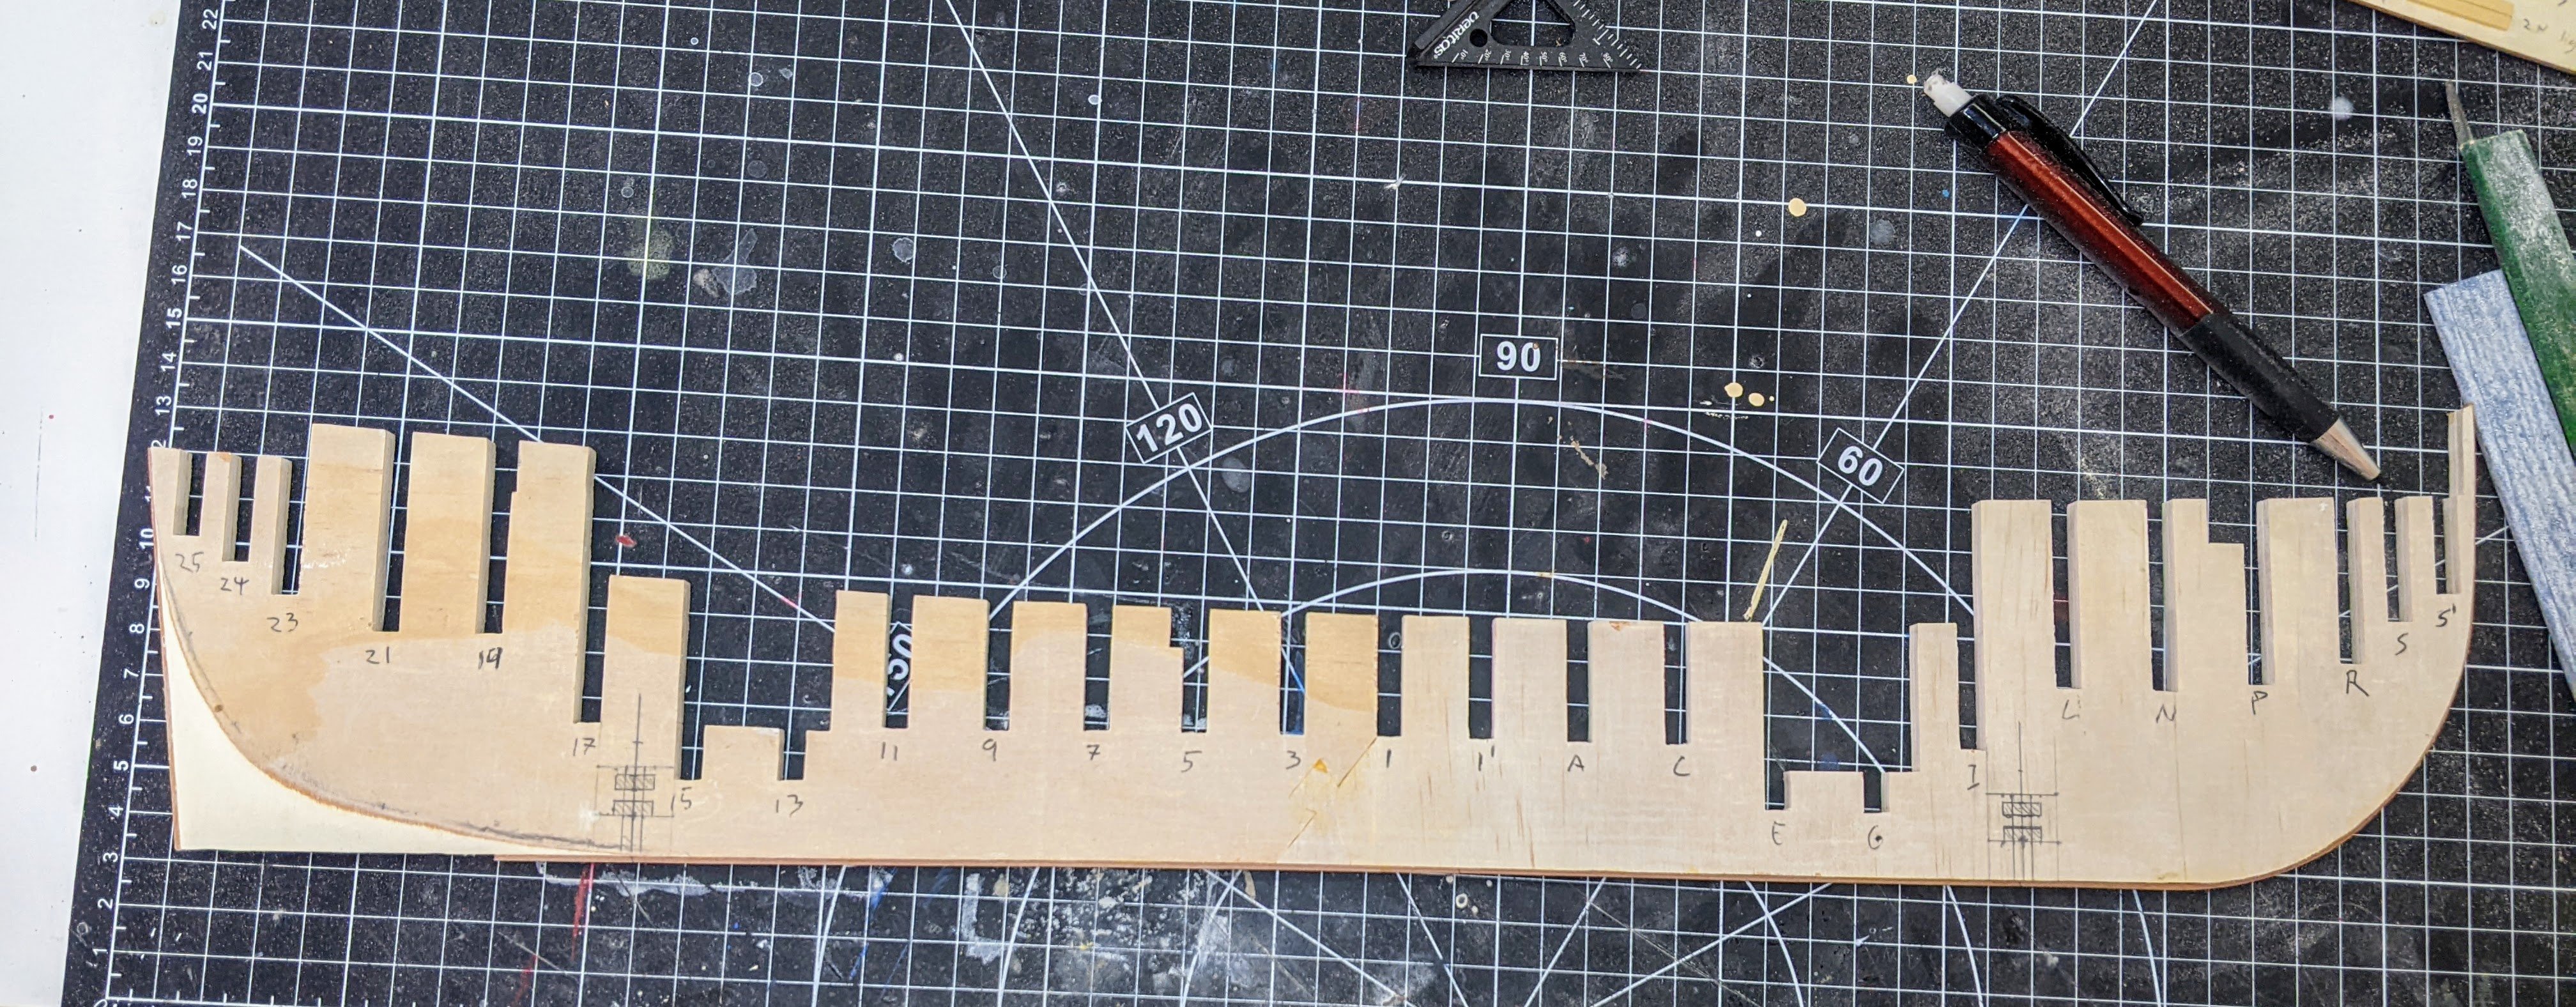
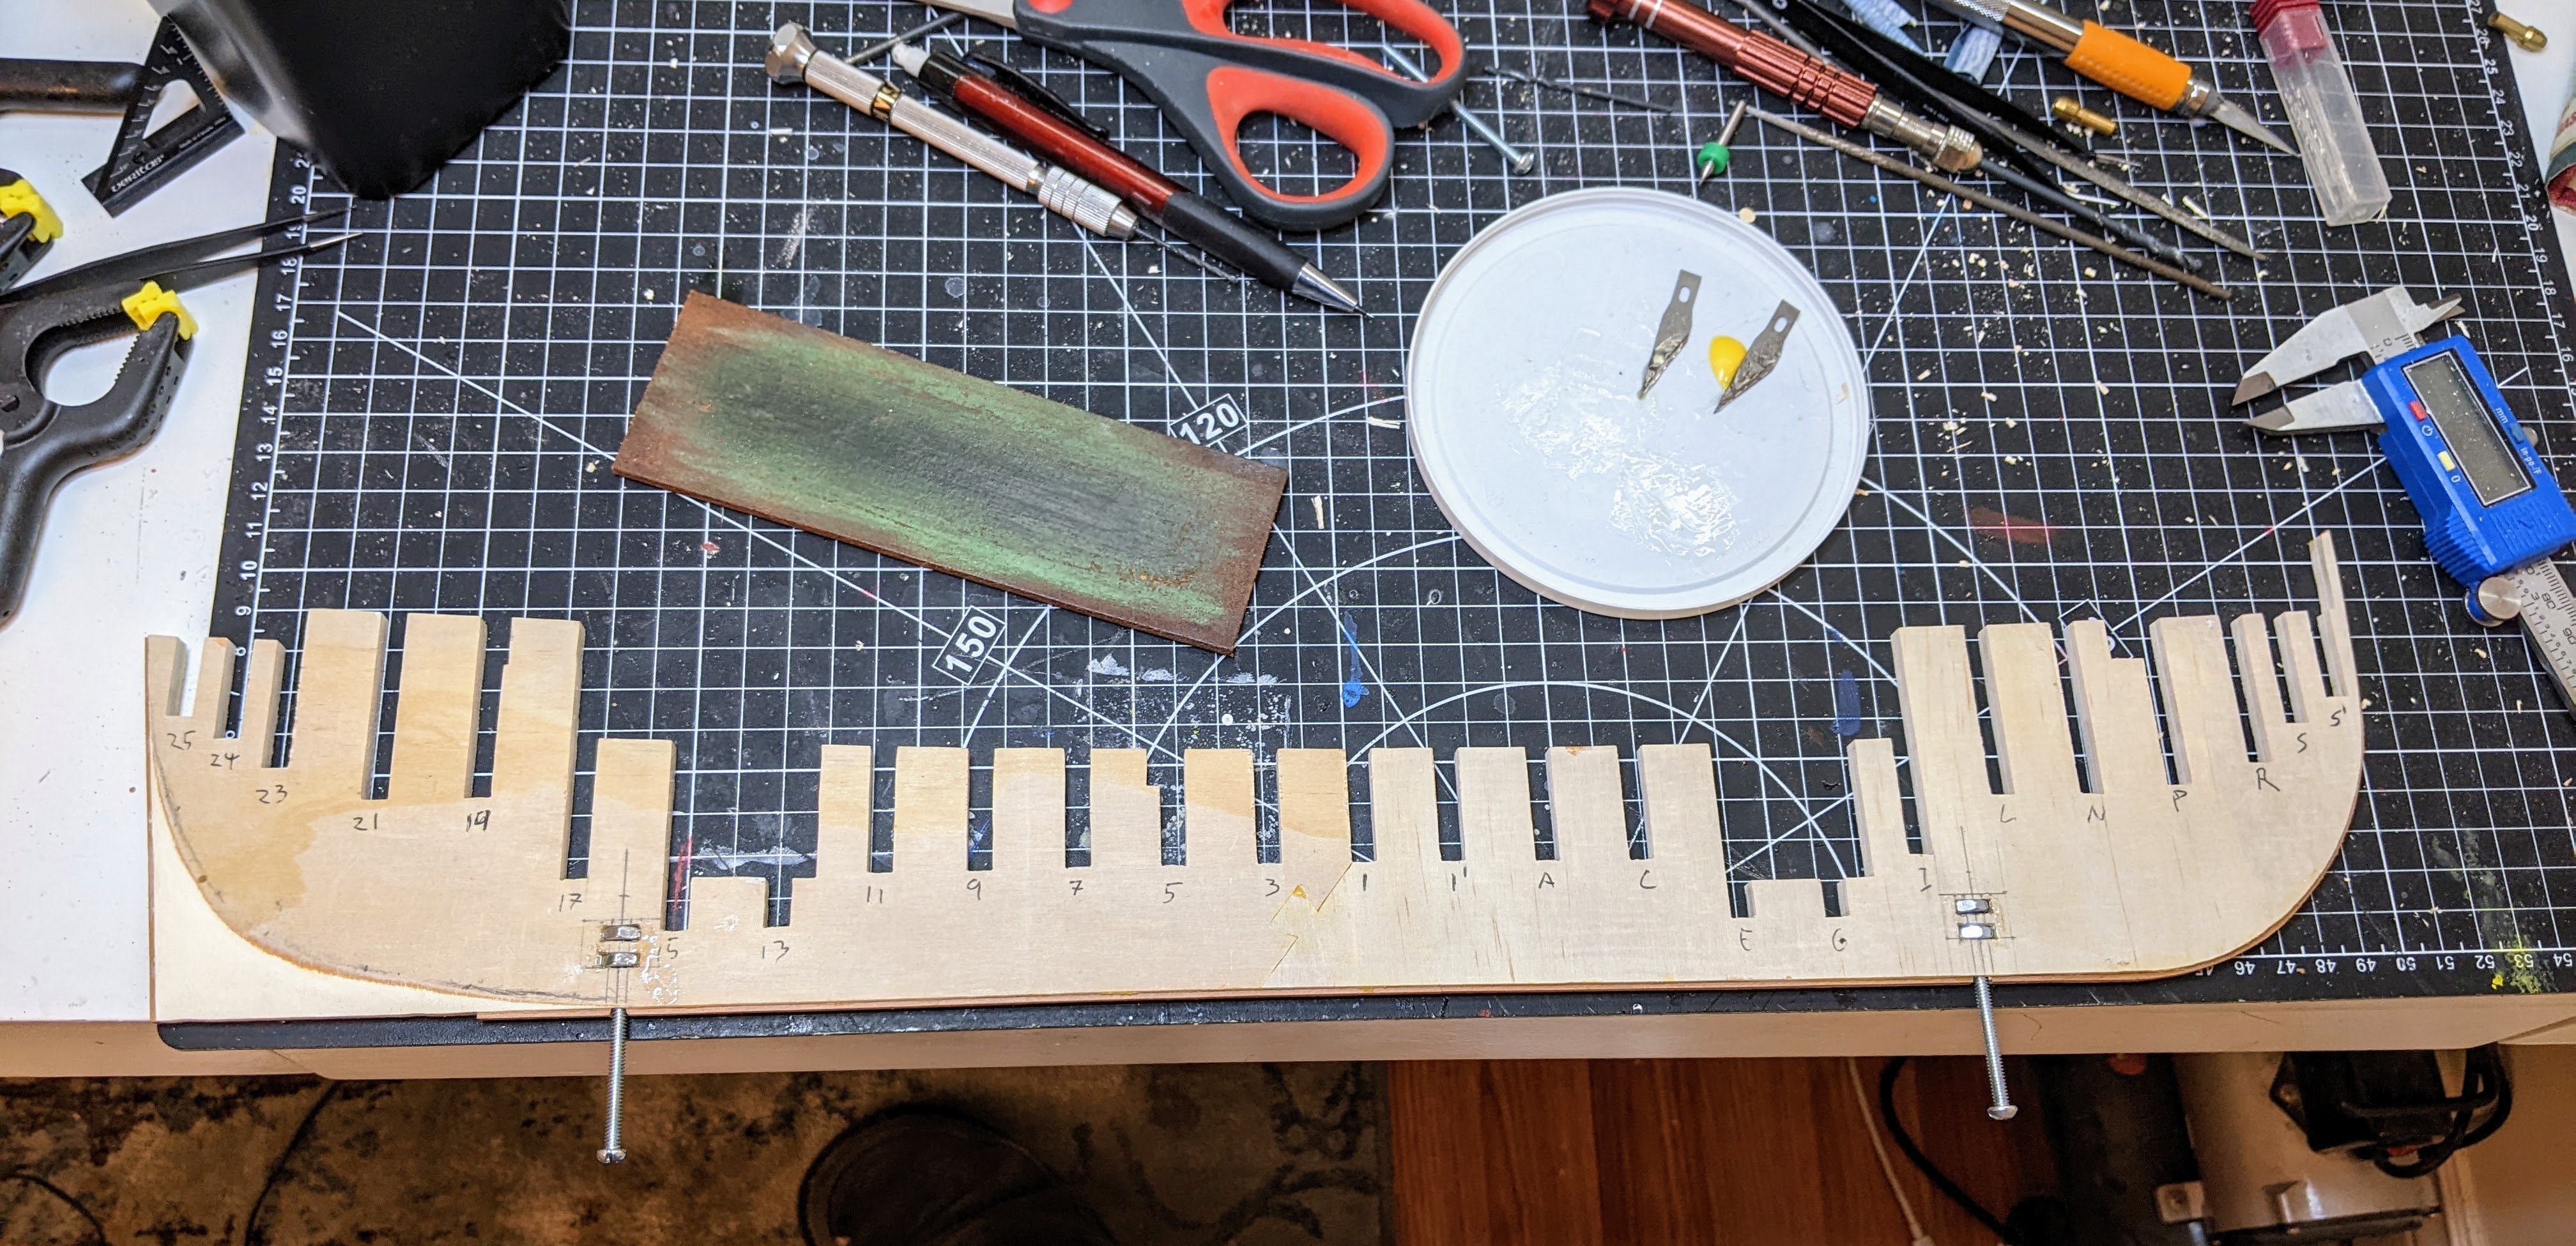
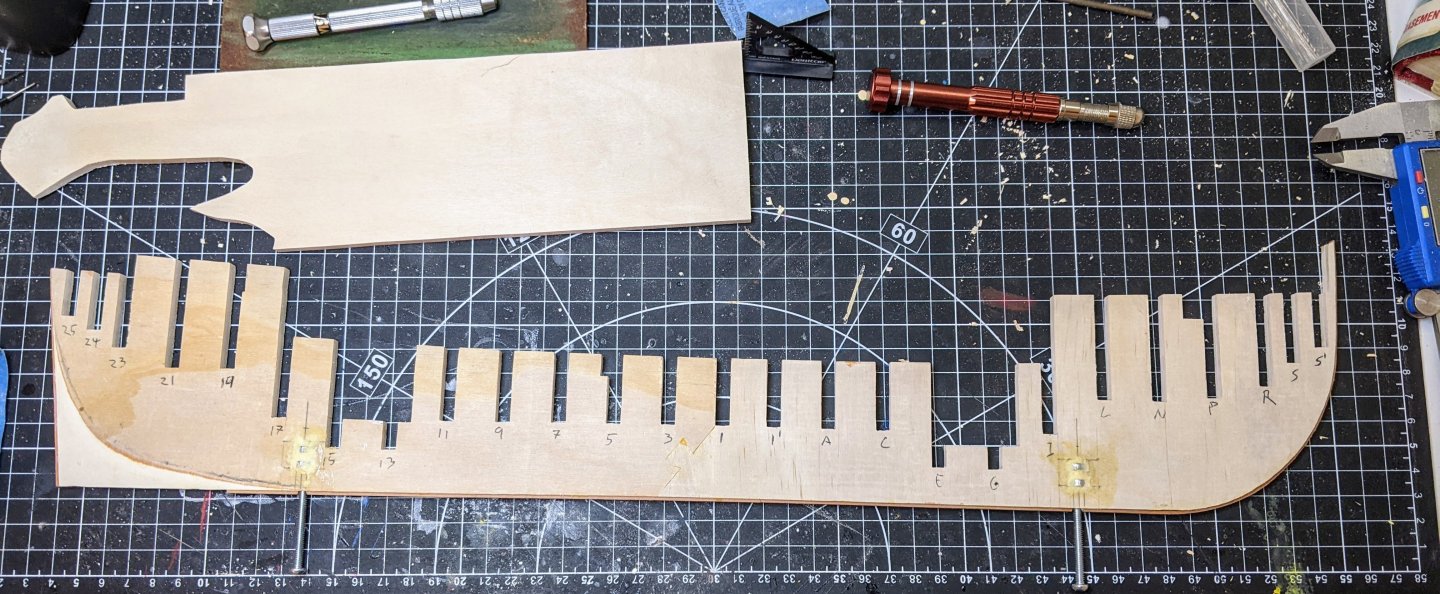
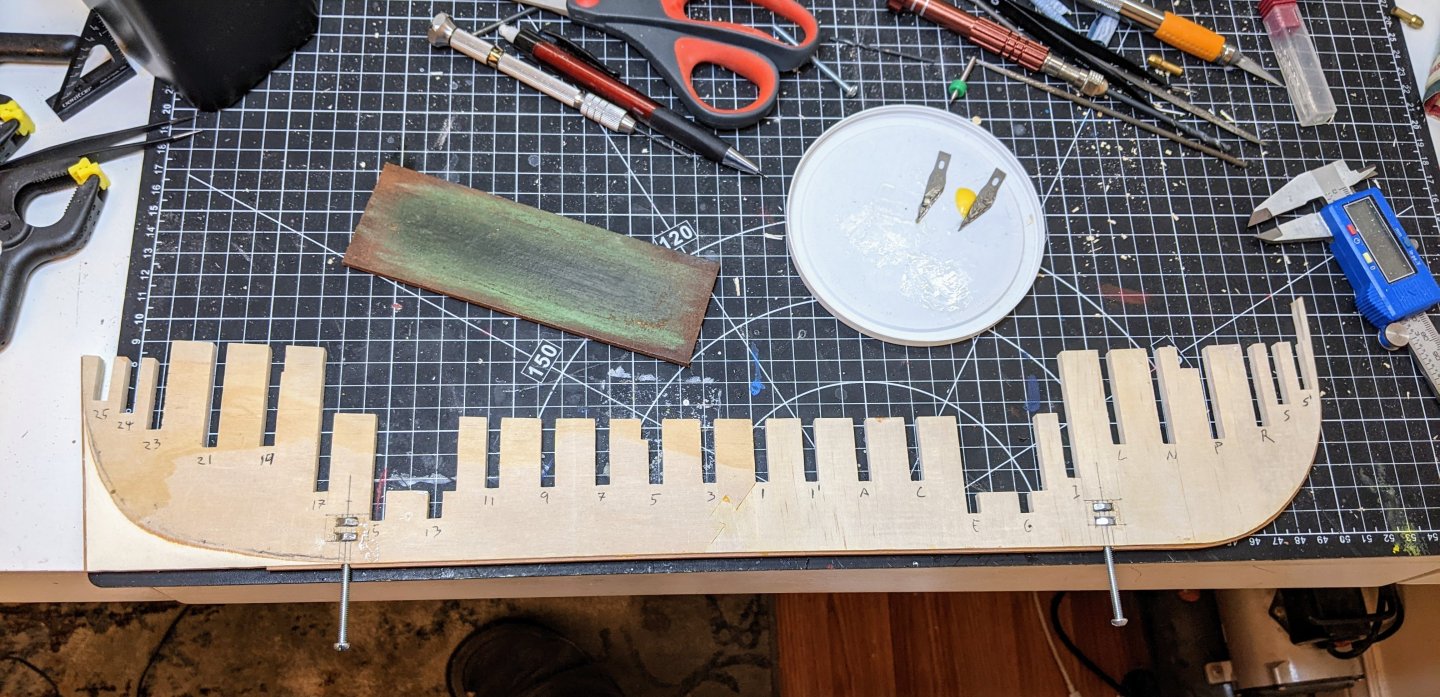
Log #18: Securing the Model I am waiting on getting some new magnification this week to help with the cutting of the knee of the head. So in the meantime I am continuing work on the structure of the model. The last piece of work that needs to be done before the structure is ready to assemble is the hardware for securing the model to its base. I came up with a relatively simple solution for this. Frist I marked the location for holes to be drilled in the bottom of the bulkhead and where the slots for the nuts would need to be cut out. These needed to be sufficiently high so the nuts do not stick out wider than the bulkheads at that point, but also not so high that the screw has sufficient clearance to allow for the supports and the thickness of the base. You may also notice that I thinned the stern of the center bulkhead as this is easier to do now than later. It may need a little more adjustment later, but the bulk of the material has been removed. I then carefully cut the slots with chisels a little wider than necessary to allow for some movement of the bolts to make sure the threads align. I drilled the holes with a pin vice starting with a very small drill bit and slowly increasing the size. As it is hard to drill perfectly straight, the last little bit had to be widened with a round file to make sure that the holes were centered and straight. I also found that clamps on either side of the bulkhead helped while drilling to prevent the drill bit accidentally tearing out the sides of the hole. I then used some epoxy to secure the bolts in place making sure the screw could freely turn in them. Once the epoxy was dry I covered the whole area with a thick sawdust and wood glue mix to make sure all the gaps were filled. I may strengthen this area further once all the bulkheads are in place. With the bolts in place I used a marker to darken the sides of all the bulkheads. This will allow me to better judge how much I have fared them when it comes time to do that. So here is the current state of affairs. Next step is to finish the keel / knee of the head and secure them to the center bulkhead.


-
Linus Napoleonic shipyard
Thukydides replied to Linus Spjutsberg's topic in New member Introductions
I have also been planning on picking up captaincy as it really has by far the most interesting sailing system I have seen. I have read through and played around with enterprize, their free version of the 1.0 rules. I am currently experimenting with making 1/1200 models to see how viable that would be to allow more space for sailing maneuvers. -
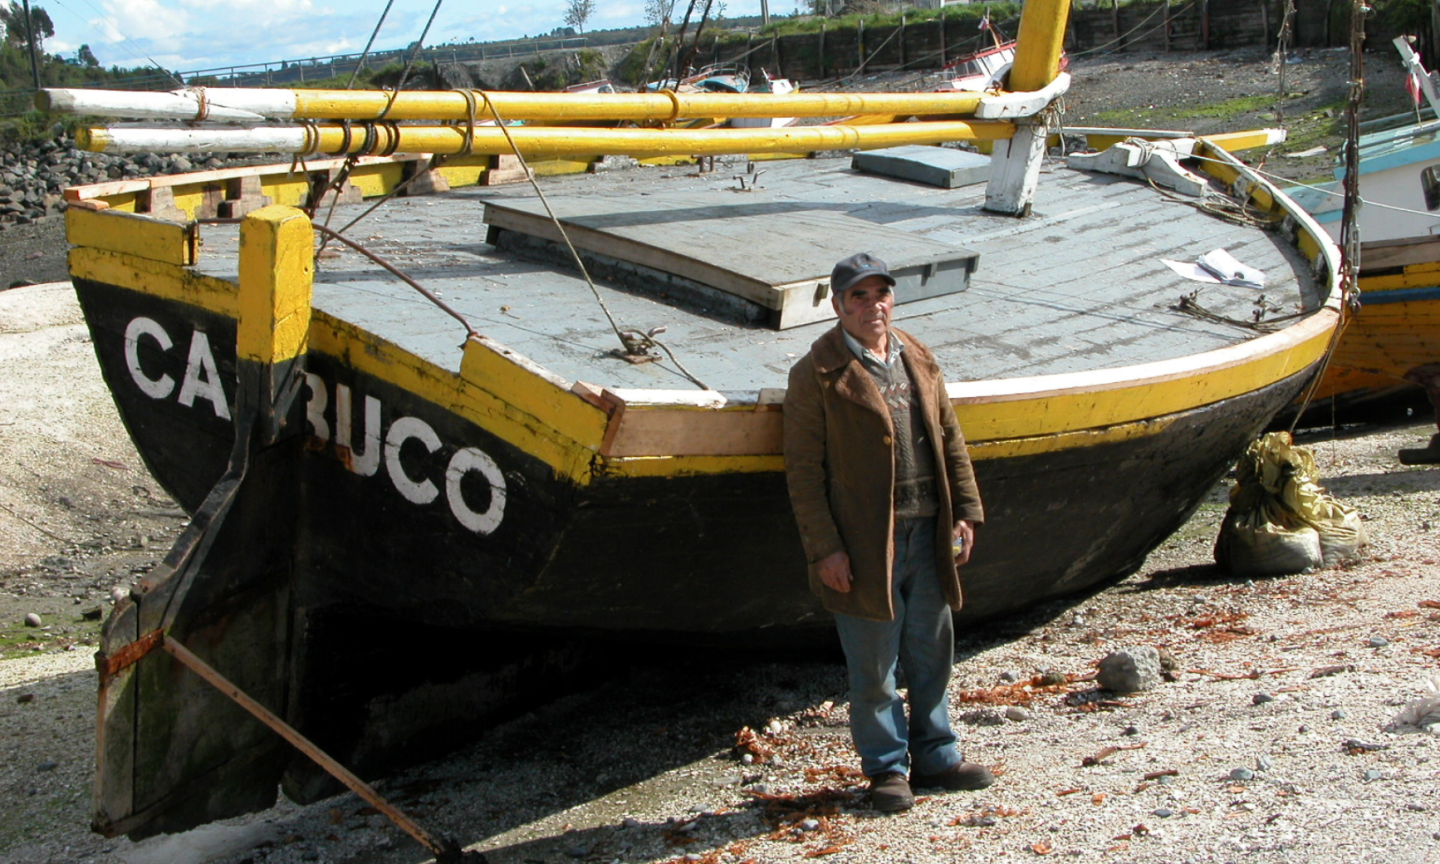
Aesthetically I feel like it needs a bit more taper near the end, but I was looking back through your reference photos and the below one doesn’t seem to have much taper. Also it looks a little bent so I think any imperfections in the symmetry of the model boom probably only add to the realism. In any case she is looking really good.
- 312 replies
-
- 4
-
-
-
- Chile
- Latin America
- (and 6 more)
-
That is fantastic work Ronald. You should consider actually painting the decorations on Sphinx. You definitely could on the evidence of your work on this facade.
-
USS Constitution by mtbediz - 1:76
Thukydides replied to mtbediz's topic in - Build logs for subjects built 1751 - 1800
It is looking really good. -
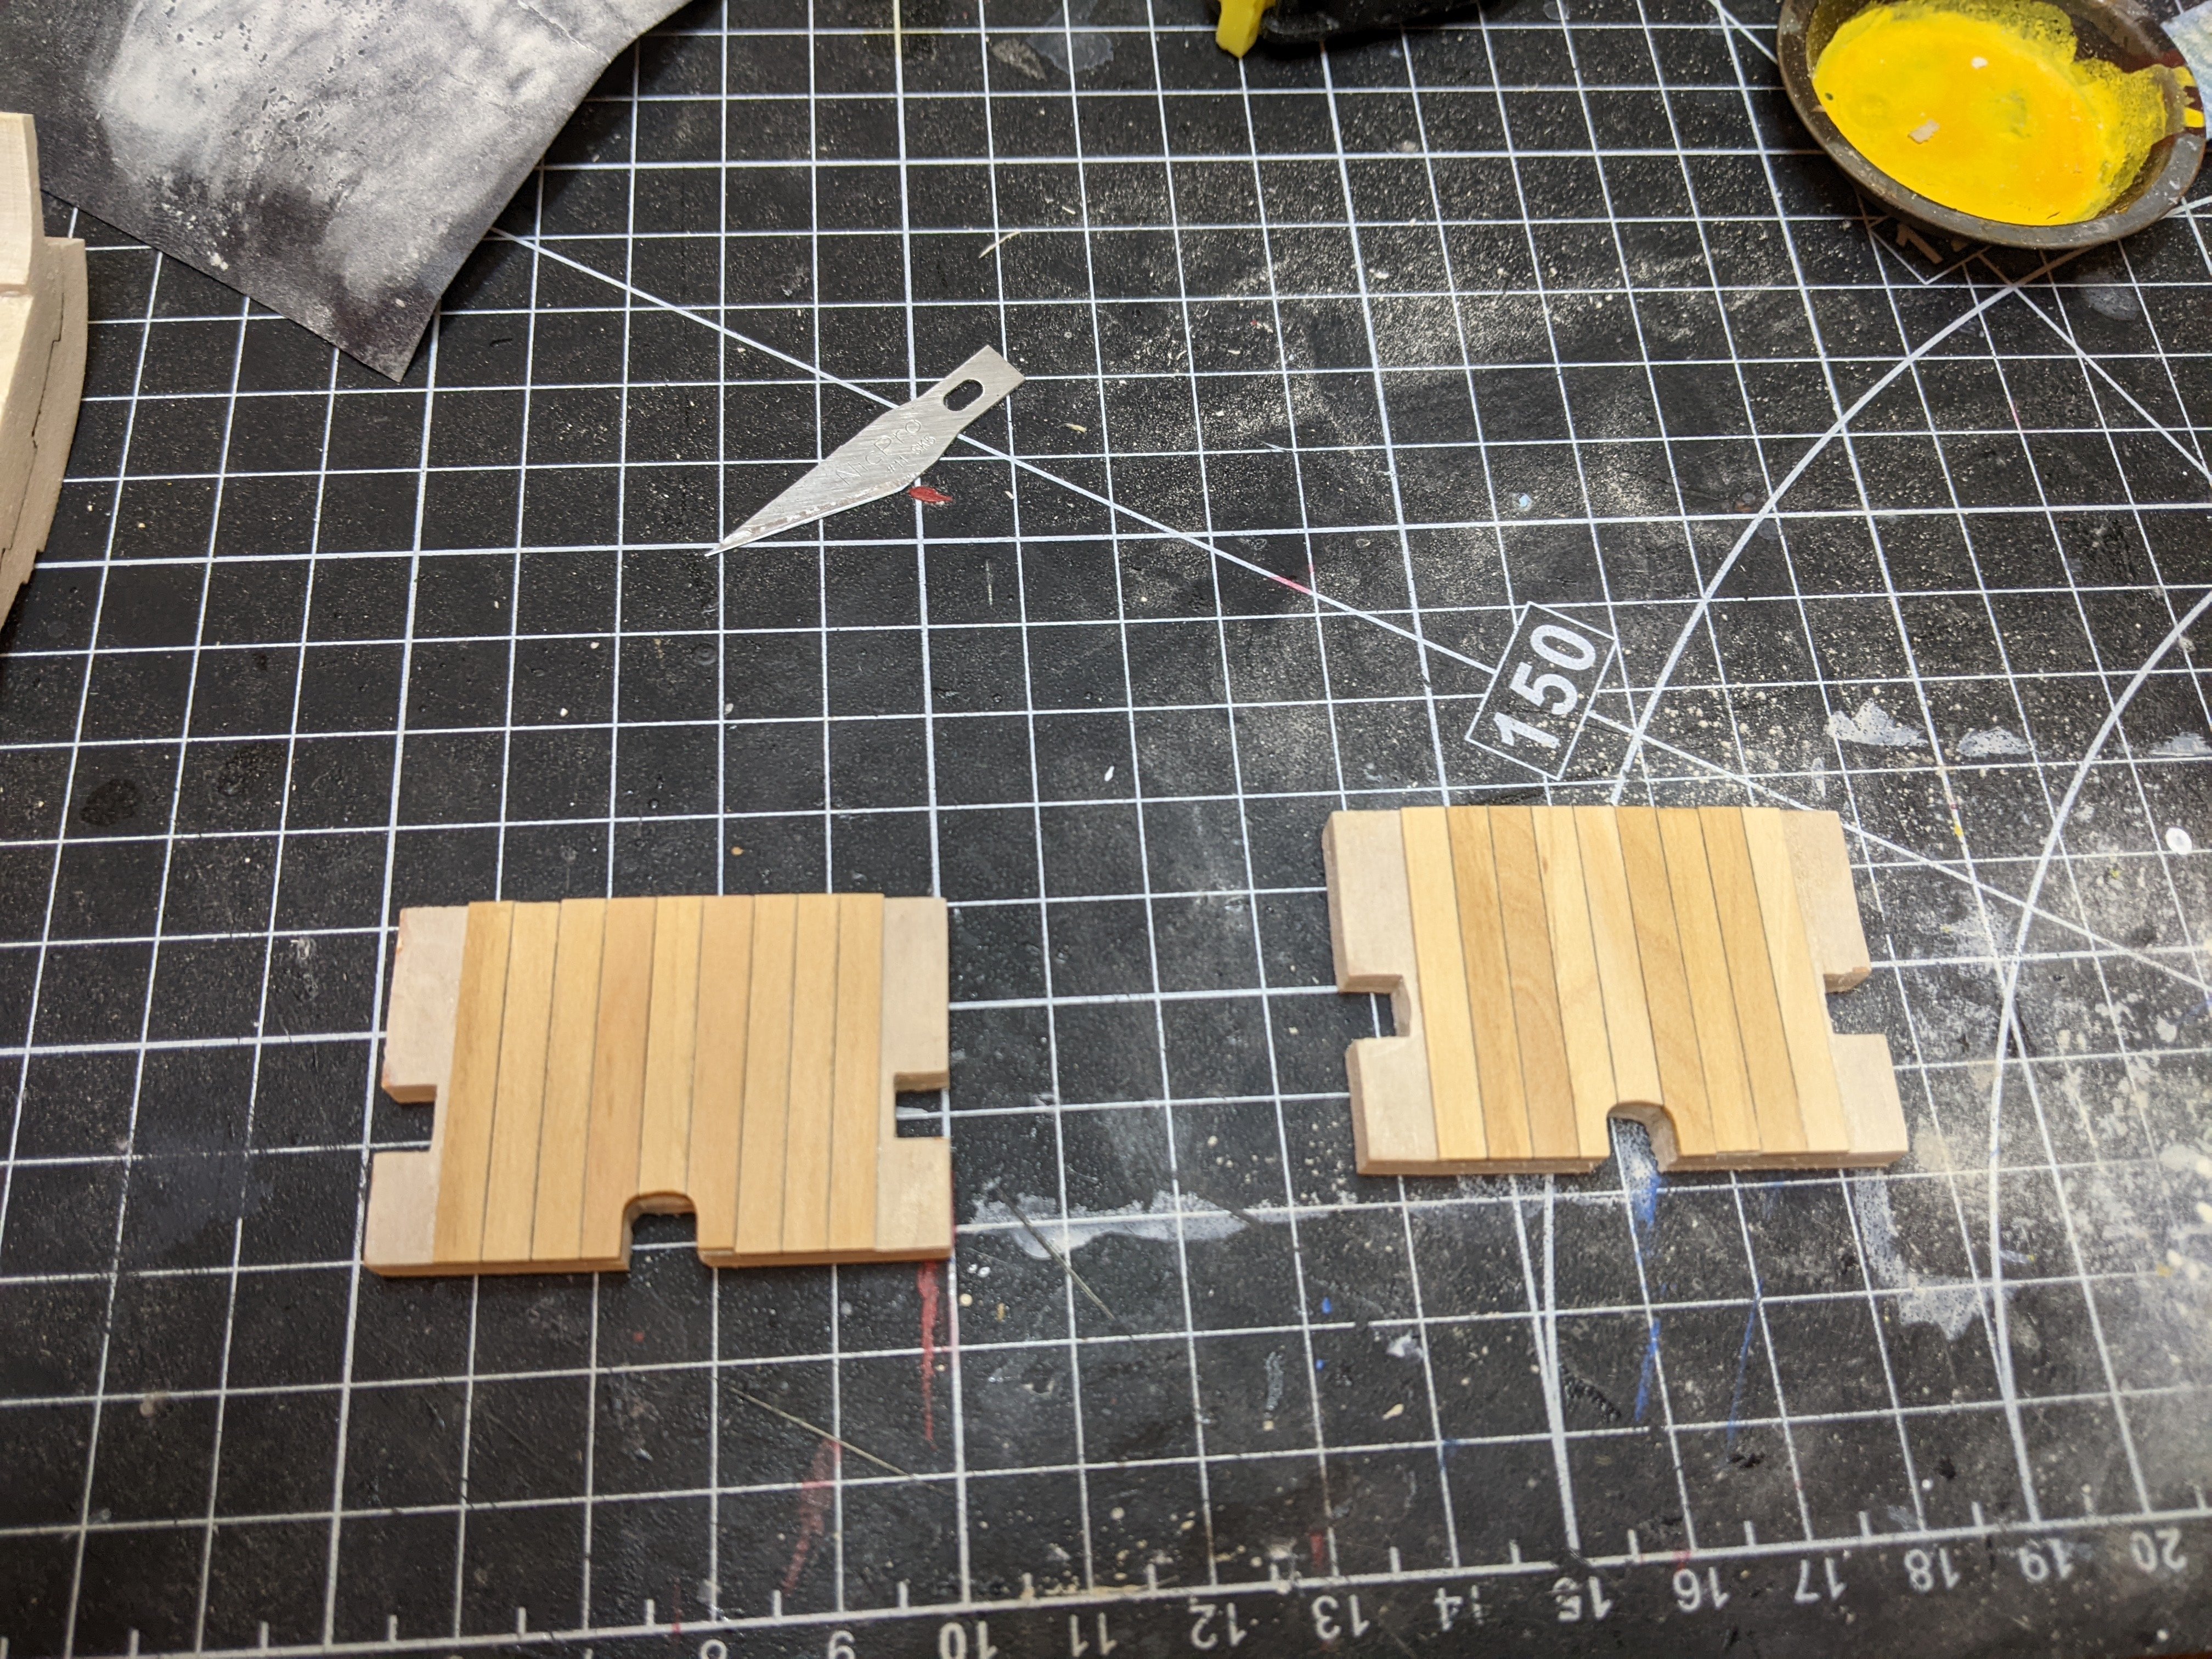
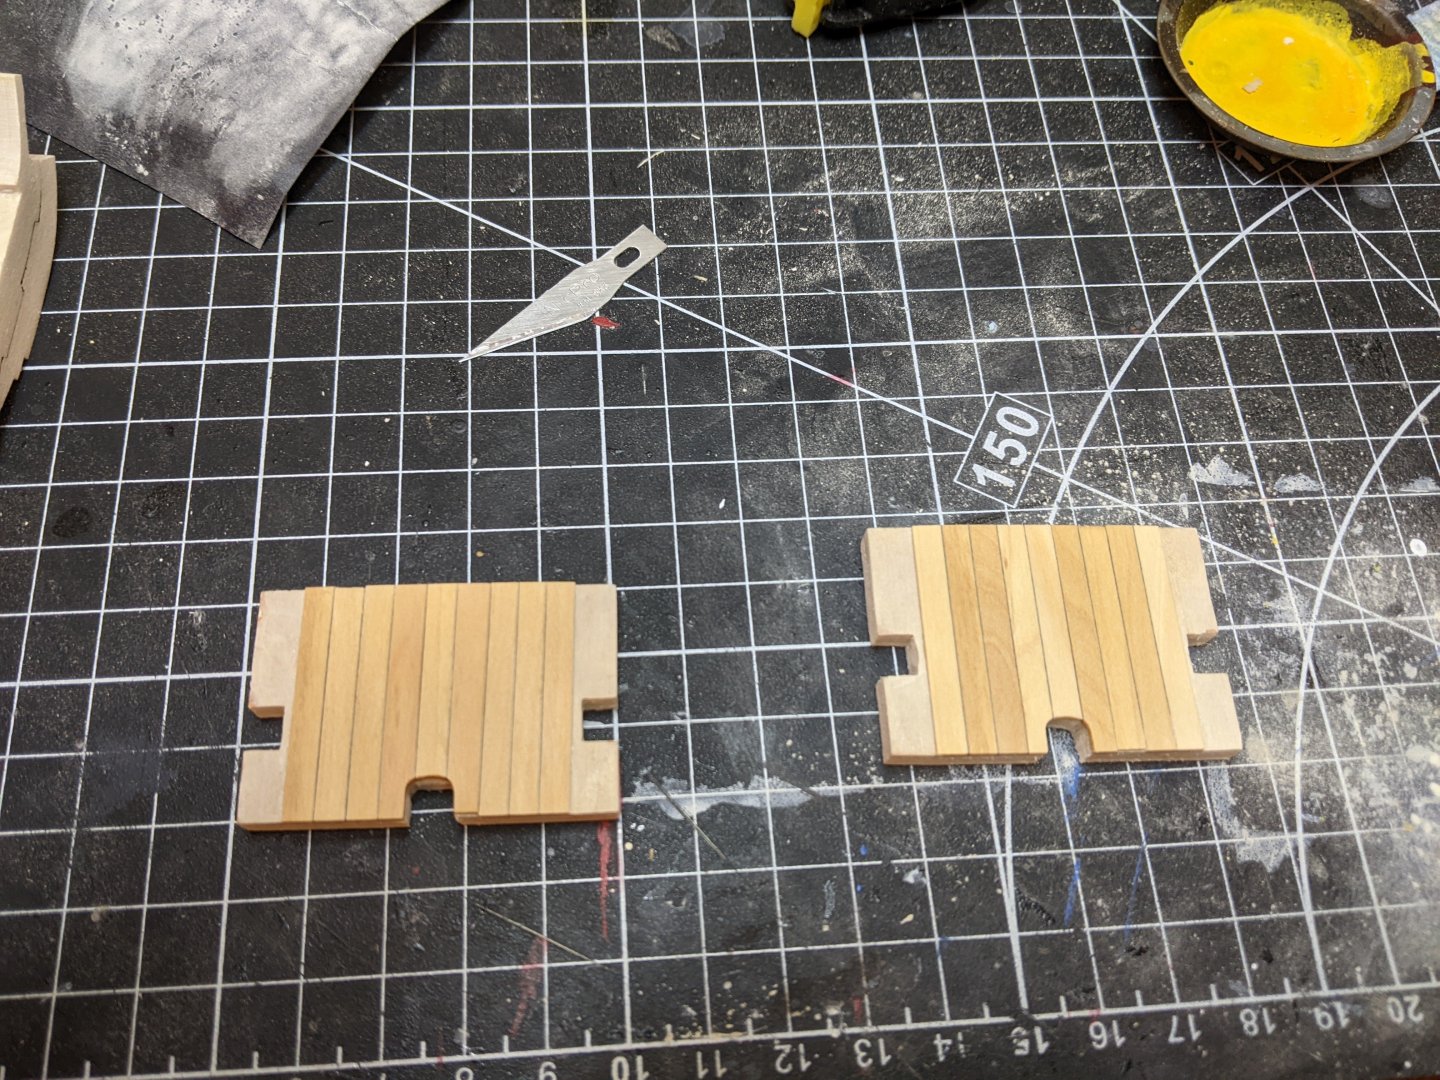
Log #17: The Platforms Despite my previous promises that I was done with test pieces, I continue to make more of them. The problem is that every one I do is just a little bit better than the last one. At some point I need to decide they are good enough, but knowing when to make that step is hard when you are a perfectionist. Below you can see my latest test piece on the left along with an earlier one on the right. You can see how much thinner the lines are on the newer one. I am using my dark glue mixture so I can clearly see how big the gaps are on these tests. I have been focusing on just practicing this particular joint as it is the most complex one in the knee of the head construction with 2 scarfs and a number of curves. I have however made some actual progress this week on the platforms. These will almost certainly not be visible, but on the off chance some angle shows them I want the bottom of the ladderways to show the planking. This is something that needs to be done prior to the structure of the bulkheads are assembled so I figured now was as good a time as any. I used scrap boxwood left over from my alert build and marked one edge of each plank with an HB pencil to show the caulking line. Then I sanded in various grits from 150 to 320 to 500 both to smooth the finish, but also to thin the planks. The ones I had were approximately 1/32 in, but I needed to thin them down to 3/128 in as the contract states the planks were to be 1.5 in thick. This really was not necessary, but I figured I might as well do it right if I could. Finally I added a coat of WOP which I quickly wiped off to give just a slight sheen.

-
Vanguard's cutter kits....how do they differ?
Thukydides replied to bigcreekdad's topic in Wood ship model kits
I assume you are referring to Alert, Trial and Sherbourne. The difference in these is mostly the size and level of difficulty involved. Sherbourne is the smallest and easiest to build. Trial is in the middle in terms of size and features drop keels. Alert is the largest and features less pre-cut parts than the others (you have to plank all the way up the bulwarks etc...) Which best suits you depends a little on what you want to achieve. If you are a novice with little experience and just want to build something using out of the box parts (no modifications) then I would recommend Sherbourne. If you like the drop keel aesthetic and you have some more modelling experience then Trial might be a good choice. If you are more confident in your modelling abilities and want to push yourself by trying a bit of kitbashing then Alert would be a more appropriate choice as the smaller number of precut parts mean there is a bit more scope for kitbashing. All three will build lovely models out of the box. -
Congrats and great job.
-
There is only the catalog entry: https://discovery.nationalarchives.gov.uk/details/r/C13422581
-
An interesting corollary of the 1782 letter is that it suggests that prior to that date the coppering was often done over the false keel.
-
As @Desertanimal said I think the rope looks a bit big. With 3pdr guns she would use a 3 1/2 in cir breaching and a 1 1/2 in cir tackle with 5in blocks. At this scale that works out to 0.44mm and 0.2mm diameter rope for the breeching and tackles respectively 2mm blocks would be appropriate. Rigging at this scale is a very fiddly process and I recommend using magnification as trying to do it with naked eyes is not easy. If you want to be correct to the scale you will need to use something like 10/0 fly tying thread for the seizing. If you don't want to mess with that, then I would recommend skipping the tackle and just going with the breeching ropes. Many choose to do this anyways and it is better to have no tackles then to have ones that are not at the right scale.
-
Great find. Thanks for sharing. I remember there was a thread a little while back discussing this very question, but there was no definitive answer. @Sizzolo you might be interested in this.
-
Looking good. That is a lot of plates :).